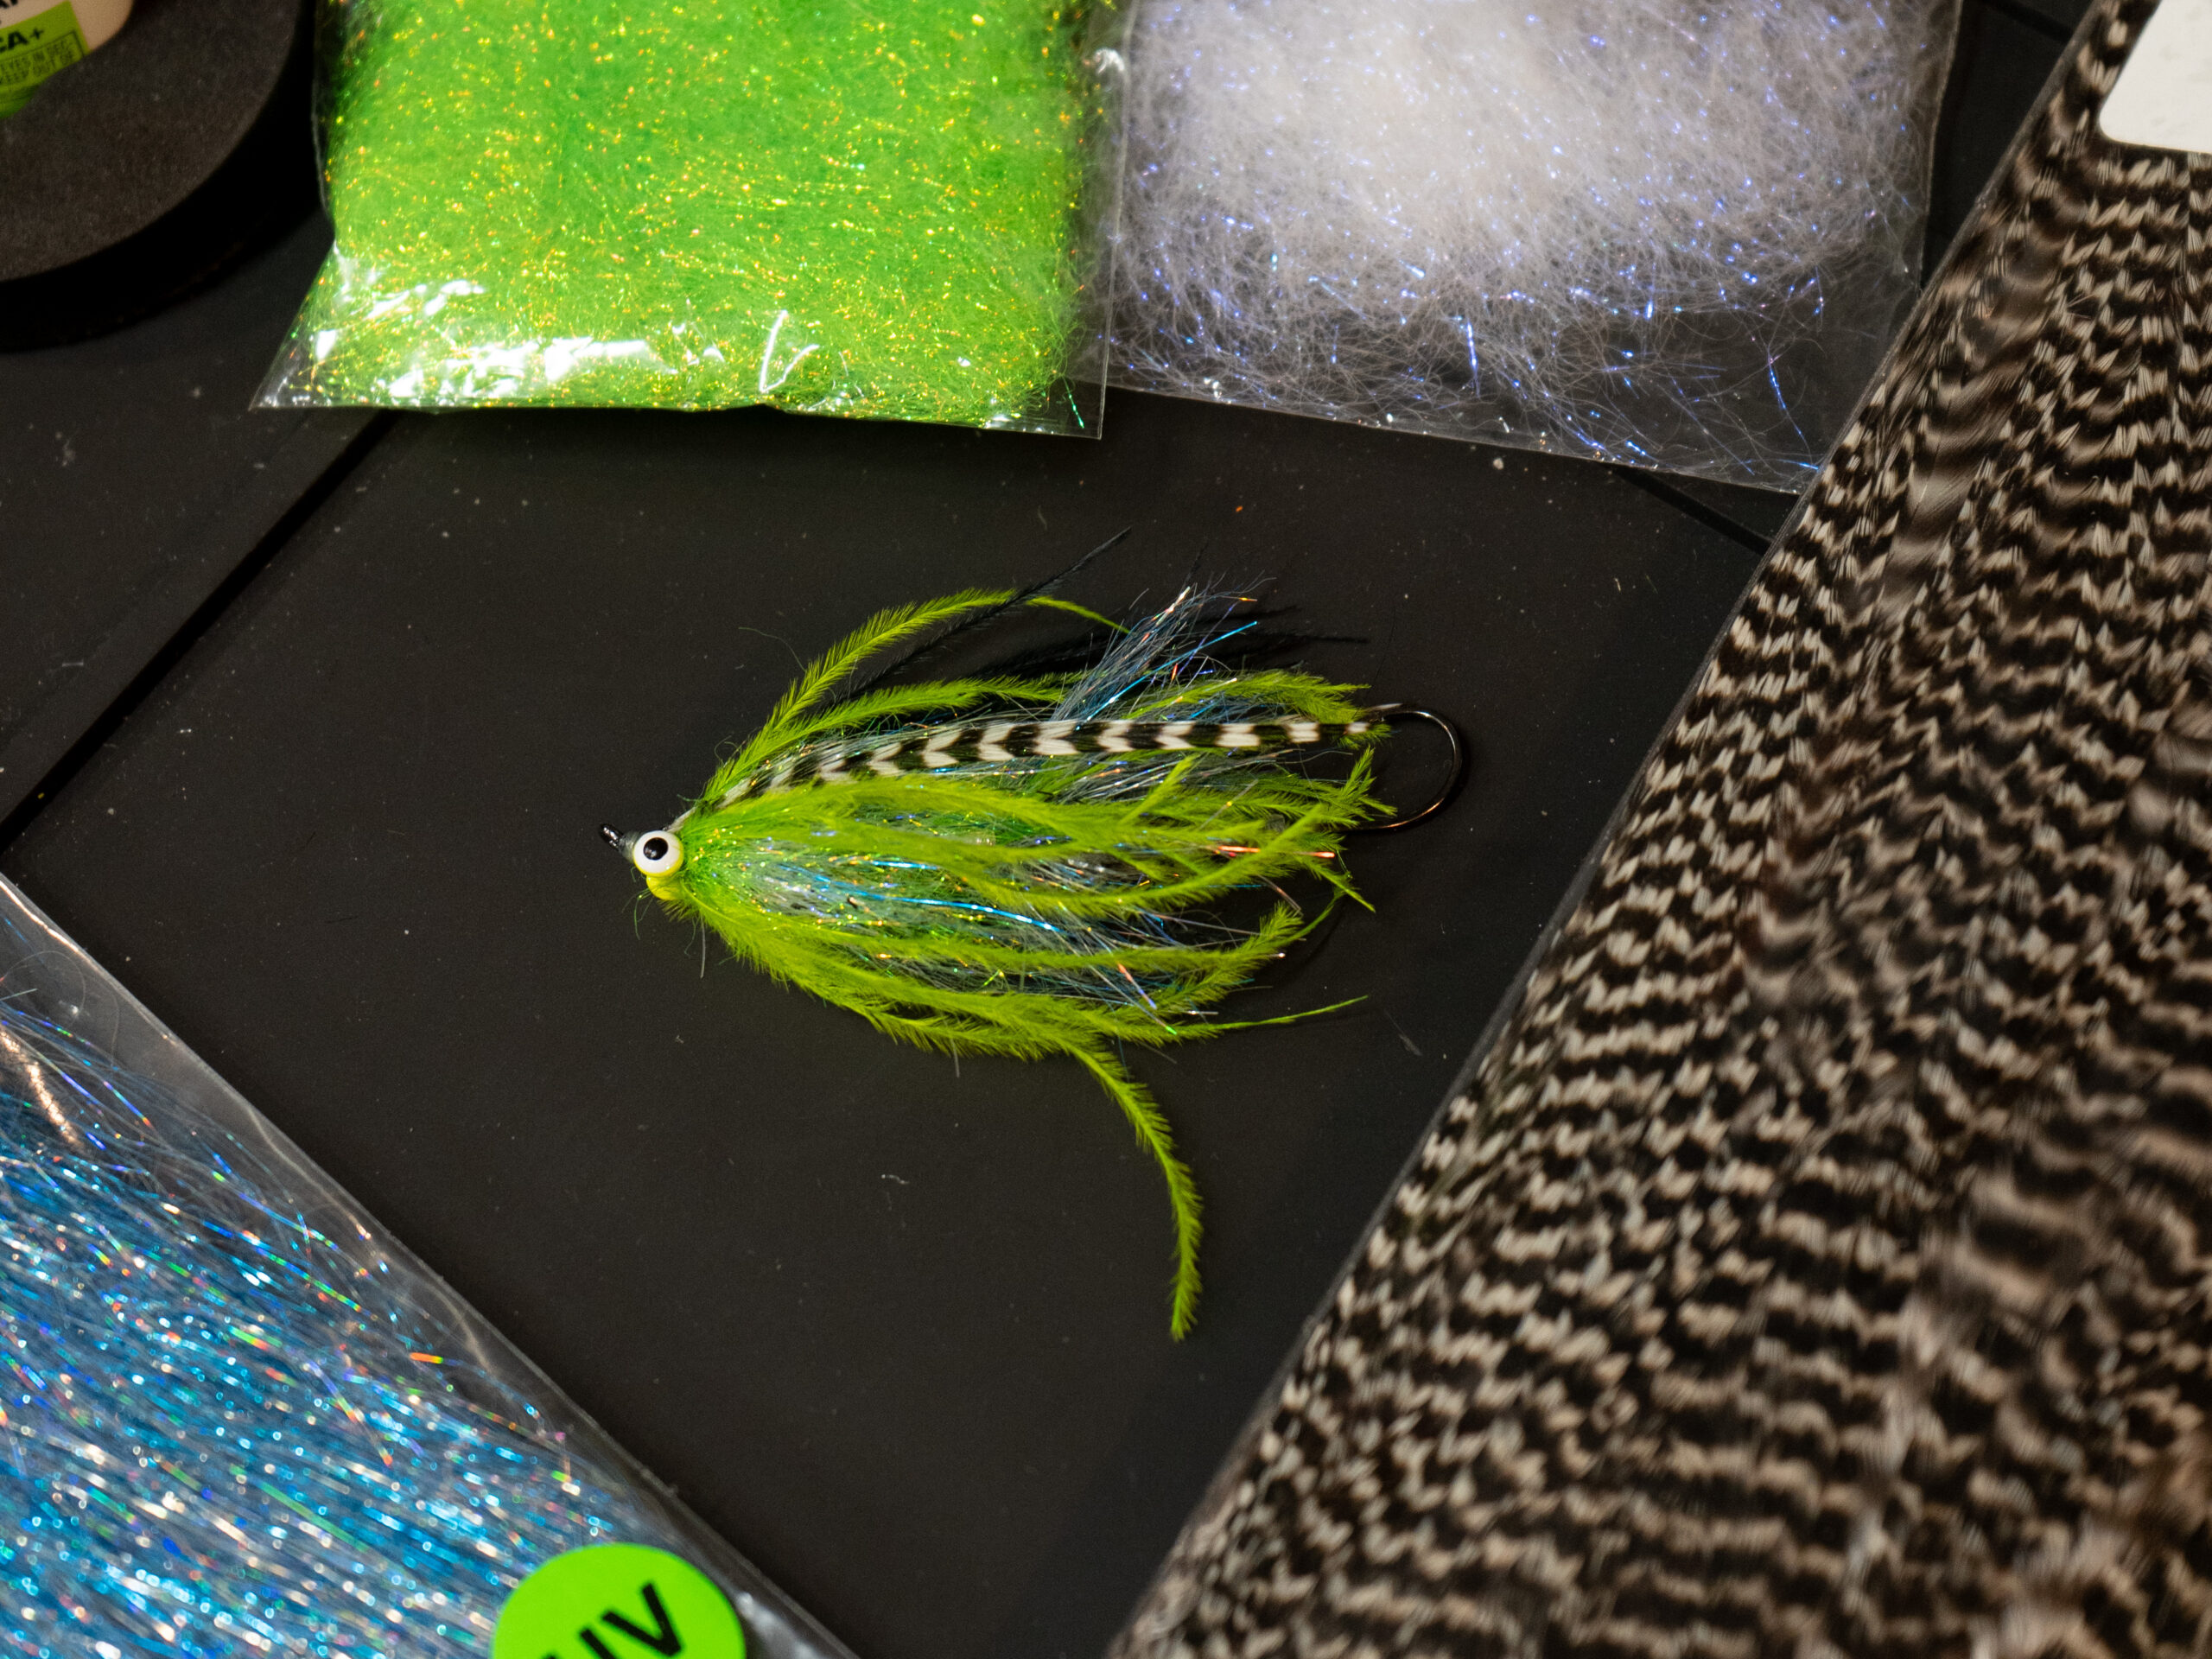
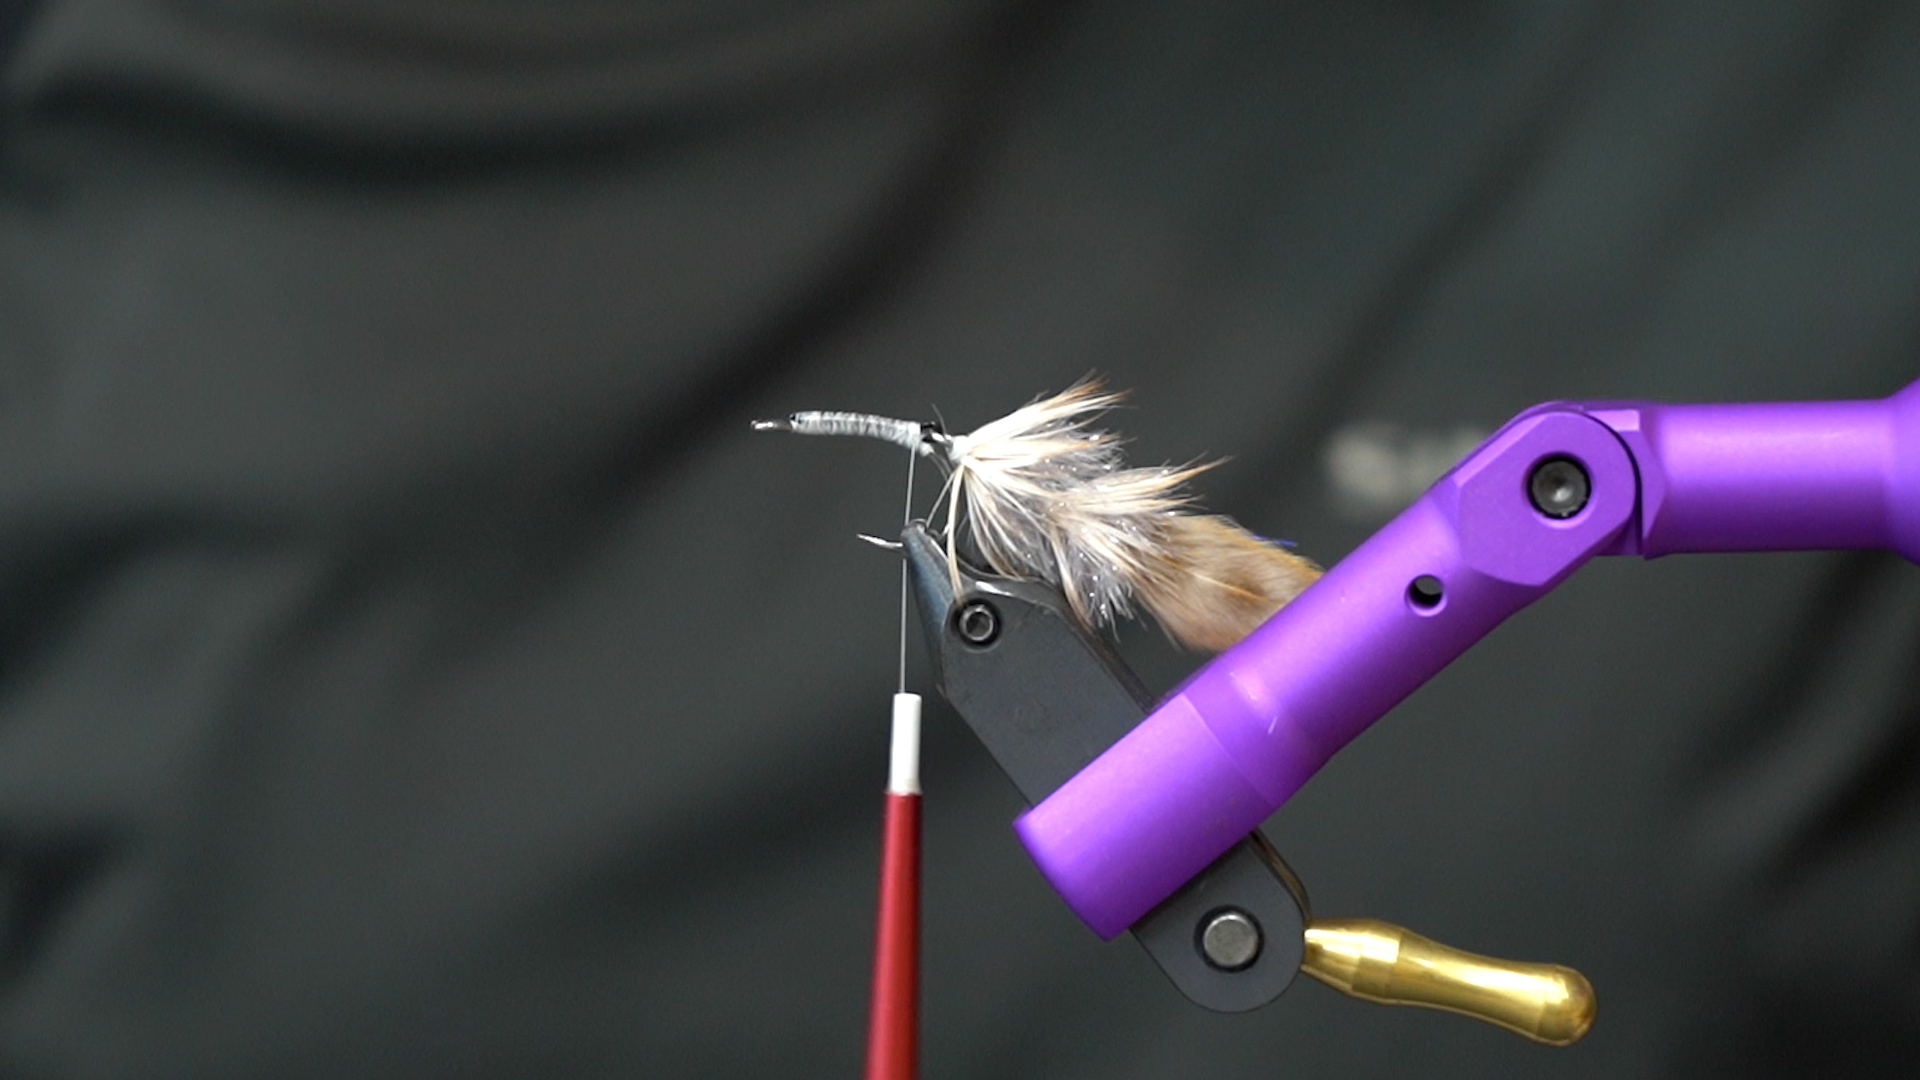
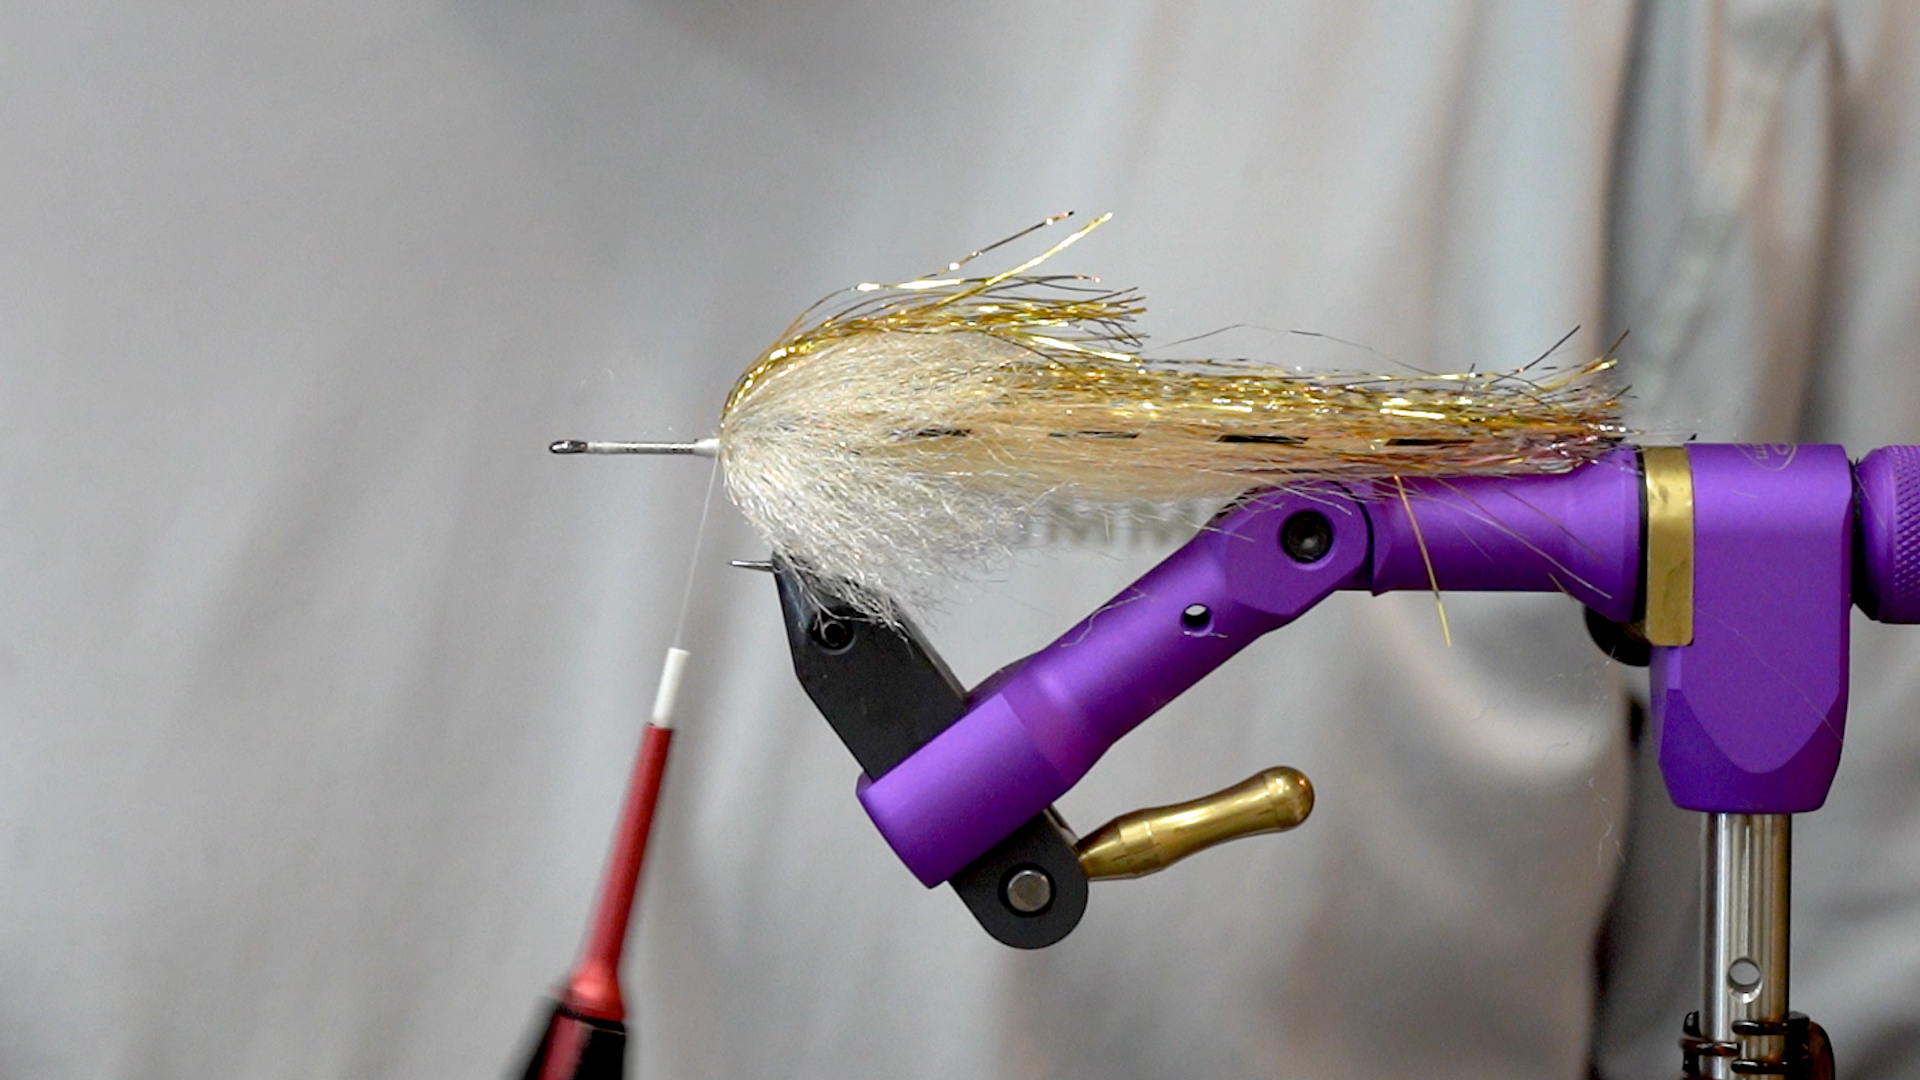
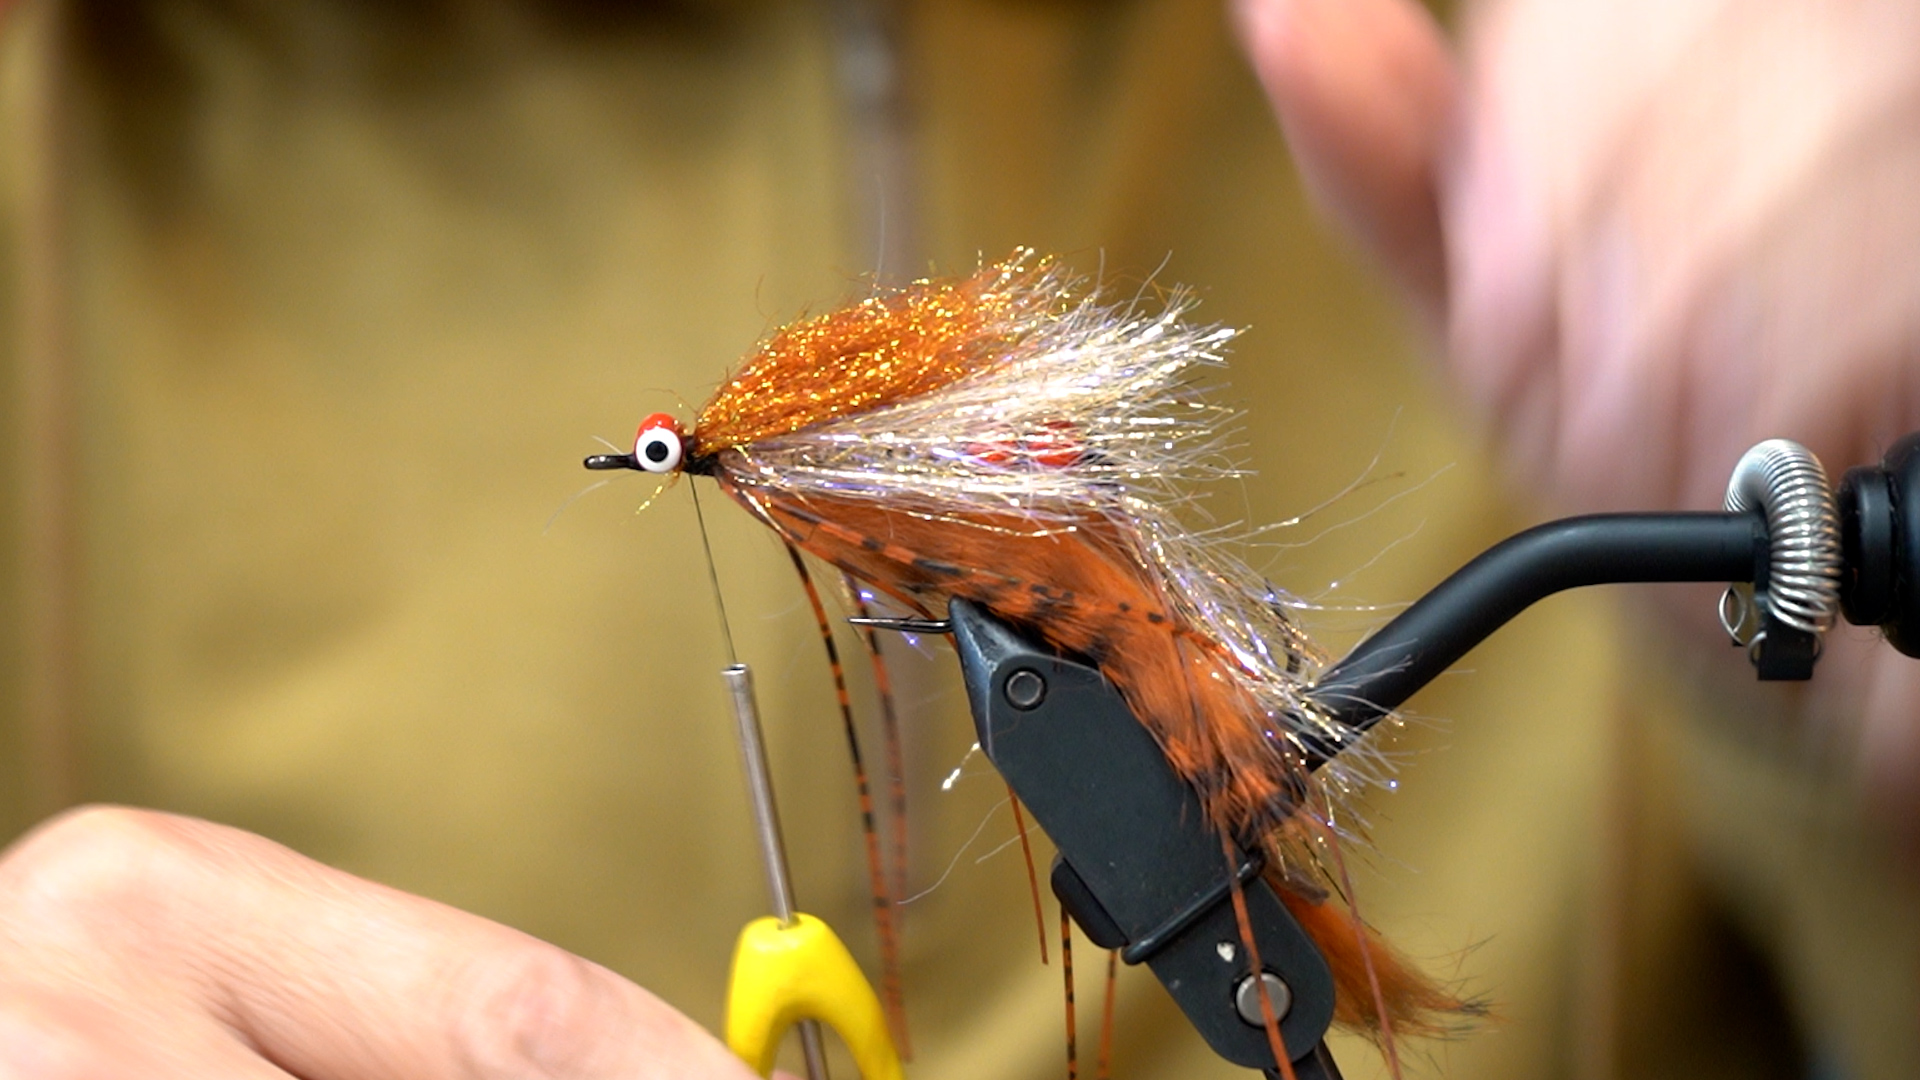
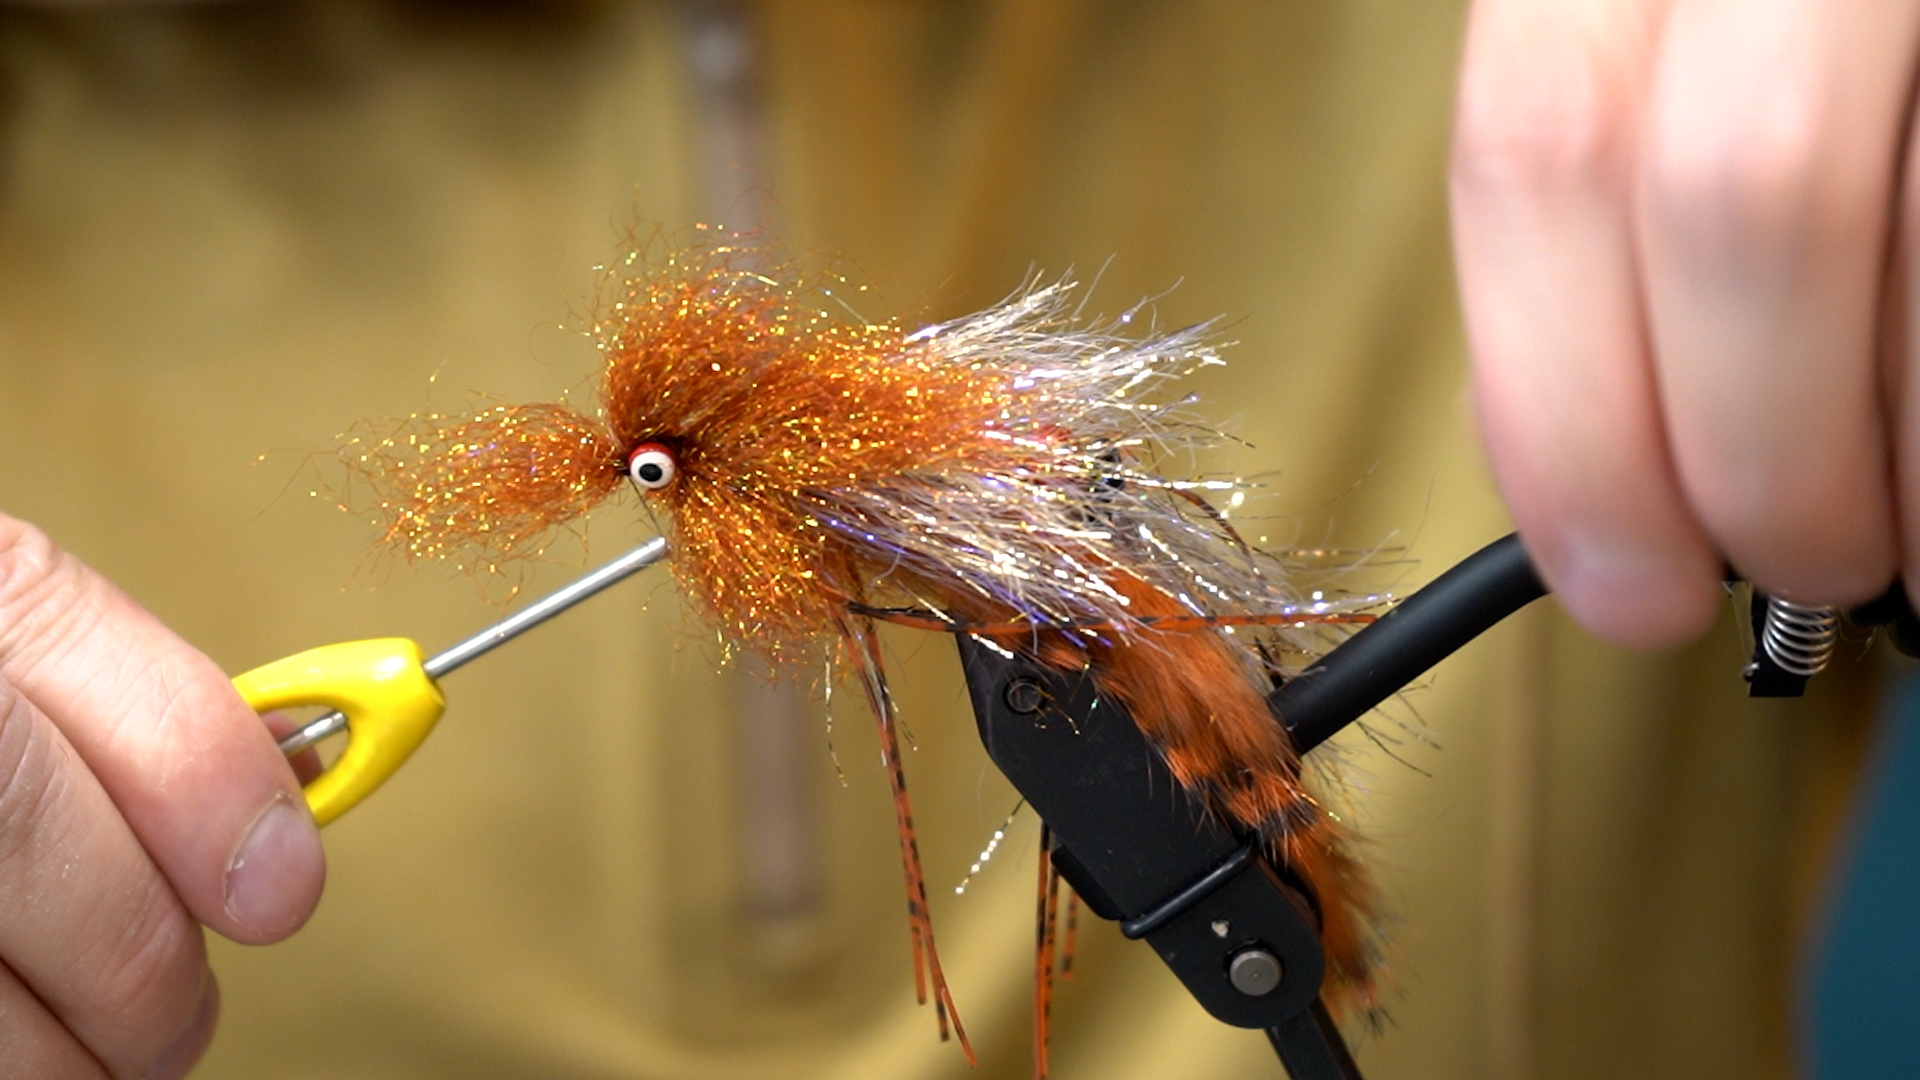
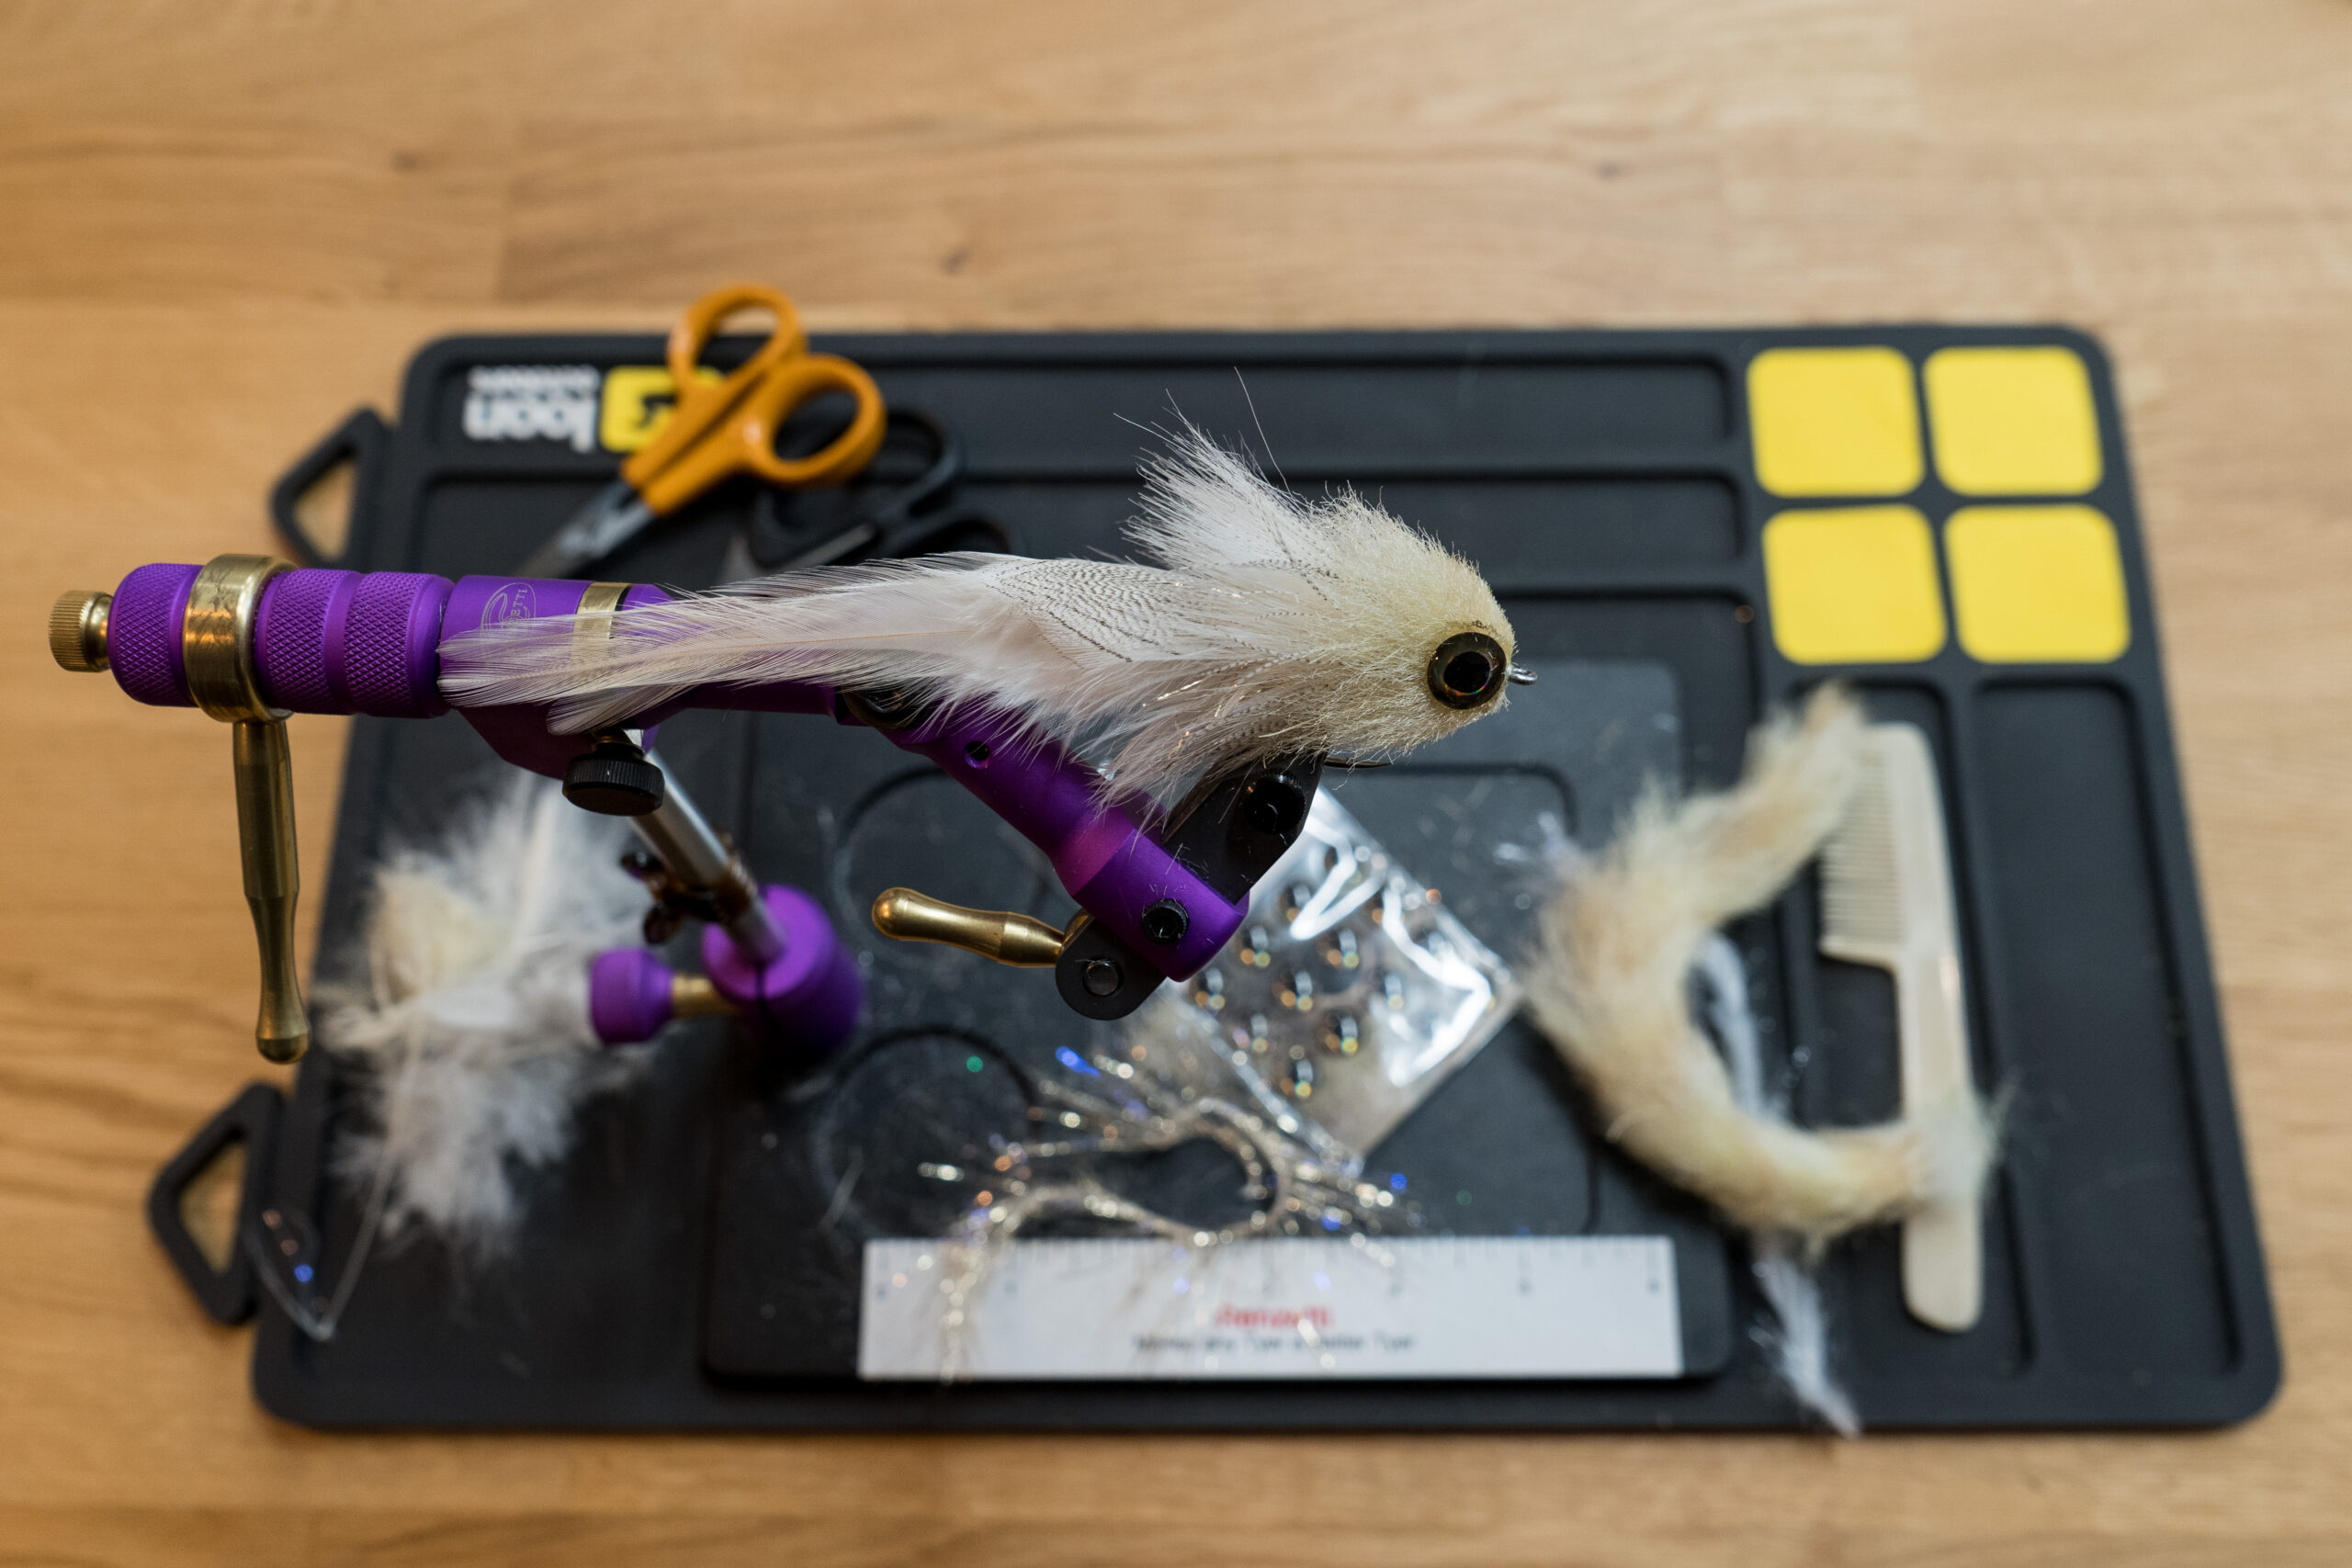
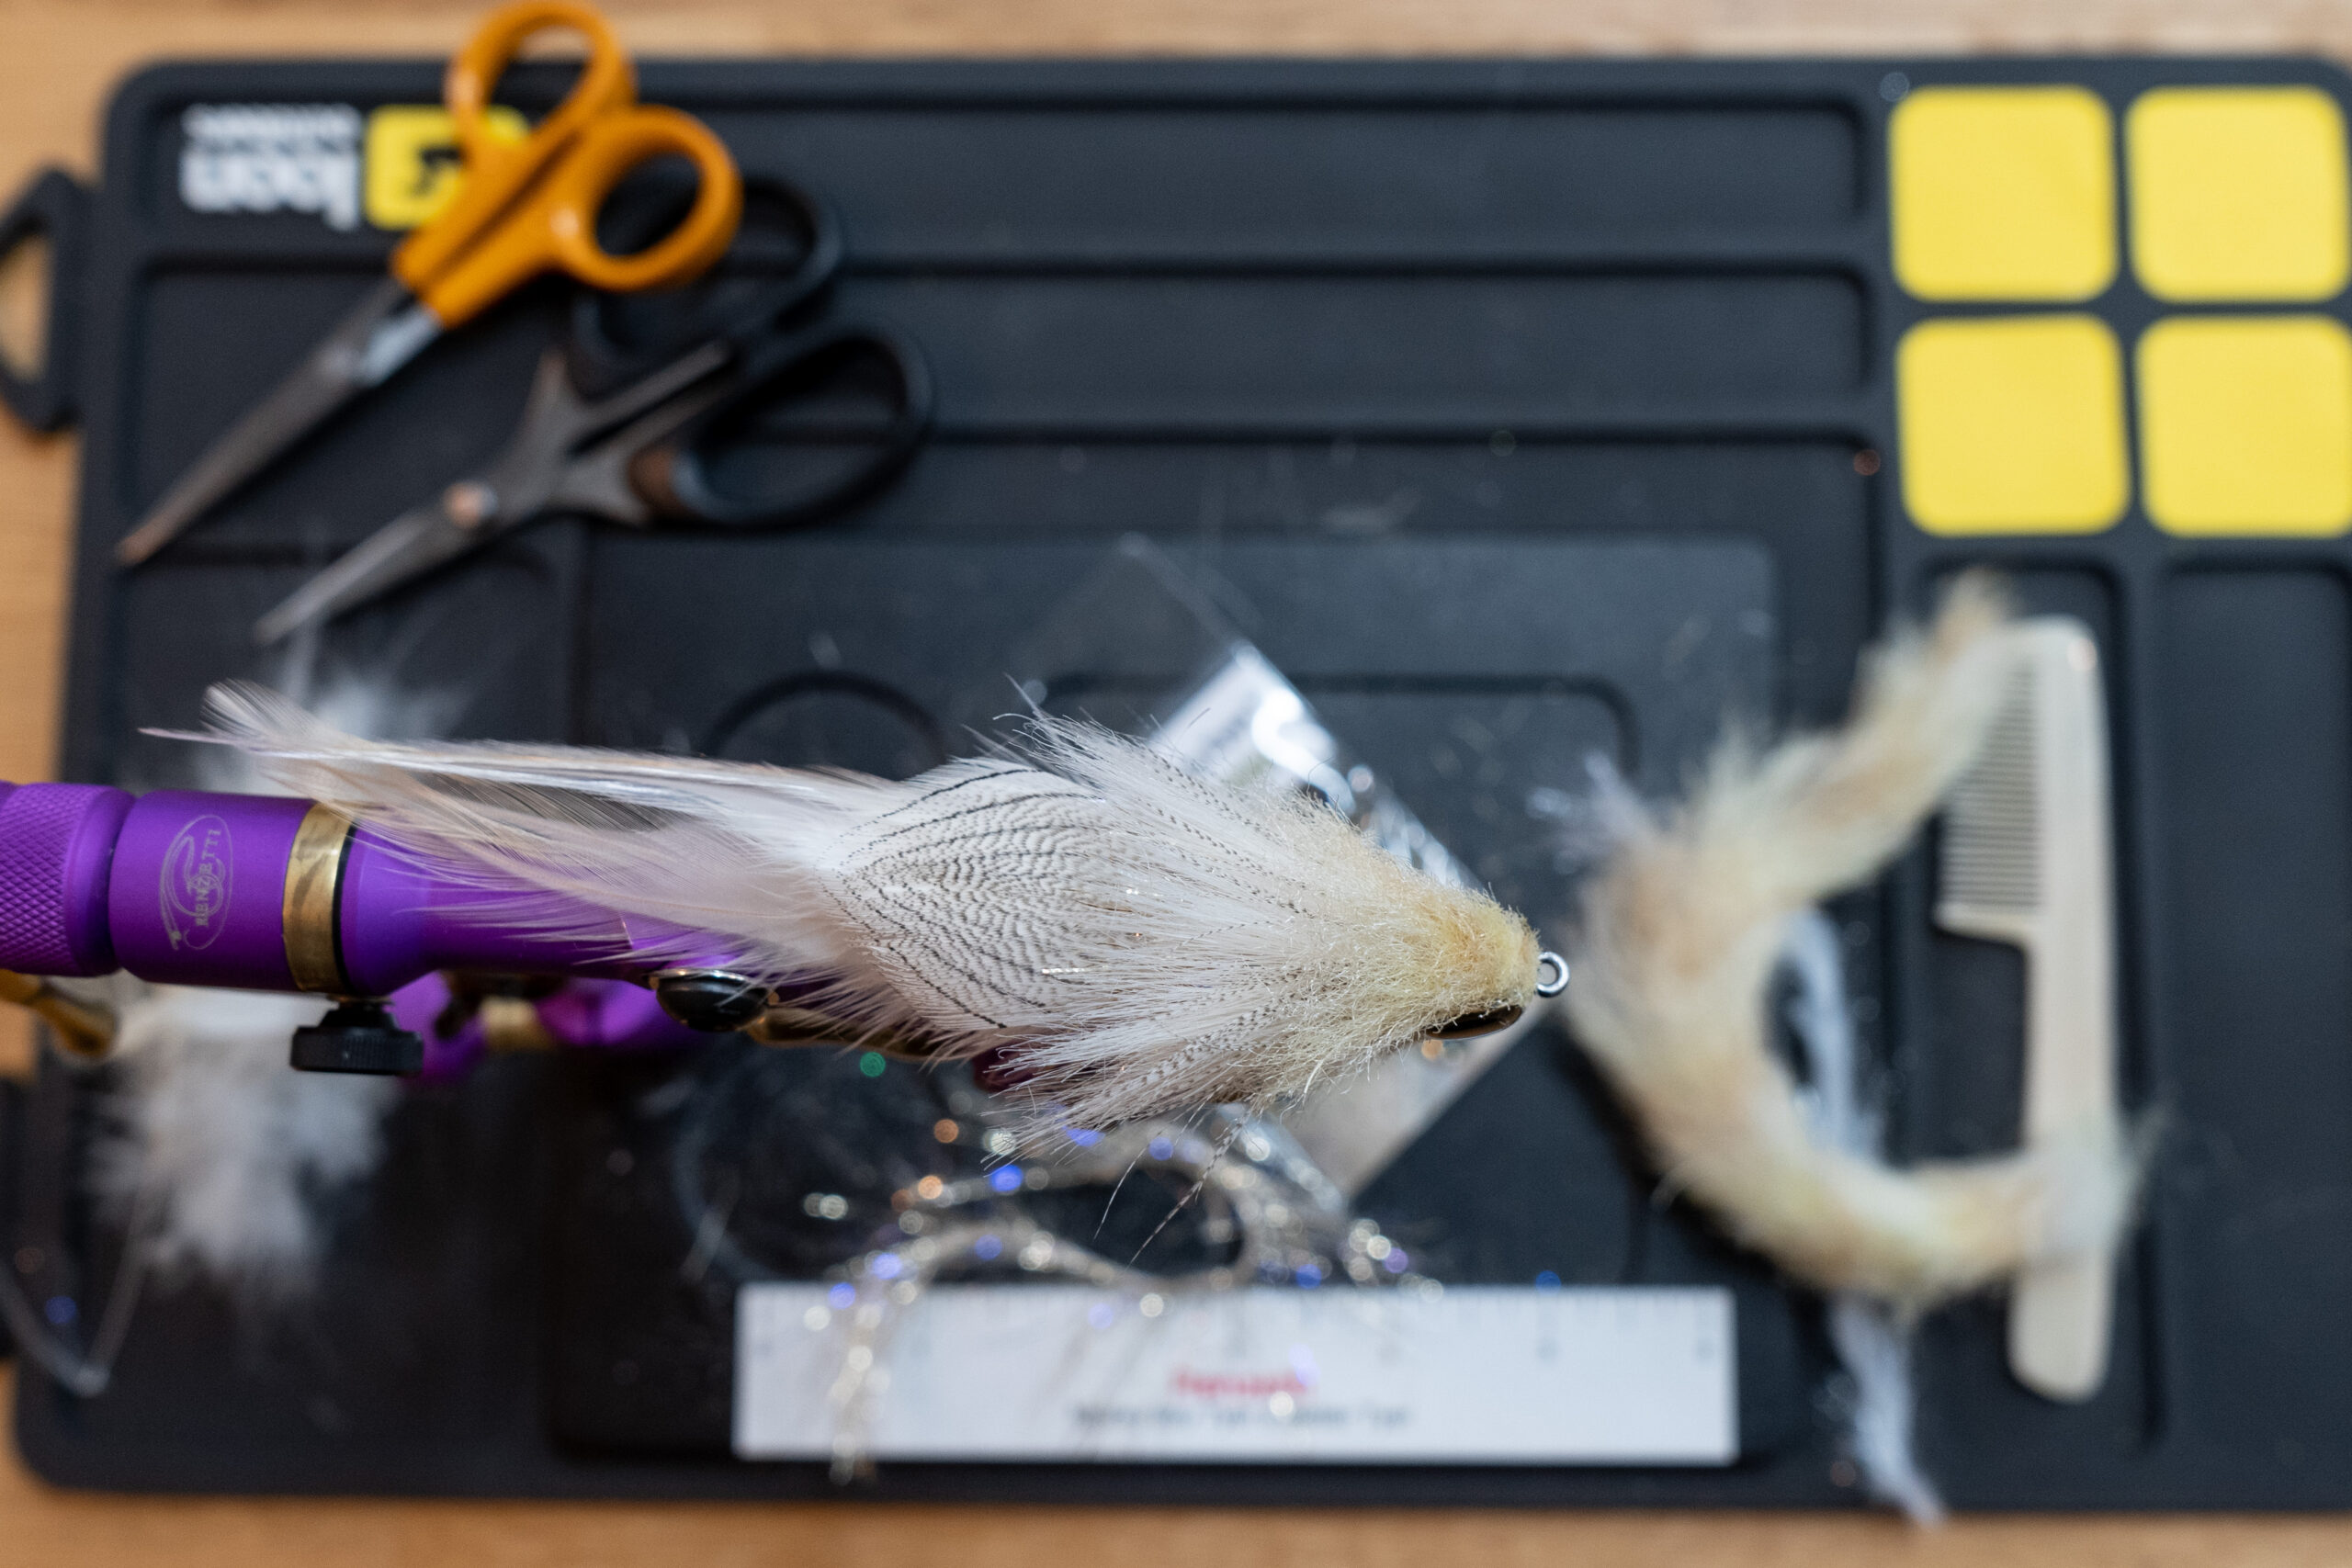
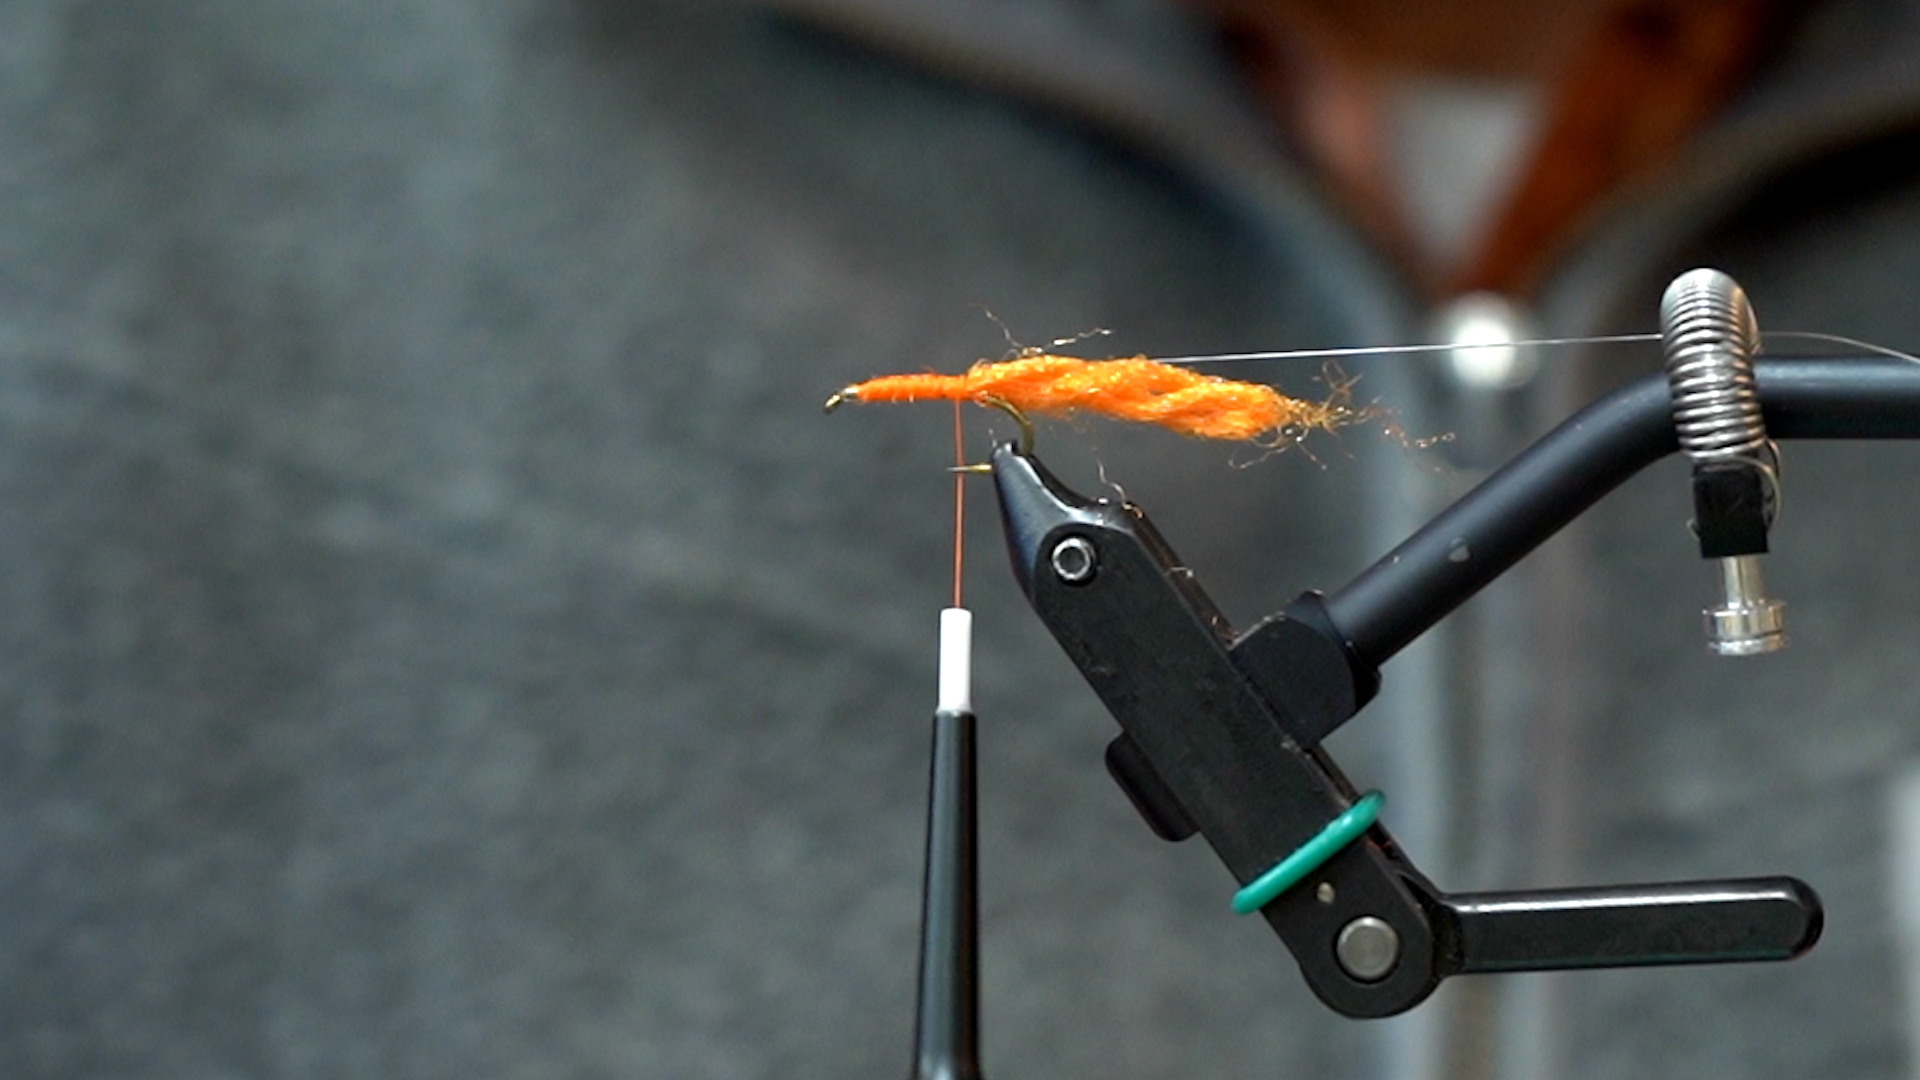
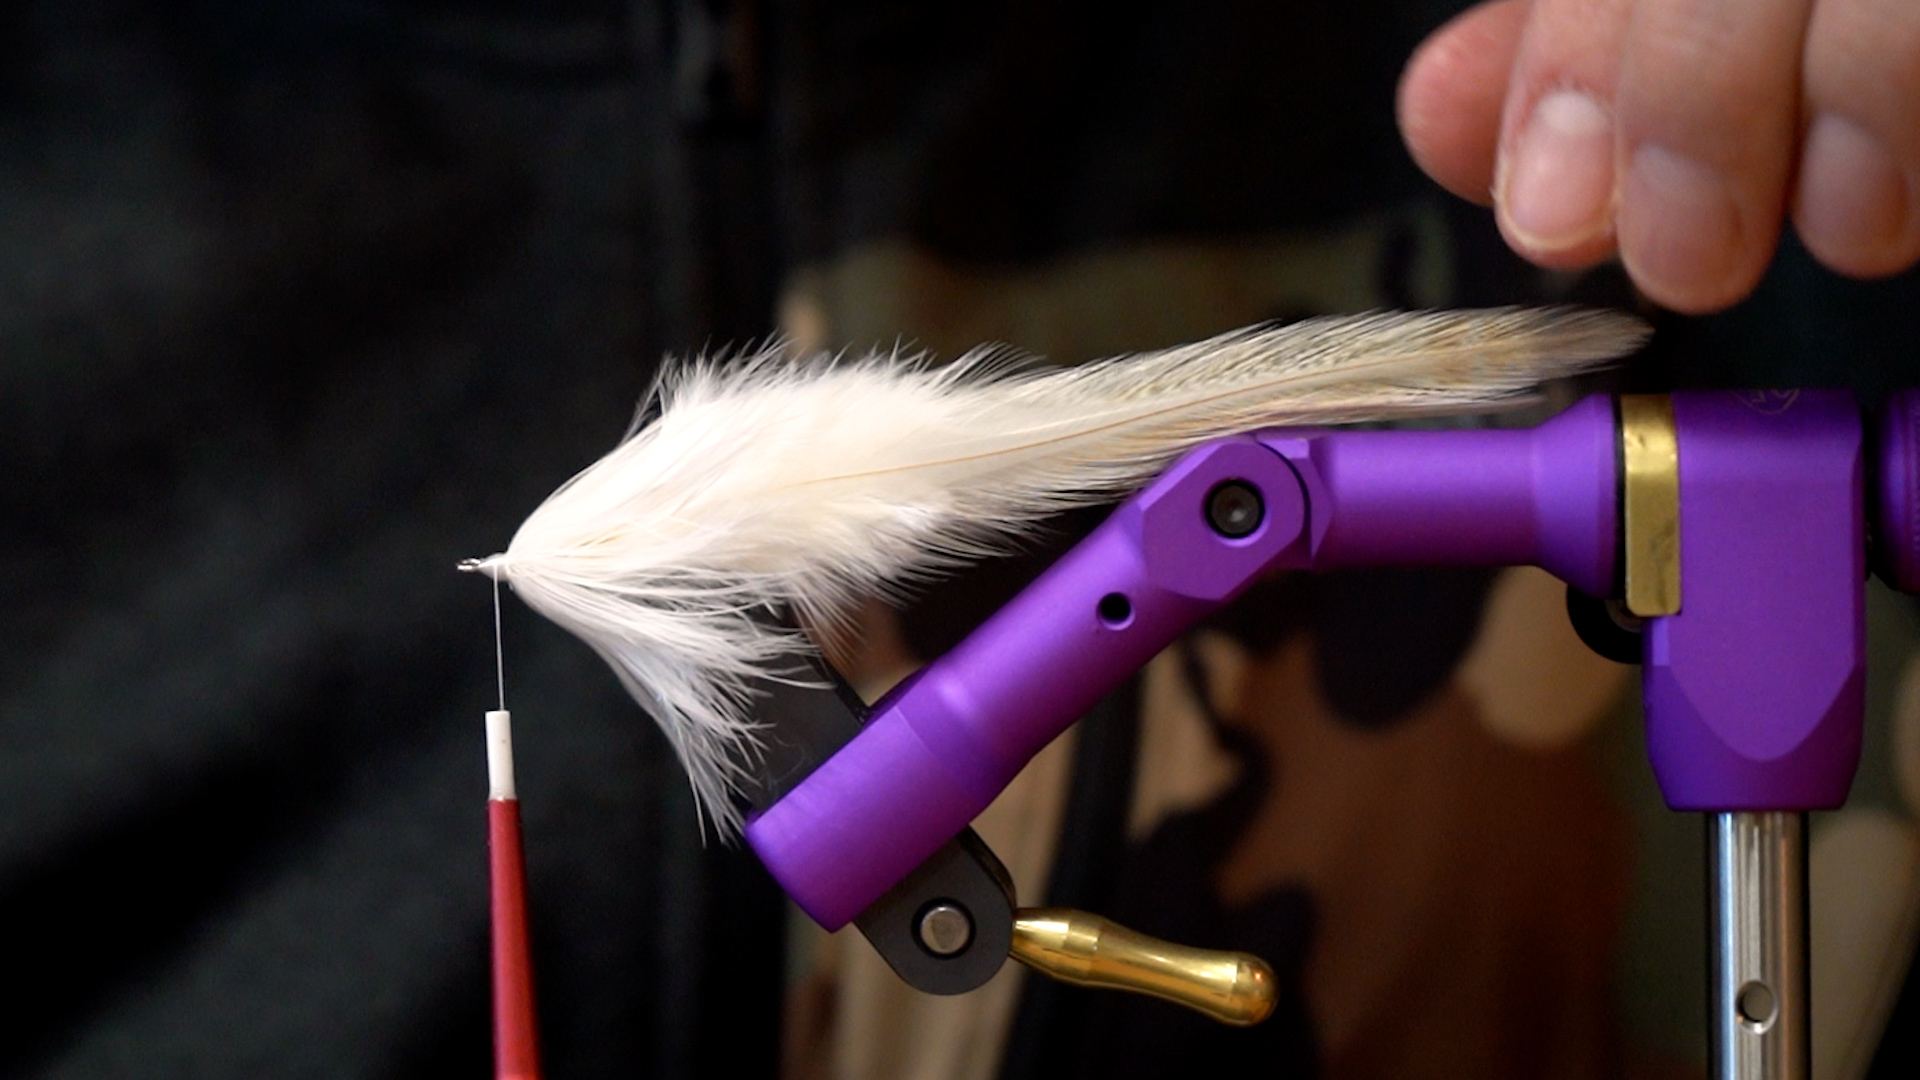
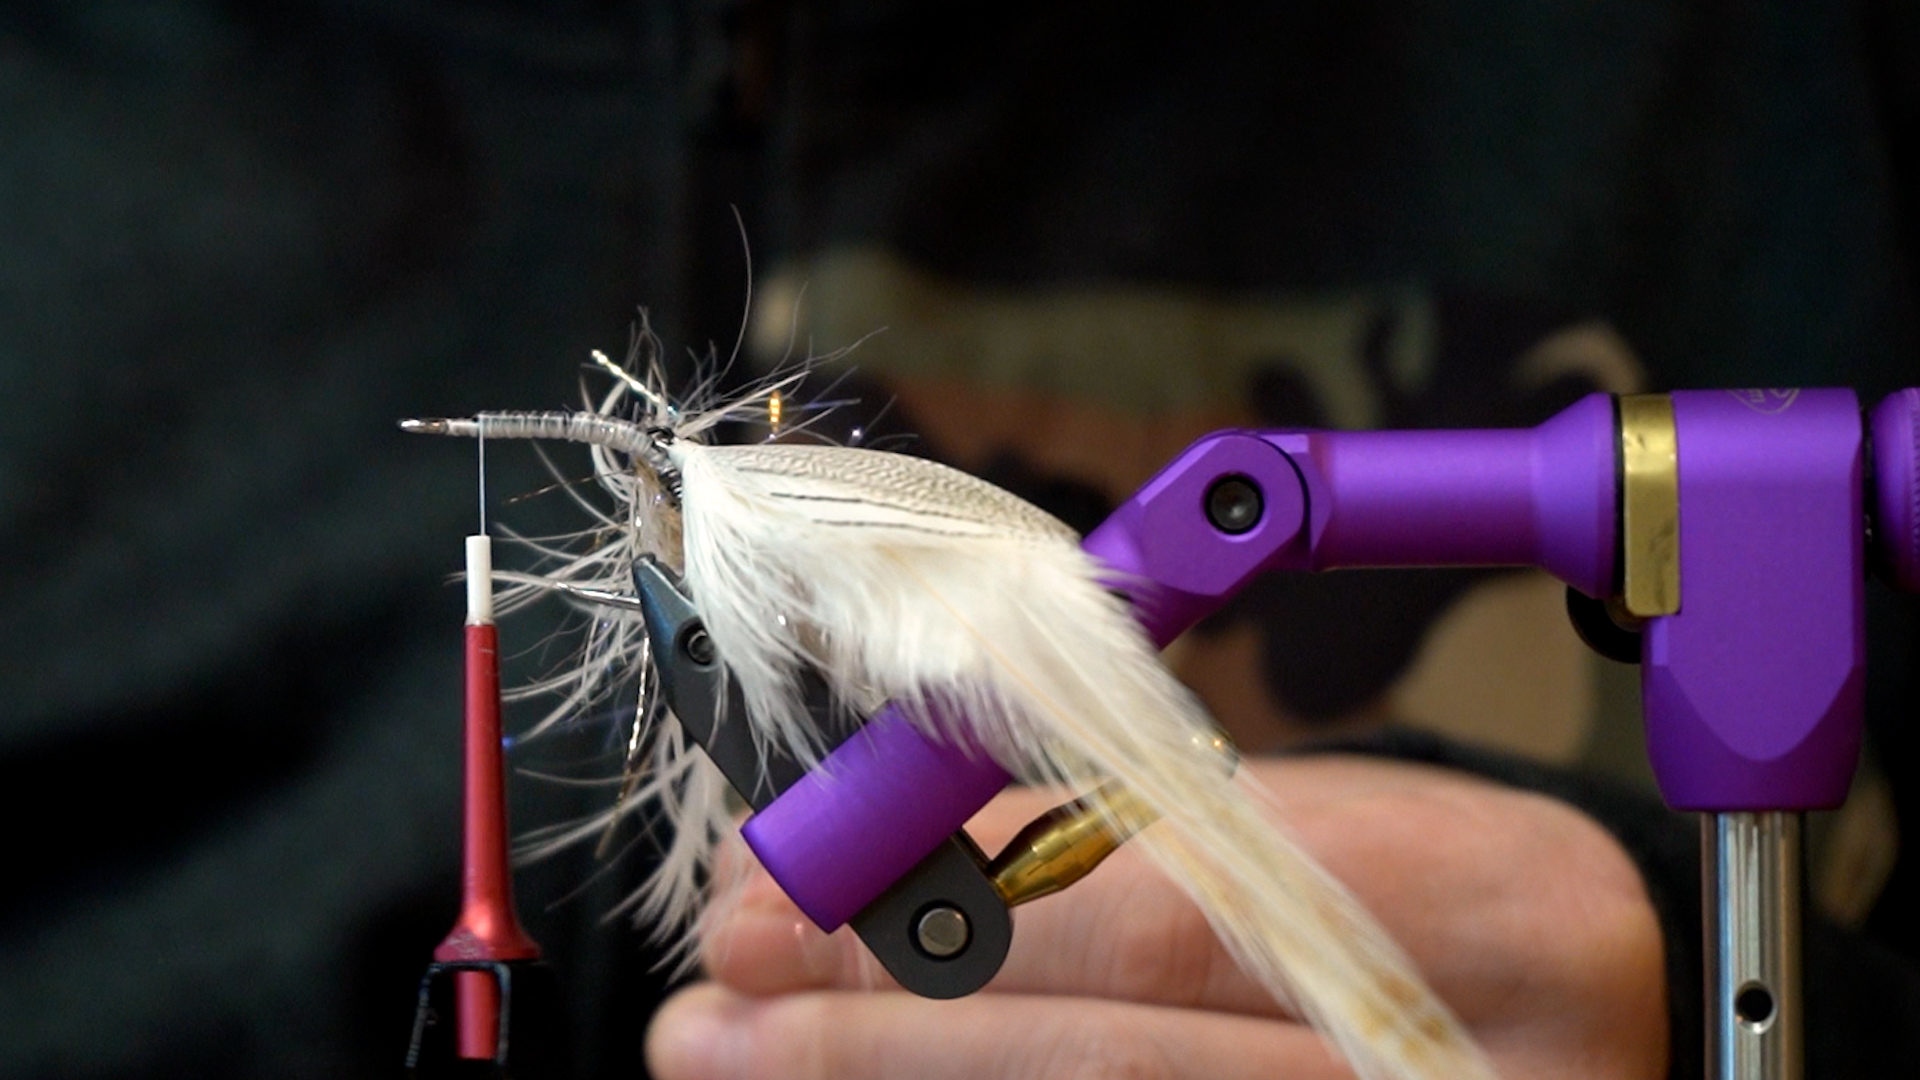
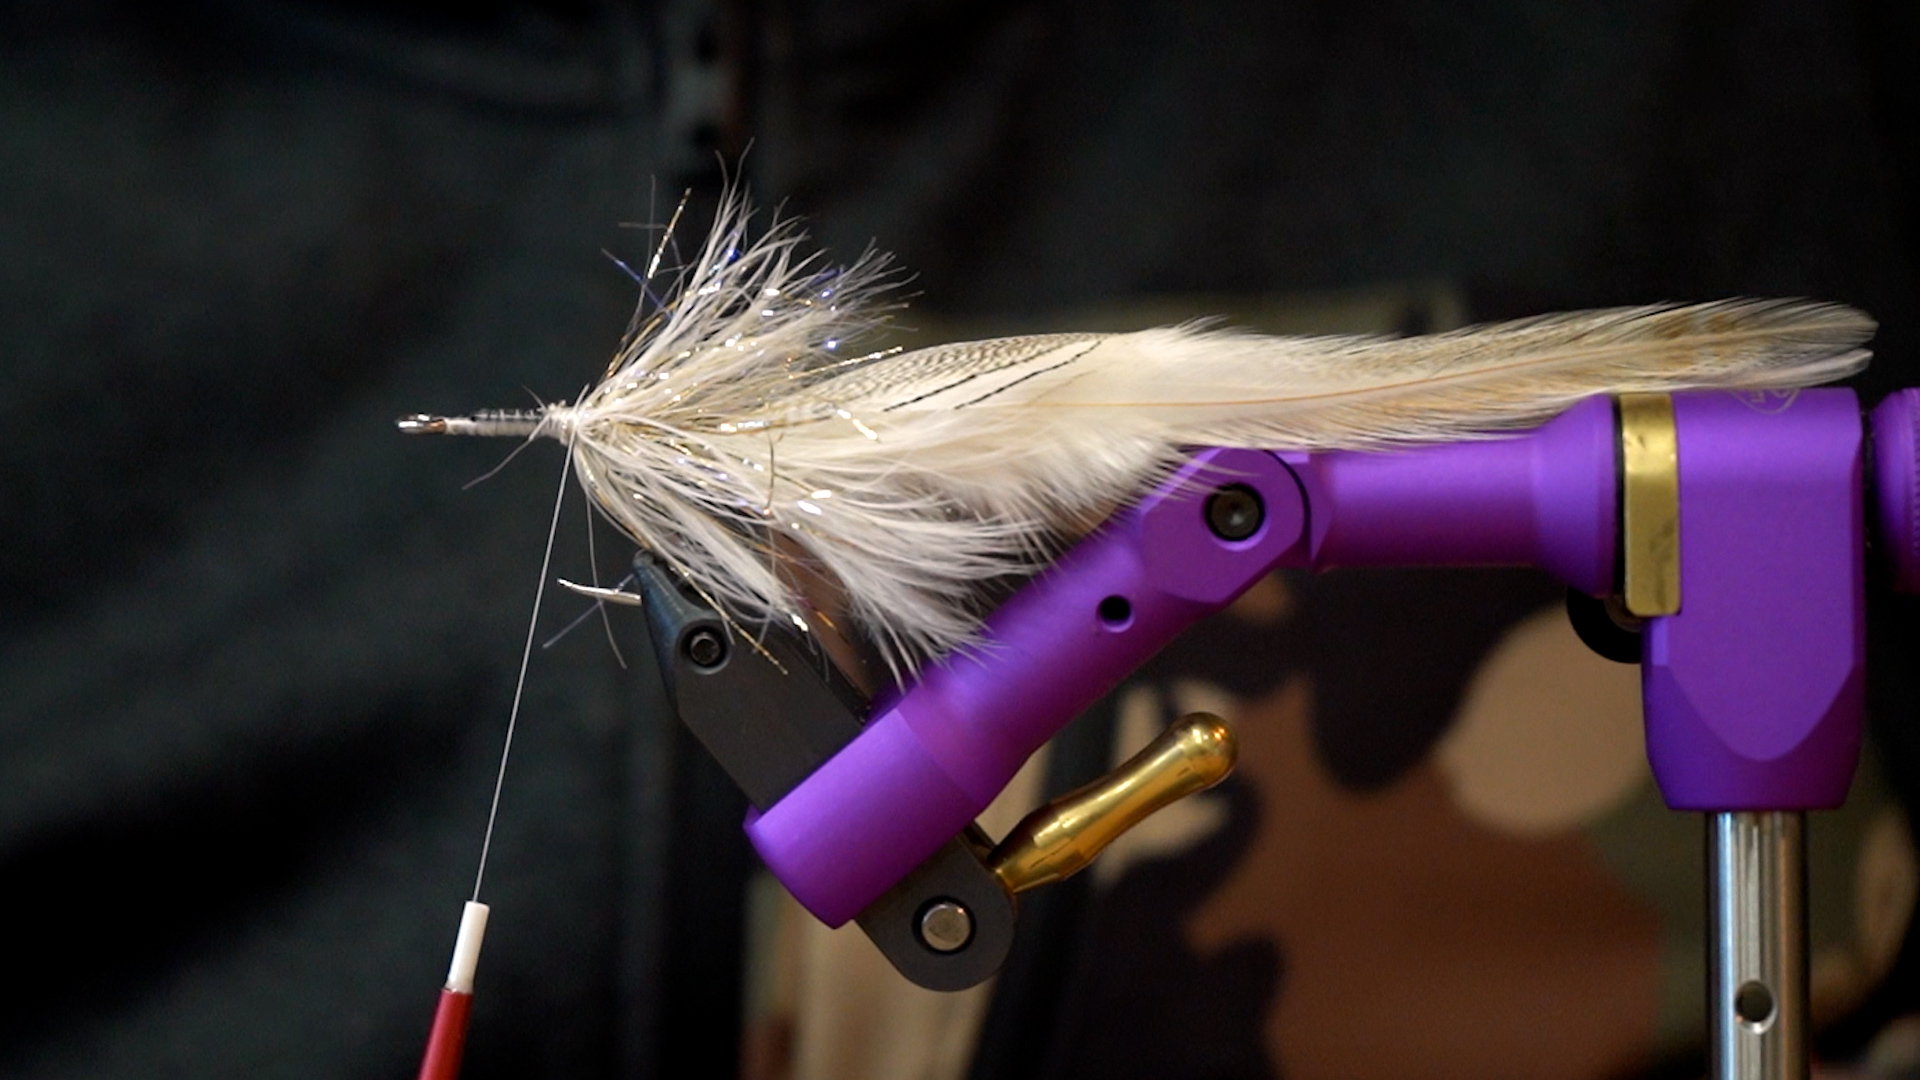
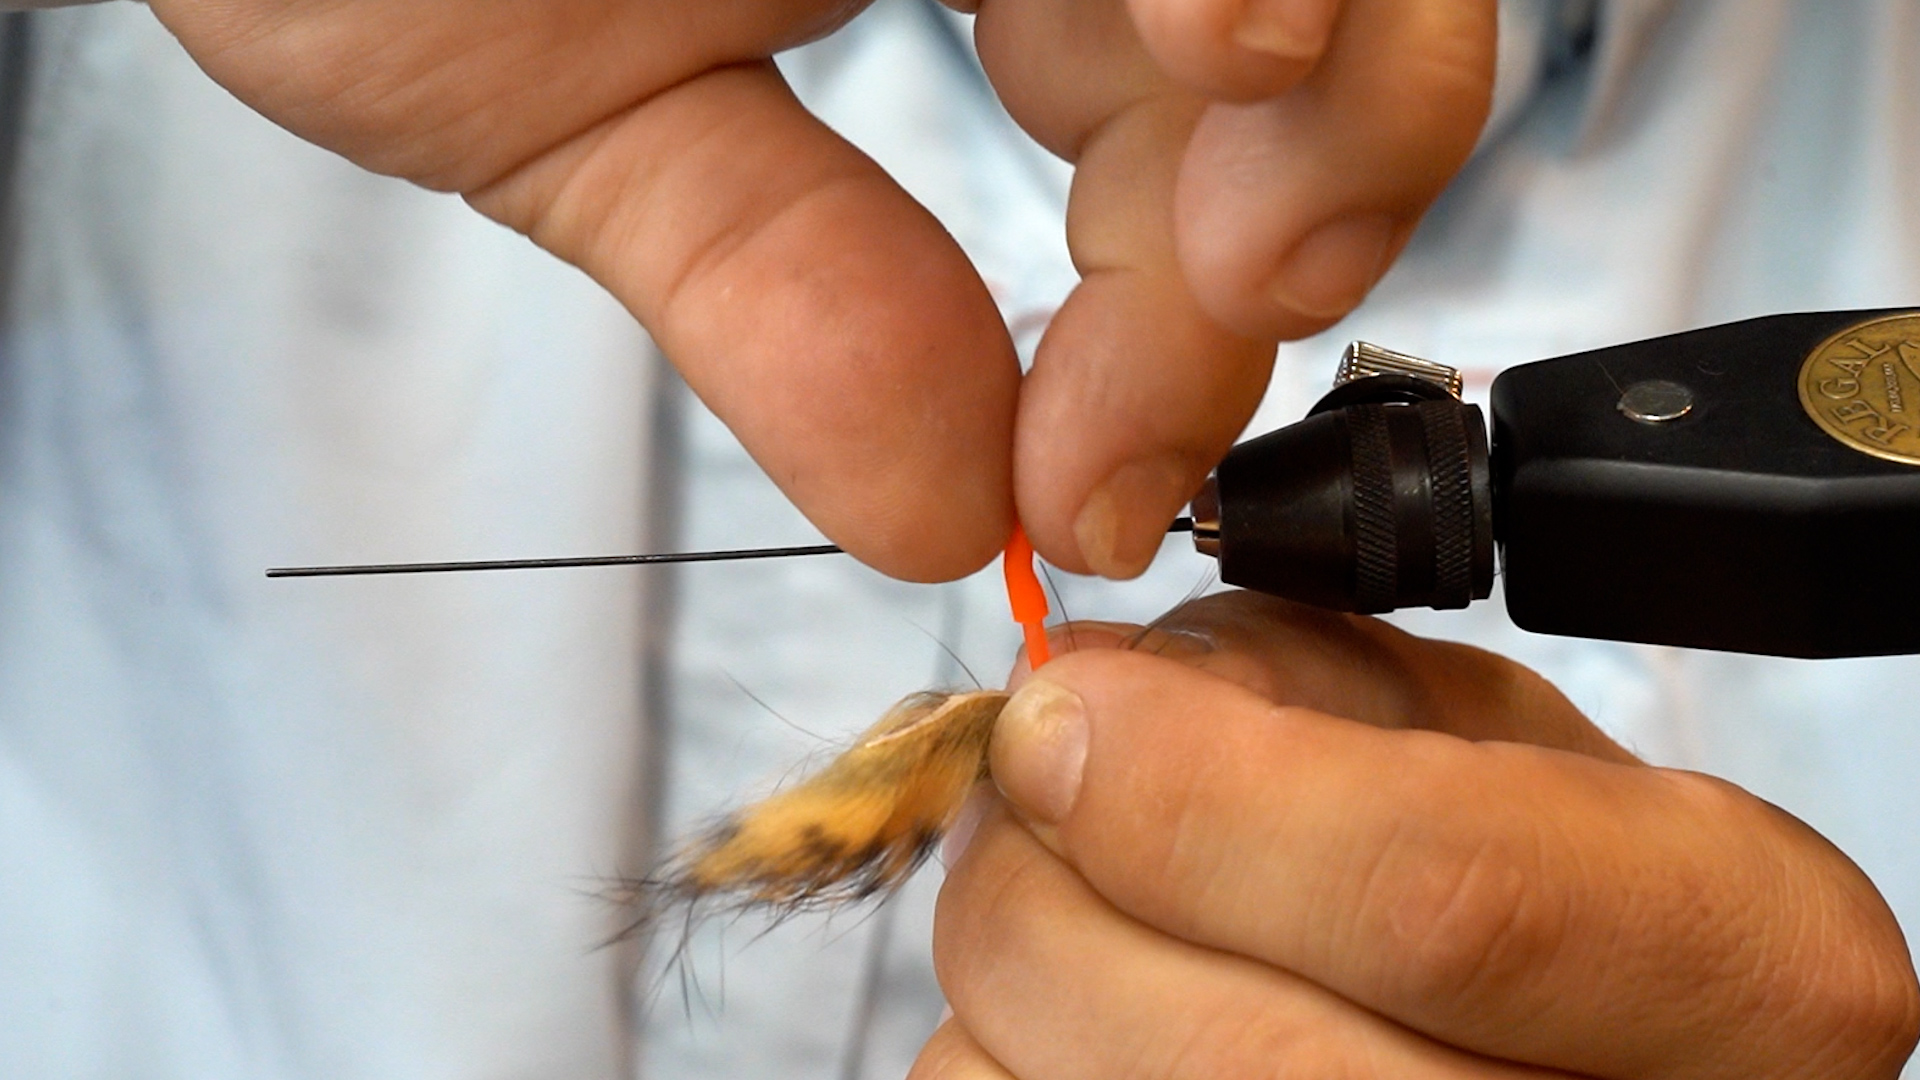
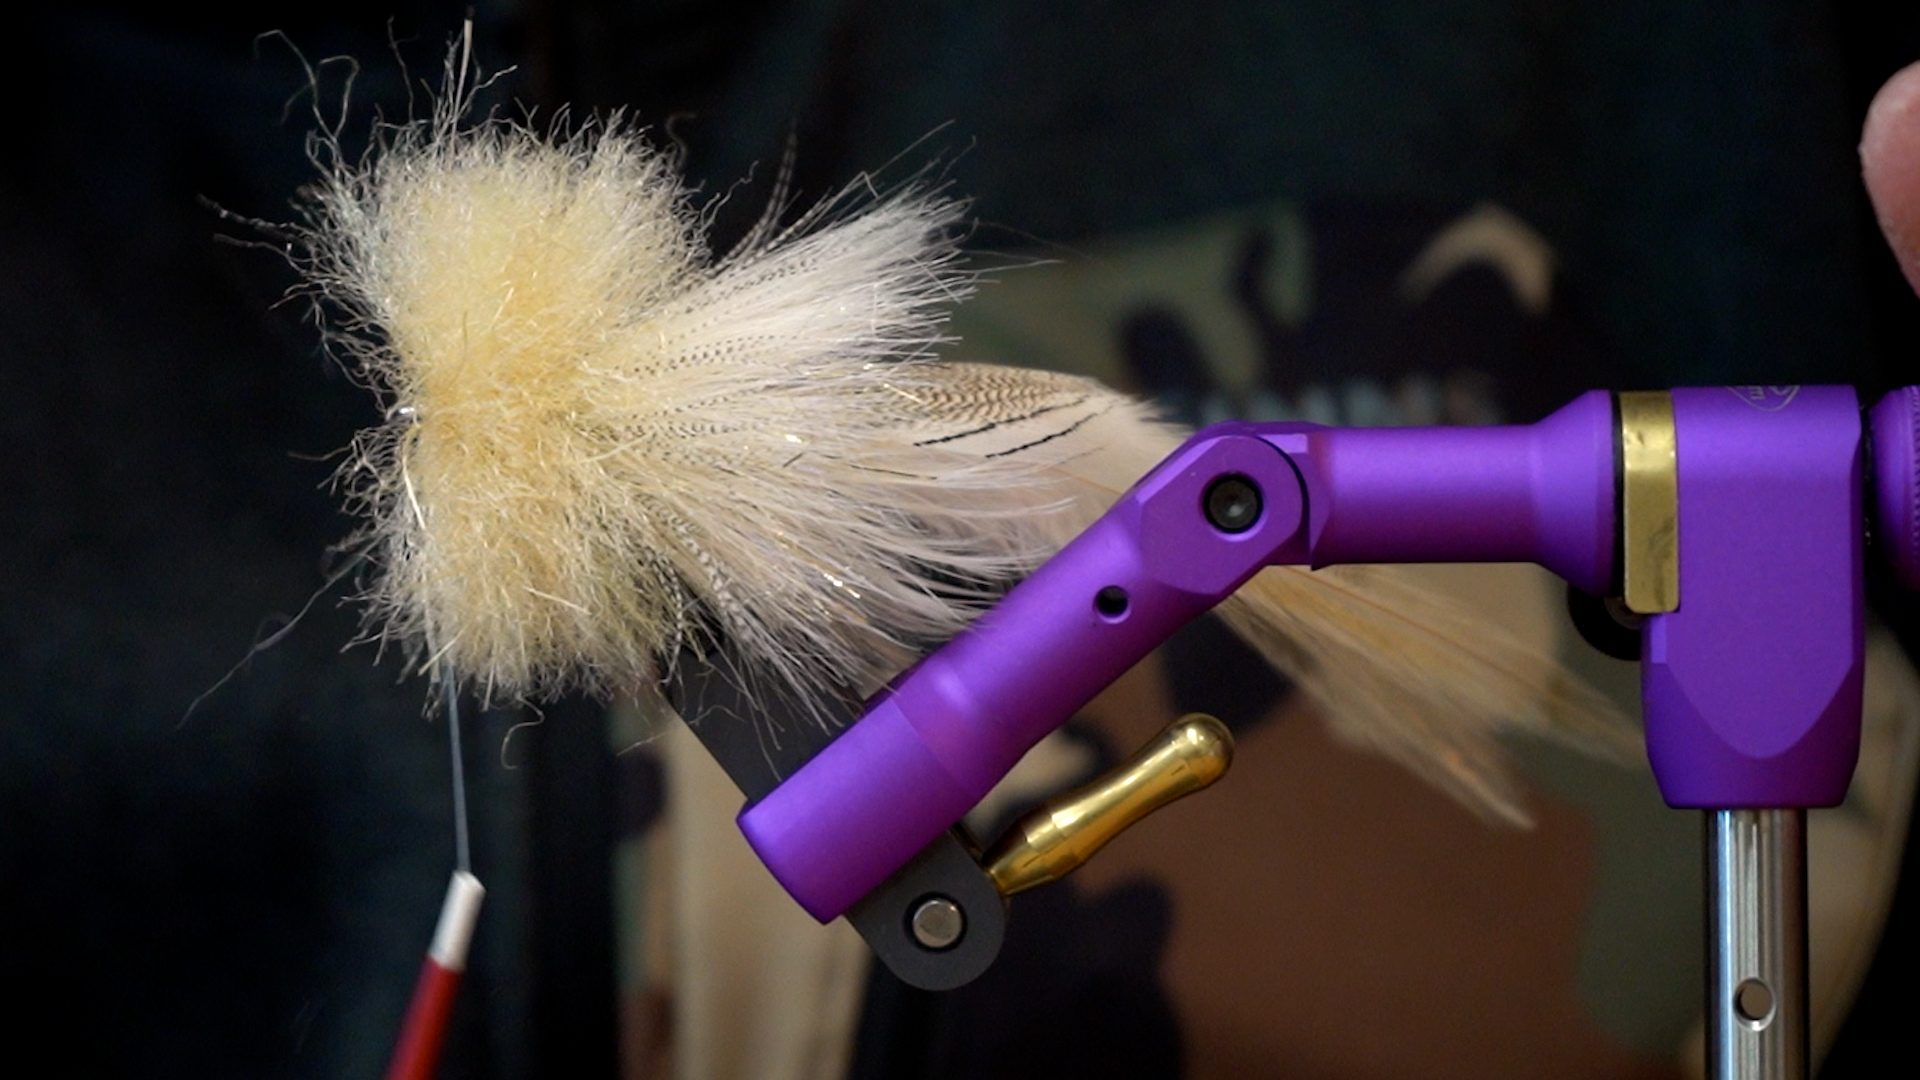
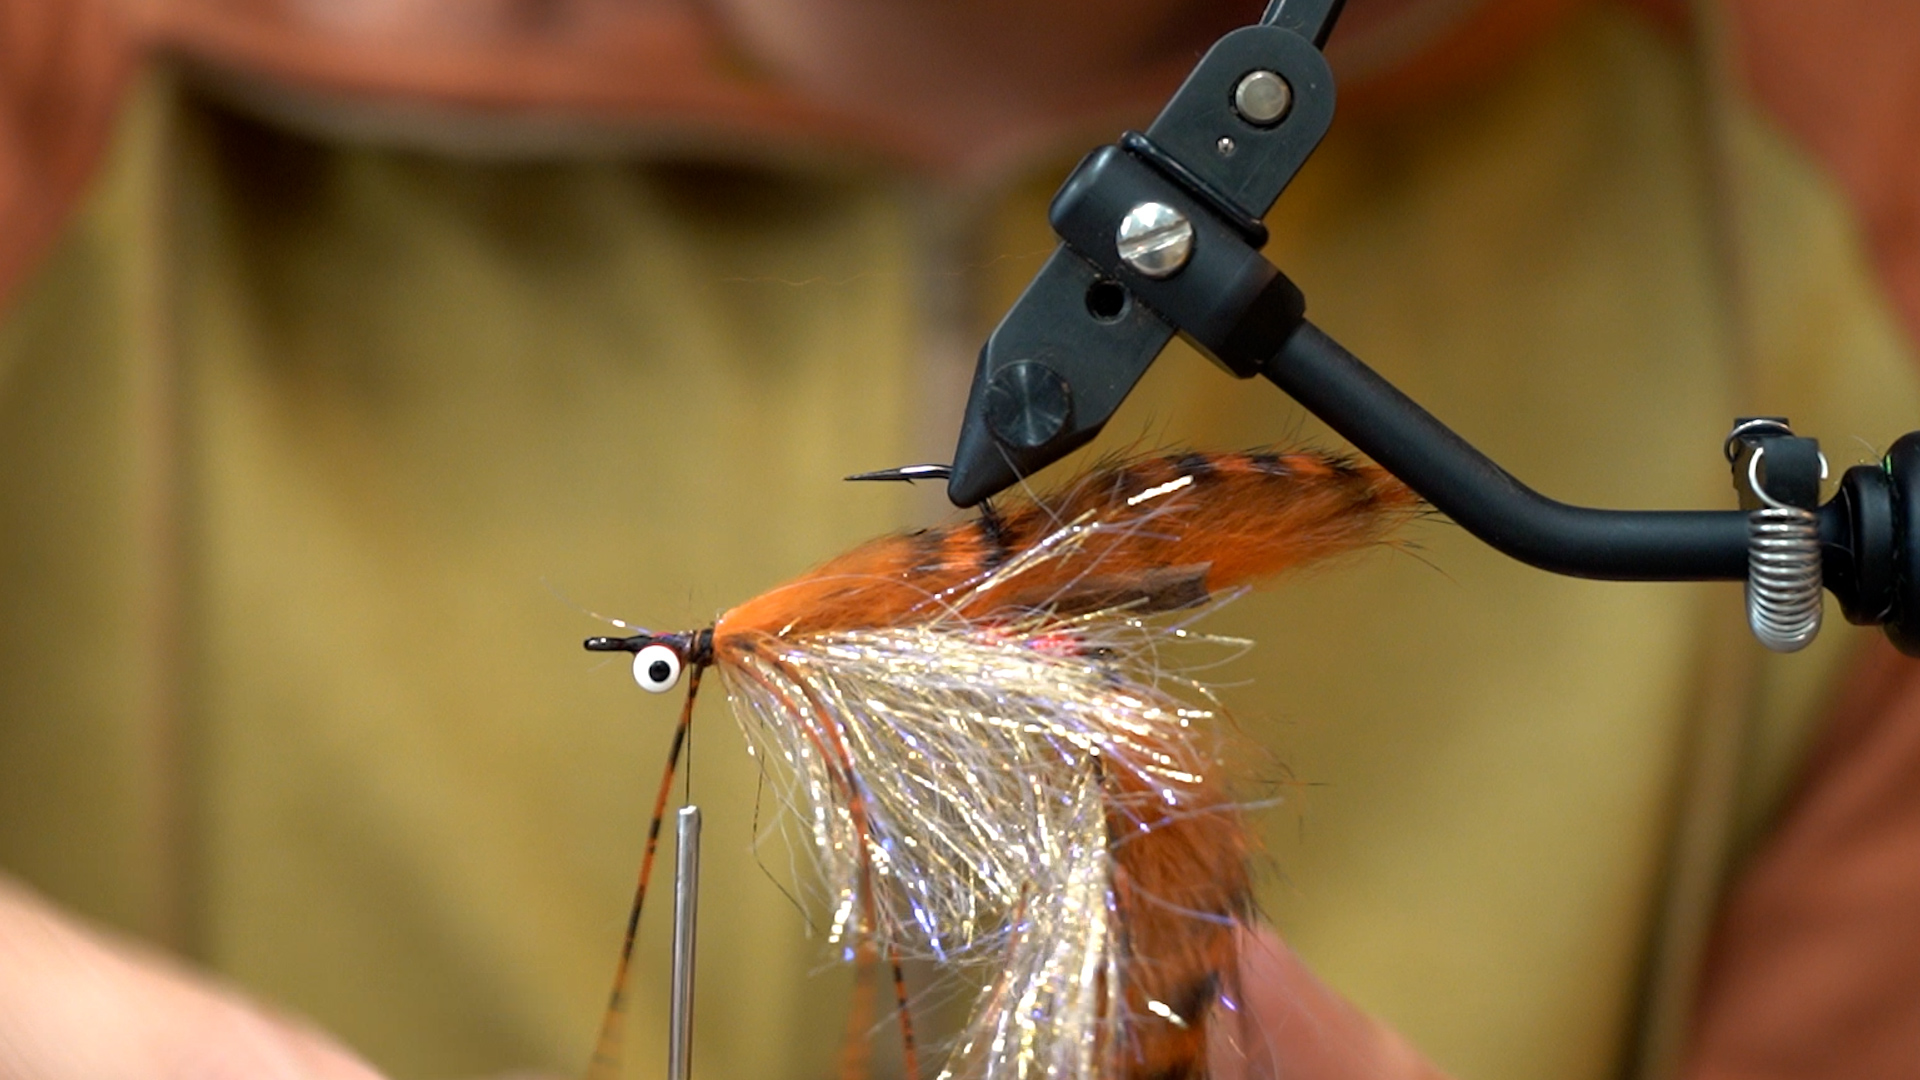
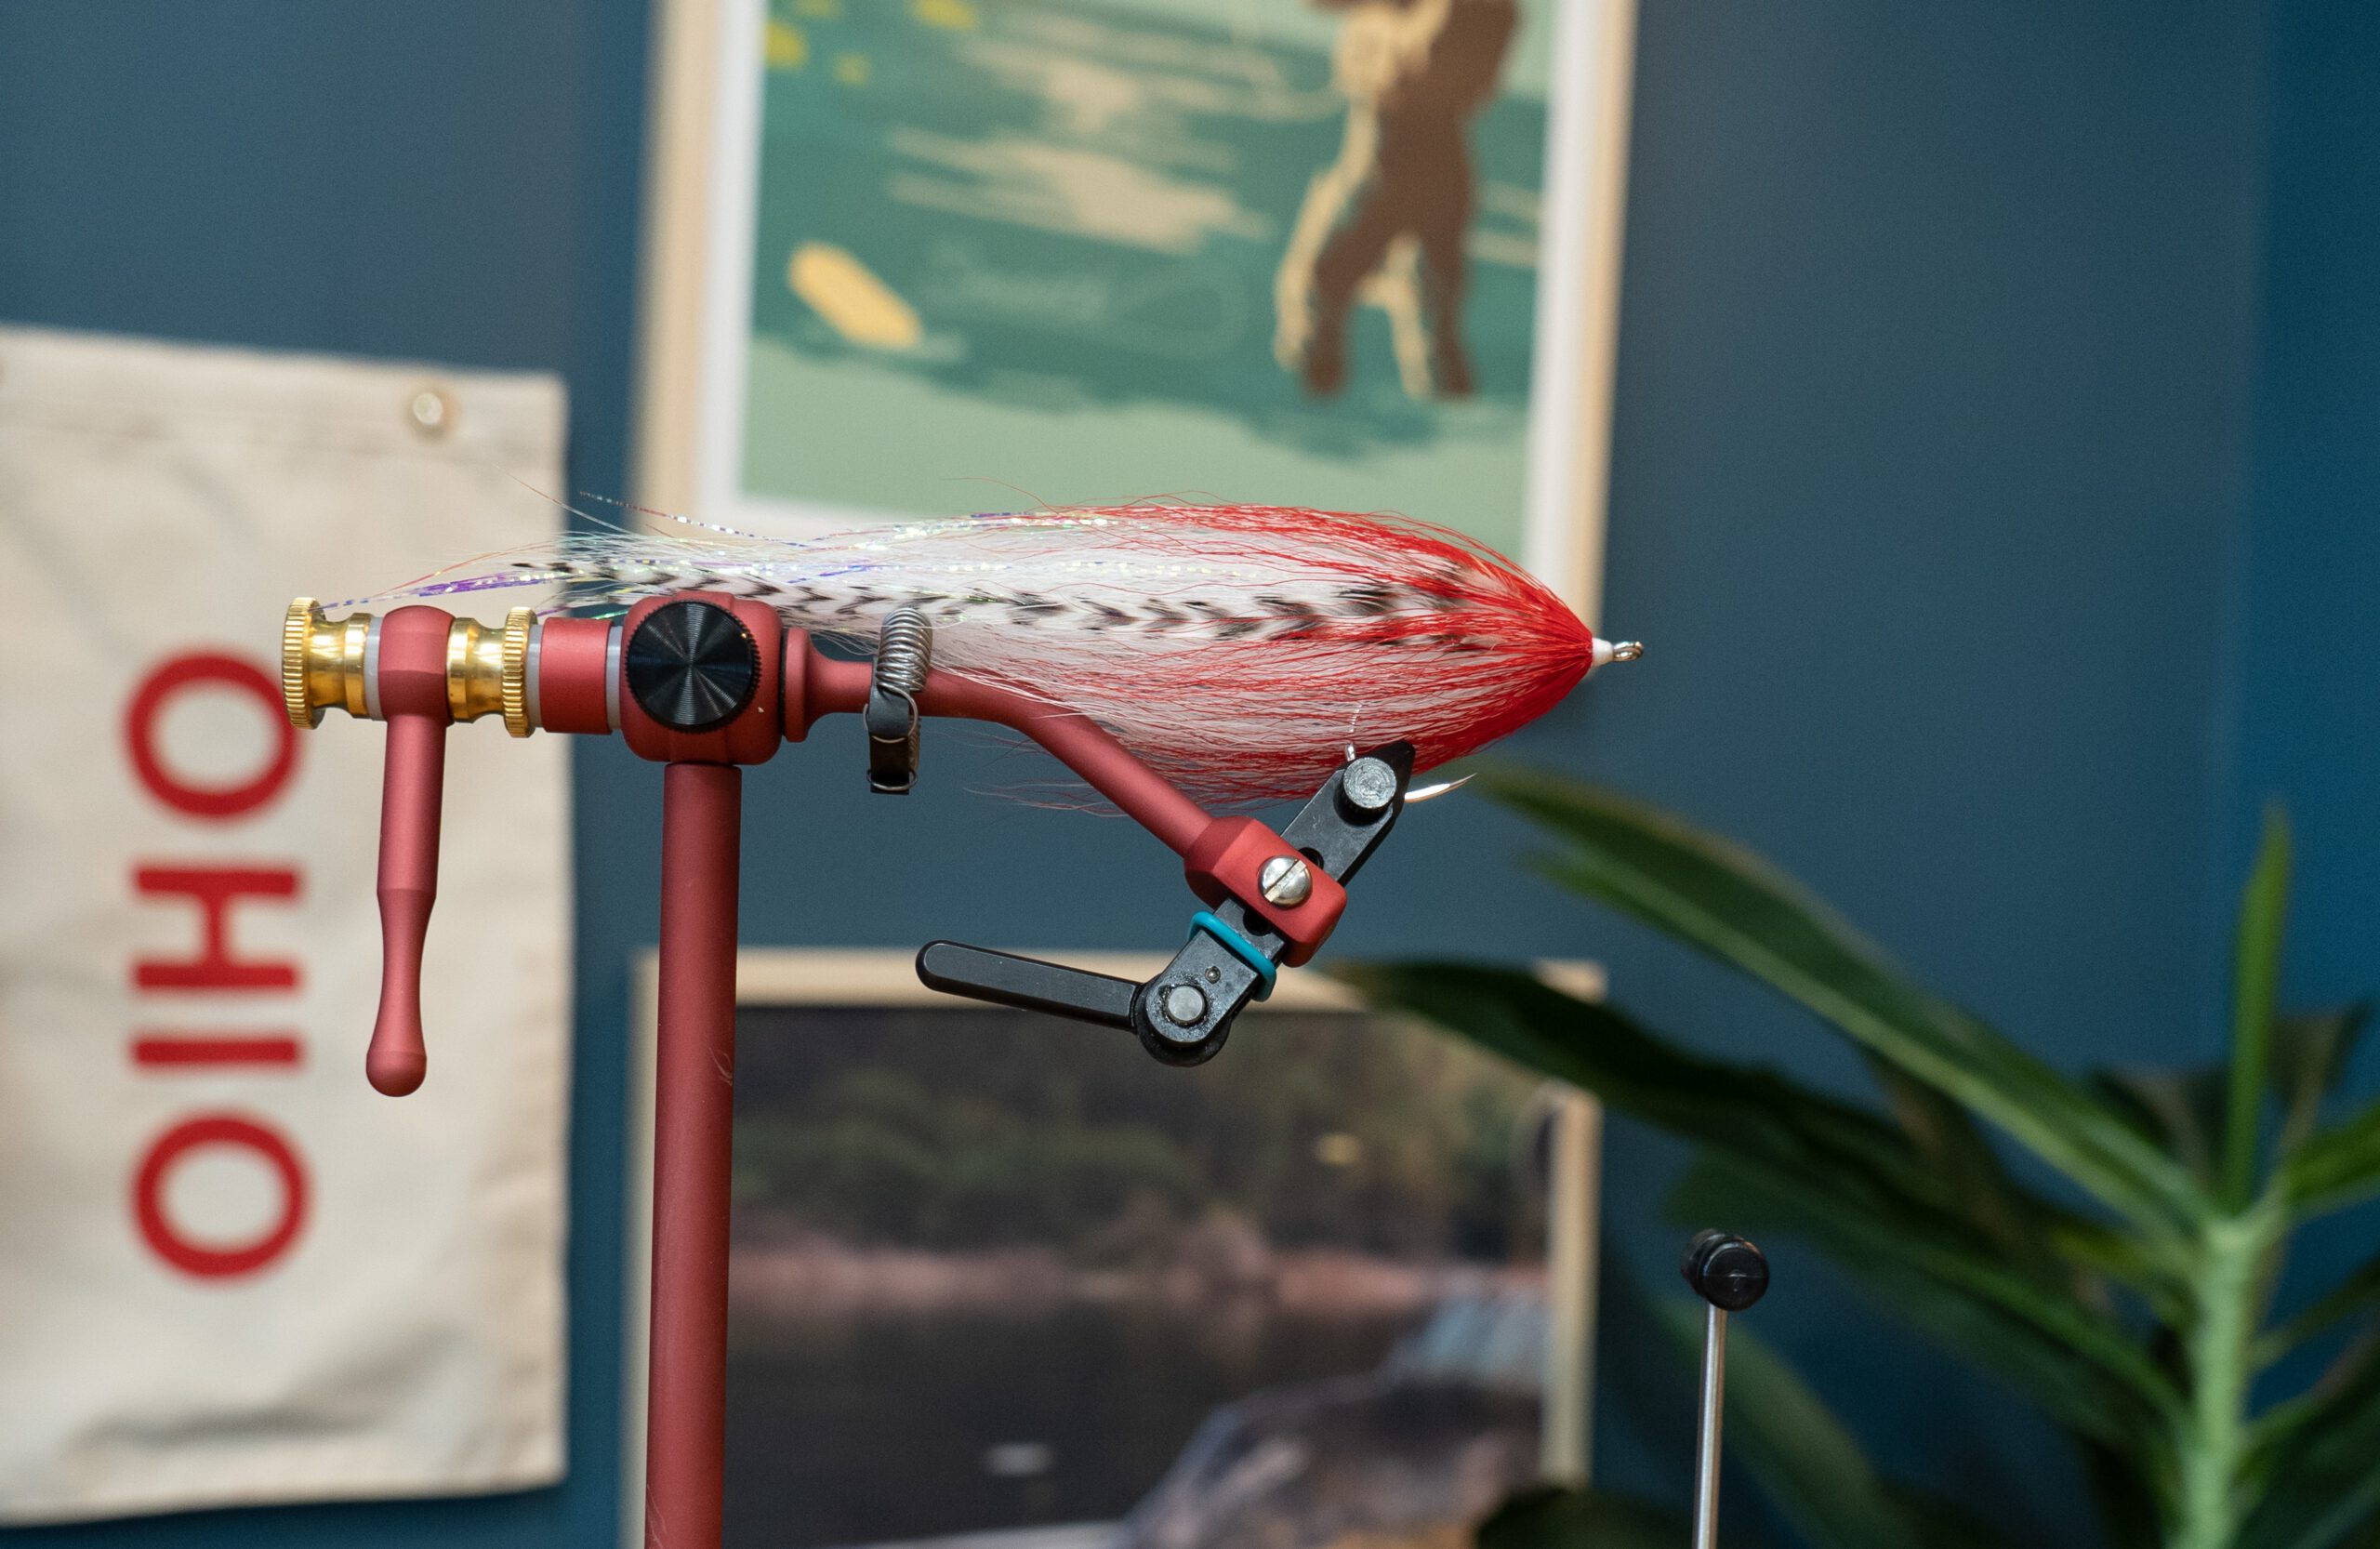
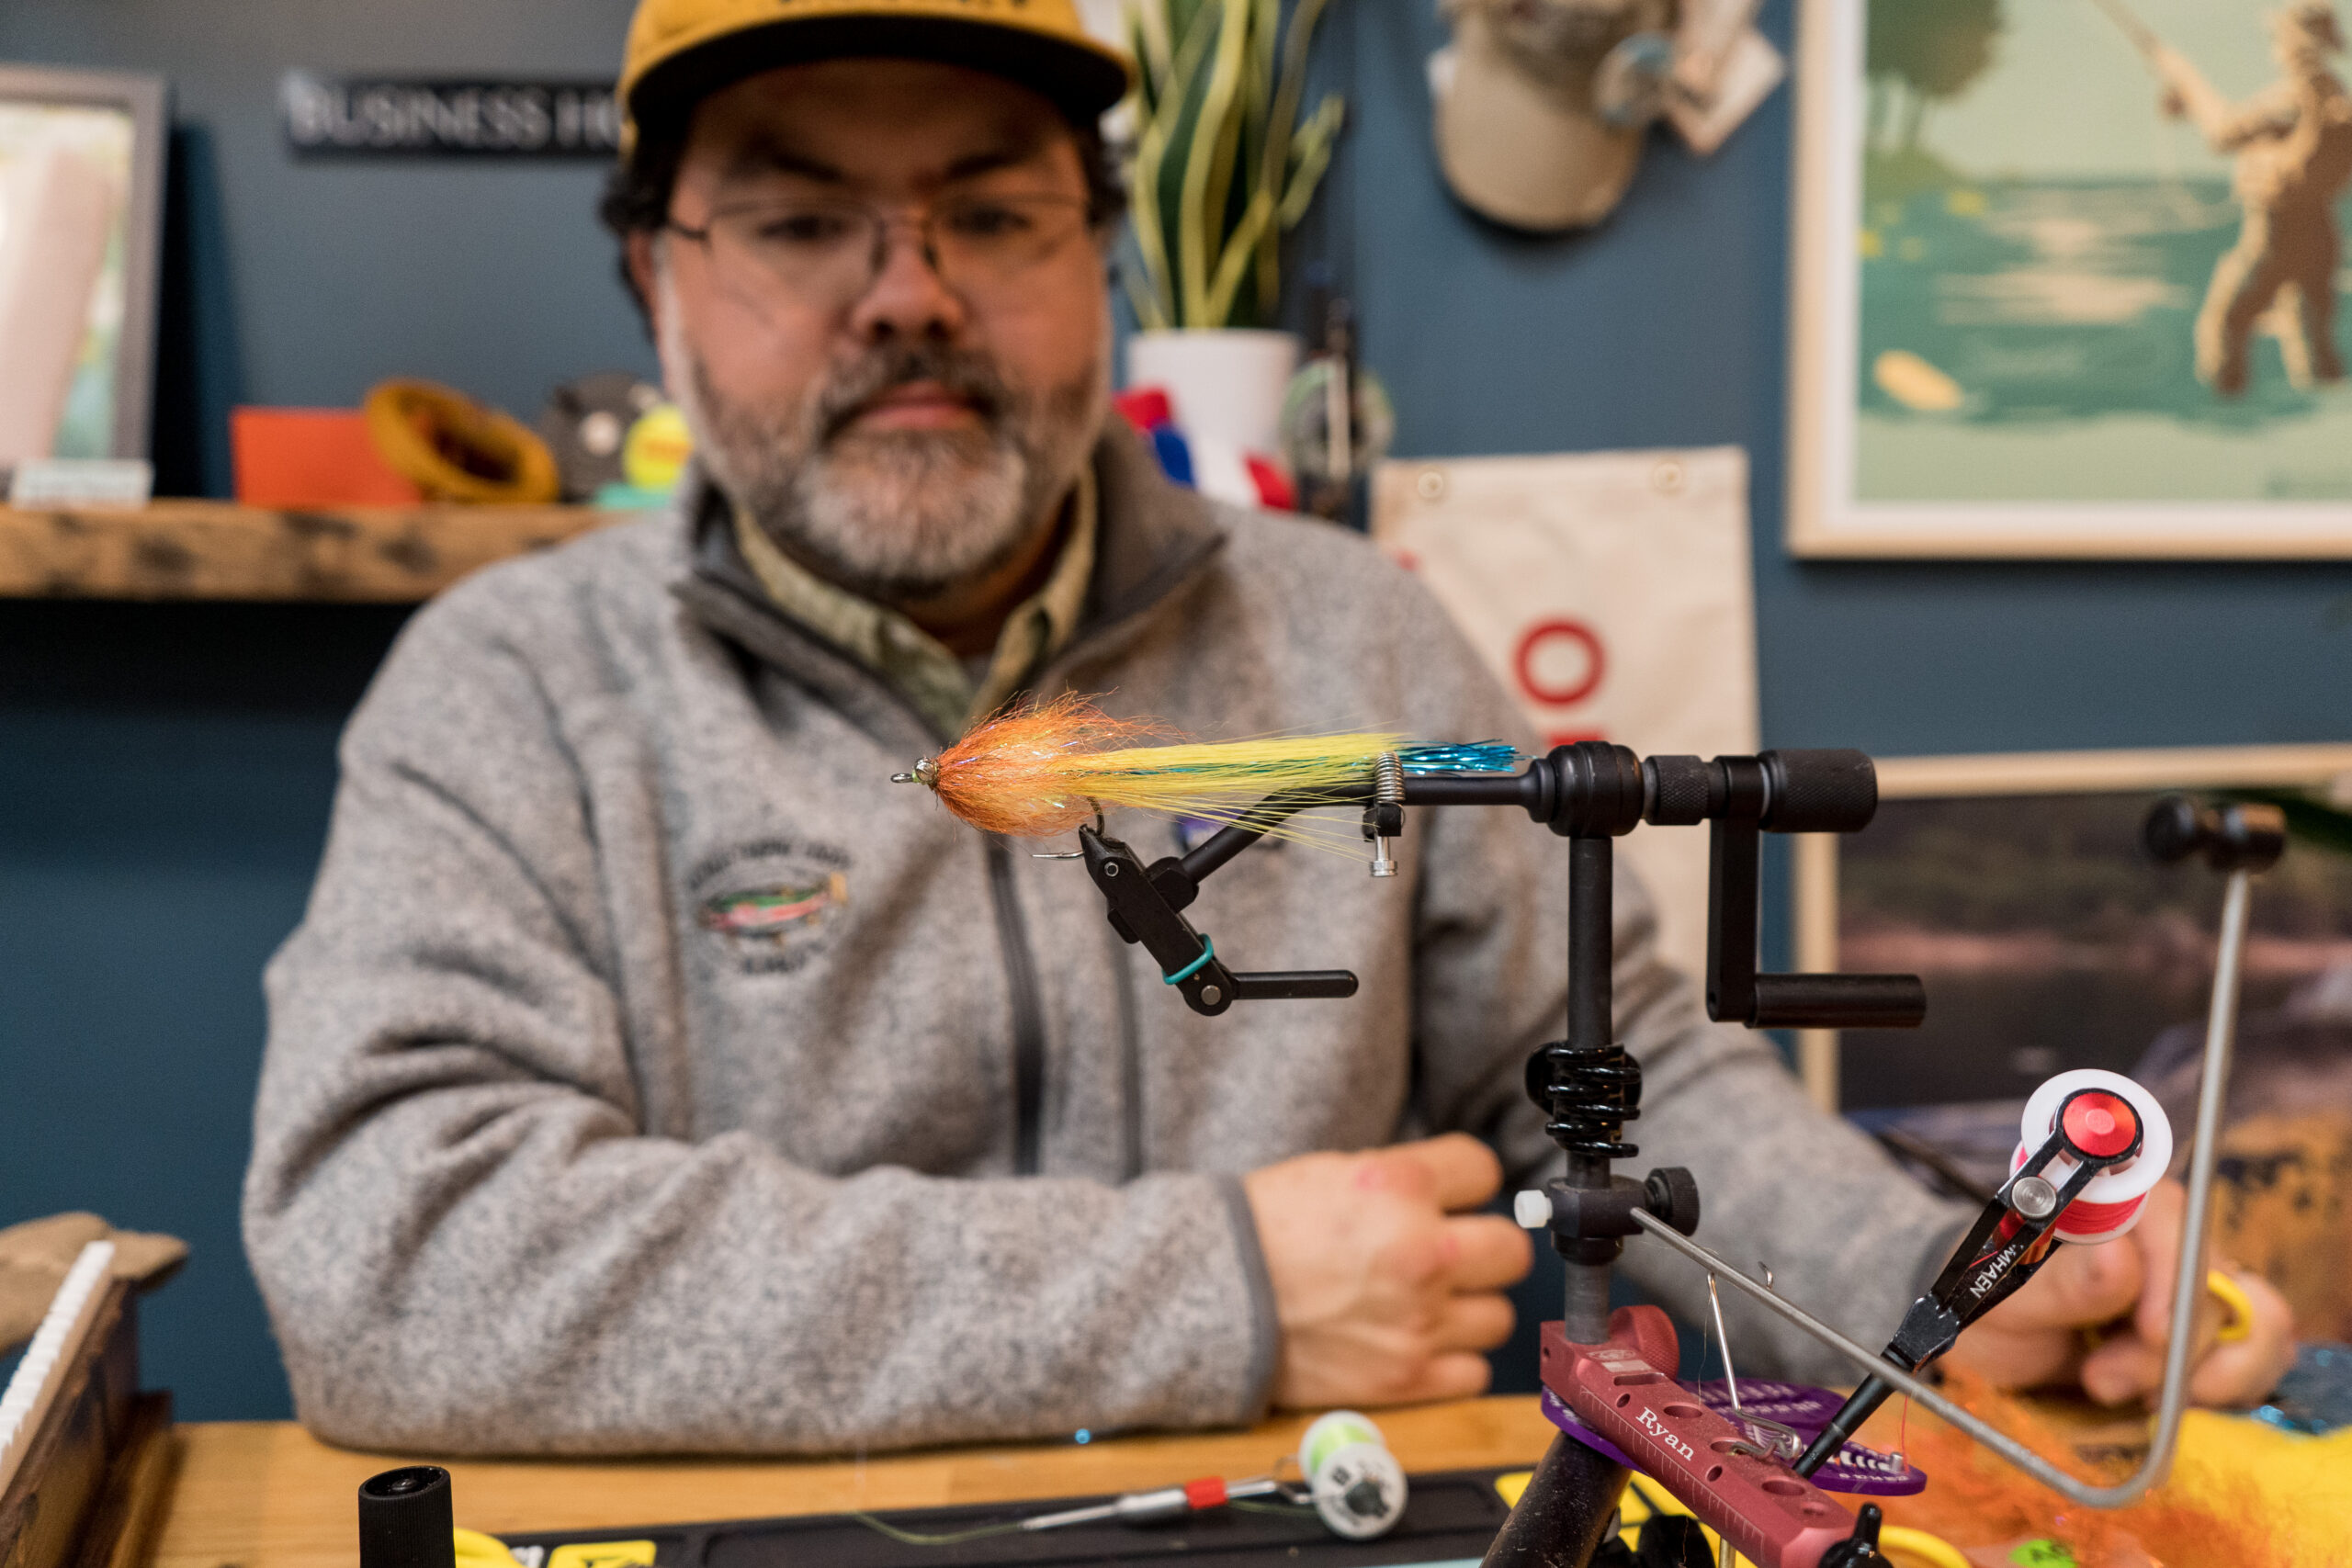
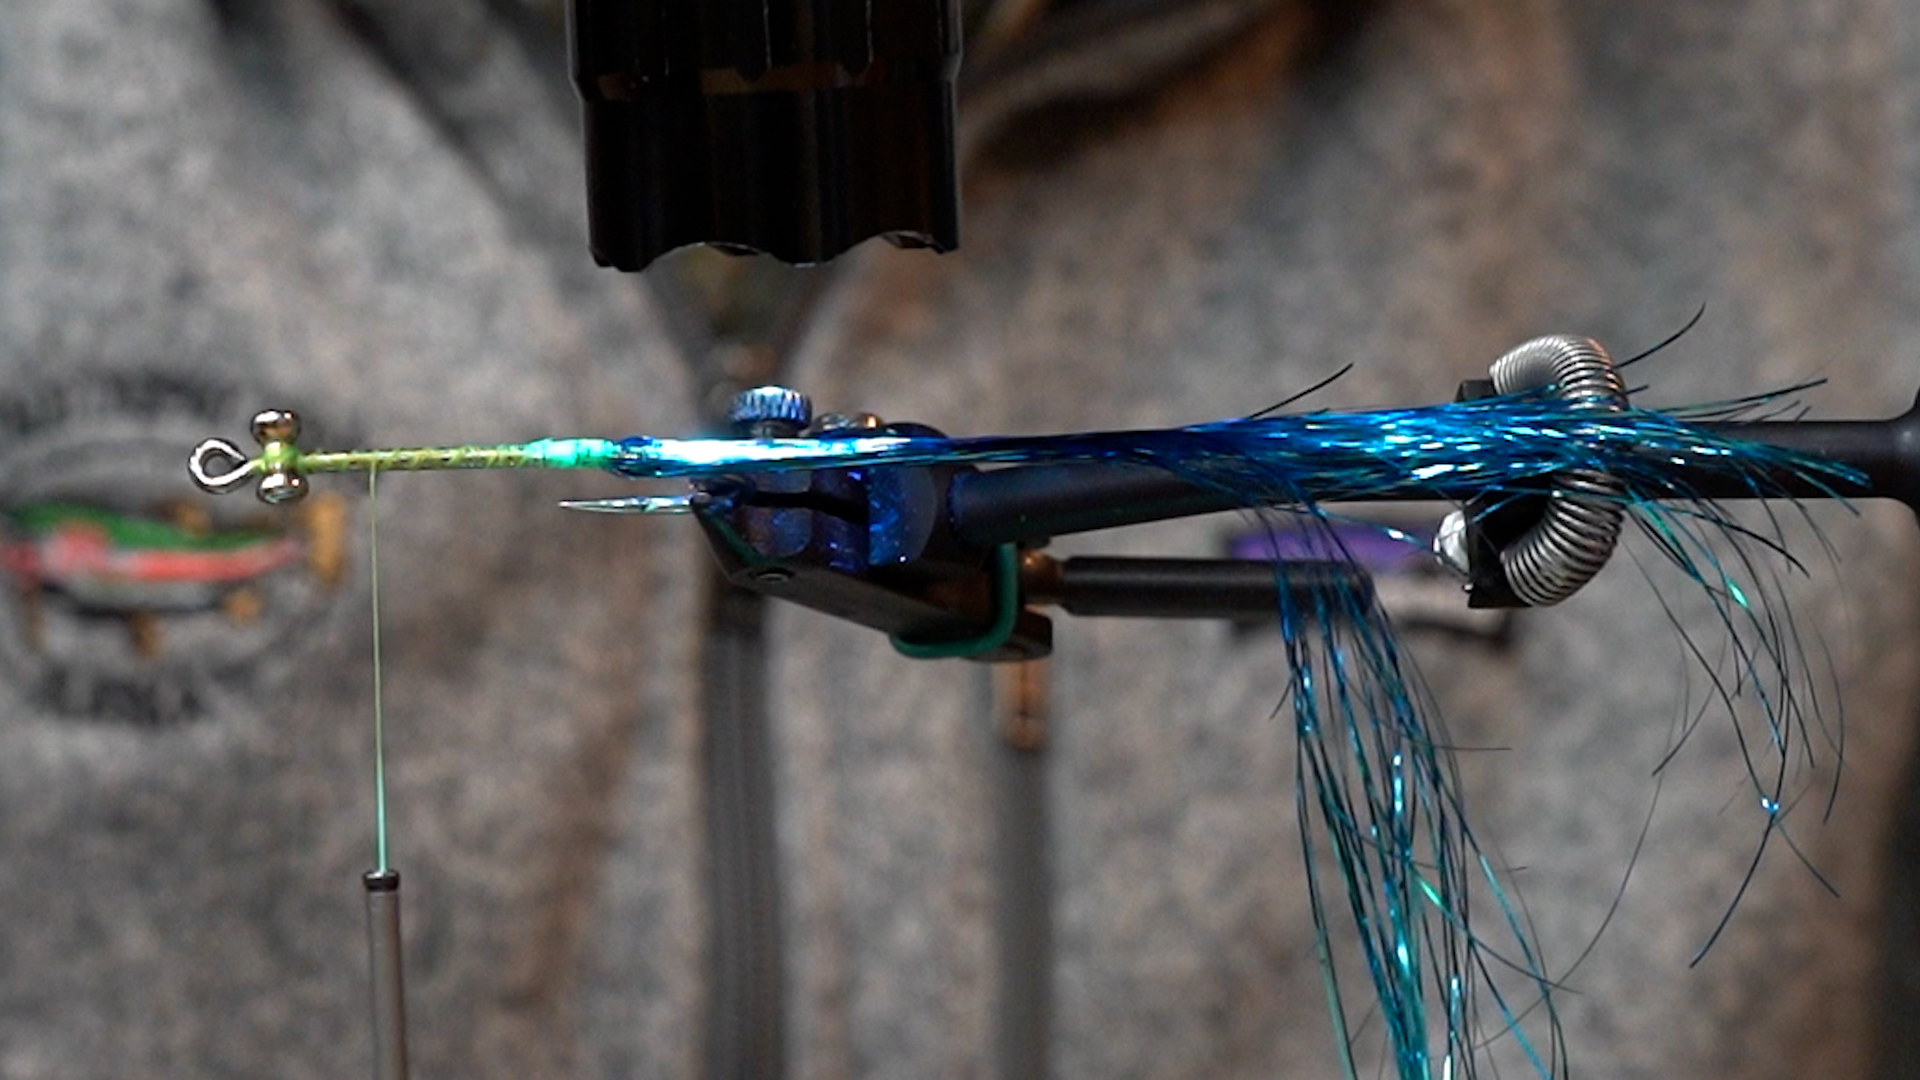
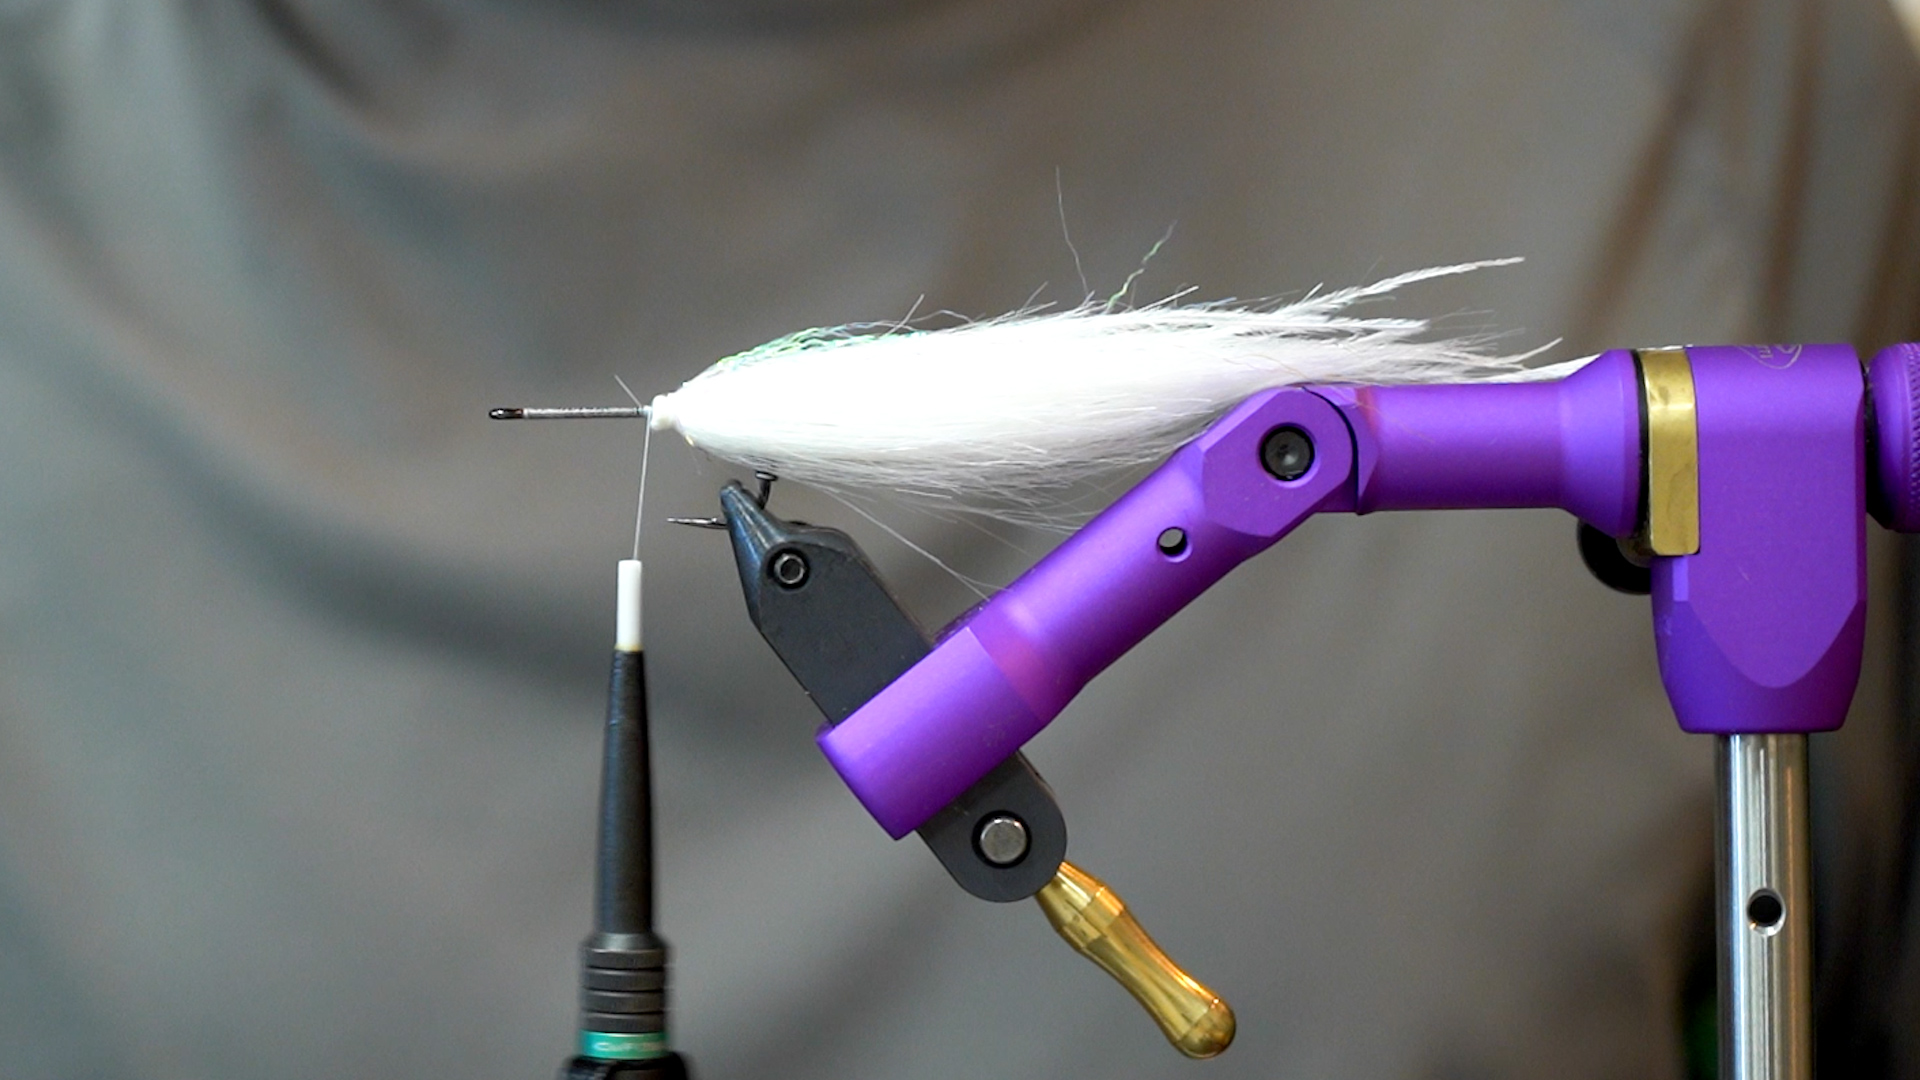
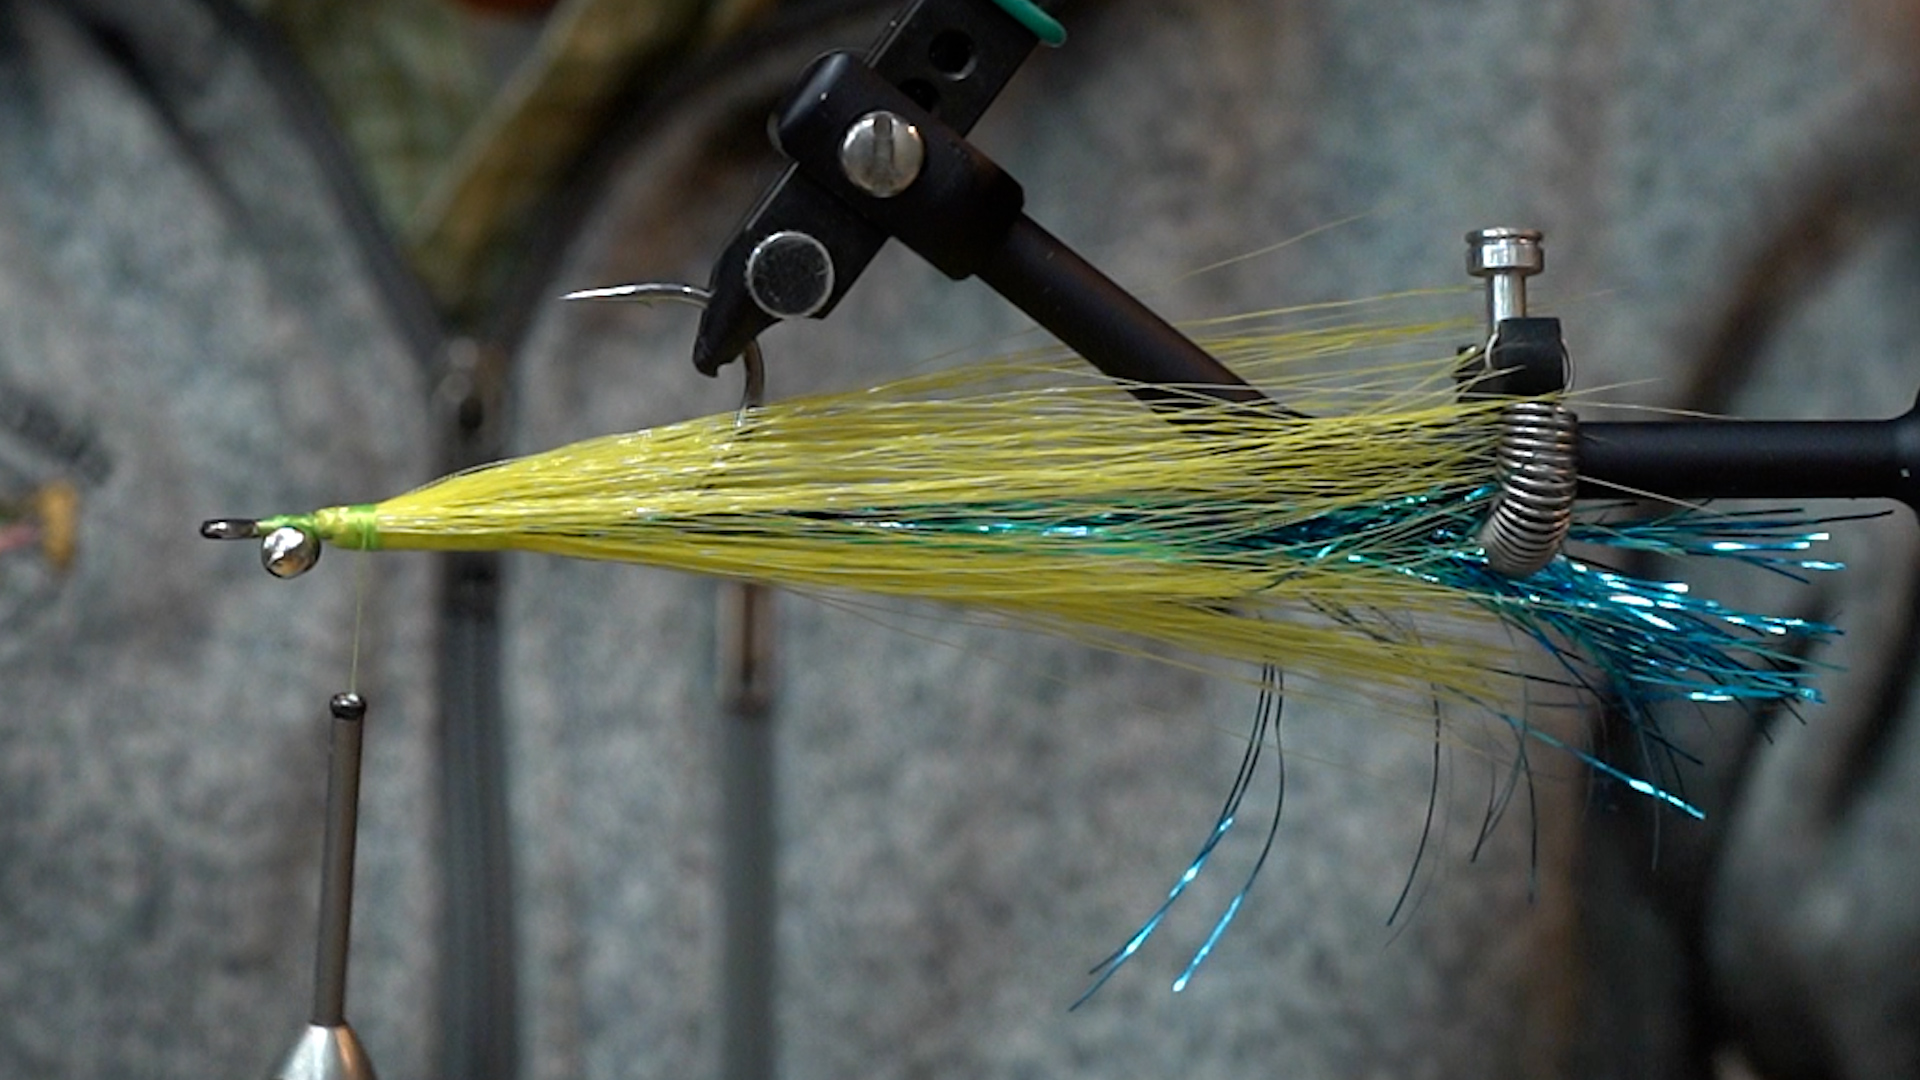
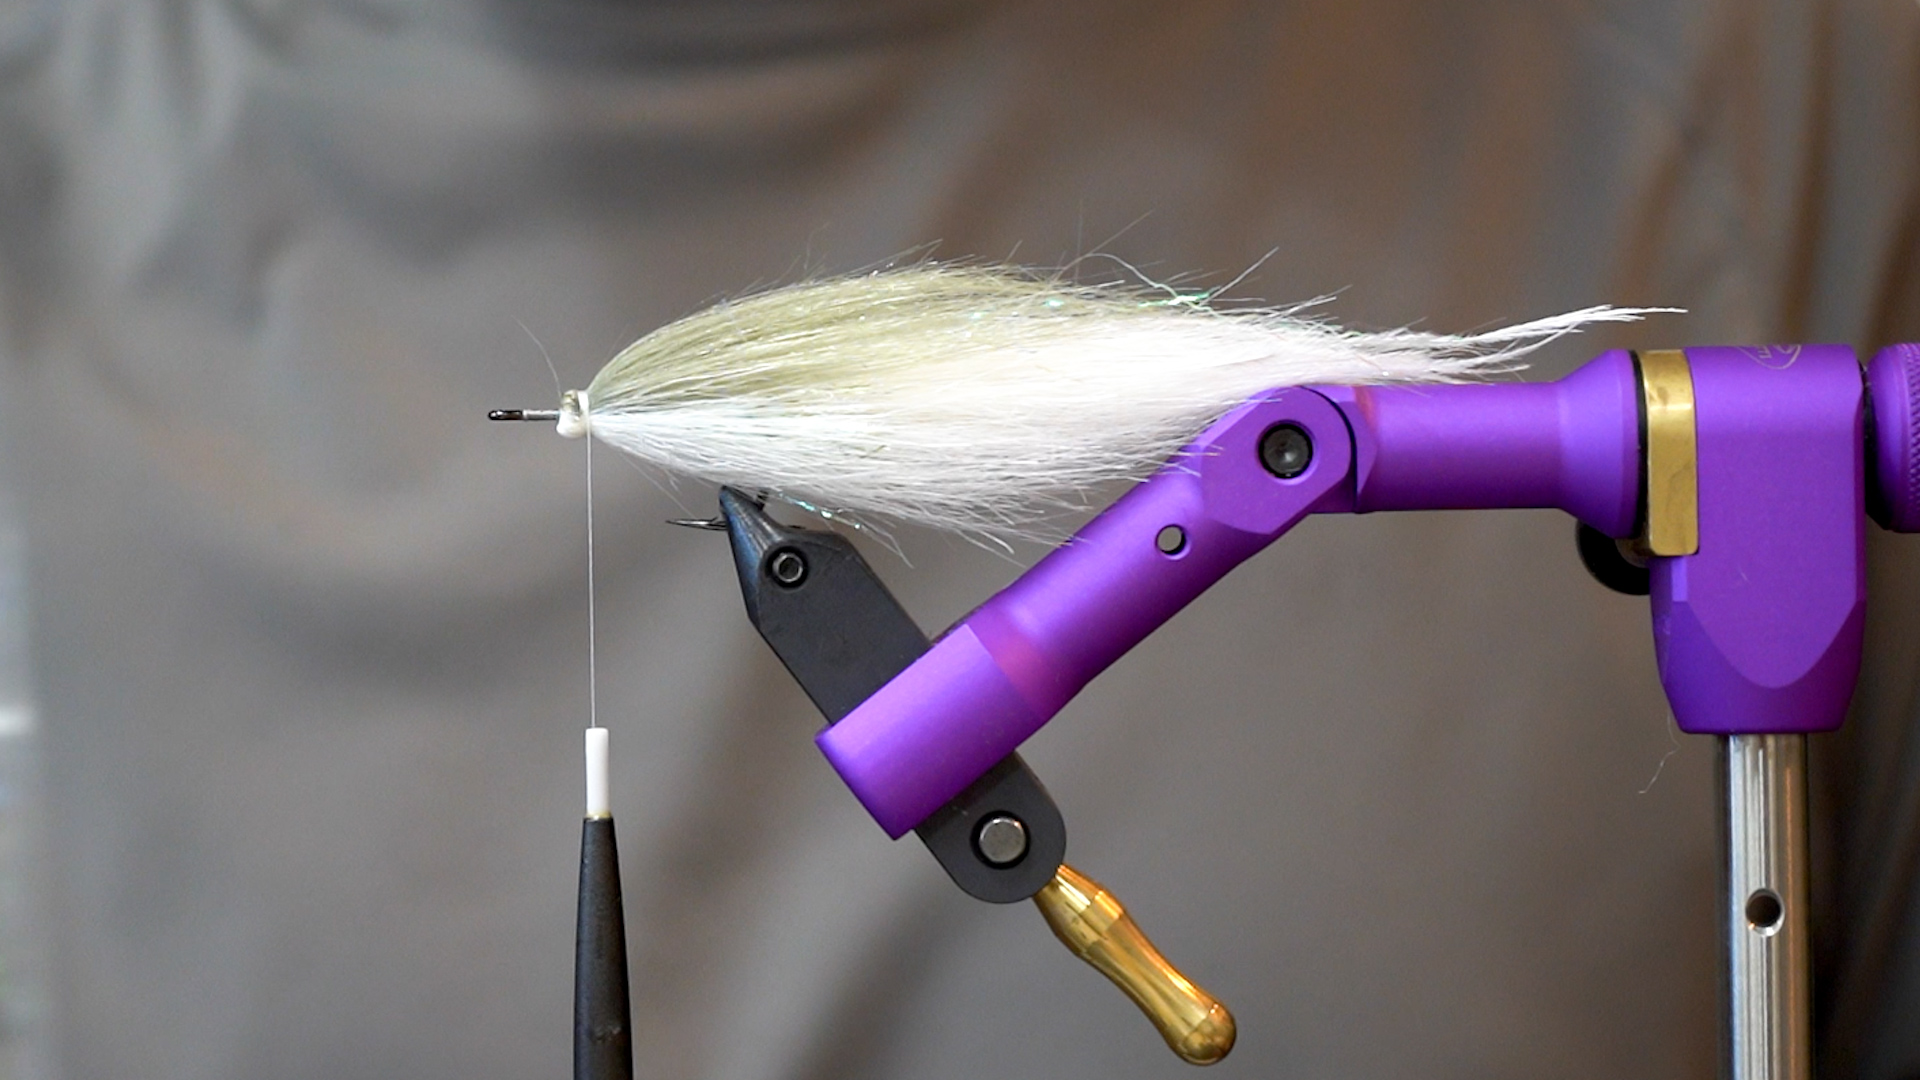
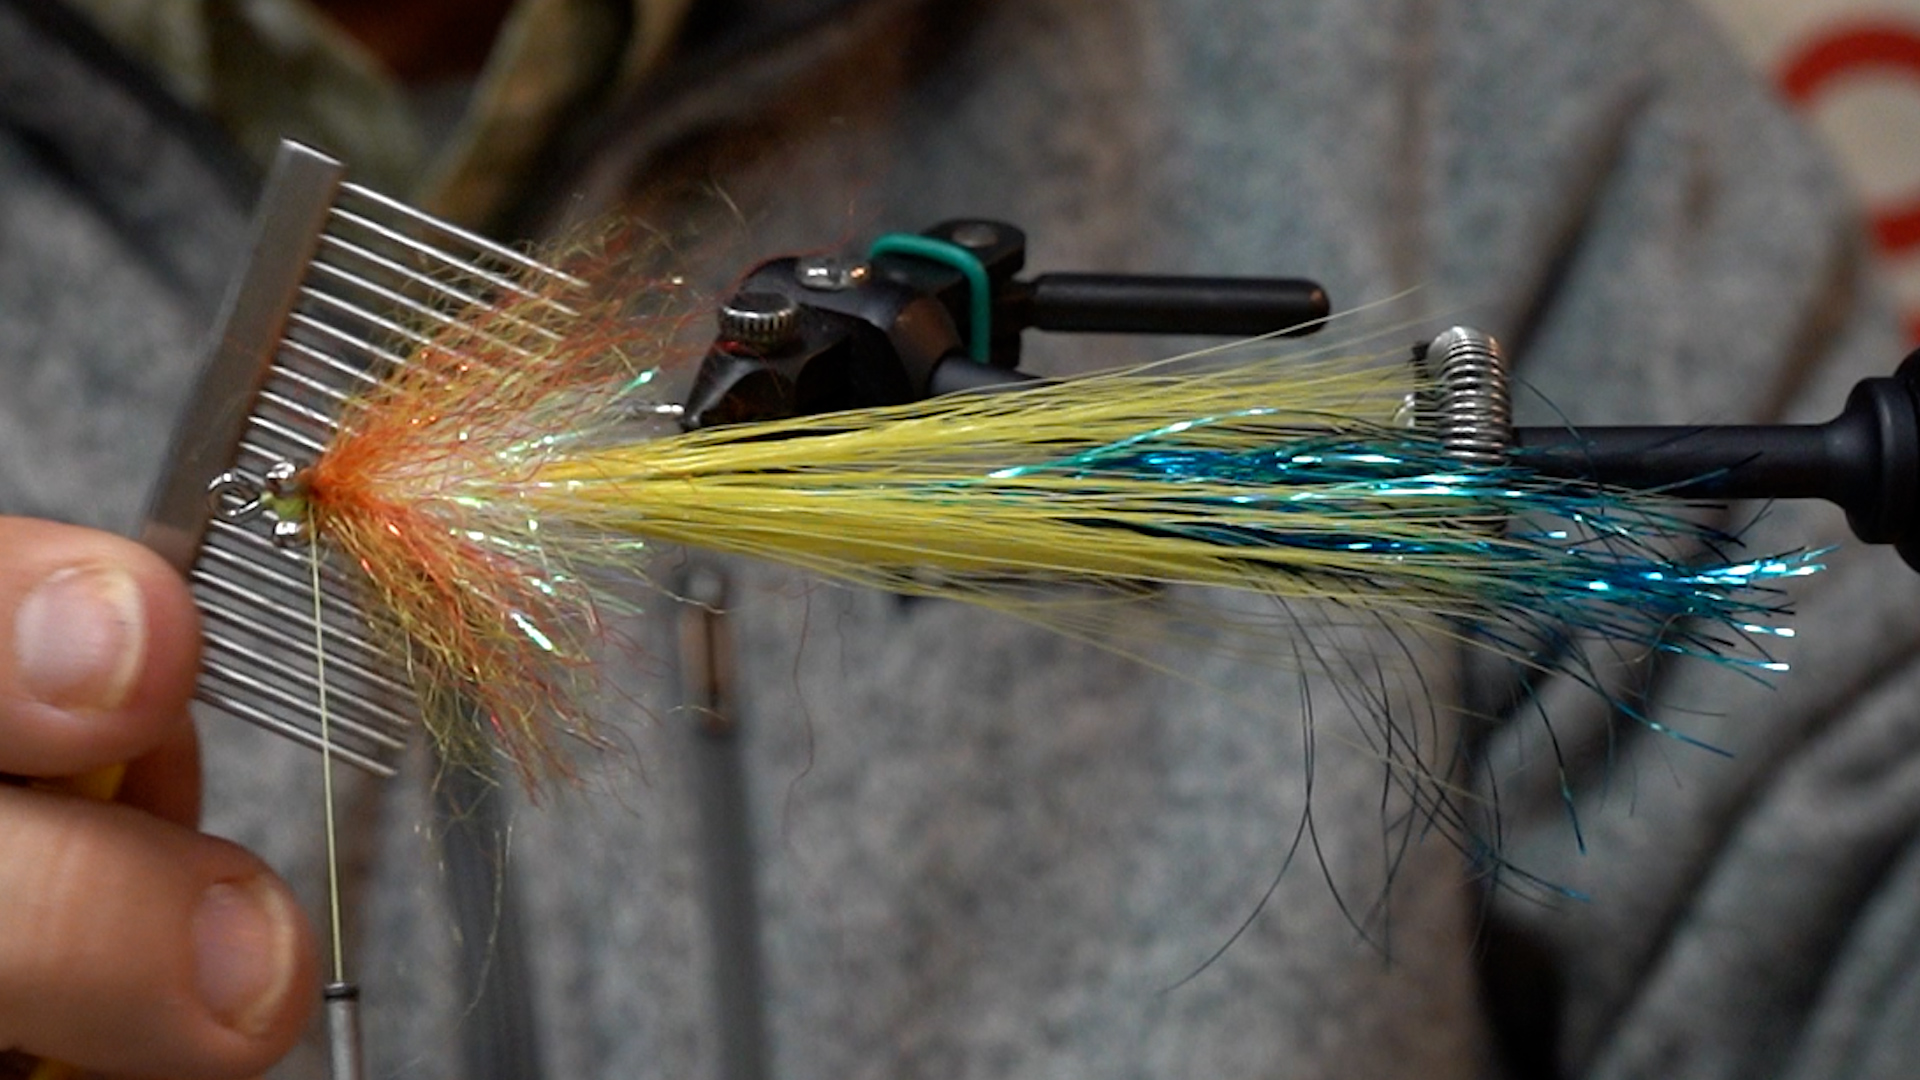
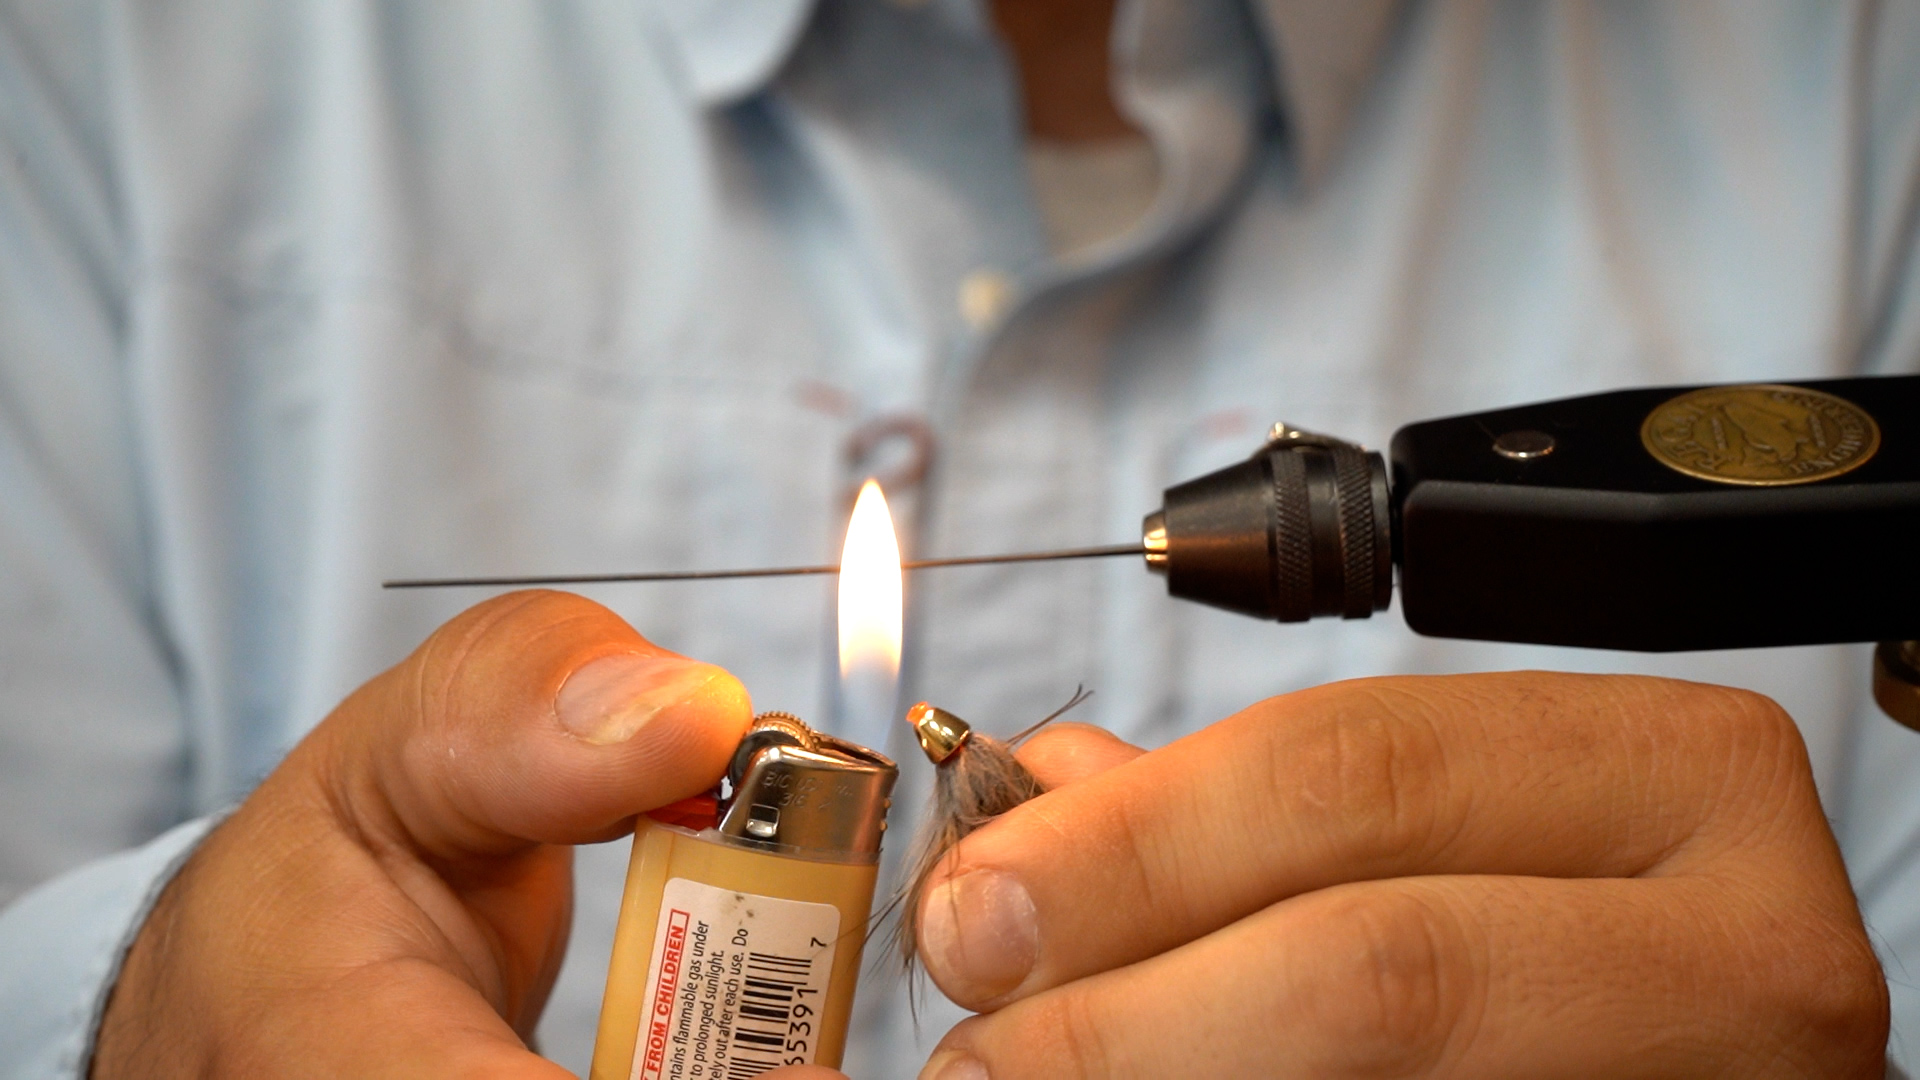
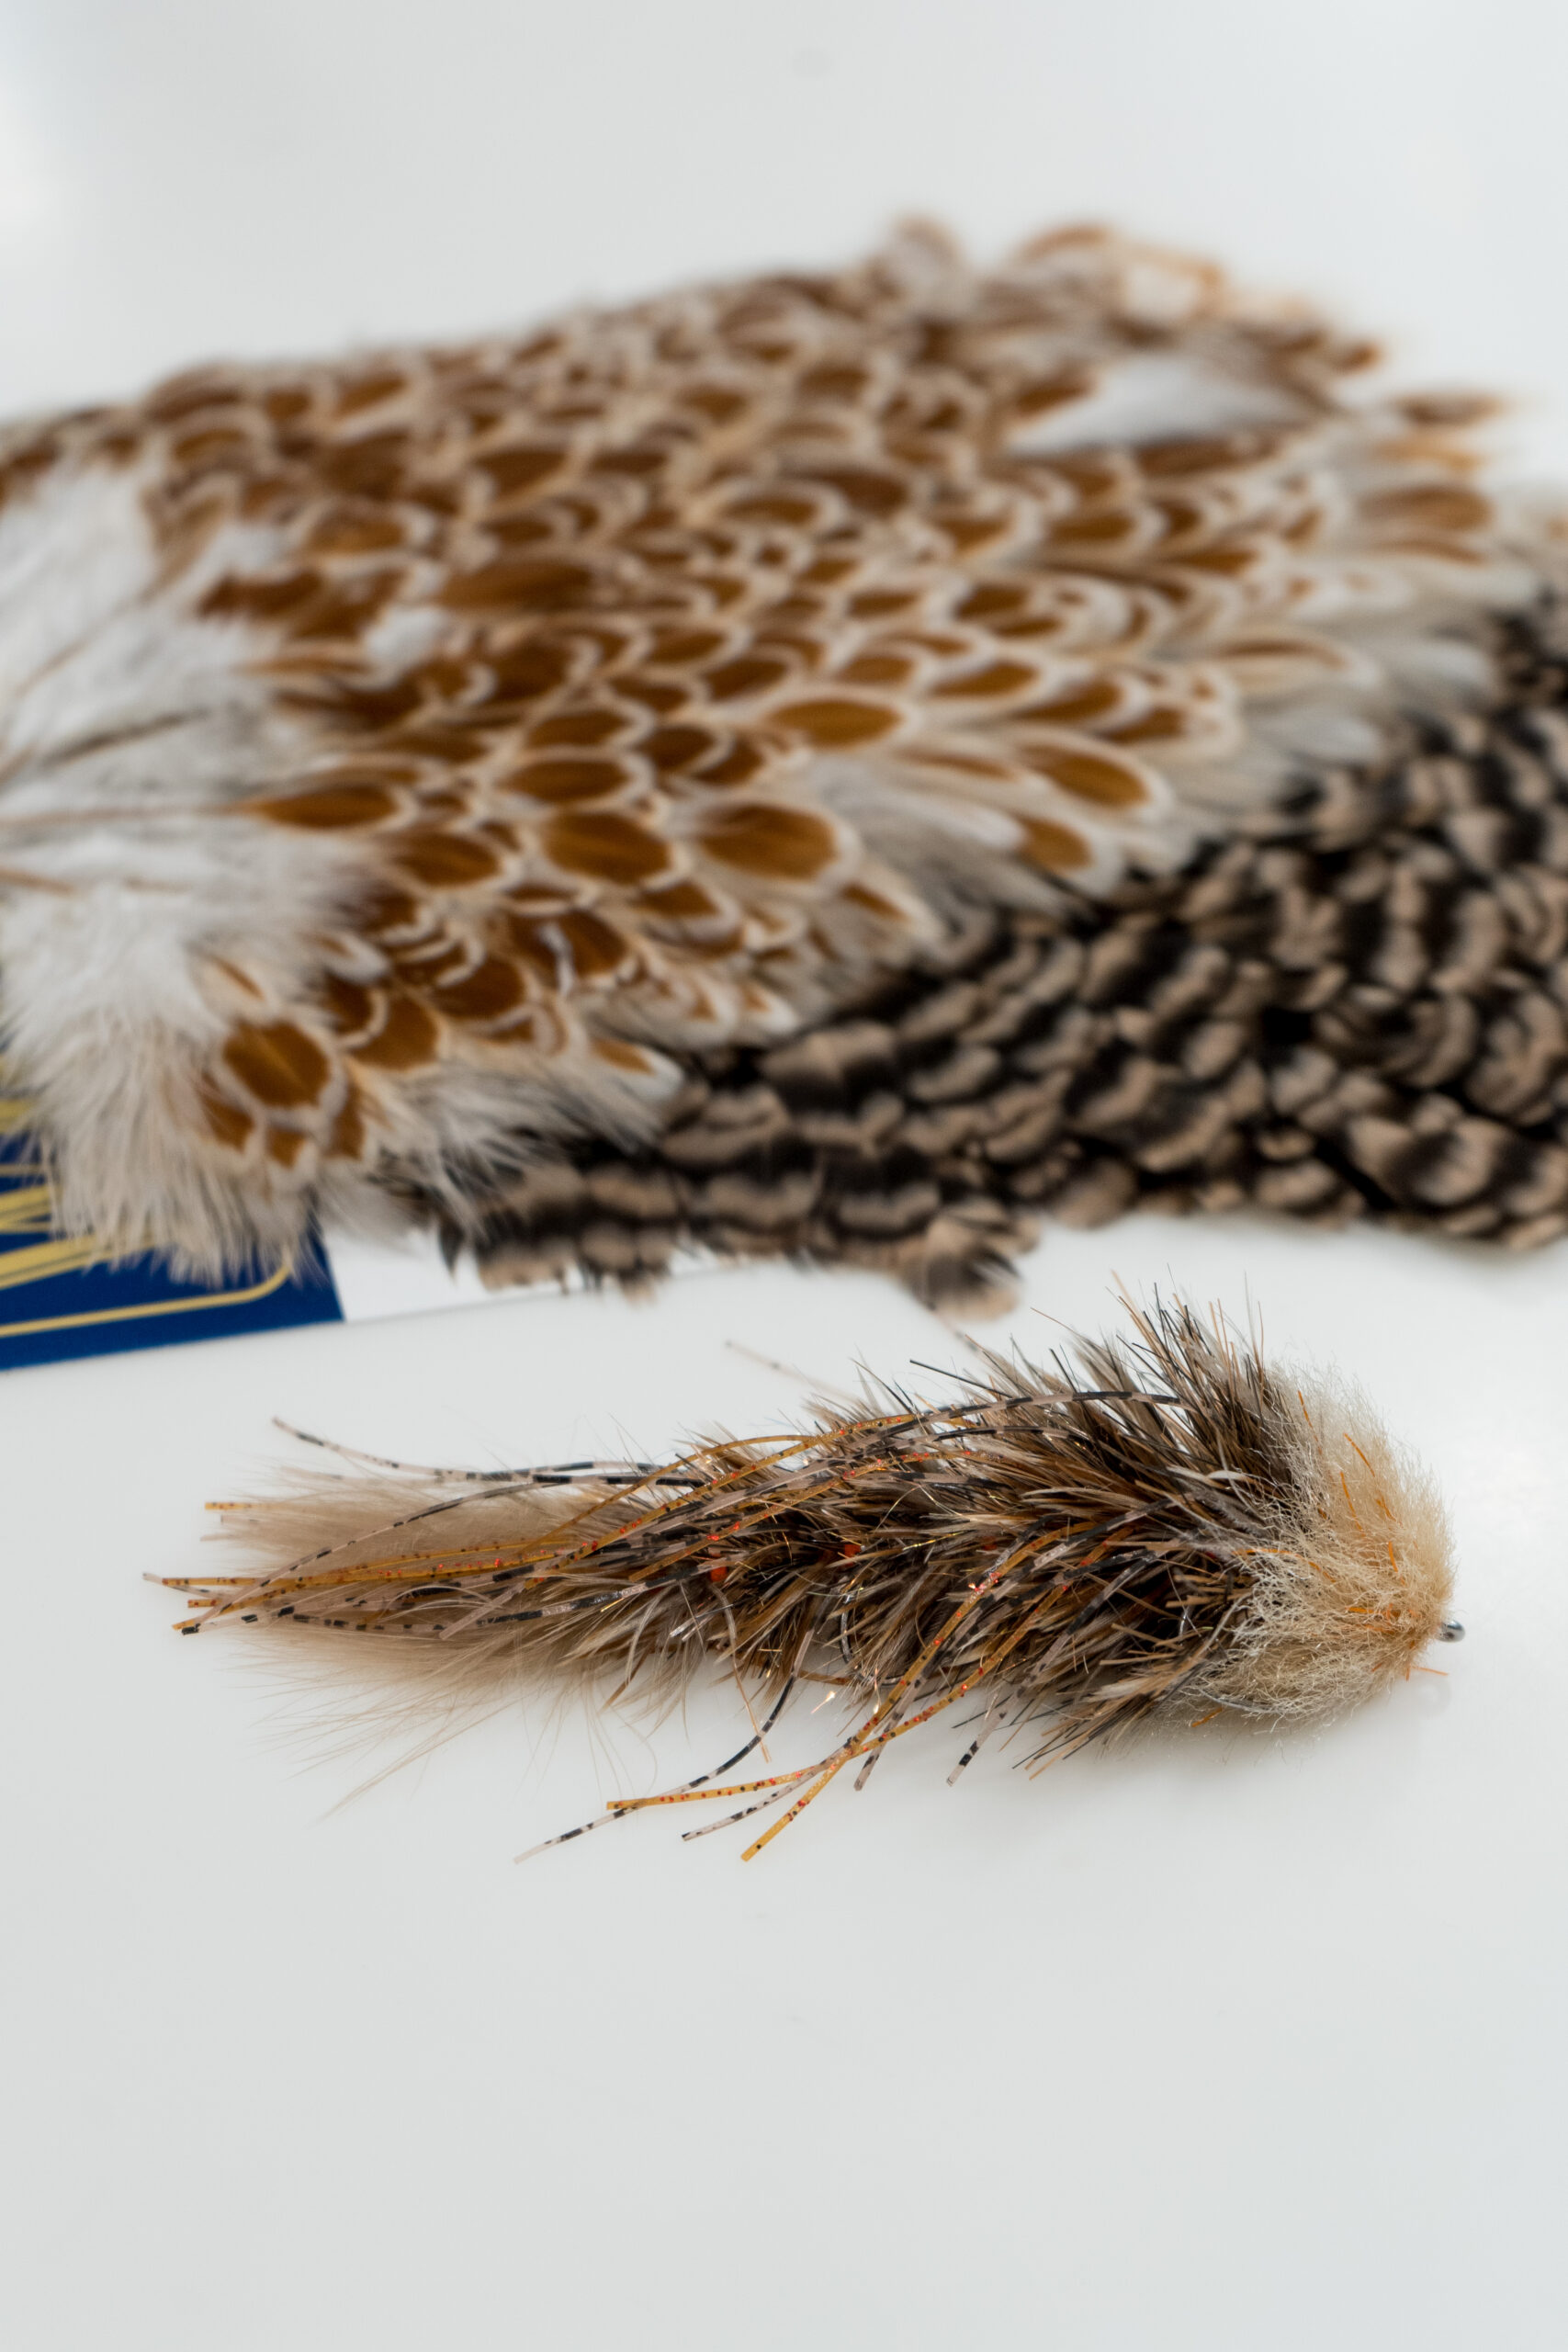
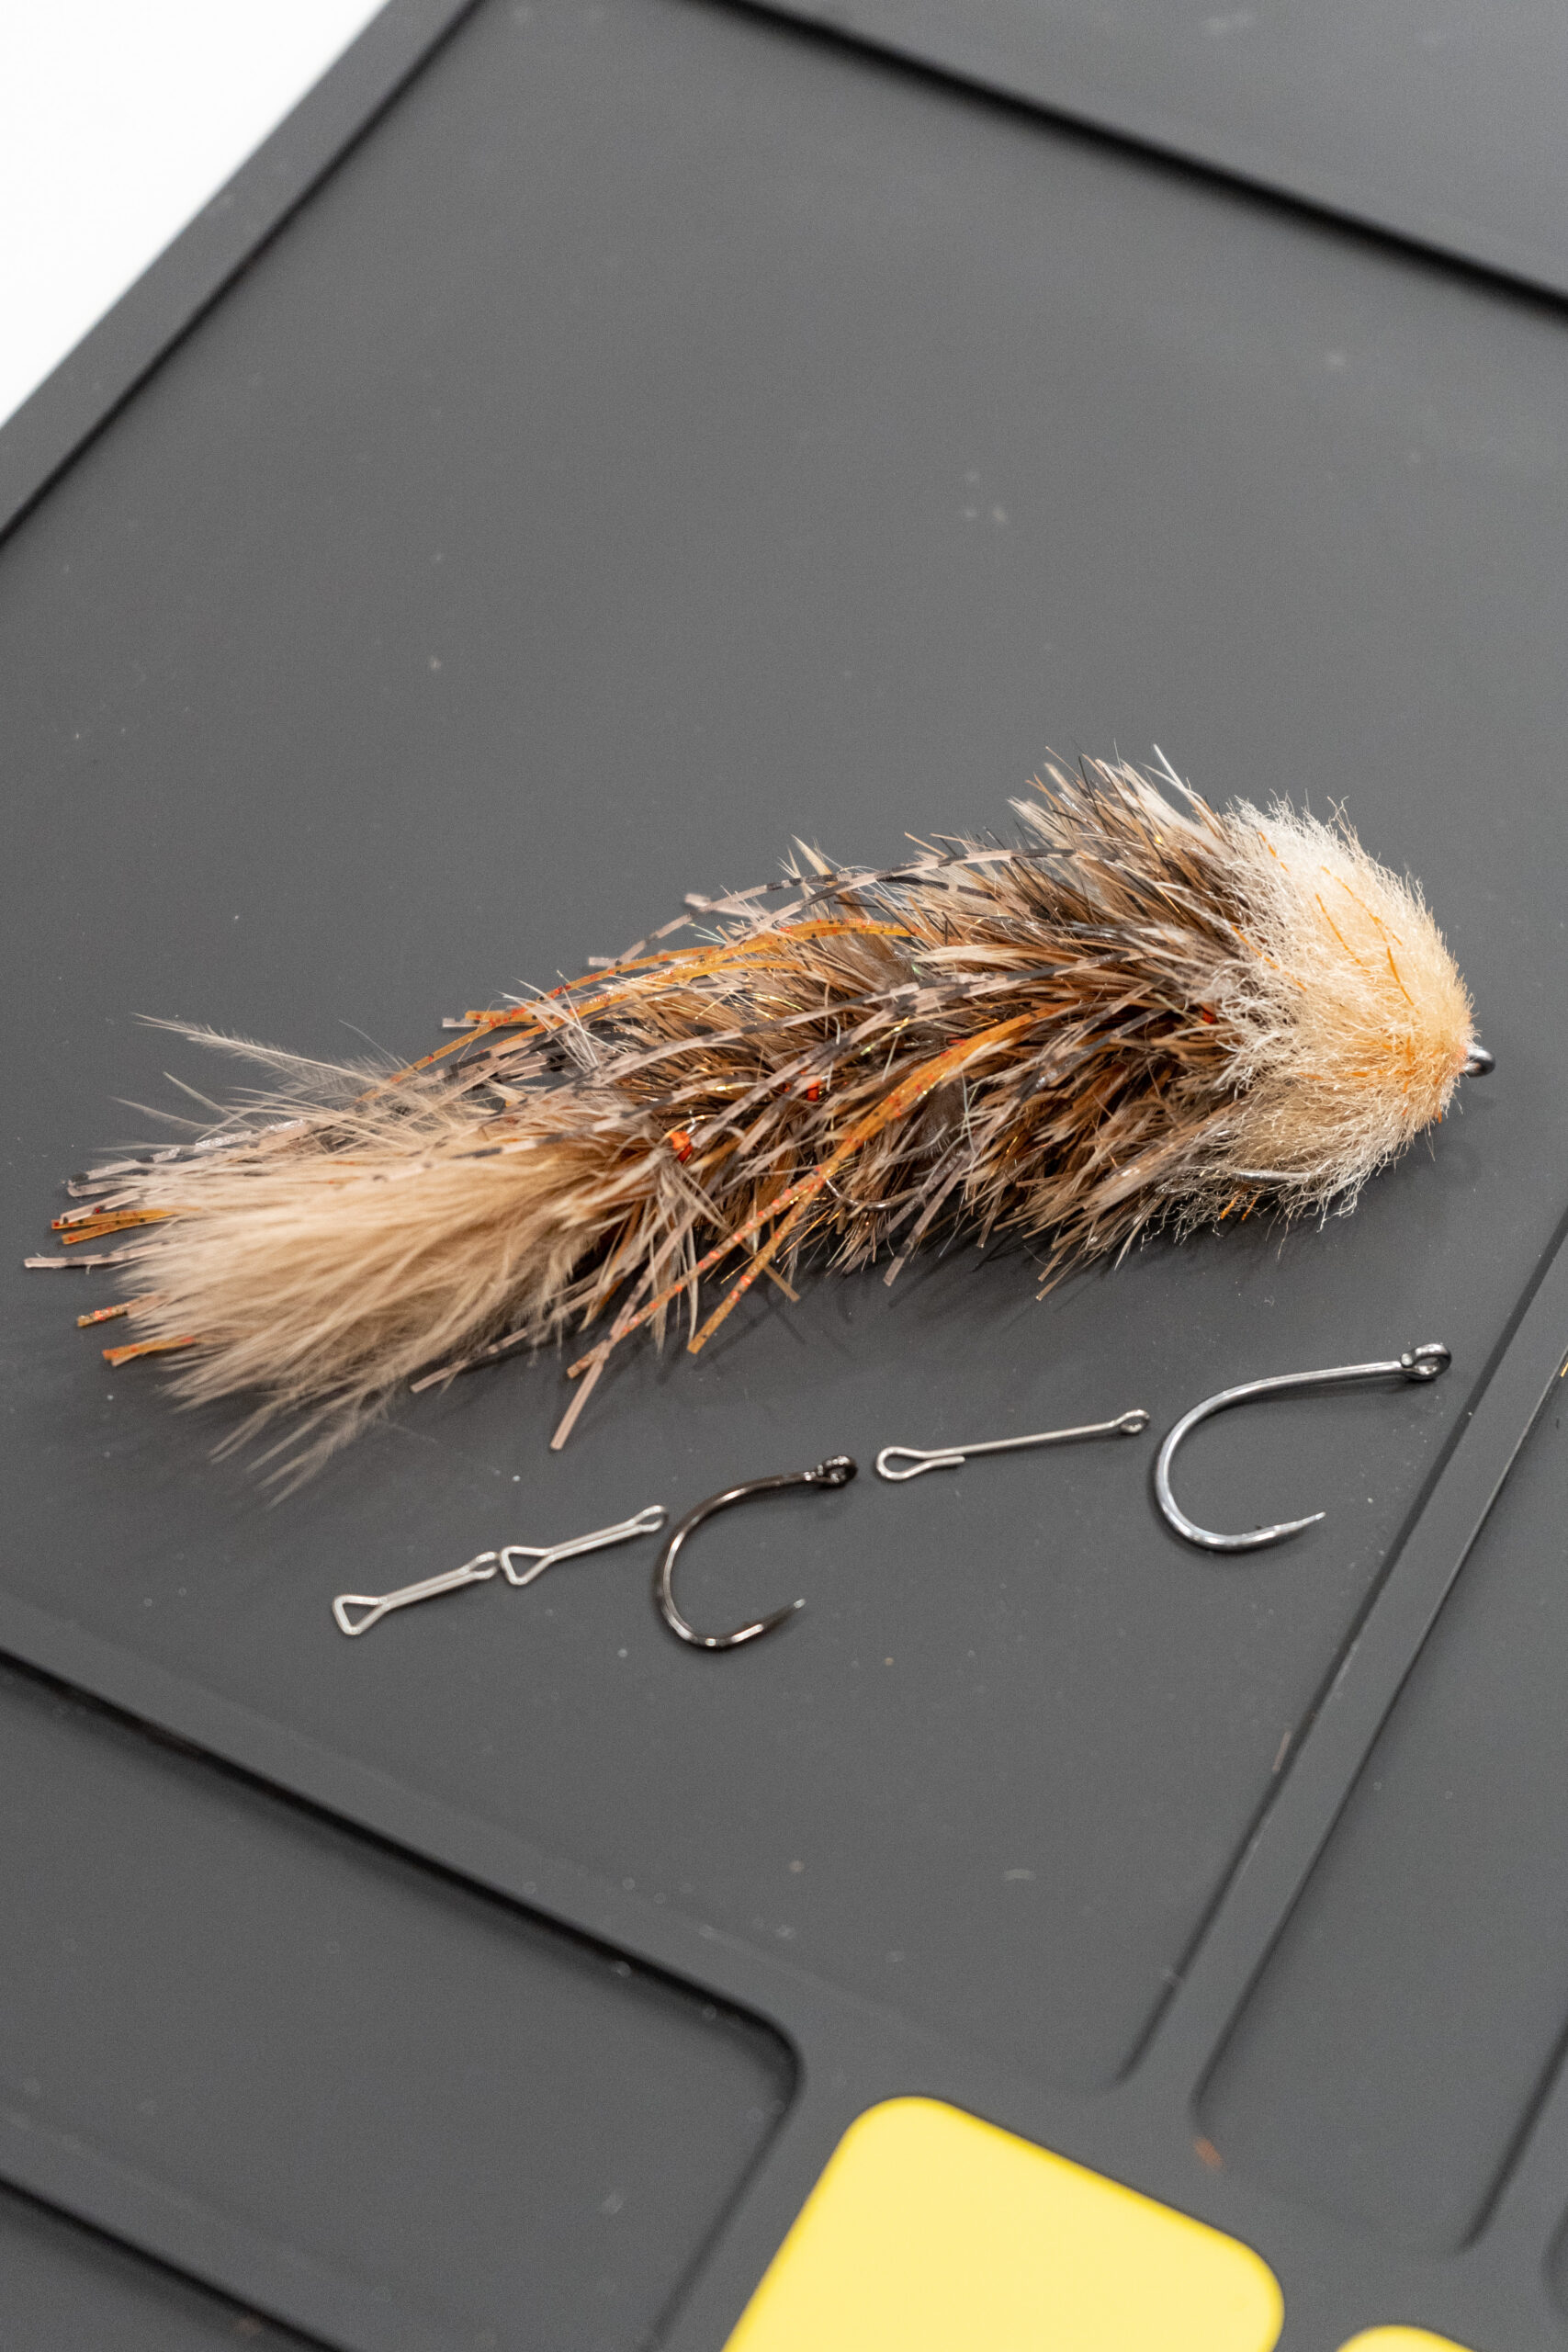
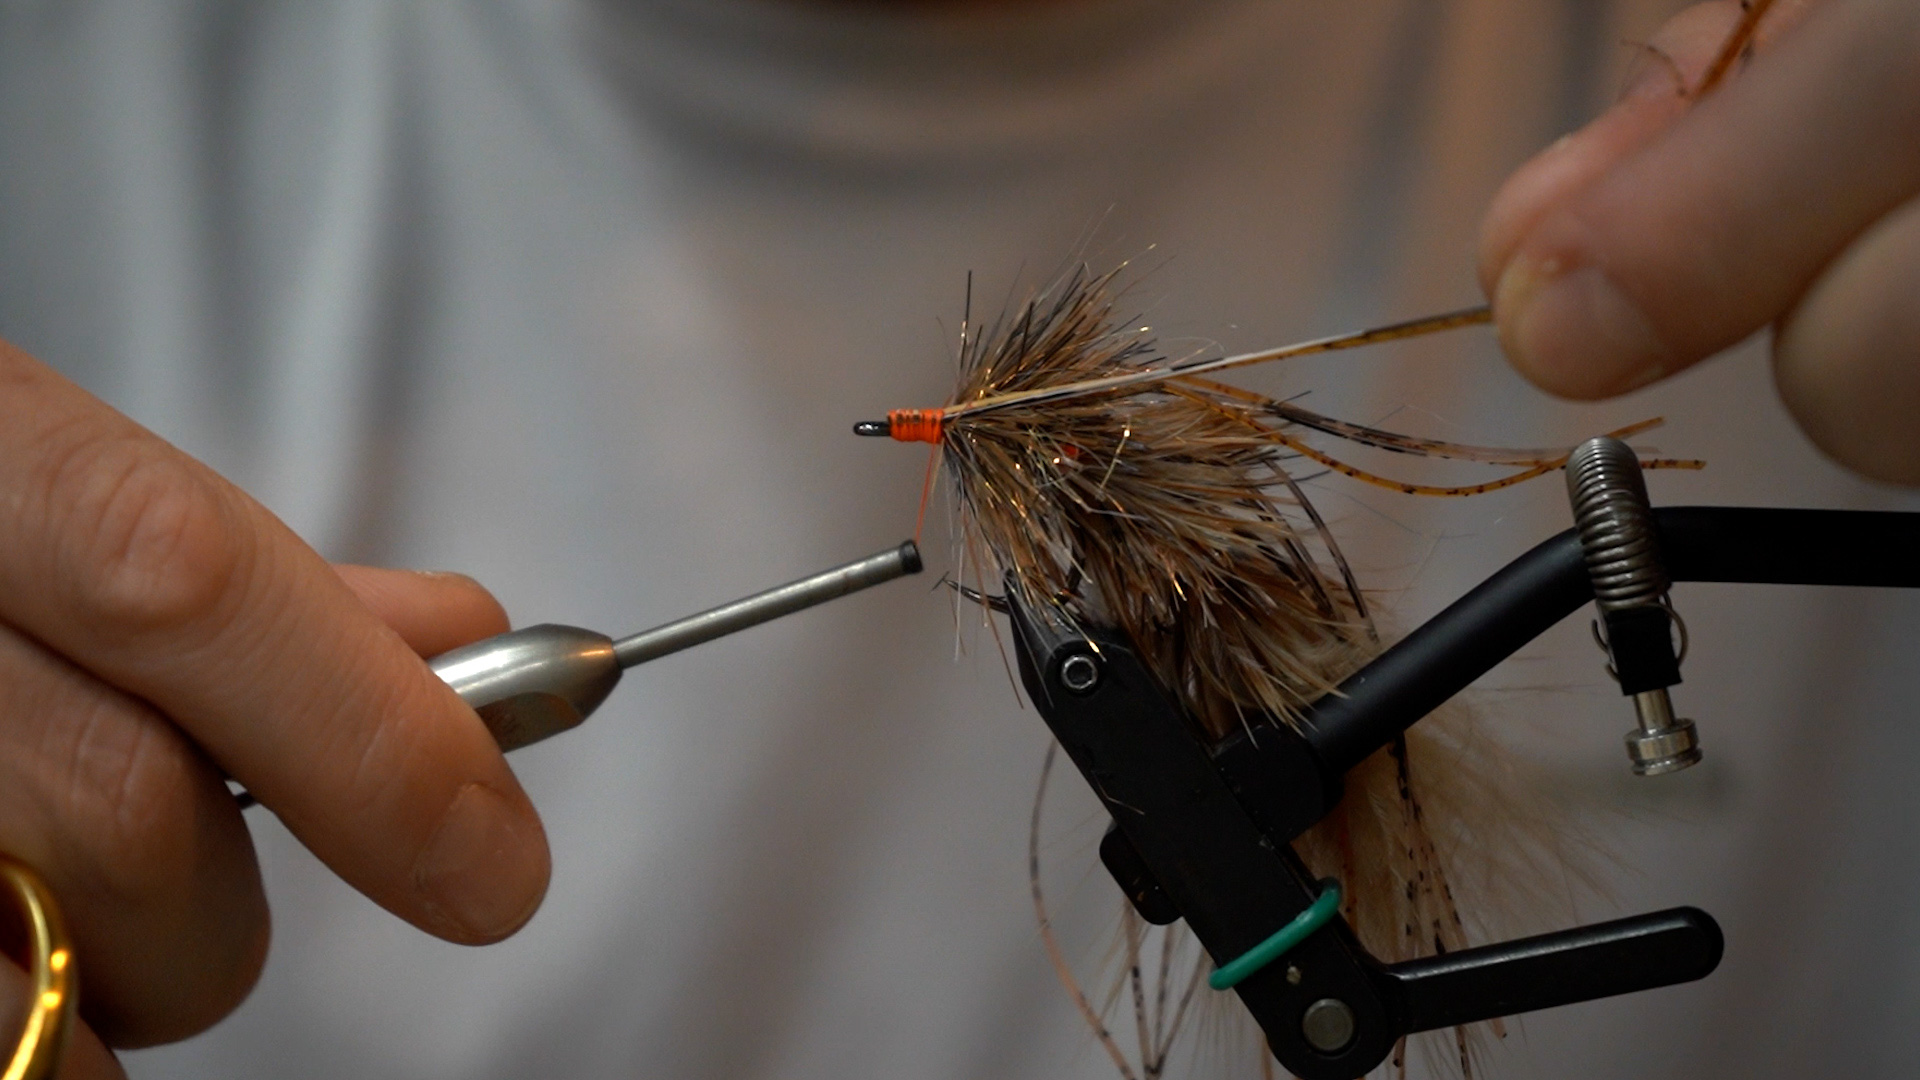
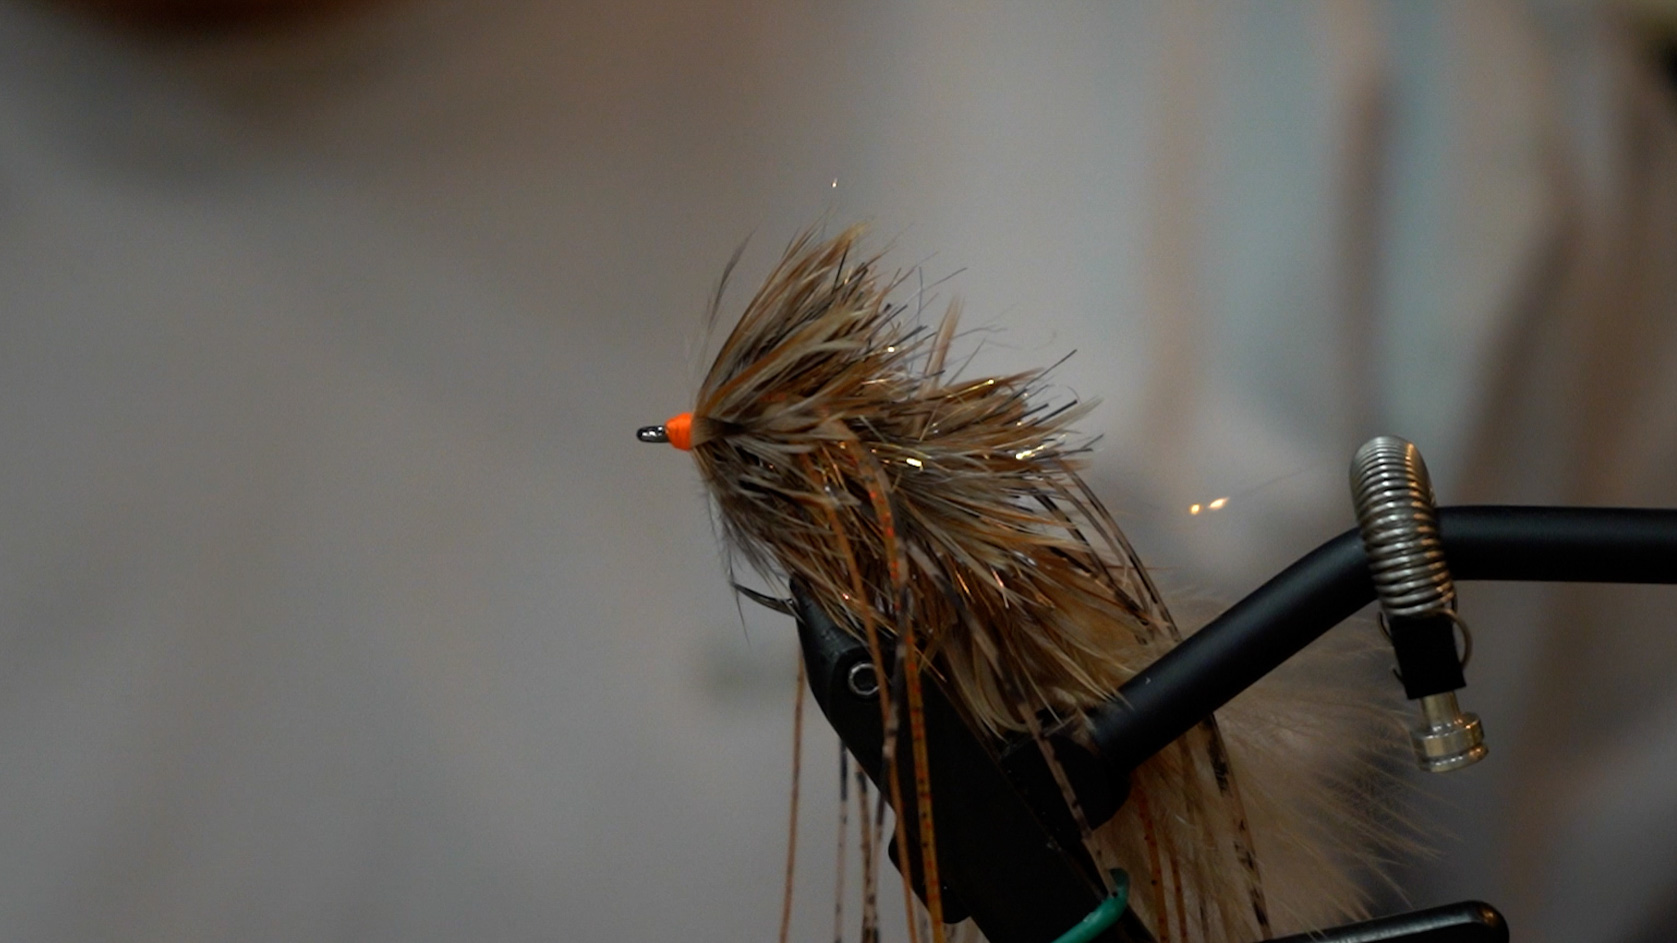
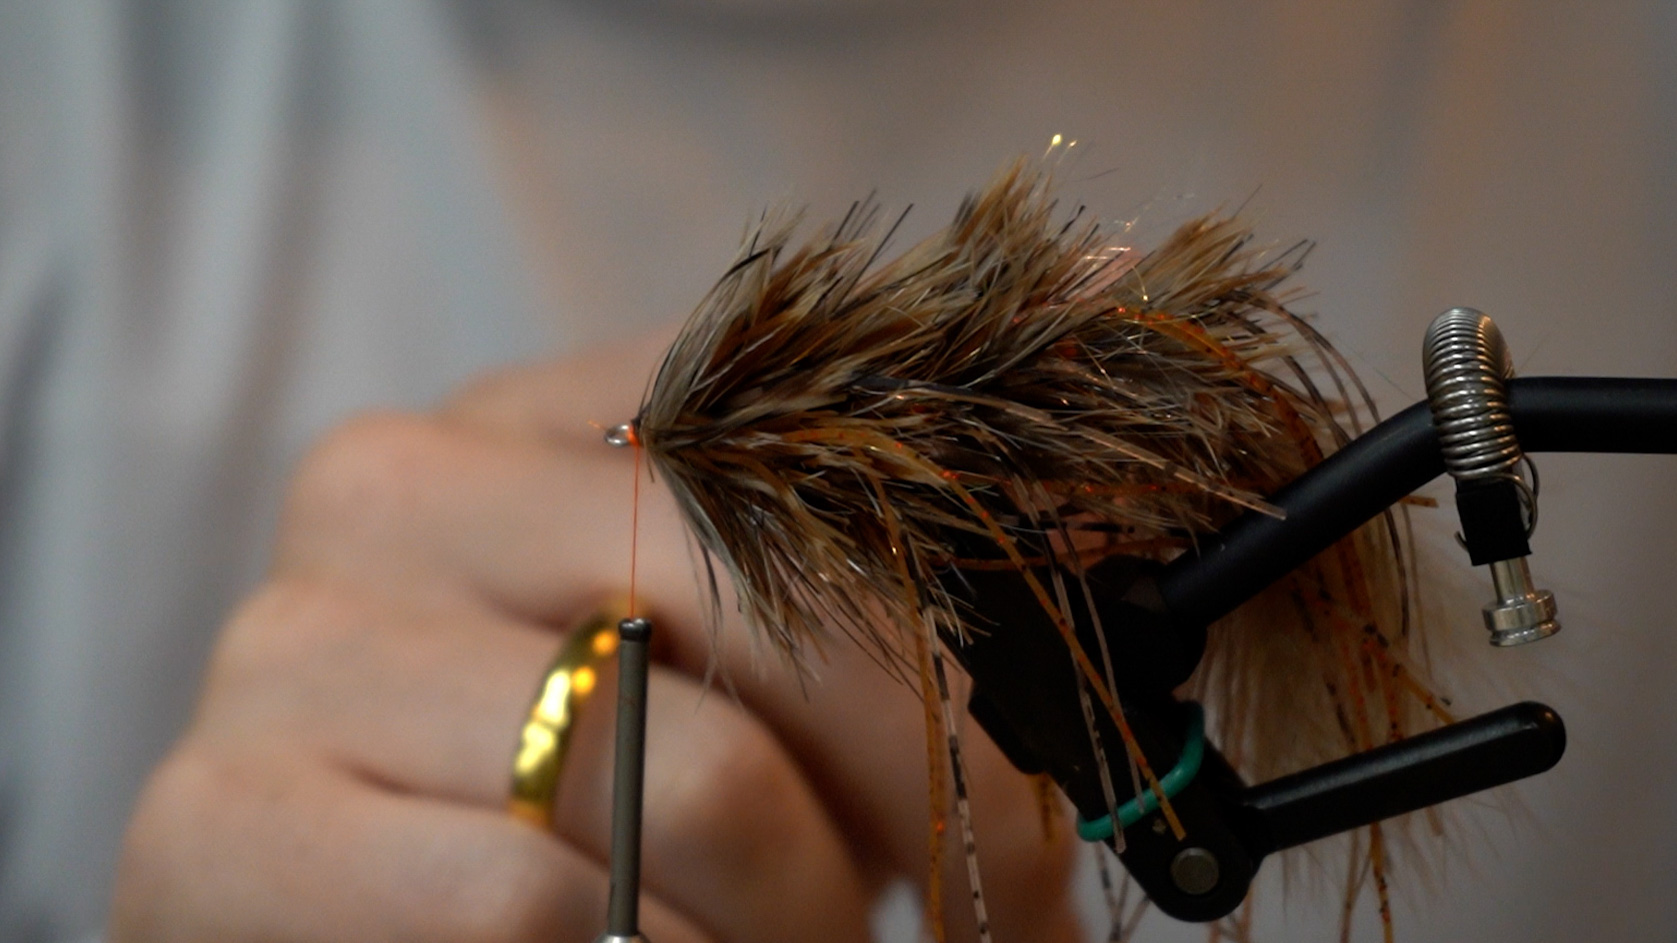
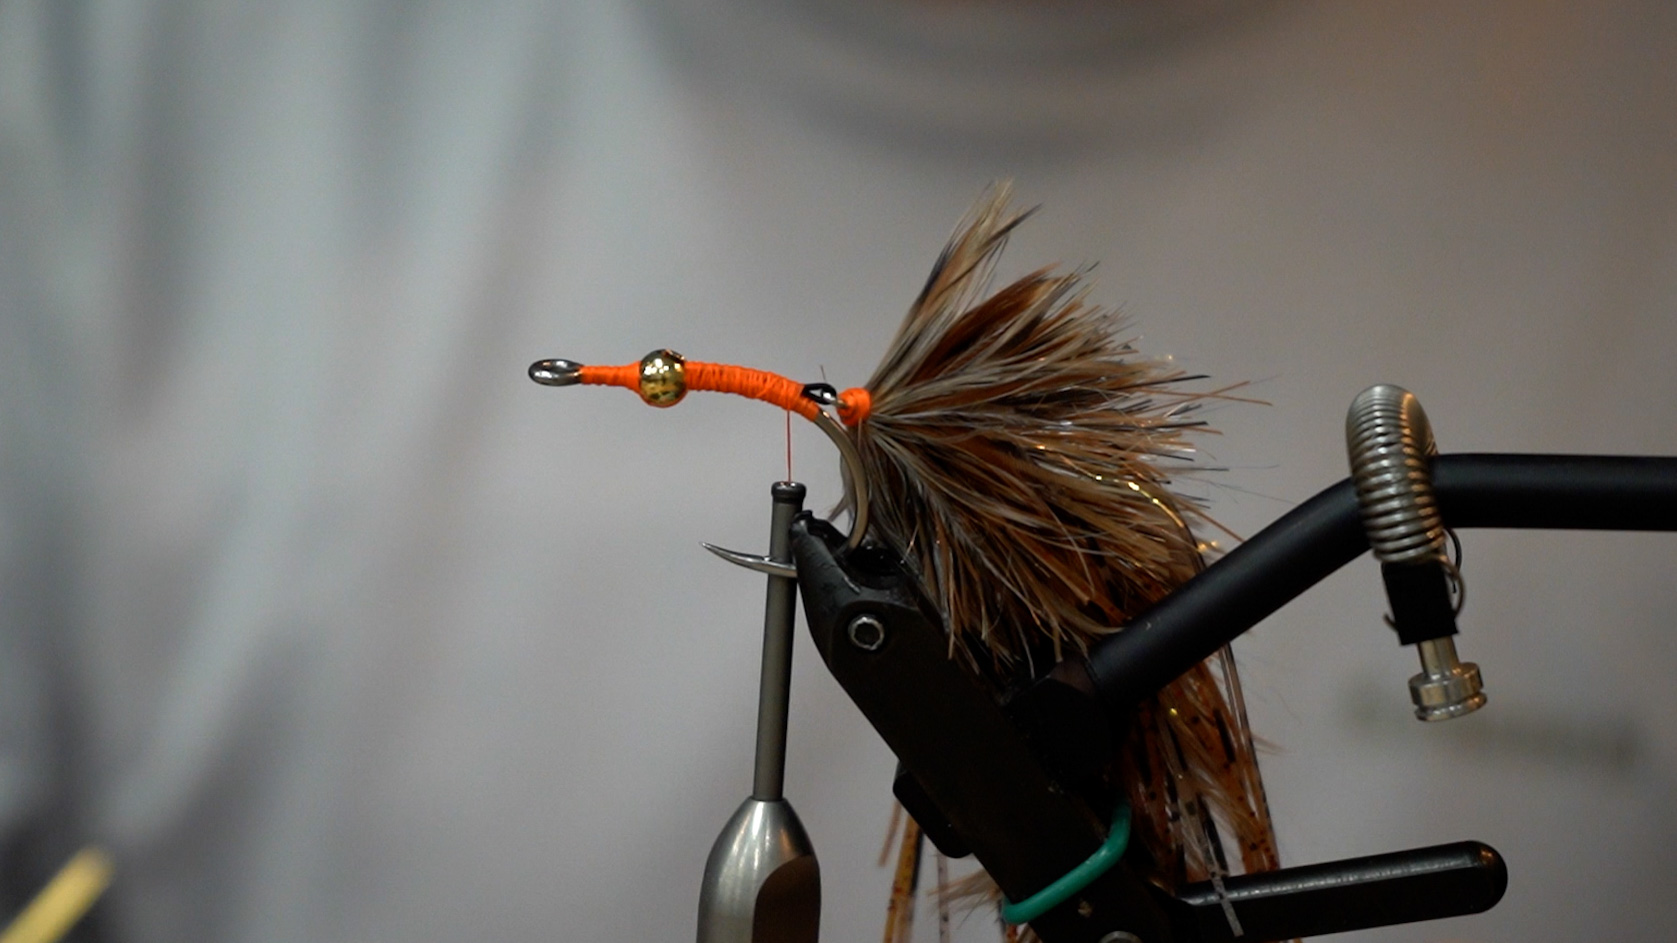
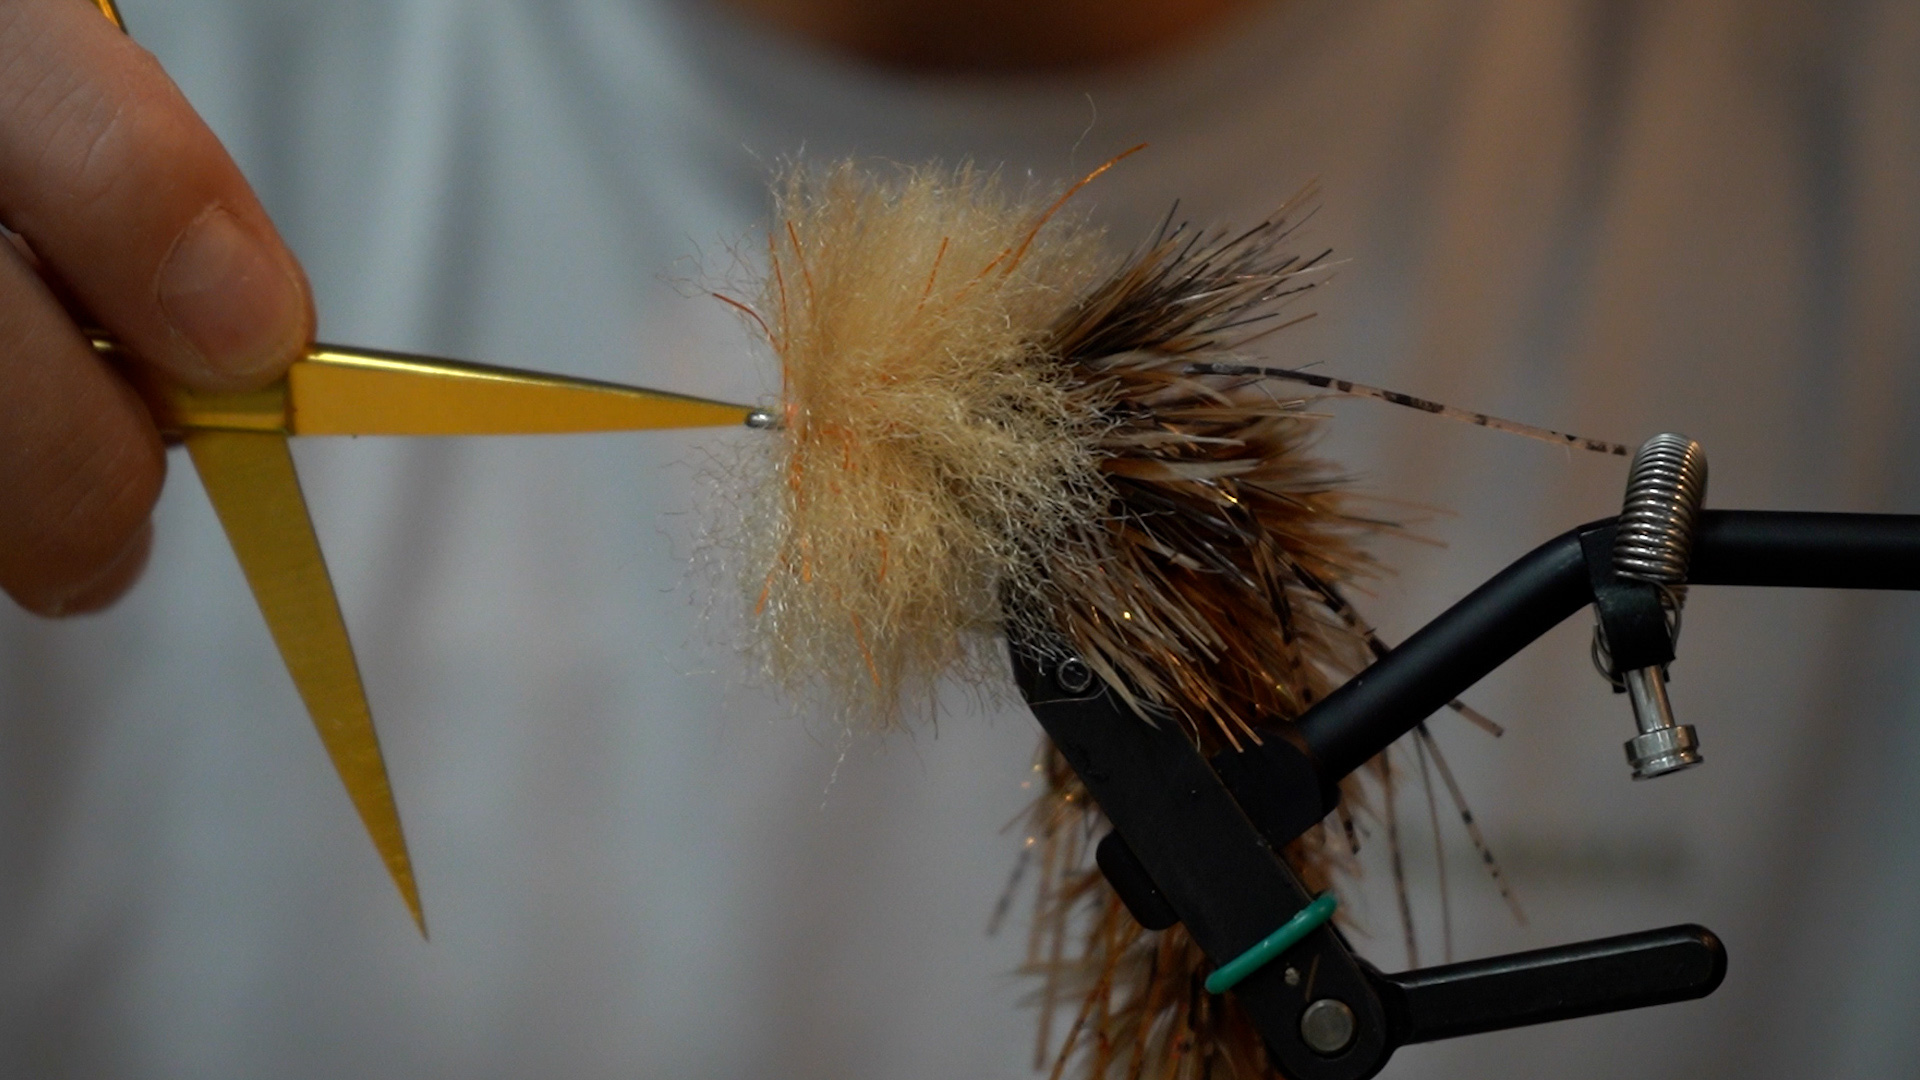
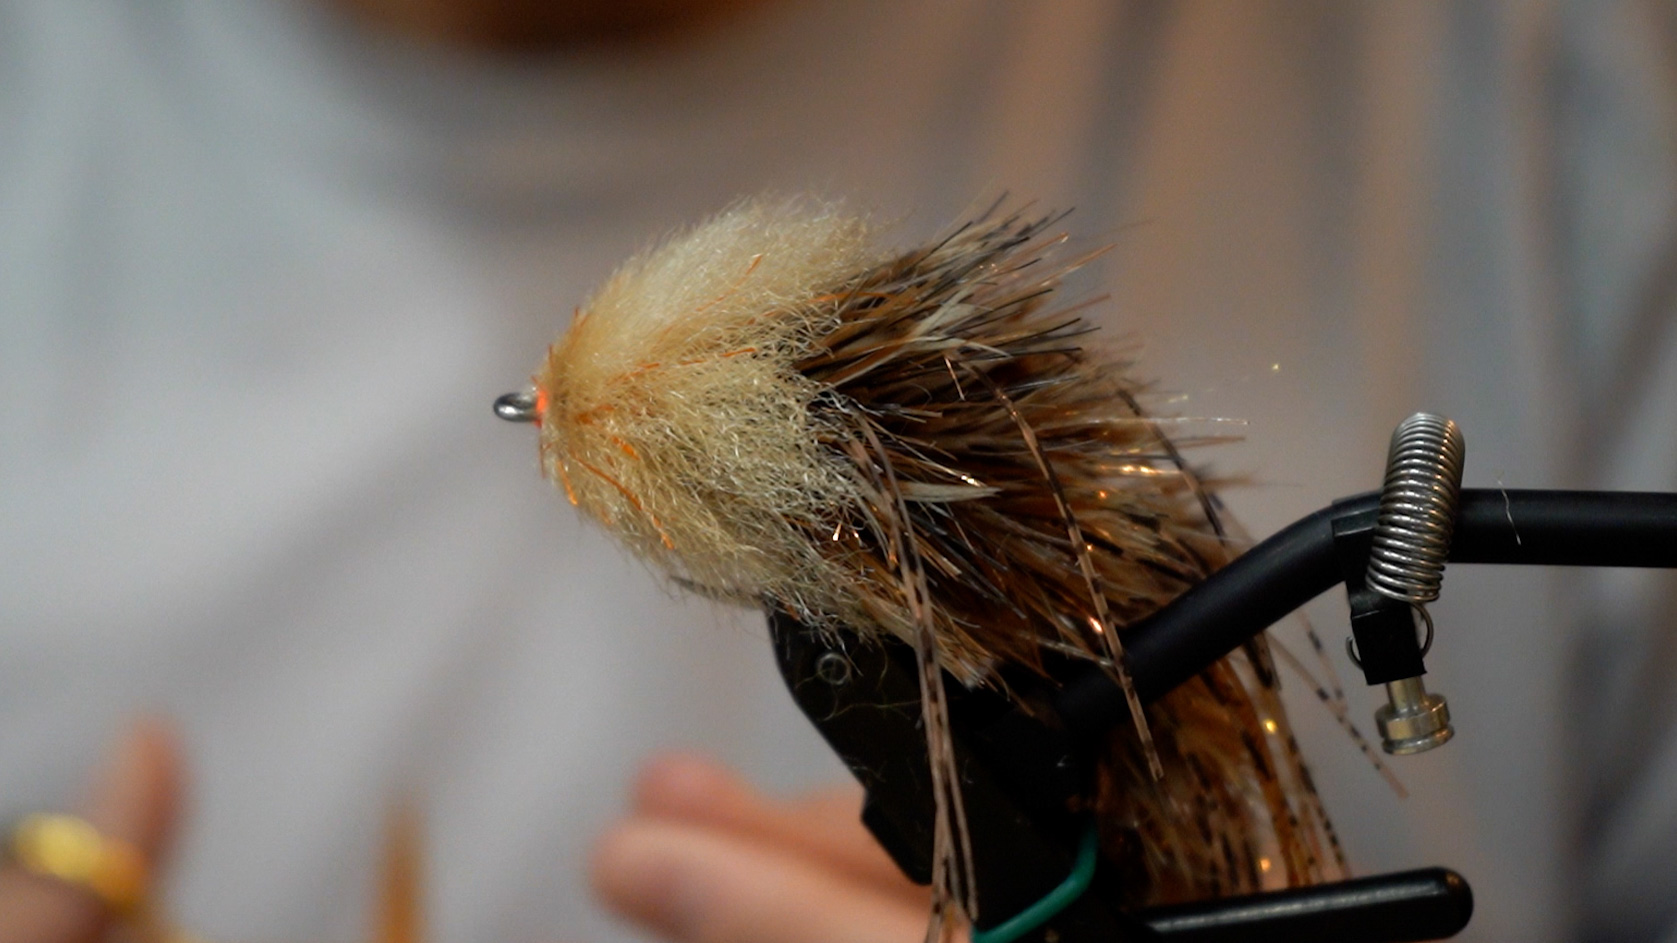
Since Jerry French, Ed Ward and crew created the original Intruder in the early 90’s, it has been a staple pattern in the twohanded world. This pattern can also be incredible even for the single handed caster. What the Intruder focuses on is being sparse yet effective by providing a big presence in the water. I want to start this off by saying that the Intruder is a platform, a general blueprint if you will, for a fly. This means you can use whatever material you would like provided it follows a couple guidelines. The original pattern consisted of a front and rear station and should be tied as sparsely as possible usually with ostrich somewhere in the mix.
This specific pattern I tied utilizes a couple different techniques such as dubbing loops, composite loops and tinsel to enhance UV reflectivity. When inserting your material into your loops, make sure that your proportions on either side are consistent, but understand that if something comes out it is okay, it just means that it didn’t want to party. When it comes to wrapping your dubbing loop up past the tinsel I try to make those wraps more open to give space to the tinsel. The thought here is that the UV from your dubbing will bounce off the silver tinsel thus increasing the UV reflectivity which I think is a pretty cool design to this fly without having to add a ton of other materials. Lastly, keep a cup of water near your vise. Wetting your loops will help you get all the material back and keep your wraps tight to each other. The Intruder has built itself upon creativity so don’t be afraid to try different materials, sometimes that can build the best designs!
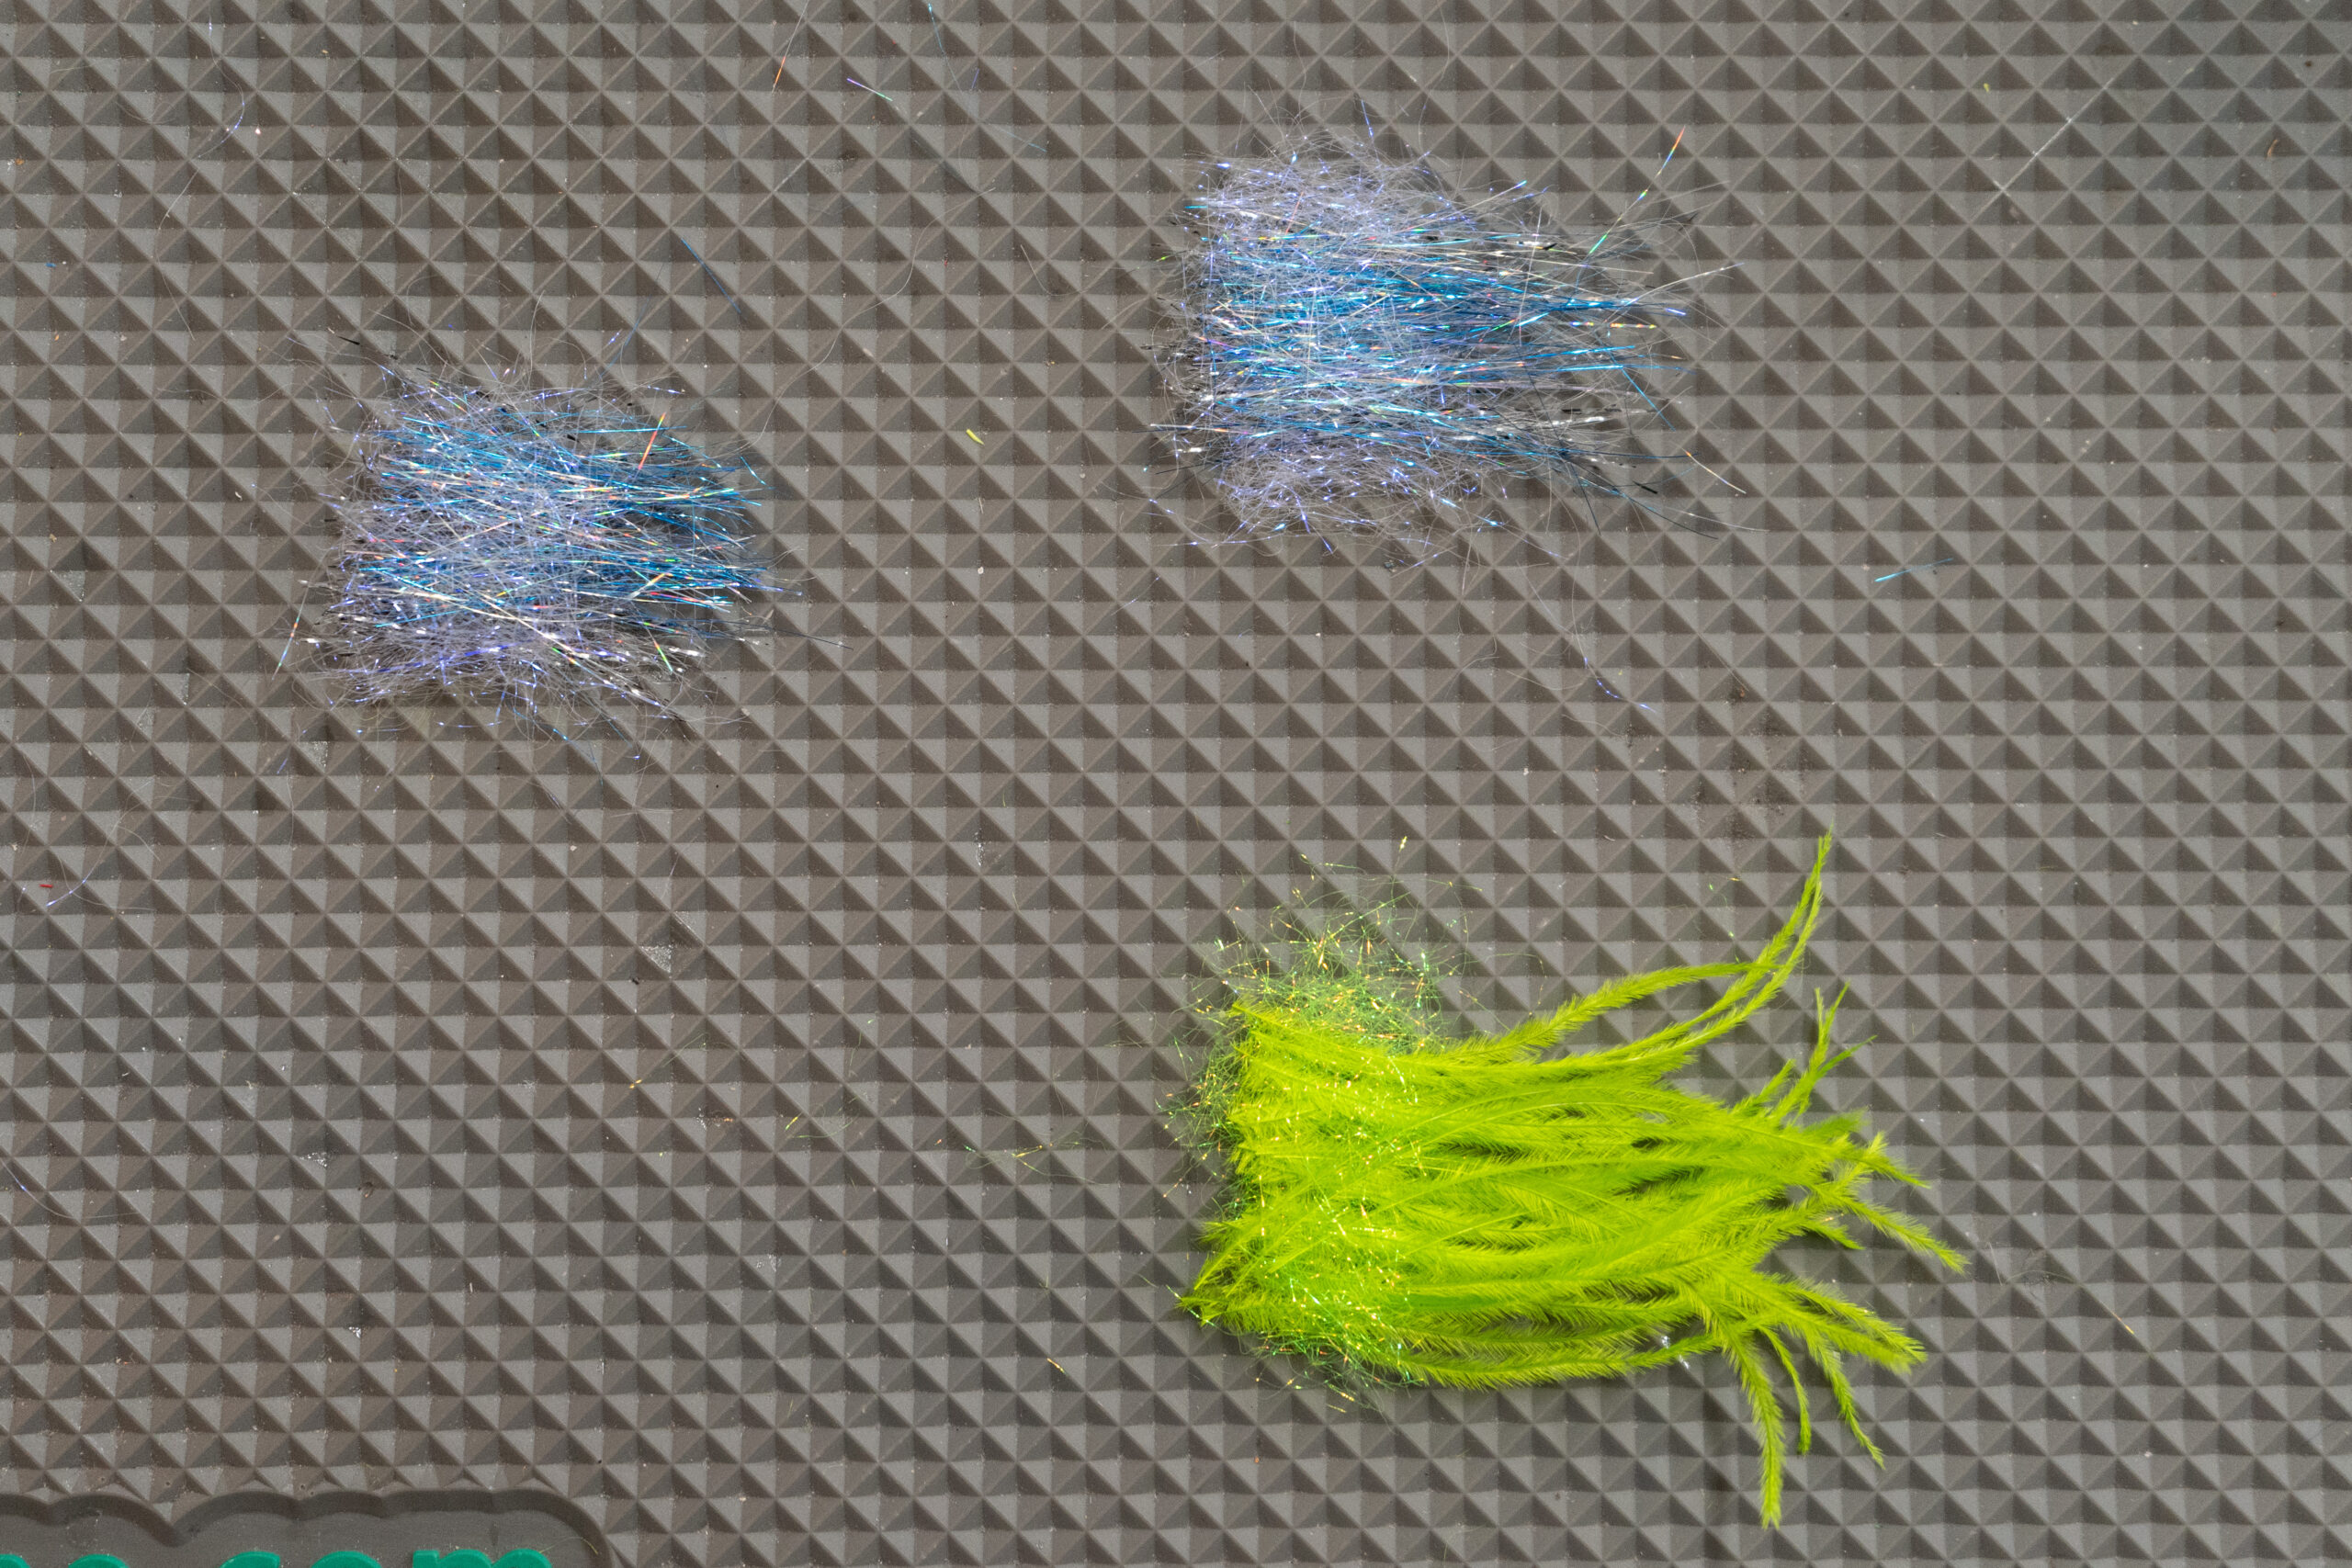
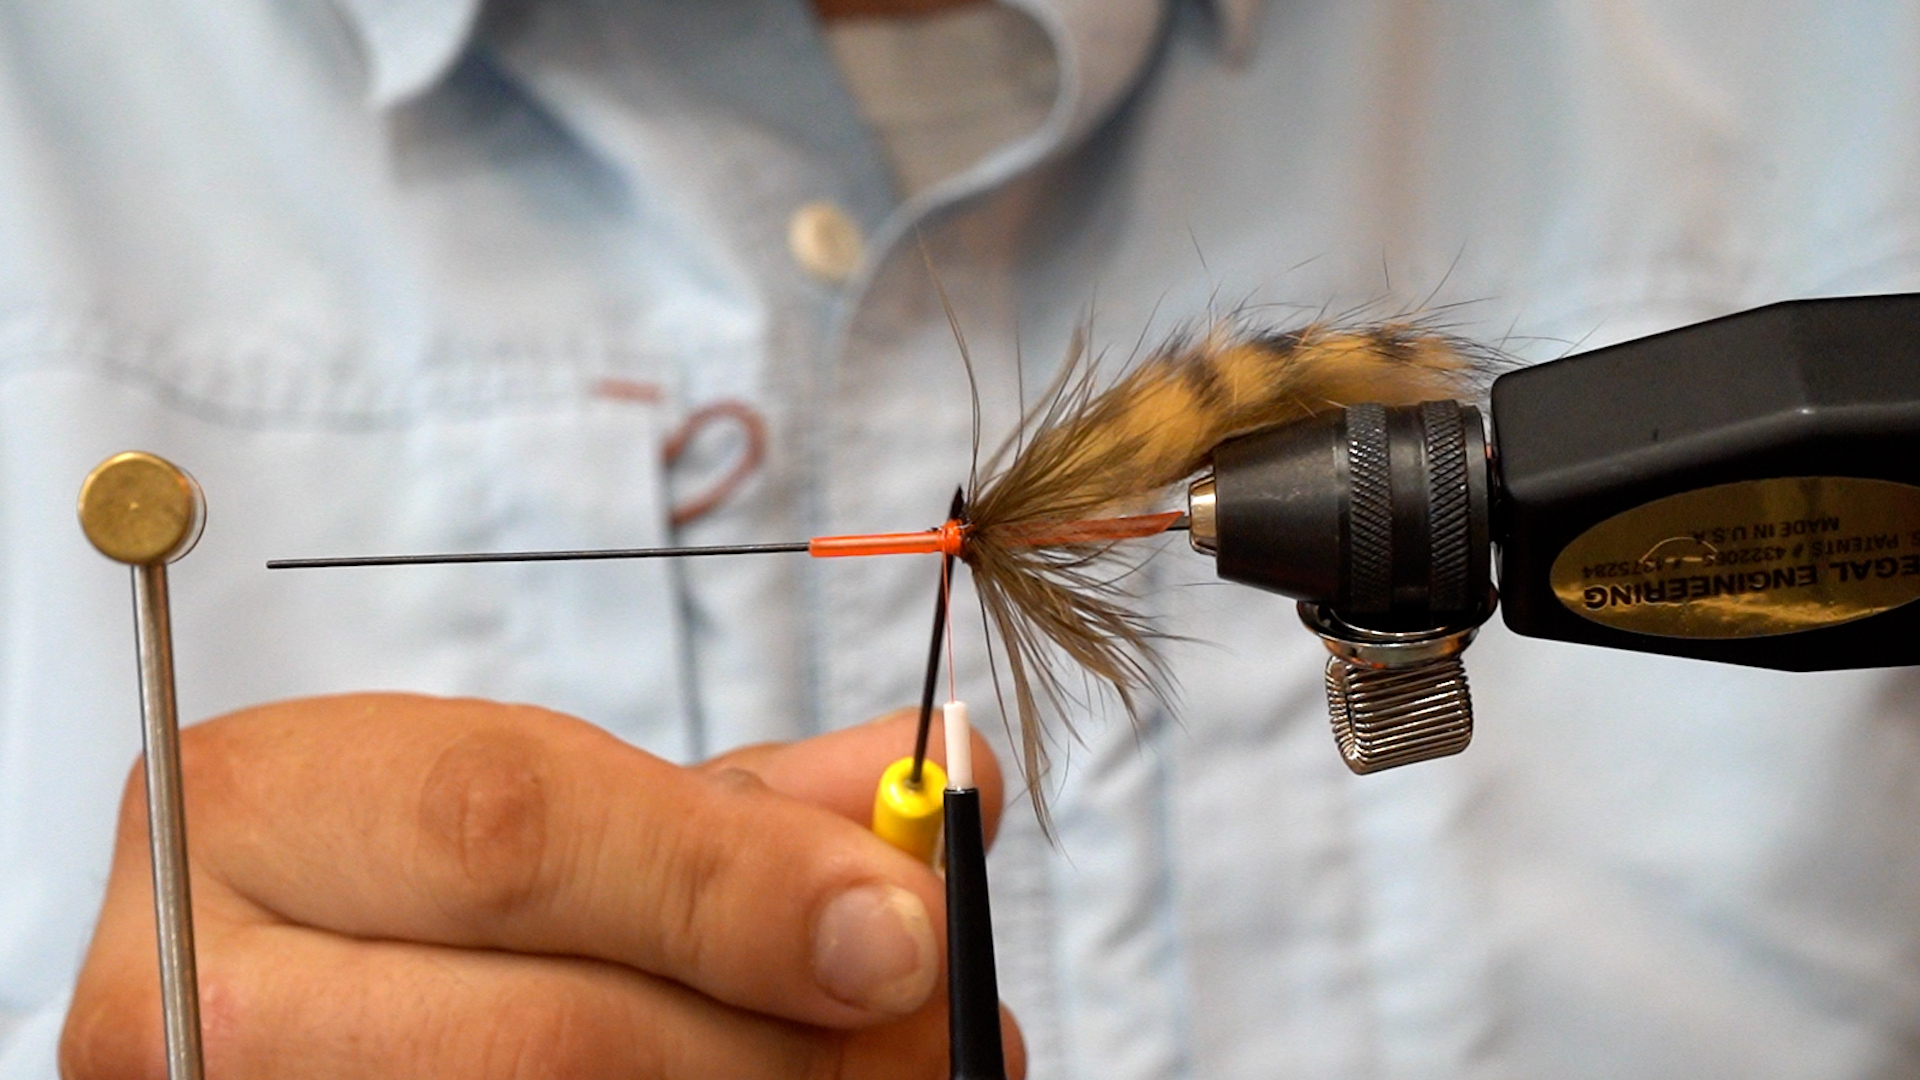
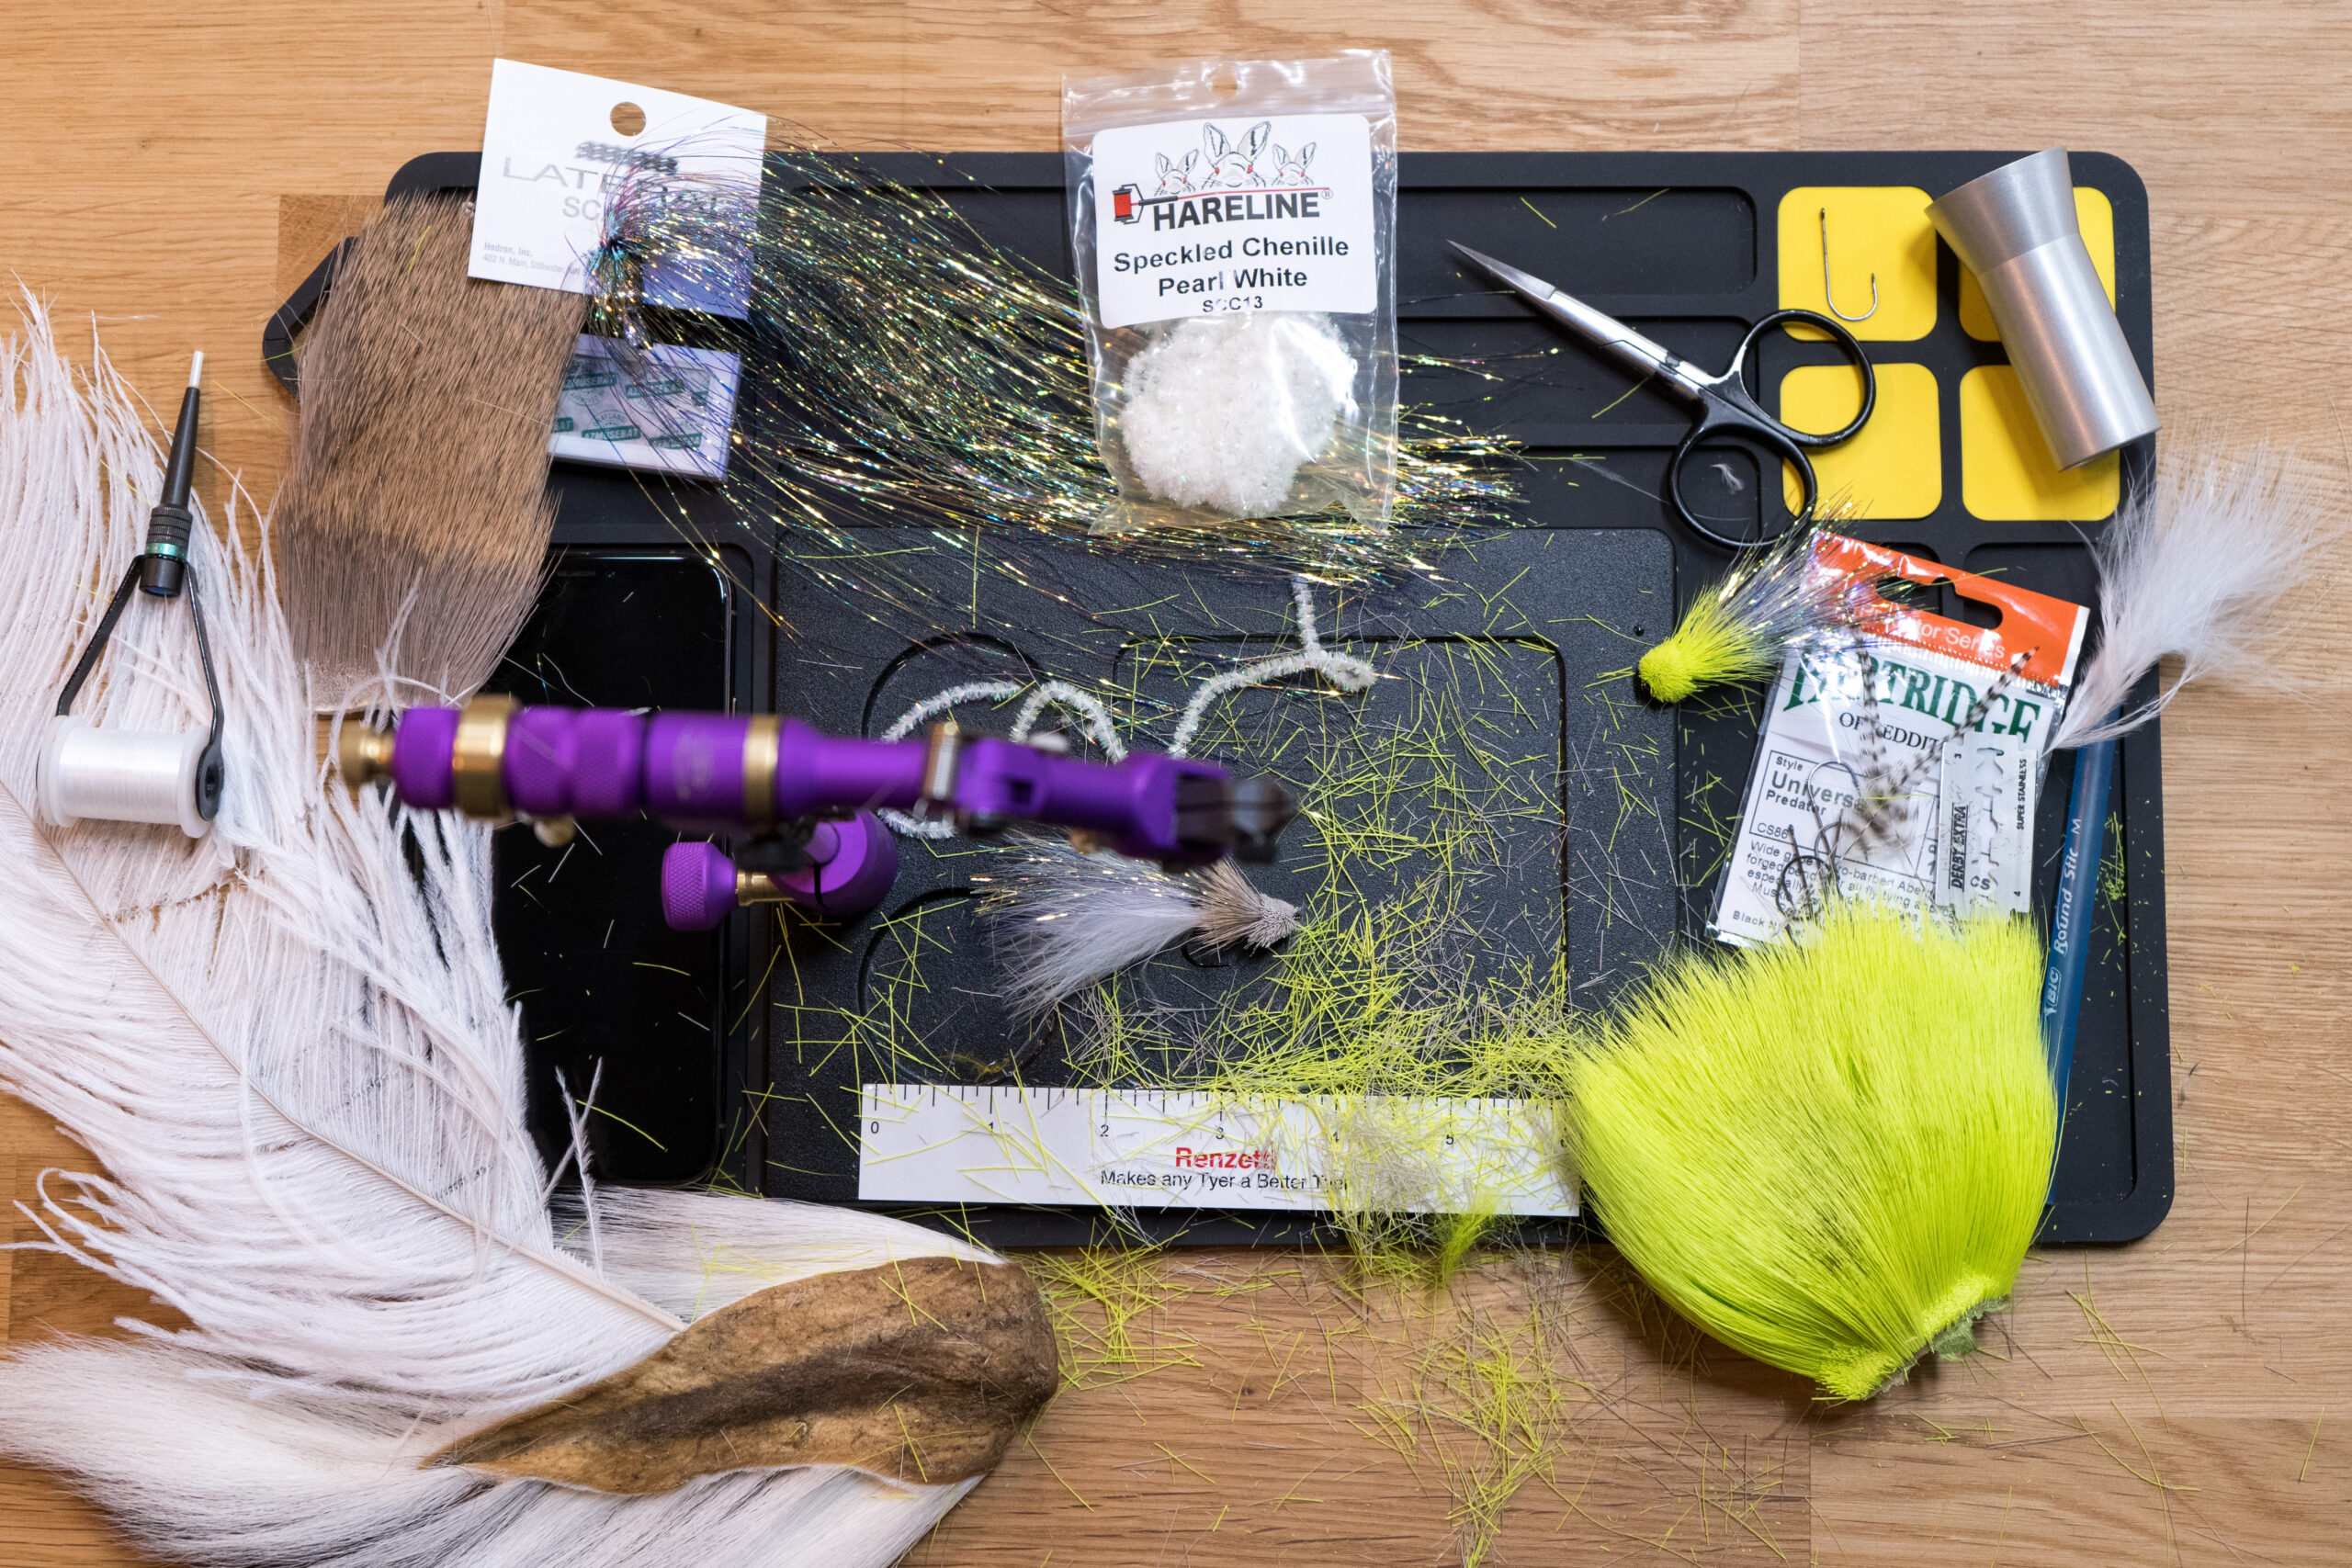
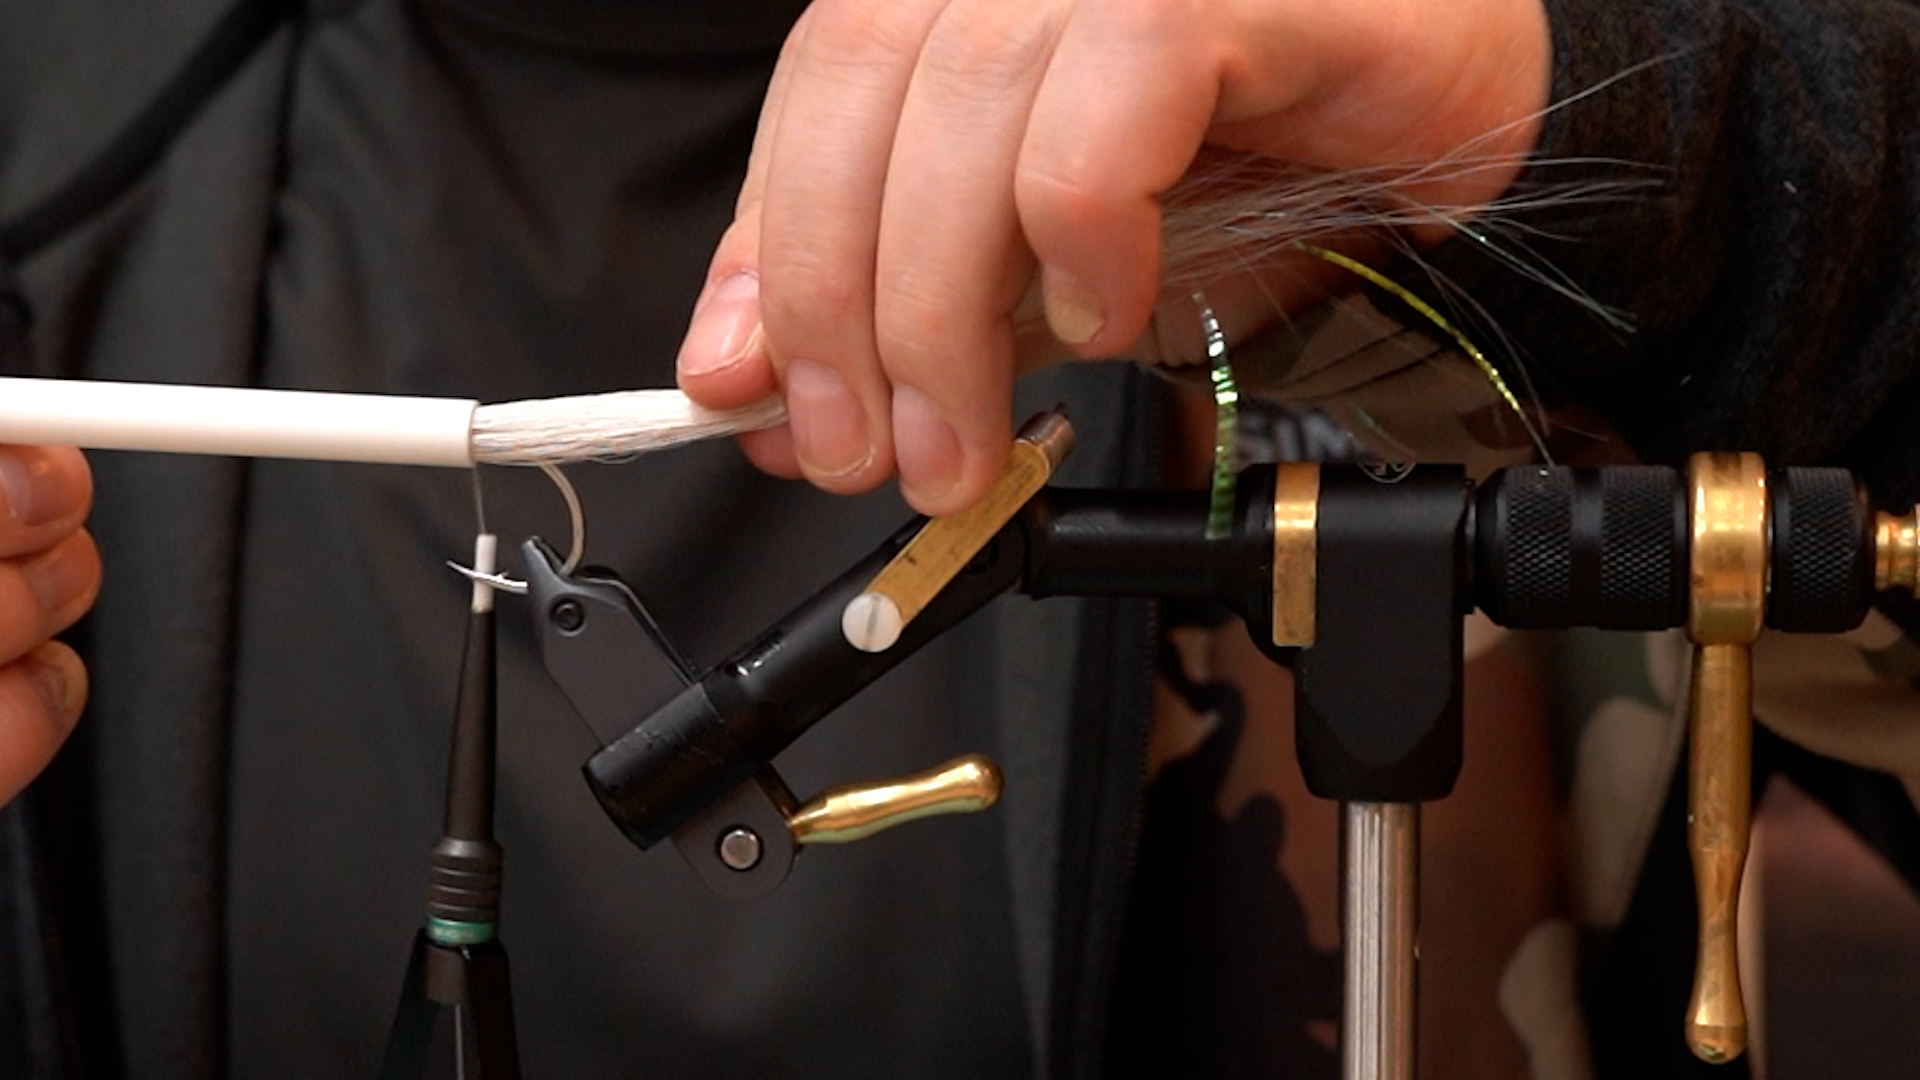
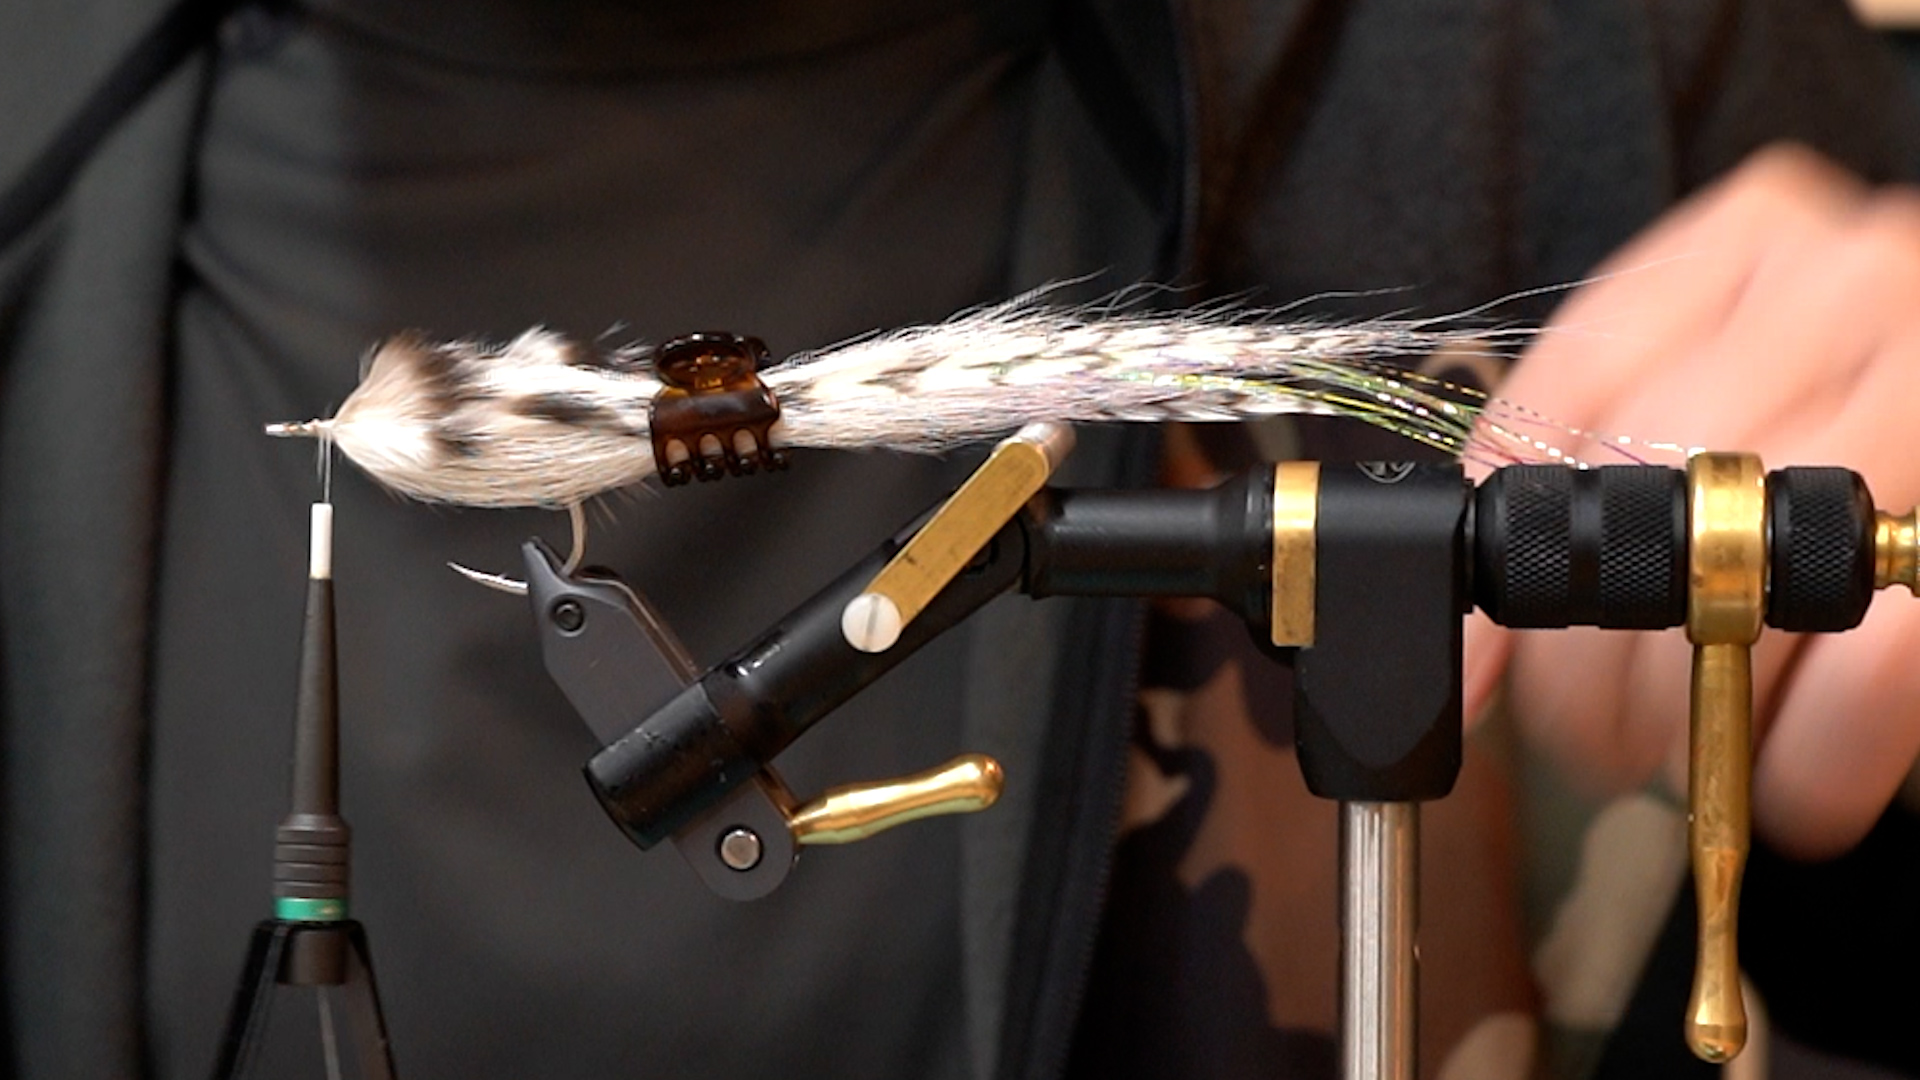
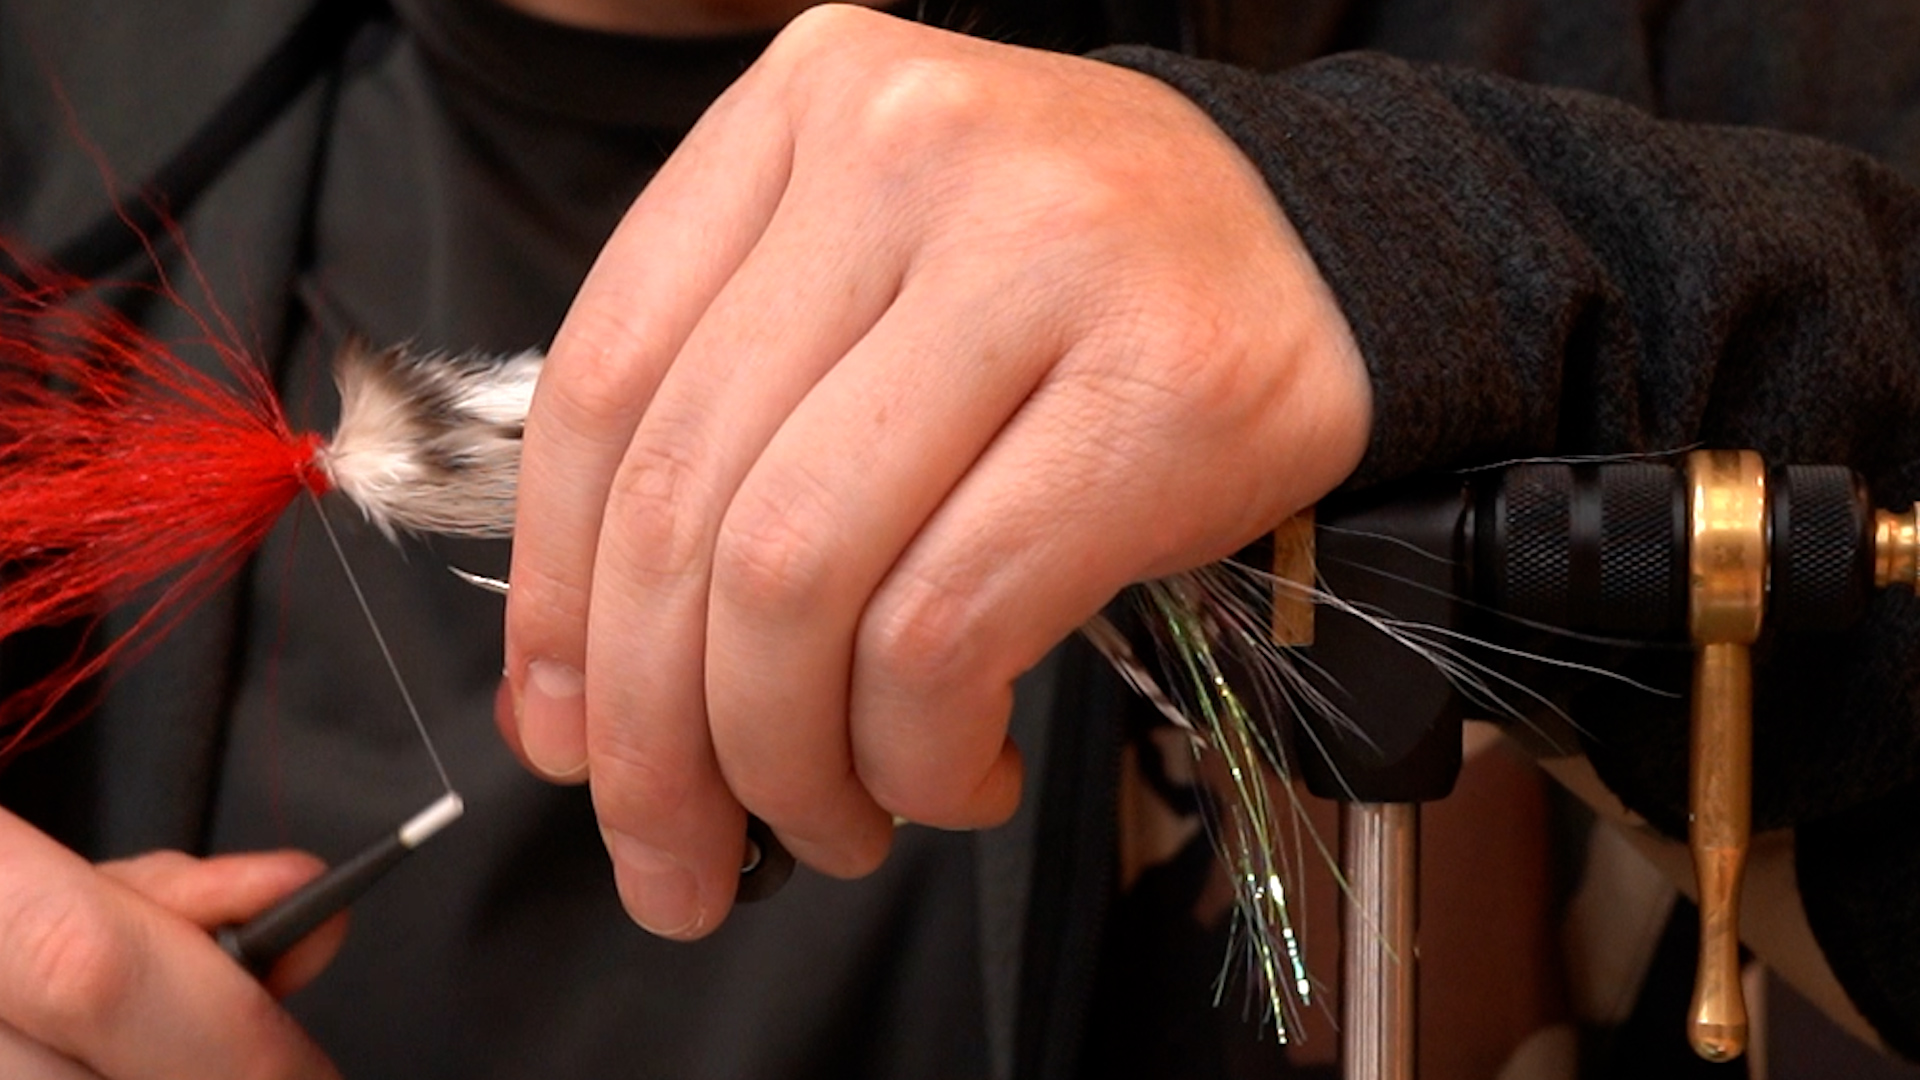
Far left is for the front shoulder station. Top right is for the back station. The bottom right is the hackle portion for the front station composite loop.
Step 1: Insert a 43mm shank into the vise and lay down a healthy amount of thread.
Step 2: Lash down the braid from your ultra rig kit and work the thread up the shank until you get to the returned eye. Snip the remainder of braid and secure it all down with another layer of thread.
Step 3: Work your thread up to the returned eye. Place the dumbbell eyes on the bottom of the returned eye and secure them in. Wrap your thread to the back of the shank and coat the braid and dumbbell eyes with Z-Ment.
Step 4: Create a dubbing loop about 4-5” inches long but never longer than 5” at the back of the shank. Next run dubbing wax along the thread and grab your Ice Dub/Predator wrap mix for the back station and insert it into the loop slightly off center or other words 60/40.
Step 5: Next use the shepherds hook from your Loon Gator Grip and twist your back station. As Jerry French always says “just add water”. Wet your fingers in a cup of water to help pull the material in your loop back as you proceed to wrap your loop up the shank. After you tie off your loop use your bodkin to poke out any trapped down material and hit it quickly with a dubbing brush.
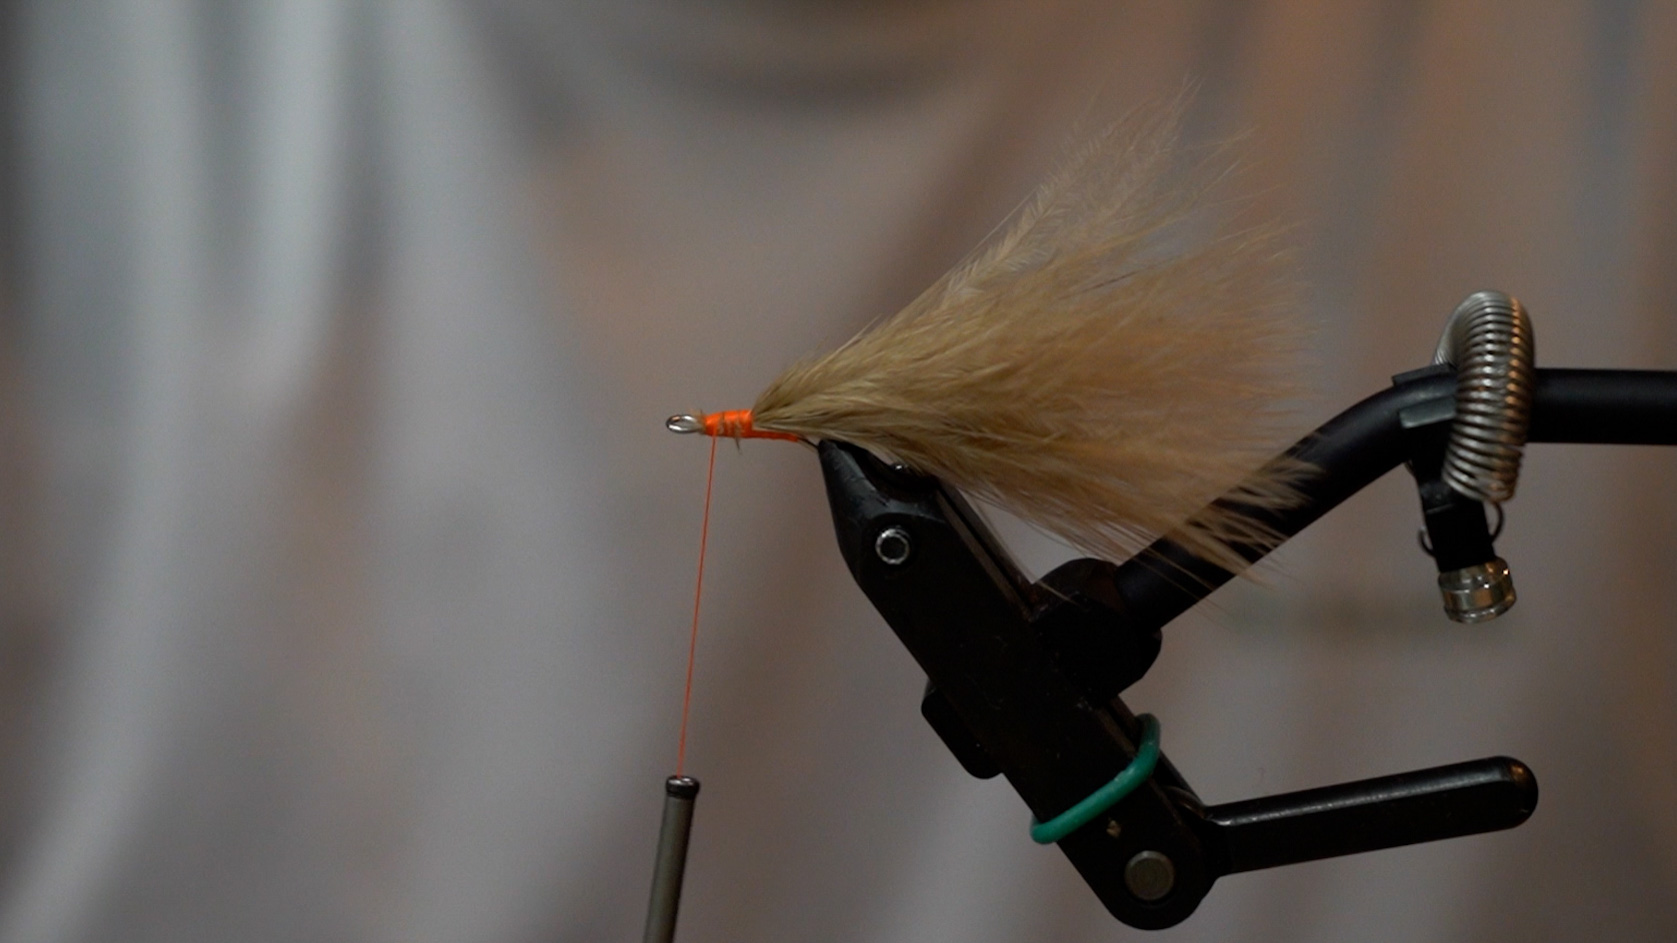
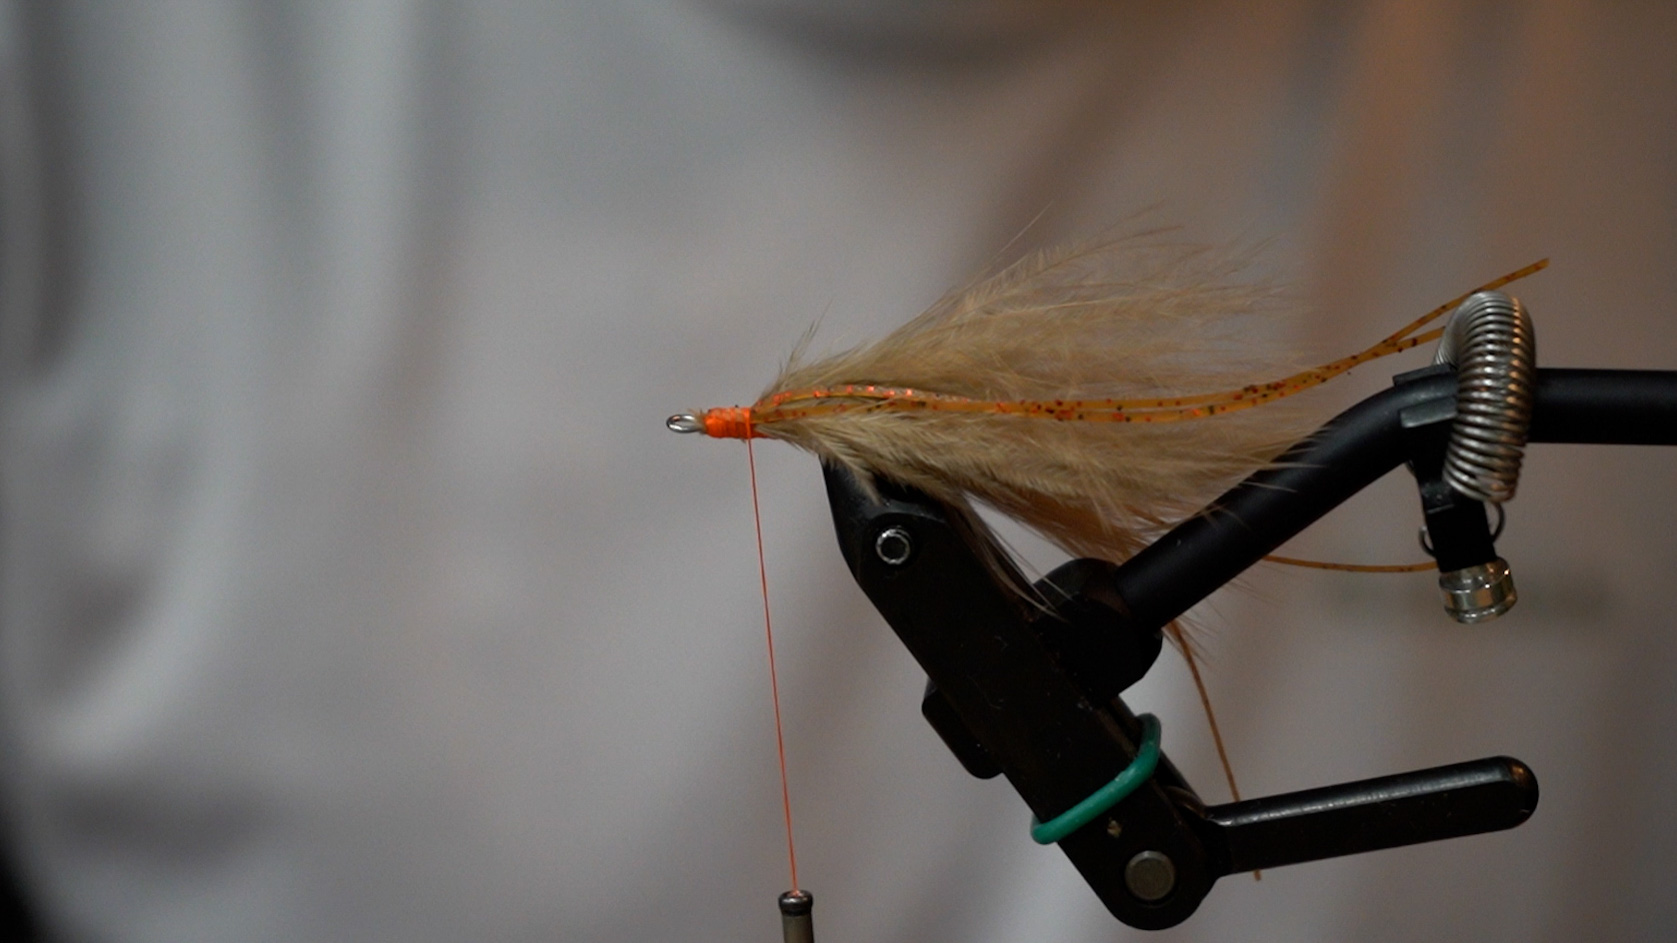
Step 6: On each side of your shank tie in 2-3 ostrich feathers that stretch slightly beyond your rear station.
Step 7: For this next step, I create a dubbing loop again about 4-5” in length and pin it back to get it out of the way. Next, I tie in large tinsel so when I wrap it up the shank the silver side will show. Move your thread forward leaving a little space behind the eyes.
Step 8: Wrap the tinsel up the shank making sure to lay it down in nice even even wraps slightly over one another. Tie off the tinsel where your thread is behind the eyes.
Step 9: Insert your Ice Dub into the dubbing loop you created at the back station, spin the loop and wrap forward with open wraps up the tinsel. You should have enough to create a small dubbing ball where your tinsel ends behind the eyes.
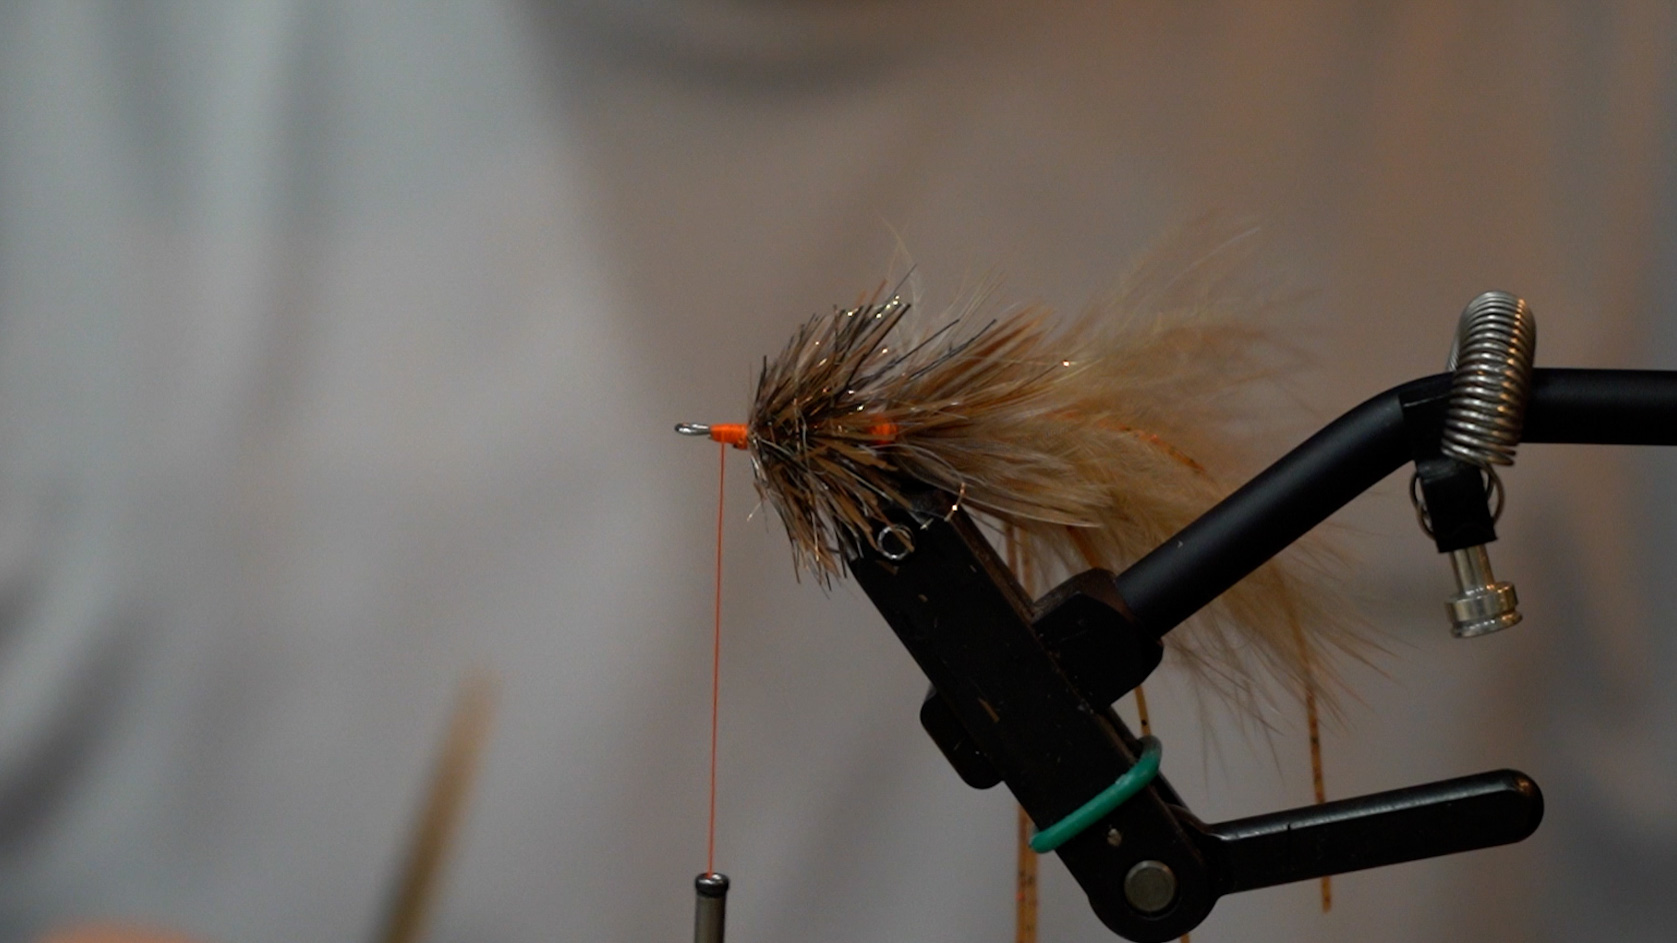
Step 10: Create a 5” loop for your final composite loop/front station. This will consist of Ice Dub, Predator Wrap and EP Sparkle. Run a healthy amount of dubbing wax on the thread. With one hand open the loop and insert the front shoulder/station so it sits off center or 60/40 in the loop. Once that’s in, place your front hackle into the loop below your shoulder. The front hackle is Ice Dub and Ostrich. Use your bodkin to fix anything that’s too uneven and make sure that your ostrich in your forward hackle sits way off center or 90/10 in the loop. Next twist up your loop!
Step 11: Wet the material while folding it back and palmer it forward with tight side-by-side wraps. You should be able to wrap just the bare thread at the end of the loop past the eyes and secure it down. Use your bodkin again to pick out any material trapped down and give it a good brush forward and back. Do not worry if any material falls out, it just wasn’t meant to be.
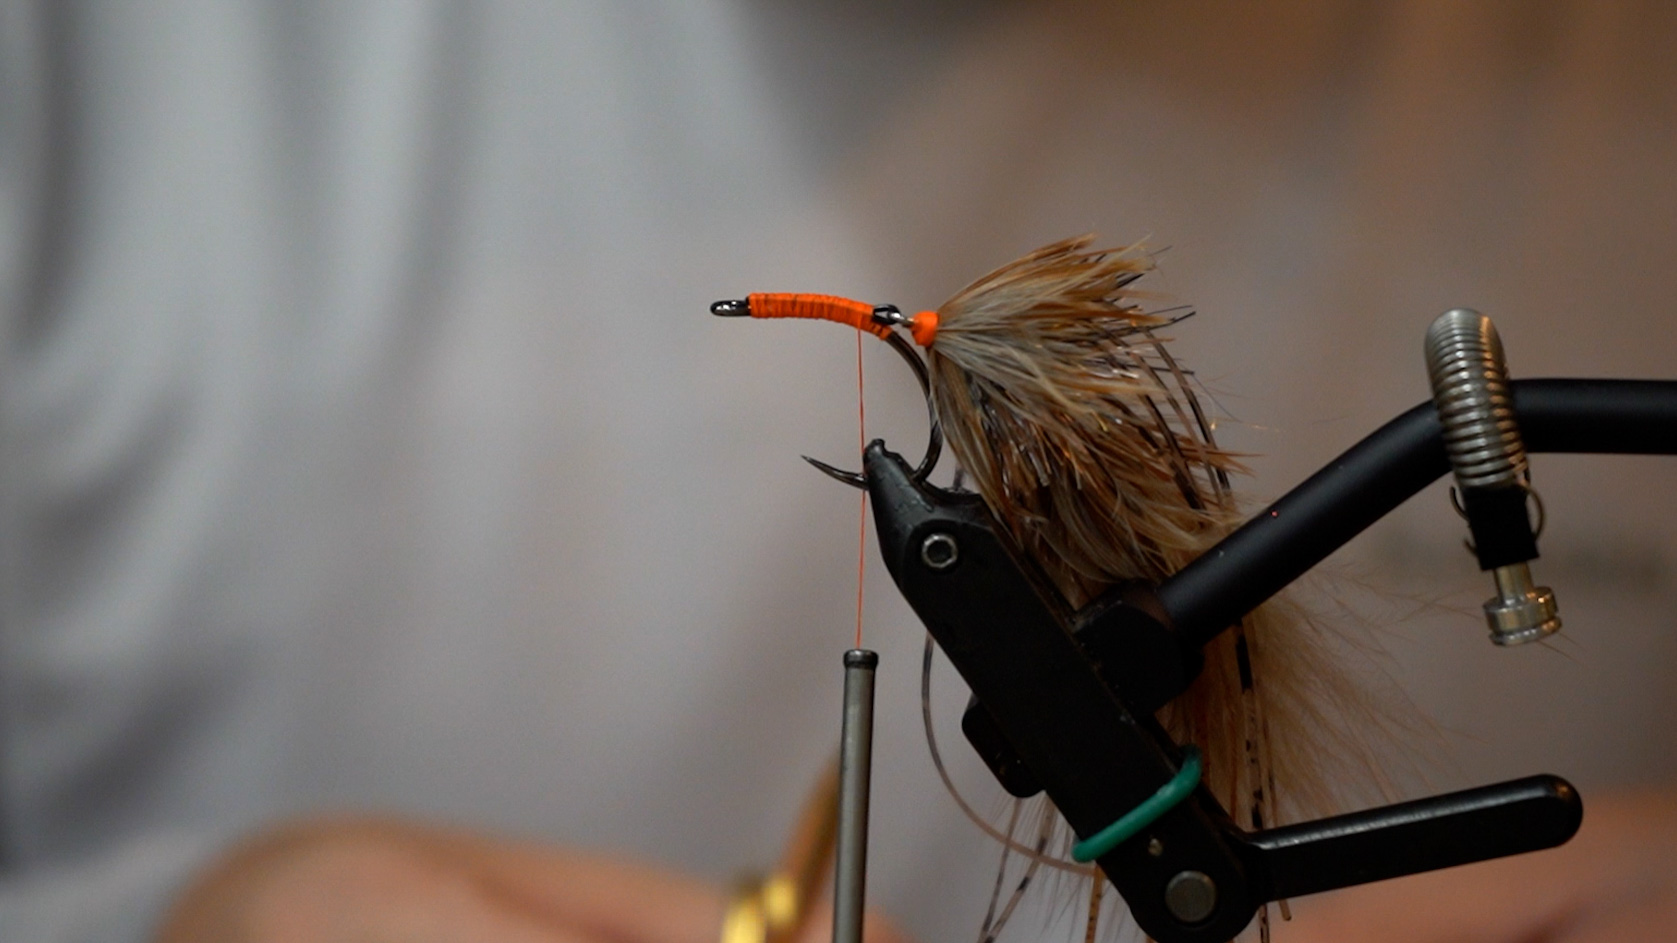
Step 12: Tie in 6 pieces of the black ostrich feathers in front of the dumbbell eyes. Make sure the length of the ostrich stretches back to your rear station. This is going to act as the wing of your fly.
Step 13: Next, on each side of the fly, tie in one of the feathers from your grizzly saddles. Make sure the length stretches back to your rear station. I like to have them splayed out from the sides a touch but you can also tie them in so they sit straight back on the sides of the fly.
Step 14: Whip finish and put down a layer of bone dry. Hit the resin with your light and your
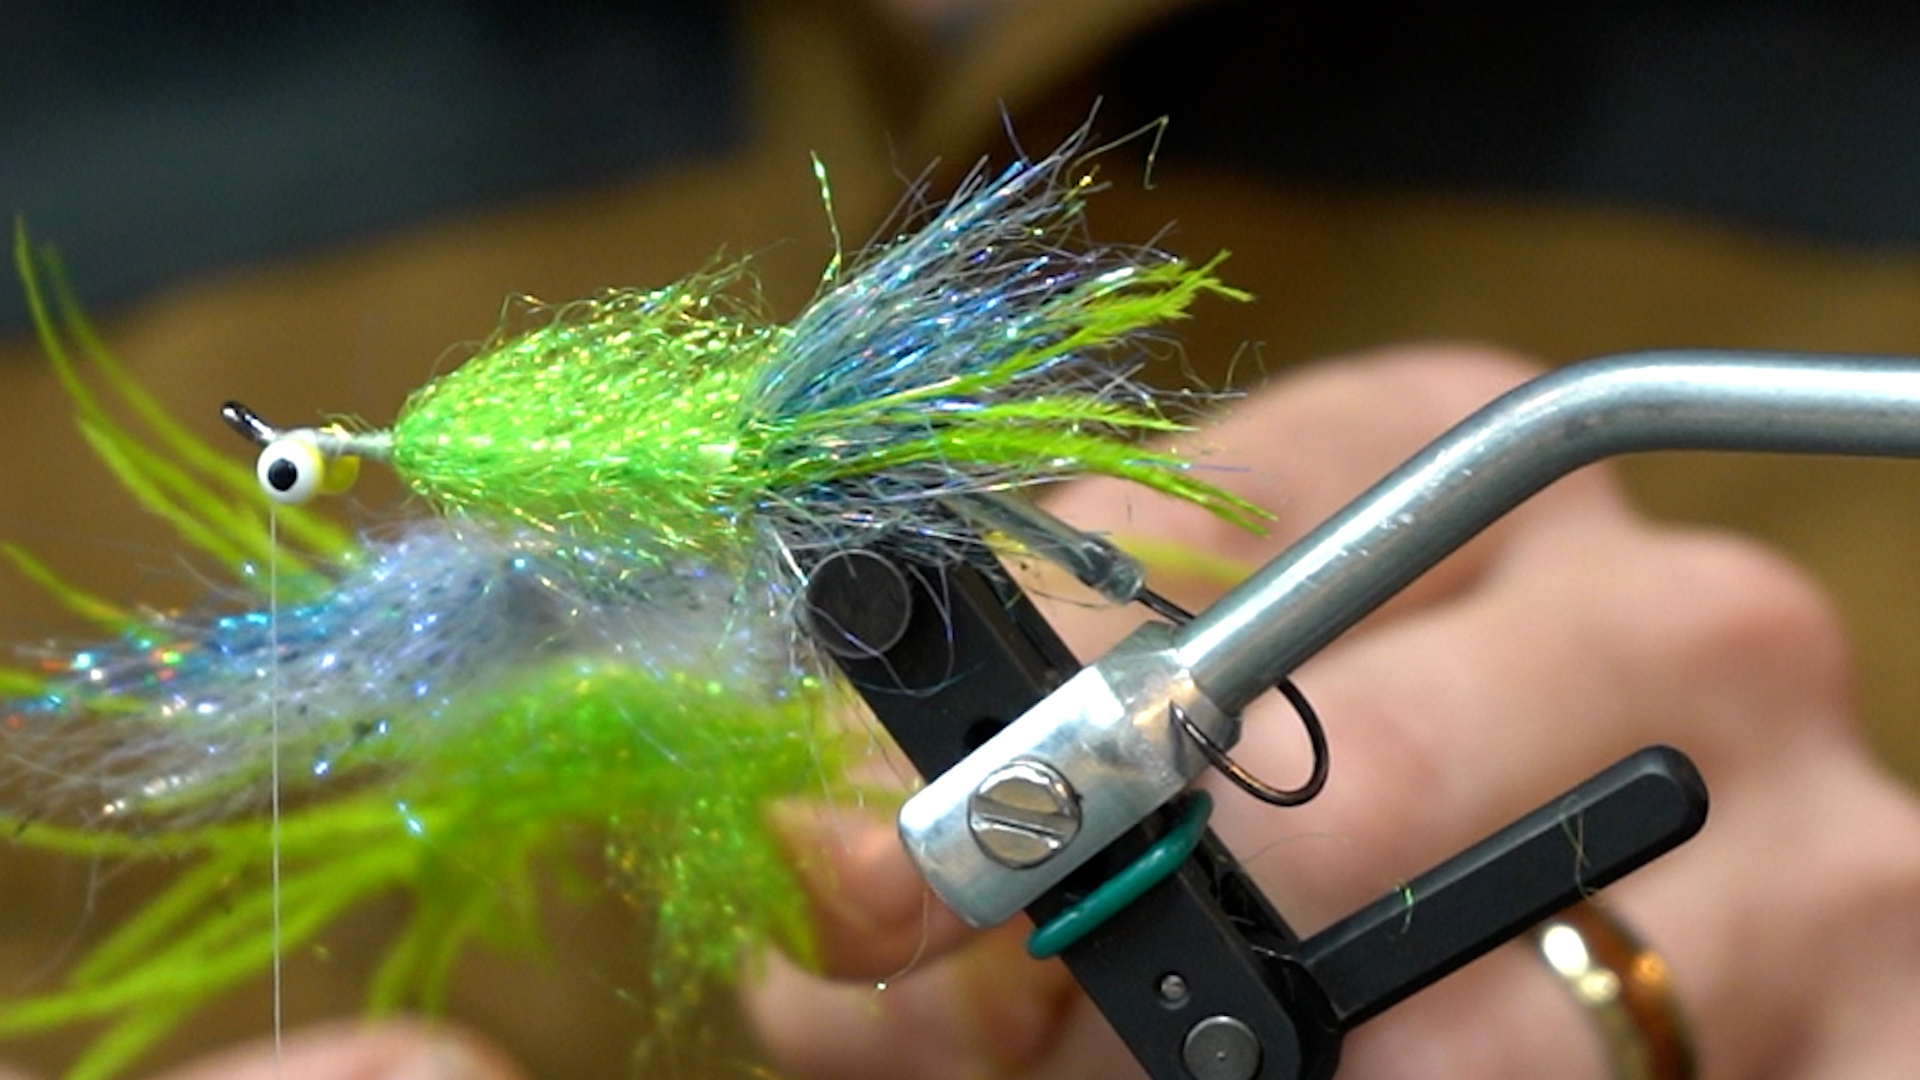
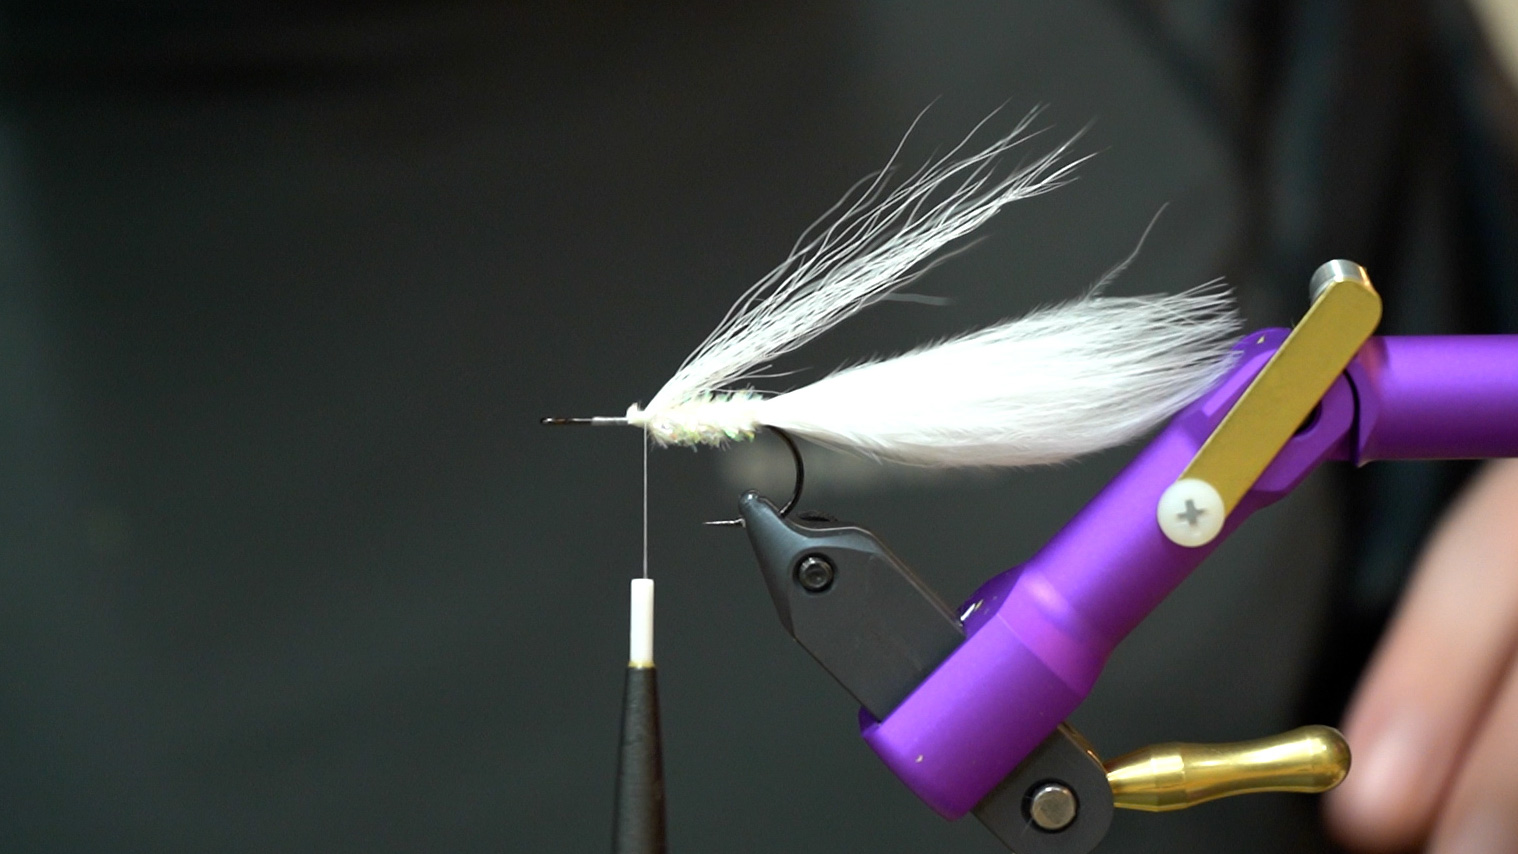
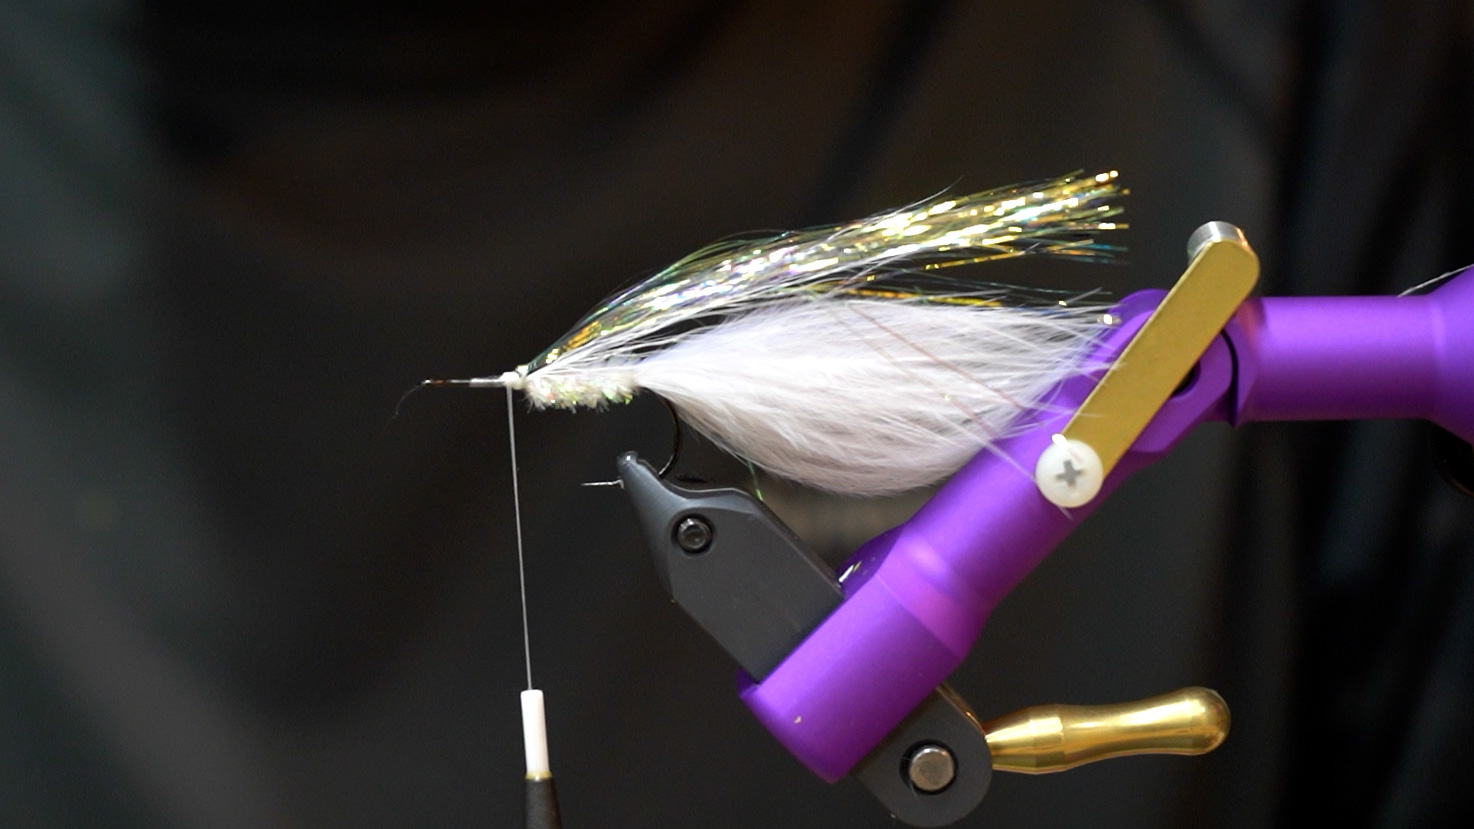
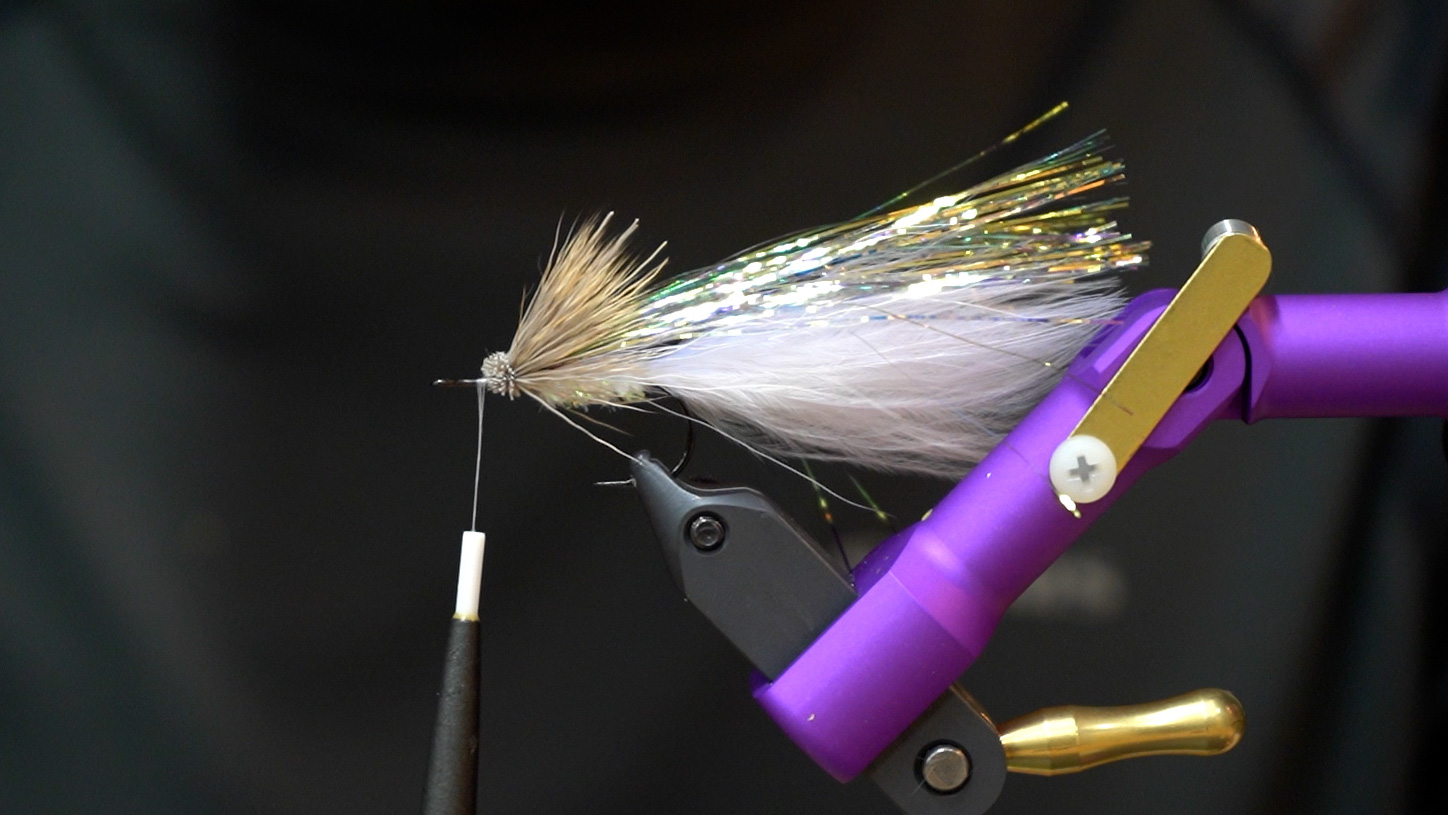
The Super Shad is my take on the ever popular Zoom Super Fluke. For anyone who doesn’t know, the Zoom Super Fluke is a soft plastic jerkbait. It was designed to swim in a very erratic fashion when pulled on and also look like a dying baitfish on the pause. It doesn’t take fishing the Super Fluke very long to figure out that fish love to eat this lure after it is stopped. By playing a game with the overall weight of the hook, you could determine how fast or slow the fluke would sink at rest. Getting this sink rate dialed in on any given day often times is the difference between that bait catching a fish or two or that bait flat out putting the smackdown on fish.
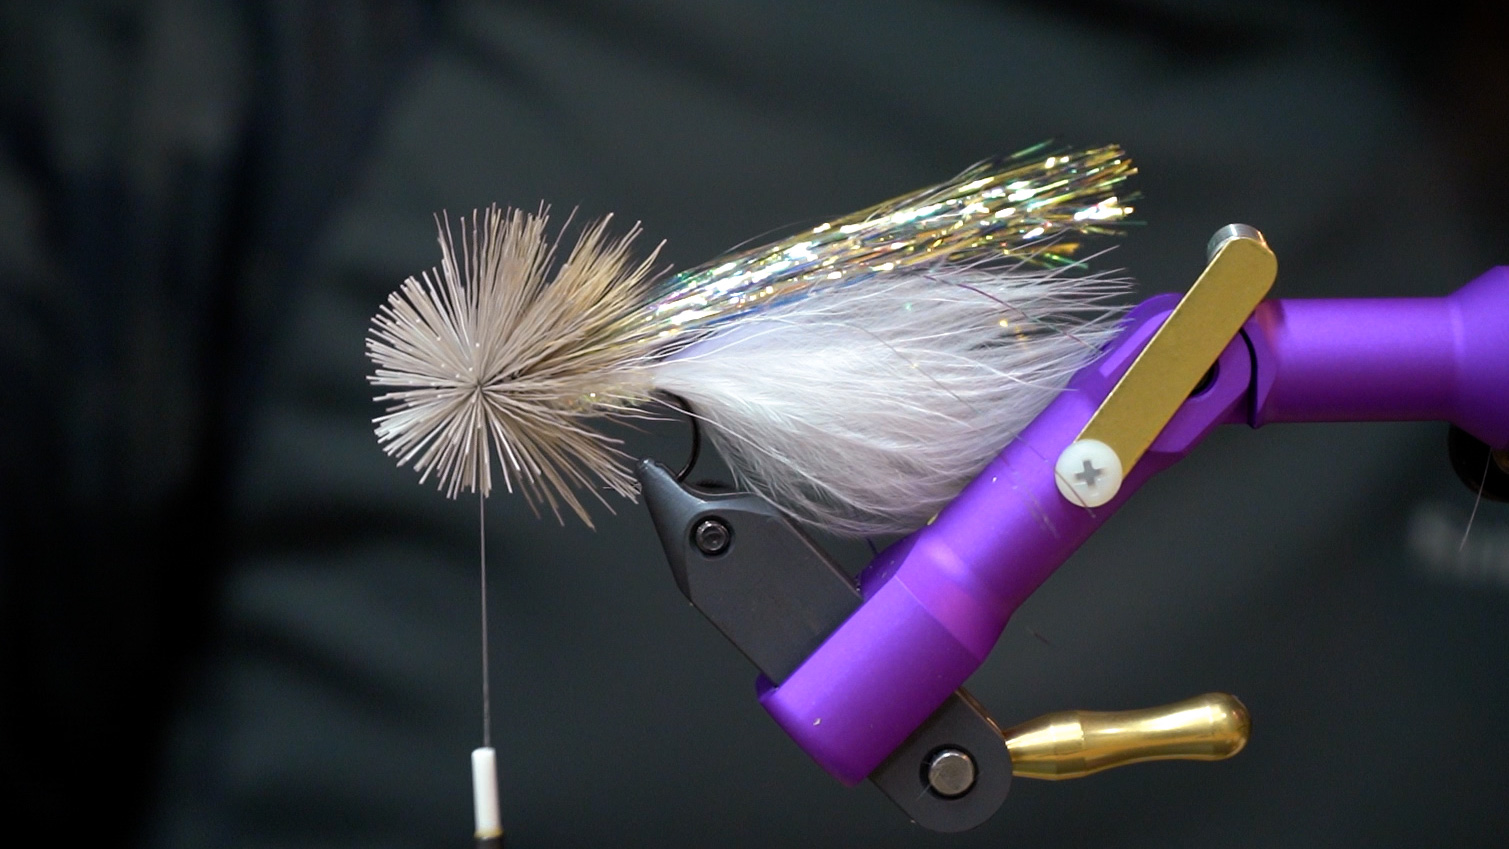
When I first started playing around with this fly pattern, I wanted the fly to sink in a way that closely resembled the Super Fluke. That is, rather than a head dive, I wanted more of a horizontal shimmy. If you look at the tail design of this fly the saddles are tied in “tented style” which means they come together like an upside down V. When tied this way it allows the feather to cup and cradle water as it drops through the water column. This creates a really nice wobble or roll to the fly on the way down. Also, to increase the amount of water being grabbed while sinking, I added a stiff pair of flank feathers resembling Galloup’s Zoo Cougar or Schultzy’s Swingin’ D right off the back of the fly. This also aids in the flies ability to rock and move in a side to side fashion while sinking. The head design was simple. I knew I wanted it to be shaped mostly flat and fairly tall like a shad. The durability and ease of shaping you can achieve with a brush made it the obvious choice. Through trial and error I realized the fly’s head was not dense and buoyant enough. It would either sink to quickly head first, causing the fly to sink to vertically or the head was too buoyant and wouldn’t sink enough. Through more research and talking with some people far more talented than myself (Blane Chocklett and Mike Schultz) I learned about the use of the EP Crustaceous Brush. This brush brought the perfect combination of density and buoyancy to the fly and was responsible for achieving the horizontal fall I desired. Now, once on the water you can refine and dial in the sink rate further with the use of keels and varying amounts of lead wire around the bend of the hook.
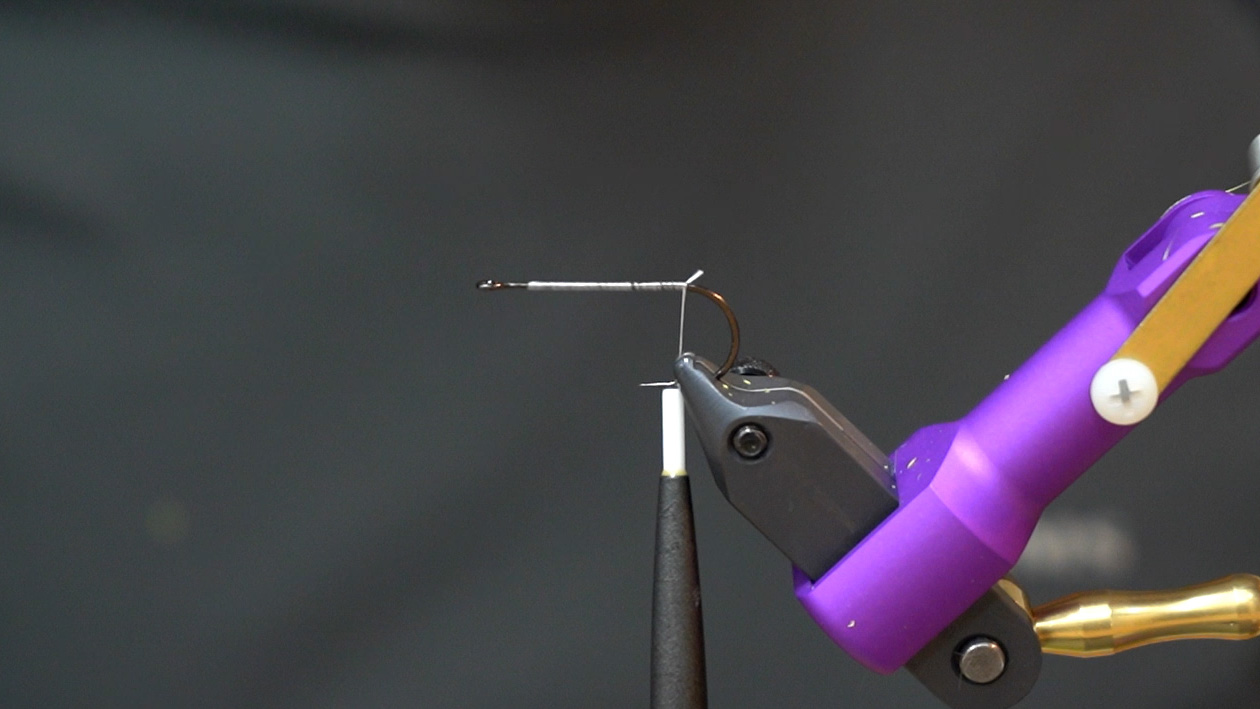
Step 1: Insert a 20mm shank into your vise and lay down a solid foundation of thread from front to back.
Step 2: Tie in Chocklett’s Finesse Chenille- Large and wrap very tight side by side wraps until you reach the middle of the hook and tie off.
Step 3
: Tie in 2 to 3 saddles on each side of the hook, favoring the upper part of the hook shank. When tying in you want each set of feathers to angle in and lean into each other so that once tied in they resemble a tent or and upside down V.
Step 4: Marry two schlappen feathers together and and palmer them up the remainder of the shank and tie off.
Step 5: Select two straight Mallard or Silver Pheasant Flank feathers. I can not overstate the importance of getting two straight symmetrical flank feathers. This will play a big role in the action of the fly being right and not twisted or out of balance.
Step 6: Insert the SA280 #2/0 hook into your vise. At this time you can attach and wrap your .025 lead wire to the bend or after the fly has been tied and your on the water. It’s nice having the flexibility to dial in your keel weight once you are on the water fishing but once you tie this fly enough you’ll just know how much lead wire you will need to make the fly ride the way you want in the water. Tie in your articulation wire on top of the hook and secure it down into the bend just enough so that when you bring it back around to secure it, your loop sits flush with the eye of your hook.
Step 7: Select a long webby schlappen feather and tie in with a piece of UV Gold Polar Chenille- large. Before you wrap this up the hook you will want to spin the two together creating a “brush” or what some people call a “complex twist”. This is an old Lefty Kreh trick that makes for an easier and more durable fly. Once twisted together, palmer using tight side by side wraps up the hook shank until you reach just above the hook point and tie off.
Step 8: Cut off several bundles of craft fur and hand stack them together so the tips are somewhat aligned. Lay on top of the hook reverse style with the tips pointing forward and distribute the material evenly 360 degrees around the hook. You’ll want to leave a fair amount of the butts on the craft fur as it will serve as a nice support for the longer fibers when you pull them backwards into place. Pull the fibers backwards and secure with thread wraps creating what is known as a “bullet tie”
Step 9: This step is totally optional but I think it adds a nice look and texture to the fly. Select the largest and widest Mallard Flank feather you can find and tie in by the tip and palmer over the “bullet tie”. This will add a nice mottled effect to the finished fly.
Step 10: Tie in the EP Crustaceous Brush just in front of your bullet tie of craft fur. Make touching side by side wraps all the way forward until you reach the eye of the hook and tie off. Pick out any of the fibers that became trapped during the wrapping process. Take your time with this and make sure all the fibers are brushed and picked out as it will make trimming much easier.
Step 11: Make a couple of rough cuts along the side (cheeks) of the fly. This will begin to create the tall flat profile. When the sides are cut somewhat flat lay down a small dollop of Loctite Gel and glue 3D eyes into place.
Step 12: Once the eyes have been glued into place, use your scissors and start to trim the head of the fly. Take your time and think about the shape you are trying to achieve. Little by little the shape will come to you. When you are finished, walk away from the fly before you cut too much off and you have to start all over!
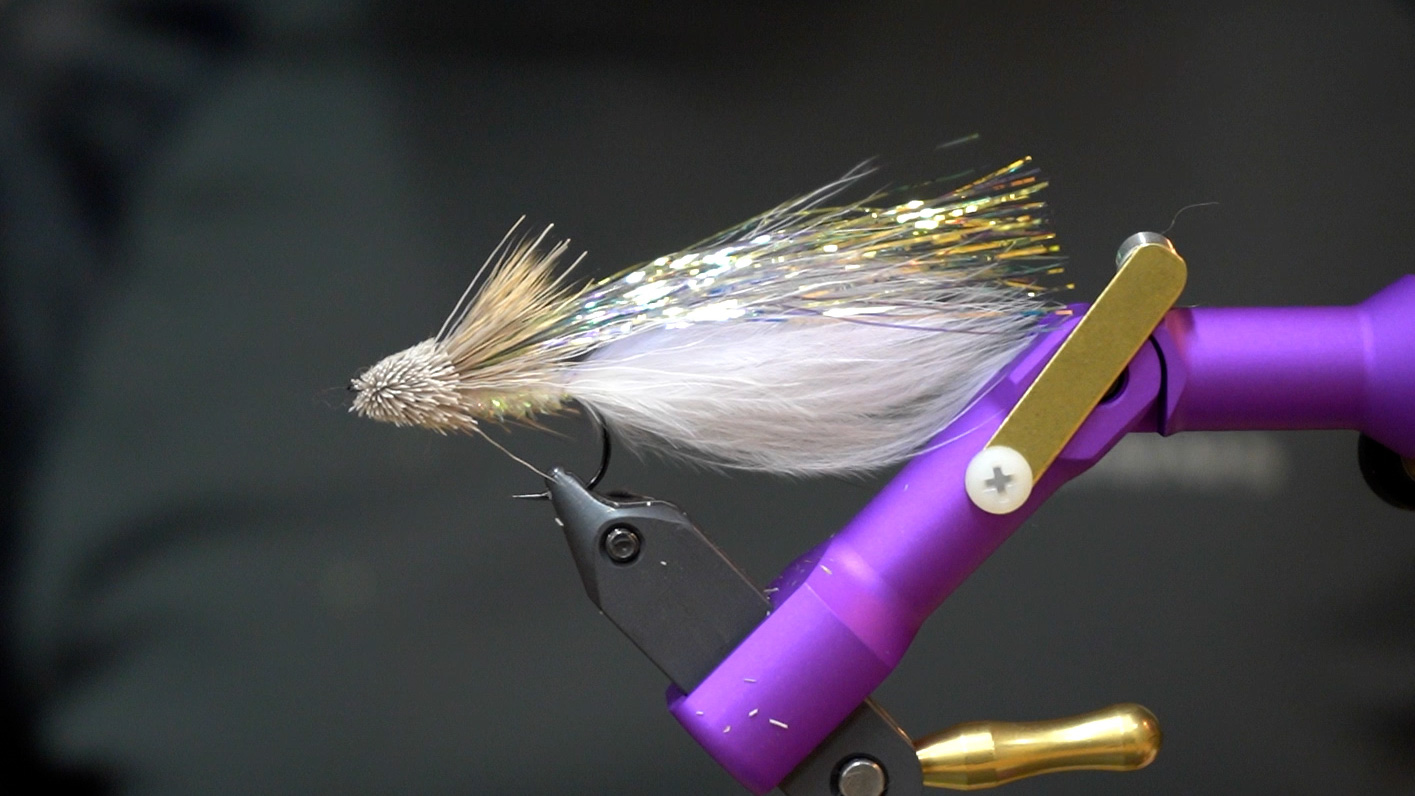
Dahlberg’s Flashdancer is a fly that should need no introduction but it certainly is less popular and not nearly as well known as the Dahlberg Diver, which is arguably the greatest topwater contribution to the world of fly fishing. However one statement that can not be argued, in my humble opinion, is that Larry Dahlberg has and is the greatest mind in fishing PERIOD! As a young child, I can remember watching and recording every Saturday, on VHS I might add, Larry’s Hunt for Big Fish. This show as well as The Walker’s Cay Chronicles were single handedly responsible for shaping the course of my life. I can remember certain segments where Larry wold tie flies or talk about certain patterns. Several of them stuck with me but I can vividly remember the Flashdancer and the underwater footage of it swimming and rebounding through the water column. It was completely mesmerizing! I had never seen anything like it up to that point in my life and I immediately had to learn how to tie it so that it could be applied in my day to day fishing. After many failed attempts at tying the fly and struggling with the deer hair portion I finally got one that seemed like it would work. I can distinctly remember that the few rivers close to me at the time were high and muddy so I had to sit and stew in my excitement and anticipation for several days. After finally being able to get out on the water, I had the chance to see this fly in action, it did not disappoint. It was unlike anything I’d seen or fished up to that point and I believe it was responsible for changing the way I perceived certain things from that moment forward.
This fly can be tied in a variety of sizes and with a variety of different hook styles. It can also be fished with either a floating or modern style sinking or intermediate fly line. In fact I recommend fishing it with both and learning how the fly shines and can be fished and applied differently based on the line it is being fished on. Either way you do it just make sure you tie a few up in different sizes and colors and fish it!
Step 1: Begin by laying down a solid base of thread from the eye extending back to just above the barb.
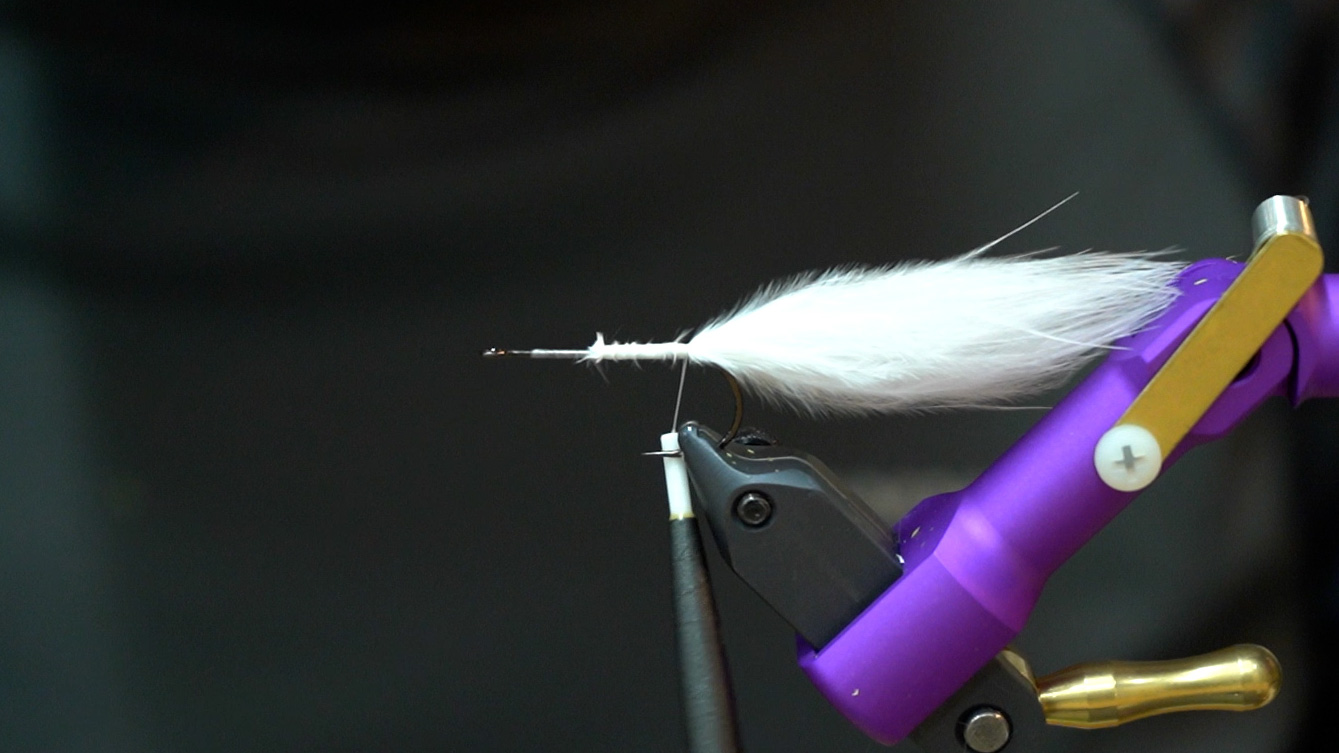
Step 2: Select one or two plumes of marabou approximately two hook shanks long. Tie in and secure above the barb. Wrapping over the marabou up the hook shank about half way. Securing the marabou further down the shank will ensure the material does not spin and rotate over time, making for a more durable fly.
Step 3:
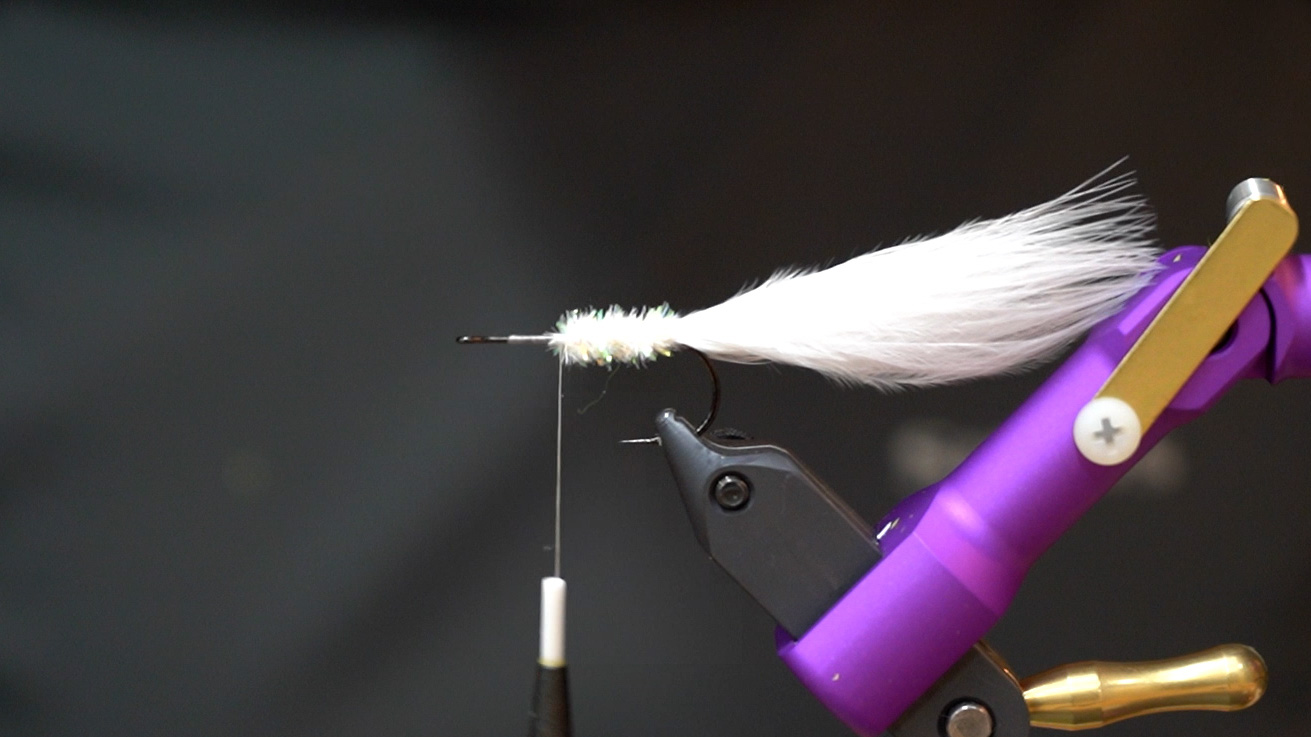
Return thread to the original tie in point just above the hooks barb and tie in the Speckled Crystal Chenille. Before lashing down the chenille, it helps to strip away some of the material exposing the thread core. Tying down by this core is much cleaner and will give you a more secure tie in. Wrap chenille about half way up the remaining shank and tie off.
Step 4: Select a very sparse bundle of bucktail and tie in just in front of your chenille. This piece should extend about 3/4 of the way along the marabou tail. A little tip that can result in a more durable fly would be to lay down just a small dollop of Z-Ment to the hook shank before tying down the bucktail. This is totally optional, but goes a long way with the durability of the fly.
Step 5: Select a generous bundle of flashabou (remember this is the fly’s name sake, so it would be difficult to have too much) and fold the material in half. Once folded in half, take the flashabou and fold in half one more time, this time folding it around your thread, secure to the top half of the hook shank. It should rest on top of and slightly blend in with the bucktail wing below it.
Step 6:
Select about a pencil width worth of deer hair (can be body or belly depending on how much buoyancy and recovery you want in the fly) and slide into a hair stacker tips down. Once firmly stacked, carefully remove the hair trying to keep the tips as even as possible. When tying down the hair, you want the tips to extend to approximately between the barb and the bend of the hook. Lay down another small drop of Z-Ment. Holding the hair with your material hand, cut the butts flush, giving yourself just enough material to grab with your thread. Make two or three loose wraps then tighten down. If done properly you will be left with what looks like the perfect Elk Hair Caddis head. Advance your thread in front of the butts and prepare for the next steps.
Step 7: Select another pencil width bundle of hair and spin evenly 360 degrees around the hook shank. Advance thread in front of hair and repeat this step one more time with the same amount of hair. If the amount of hair and spacing is correct this will bring to the eye of the hook. Whip finish and finish your thread head with Z-Ment of your favorite fly tying glue.
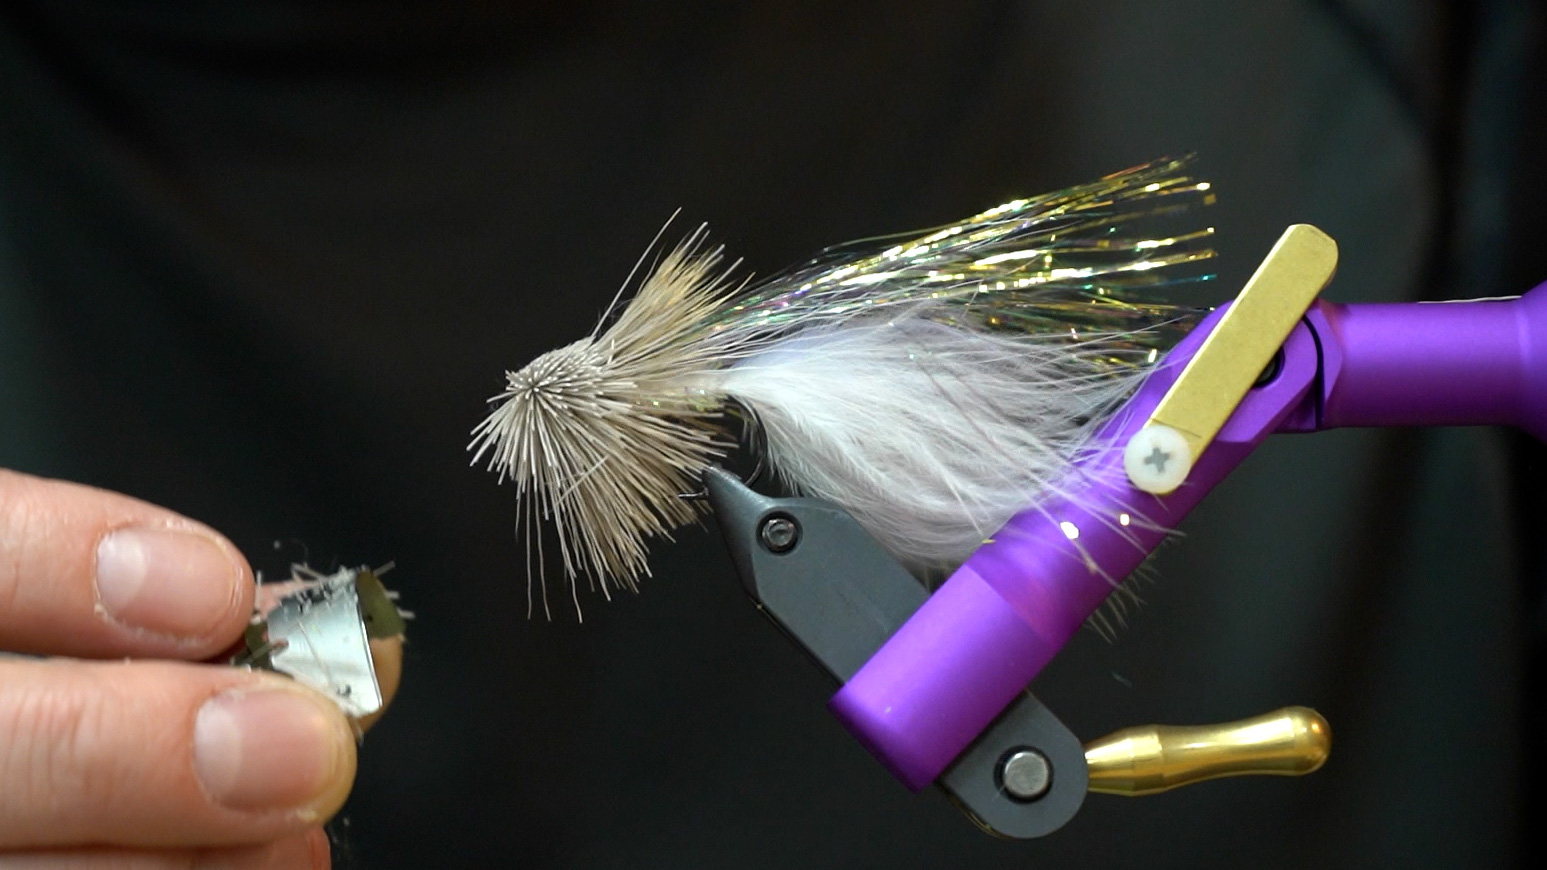
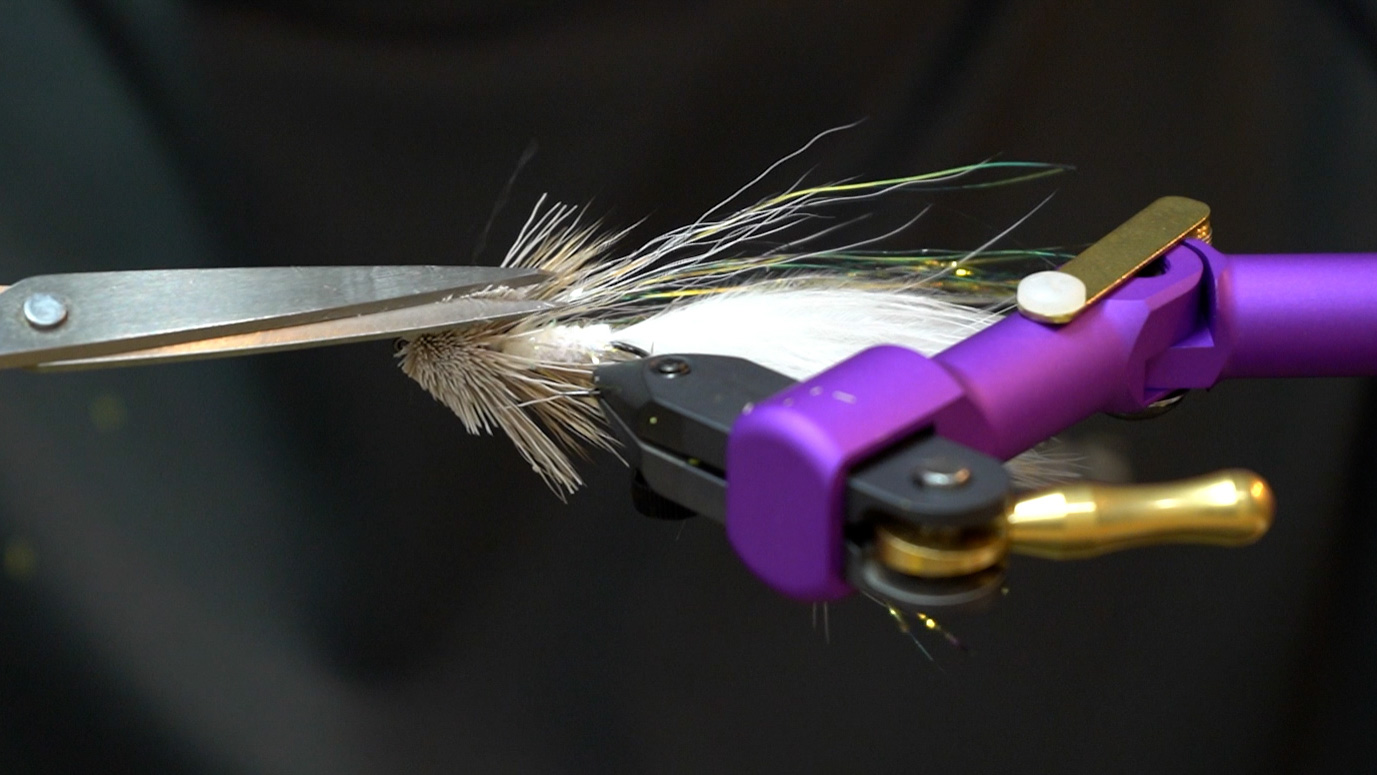
Step 8: Bend a double sided razor blade and with a rounded upward motion, sweep the blade back and stop before you reach the collar. Move carefully and slowly as to not cut your collar off. The shape you are going for is a Zoo Cougar style head or a larger broader version of a Muddler.
Step 9: Once the top half of the fly looks the way you want, flip the fly over and make a flat straight cut on the bottom half. Stabilizing your cutting hand will help ensure your cut is nice and even.
Step 10: Most of the cutting should be done at this point. Scissors are a great way to nock off any edges and smooth things over before calling it a finished fly. Careful not to over do it with the scissors. If you have OCD it can be easy to keep cutting until the is nothing left.
After a brief jungle hiatus (thank you covid) we finally made it back down to the Brazilian Rainforest. It’s really difficult to sum up a trip like this using words and until you go yourself, you realize no words can do this fishery, environment, and indigenous people justice. Although Mad River Outfitters has been traveling down to Brazil for twenty years every trip seems like the first. There is always something unique and different about the fish depending on your location and water levels. One of the few constants are a few of the flies that have been consistent producers year after year. In this edition of Friday Flies we are showcasing the Bucktail Hollow Fleye. This “fleye” is the brain child of the one and only Bob Popovics. One of fly fishing’s greatest of all time, not only as a teacher and contributor but as an all around exceptional human being. I am fully confident there is not a more simple but complex fly in all of fly tying. Anyone who has attempted to tie one of these flies can vouch for that! In its purest form it is simply bucktail and a hook, which is one of the reasons this fly and bucktail in general became my first true obsession in fly tying. Taking something so simple and turning it into something so spectacular really resonates with me. I’ve have been blessed with the opportunity to go down to Brazil several times and have fished dozens and dozens of different flies, made of both natural and synthetic materials and the Hollow Fleye takes the cake for me. If you haven’t tied one then be sure to check out the step by step below and see the link to our YouTube Channel to watch our full feature video on the Hollow Fleye. It’s nowhere near as good as Bob could do but he approved and that’s good enough for me!
Step 1: Place hook in the vise and lay down a base of thread from front to back.
Step 2: Select a long bundle of bucktail, approximately 4-5 times the length of the hook shank. Tie in and secure so that your thread is hanging just behind the barb.
Step 3: Take a generous helping of flashabou, fold over thread and tie in directly above the tie in point for the tail. Ideally the longer section of flash should extend about 1/2-1 inch beyond the tail, providing more flash and movement to the tail. It is better to be generous with the flash as you can always cut it out if you feel it is not wanted by the fish.
Step 4: Select your next bundle of hair. Be careful not to select too much, less is more! You’ll want this section of hair to be approximately 75% of the length of the tail section.
Step 5 wide: Once you have carefully measured your hair length, tie in so the tips of the bucktail are facing forwards. Make three loose capturing wraps around the butts. Take your thumb and fore finger and spread hair 360 degrees evenly around the hook shank and secure with tightening thread wraps.
Step 6: Using a push tool (empty pen casing works great) slide over the eye of the hook and up against the bucktail. Push the hair so that it is all facing rearward.
Step 7: Using your material hand, capture and hold down the hair while you lay down a dollop of
Z-Ment and begin to build your thread dam. This dam will be the biggest (tallest) as you want the bucktail to lay at a pretty flat angle. The time to build height, shoulders, and shape will be in the coming sections. I can not stress enough to reinforce every step with super glue as it will prevent your fly from prematurely falling victim to Peacock Bass or any of the other countless predators swimming around the Amazon.
Step 8: Just as in step 5, select another bundle of hair. This time you want your bundle to have a little more hair than the previous section. You’ll want this hair to be approximately 80% of the previous section. You will follow this pattern/formula for the remainder of the way up the hook shank. The angle of each cone of bucktail should get progressively steeper as you move forward. This is what will bring shape and taper to your Hollow Fleye.
Step 9: Repeat step number 5 two more times. At this point you will have three hollow ties of white bucktail.
I like to tie in grizzly accent feathers down each side of the fly. This step is a great way to add contrast and depth to the the fly. Not only does this step make the fly look sexier but you will obviously catch way more fish compared to a fly with no accent feathers!
Step 10: At this point we are ready to tie in our last cone of bucktail. Just as before, tie in hair facing forward out over the eye of the hook. Secure butt ends with three loose wraps and spread hair evenly around the hook shank. Secure with strong tightening wraps and add another dollop of Z-Ment. Bring your thread through and in front of the bucktail and begin building your thread dam. Remember this dam will be the shortest of them all as you want to angle of this bucktail to be the steepest of all. Once finished, apply a generous amount of Z-Ment or UV resin to the thread head for durability.
The head can be any color you want. I have found having a bright contrasting color at the head not only triggers more Peacock’s but will close the deal more often than if the fly is all one color.
If you have any questions in regards to tying this fly don’t forget to watch this YouTube video as it will go into much greater detail than this article. Also, do not hesitate to call the shop if you want to speak to one of us directly.
In preparation for our Brazil Peacock trip I set out to make an already productive fly better. Flies for the Amazon river basin need to be durable and get the fishes attention. For years the simple Whistler fly has been a staple on this trip. The fly is easy for any angler to cast and fish no matter the skill level. The Whistler is not going to win any beauty or artistic fly design contests though. Despite its looks it is a great choice when trying to quickly fill a box with flies.
One of the issues we have with the original patterns is the durability. The original consists of a flash and bucktail tail, saddle hackle & Krystal flash flanks, chenille body, schlappen collar, and bead chain eyes. Flashabou is great, but it is very soft and flowy. The flash tail tends to fowl around the hook and break off easily. Combine the long flash and bucktail with the viciousness of a Peacock Bass and there is often a cloud of fly parts in the water as you land a fish. The other issue comes from another species. Piranha destroy flies. If you do not strip fast enough or you pause to untangle, all you feel is a slight tap and half of your fly is gone.
Knowing the durability issues I set out to create something to fix a few problems. Clients were catching only a few fish before the fly was destroyed. We brainstormed a more durable replacement for each component of this fly. Although nothing replaces the properties of natural bucktail, the tail of the fly was used to protect the flash and create bulk. A stiff synthetic could replicate all of these needs easily. Faux Bucktail used here comes from the mind of Martin from Flymen Fishing Company. It is not a replacement for all uses of Bucktail, but it works very well here. Combine reinforcing the flash with flexible resin and we were checking off the boxes we needed. The schlappen collar was also an issue as it would unwrap or the stem would break. The obvious solution came from our love for brushes. Flash blend brushes from Just Add H2O have the right amount of stiffness, flash, and come in a large range of colors. The longer EP Senyo’s Chromatic Brush (3″) helped to blend the collar and body together and add some movement. I could not get myself to add chenille to a streamer of this caliber. Make your own opinions of those thoughts, but I felt it needed to be a more modern material. Filler Flash provided bulk, flash, and is a staple for props on modern flies. When wrapped over glue it was bombproof. Bucktail can become brittle when coated with thick amounts of glue, but synthetics fuse together and become more durable. Excessive amounts of glue keep the synthetics locked together and lasting for many battles with Peacocks!
Below is Ryan’s step-by-step on how to tie the Whistler pictured above. The full list of materials can be found below.
Step 1: Place hook in vise.
Step 2: Start thread and mount lead eyes. Coat all thread with Z-Ment or Brushable Super Glue.
Step 3: Cut a thick stack of Flashabou and fold in in half over your thread. Slide it down the thread to the hook shank and tie off securely. Place Flashabou in the material keeper and coat all thread with more glue.
Step 4: Coat about one hook shank length of the Flashabou with Solar Ez Flex Resin. Make sure to not just cover the top/outside of the bundle, but also inside the bundle. Set the resin with a powerful UV light. After shining the light on all sides check to see if it is tacky. If so then repeat until it is no longer tacky.
Step 5: If the glue is dry over your thread wraps give it another coat. Cut a decent bundle of Foux Bucktail. Trim it so that it fits from the lead eyes to about an inch from the end of the flash. Lay the Foux Bucktail down into the wet glue. Tie it down onto the hook with crisscrossing thread wraps. Keep the “Bucktail” on the top of the hook.
Step 6: Rotate the hook so it is point up and coat the thread wraps with glue. Cut a stack of Foux Bucktail about half the amount of before, trim, and place on the near side of the hook. Use just enough wraps, one or two, to hold it in place. Coat these new wraps with more glue. Repeat the process but on the far side of the hook. Use a few wraps of thread to secure both sets of ‘tail. All of the Foux Bucktail should encase the Flashabou evenly. Coat the area over the thread and slightly onto the Foux ‘tail with more glue.
Step 7: Tie in the tip of the Filler flash at the back of the visible thread wraps.
Step 8: Palmer the Filler Flash forward over the wet glue making sure not to get glue on too many of the fibers. Palmer forward to a hook eye length behind the eyes. Tie off and glue that point.
Step 9: Tie in the orange 2” Flash Blend Brush by the wire tip. Wrap tight side by side wraps of the brush. Tie off the brush and trim the wire flush. Of course, now add more glue to that point. Using the Loon Ergo brush, comb out any trapped fibers evenly around the fly.
Step 10: Still behind the lead eyes tie in the EP 3″ Senyo’s Chromatic Brush brush by the tip. Make one or two touching wraps side by side.
Step 11: Trim off the brush flush. Carefully placed a few wraps of thread over the sharp cut brush end. Coat the tie off point with a good amount of glue. It is best if the glue slightly soaks into the face of the brush.
Step 12: Advance your tread to the hook eye, whip finish and glue.
Step 13: Once the glue is dry apply UV resin over all of the exposed thread. Brush the fibers back with the comb evenly and you are done.
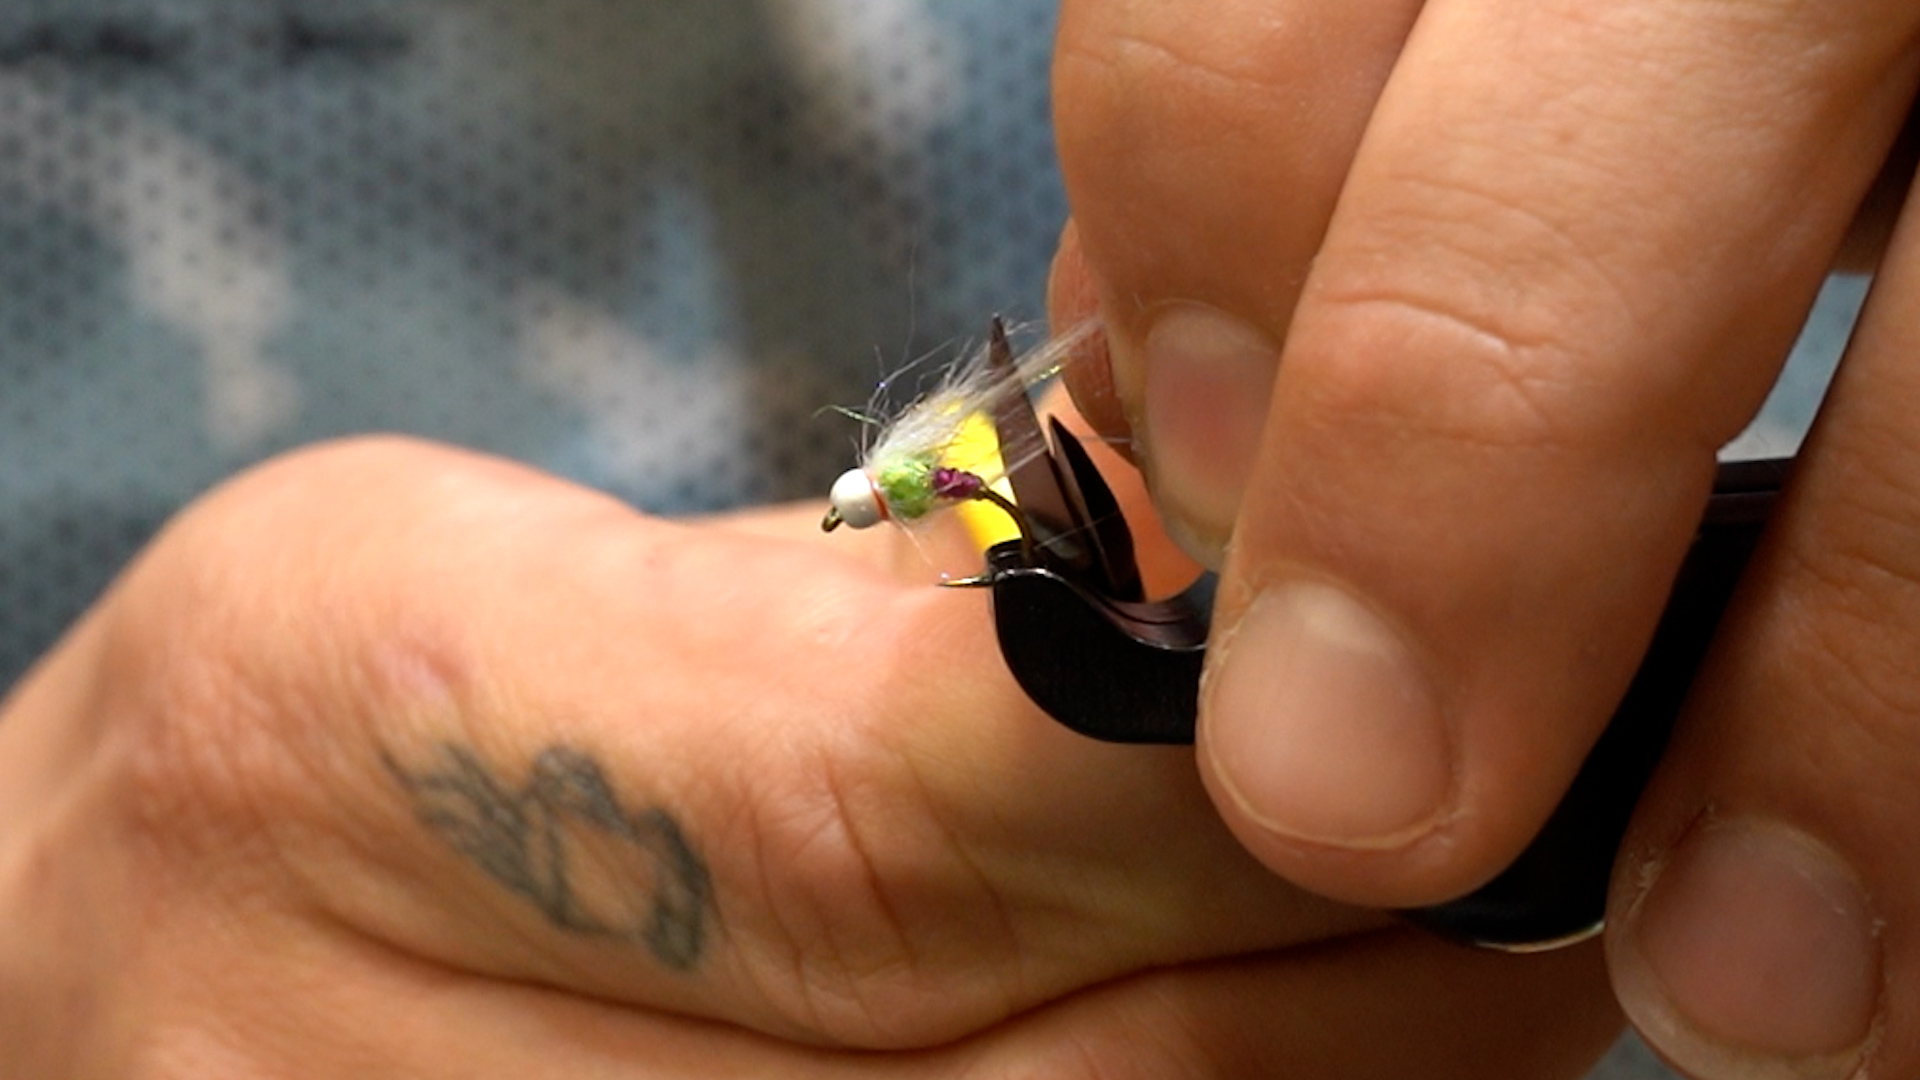
Soft hackles, swinging, and trout keep me mentally stable in the winter time. I would love to be fishing for bass, but when the water temps drop into the 30’s this can be a lost cause. My second love is the simple, methodical, and mentally relaxing act of swinging a fly. Although we would all love to be fishing…shorter days and icy guides often lead me to more time sitting at the vise than standing in the river. There is something about tying a simple soft hackle fly that I have always enjoyed. I am not sure if it is the ability to replenish the box quickly or that it does not take much prep or thinking. Maybe it is my admiration of classic looking flies also.
Color has long been something that has intrigued my curiosity. Light spectrums are way over my understanding, but it is hard to deny that fluorescent colors get the attention of Rainbows and anadromous fish. I guess you could swing a bright colored egg, but that does not set well with the fly tyer in me. Typical or classic soft hackles do not usually contain the bright colors to trigger the response that I am looking for from the fish. Why not go beyond just adding a hot spot? Why not add contrasting fluorescent colors to a classic pattern? Take all of this into account and thus a colorful take on an old standby came to life. Play around with different fluorescent materials and colors to give this pattern your own flair. Let us know what you come up with and how it is fishing on your home waters!
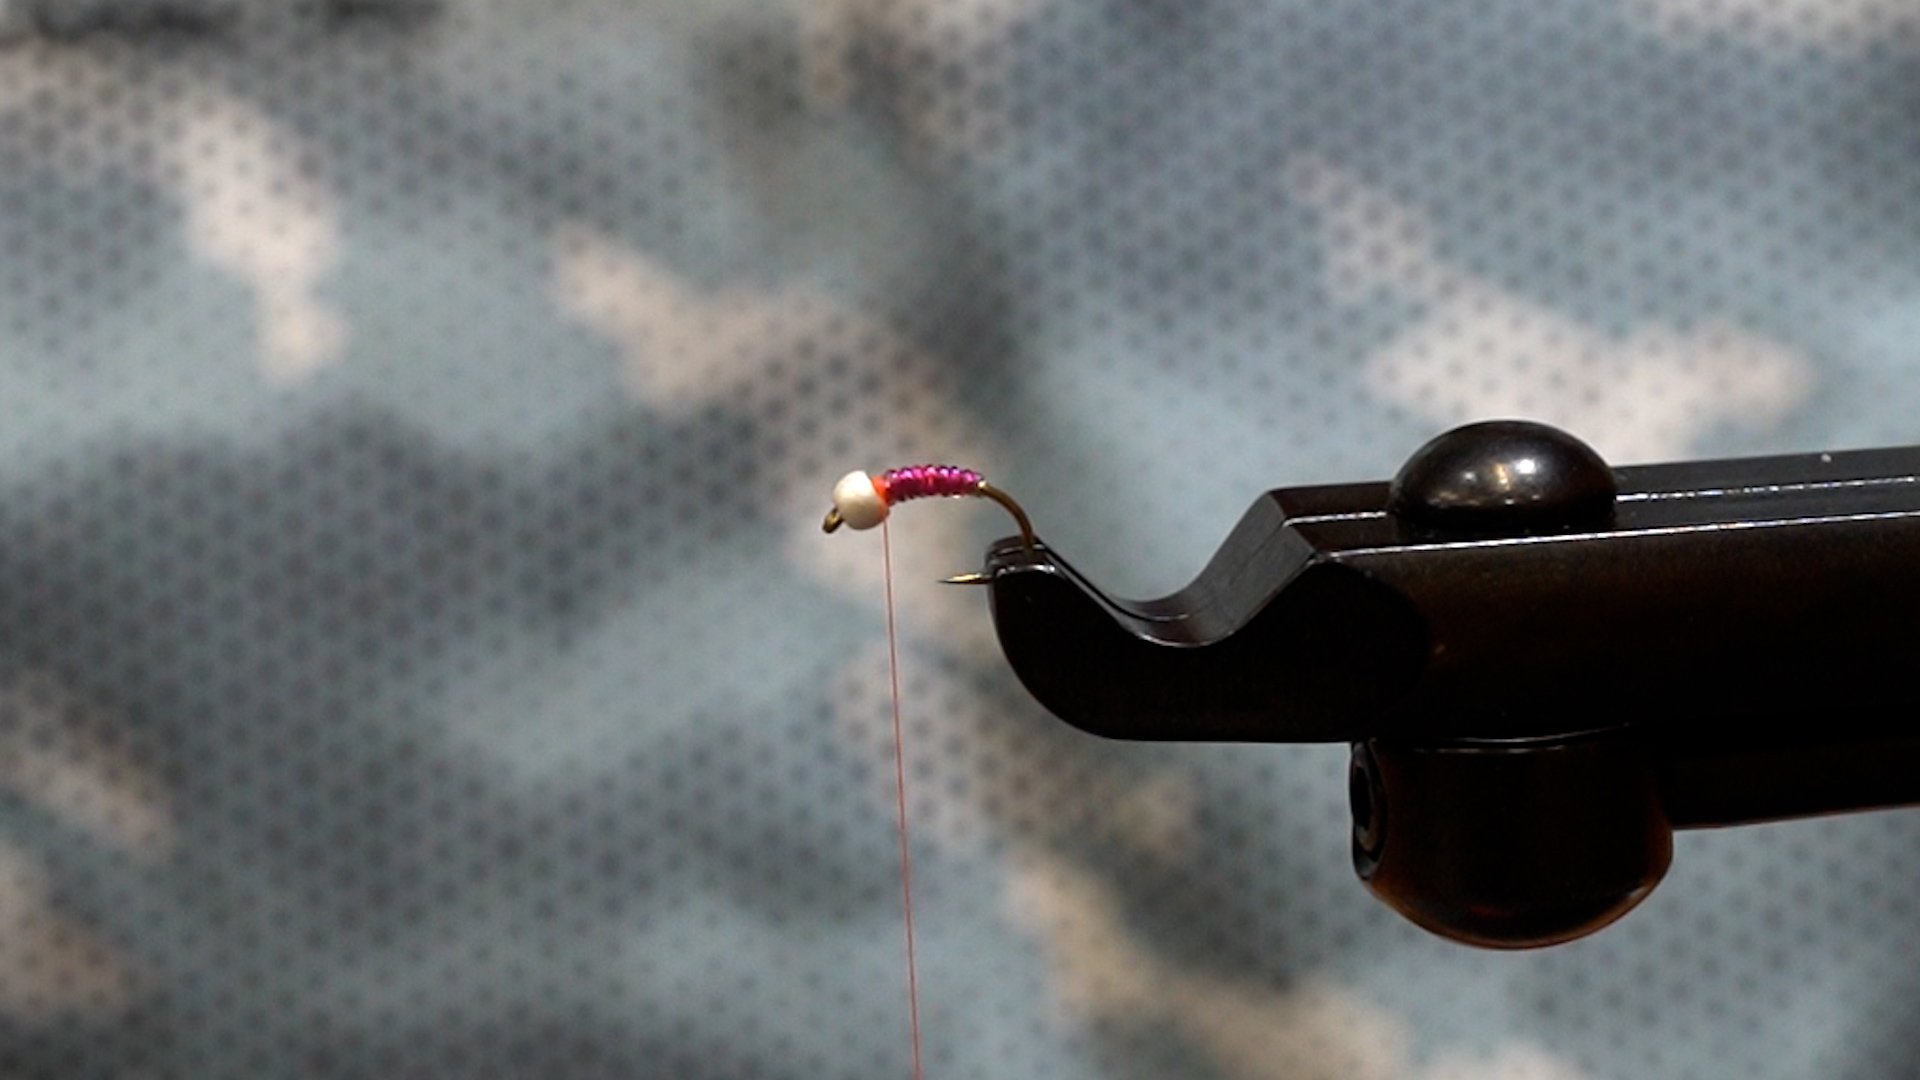
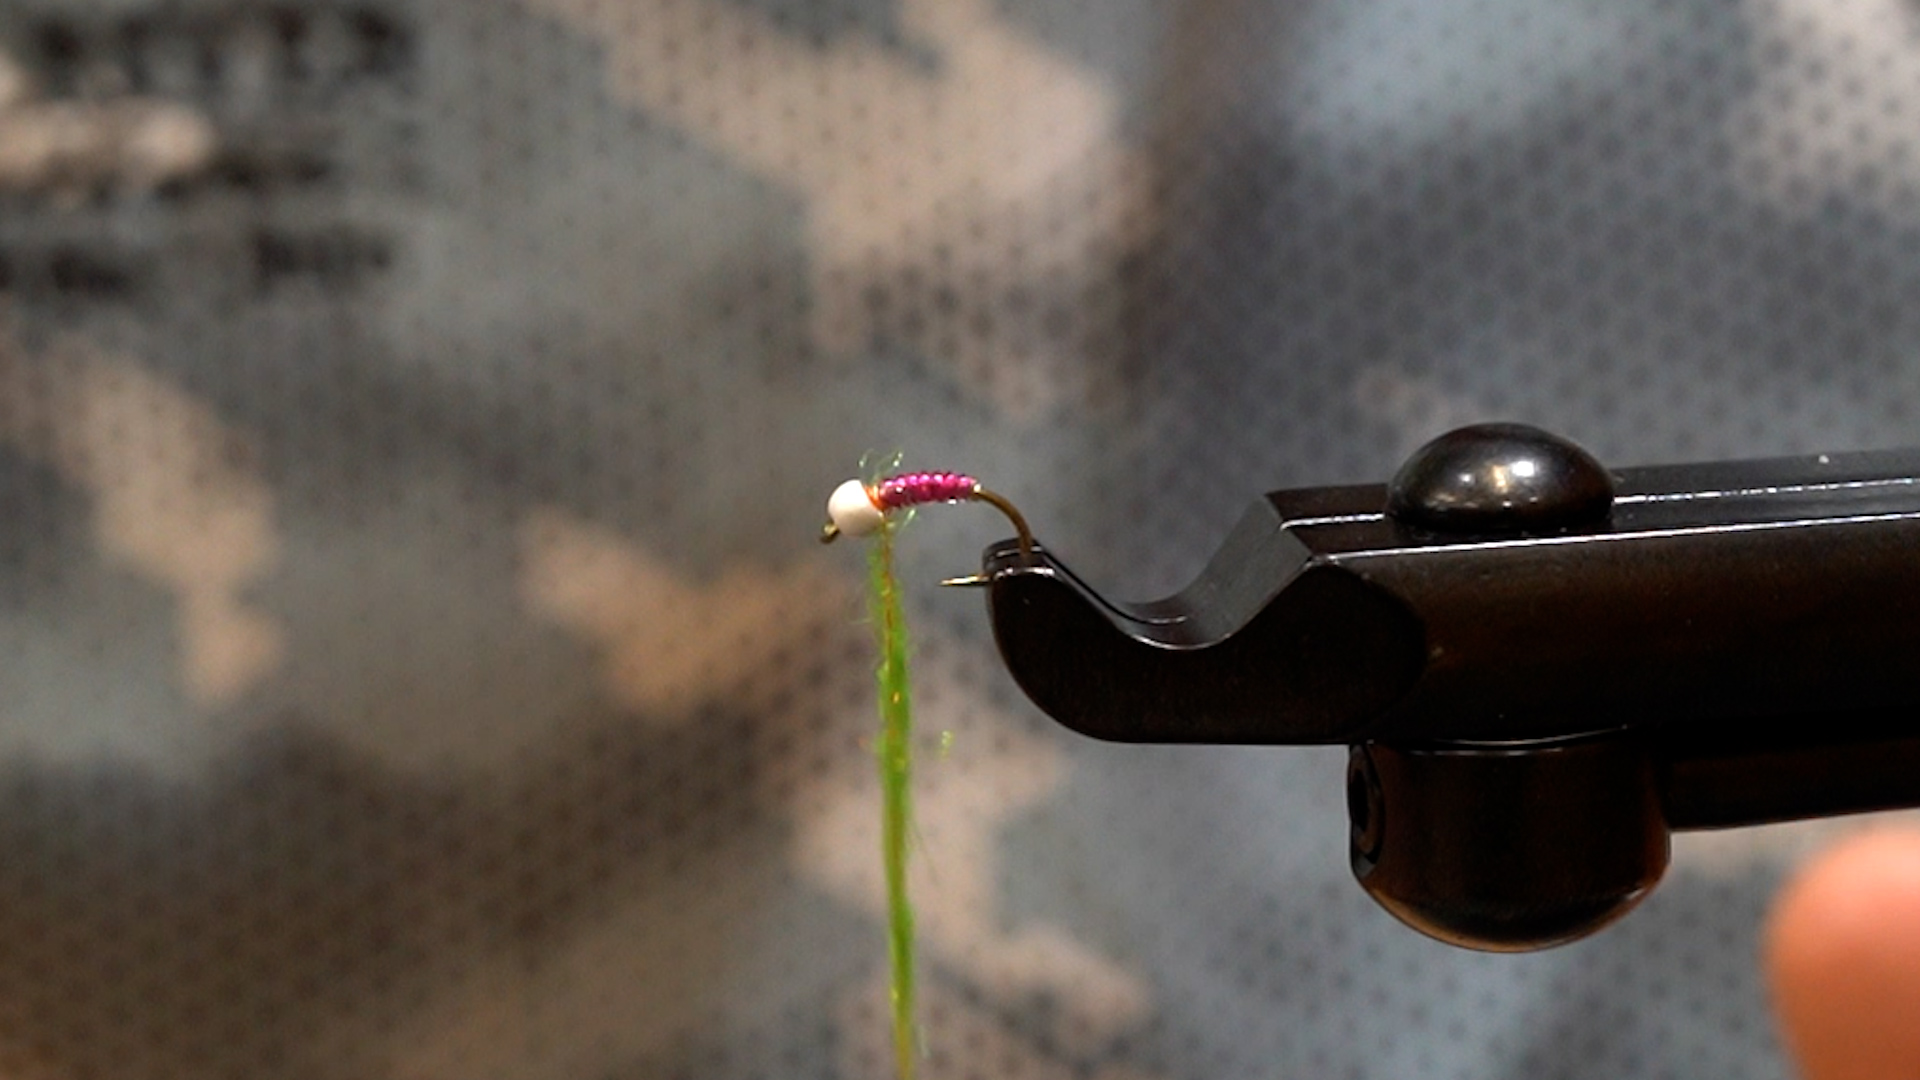
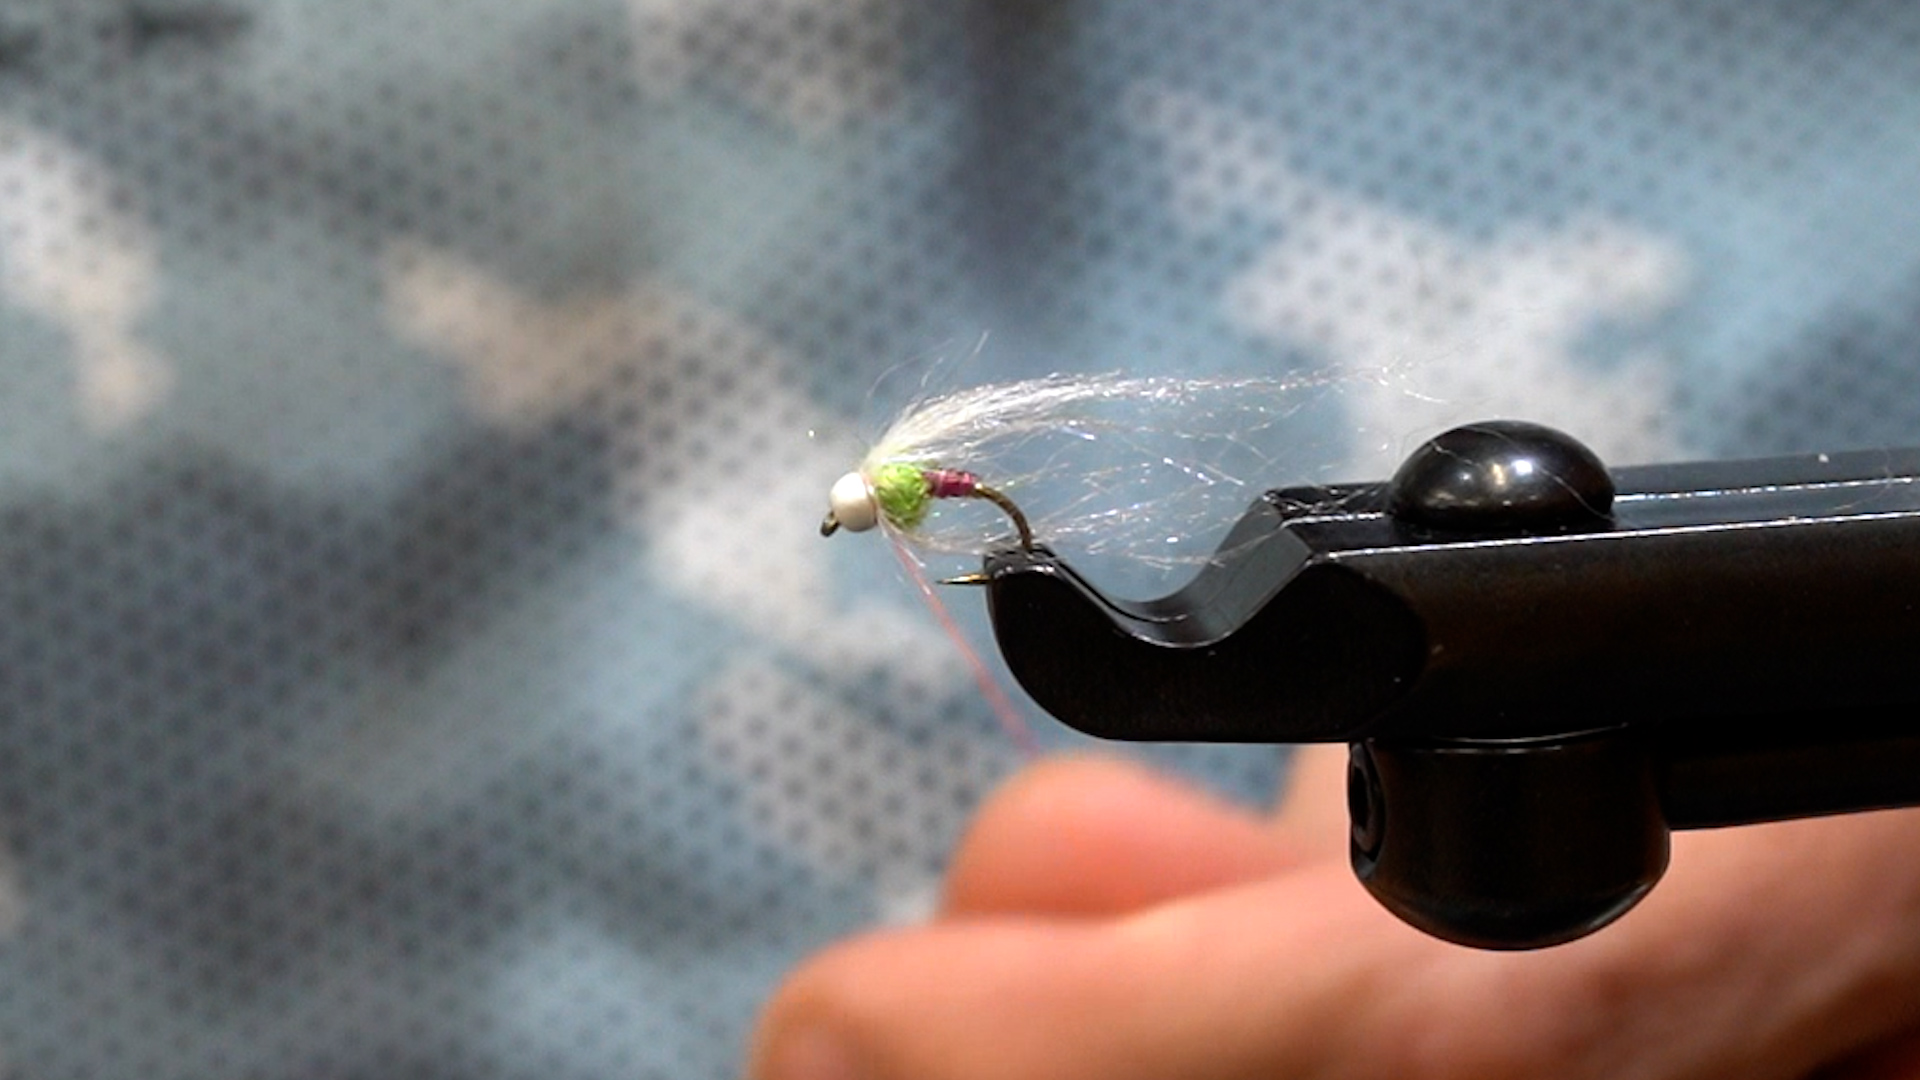
Below is our step-by-step on how to tie the Soft Hackle pictured above. The full list of materials can be found below.
Step 1: Place the Daiichi 1530 size 6 in the vise.
Step 2: Start your chartreuse thread back on the bend of the hook and wrap forward to where the flat part of the shank starts. Whip finish and cut thread.
Step 3: Coat chartreuse thread with a UV resin of your choice. Cure the resin making sure that it fully cures.
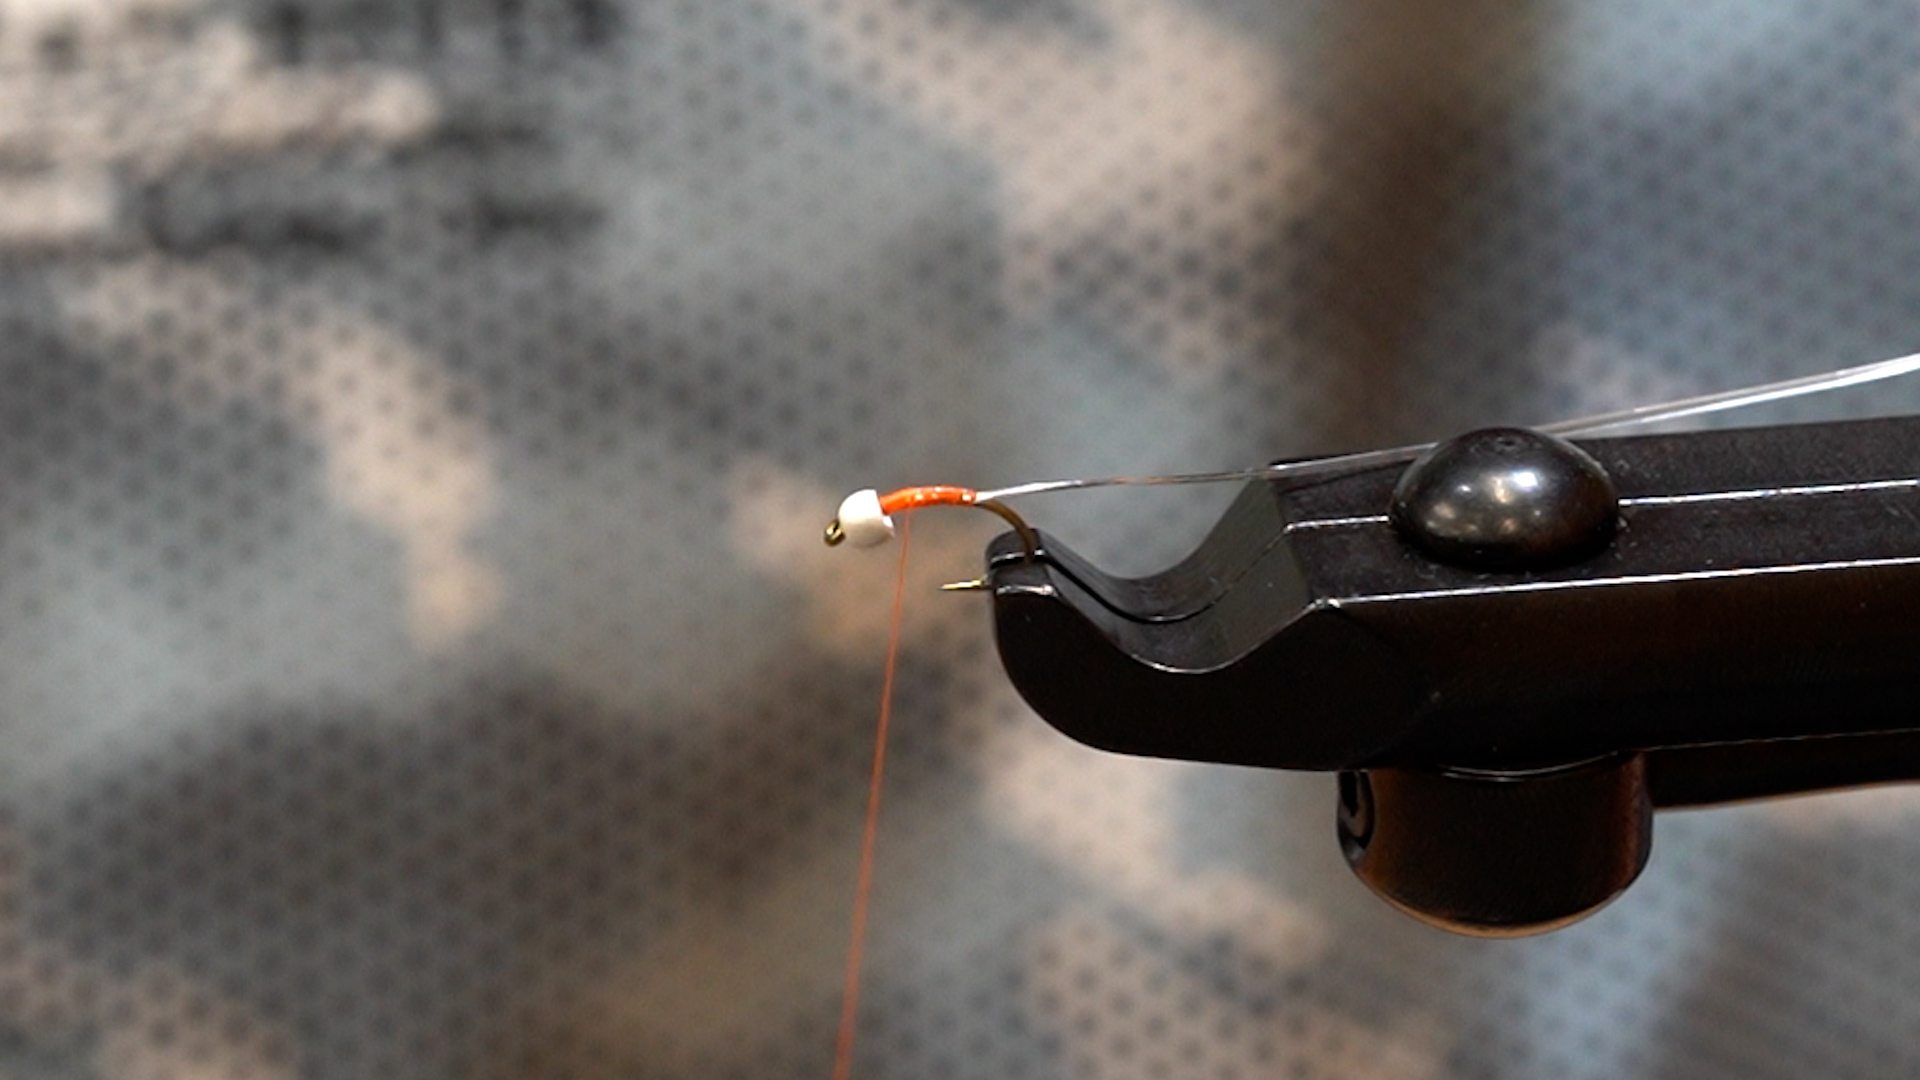
Step 4: Start Fl. Fire Orange thread where the chartreuse stops. Wrap thread all the way up to the hook eye and back to the chartreuse thread.
Step 5: Tie in a strand of Saltwater Flashabou in Pearl. Make sure to lay a smooth base of thread wraps forward almost to the hook eye. Place a half hitch on the hook and put the thread over the bobbin cradle.
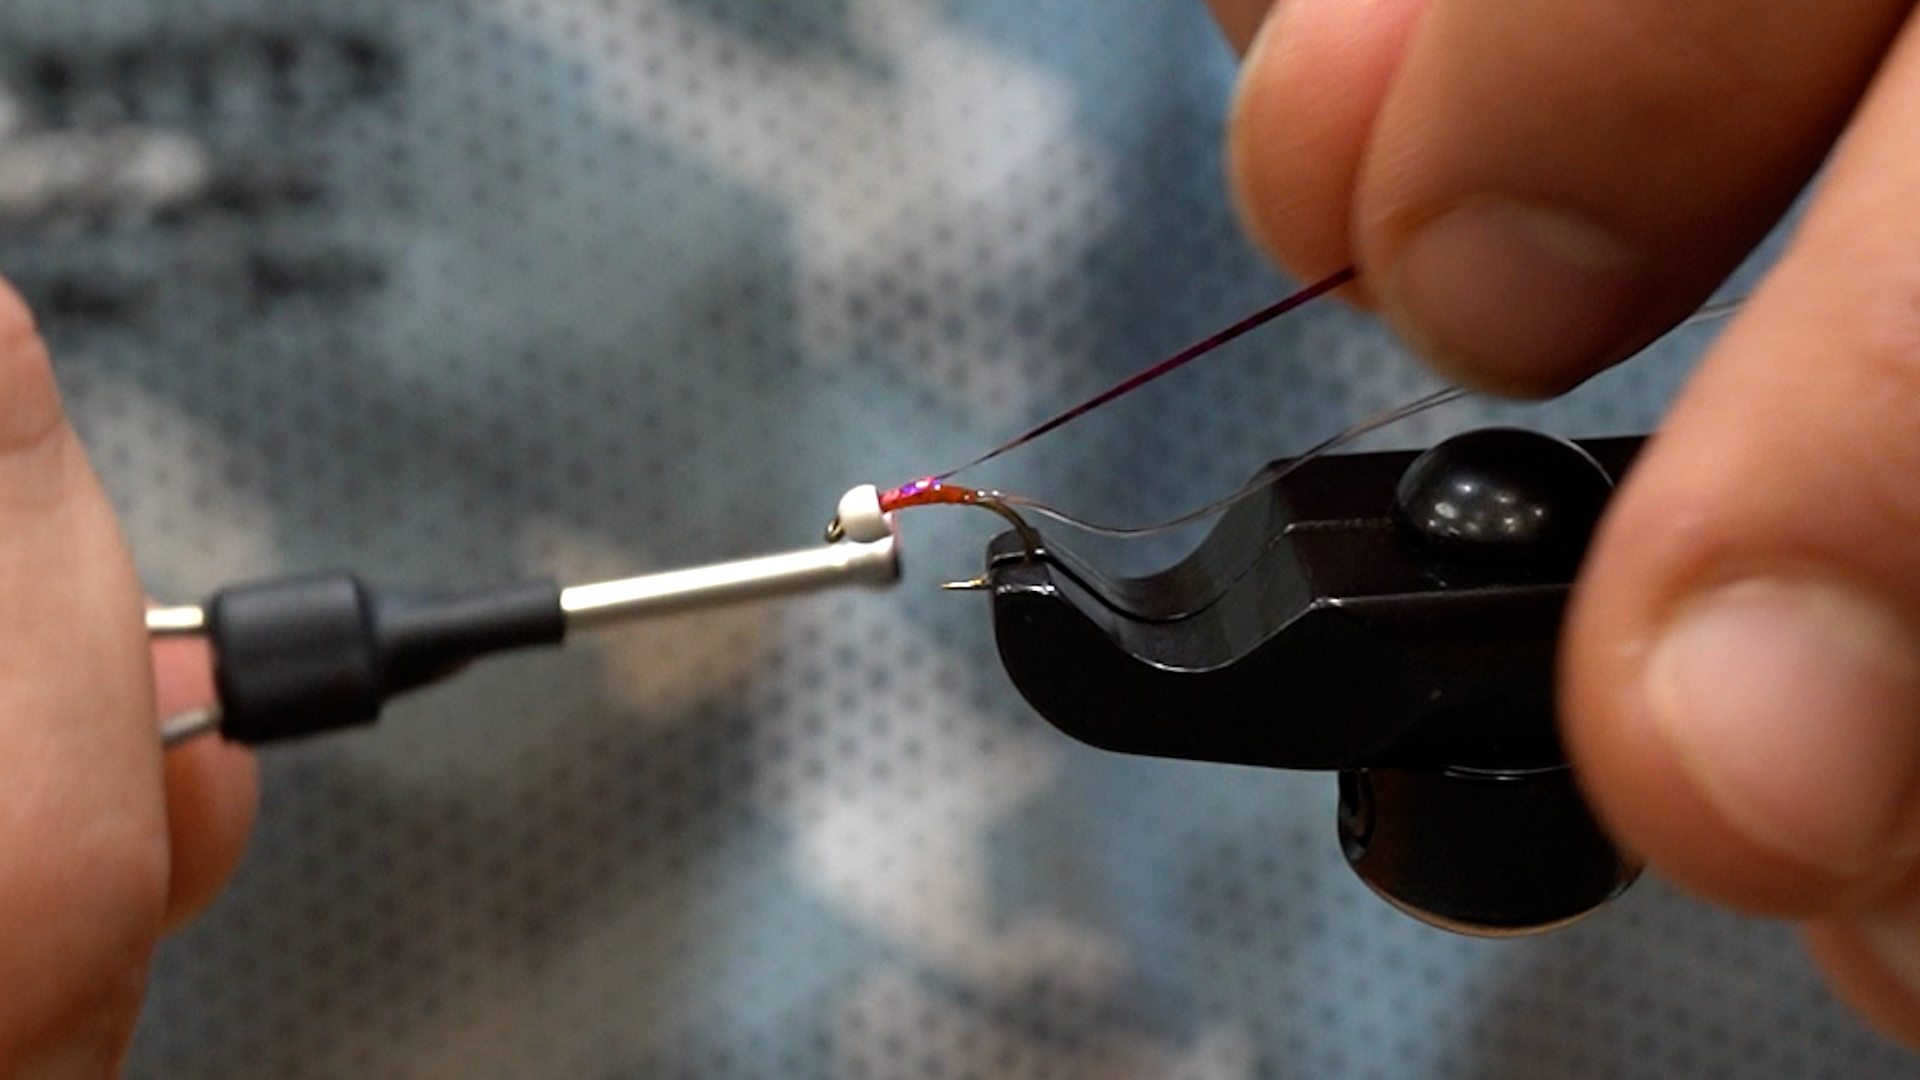
Step 6: Wrap the Flashabou forward to the half hitch and tie off at that point.
Step 8: Apply a thin noodle of dubbing to the thread. Wrap dubbing into a tight ball. Make sure to leave a hook eye length of space by the eye.
Step 9: Select, prep, and tie in a hen saddle feather of the appropriate size. Wrap feather forward with tight side by side wraps. Continue with wraps until the collar is slightly denser than a usual soft hackle. Tie feather off, whip finish, and trim thread.
Tying season is here and we WANT to see what everyone is tying up! There is a strong fly tying community on Instagram and we thought organizing monthly giveaways would be a great way to stay connected. We hope these giveaways continue to grow the community and bring inspiration to your tying!
On the first Friday of the month, we will announce the giveaway prizes. You have until the last Monday of the month to submit the flies you tied during that time period. The winner will be announced on the last Friday of the month. Below are the rules and guidelines for the giveaway:
Post your fly/flies (no limit to number of submissions)
Tag us in your post (must be following our account)
Use #mroflies
The shop crew will determine the winner each month. This month’s winner will be announced on Friday, December 30th.
This giveaway is open to fly tyers of all skill levels. Happy tying and have fun!
Big shout out and thank you to Mike Schultz and the crew at Schultz Outfitters for developing this pattern and continually pushing the boundaries of warmwater fishing and the patterns we use.
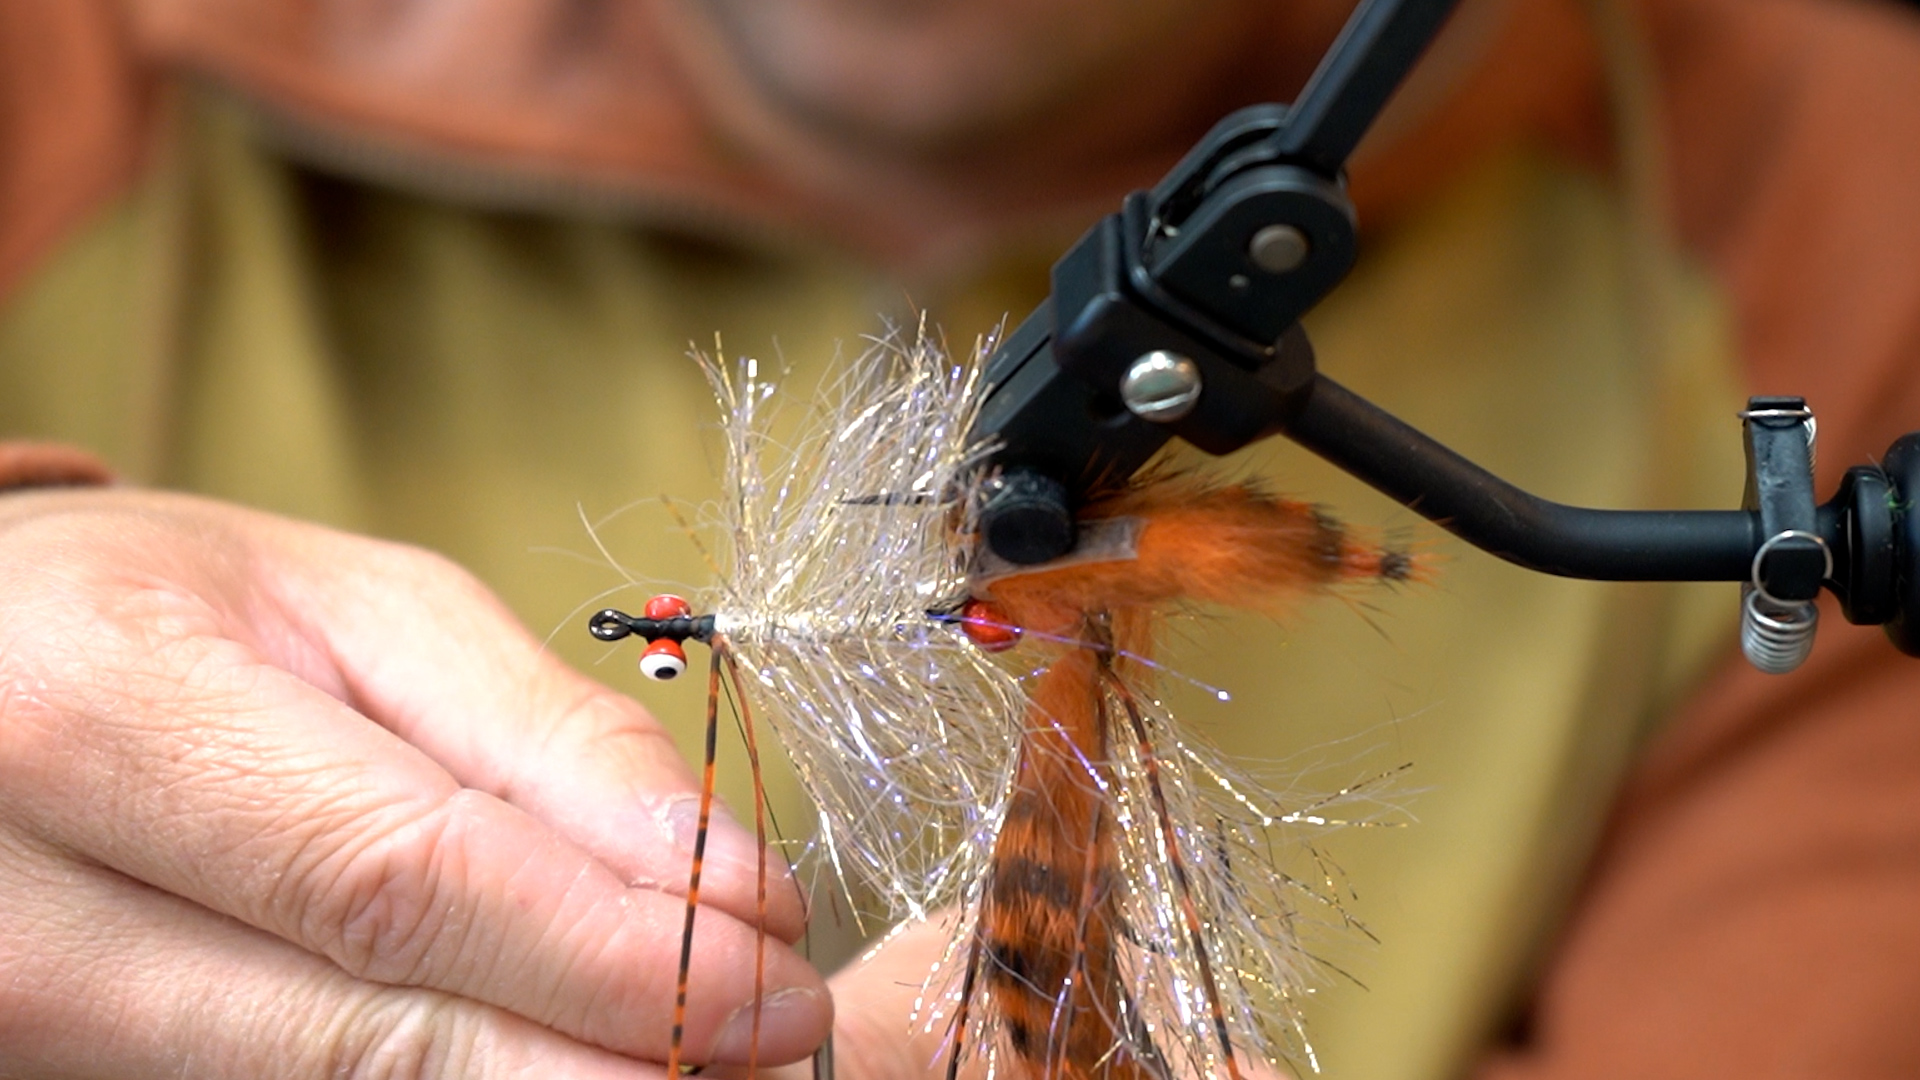
The Leggy Boi can be tied in a limitless amount of color variations and color combos. Try not to get caught in the generic white colorway. Often times the more adventurous you get with different color combos, the more fun the outcome. With nearly endless colors available in feathers, brushes, props, and rubber legs, you are only limited by your imagination.
Mike has a great video tutorial on his YouTube channel for this fly (as well as countless others that I highly recommend watching). It is full of great tips and tricks as it pertains to both how he ties and fishes this incredible fly.
Below is our step-by-step on how to tie the Leggy Boi. The full list of materials can be found below.
1. Select one or two marabou plumes and tie off the back. Try to keep the length generous as you want this fly to move and swim as much as possible.
2. Take one full strand of legs and fold around thread creating a pair and tie in on either side of hook. Repeat on other side of hook.
3. Select two hen saddles near the top of the saddle where you will find the smaller feathers. Tie the feathers in and wrap up the remainder of the shank as you would on a Feather Changer (see Feather Changer tutorial video here) and tie off.
4. Insert second 15mm shank into your vise and tie in the prop material. Here we happen to be using the 1″ Translucy Brush trimmed down slightly. Wrap the brush forward until you are a little past half way on the shank and tie off.
5. At this stage we will select two full length strands of rubber legs. Fold in half as we did previously and tie down. Repeat this step on the far side of the fly as well.
6. Finish the remaining shank by selecting two more hen saddles and wrap forward to the eye. This time you want to make sure you grab feathers that are a little bigger than the previous pair as to begin building shape and taper to the fly.
7. Insert hook and attach the two shanks, either with a shank or by using articulation wire.
8. Repeat the same steps as we did on the previous section. Tie in 1″ Translucy Brush, wrap forward a little beyond half way and tie off. Trim down a little so that the prop is not at full length but bigger than the previous shank. After this tie in two legs folded in half on both the near and far side of the hook.
9. Once the legs are tied in, you will select two more hen saddles, slightly larger than before. Tie in and wrap forward covering the remainder of the shank.
10. After the first hook is completed you will insert the 25mm shank into the vise and repeat the steps exactly as we did in previous sections. Only difference here is you will be building two stations on this shank instead of one. The prop on the first station will be the 1″ Translucy Brush but left at full length. The second station you will switch to the 2″ Translucy Brush but trimmed down to be a little longer than the previous station.
11. Insert the Ahrex SA280 hook and before attaching the previous section, slide the Slotted Tungsten Bead up onto the hook then proceed to attach the previous section.
12. As we did on previous shanks, attach the 2″ Translucy Brush and wrap 3/4 of the way up to the bead and tie off. Select three large hen saddles. If you do not have anything wide or big enough for the task, feel free to use bigger schlappen feathers as a substitute here. After this step you can go right to the EP Crustaceous Brush or add an accent color first, totally up to you.
13. Tie in the EP Crustaceous Brush and wrap forward all the way up to the eye of the hook. The amount of wraps and density is completely up to you and what you want out of the fly. Comb fibers out as much as possible. Begin to trim down and shape the head to your likening.
Have any questions on tying this fly? Give us a call at 614-451-0363!