Free shipping over $50 1-888-451-0363

Friday Flies: Ol’ Mr. Wiggly by Pat Kelly

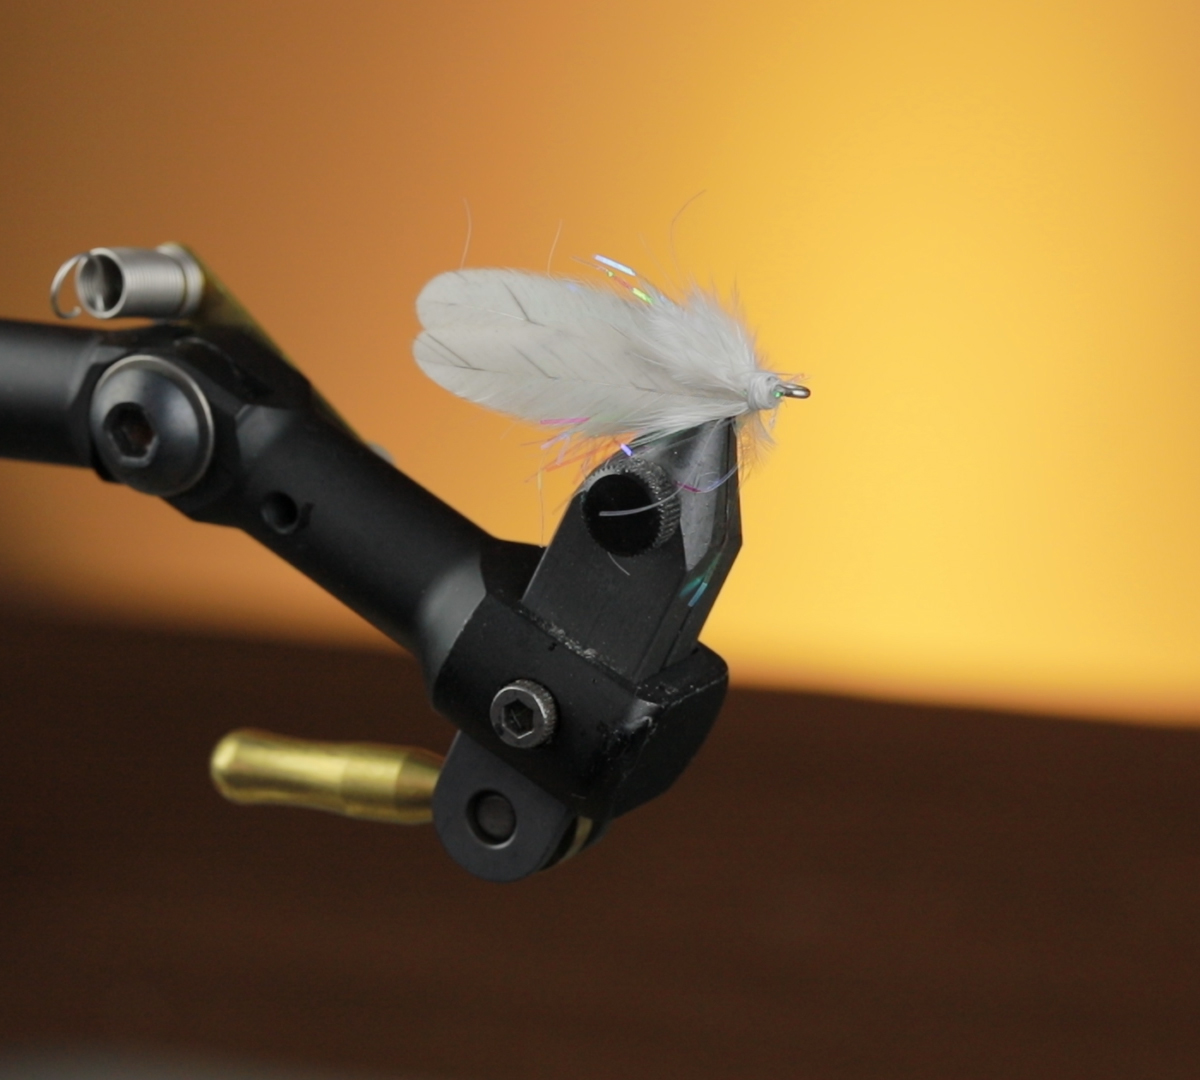
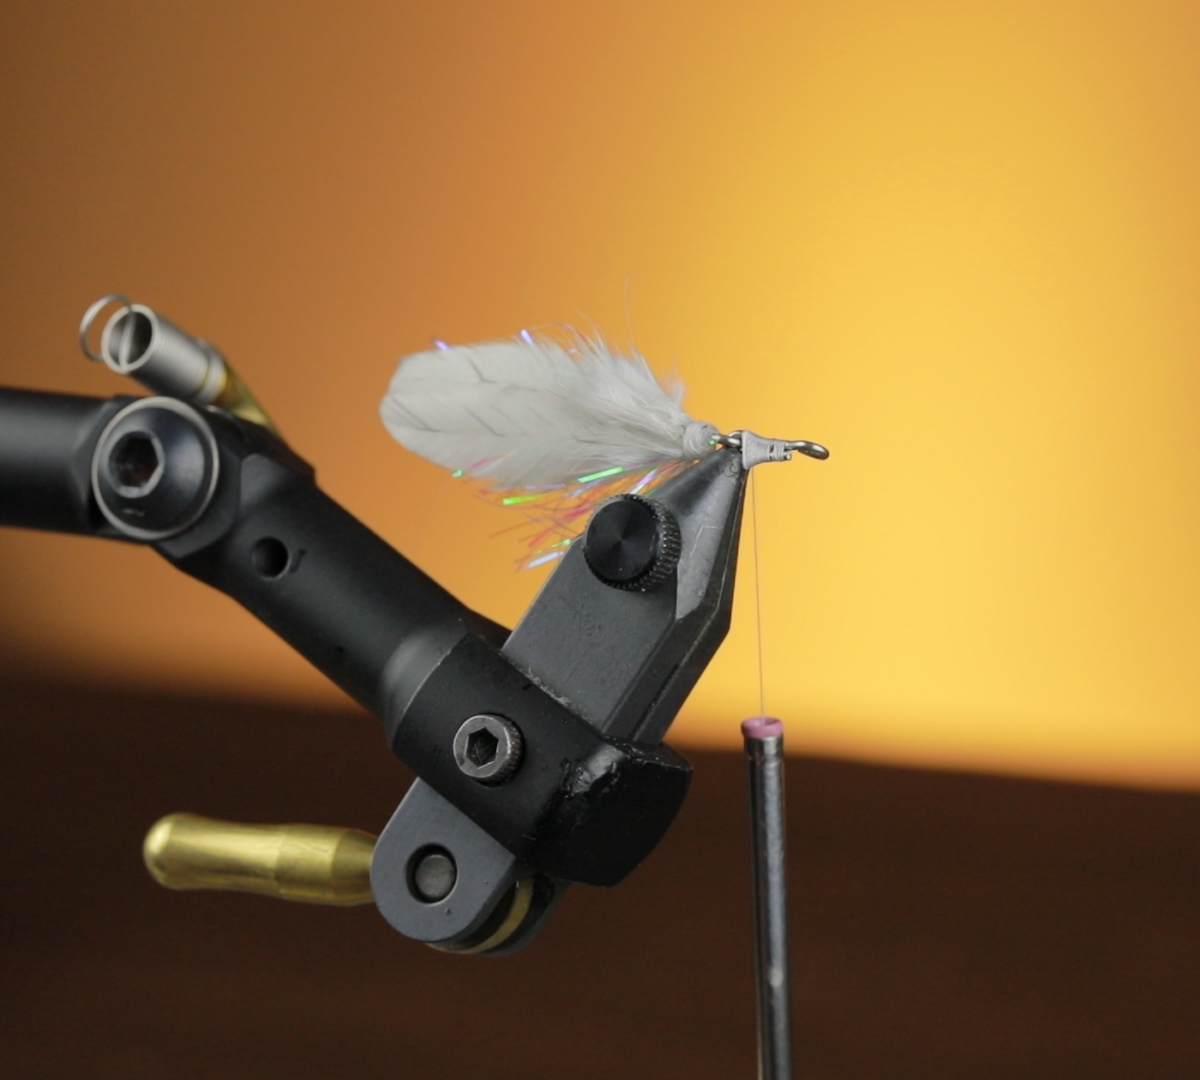
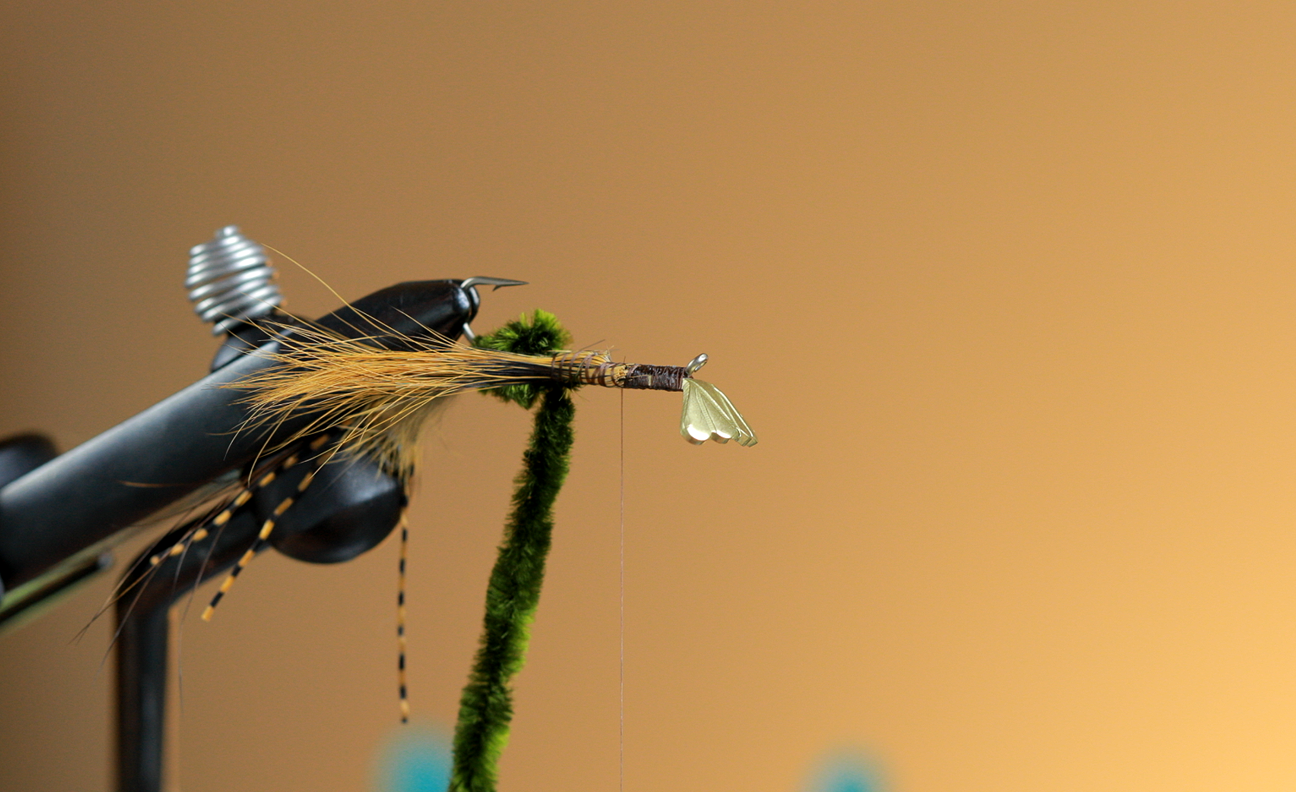
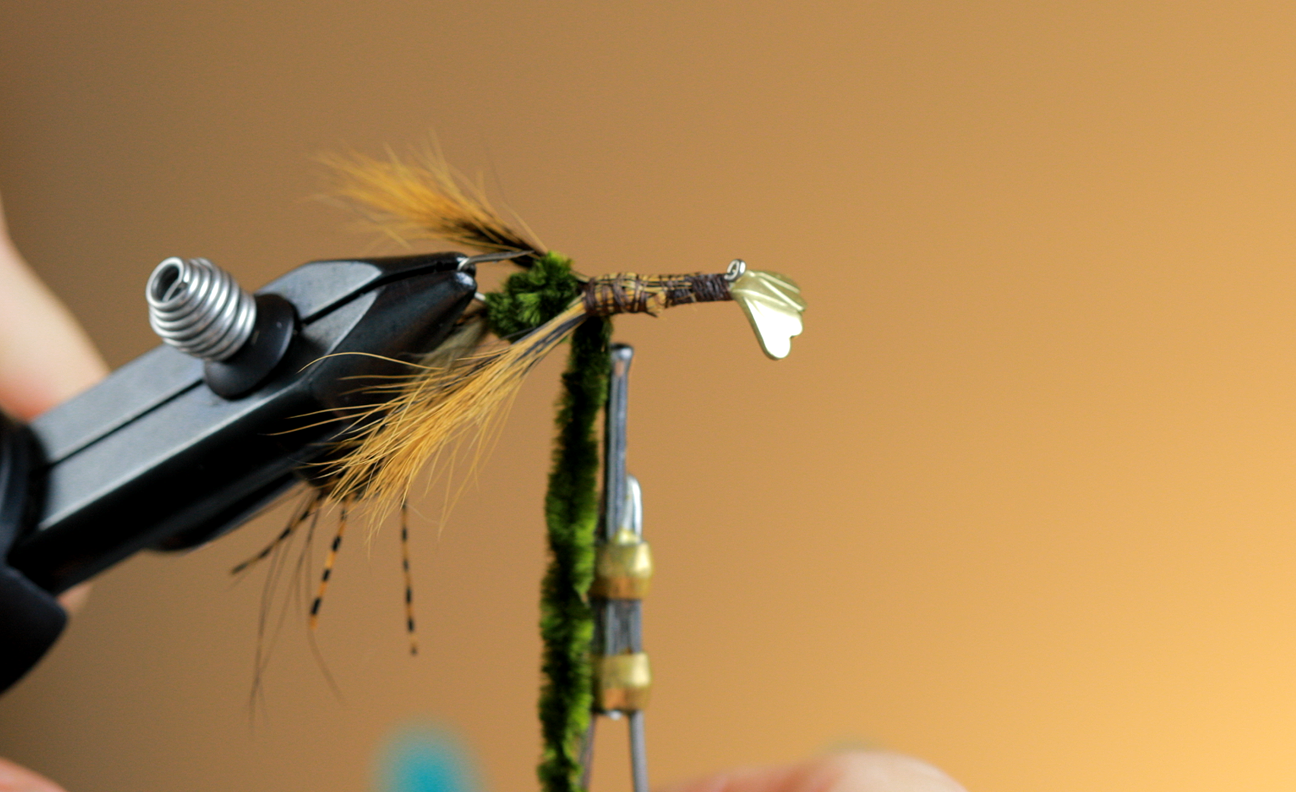
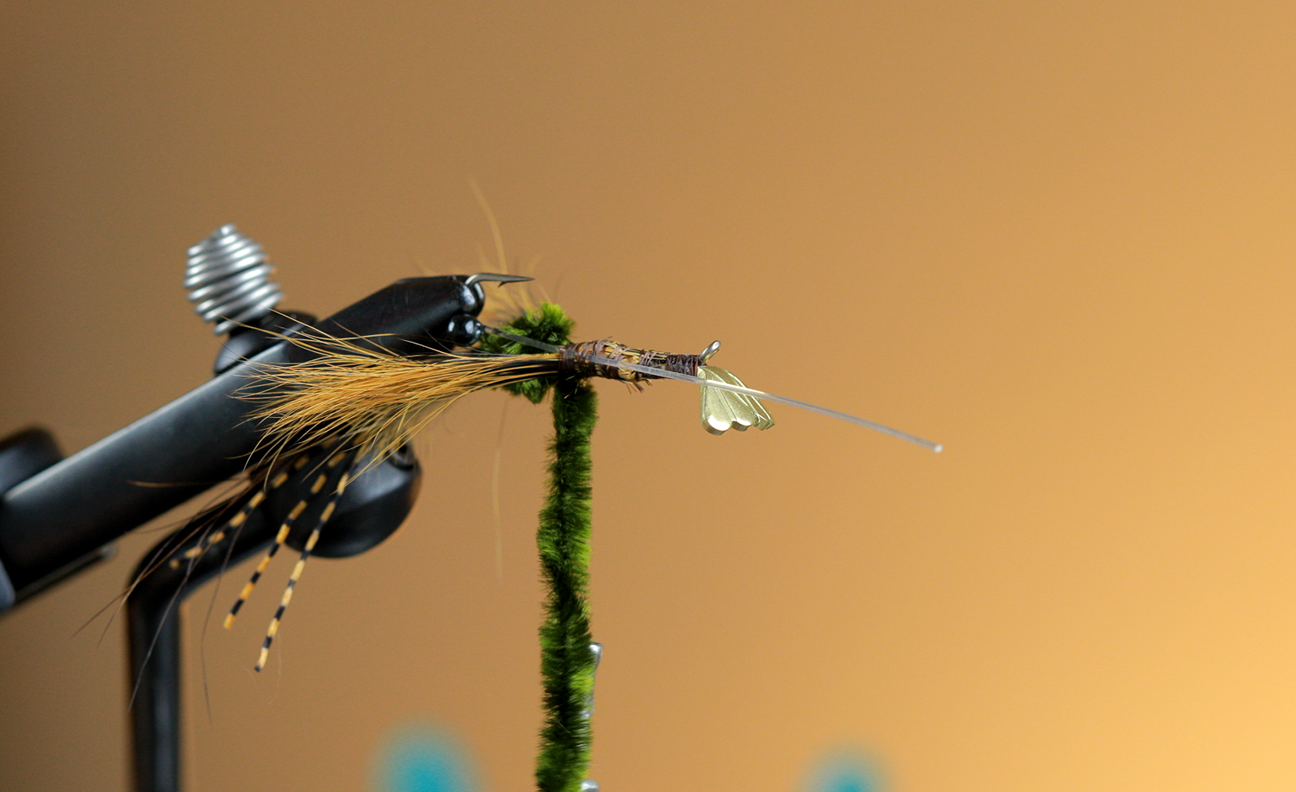
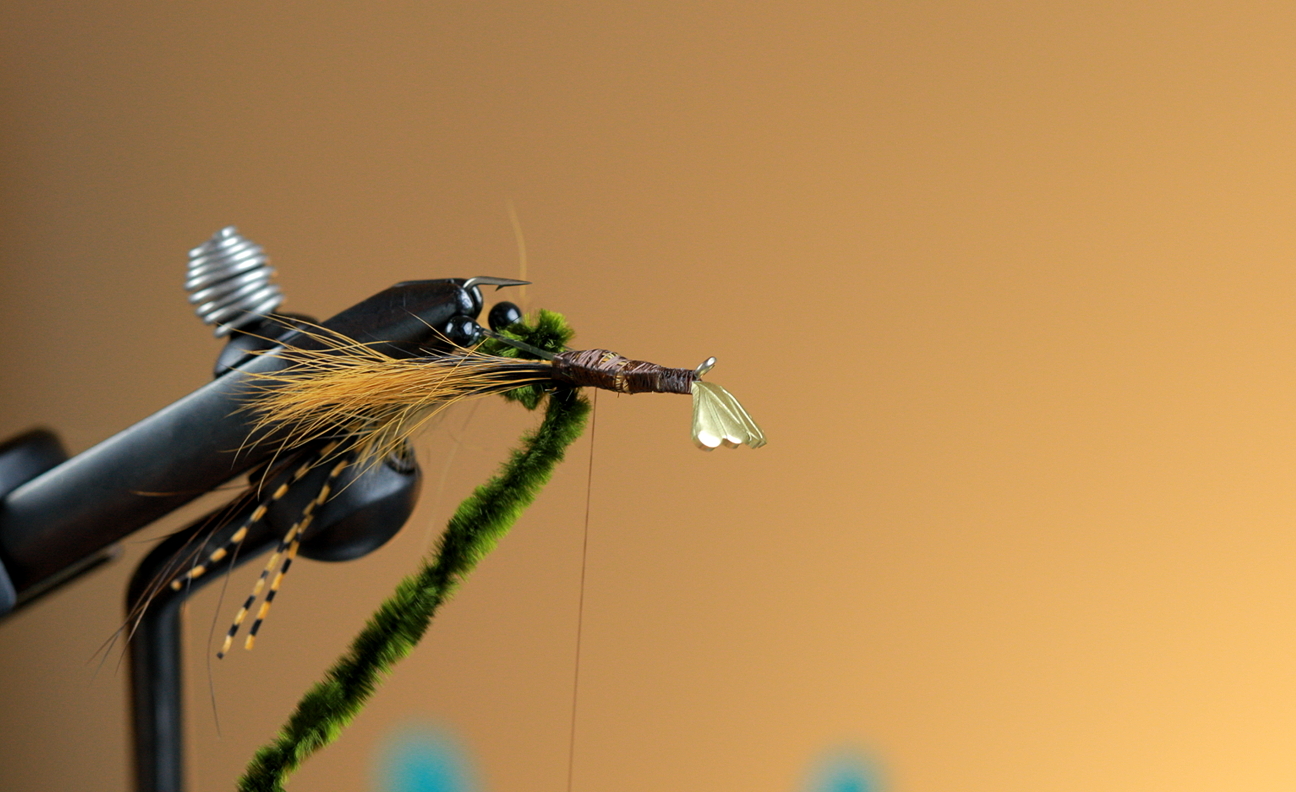
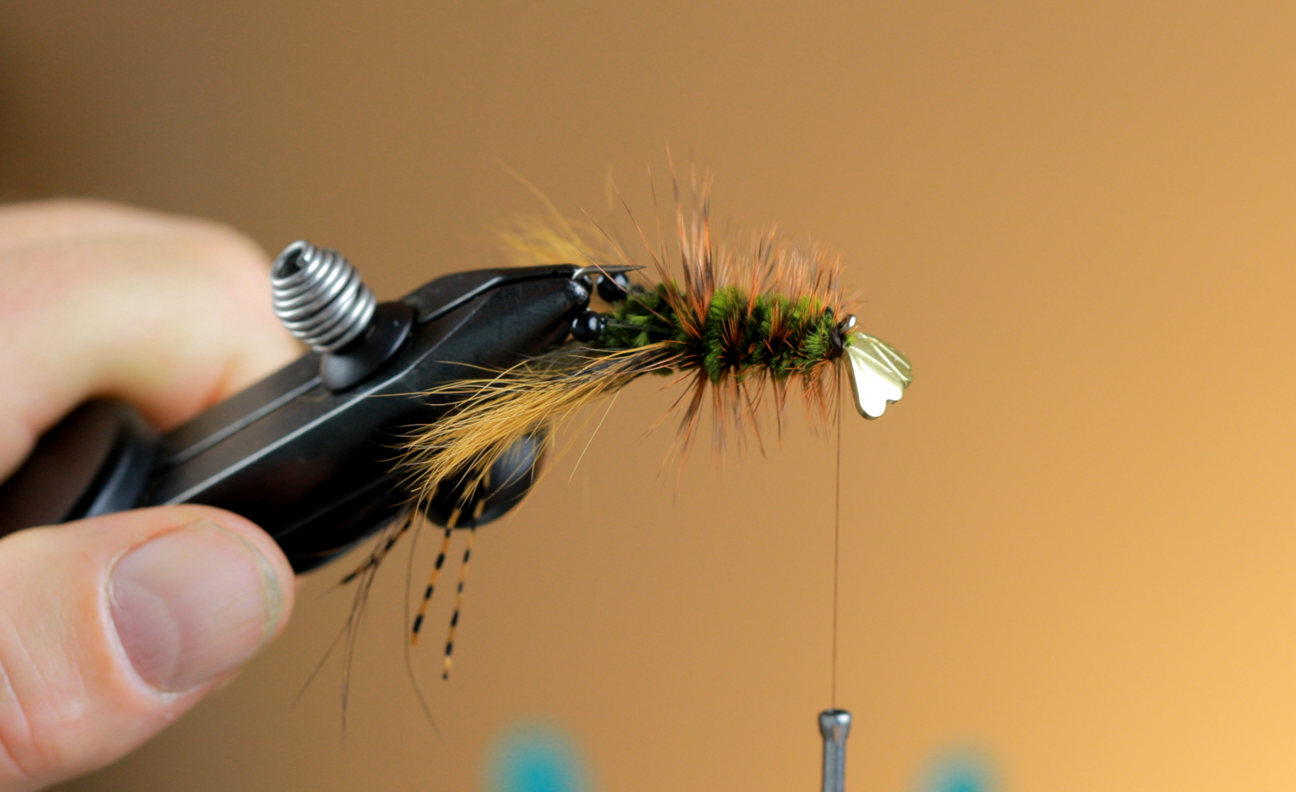
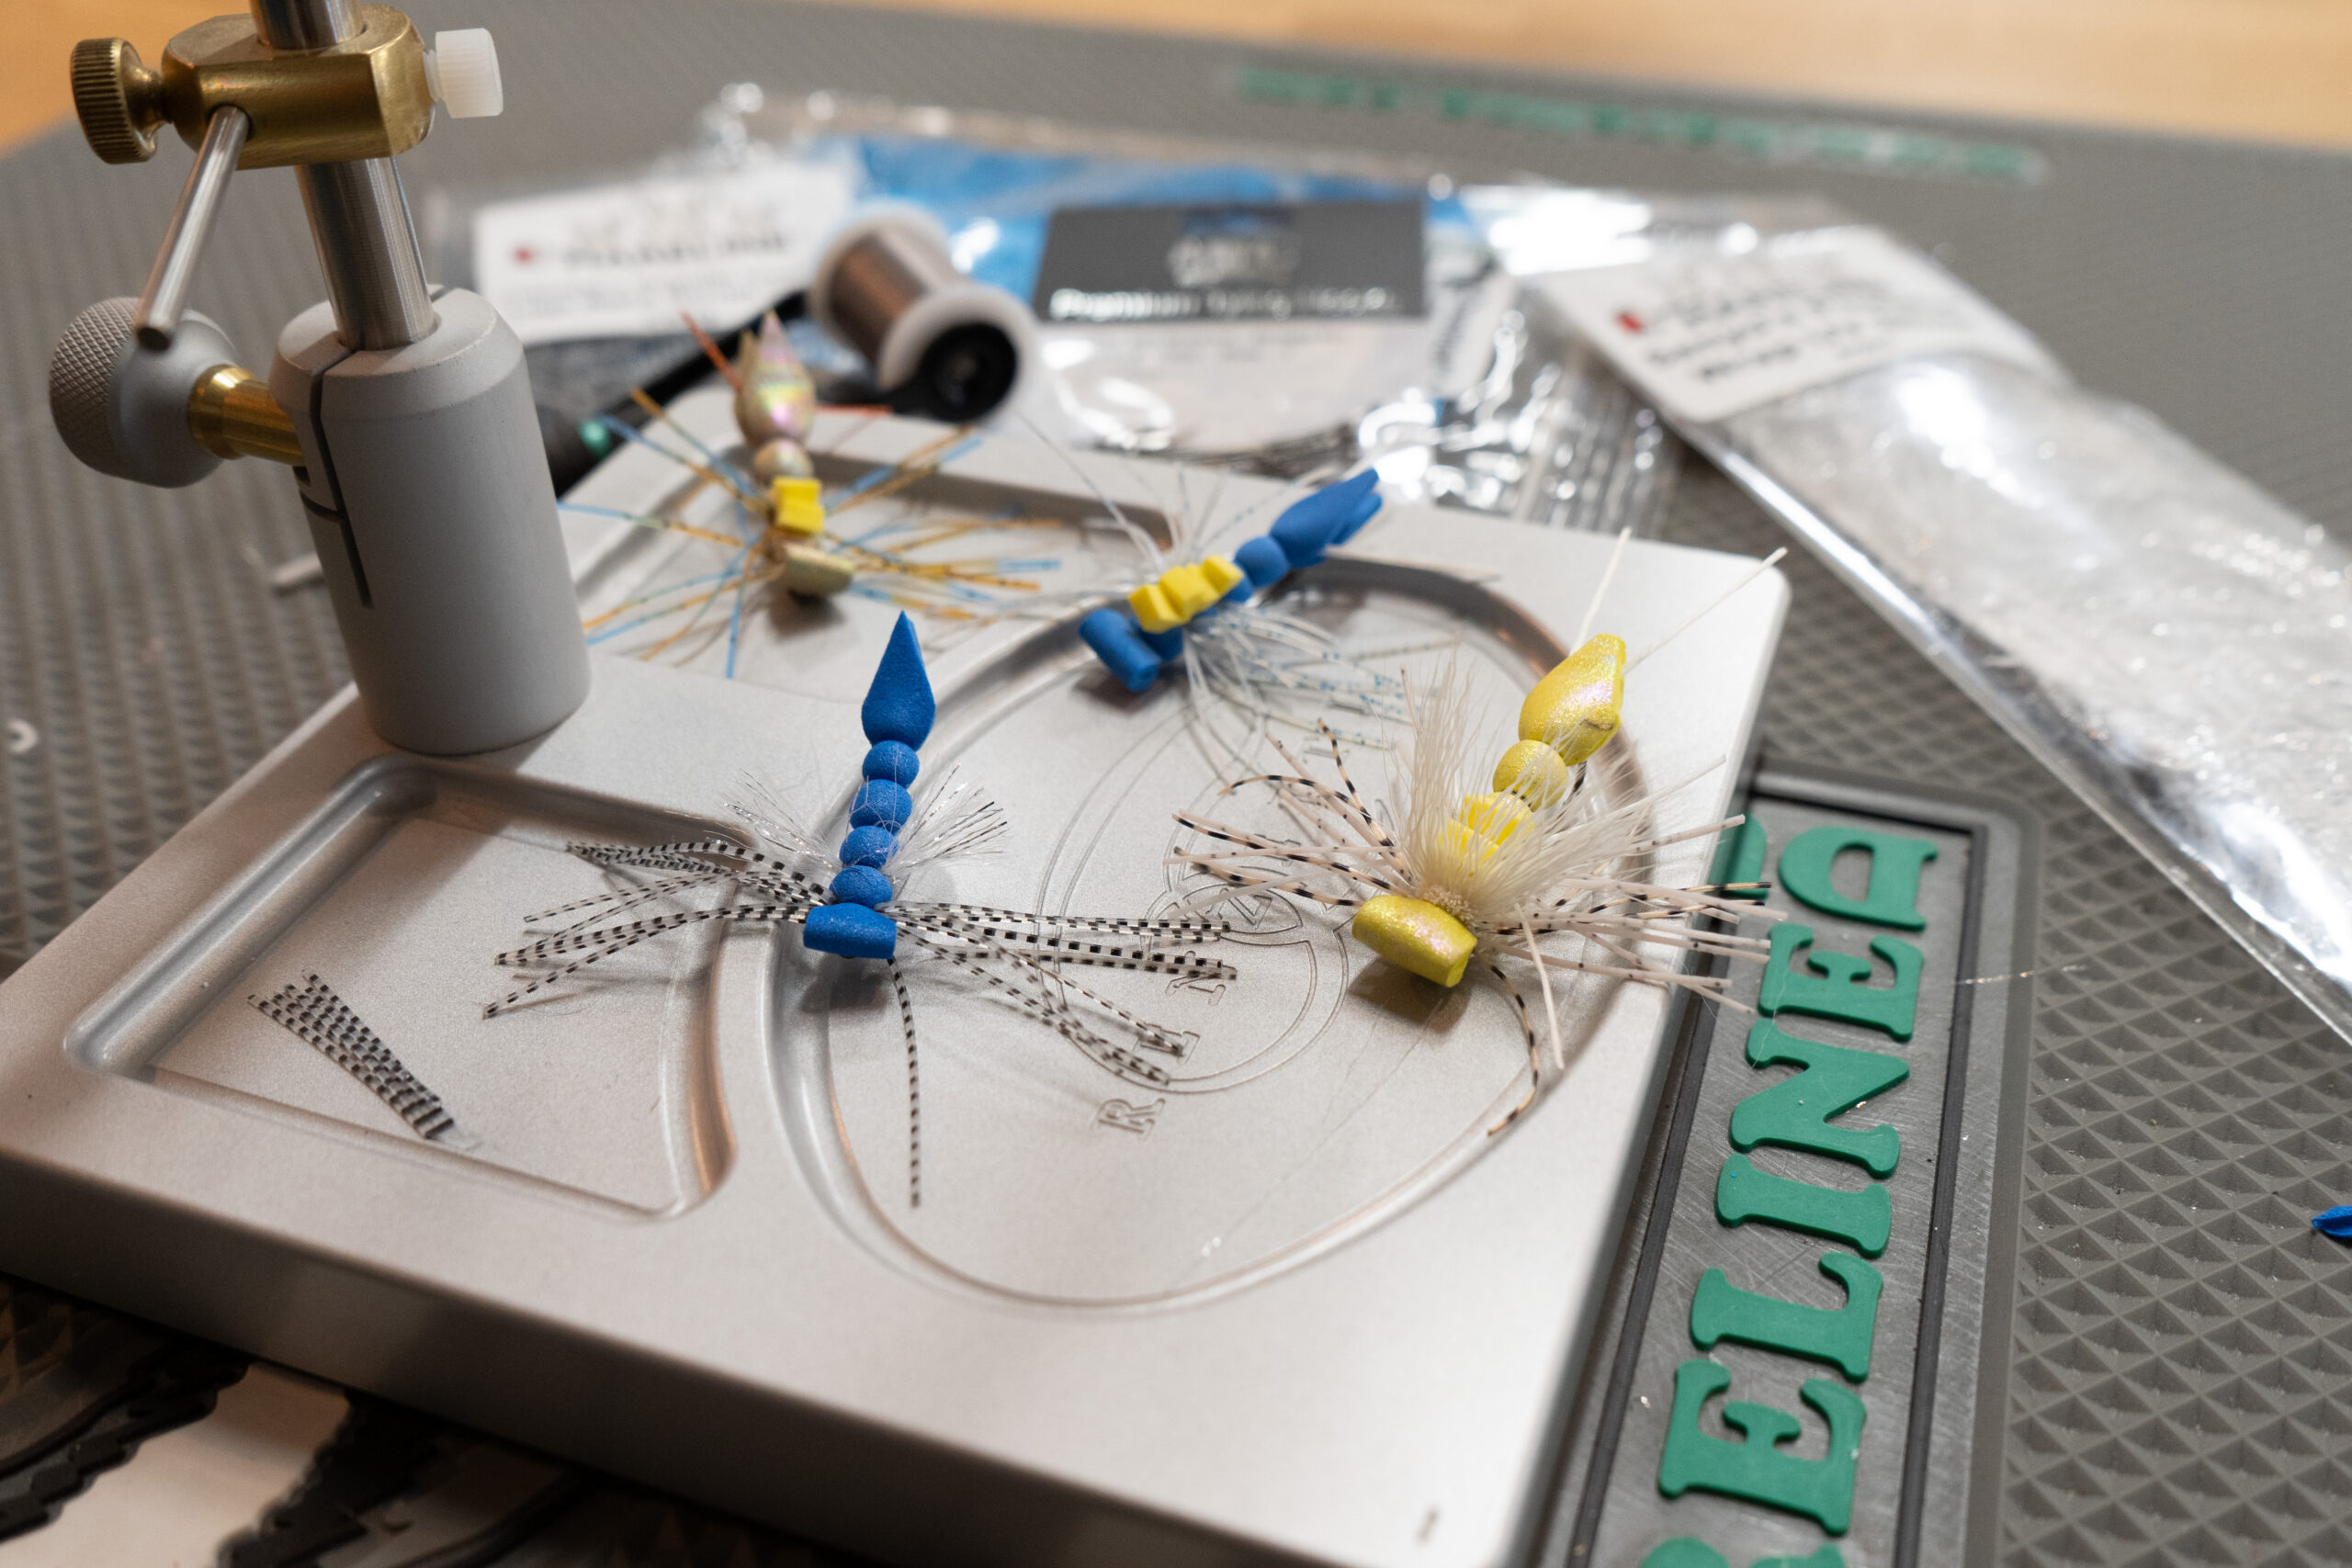
Popularized and developed in 2010 by Charlie Piette and the guys over at Tightlines Fly Fishing Co in Wisconsin, Ol’ Mr. Wiggly was a much needed topwater fly that filled a void in the surface game when a traditional popper was simply overkill and too abrasive. At this point, the use of this pattern and its effectiveness in low clear water conditions for Smallmouth Bass fishing is no longer a secret. It is essential when trying to unlock the fickle and technical nature of the Smallmouth in the low clear water of Summertime. Long leaders and drag free drifts become the name of the game if you want to consistently fool big Smallmouth Bass.  

One of the reasons I think this fly is so productive in these difficult conditions is that it plays on the fishes instinctual nature to be a sampler. In late Summer, when the water is very low and clear you are dealing with very educated and spooky Bass. Often times even a dead drifted popper is overkill and one needs a fly that is unobtrusive with very subtle movements. When fishing this fly, treat it just like a dry fly. Long leaders, lighter tippet, and focusing on the right angle of approach coupled with drag free drifts with no more than an occasional twitch are critical to consistent success. When float fishing out of a boat it can be very effective to stand in an elevated position and sight fish, picking out ideal spots or individual fish.       

This style of fishing is not for everyone. It requires discipline and the willingness to fail. But for the angler who keeps faith in the process and the belief it will work one can reap the benefits of one of the most rewarding ways to fool a fish!

For more information on this technique as well as many others be sure to check out Smallmouth: Modern Fly Fishing Methods, Tactics and Techniques. 

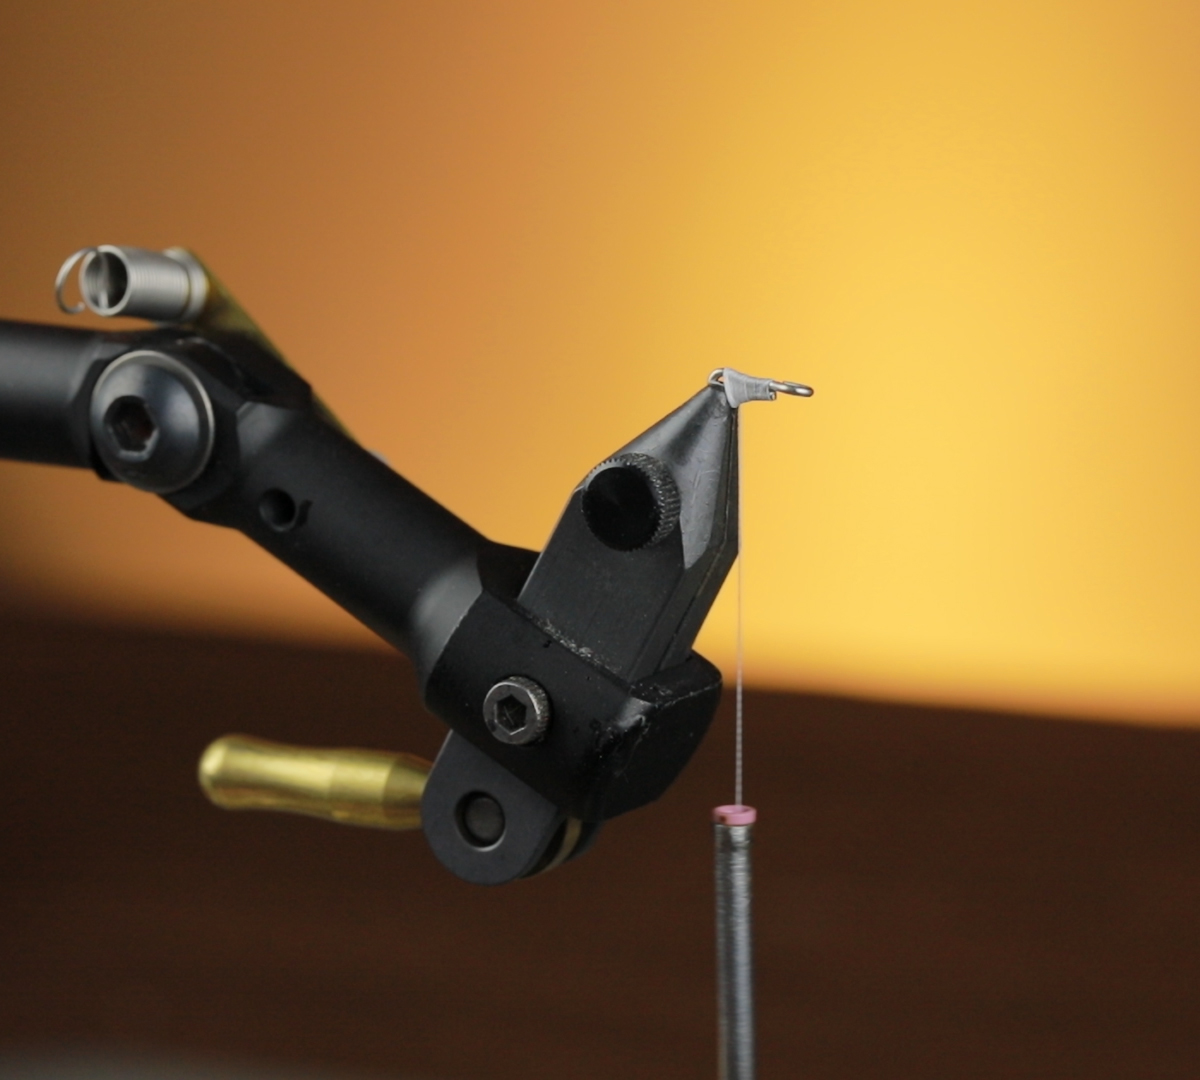
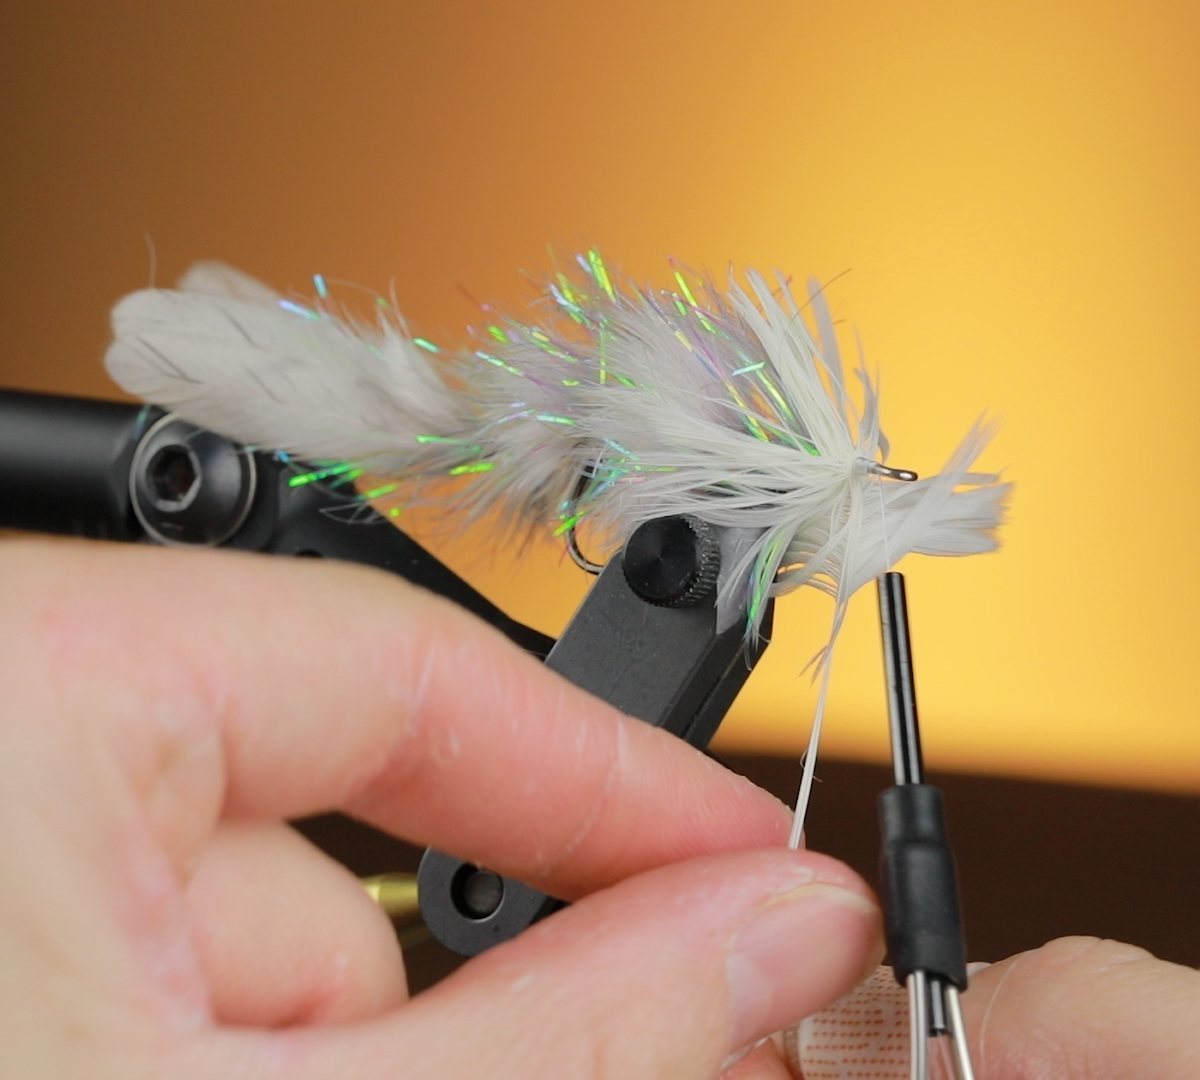
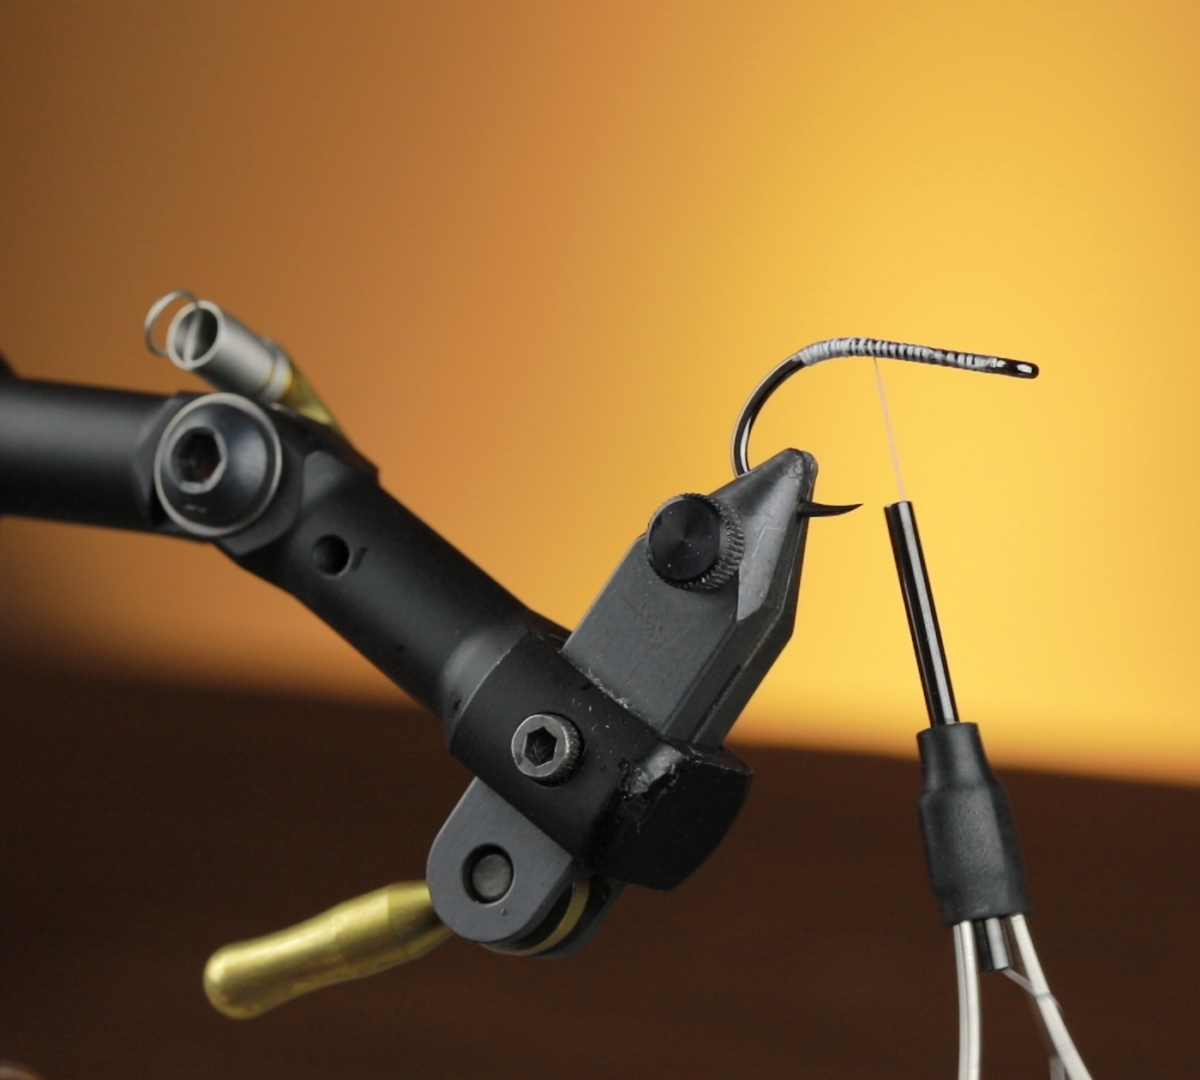
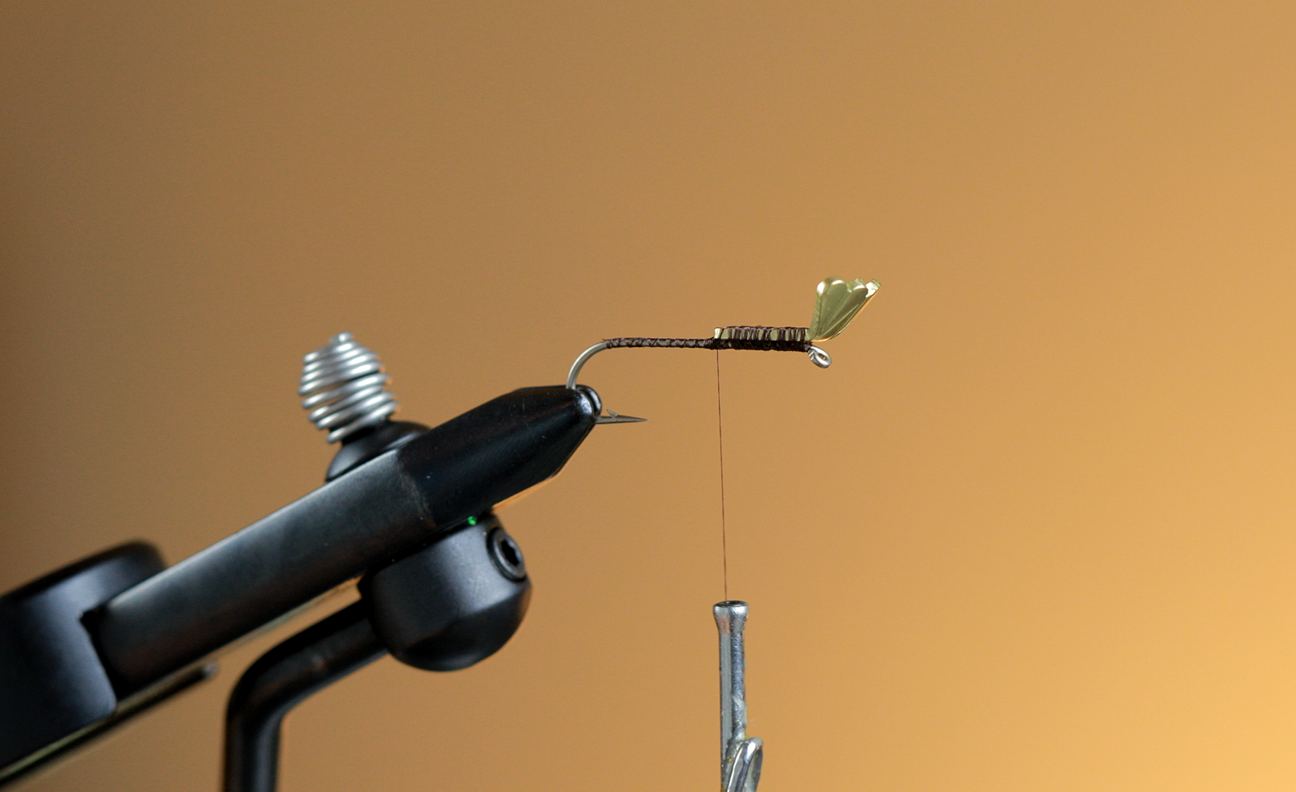
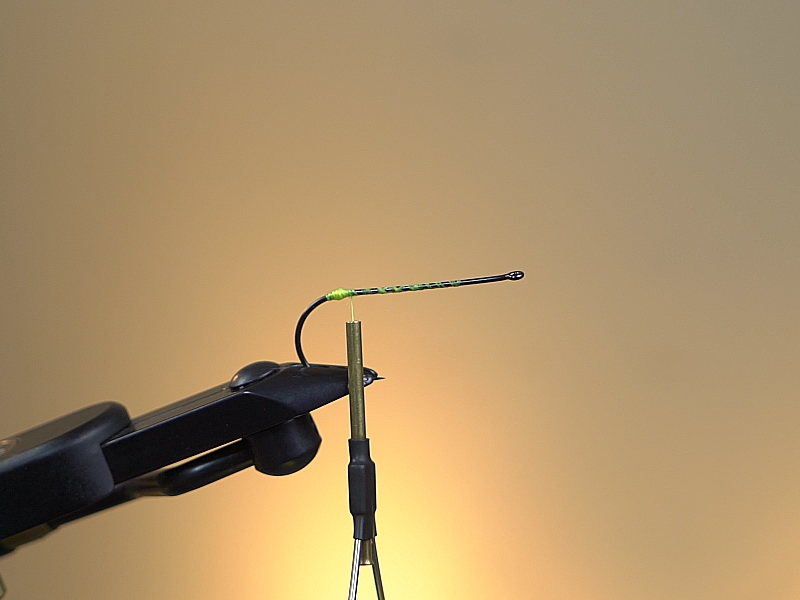
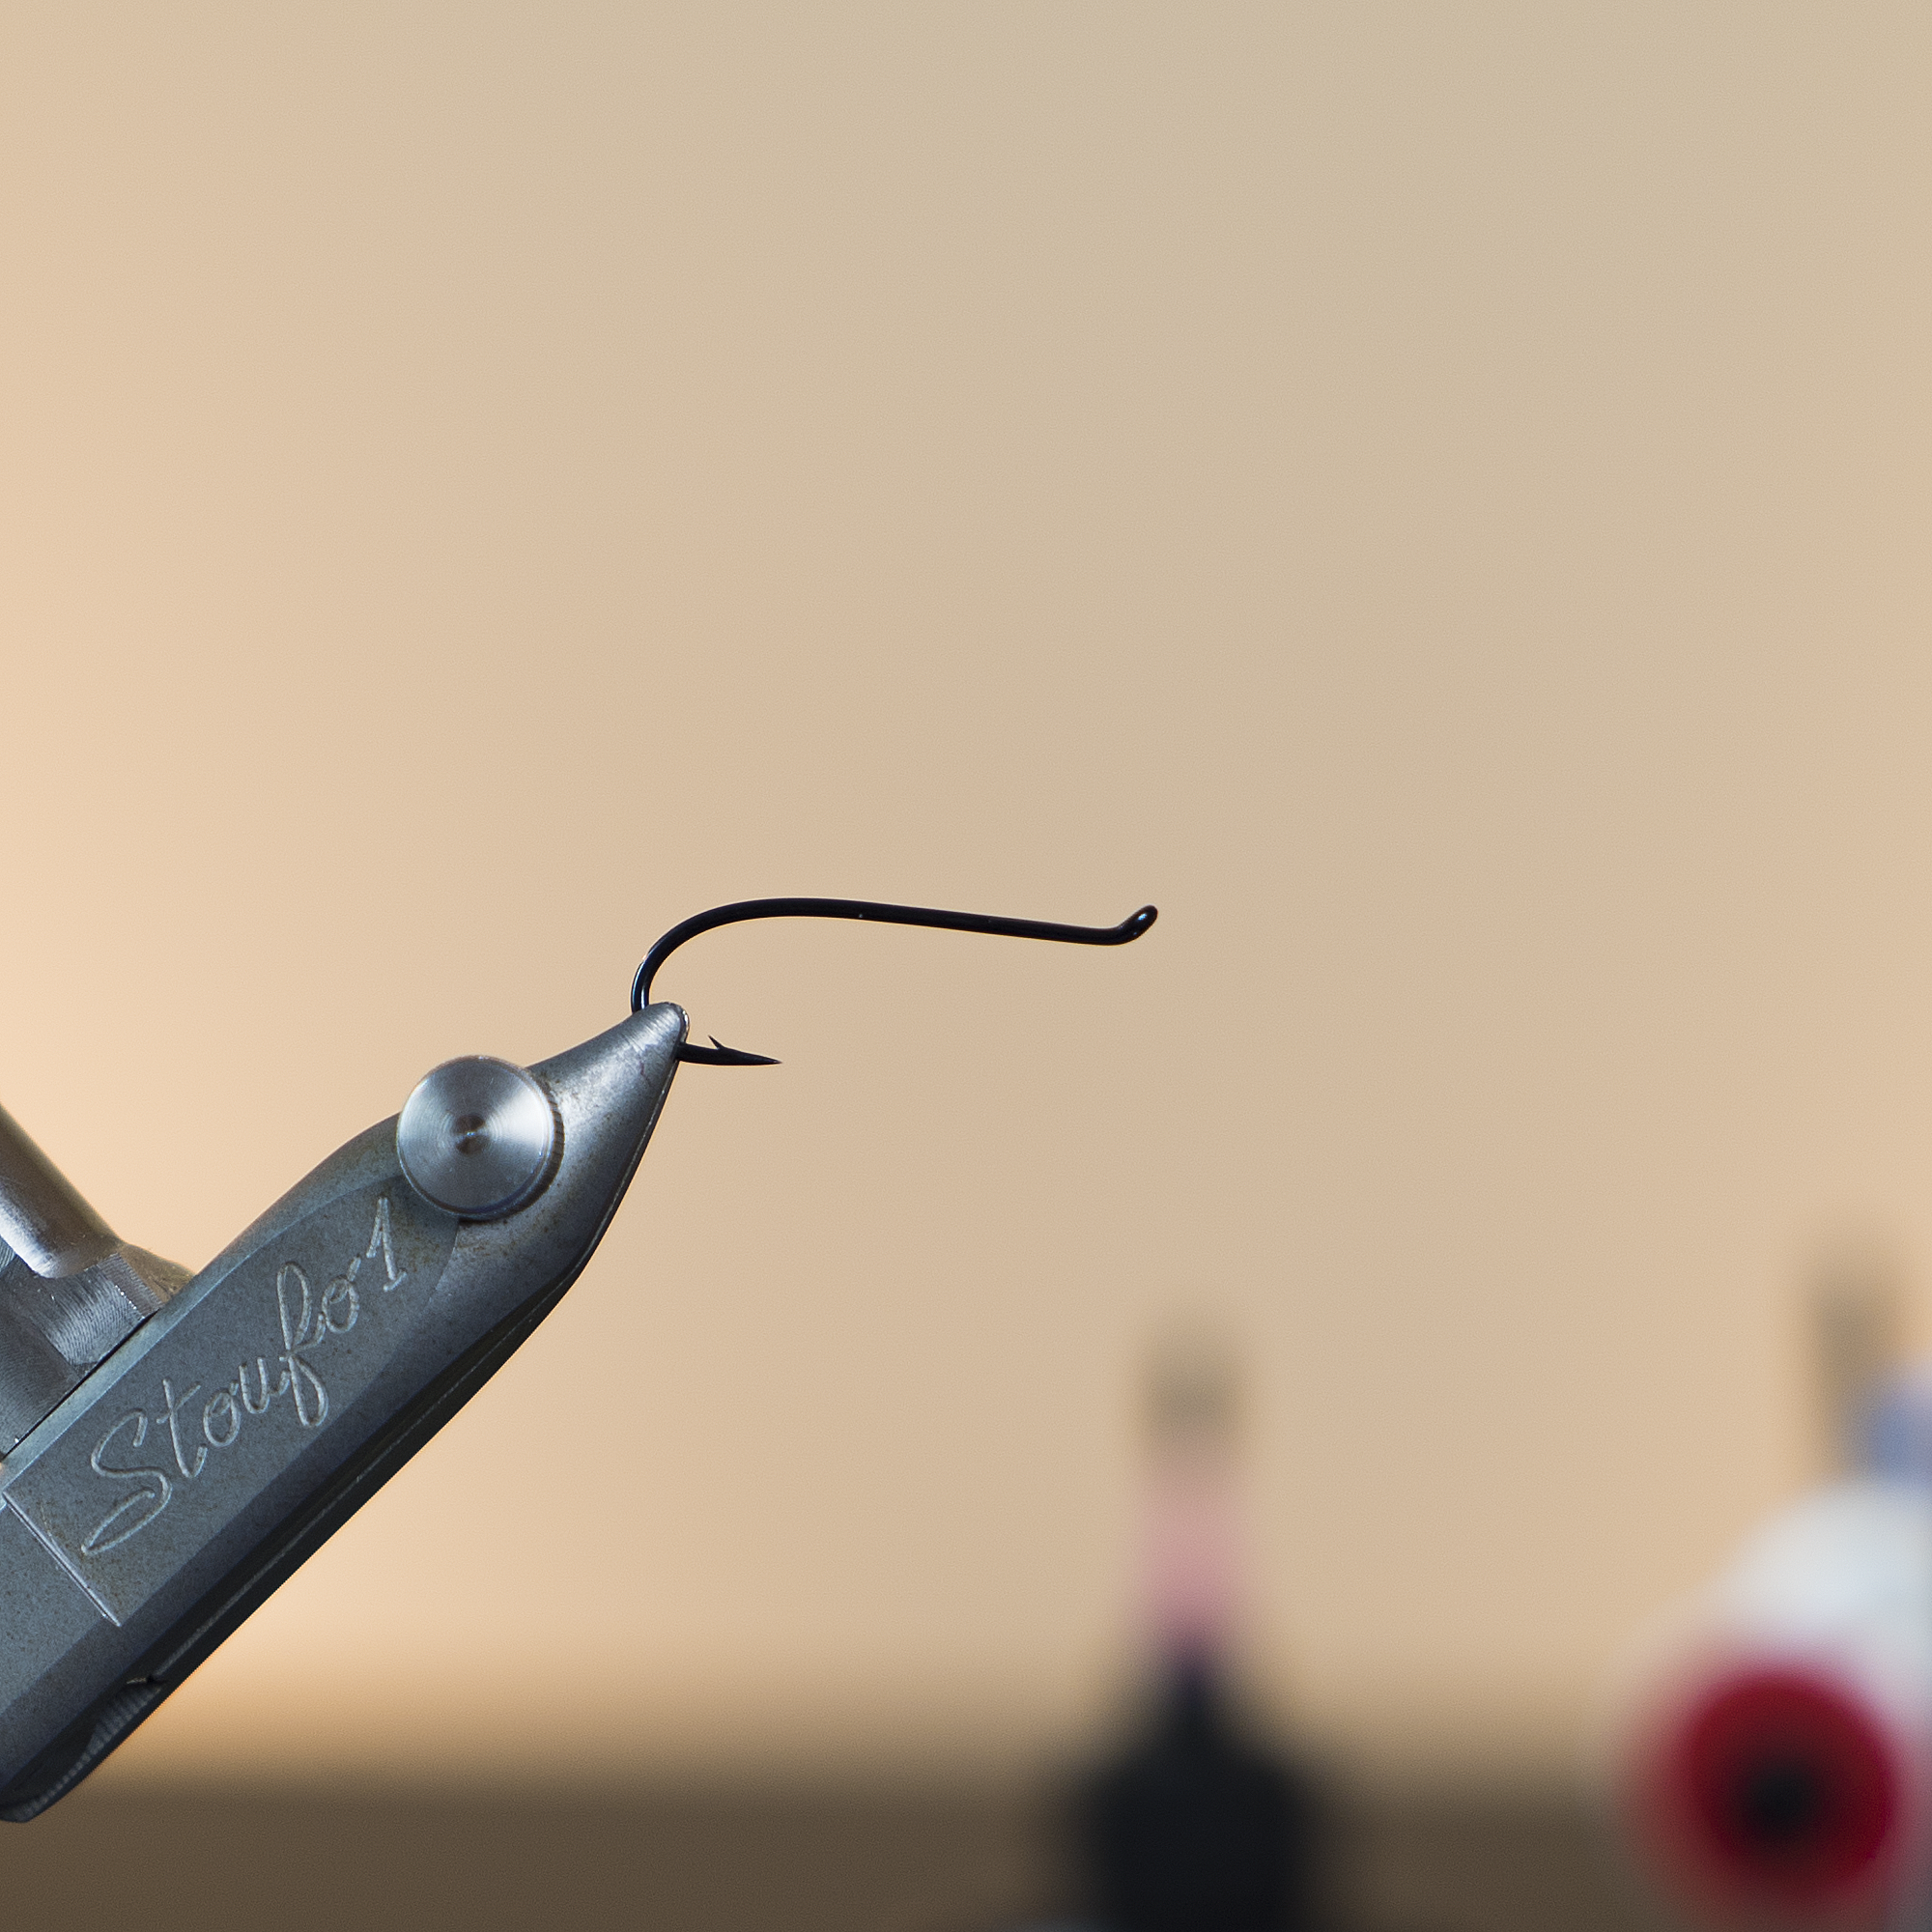
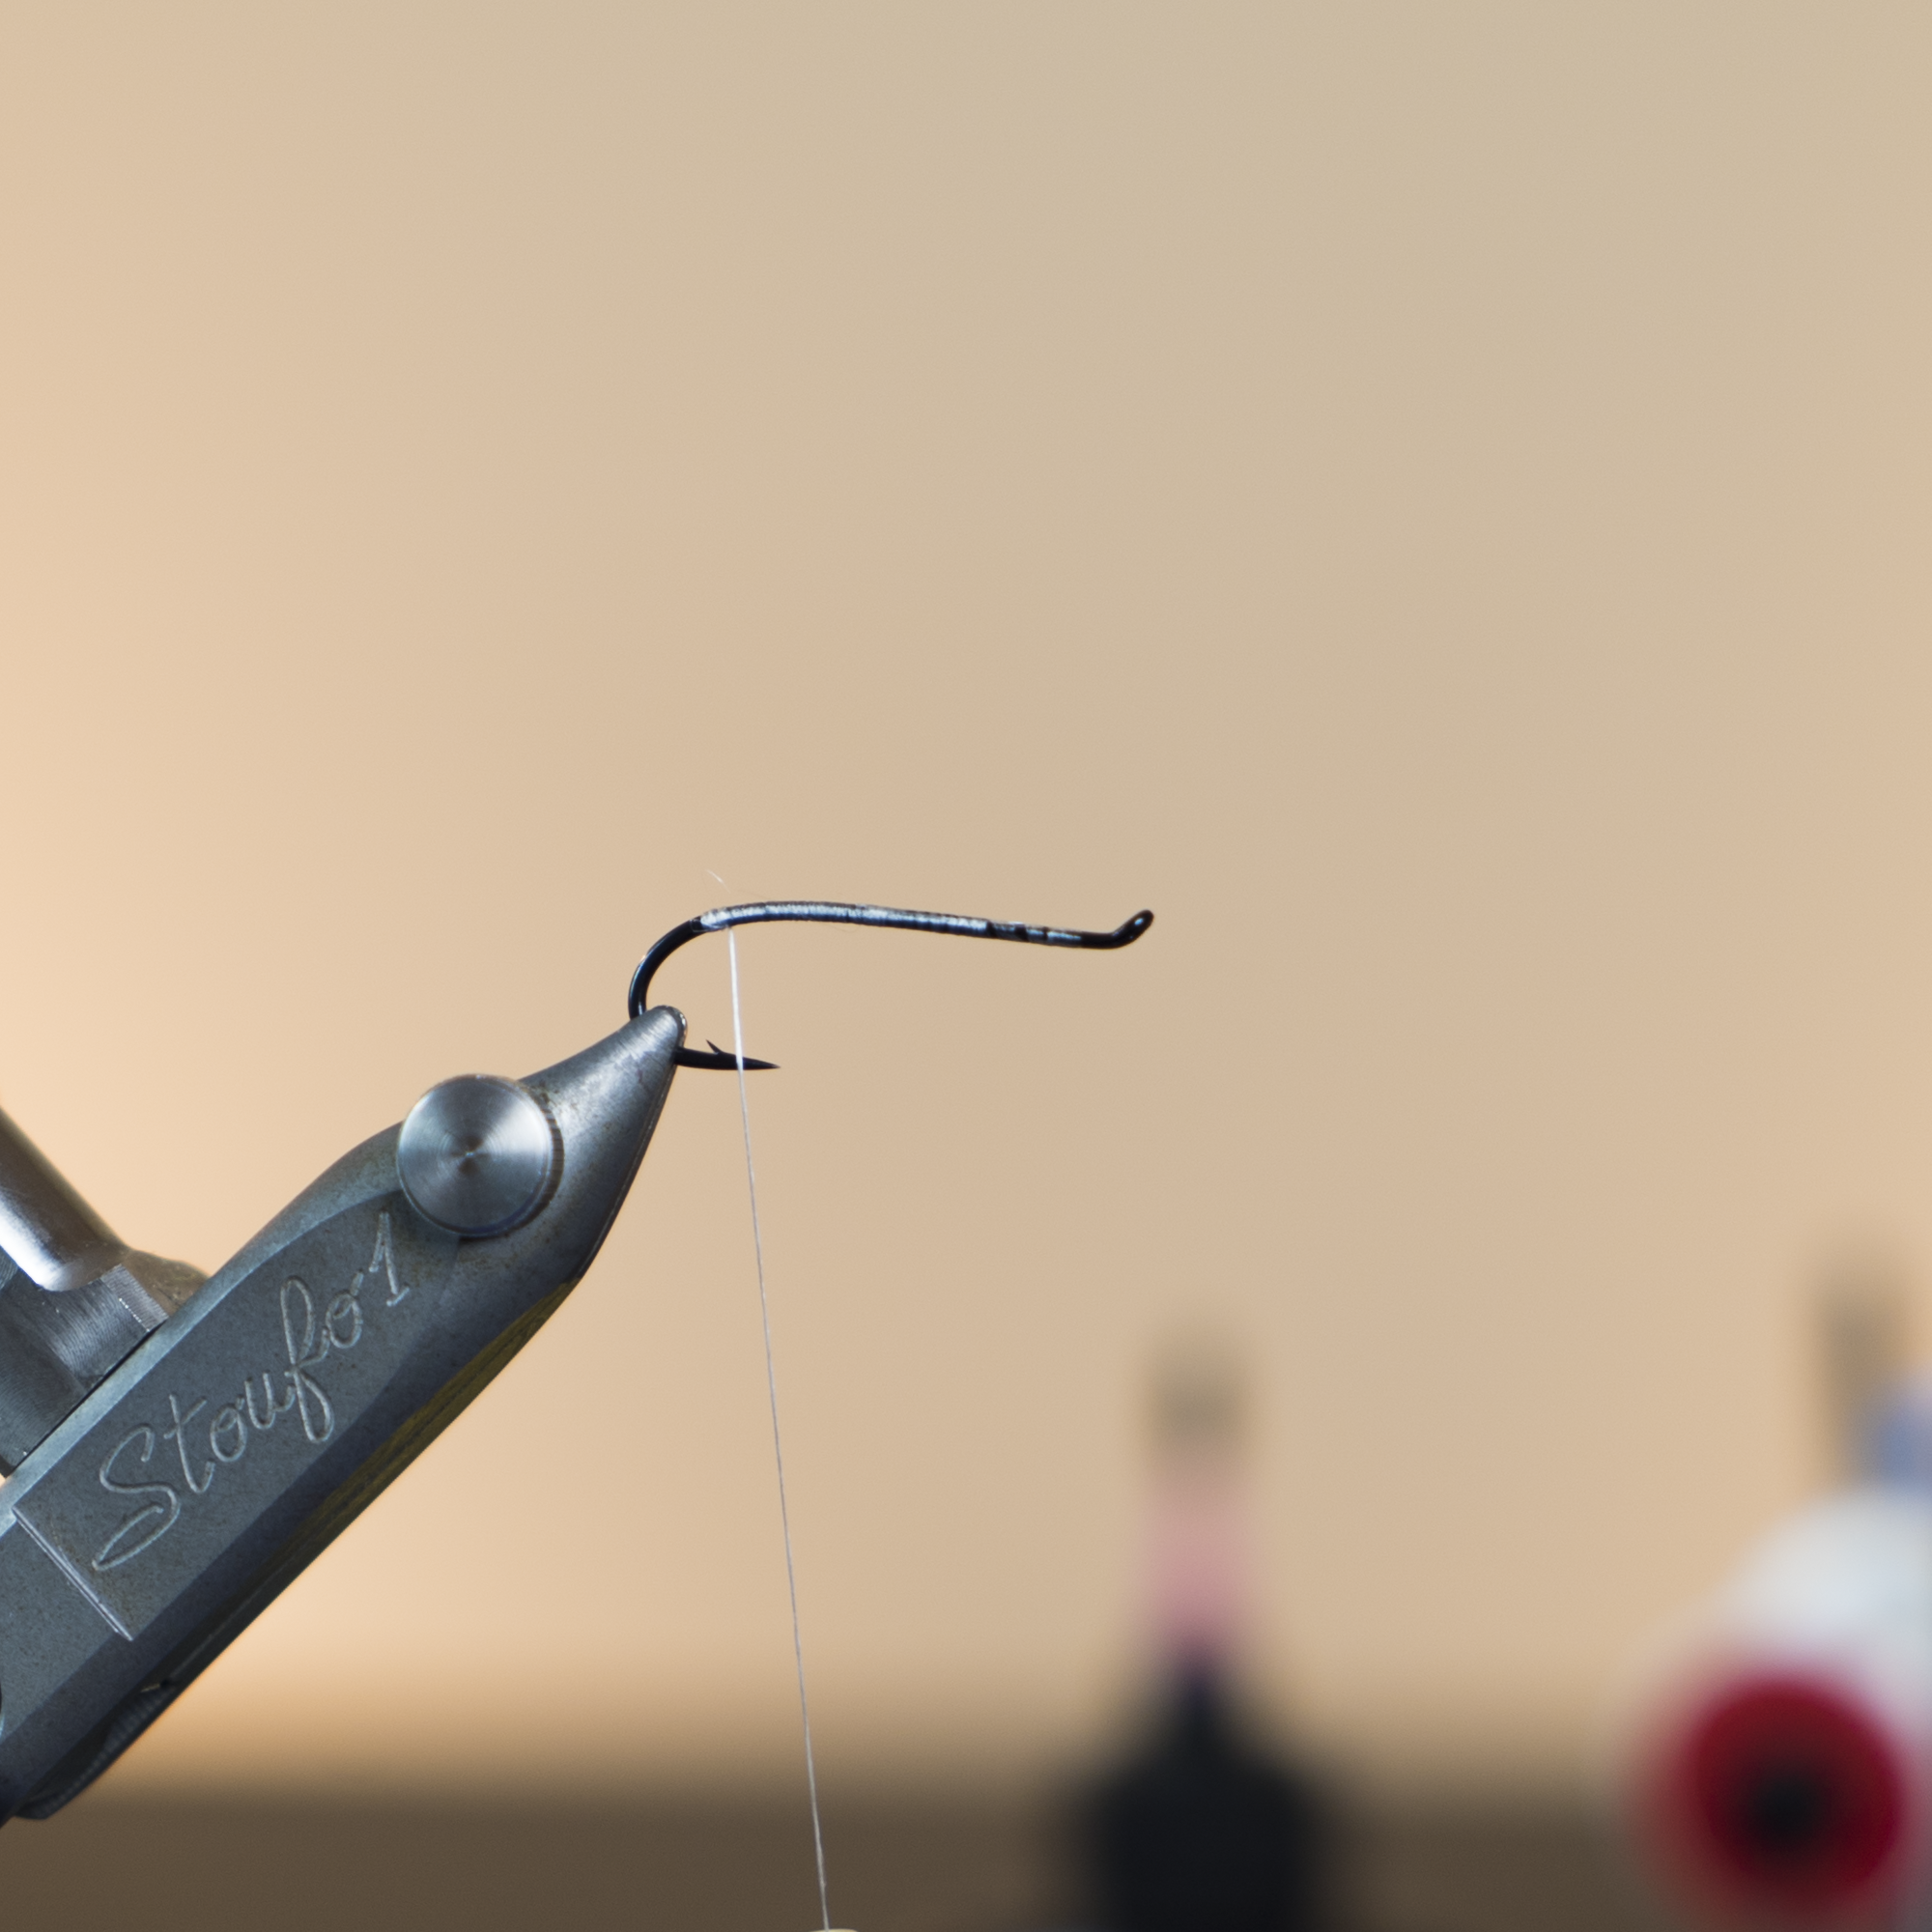
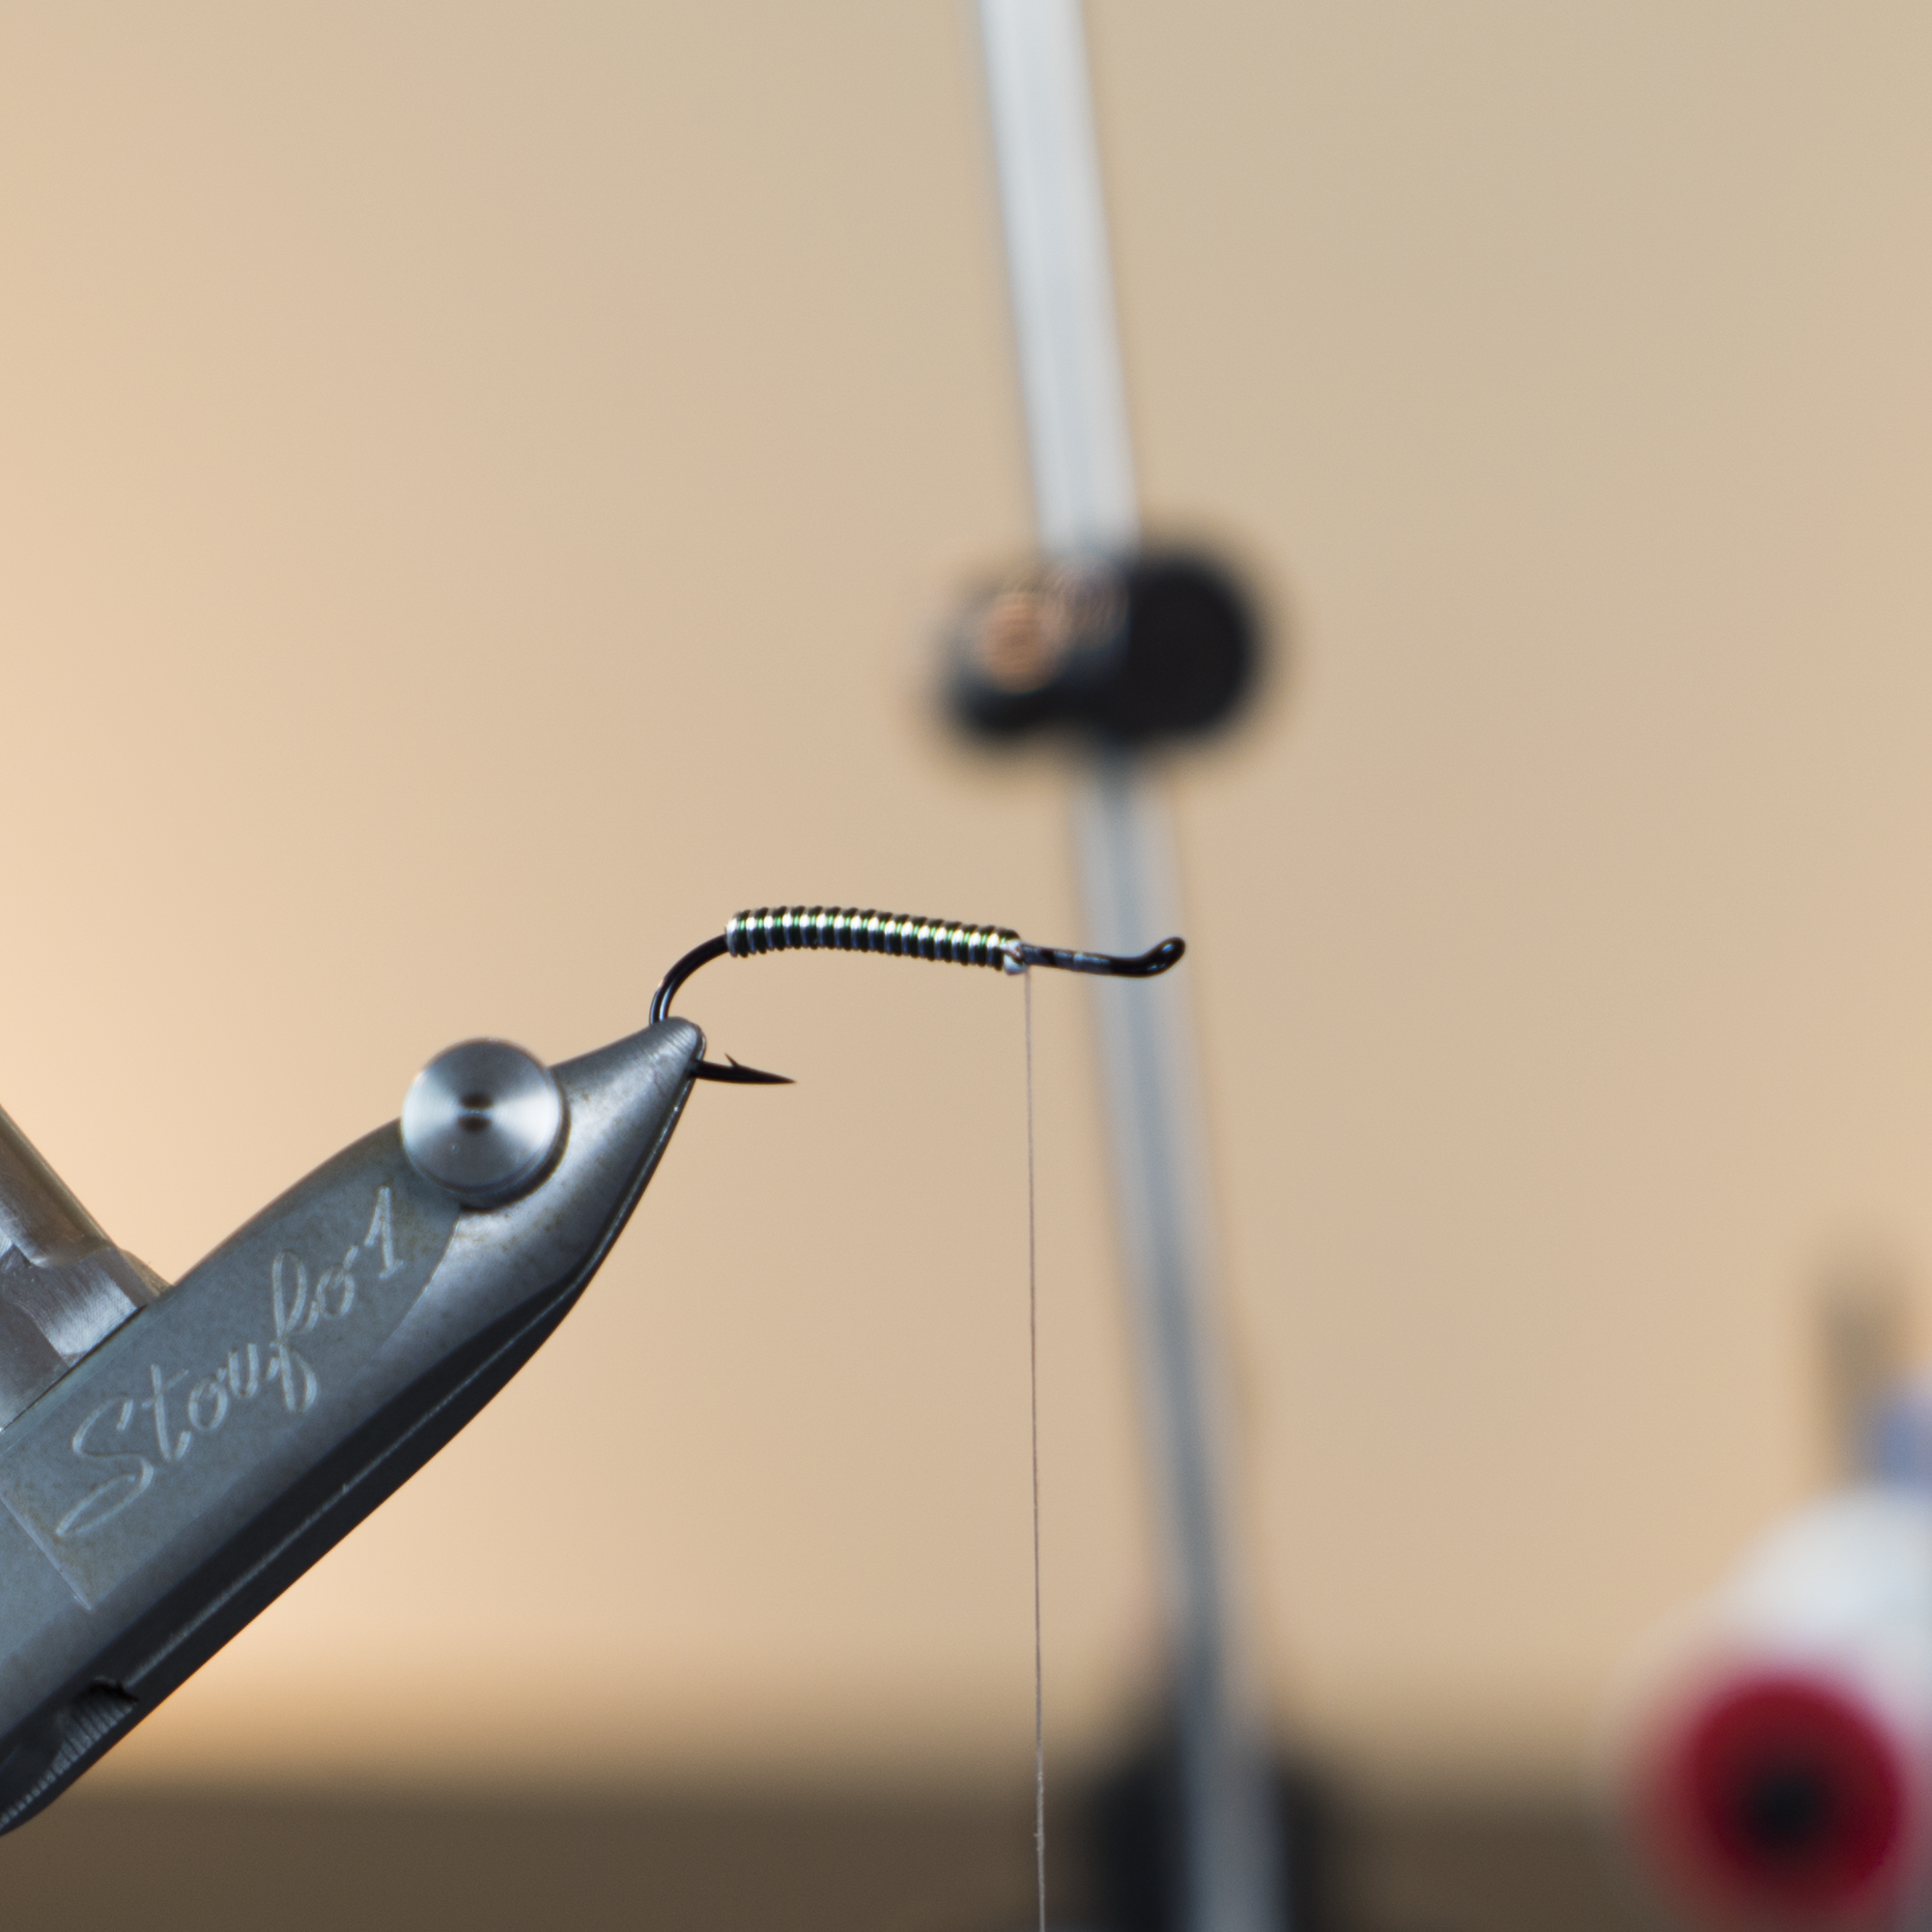
Step 1: Before starting the foam body of the Wiggly it is important to lay a solid base of tying thread first. This will serve as a strong foundation for your foam body so that it does not shift, spin, or move around on you. If you tie a fly, tie it well so they are built to last. 

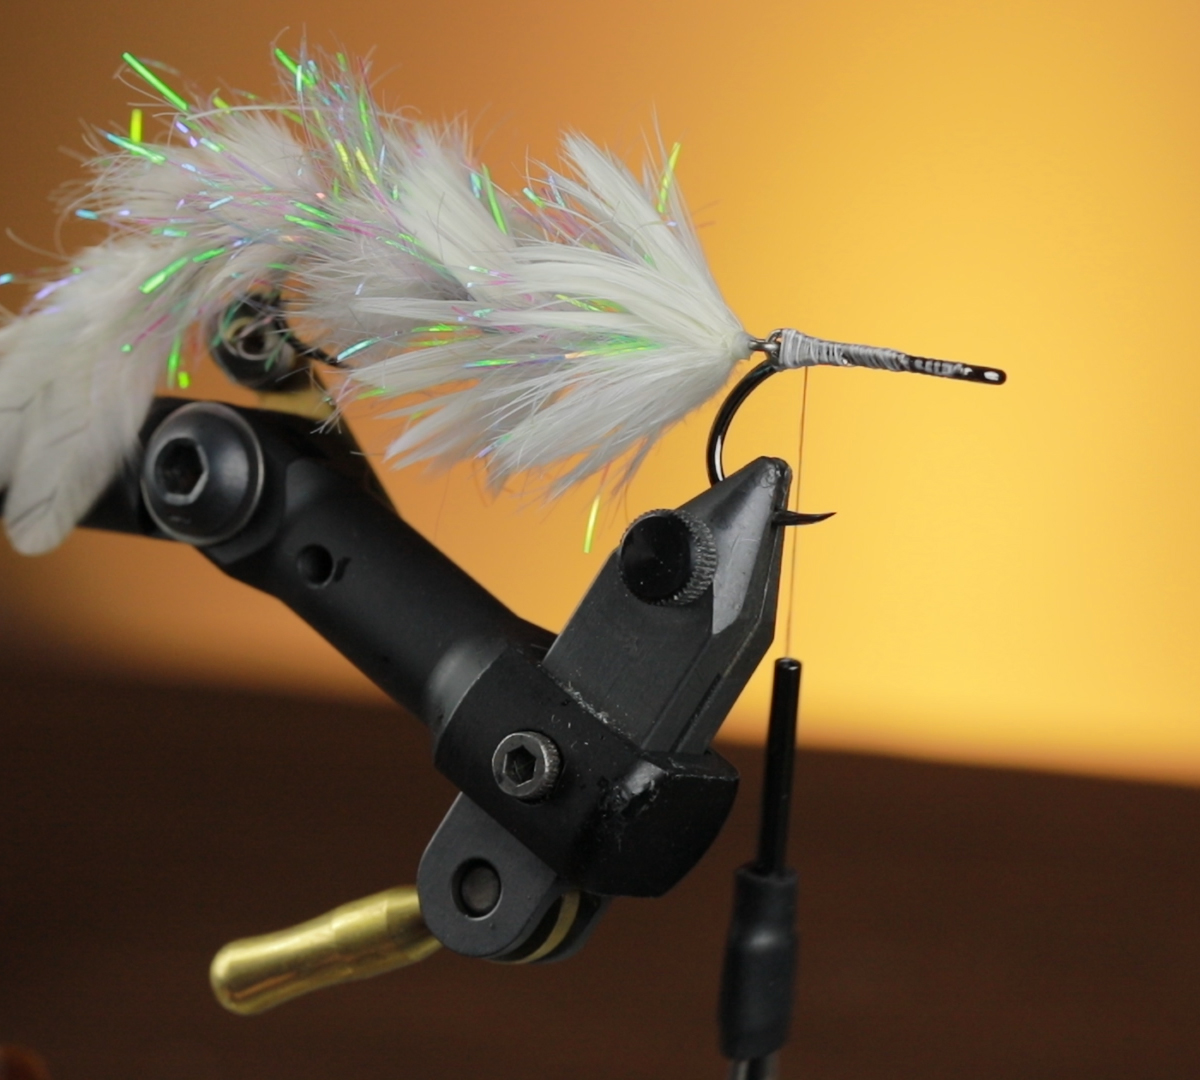
Step 2: Cut a strip of Loco Foam approximately 1/4″-3/8″ in width and 3″ in length. The length is less critical as it can be trimmed later (this is my preferred size for this particular  hook/pattern size, so adjust accordingly). Fold the foam in half so the material is doubled over with the split end tied off the rear of the hook. Like I stated earlier this end will be trimmed after the fact, so length is not critical. Most of the time I will trim the tail after the fly is finished and is subjective and based on what you like the look of. I generally shoot for about as long as the hook gap is wide. This is Merica’ so do what you want. The folded end you want to hang over the eye of the hook approximately 2-3 eye widths.

There are many different varieties of sheet foam out there on the market, anything that is roughly 1.5-2mm in thickness will work just fine. I personally use Blane Chocklett’s Loco Foam. I prefer this material because it comes in a variety of cool colors. One side is a little flashier and the other side is a more dulled out version of the given color. This is nice because depending on how I want my Wiggly to look, I can fold the foam one way or the other. Can I get a foam a little less expensive somewhere else, sure but I like supporting the fly tying industry and my friends who are the driving force behind it.  
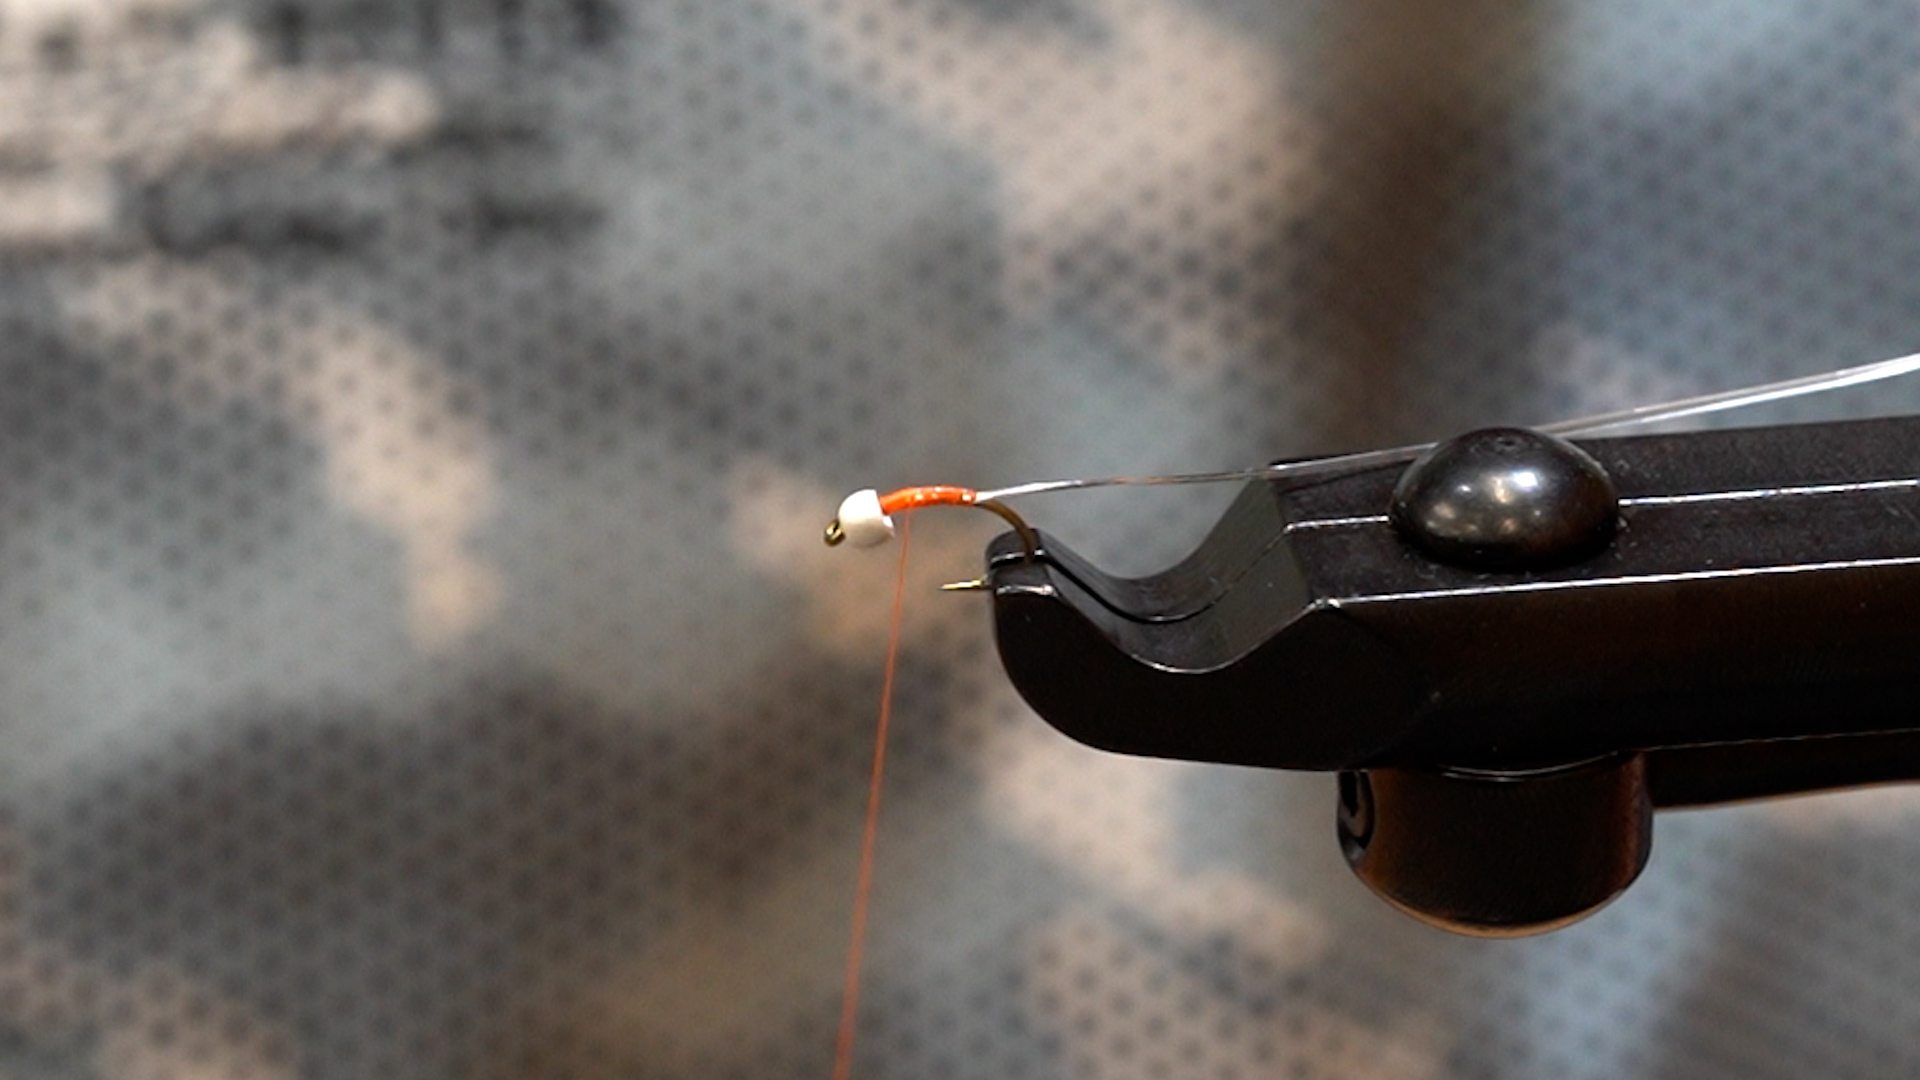
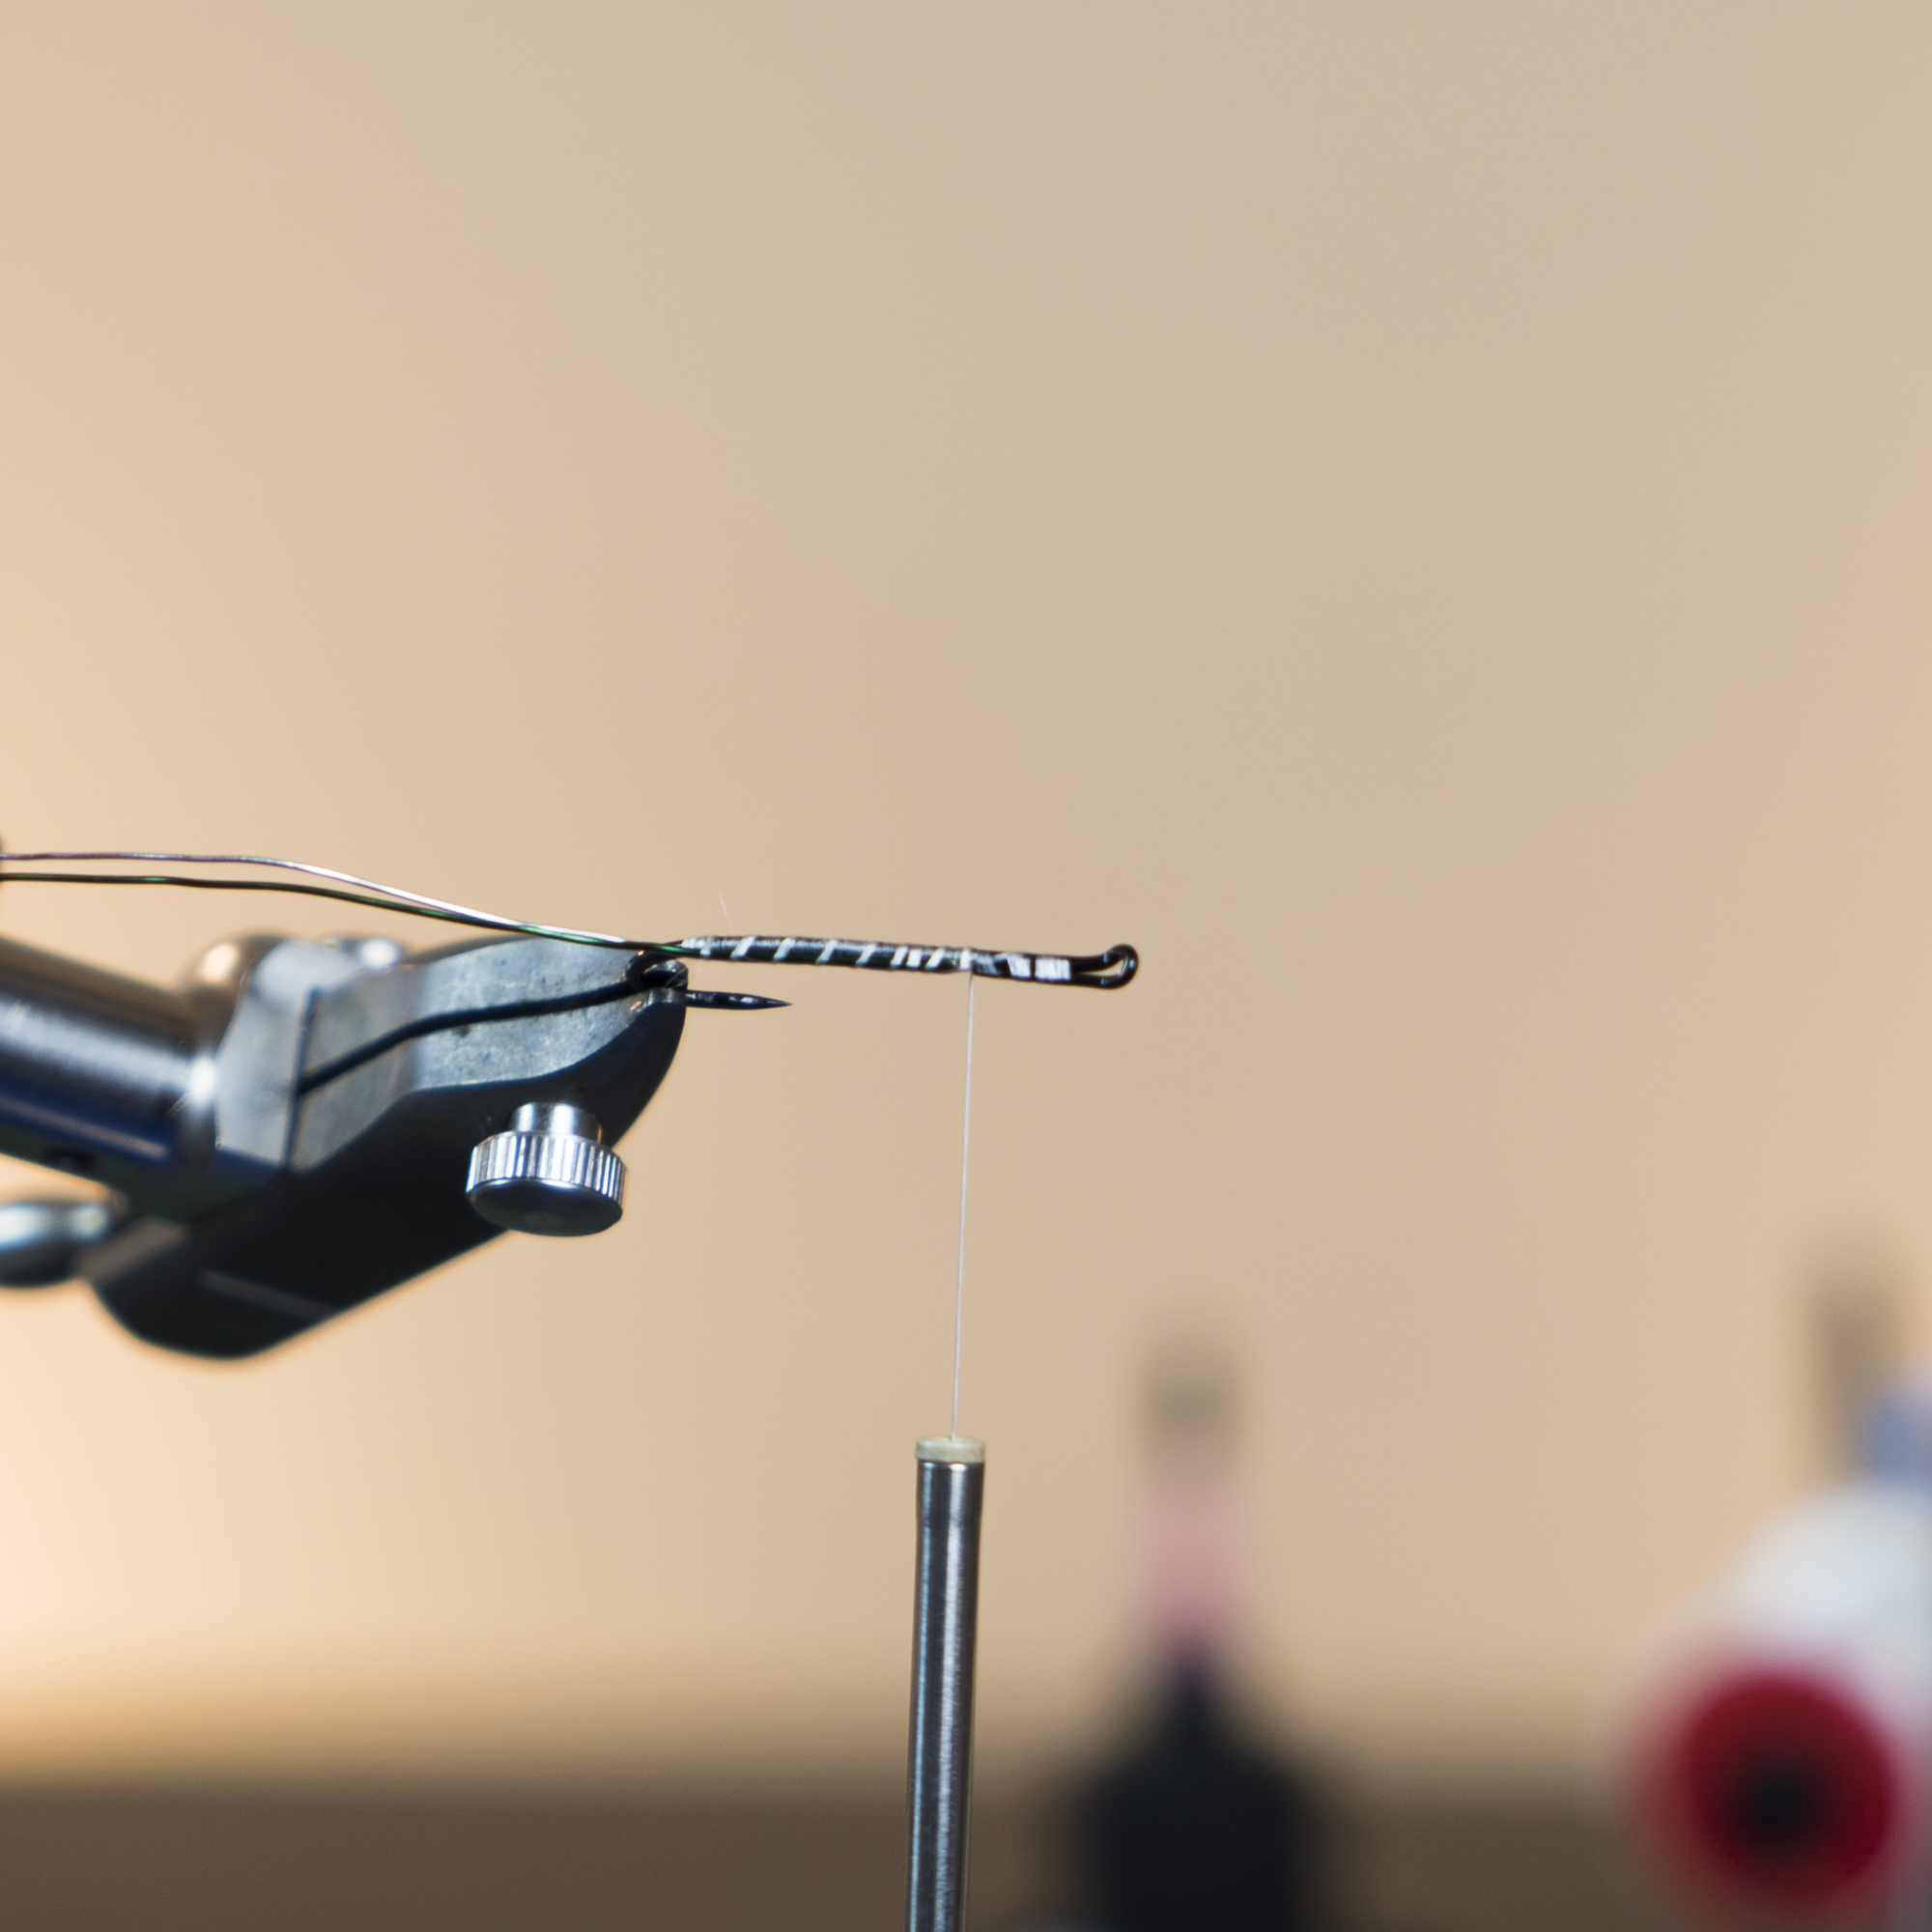
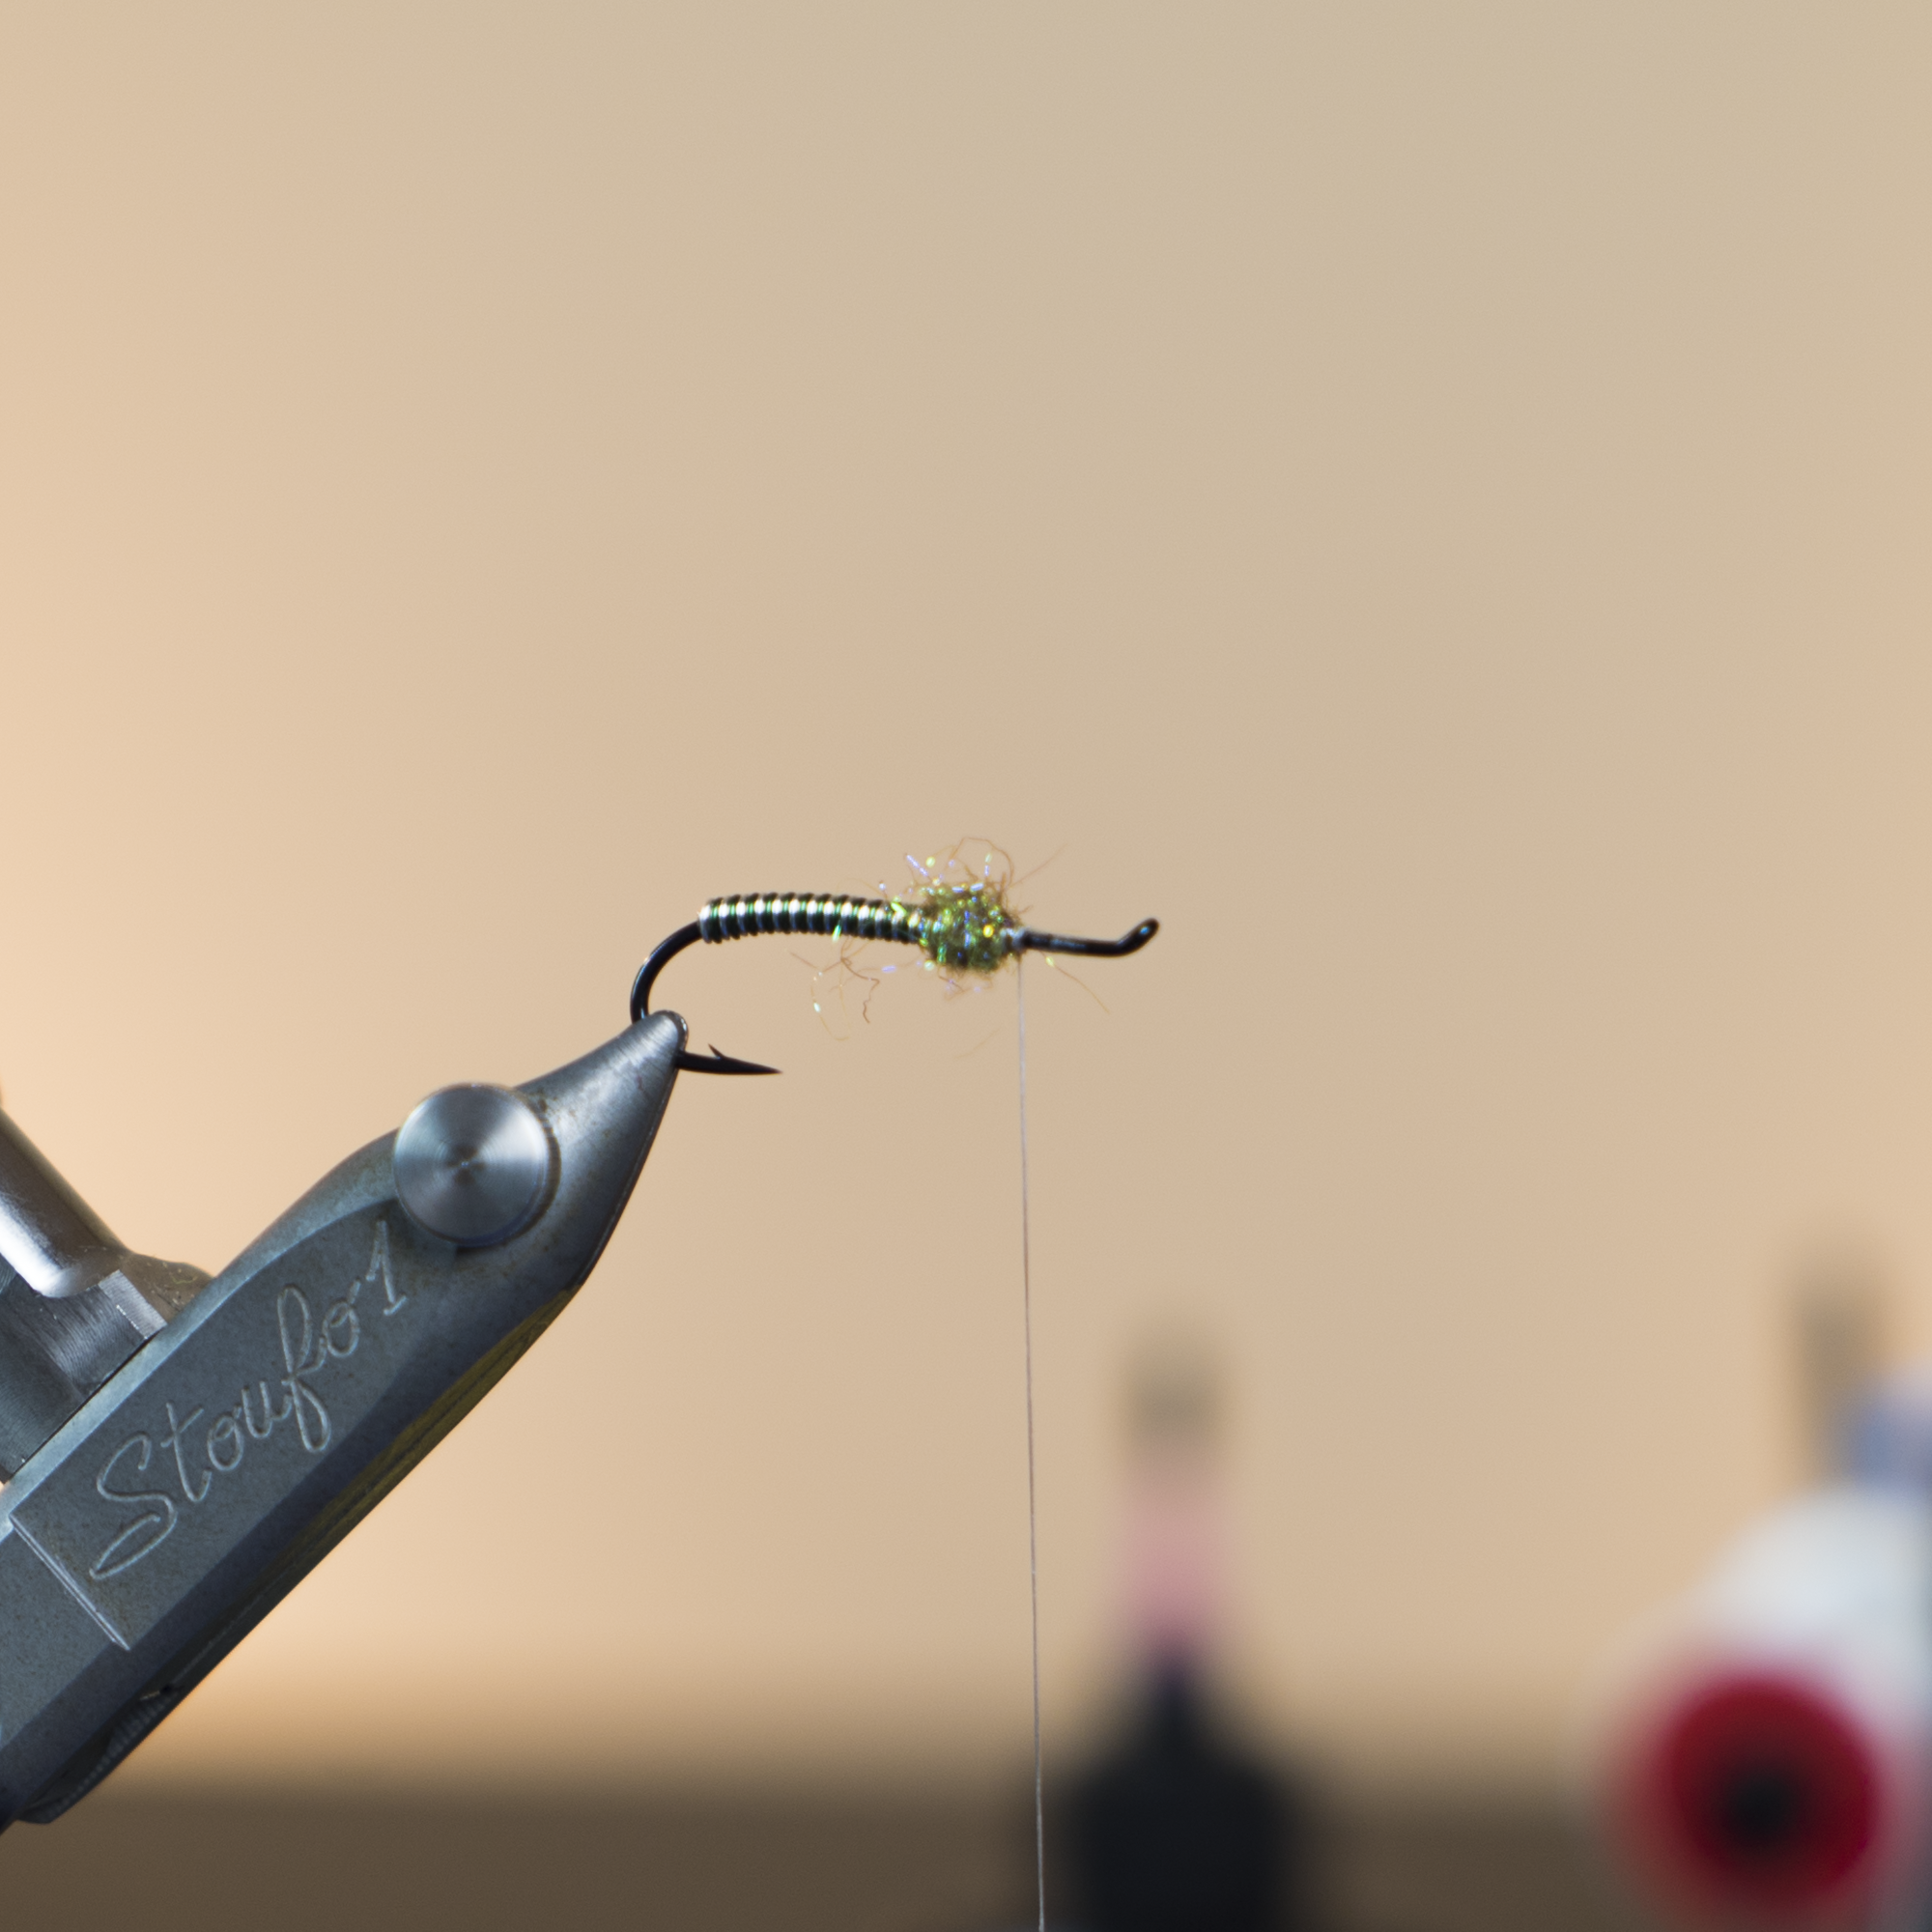
Step 3: Make the first wrap close to in line with the barb of the hook. I’ll make 3-4 wraps getting progressively tighter, securing the foam in place. Before proceeding to the next segment I will advance the thread forward, make a few wraps around the shank and then return my thread to the first body segment and make a few more securing wraps. This technique will help minimize the amount of spinning and foam rolling out of position. Use this technique on every body segment throughout the tying process.
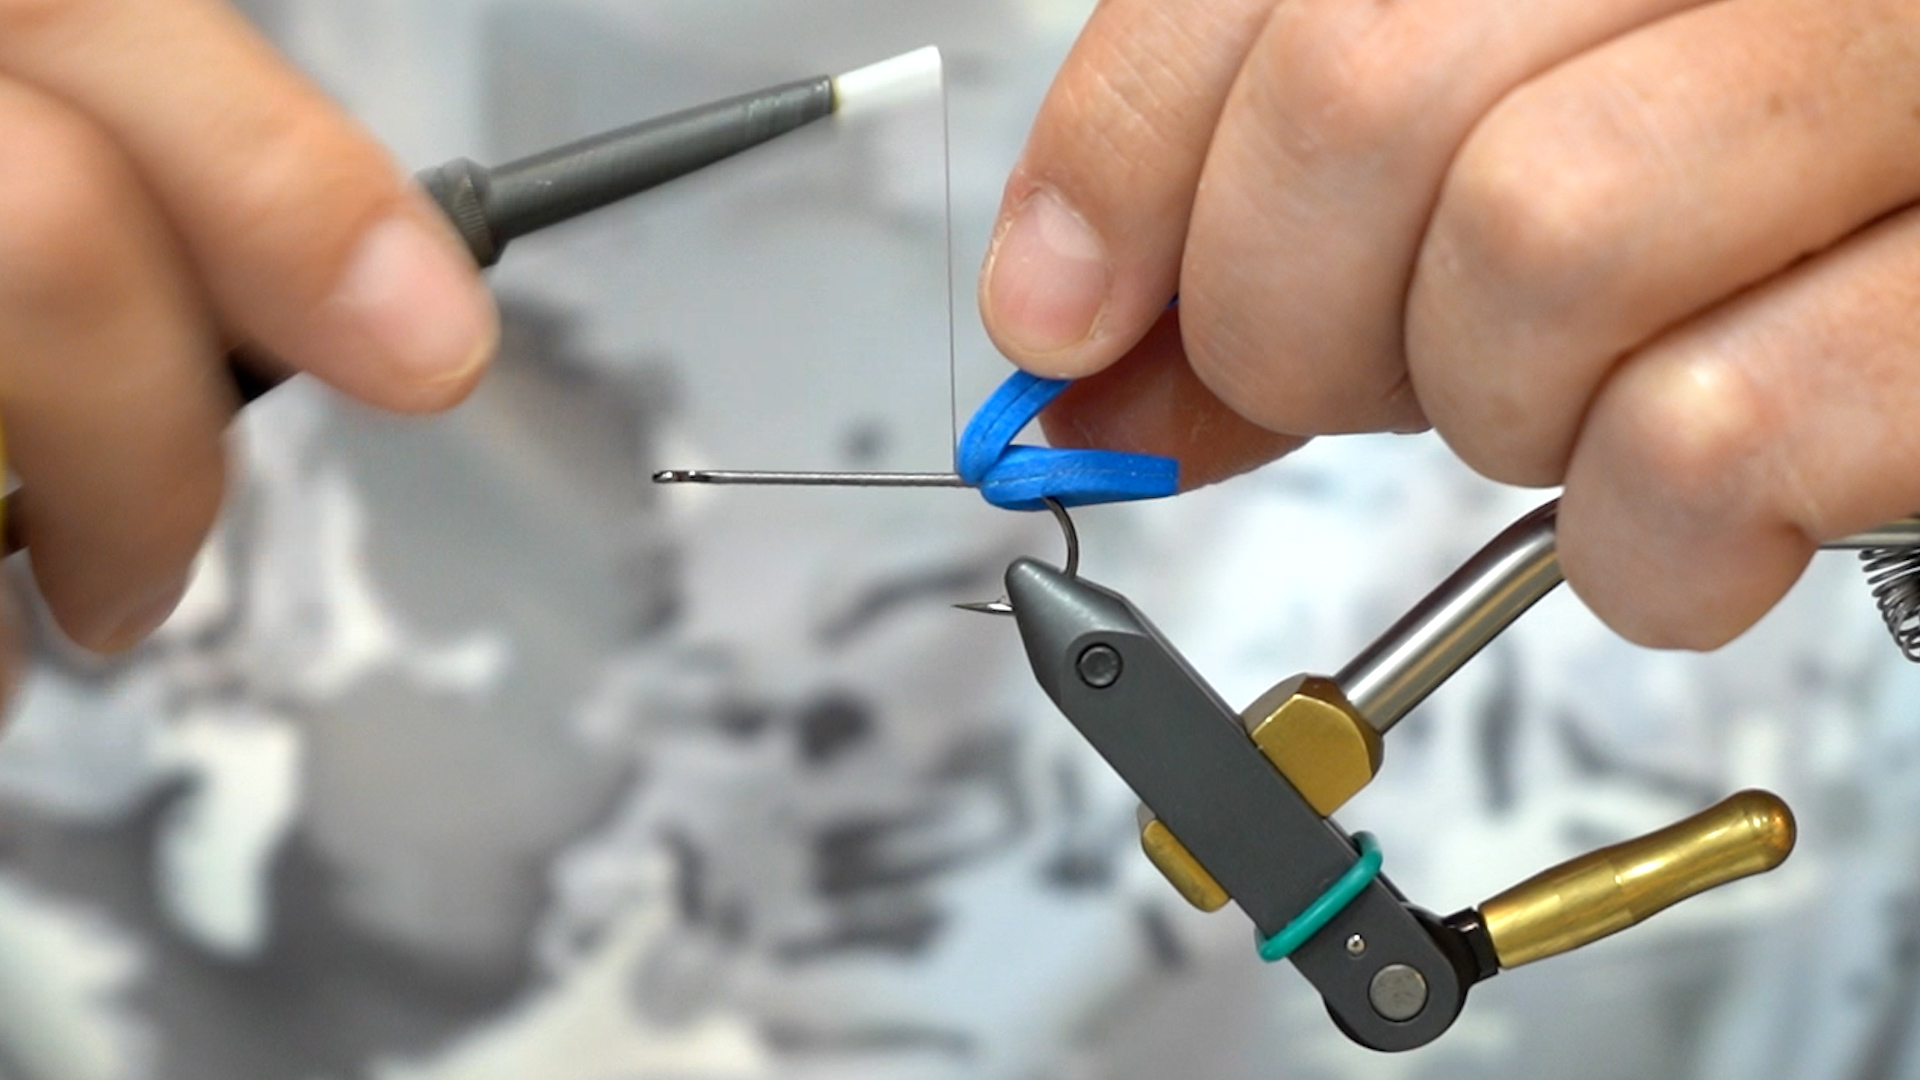
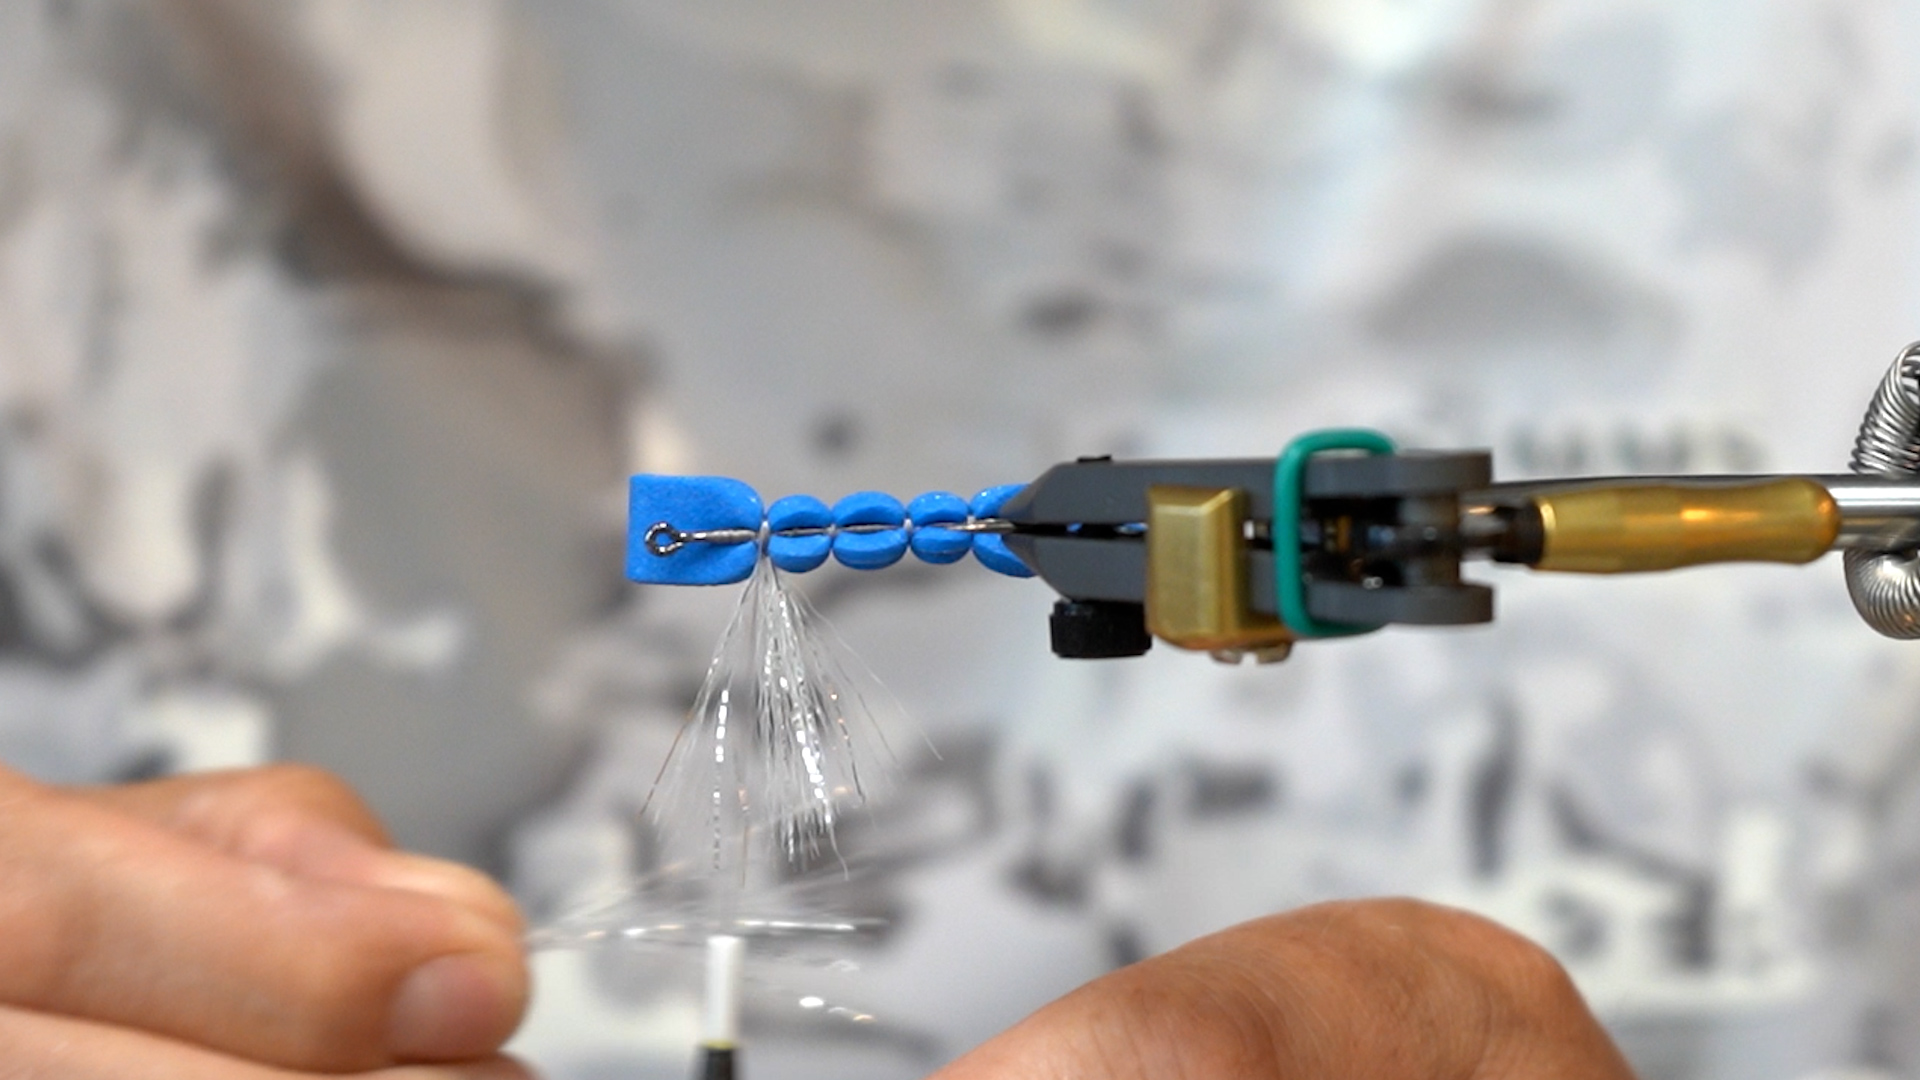
Step 4: Continue up the hook shank creating a total of four body segments. 
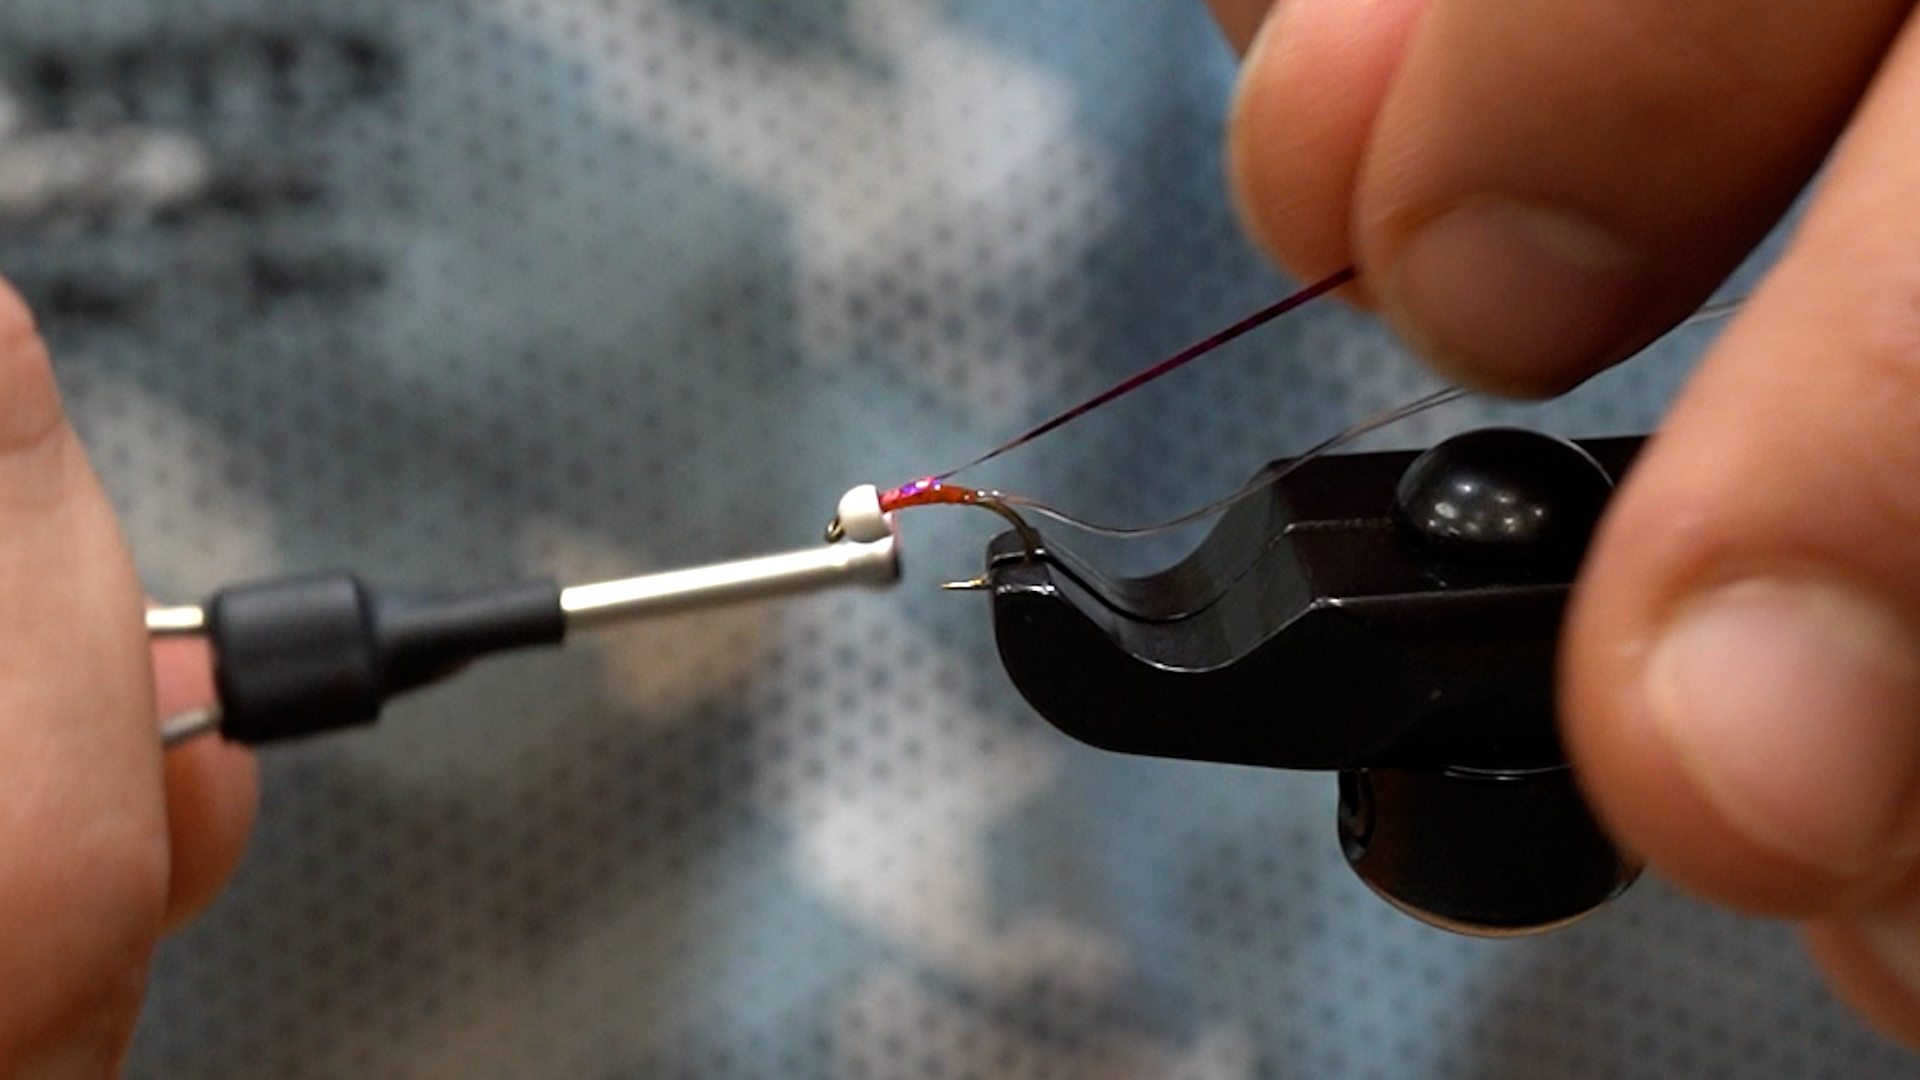
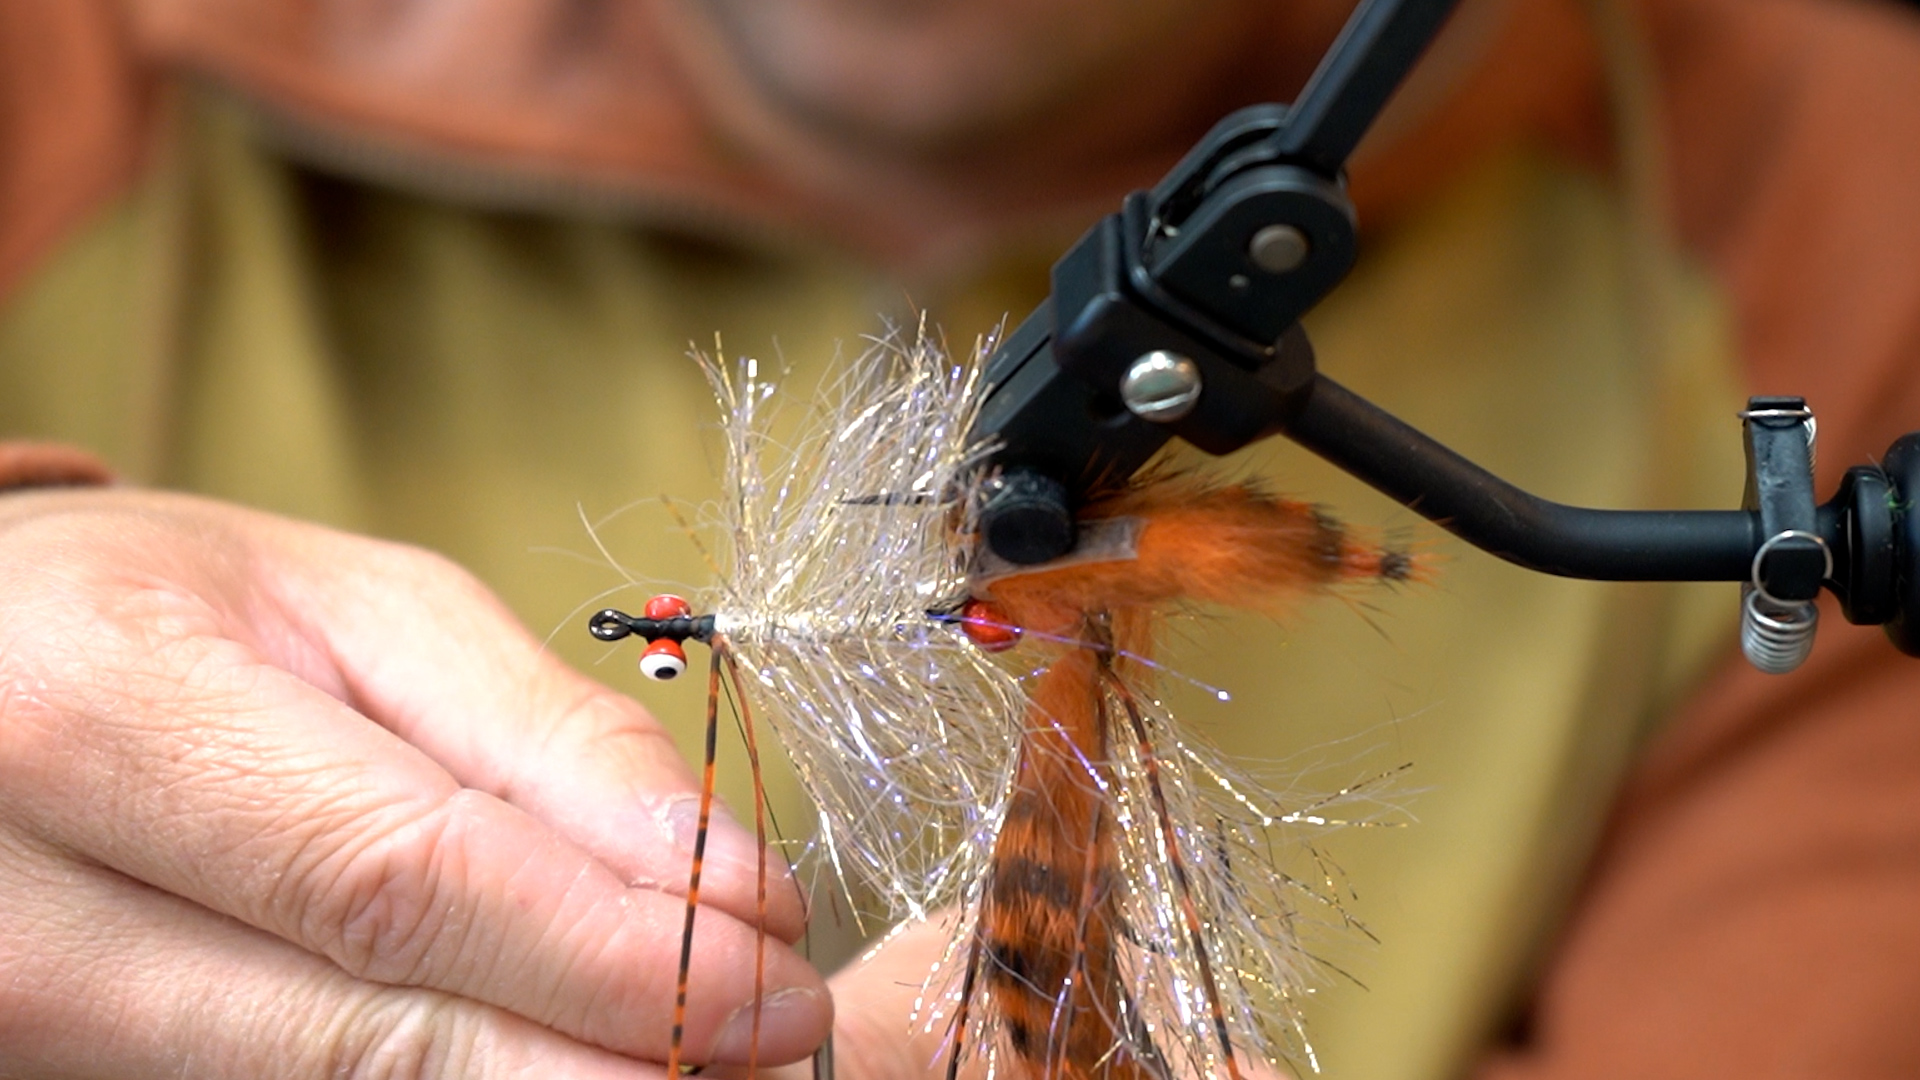
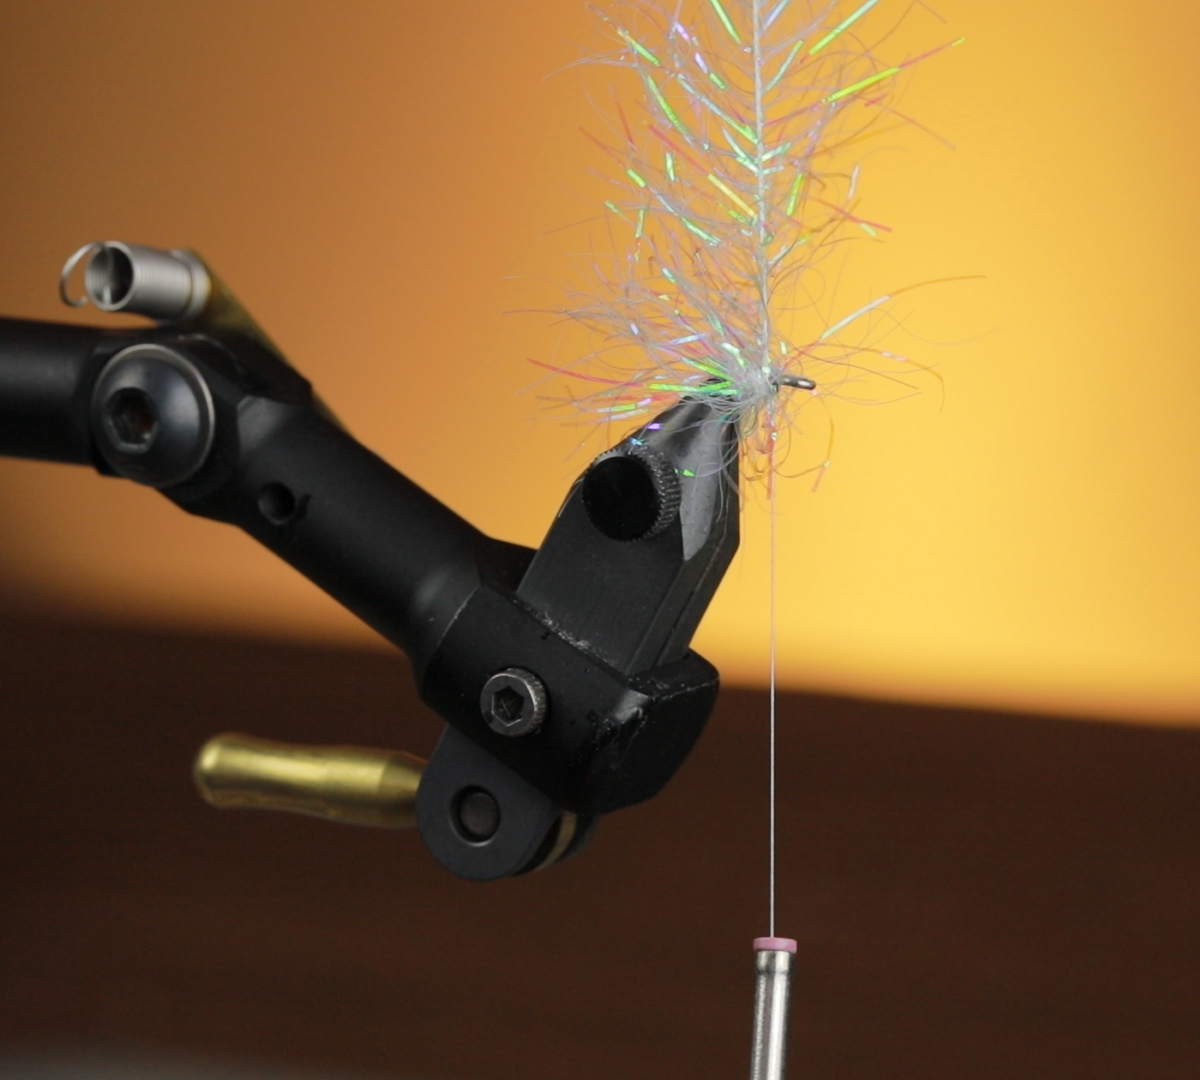
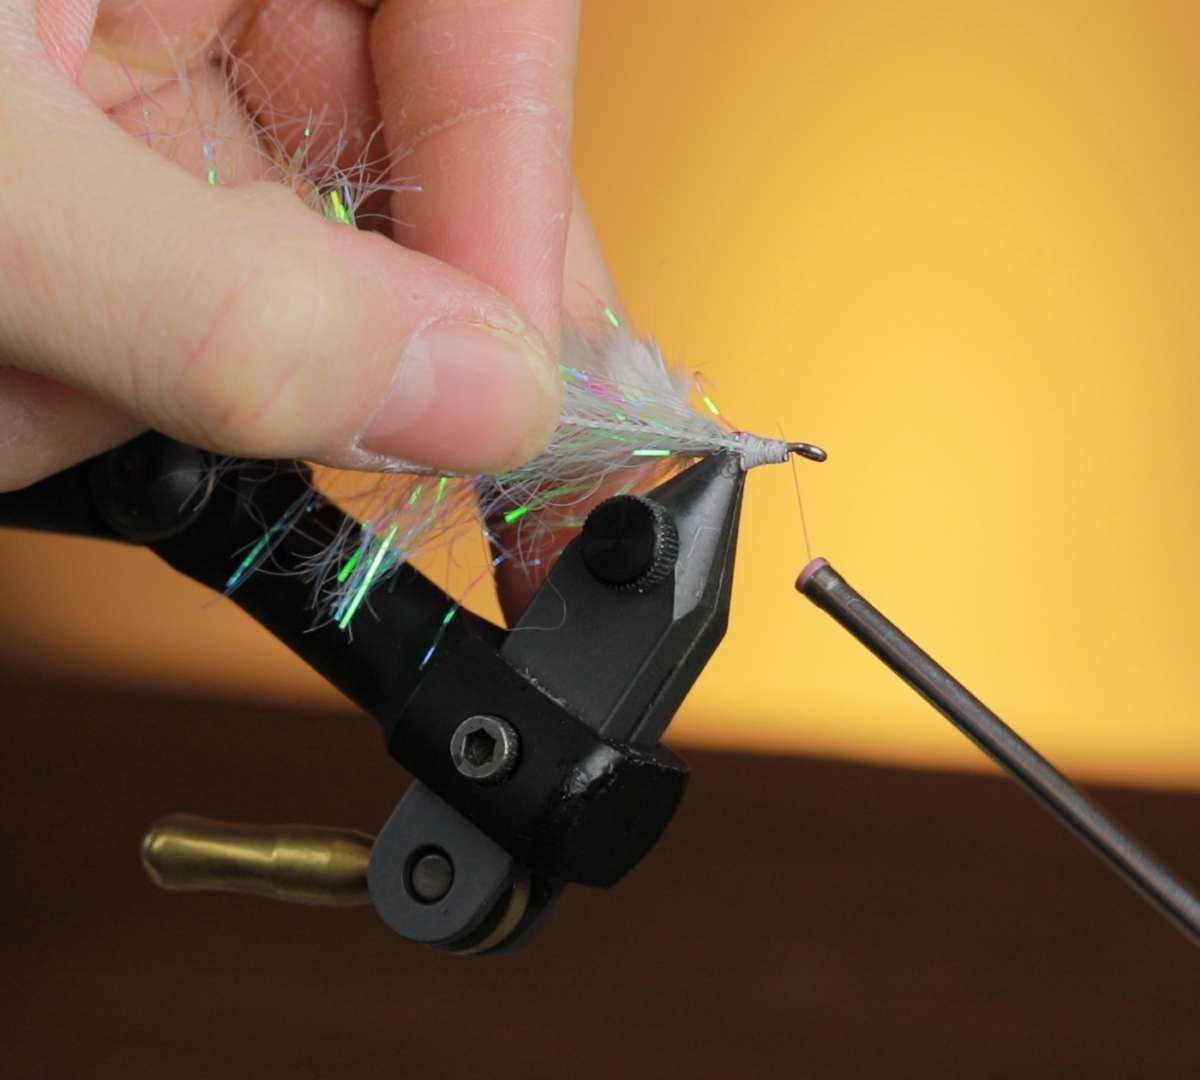
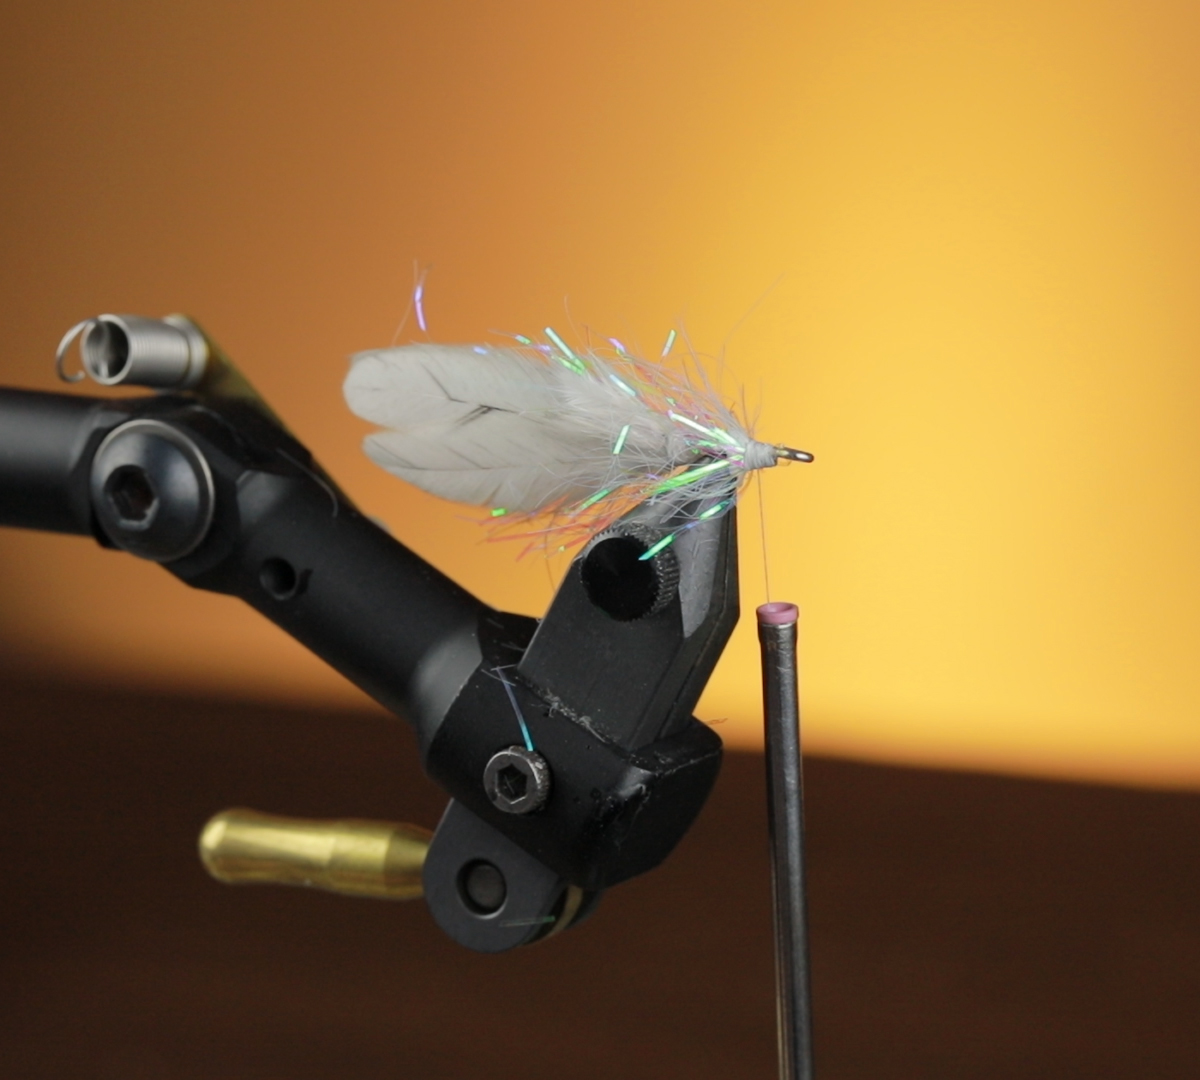
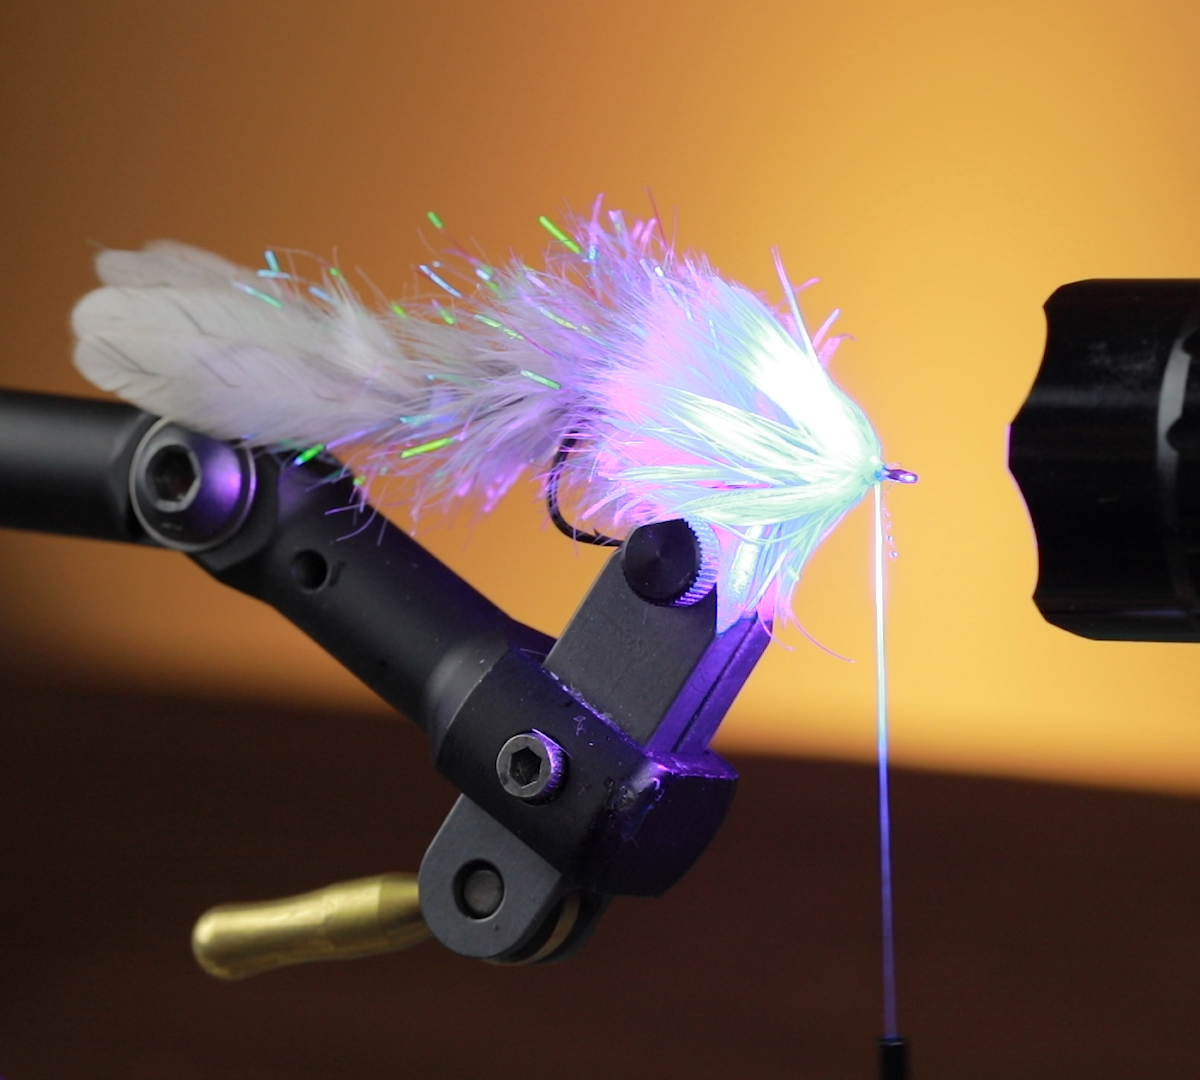
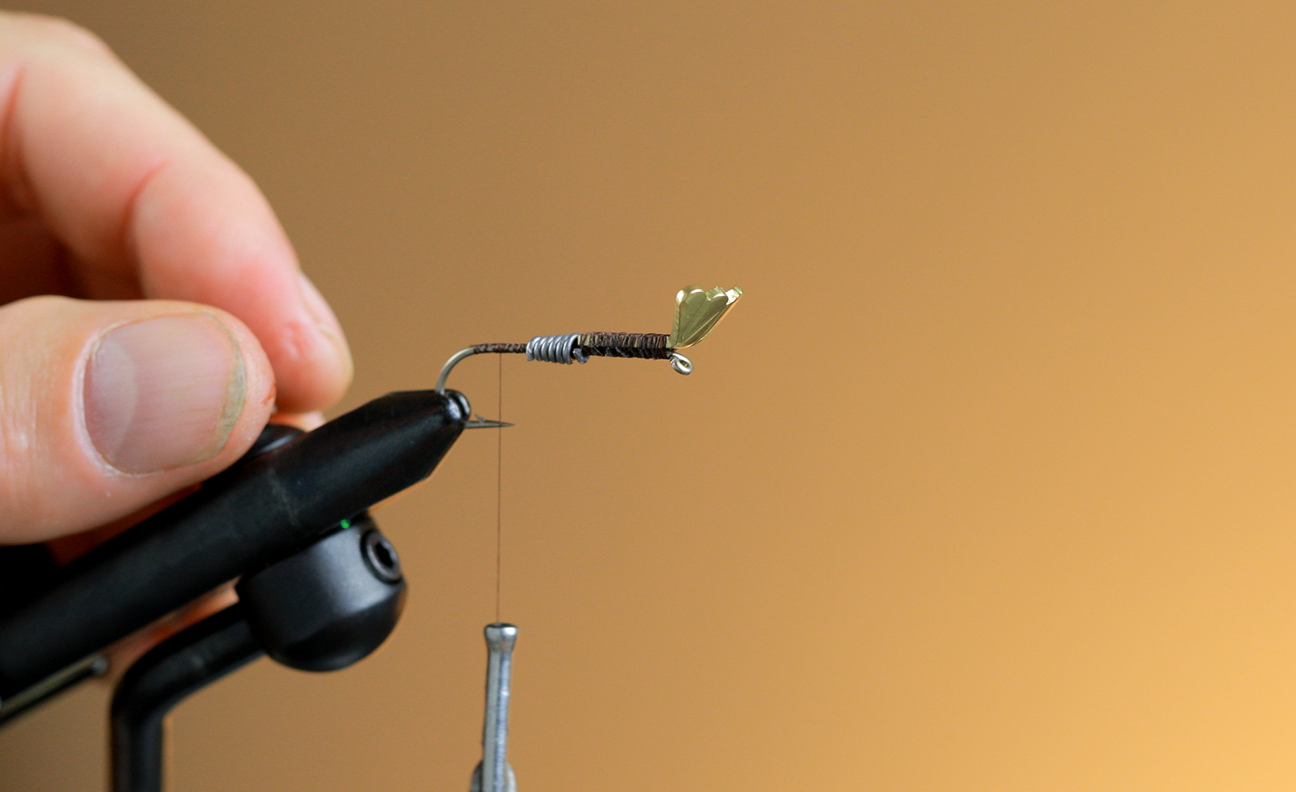
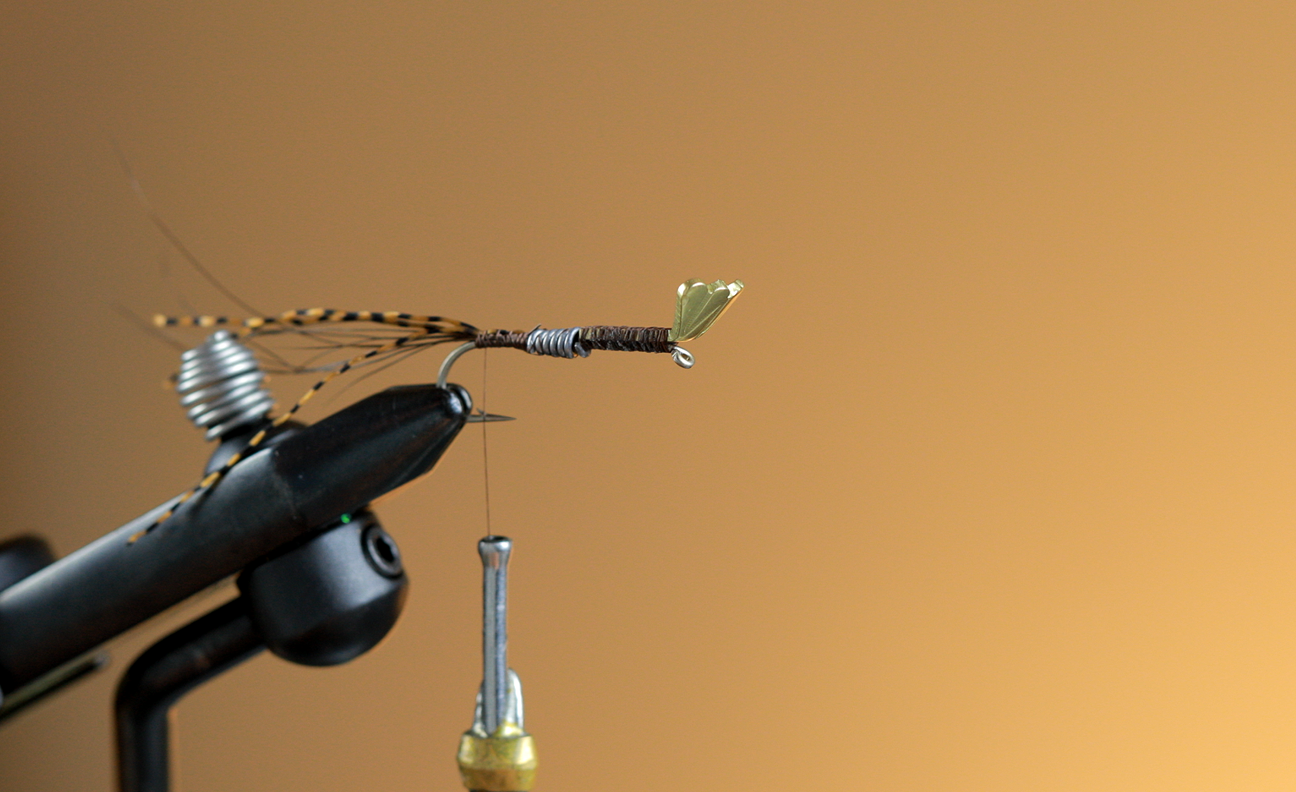
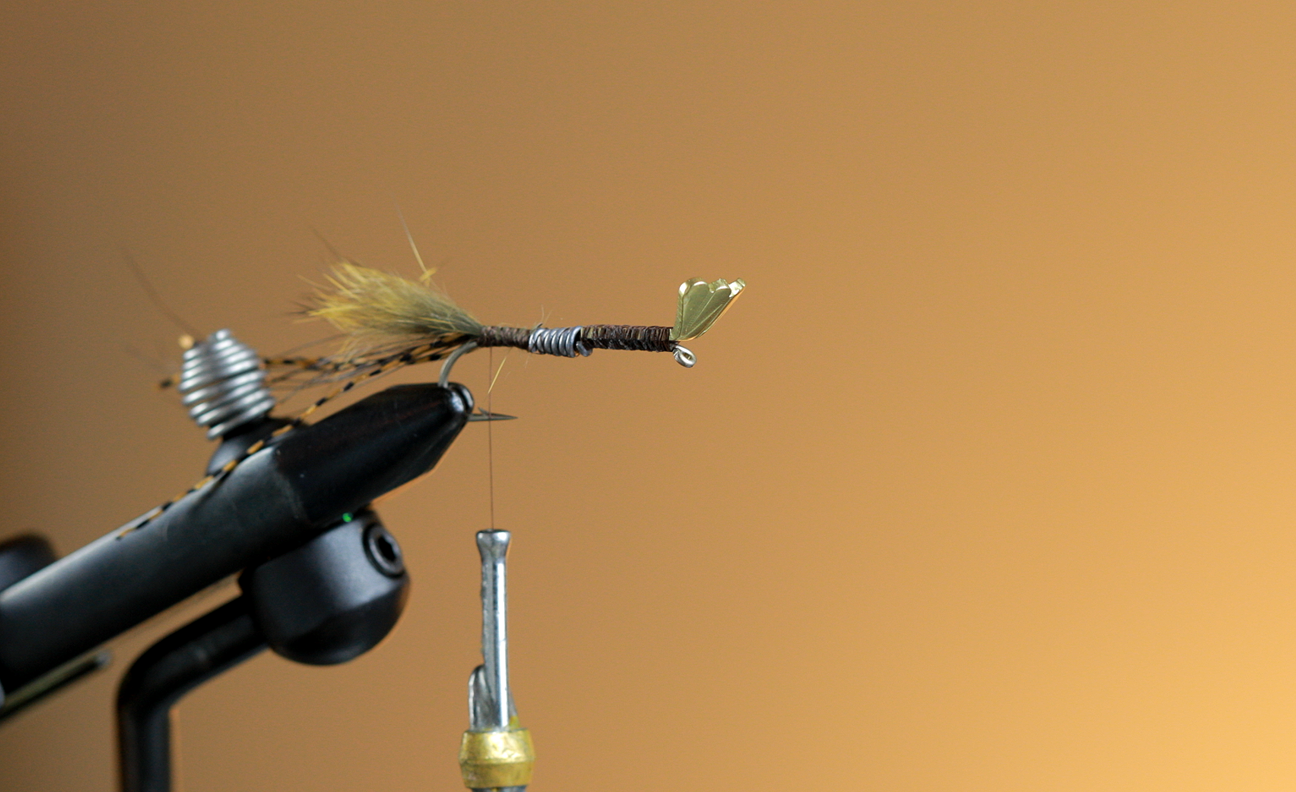
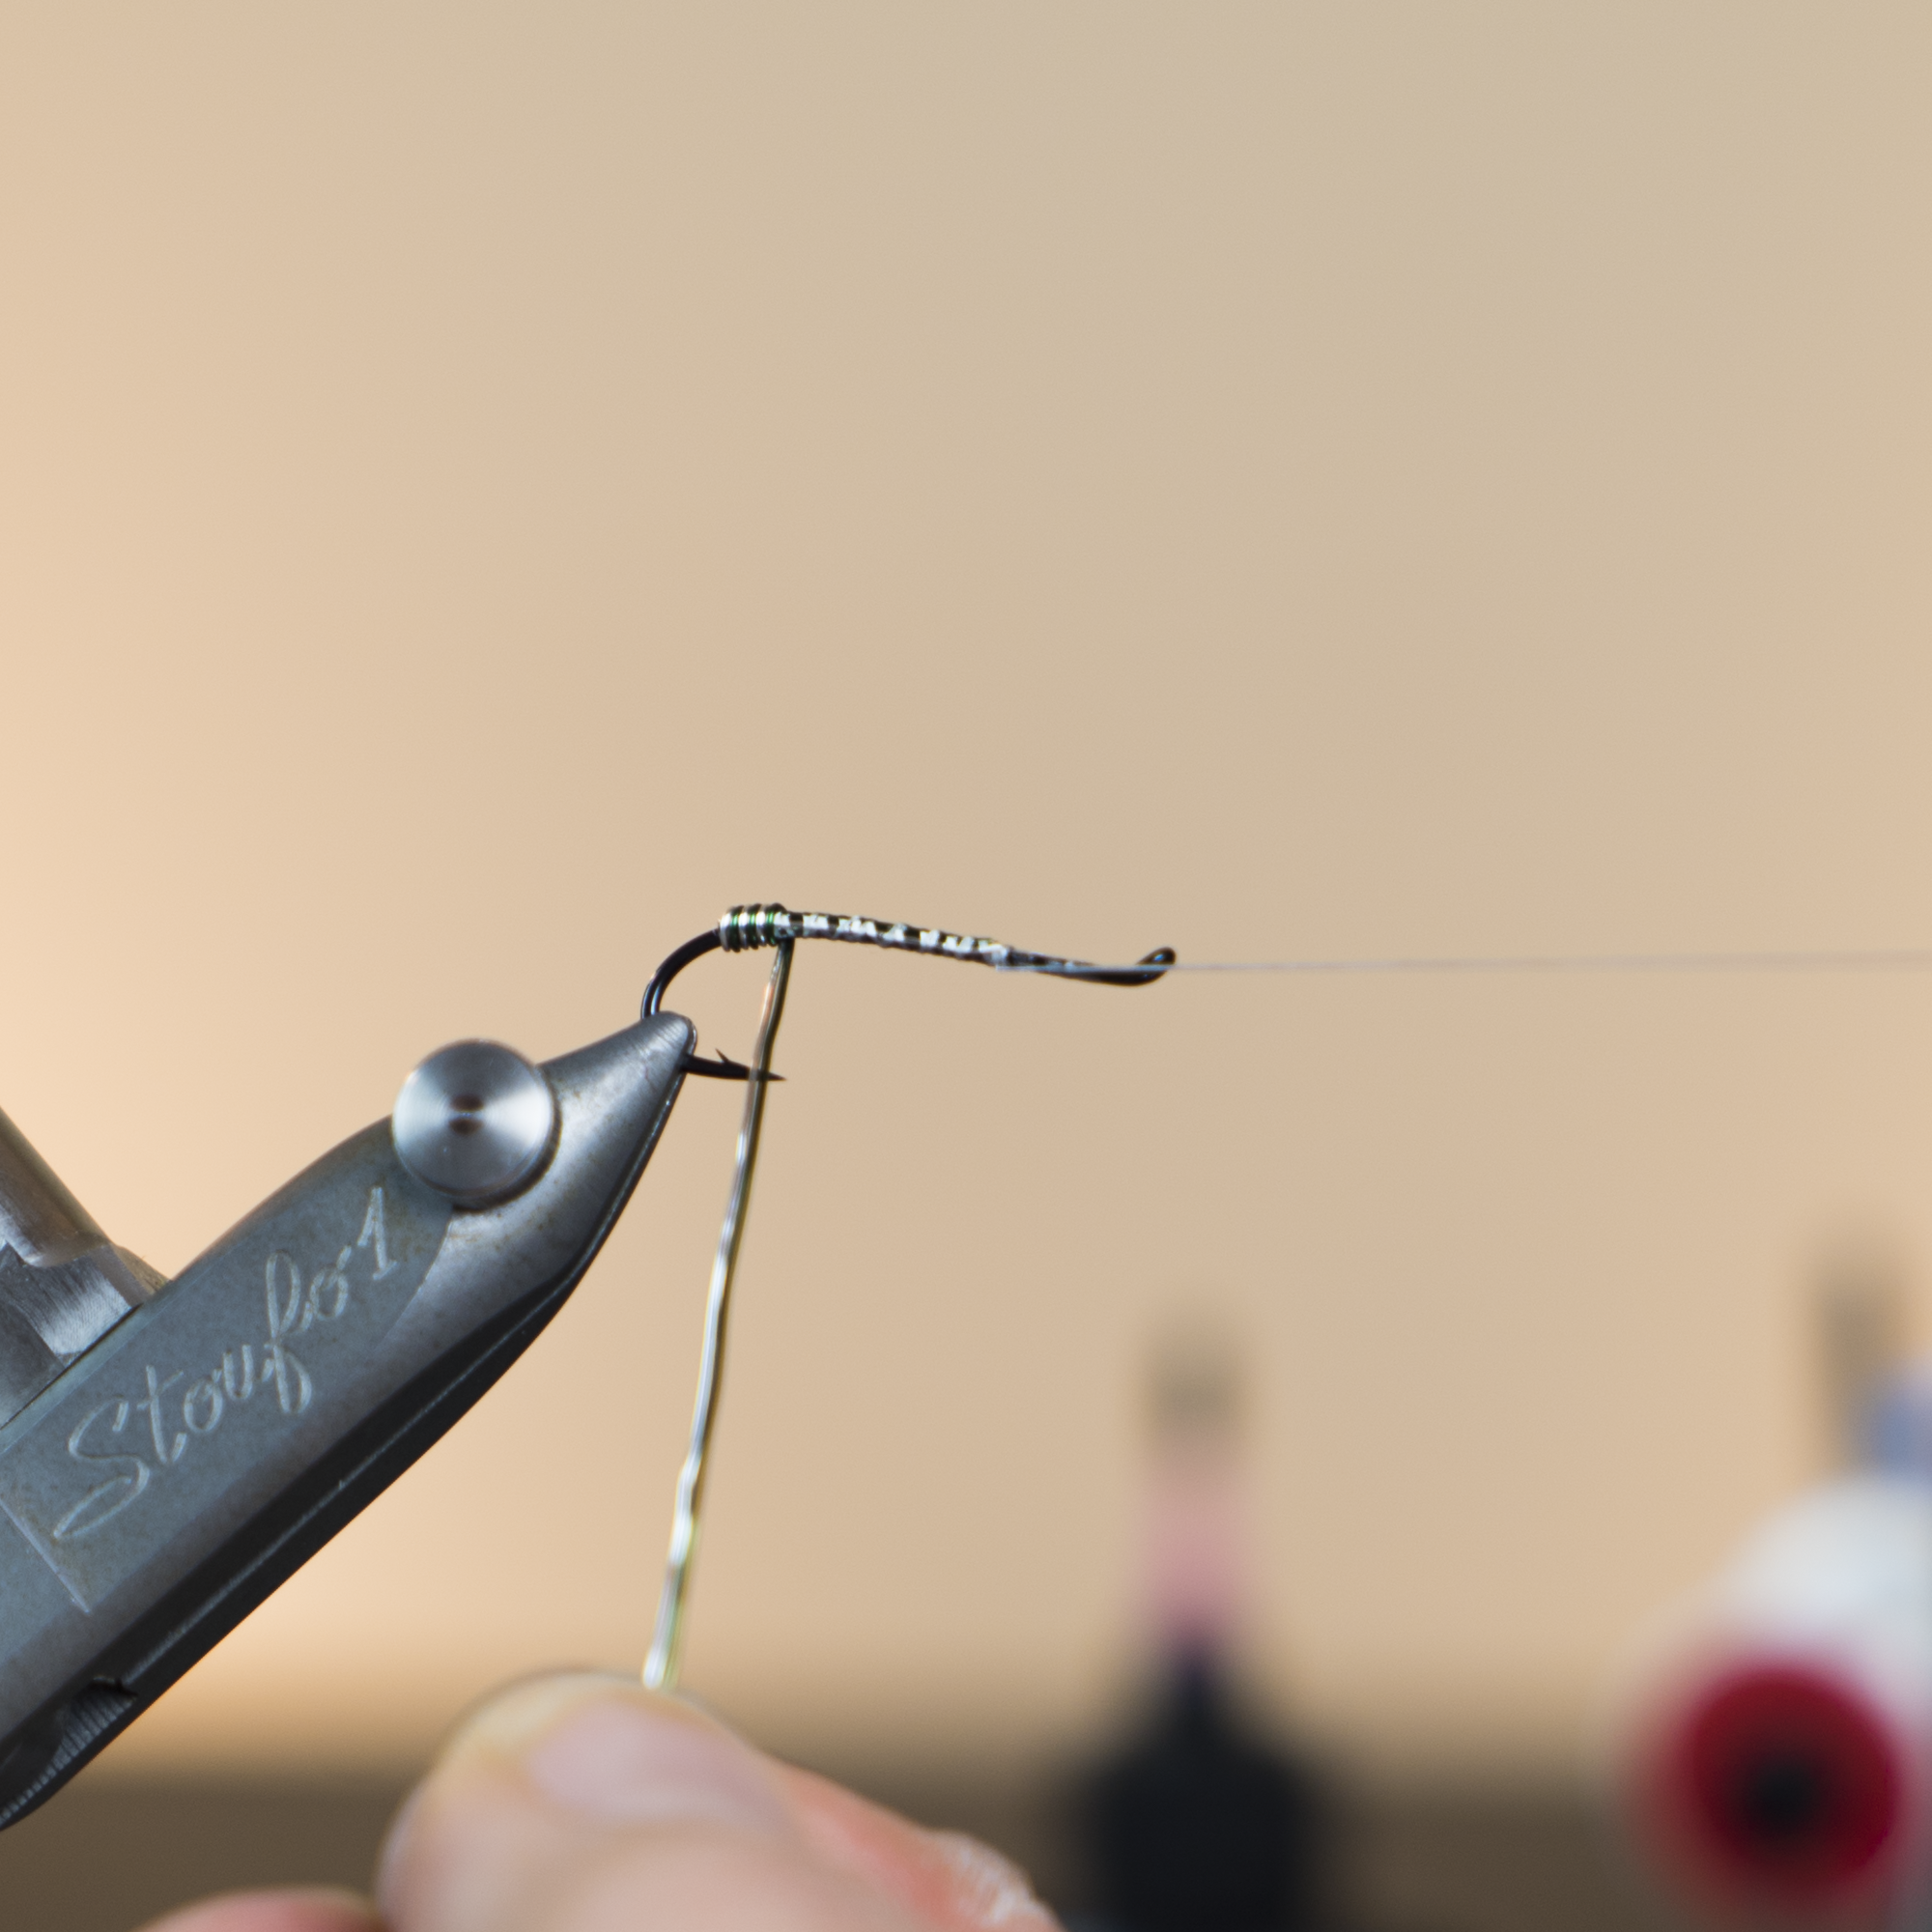
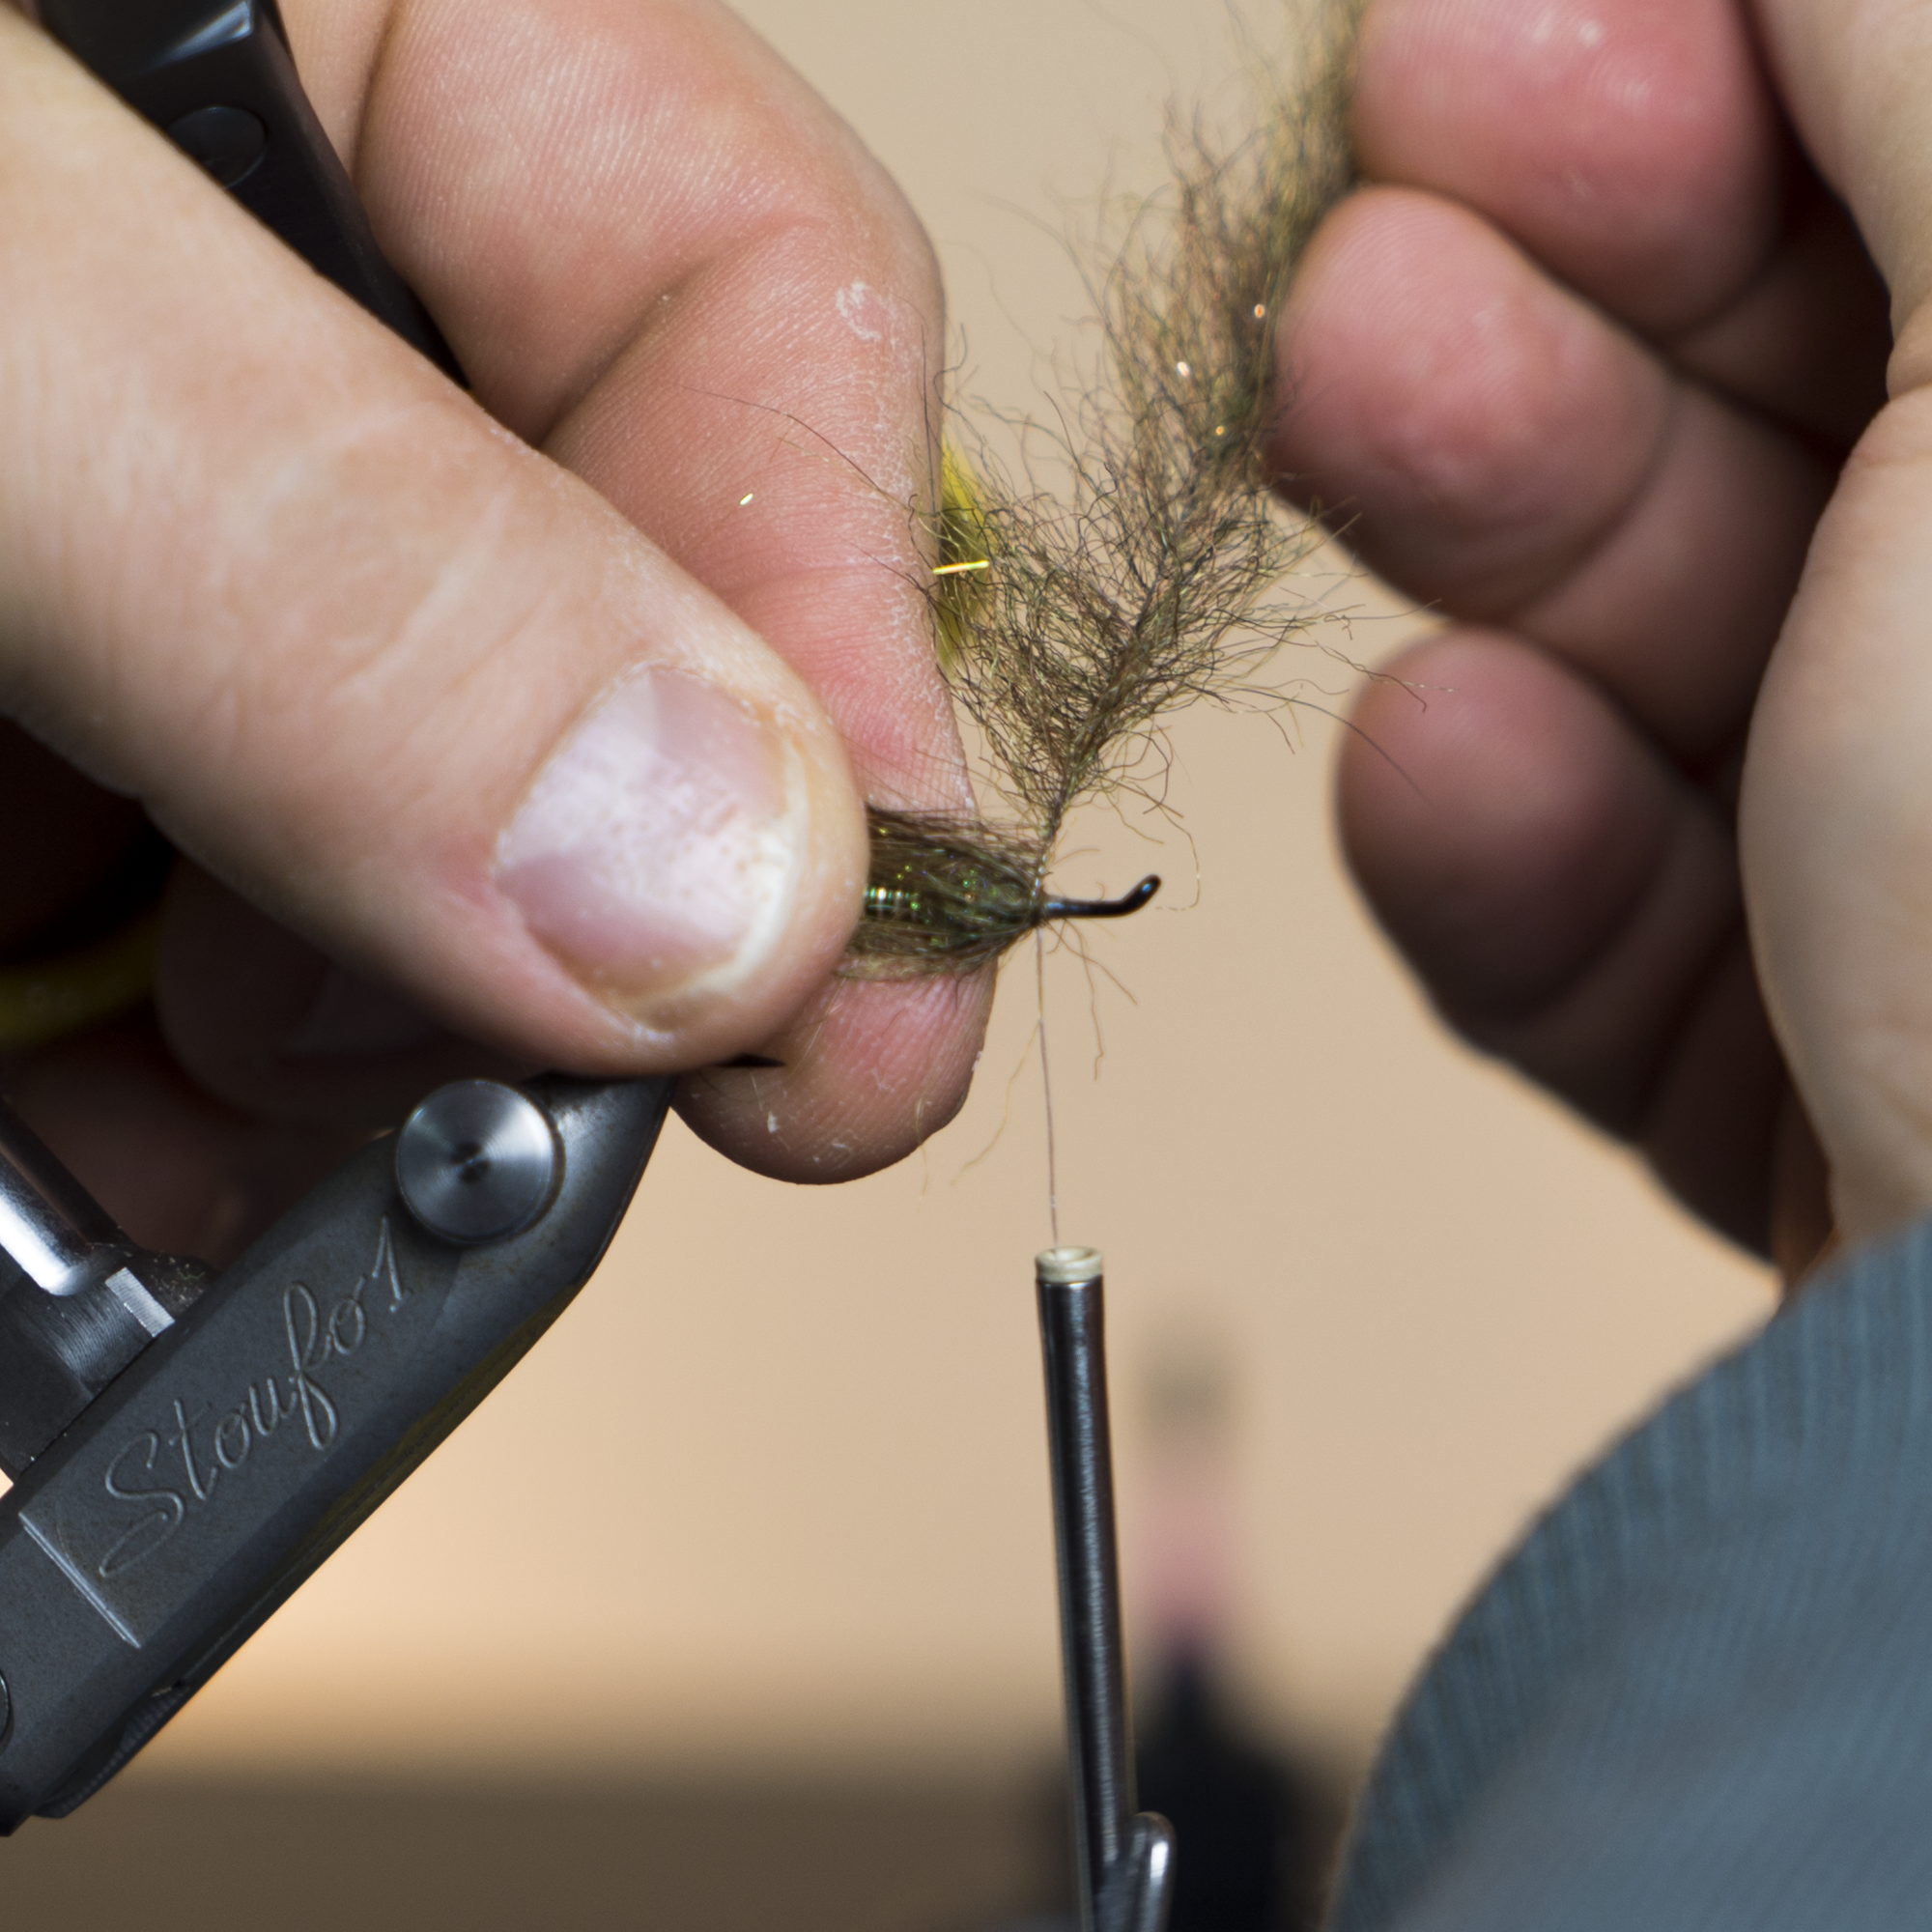
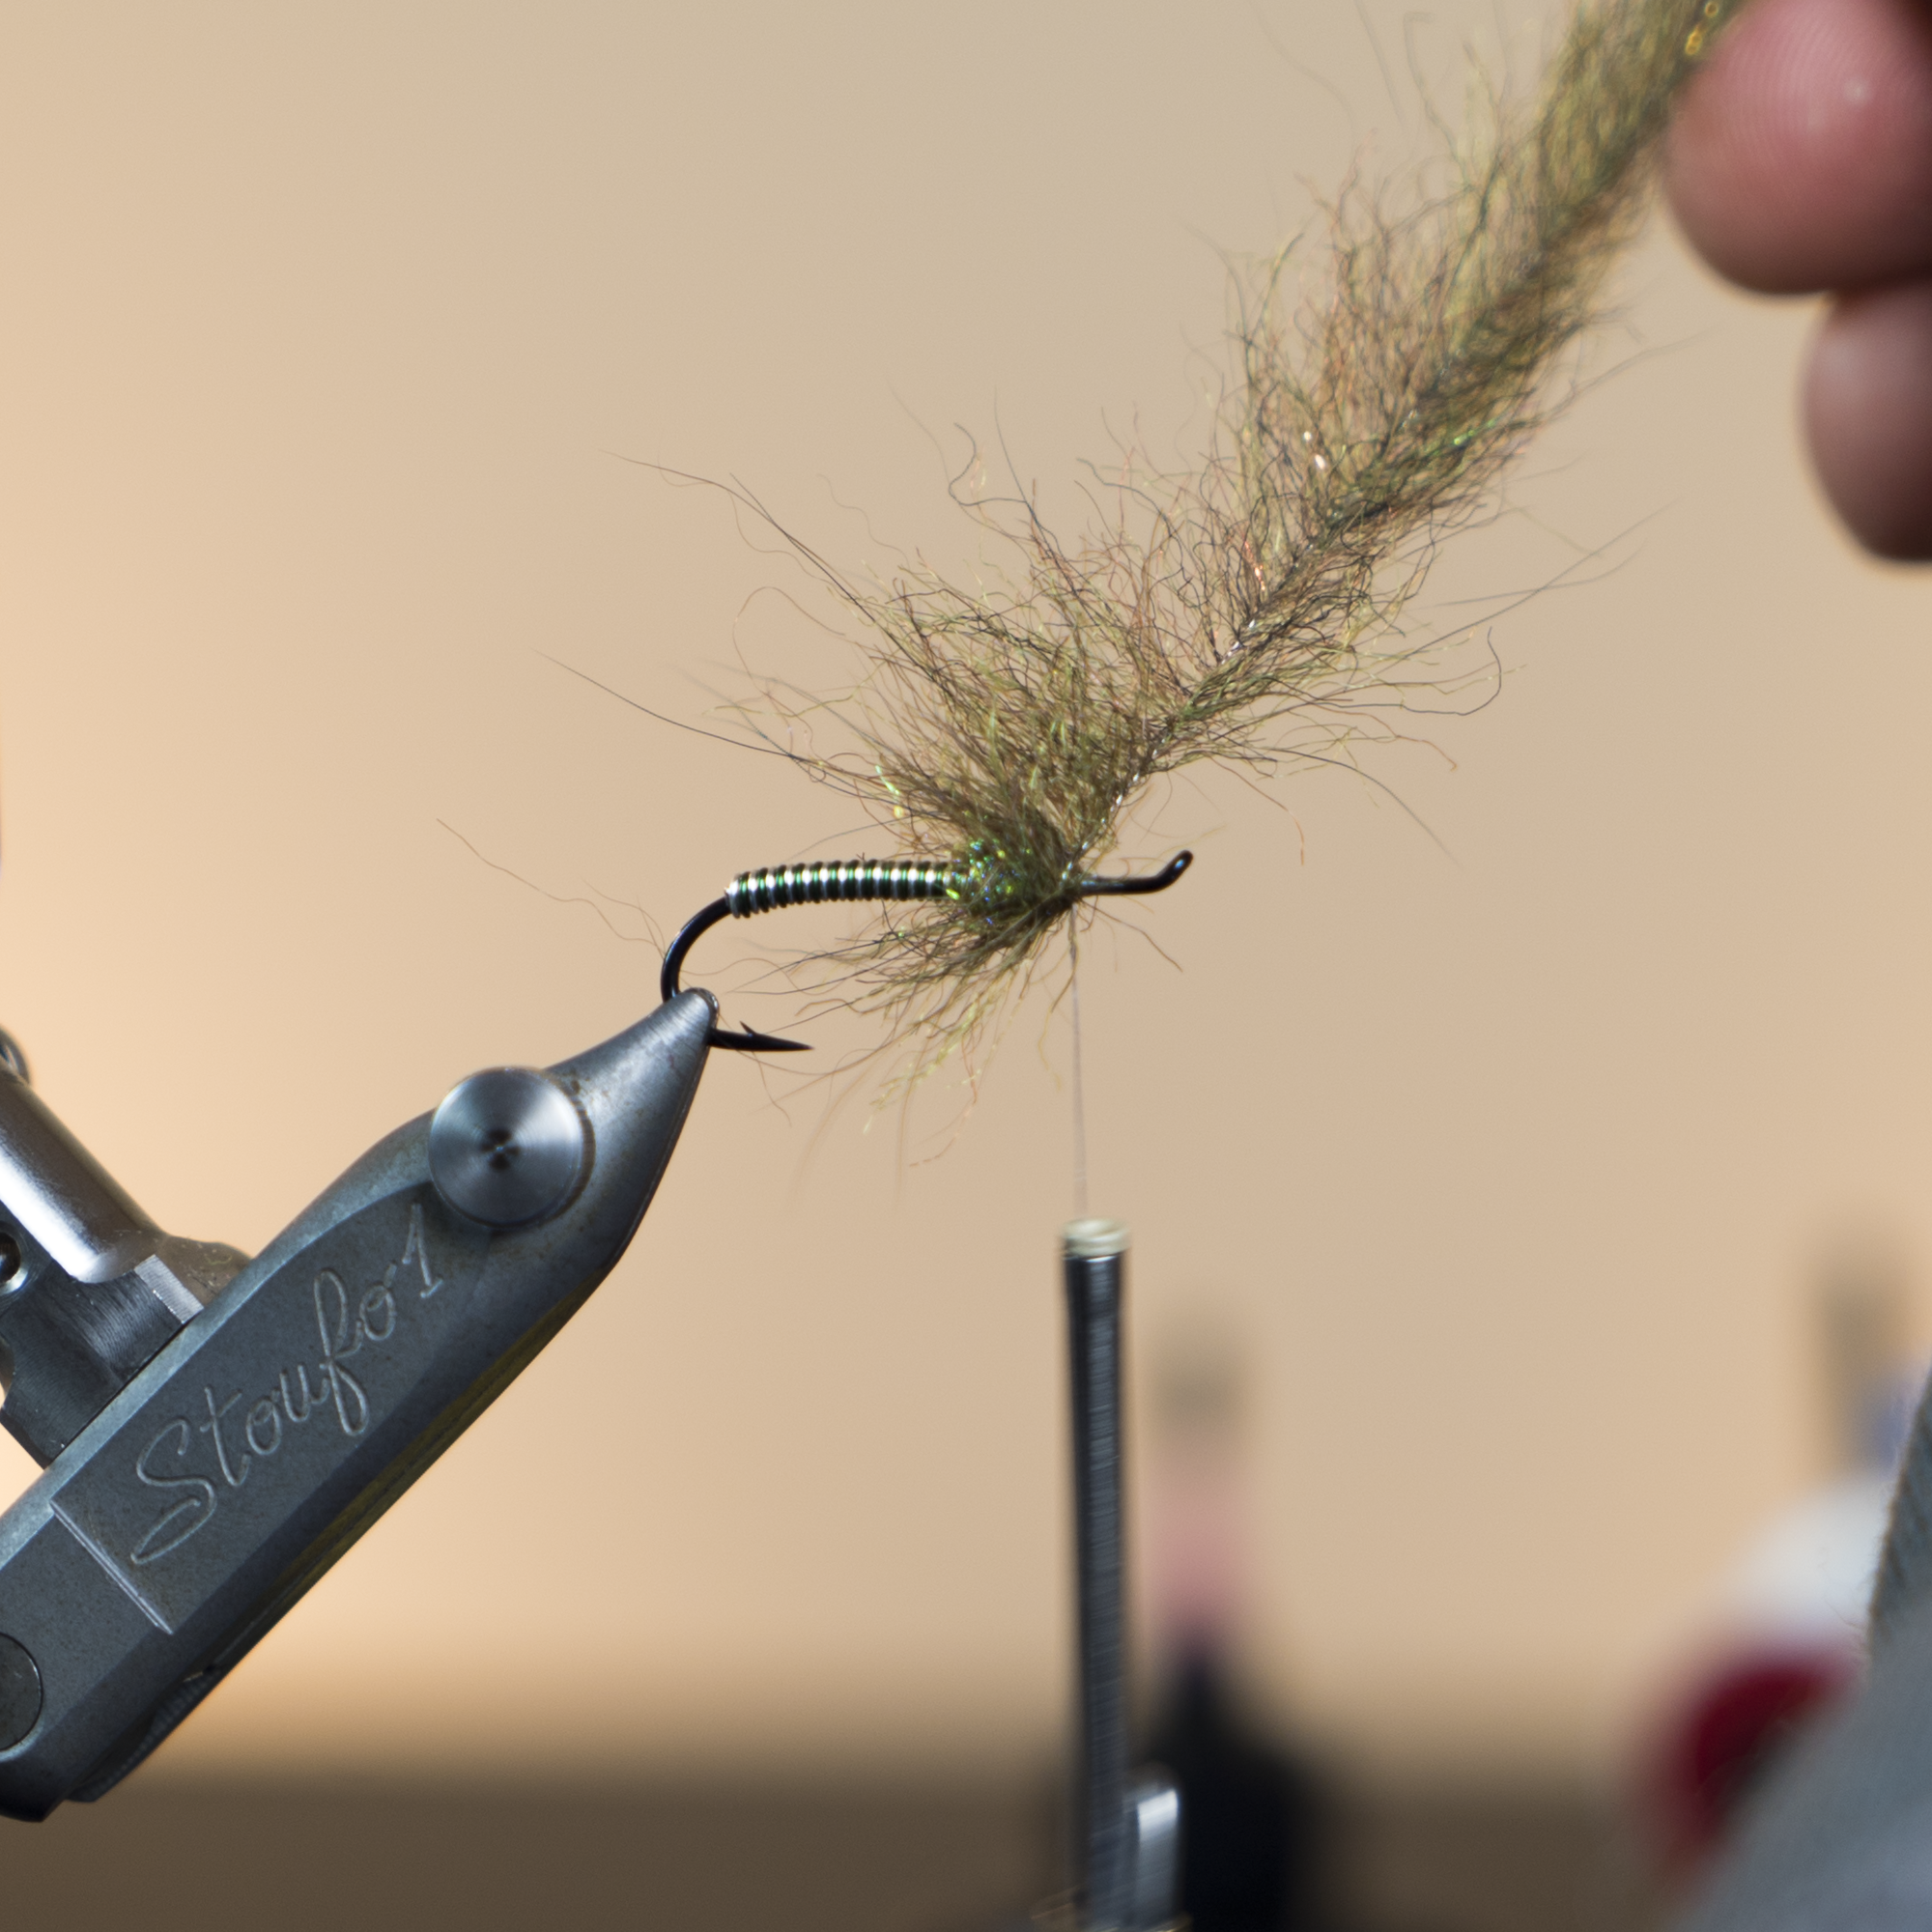
Step 5: While the thread is hanging on the fourth body segment, select a small bundle of Senyo’s Predator Wrap- UV Silver about 1.5″ long and center tie it along each side of the body. This step just adds an element of buggyness that could be perceived as legs or part of the wings. Once tied in on each side, return the fly to it’s upright position and trim them so they are about as long as the hook gap is wide. 
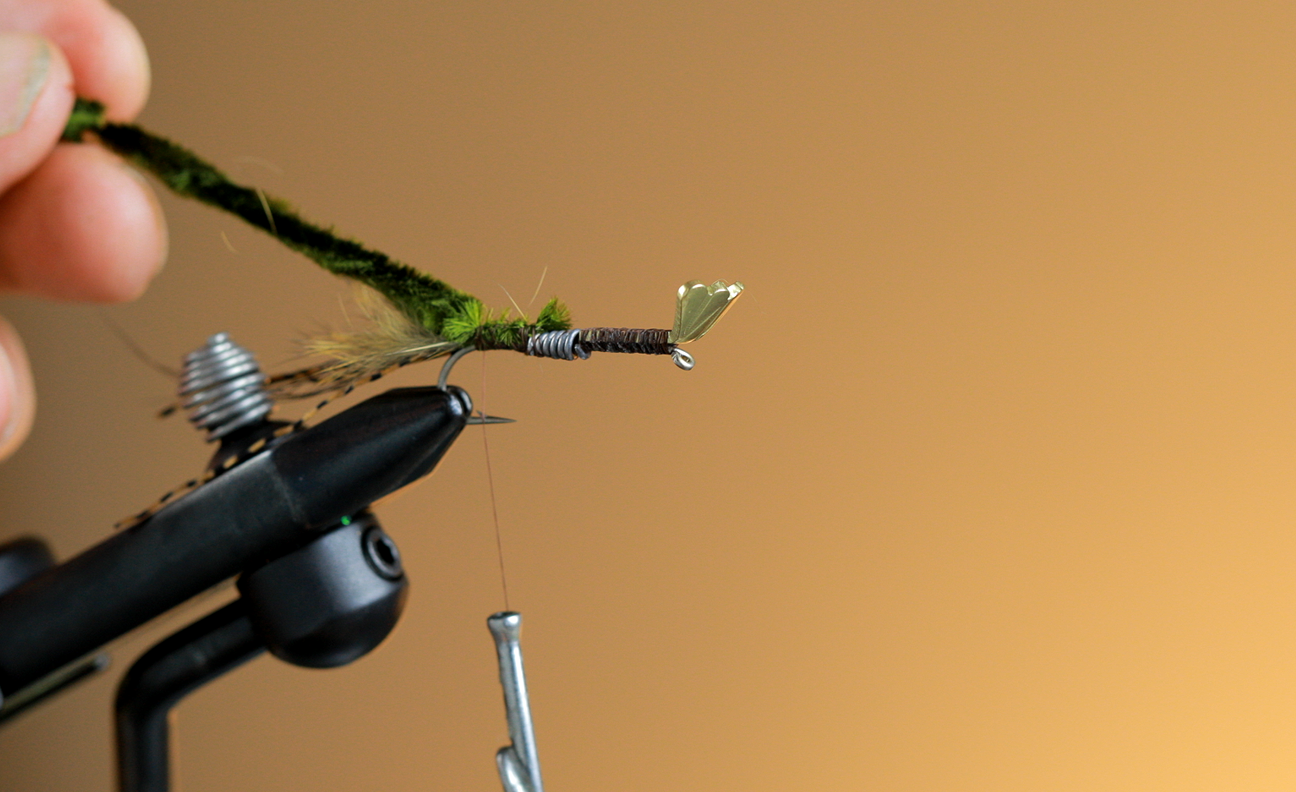
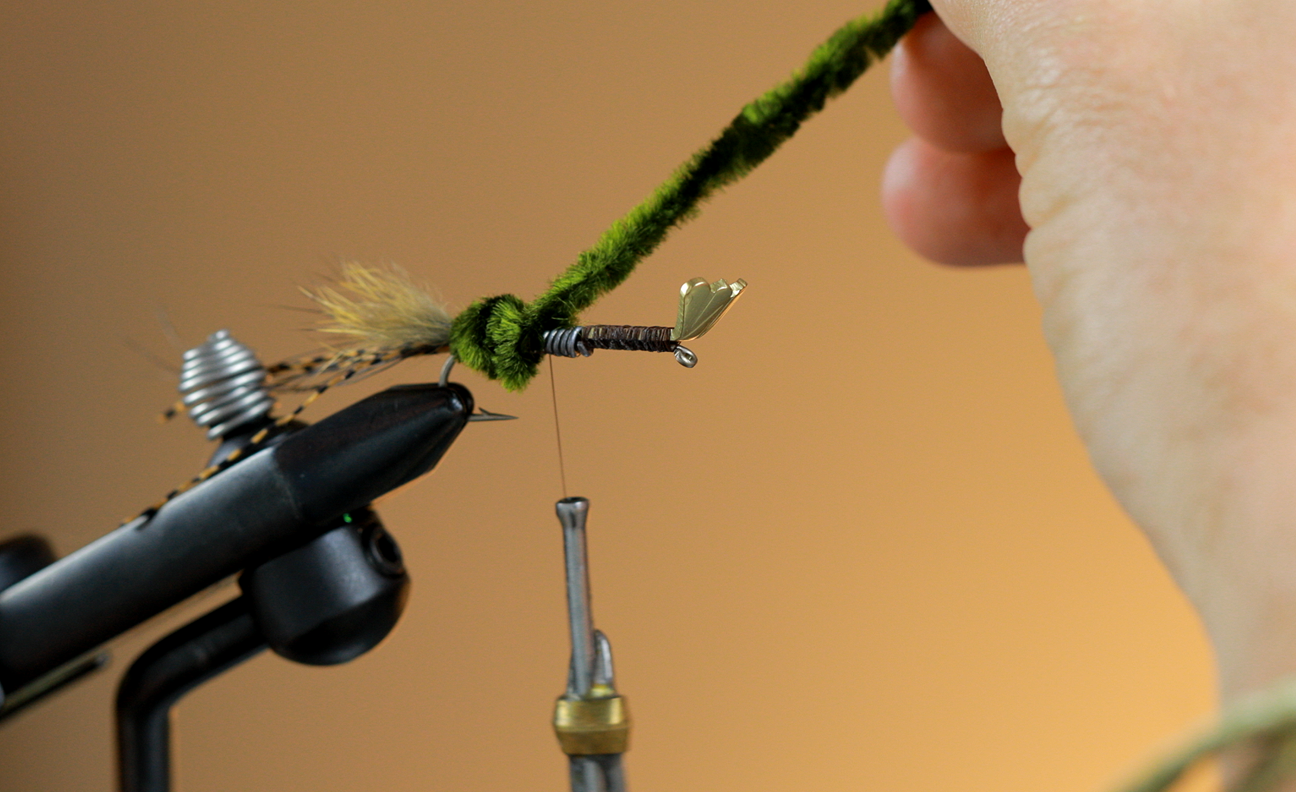
Step 5: Advance your thread forward, leaving about one eye width of room and tie down the foam. This step will create the last body segment. This will also be where we will tie in our rubber legs.

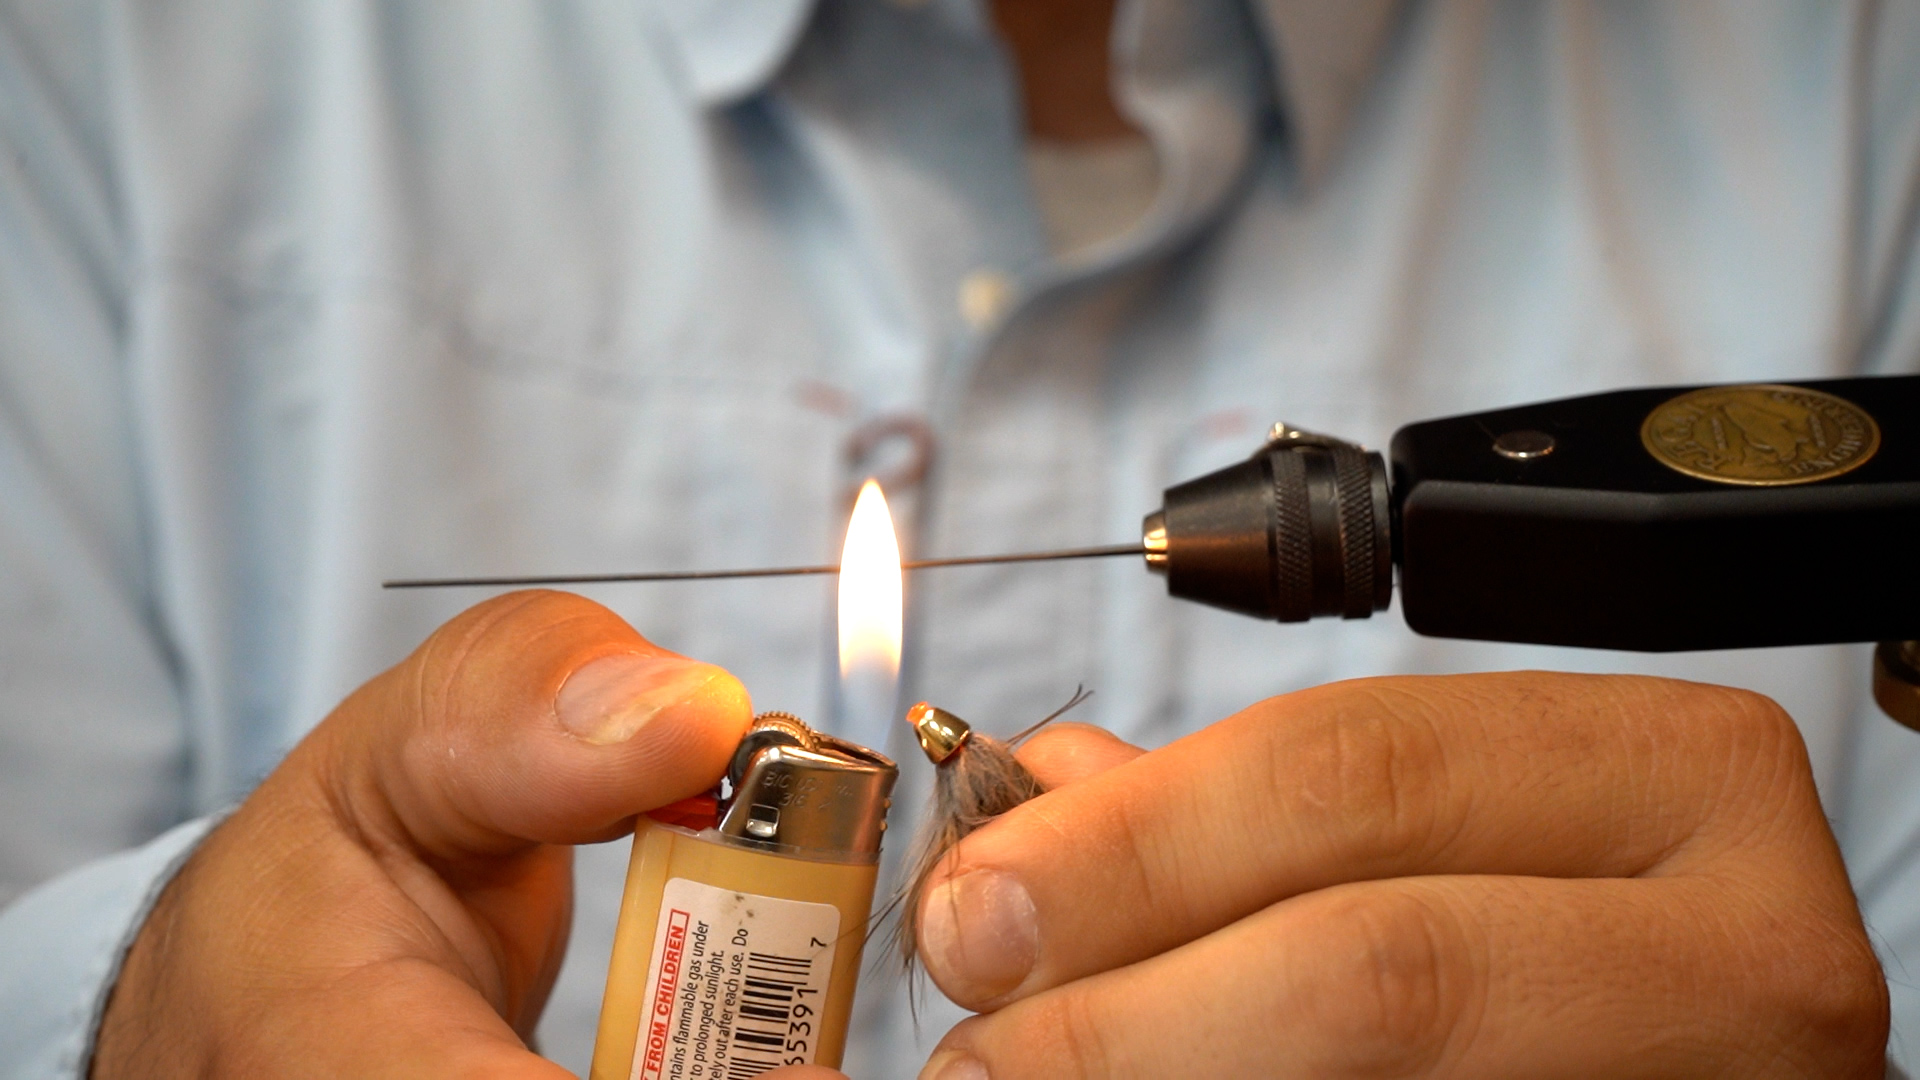
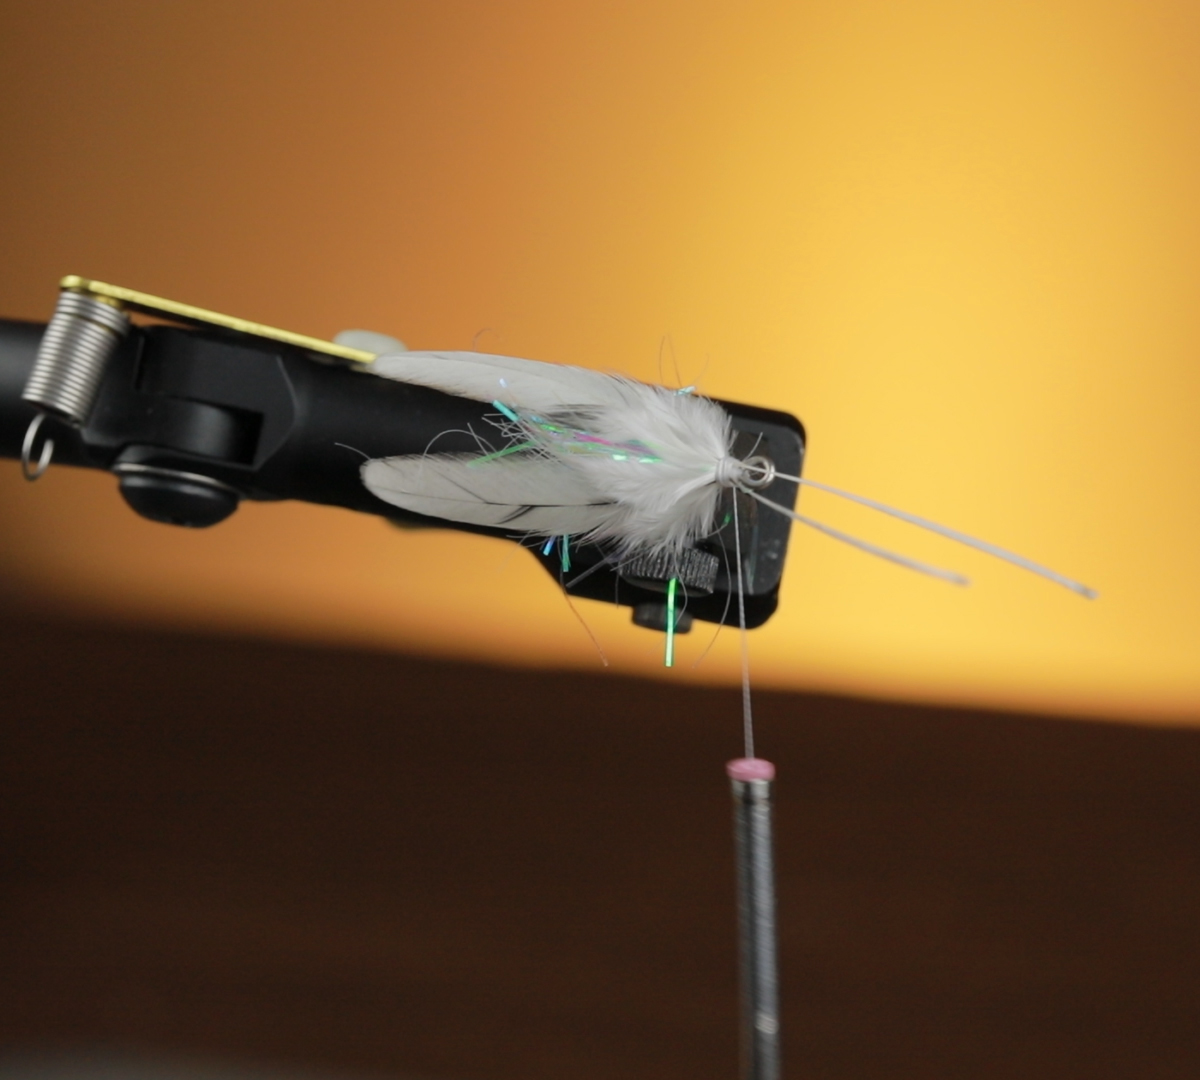
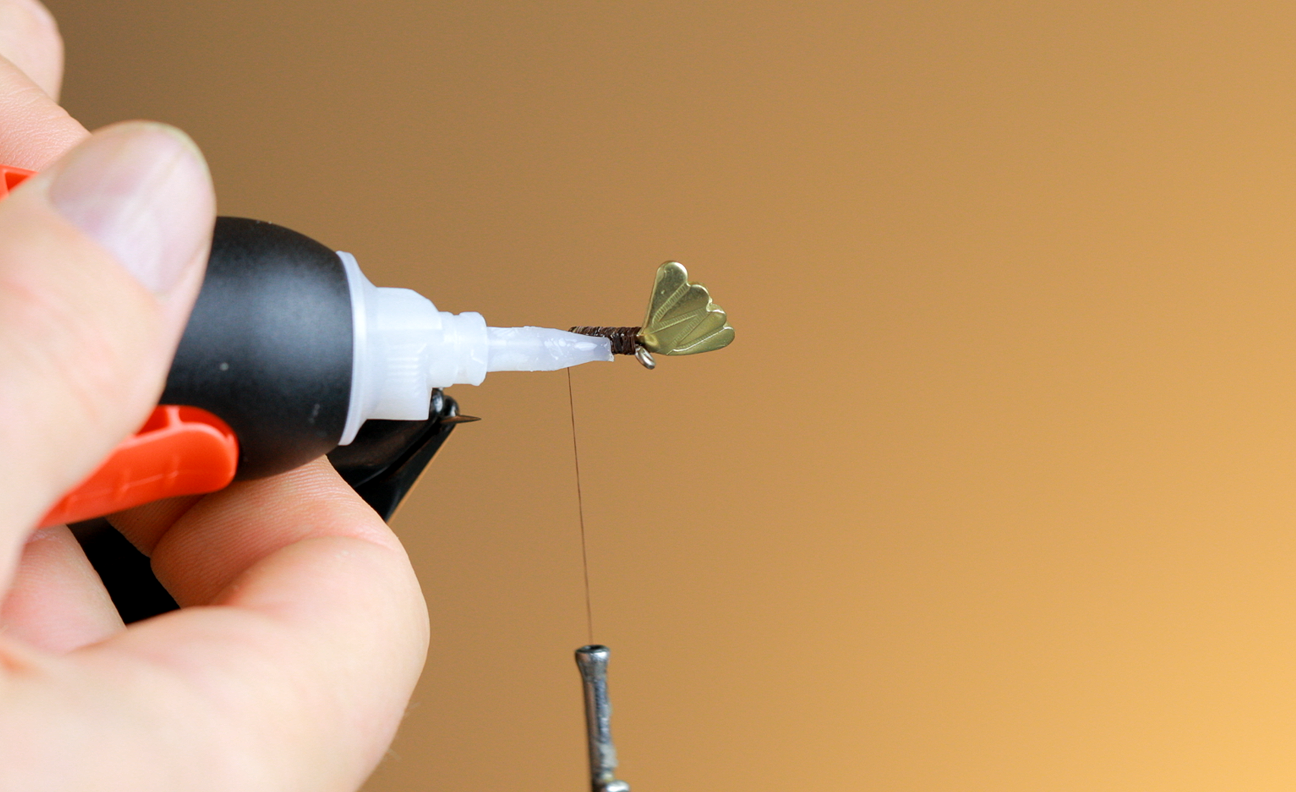
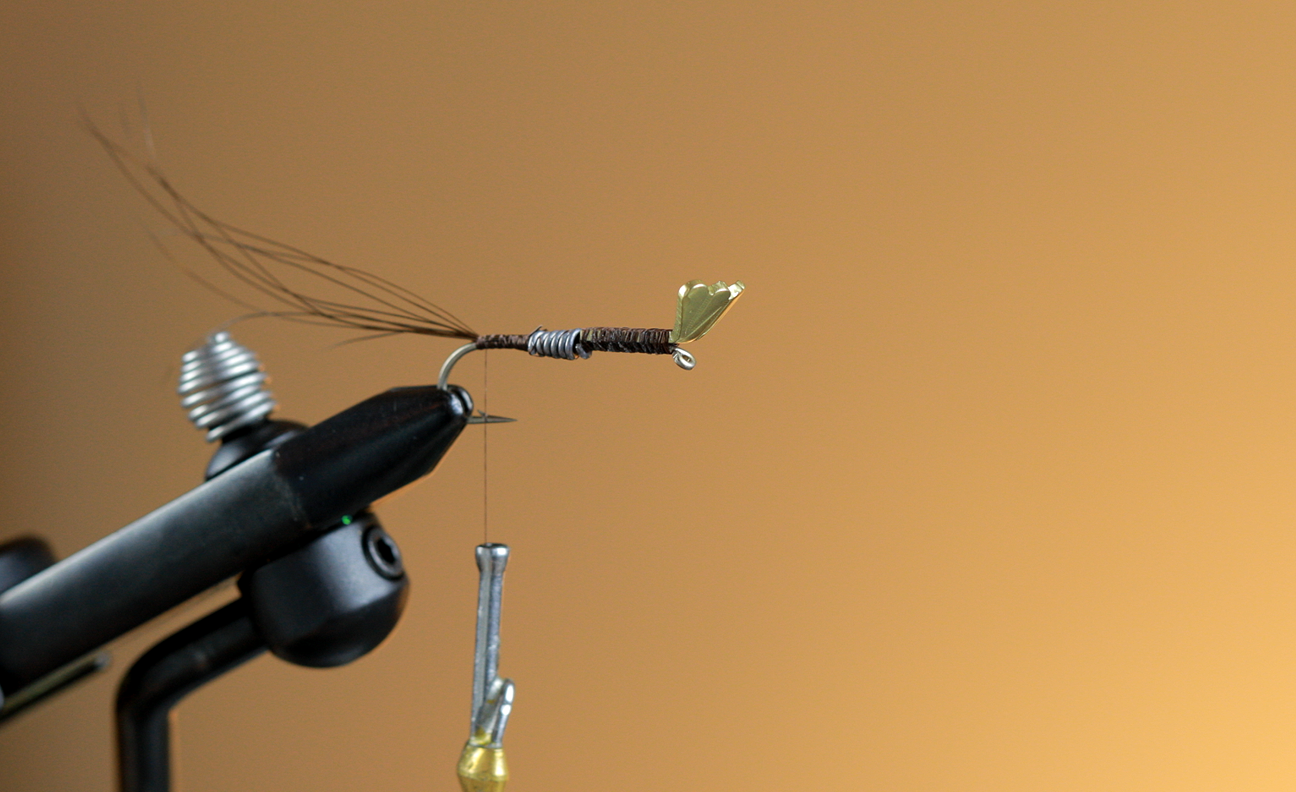
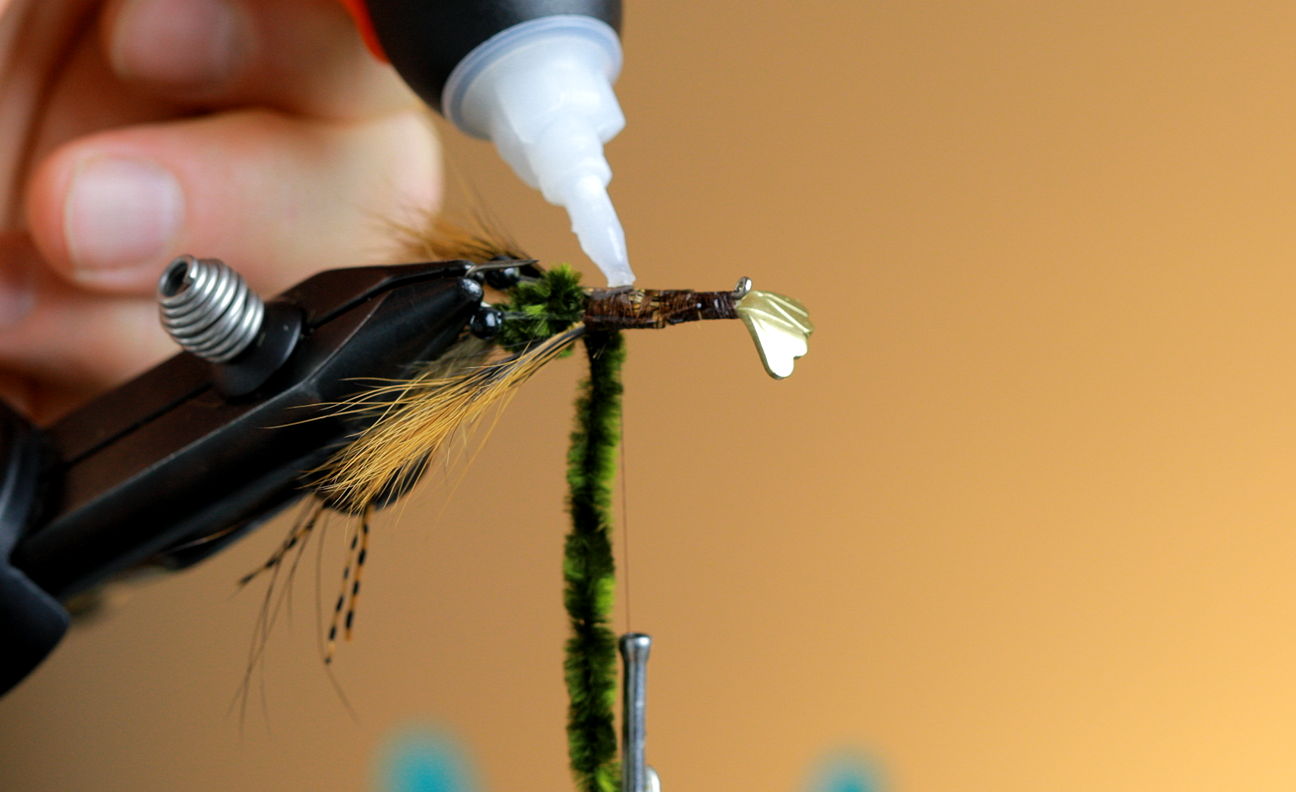
Step 6: Select three to four rubber legs and center tie them in place on either side of the body. Once tied in and secured, move thread forward to in front of the last segment but behind the eye. Build up a little thread bump to help prop up the over hanging foam. This will help the fly push a little water and make it easier to tie the fly on. Whip finish and tie off thread. Lay down a dollop of Z-Ment on the underside at each one of the body segments to help with fly durability.
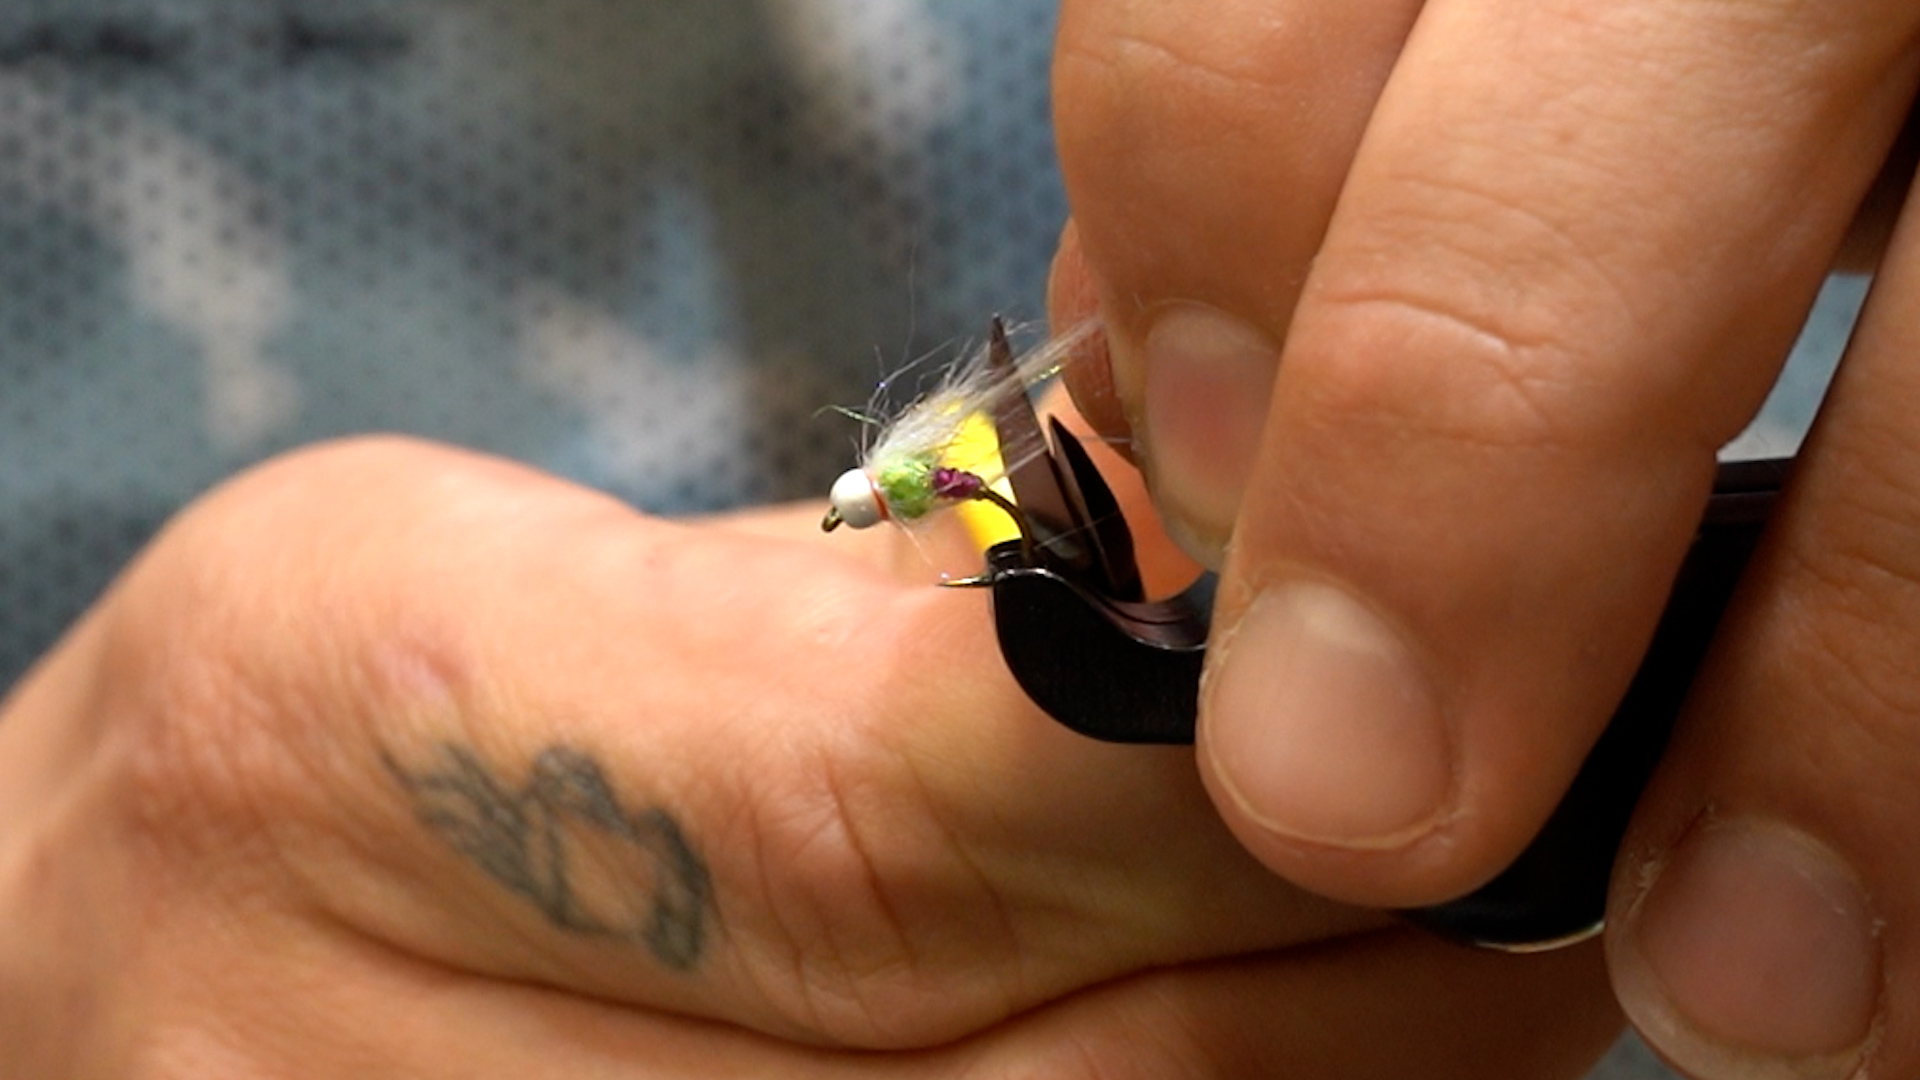
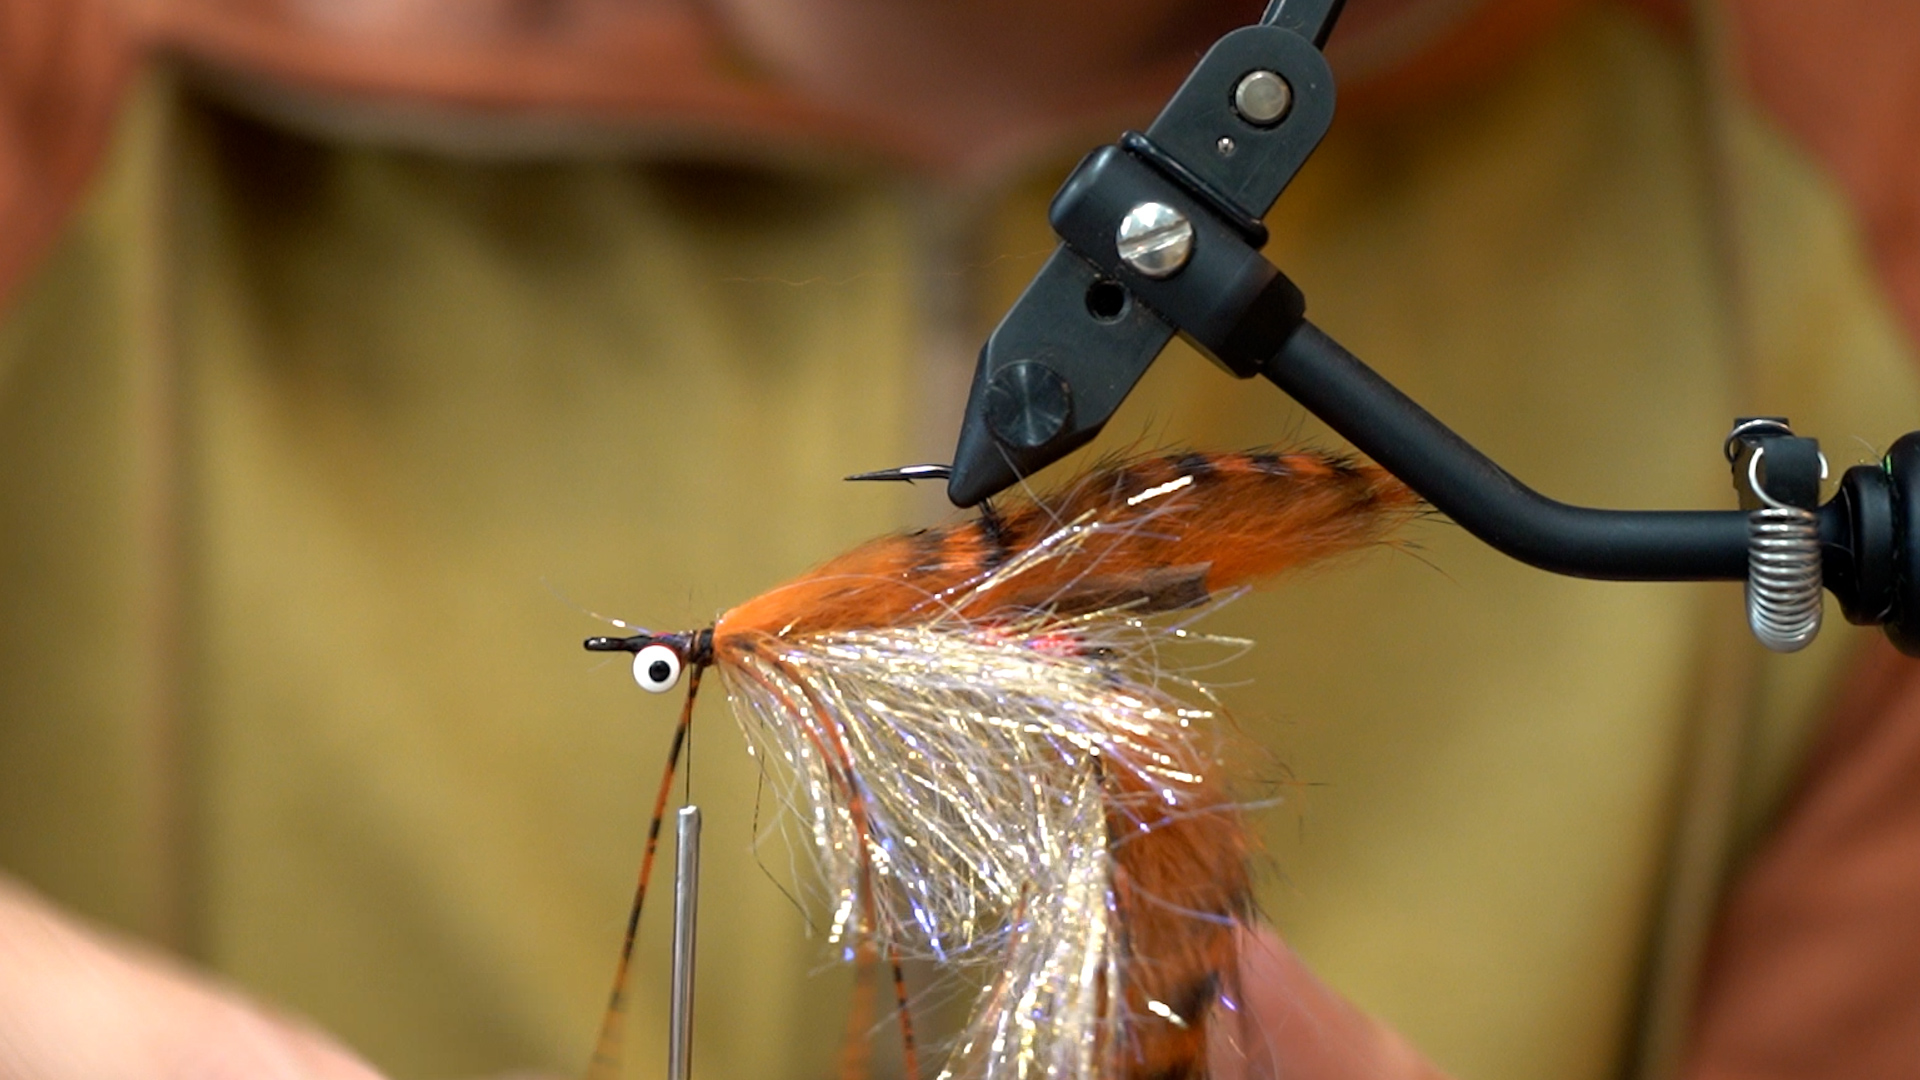
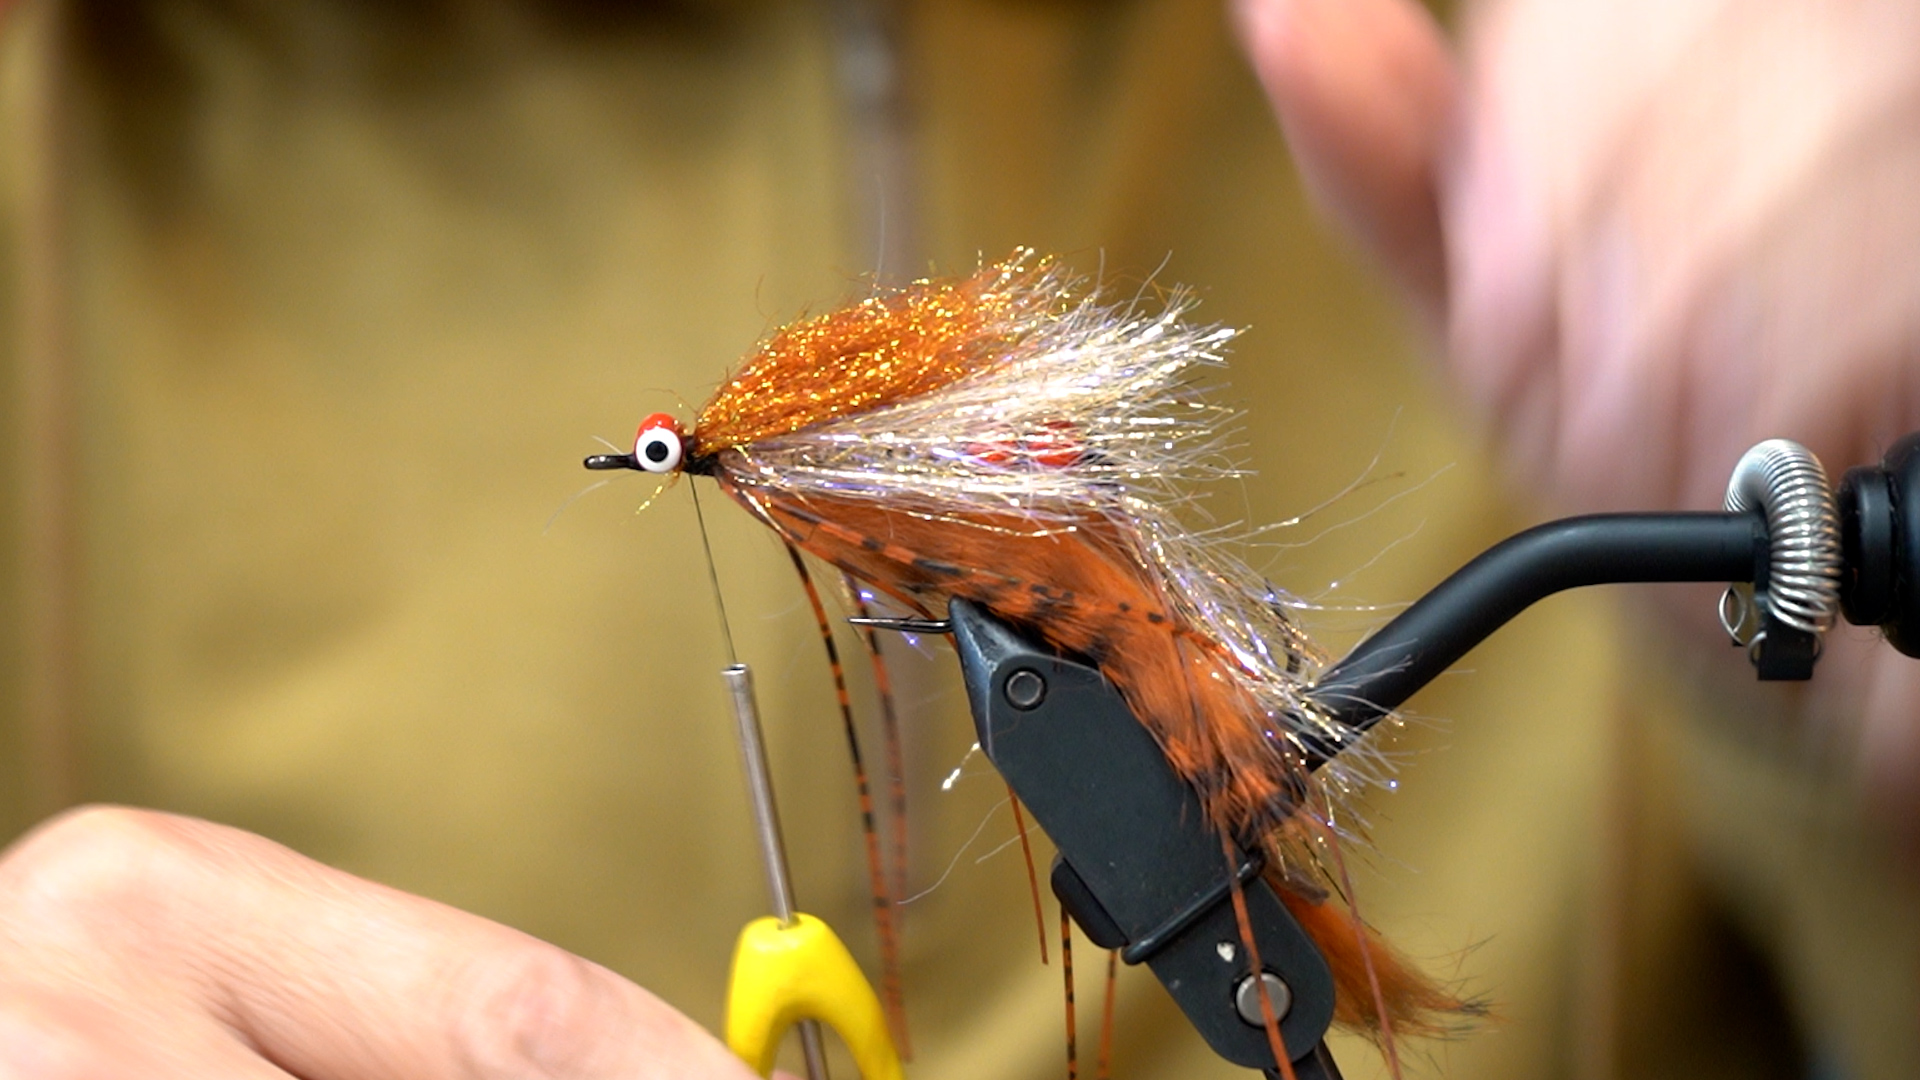
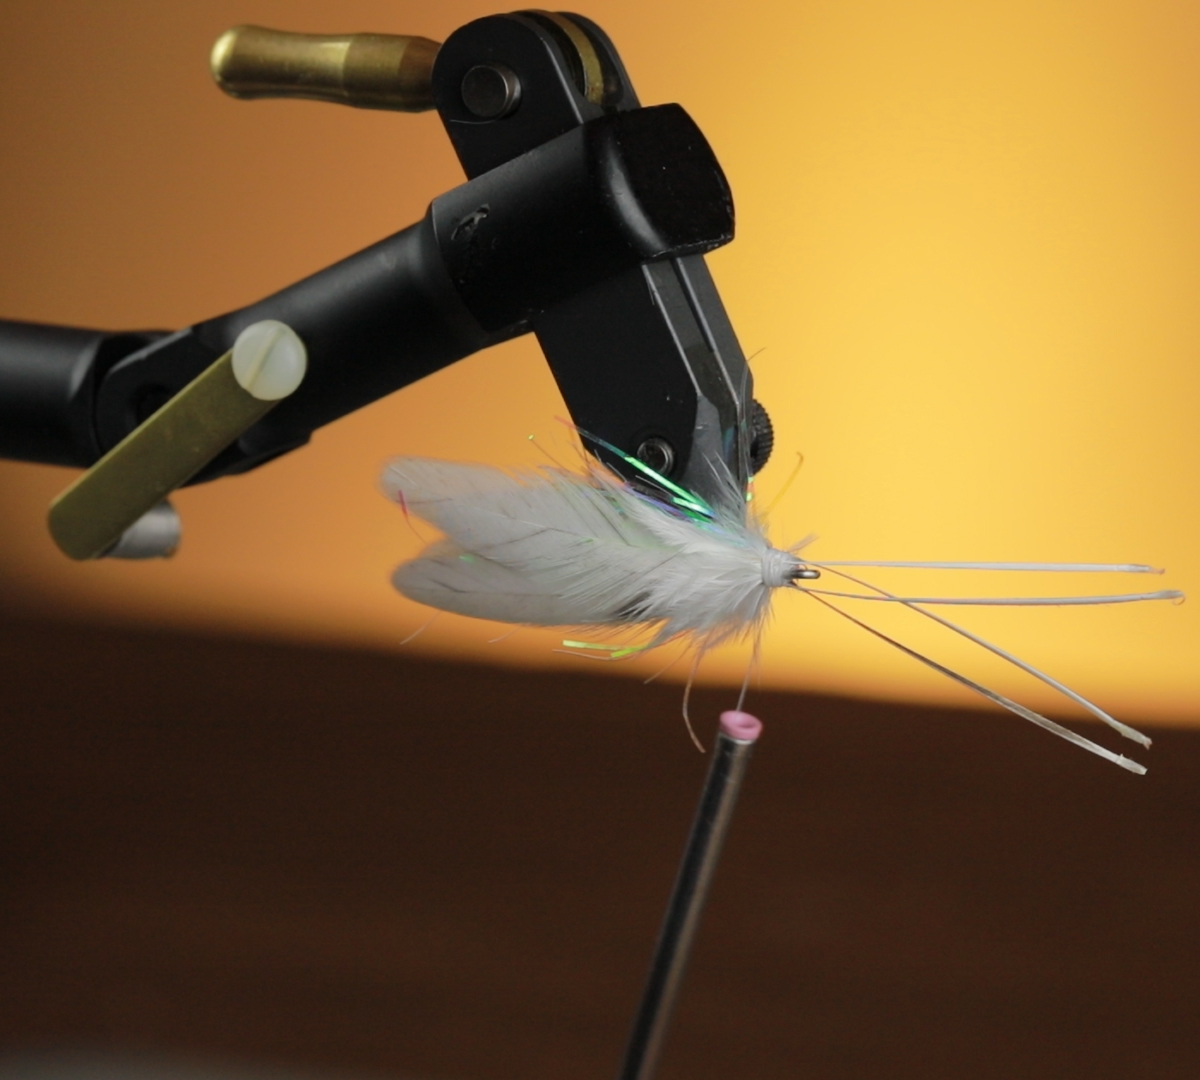
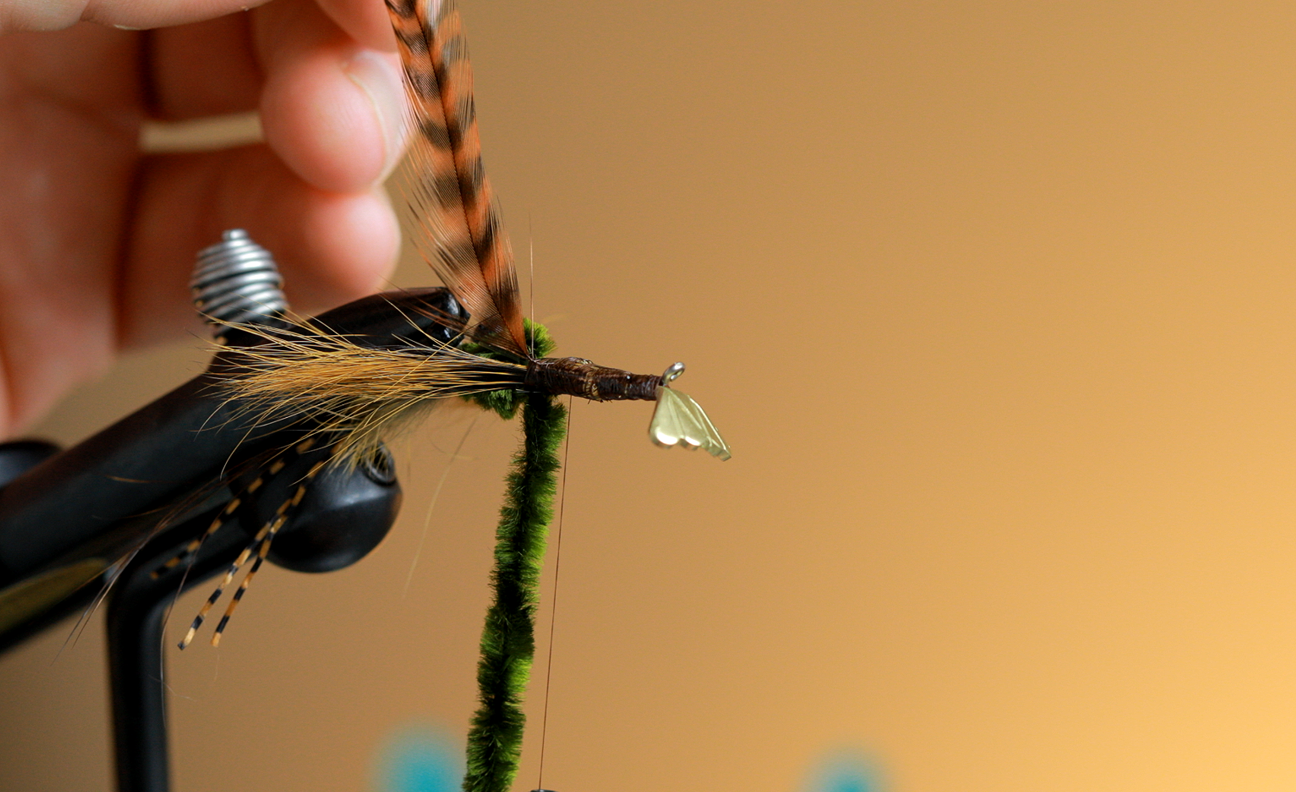
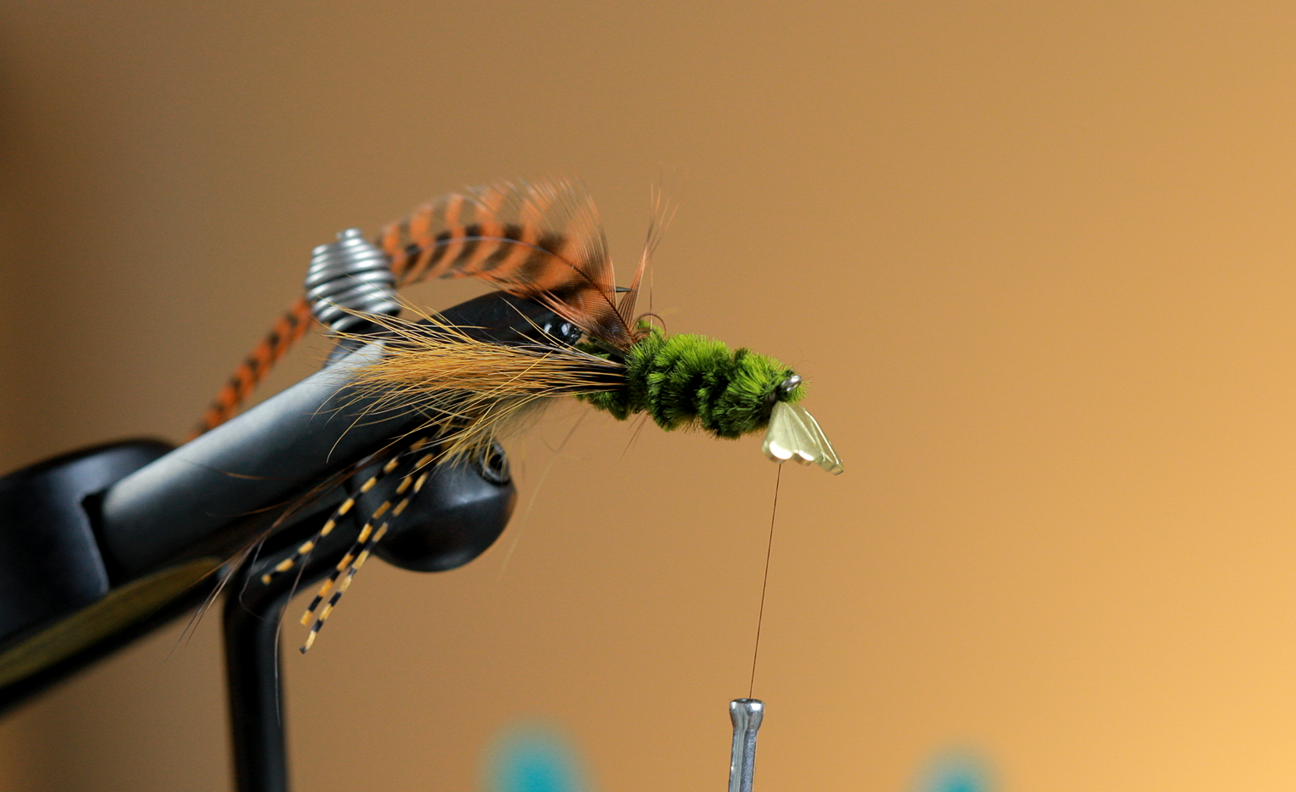
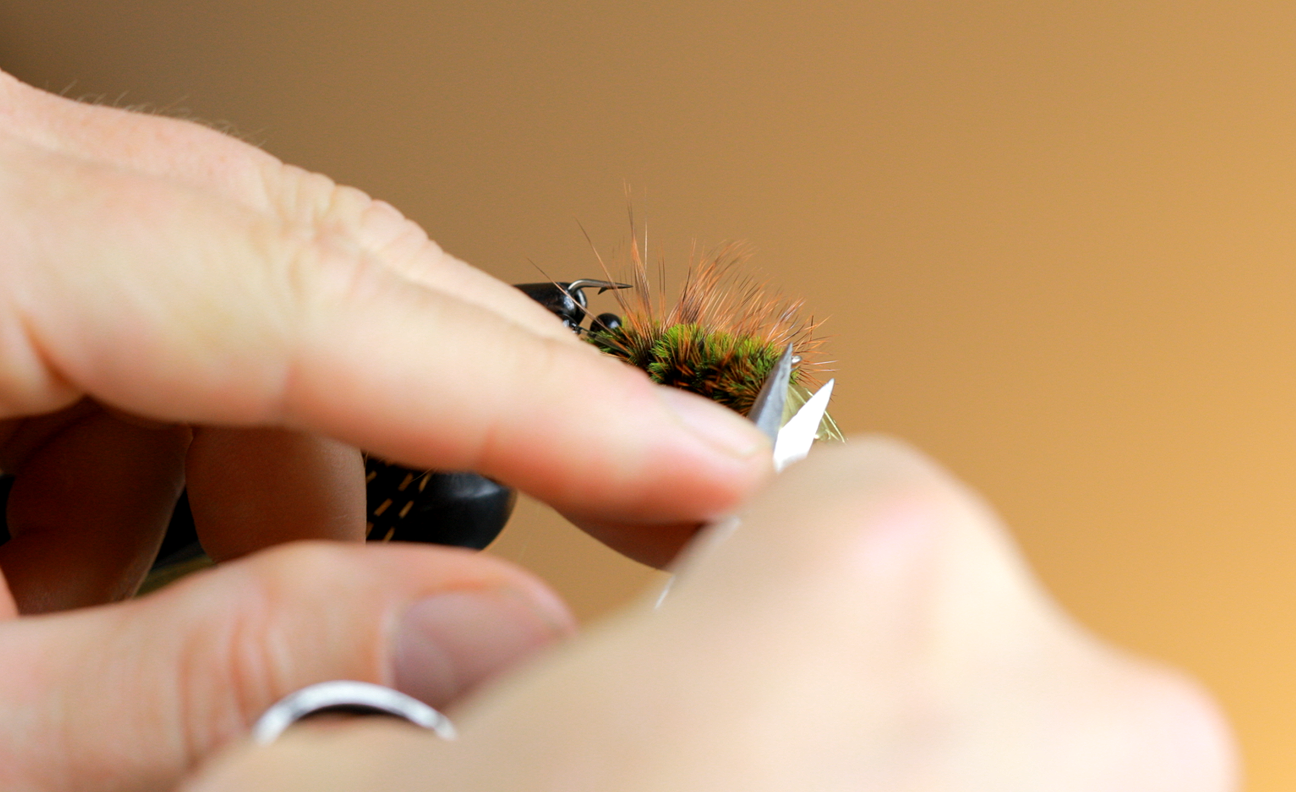
Step 7: Before taking the fly out of the vice, get ahold of your rubber legs and pull them toward the back of the hook. If you trim the legs longer than the hook or body of the fly is they will tend to fowl and the pattern will spin. I try to trim them so they are extending to about the point or barb of the hook. I would rather err on the long side here as I can always cut and remove a little length if need be. 
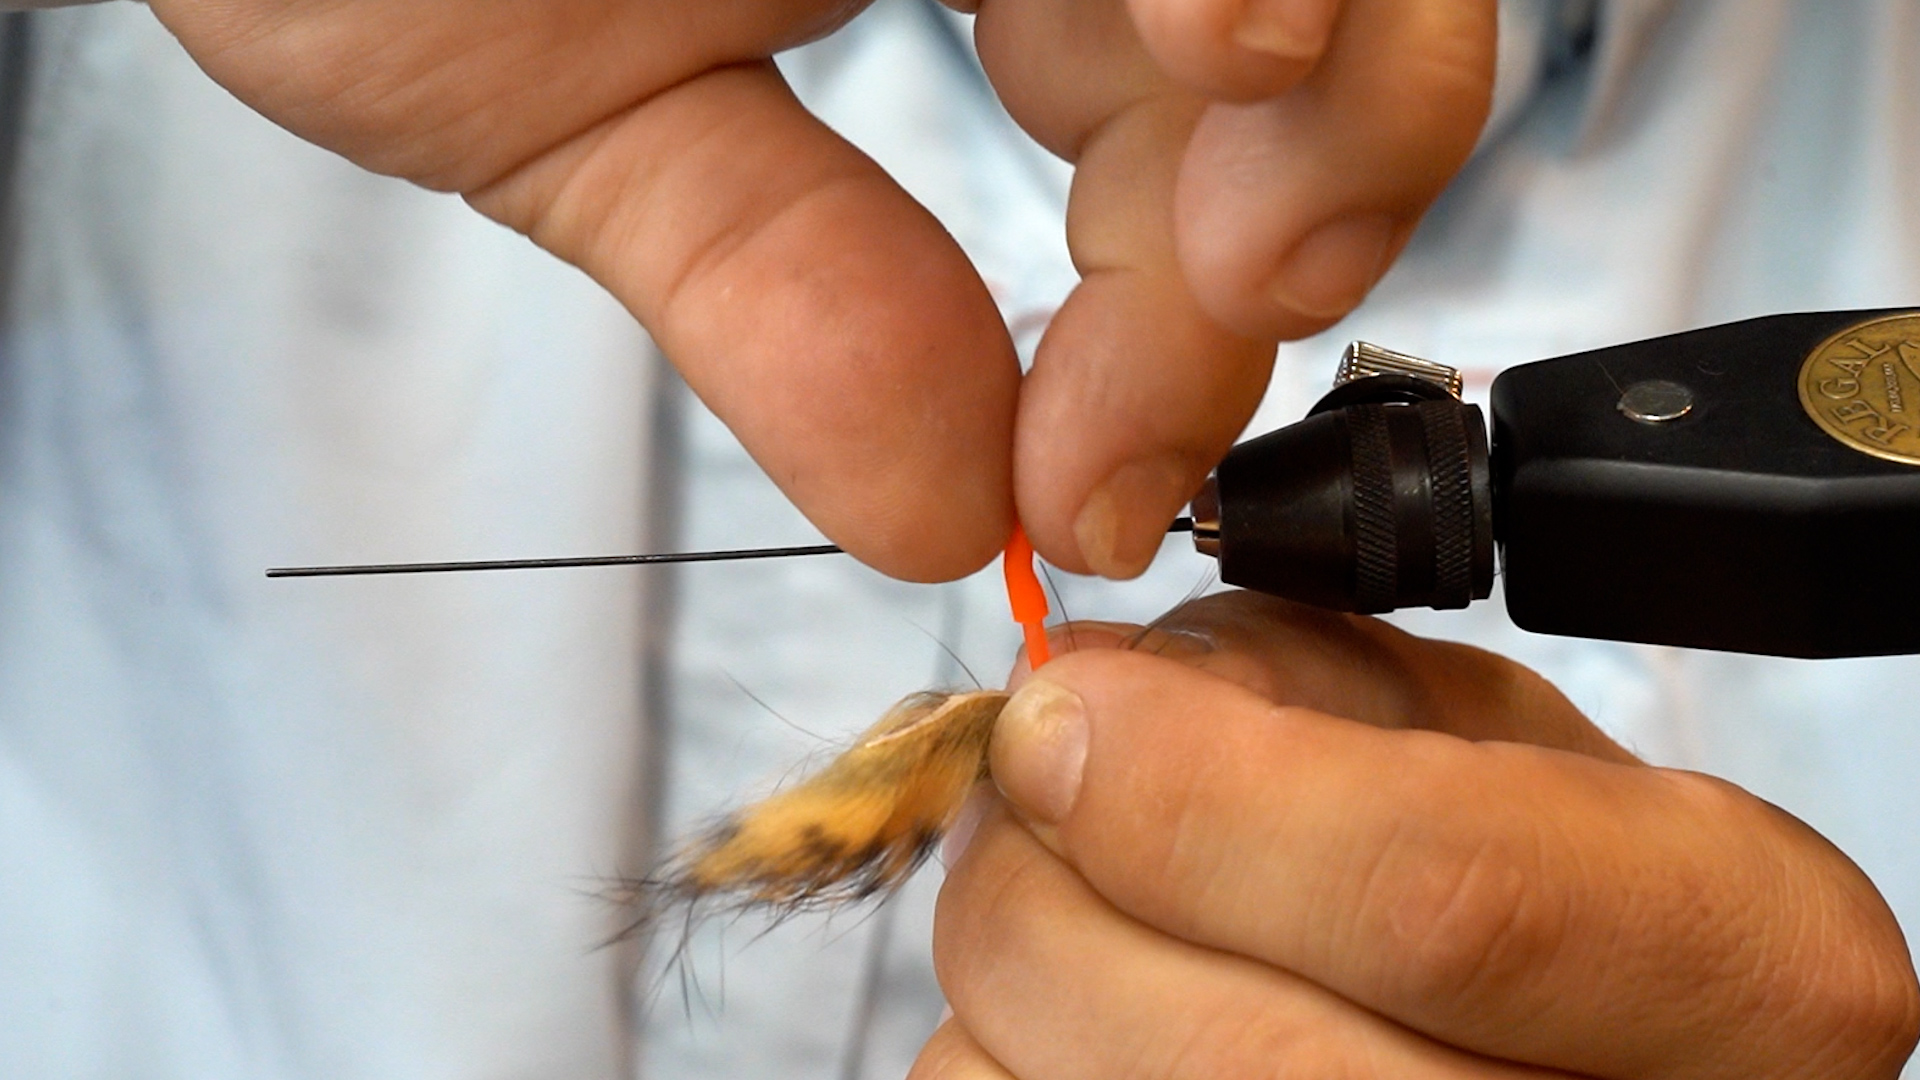
Summer is flying by and will be gone before you know it, so get out there and fish a Wiggly or Popper and get it while the gettin is good!!   

To hear more on this fly and technique check out this video, where Tim Landwehr talks about “Ol’ Mr. Wiggly”  

Recipe
Thread: Veevus Power Thread 140
MFC Wide Gap Streamer Straight Eye Hook #2
Chocklett’s Loco Foam (Damsel Blue or color of choice)
Senyo’s Predator Wrap (UV Silver or color of choice)
Chicone’s Regular Crusher Legs (Black Barred Clear or color of choice)  
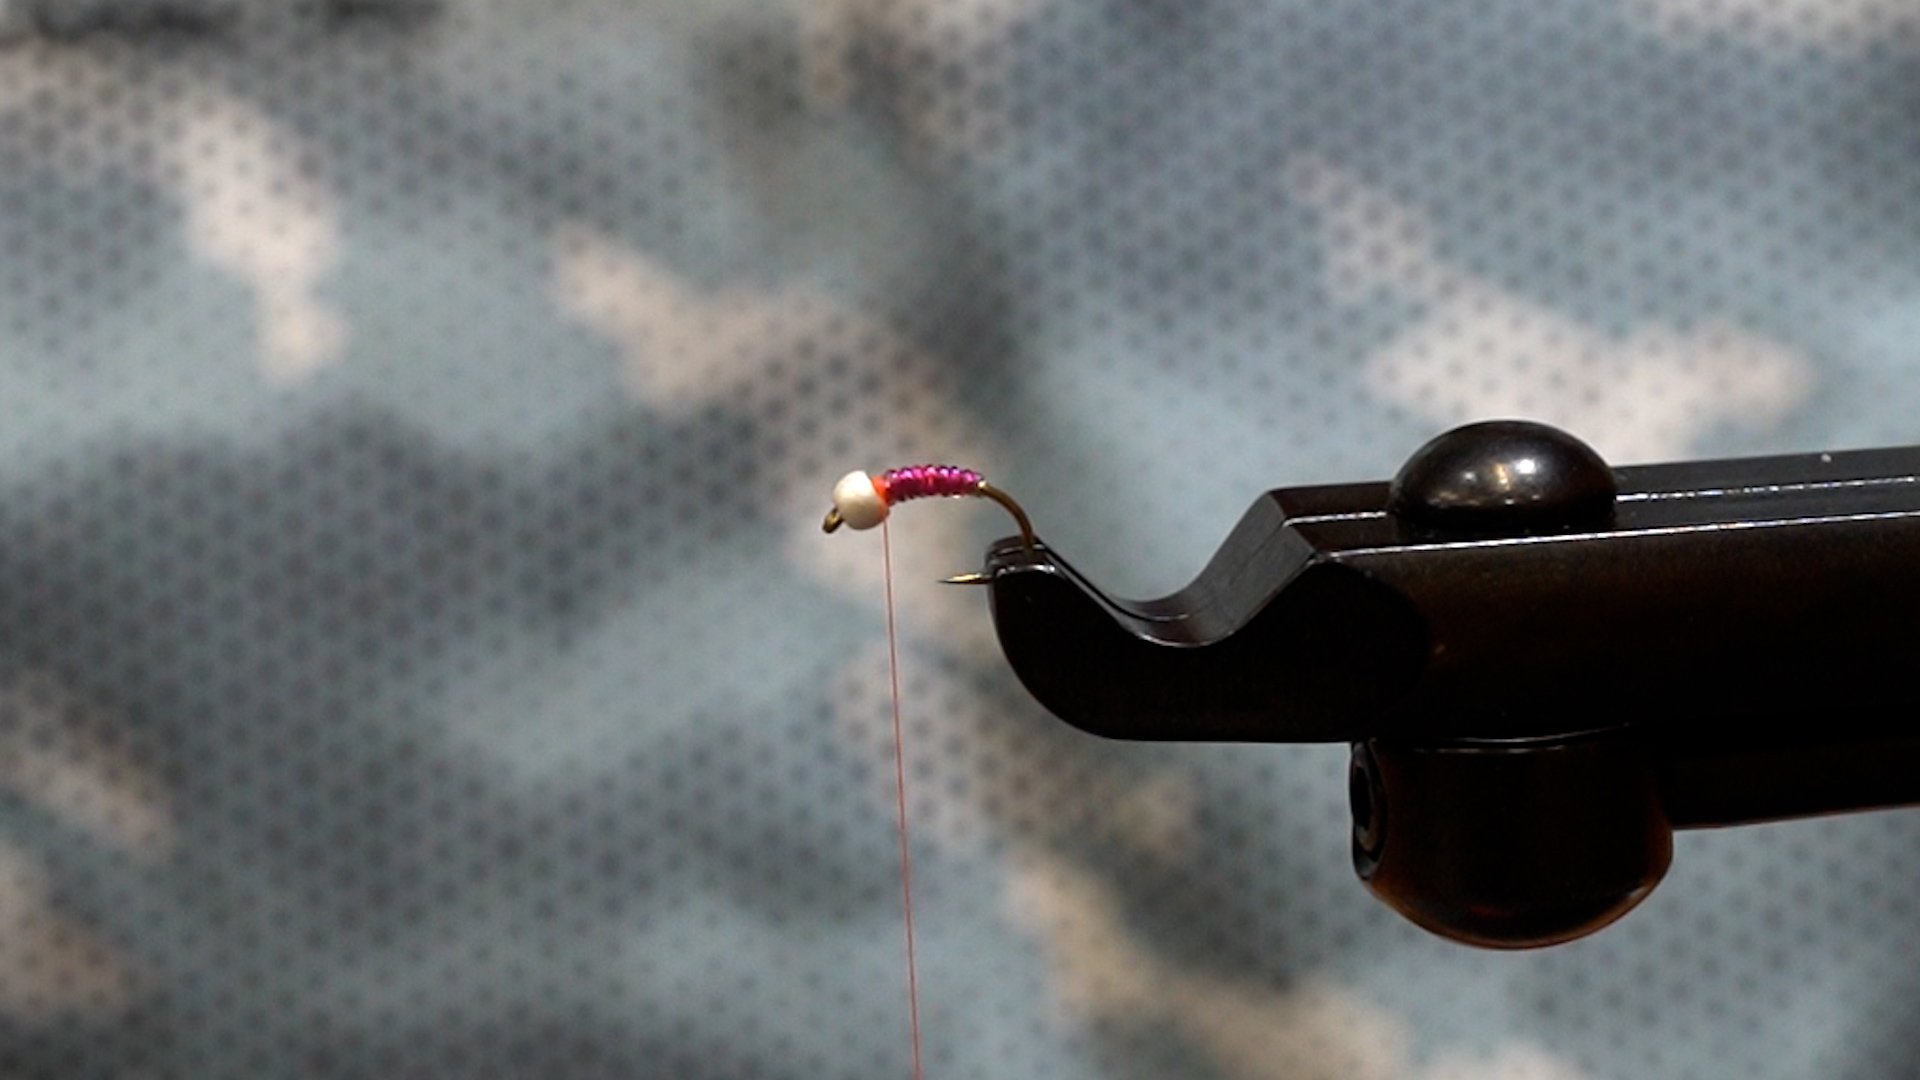
Friday Flies: Meal Ticket by Ben Phipps

This is my take on the “Meal Ticket” streamer. It was originally tied by Mike Schmidt. This has been an incredibly productive streamer pattern on the Mad River and a variety of other trout rivers I have tried this pattern on. I’ve seen fish peel off of a well-protected bank, as well as, come up from the depths of a deep pool to attack this fly… and it never gets old.

This fly looks great on a jerk-strip retrieve, it dives down deep and quickly on a pause and kicks wildly on a snappy retrieve. Fish will chase this fly all the way to the boat and take it a rod length away from them to you. With the articulation and dumbbell eyes combo, you can also fish this in a vertical jig type of retrieve and watch trout T-bone this fly while it’s dropping on the pause.

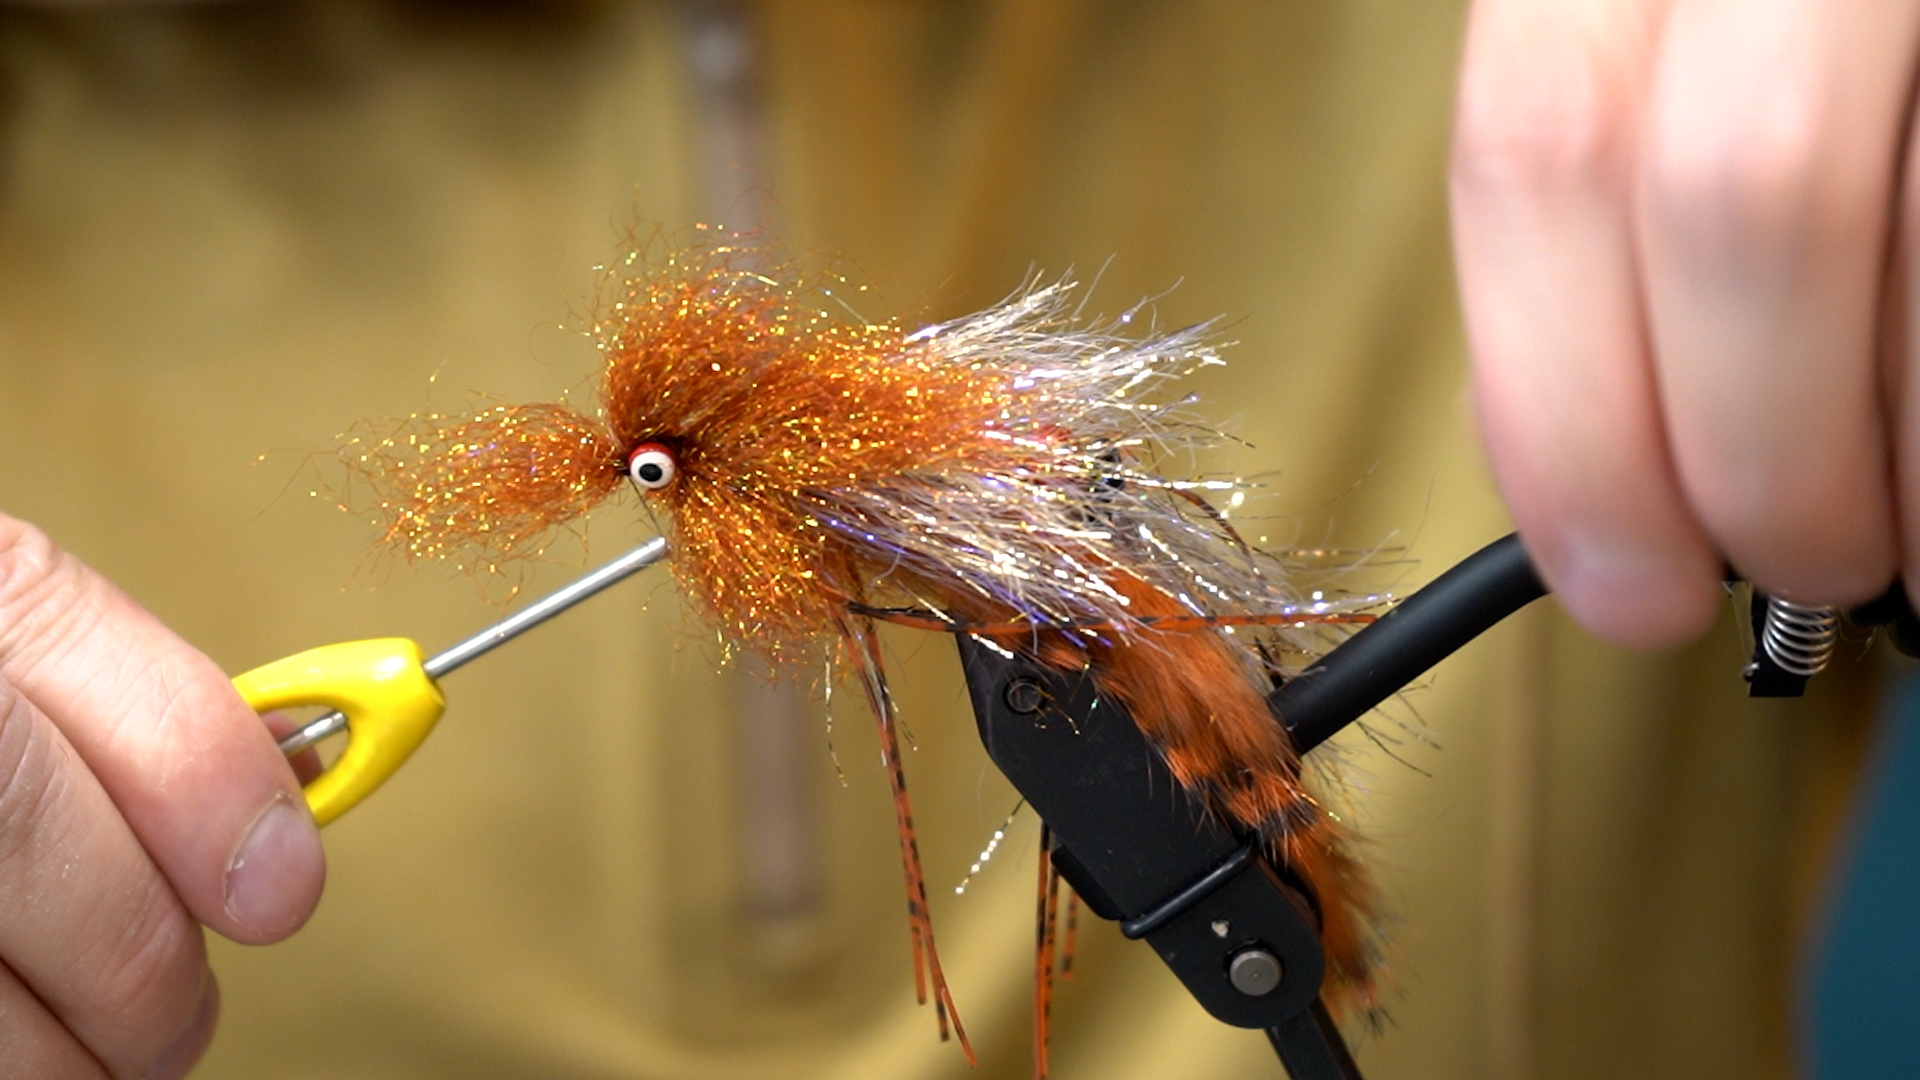
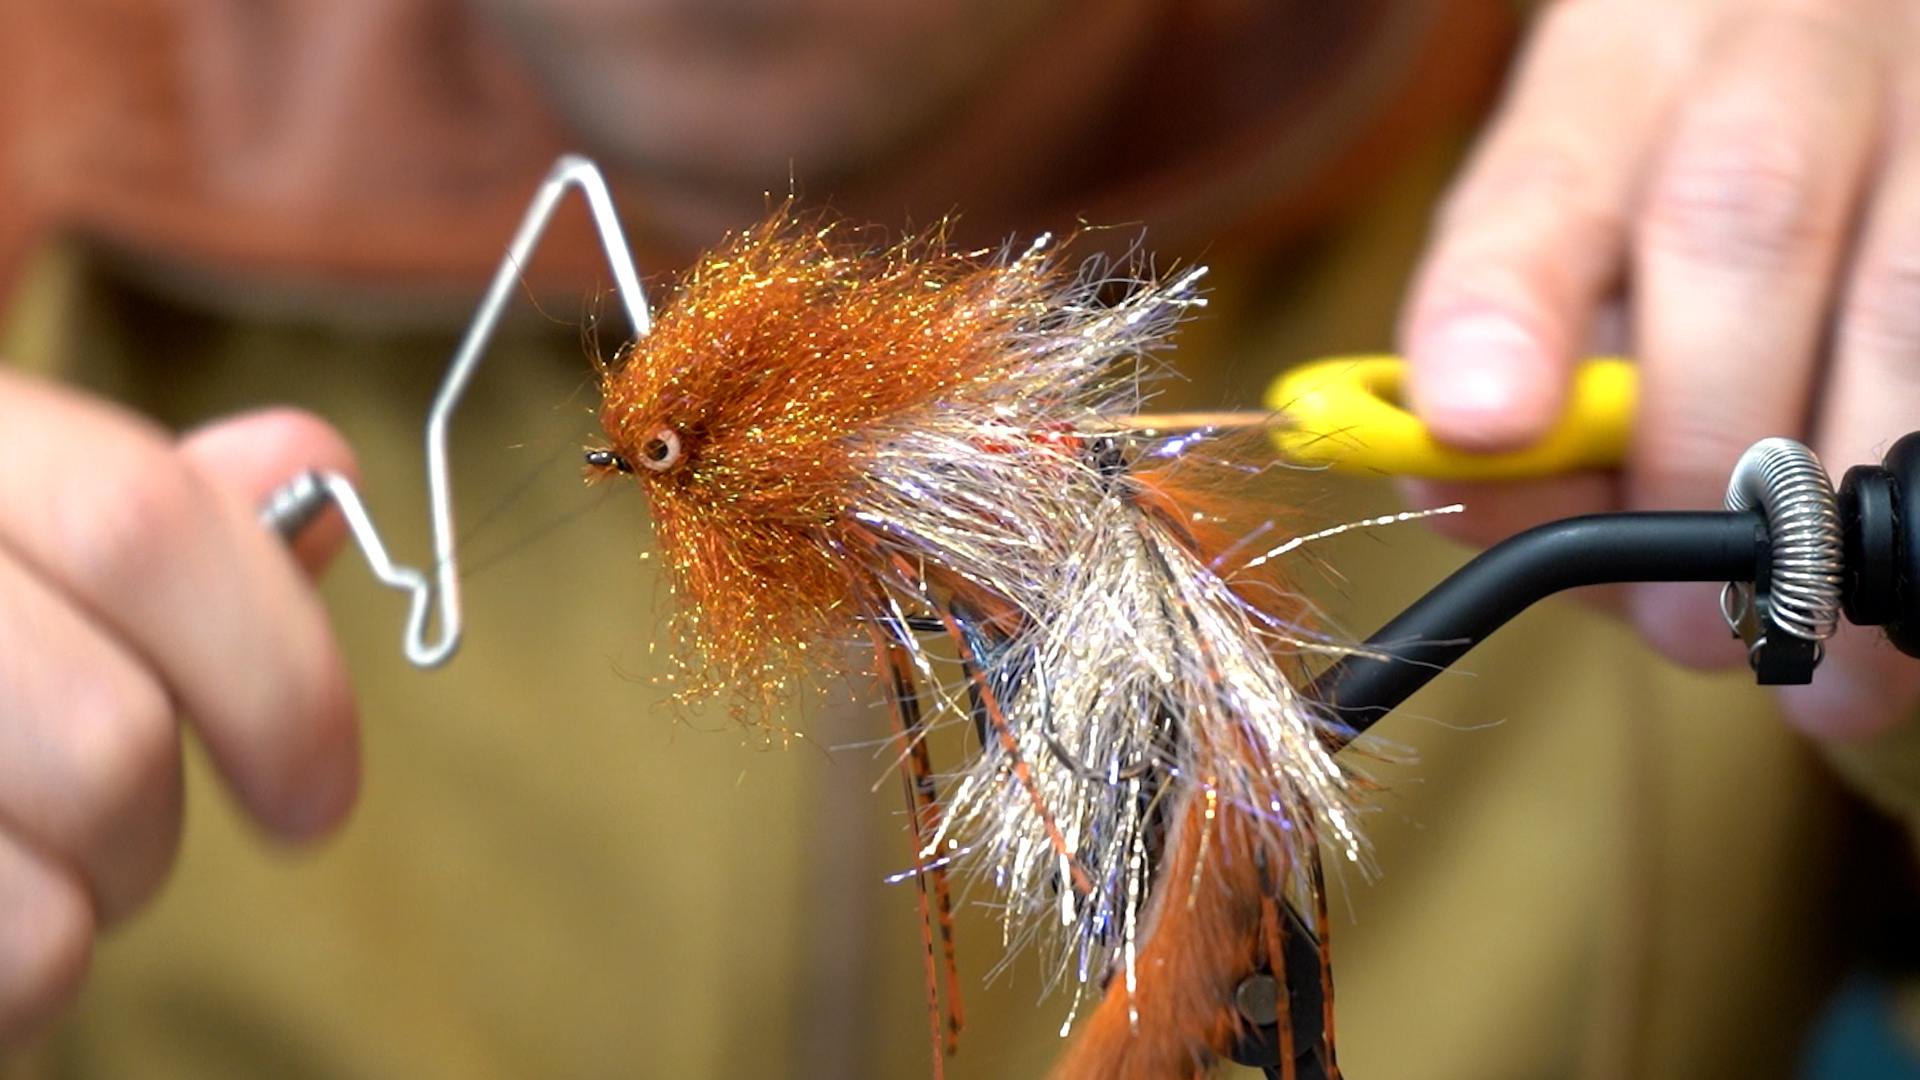
What I have started doing, when tying this fly, in order to achieve a myriad of different color combinations is using Ice Dub or Laser Dub for the head. This material helps build a bulky head, but more importantly, allows the tyer to mix and blend colors of different dubbings to achieve a more unique color of head to the fly.

This fly is very fun to tie and even more entertaining to fish. It swims and kicks in a sporadic way and elicits violent strikes from trout. Tie some up and try ‘em out!

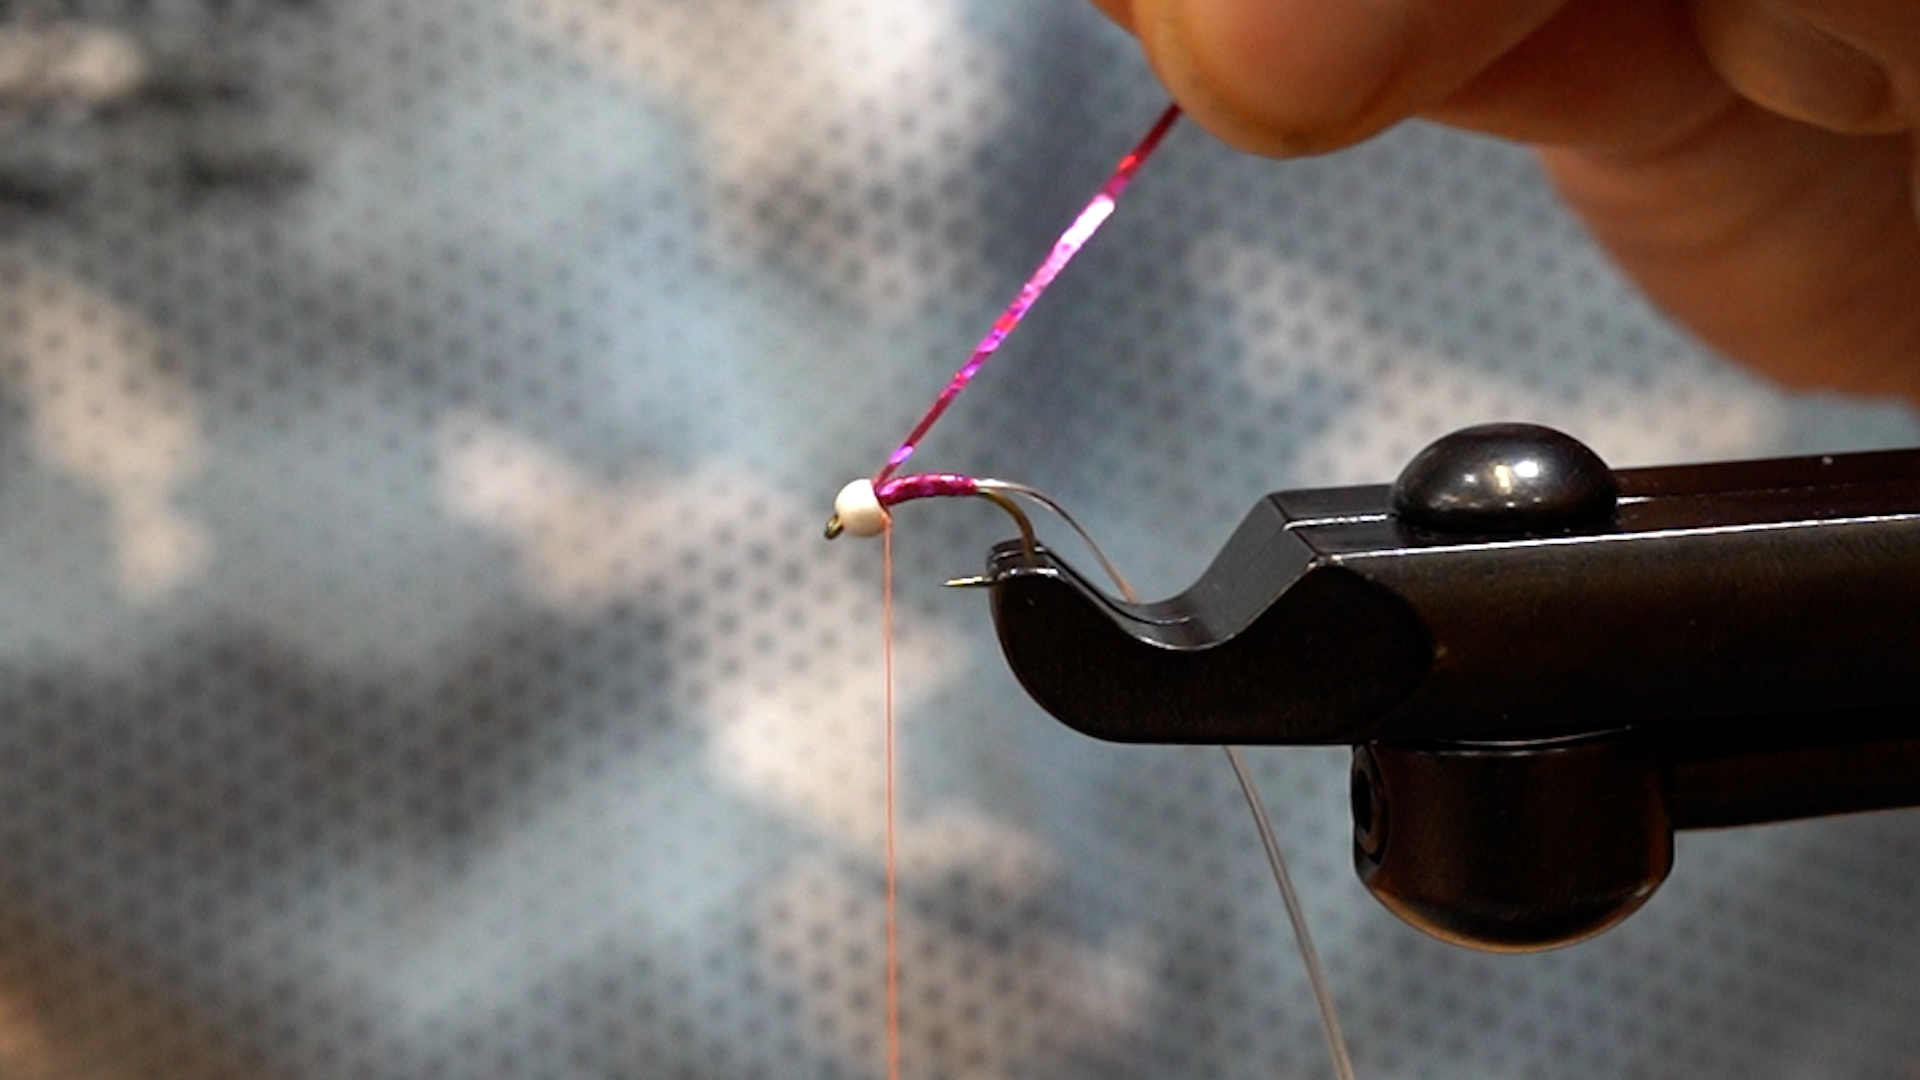
Step 1: With the Trout Predator Hook #1 in vise, start thread halfway up the shank and take wraps backward just up to the start of the bend of the hook.

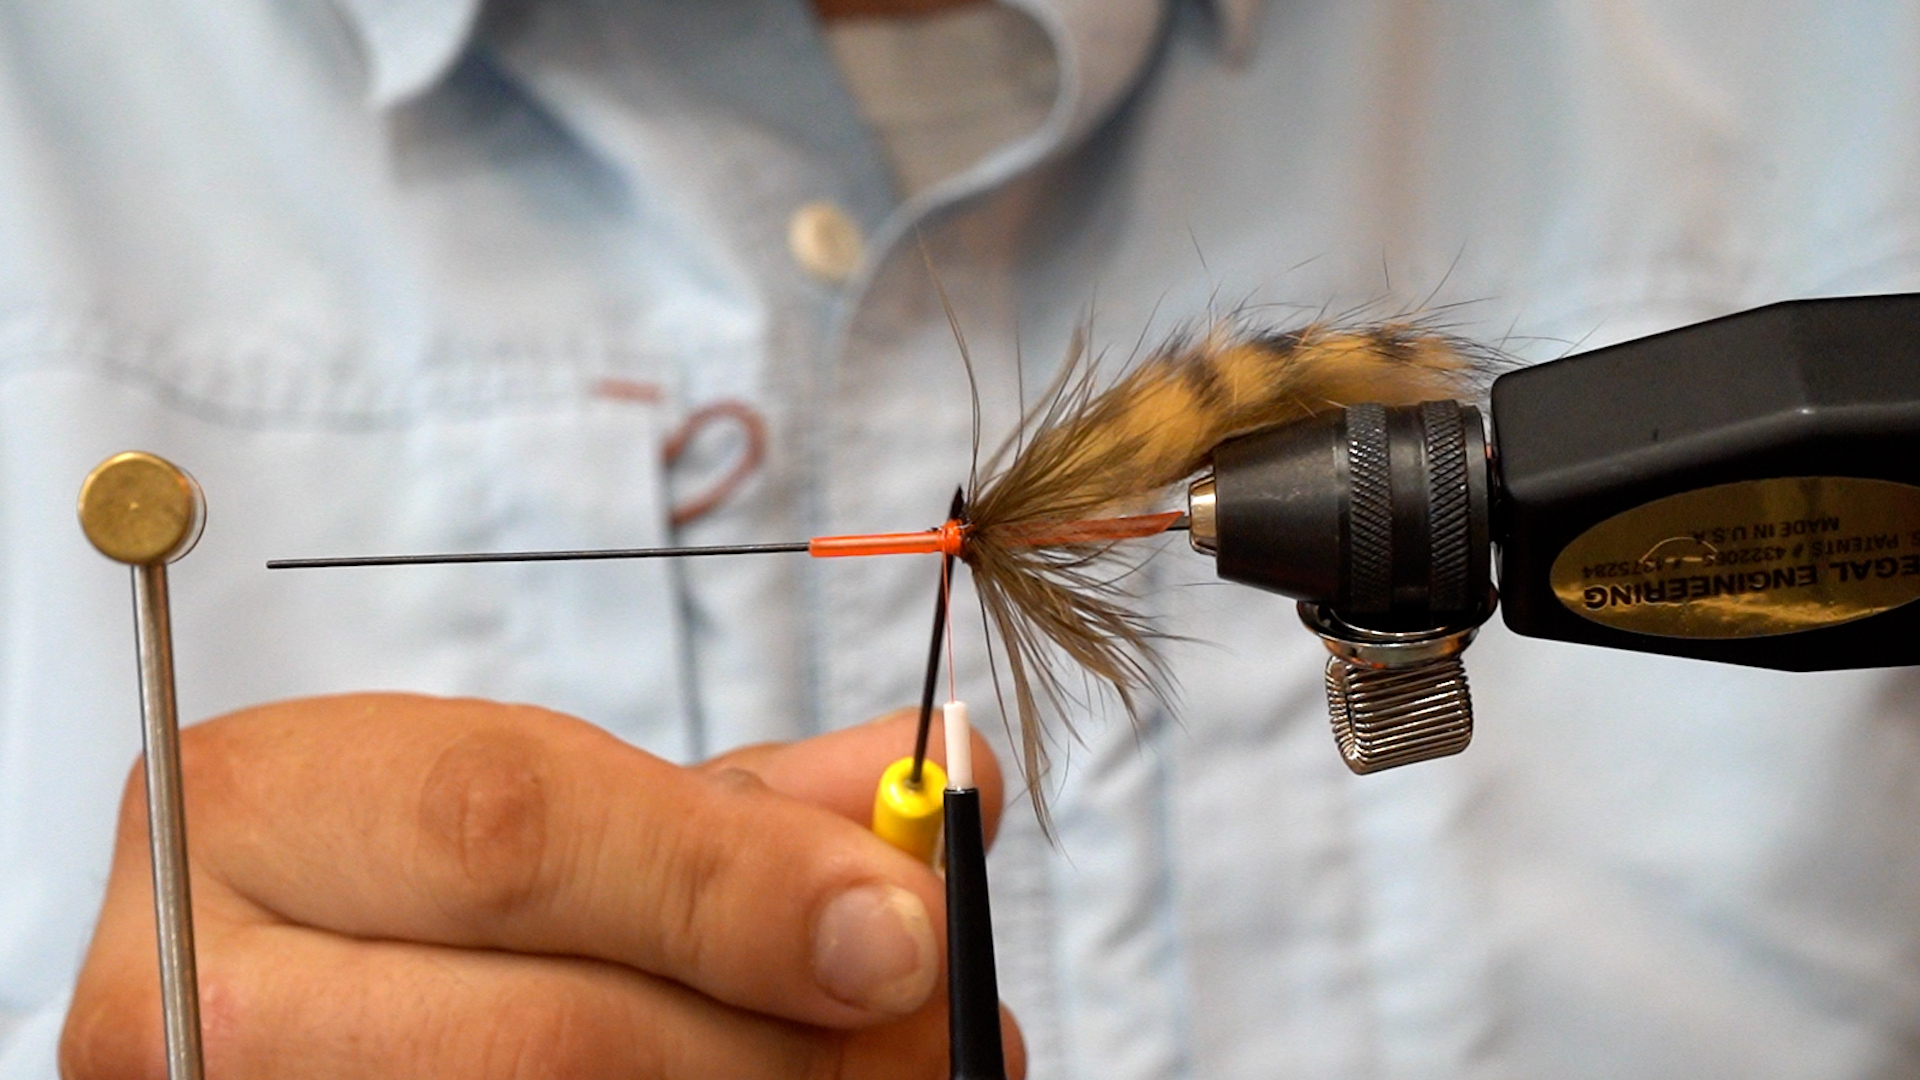
Step 2: Measure out a section of rabbit strip to have one hook length of material off the back of the hook for your tail, then also making sure you measure out enough material available to cover the rest of the shank toward the eye of the hook. 
Tie in the rabbit strip at the point you left your thread at right before the bend of the hook. Preen the hair of the rabbit strip away from your tie-in point to make this a clean and easy securing wrap.
Step 3: Tie in the UV Polar Chenille in tight with the rabbit strip. Make touching wraps up the hook with the UV Polar Chenille and tie off with just enough room to tie in legs.
Step 4: Select two strands of Rubber Legs and tie in one strand at the halfway point of the rubber leg, preen the forward-facing half of the strand back toward the rear facing half and secure with 3 or 4 wraps. Repeat this step with the second strand on the other side of the fly.
Step 5: Bring the lose end of the rabbit strip forward over top the shank and secure the strip to just behind the hook eye.

Step 6: Make two complete four or five turn whip finishes and snip your thread. Secure with adhesive.

Step 7: Secure a Trout Predator Hook #1/0 into the vise and lay down a thread base across the shank. Then lay your articulation wire across the shank and secure by taking wraps backward.

Step 8: Thread two 3-D articulation beads onto the wire.

Step 9: Thread the completed back hook onto the wire. Make sure the hook point is facing upward. Then secure the other end of the articulation wire to the shank of the hook.

Step 10: Measure out a rabbit strip in the same way you did for Step 2. Make sure the fur from this rabbit strip extends back to the fur on the previous hook. Pierce the leather side of the rabbit strip on the point of the hook, remove the hook from the vise jaws to slide the rabbit strip up past the barb, and past the bend of the hook. Re-secure the hook in the vise jaws.
Step 11: Tie in UV Polar Chenille right up against the rabbit strip identical to Step 4.
Step 12: Tie in a pair of medium dumbbell eyes on the top of the hook shank about one hook eye length back from the hook eye.
Step 13: Make touching wraps of your UV Polar Chenille up to the dumbbell eyes.
Step 14: Tie in 1 to 2 strands of rubber legs on each side of the hook shank up against the dumbbell eyes, similar to Step 6.
Step 15: Lay the loose end of the rabbit strip across the hook shank and tie in at right behind the dumbbell eyes.

Step 16: To create the head, take healthy clumps of Ice Dub and tie in the clumps around the entire hook shank behind the dumbbell eyes. You should ideally end up with four even clumps around.

Step 17: Using the same Ice Dub, create a long clump of dubbing and tie in at the mid-point of the dubbing clump in front of the dumbbell eyes. This will leave one long strand of dubbing hanging out of the front of your fly. Rotate your vise and tie in one addition clump of dub to the bottom of the hook in front of the dumbbell eyes. Rotate your vise back and fold back the forward-facing strand of dub back so it lays across the rest of the dub head and secure with tight wraps right behind the hook eye.
Step 18: Make two complete four or five turn whip finishes, cut and adhere the finish.

Friday Flies: BC Cranefly Larva by Brian Flechsig

Around here, we have always felt that the Cranefly Larva was the unsung hero of all nymphs! He’ll never make the cover of Fly Fisherman Magazine, but wildly important as a food source for our Brown Trout in the Mad River…..and probably for trout in your neck of the woods.

Although there were a few patterns that I have always carried with me, I couldn’t help but think there was a better, more realistic way to tie them. I just never really tried that hard, nor had any solid ideas….until…..

It was the Fall of 2020 when Blane Chocklett released his book, “Game Changer” and in that book, he reminded me of a super cool material, that he invented, called Sili Skin. It was originally used for his famous Gummy Minnow flies and then I had started using it to cover the bodies on the “Fly Pala” flies that Blane taught us. I bought a bunch and was tying both of the flies above, when the idea came to me.

We did a video on this fly a few years back maybe? Never did get around to a step-by-step here on the Blog so we figured we’d get that done here as well as a reminder. We wound up naming the fly the BC Cranefly Larva…..in honor of Blane and his amazing Sili Skin.

A very simple fly really, but a few tricks in working with the Sili Skin. Tie some up…..and fish them. You will be pleasantly surprised. Big trout LOVE cranefly larva.

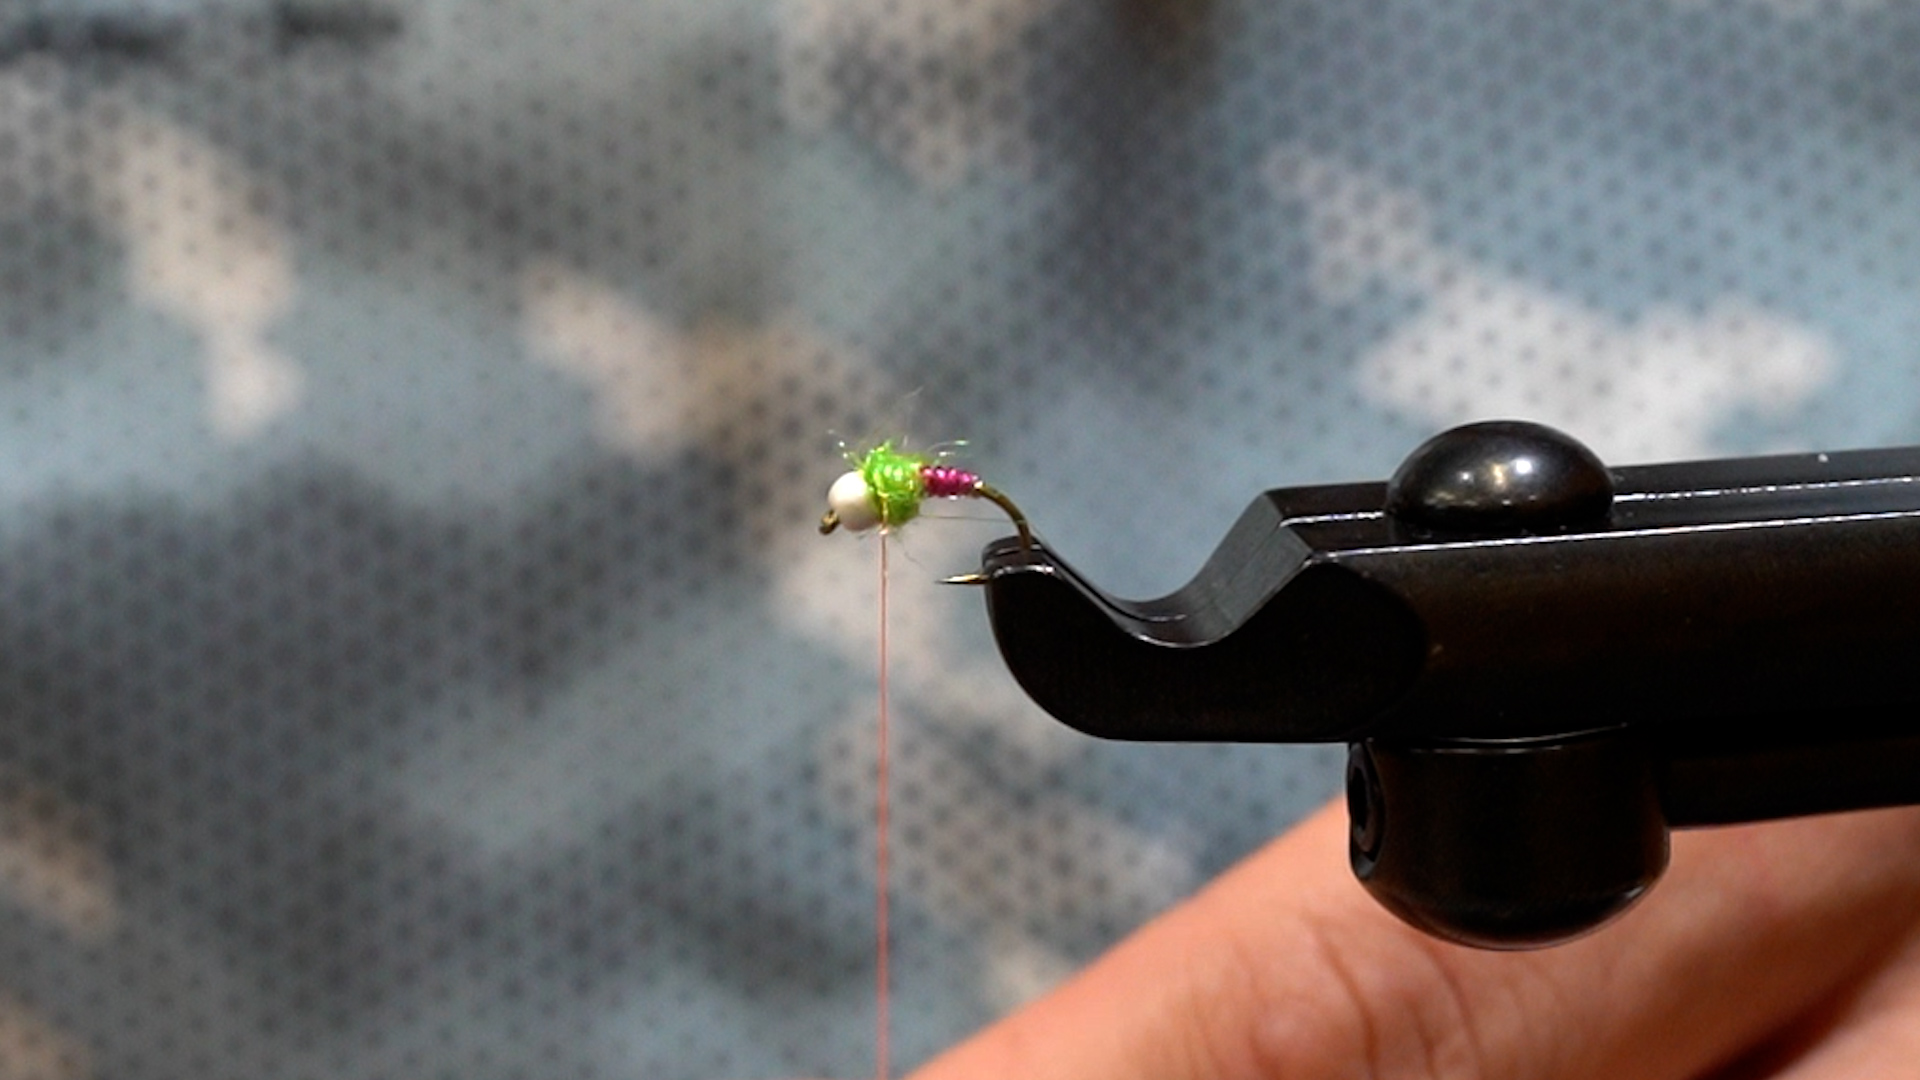
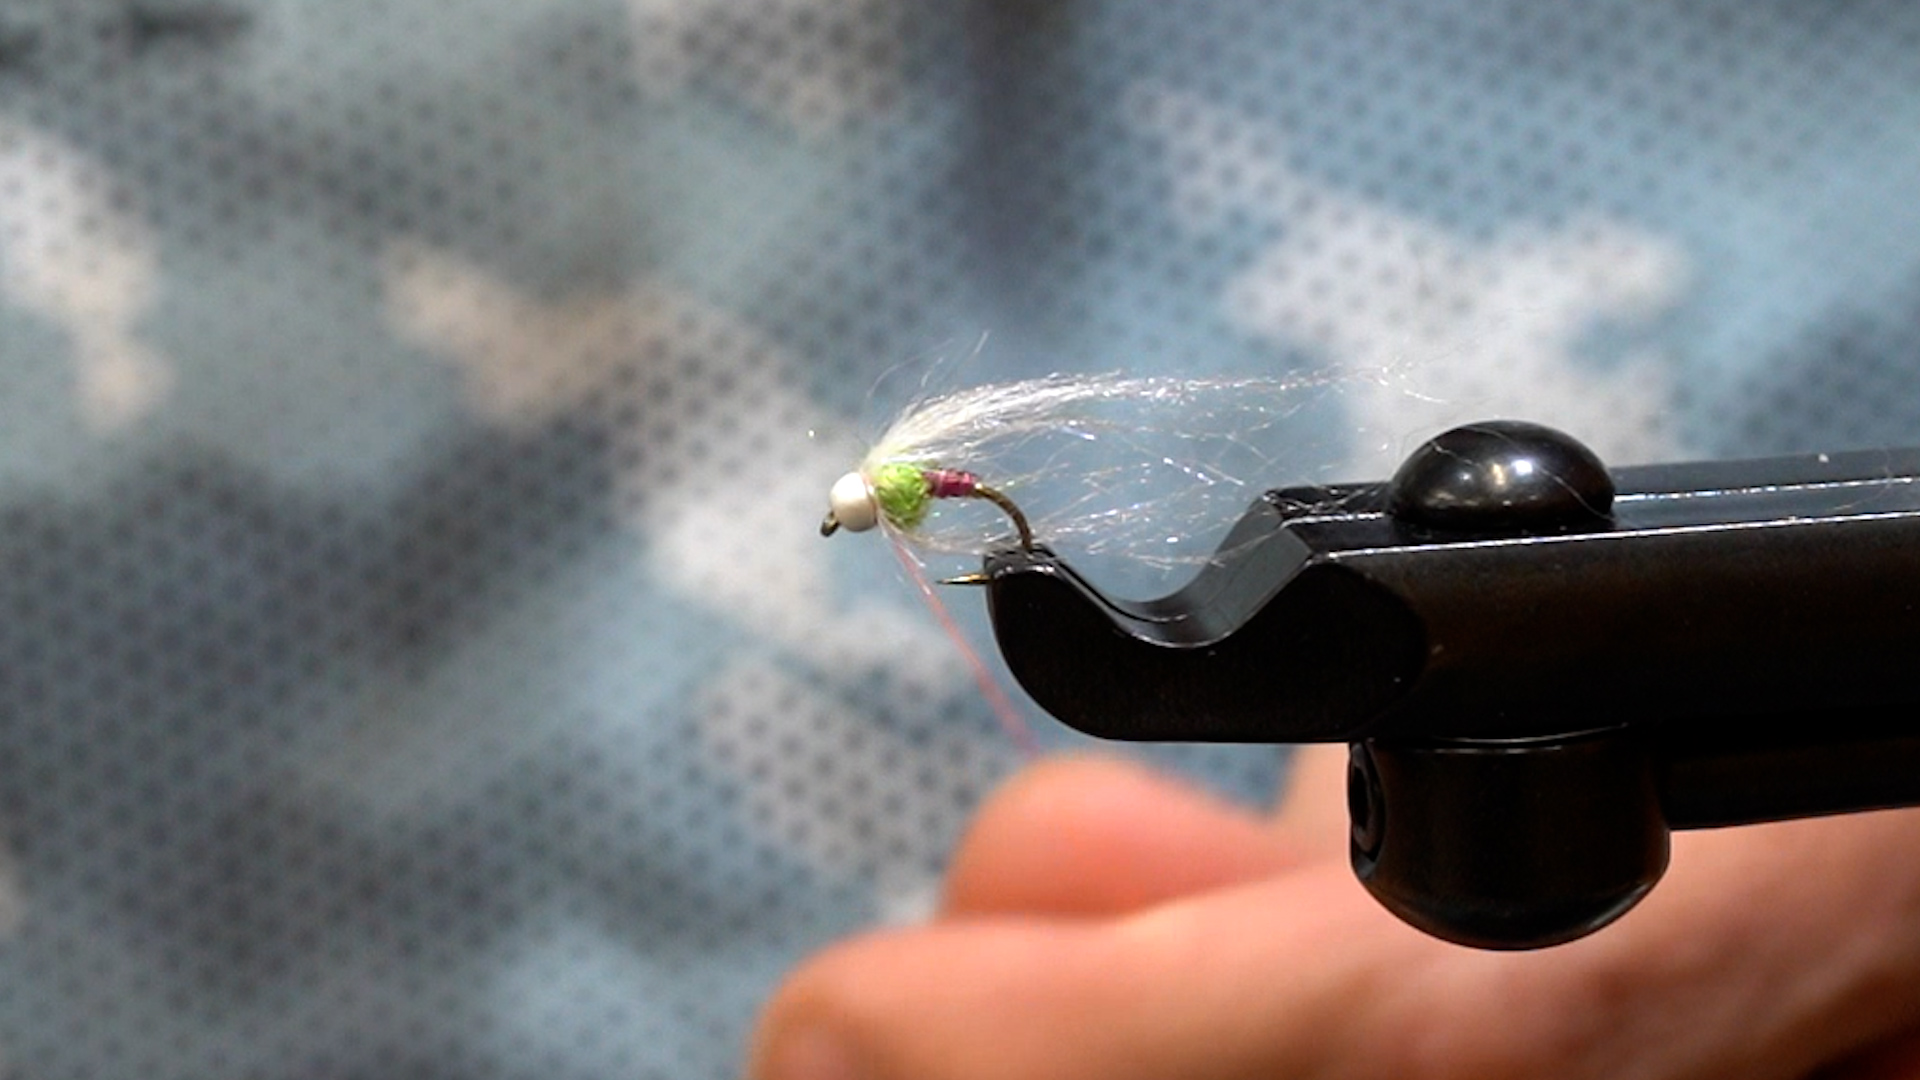
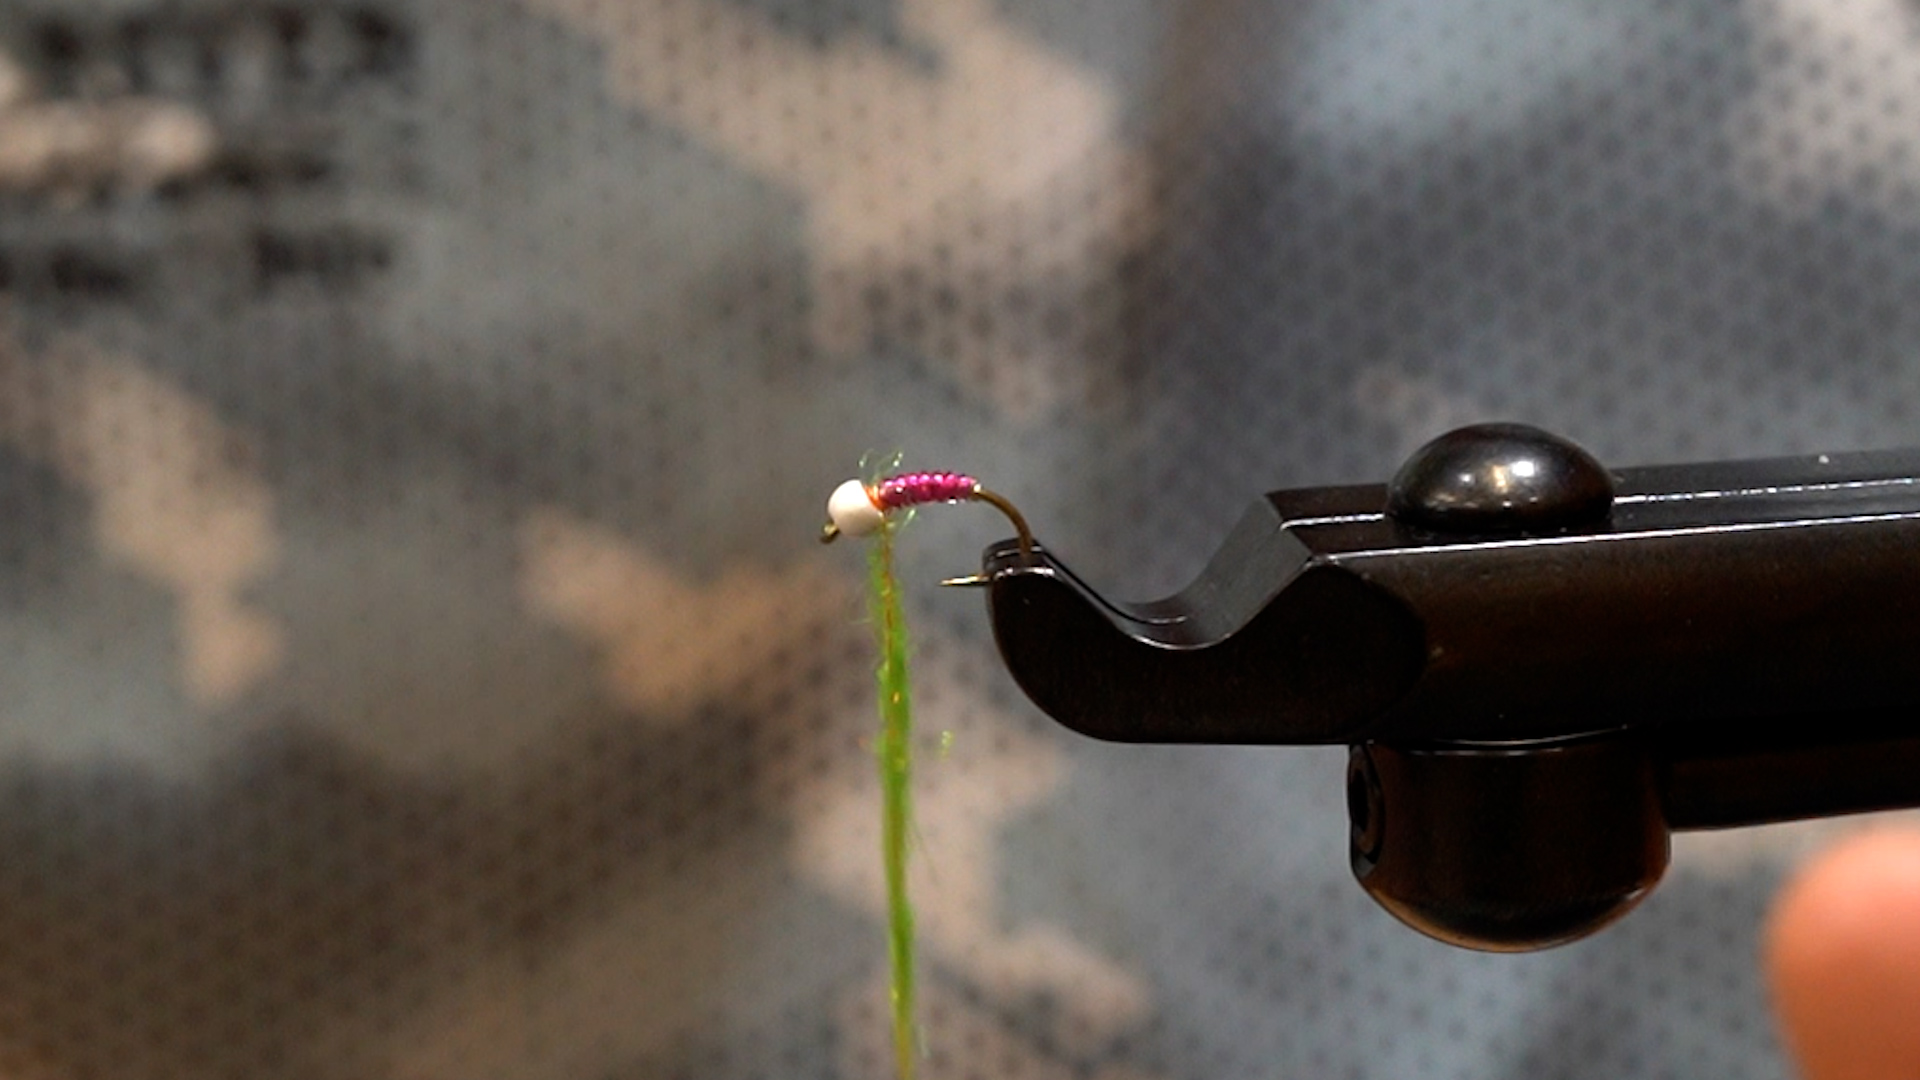
Step 1: Start your thread and lay a thread base. Then weight the hook shank with .035” lead wire. You want this fly to be pretty dang heavy so about ¾ of the shank should be covered with wire. End up with your thread back at the bend of the hook.


Step 2: Tie in the Medium Silver Wire, the Olive Micro Chenille and then the Medium 
Gray Chenille….in that order. When tying in the Chenille, I lay it down the entire length of the hook shank, in order to build up some further bulk to the body of the fly.


Step 3: Wrap your chenille forward and tie off. Then wrap the Micro Chenille as a “rib”, 
evenly spaced as if you were ribbing a nymph (which you are). Tie this off, throw a few half-hitches and then cut your thread. We will restart later to secure the Sili Skin and wire rib.


Step 4: Now you will prepare the Sili Skin. Cut a piece just slightly longer than the hook 
shank and about 1”wide. Make a ¼” or so cut in one of the ends of the skin. This is where you will bring the wire into so you get a clean start on your wraps with it.

Step 5: Restart your thread AT THE BEND of the hook, so that you can secure the rear 
of the Sili Skin.


Step 6: Remove the backing from the Sili Skin, being careful that it doesn’t stick to 
itself. Do it slowly! Fold the Sili Skin over top of the fly and stick it to itself underneath the fly. Then cut the excess flush with the underside of the bottom of the fly. Best to use a long blade, super sharp scissors for this.


Step 7: Secure the rear of the Sili Skin at the bend of the hook with the brown thread 
hanging. Build up some wraps here at the bend to secure the Sili Skin, then half-hitch and cut the thread. (You’ll have to half-hitch over the wire and all). You may have to pull or pluck some excess Sili Skin from behind/under the thread wraps.


Step 8: Restart your thread at the head of the fly now, and do the same to secure the 
front of the Sili Skin. Now we will wind the Medium Silver wire as a rib, over top of the Sili Skin. I usually try to mimic the wraps of the Micro Chenille which can be seen through the skin. This adds a really cool look of segmentation, as well as secures the Sili Skin in place. Tie off the Wire at the head and whip finish.

Step 9: You will now finish the fly with a “candy coating” of Bone Dry UV resin. This, in conjunction with the Sili Skin, is really what makes this fly.


Take it out and fish it and be sure to let us know how it works for you!

Read more

Sandwich Cricket: Fly Tying Tutorial

We brought in Jerry Darkes on the YouTube Channel to give you a brief tutorial on how to tie the Sandwich Cricket.


Sandwich Beetle by Jerry Darkes


Materials
• Hook: TMC 5212 size #10
• Thread: UTC 70D, black
• Underbody: Dry fly dubbing in black
• Foam: 2mm foam sheeting, black with a brighter color such as orange or yellow.
Glue together as a single sheet using a spray adhesive. Cut into strips between 1/8”–¼” (4mm-5mm) wide.
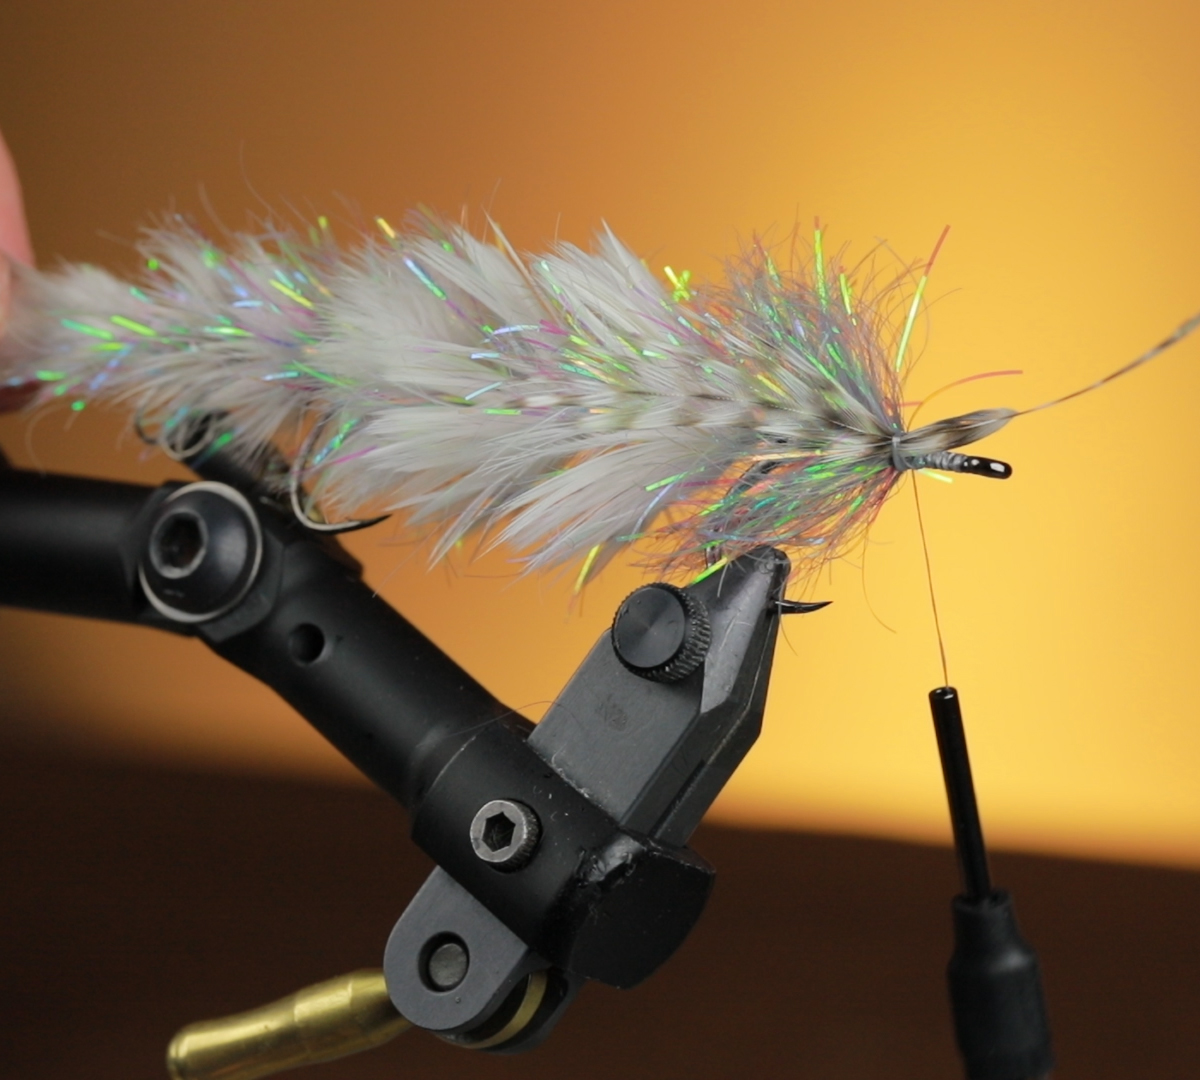
• Legs: Montana Fly Company Barred Sexi Floss- medium size, in olive, tan, or brown.


Tying Steps

1.

Start the thread and lay a thread base on the hook shank. Take the thread to the bend
of the hook.
2. Lay a length previously prepared foam strip over the top of the hook with the back end
extending slightly past the bend of the hook.
3. Make few wraps over the foam, then gradually increase pressure while making more
wraps to hook the foam on top of the shank. Be sure to keep the foam strip on top of the
shank.
4. Finger dub several inches of body dubbing on to the thread.
5. Dubbing completed.
6. Lift up the foam and start wrapping the body.
7. Wrap the body to just behind the eye of the hook, then pull down the foam strip and
secure to the top of the hook with additional thread wraps.
8. Trim off the foam sticking out to the front leaving a short length extending past the hook
eye.
9. Completed body.
10. Cut a 2” length of the medium Barred Sexi Floss. Double that over and cut to a 1”
length. Tie this in the middle on one side of the body.
11. Tie in the other 1” Barred Sexi Floss on the other side of the body.
12. Trim each side to 4 or 5 barred sections in length.
13. Take the thread to the front of the body, tie off and cut the thread. Restart the thread
where the back part of the foam is tied down.
14. Repeat the same procedure for prepping and tying in the rear legs as in front. Tie in
one side.
15. Then tie in the opposite side.
16. Trim the legs to length then whip finish and cut the thread.
17. Put a touch of glue at each point where the legs are tied down.
18. The finished Sandwich Cricket. The bright foam on the top allows the fly to be easily
seen on the water.

Check out this video from Brian Flechsig last year on using beetles and crickets for trout!


Fly Tying- Blane Chocklett’s Feather Game Changer

Chocklett’s Feather Game Changer

The “Game Changer” whether you are referring to the fly or its creator Blane Chocklett, the name is fitting.

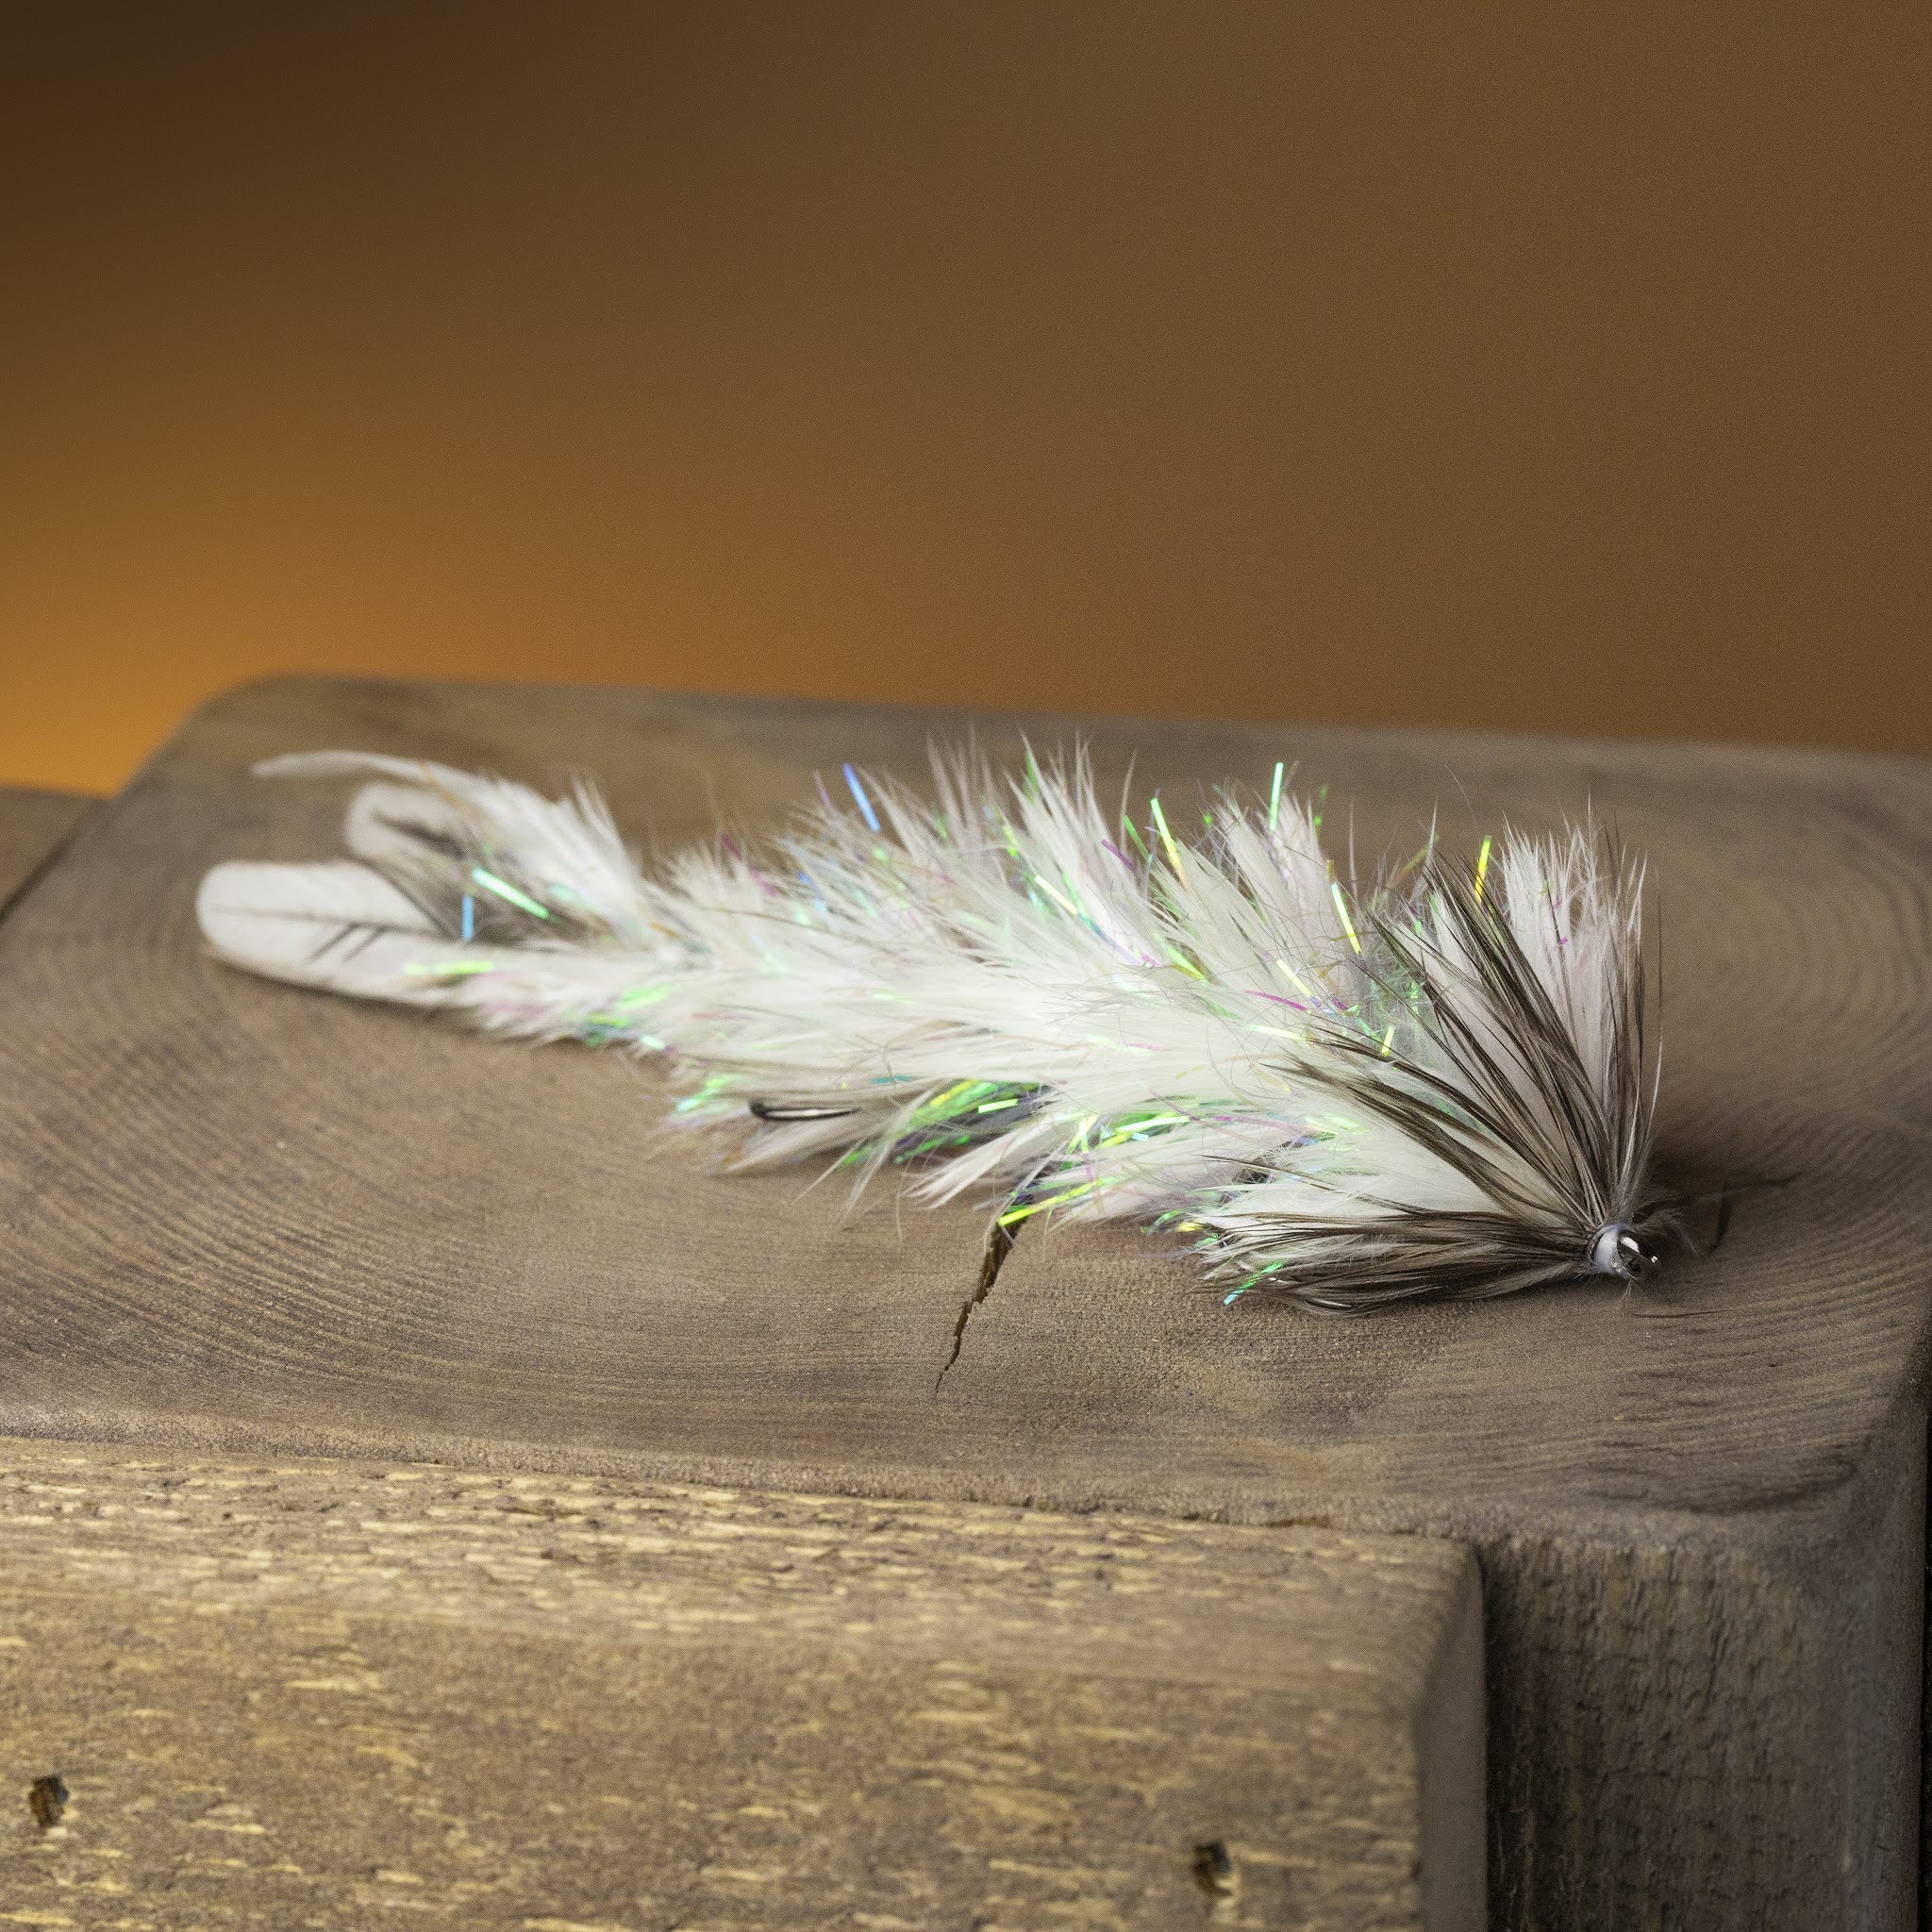
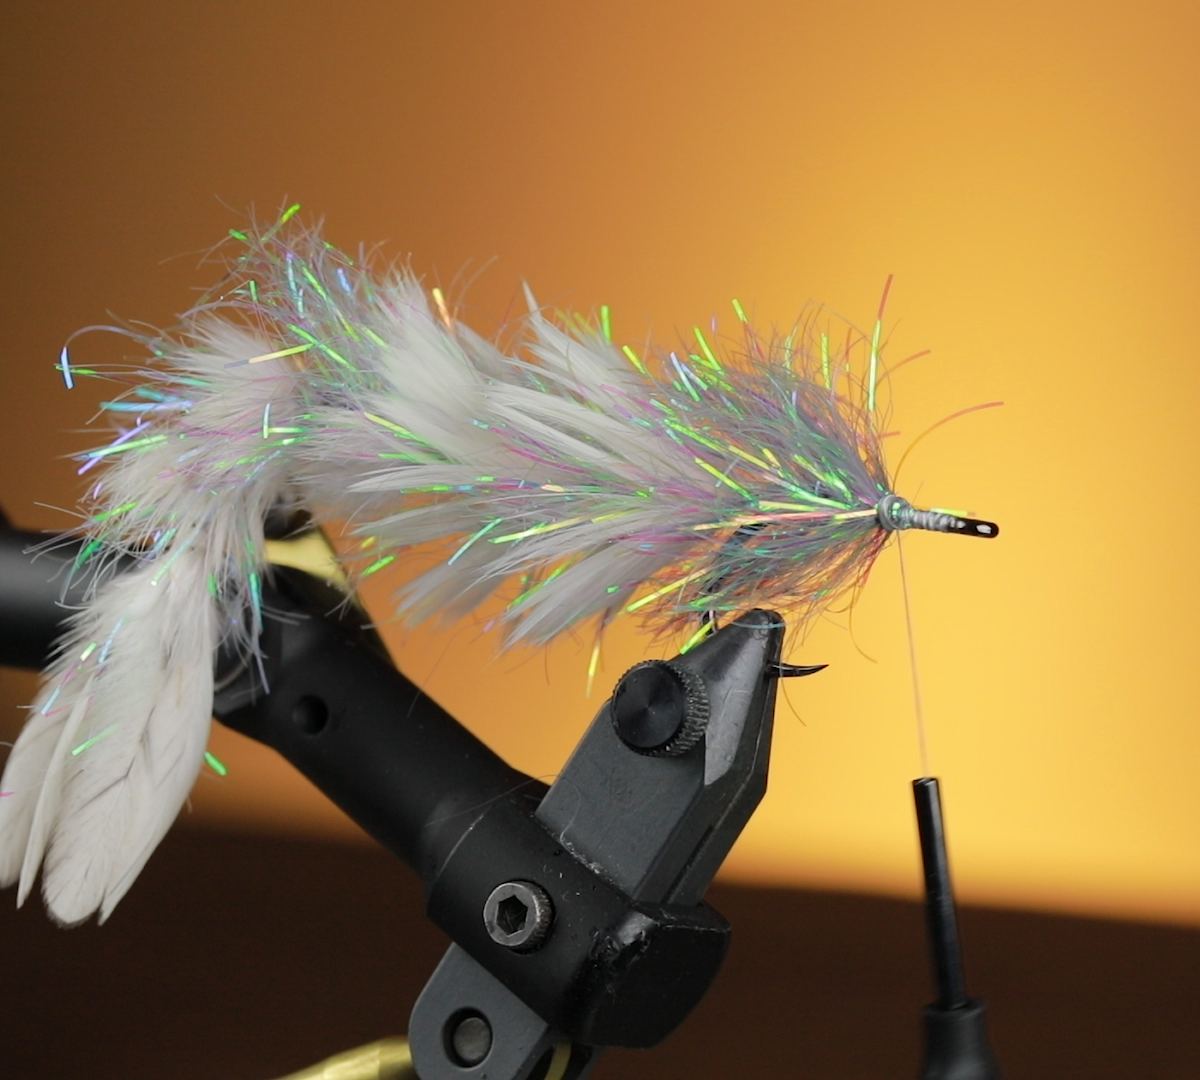
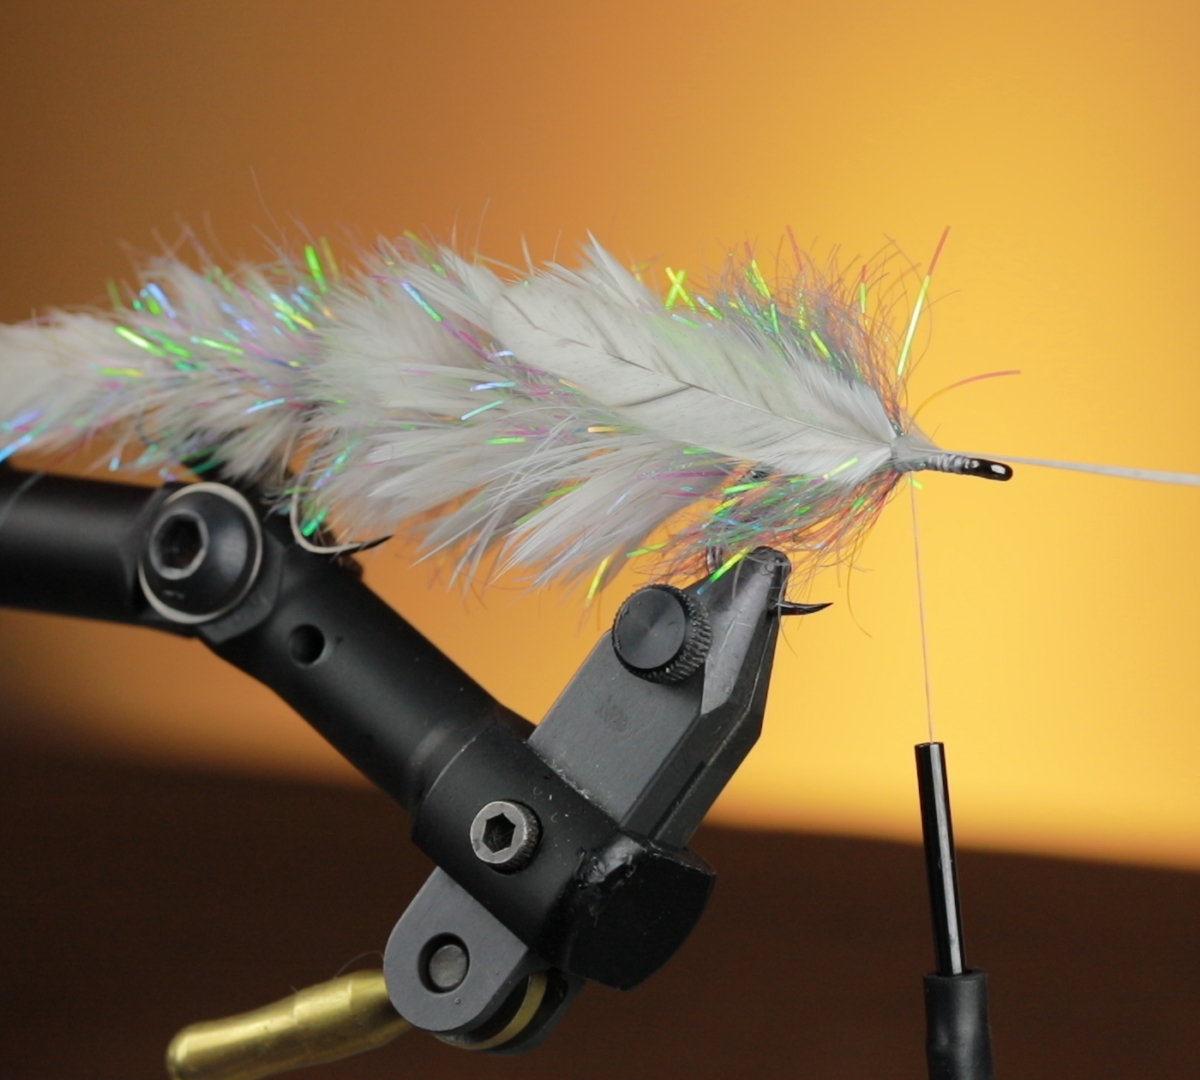
In the world of fly tying, it is not very often something truly game changing comes around. When Blane first introduced the pattern 5-6 years ago, it was tied using a chenille/brush type material called Body Fur. Now the pattern is tied using a number of different natural and synthetic materials. In this step by step we will be tying a variation of the Feather Game Changer.

This particular version lends itself well to flies in the 4-6” range. This variation has become a staple for us over the past few years for Smallmouth, Stripers, Steelhead and even Bowfin. Once you have fished any version of the Game Changer it is hard to go back to any other fly as they are so much fun to tie an fish and they flat out get the job done!


Feather Game Changer Recipe:

Body: Articulated Fish Spines: 10mm and 15mm- Click Here
Middle Hook: Ahrex NS172 Gammerus #4- Click Here
Front Hook: Gamakatsu SL12S Short #1/0- Click Here
Tail: Whiting American American Saddle- white Click Here or Strung Marabou- white- Click Here
Body Material: Whiting American Hen Saddle- Click Here or Whiting Coq De Leon Hen Saddle- Click Here
Head: Contrasting color of the above mentioned feathers (optional)
Prop Material: Chocklett’s Filler Flash- pearl and gray- Click Here
Thread: UTC 140- white or GSP 100 denier- white- Click Here
Cements: SolarEz Bone Dry UV Resin- Click Here and Zap-A-Gap Brush On- Click Here or Hard as Hull- Click Here


Step 1: Insert 10mm Spine into vise. Lay down an even base of thread from the eye to as far back on the shank as possible so that you can maximize the amount of usable space on the already small platform.


Step 2: Tie in Filler Flash and palmer material forward with tight side by side wraps. Bring the material almost all the way forward, leaving roughly one eye width remaining from the actual eye of the shank. Secure and trim excess. 


Step 3: After tying off the Filler Flash tie in four saddle tips in total. You will want to tie these feathers in evenly around the shank. I find its easiest to tie in two feathers at the top each at a 45 degree angle and the same on the bottom. This will give you a tent like appearance or a “V” on both sides of the shank.


Step 4: Attach second 10mm spine to the first and insert into vise. Just as before you will want to start your thread right at the eye and wrap back as far on the shank as possible. You may find it helpful to brush on a little Zap to help give the thread traction. **You will want to bring your thread back far enough to leave just enough room in the loop of the shank to allow the previous shank to swing side to side without hanging up. Doing so will limit the amount of gap you have between sections, giving the fly the illusion of being one piece. 


Step 5: Cut away a few fibers of the Filler Flash exposing the core. This will allow for a very secure and clean tie in point. 


Step 6: Palmer Filler Flash forward to just behind the shanks eye and secure.


Step 7: Select three feathers from the top of the saddle. (The feathers from this part of the skin are the smallest and most narrow.) Marry all three feathers together by laying them evenly one on top of the other. Hold the tips in one hand and preen the fiber downward toward the base of the stem. Trim the excess material at the top of the feathers leaving a small tab. Using that tab tie in feathers with the concave side facing the tail of the fly. This will ensure all the fibers will flow backwards when palmering them forward. Wrap feathers forward covering up the remaining portion of the shank and tie off.


Step 8: Attach third 10mm spine and secure in the vise. At this point you are going to repeat everything in step 7.


Step 9: Secure Ahrex hook into vise. Secure thread just behind the eye of the hook and wrap thread back to about 1/3 the way down the bend of the hook then return thread back up so that it rests between the barb and the point of the hook. At this point attach rear portion of the fly to the hook using a fish spine with the eye cut off or using Senyo’s Intruder wire. If using wire make sure the loop is situated on top of and in line with the hook shank, leaving just enough of an opening so that the fly can swing freely but not be hindered in any way. Lay on a coationg on brush on super glue and lock down with very tight securing wraps up and down the hook shank. 


Step 10: Tie in Filler Flash and palmer forward to the halfway point on the fly and tie off.


Step 11: Just as before we are going to select three hen saddles. This time you will want to select them from a little further down the skin. This will ensure they are a little wider and larger which will help us start to form shape and taper in the fly. Palmer feathers forward all the way to the eye of the hook. Add glue and tie off.              

                                                                                                                                
**From this point on in the fly each group of feathers should come from a little farther down on the skin at each stage of the fly moving forward. As stated above this will be how we form shape, taper and density into the fly, which is crucial to achieve the desired profile and swimming action**  


Step 12: Attach hook to the first 15mm Fish Spine. Secure thread behind the eye and wrap an even thread base to the rear of the shank. Tie in Filler Flash and make very dense side by side wraps up to the halfway point on the shank and tie off. Select the next group of feathers, tie in and palmer forward until you reach the eye of the shank. Whip finish and glue. 

Attach the second 15mm spine and repeat the same steps as with the previous 15mm spine.


Step 13: Attach 15mm spine to the front hook using the same technique used to attach the middle hook. 


Step 14: Tie in Filler Flash and palmer forward to about the half way point on the hook shank. Try to get as many wraps as possible in this step. Use as much tension as possible when wrapping the Flash forward. This will cause the material to stand off the hook shank as straight as possible maximizing its ability to prop the feathers up at a steeper angle as to increase profile and taper. 


Step 15: This next is totally optional but I wanted to include it in the step by step because I forgot to add this in on the video tutorial. In these two images you will see hen saddles or hackle tips being added in as pectoral fins. Although this step is not completely necessary I personally include them on all of my patterns. The most important benefit to this step is that it will be adding to the realism of the fly significantly. Because most all predatory fish view their prey first from below this will further sell your offering by showing the fish one of the more noticeable features on a fish. On a fly like this you are not really increasing the time or difficulty of the pattern by including them on there so why not?


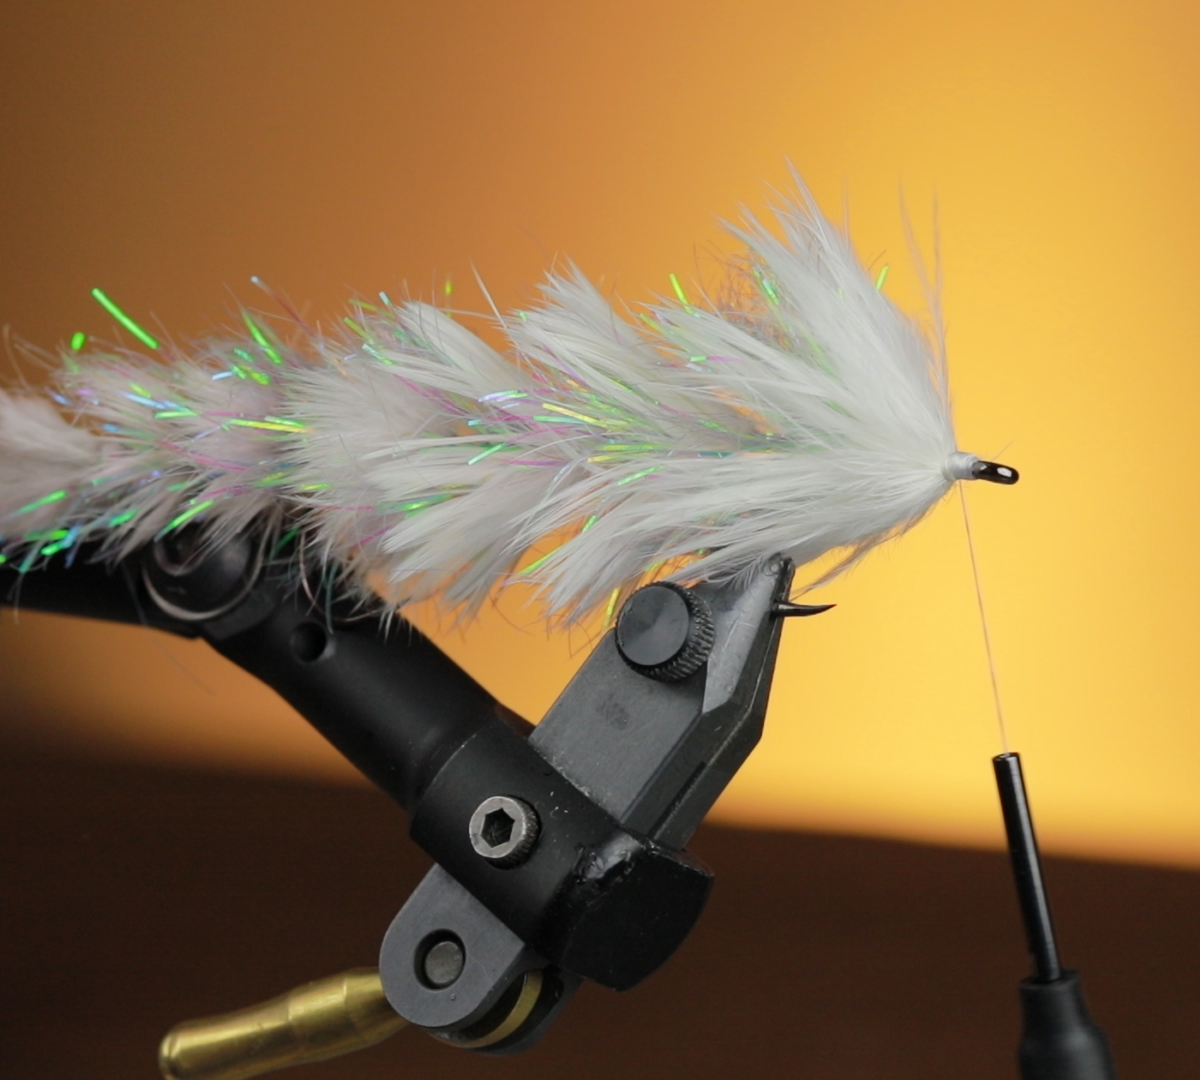
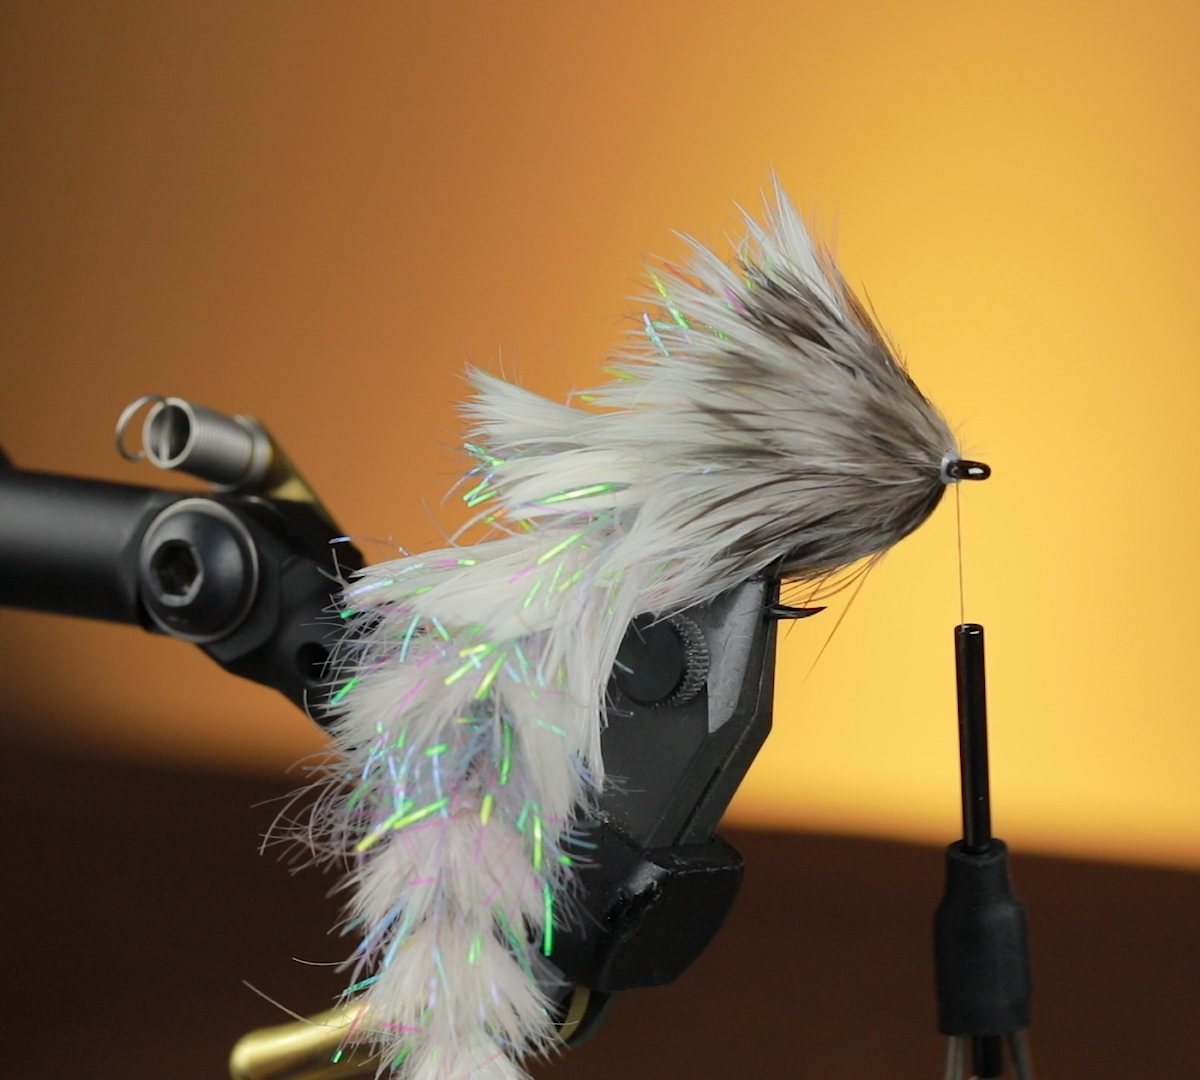
Step 16: After tying in your pectoral fins to either side of the fly you will be ready for your last step. Now to complete the fly you will tie in and palmer feathers just as before but at this stage you will need to use two groups of three feathers in this portion for two reasons. First is to take up the extra space on the hook shank and secondly to add density to the head of the fly. A streamers ability to swim starts with the head of the fly. The diversion of water around the head of the fly is what starts the swimming action of the fly. The denser the head the greater diversion or deflection of water.


Wrapping Things Up: If you have not attempted tying any of the Game Changer style of flies before I highly encourage you to do so. Although it may not be as easy and quick to tie as a Clouser Minnow it’s effectiveness and durability combined with the fact that it is downright fun to fish should make for a compelling argument. There is a reason why this style of fly has taken the tying industry by storm it flat gets it done. 

If you think of the Game Changer as a platform and not just one specific way to tie a fly and with only one material the possibilities are endless. With all of the materials now available to us as fly tyers you are only limited to what you can conjure up in your head. In the coming months I will be doing a series of videos and step by steps highlighting just some of the many ways you can tie a Game Changer. If there is variation you would like to see done let us know and we will do our best to make it happen.


As always if you have any questions on this tutorial do not hesitate to call or email the shop. 

-Pat Kelly- January 2019


Watch the Video:


Mad River Outfitters/Midwest Fly Fishing Schools

Fly Shop, Fly Fishing Guides, Hosted Fly Fishing Travel, Schools, Classes and more!

813 Bethel Rd.
Columbus, Ohio 43214

614-451-0363

Fly Tying- Simple Caddis Dry


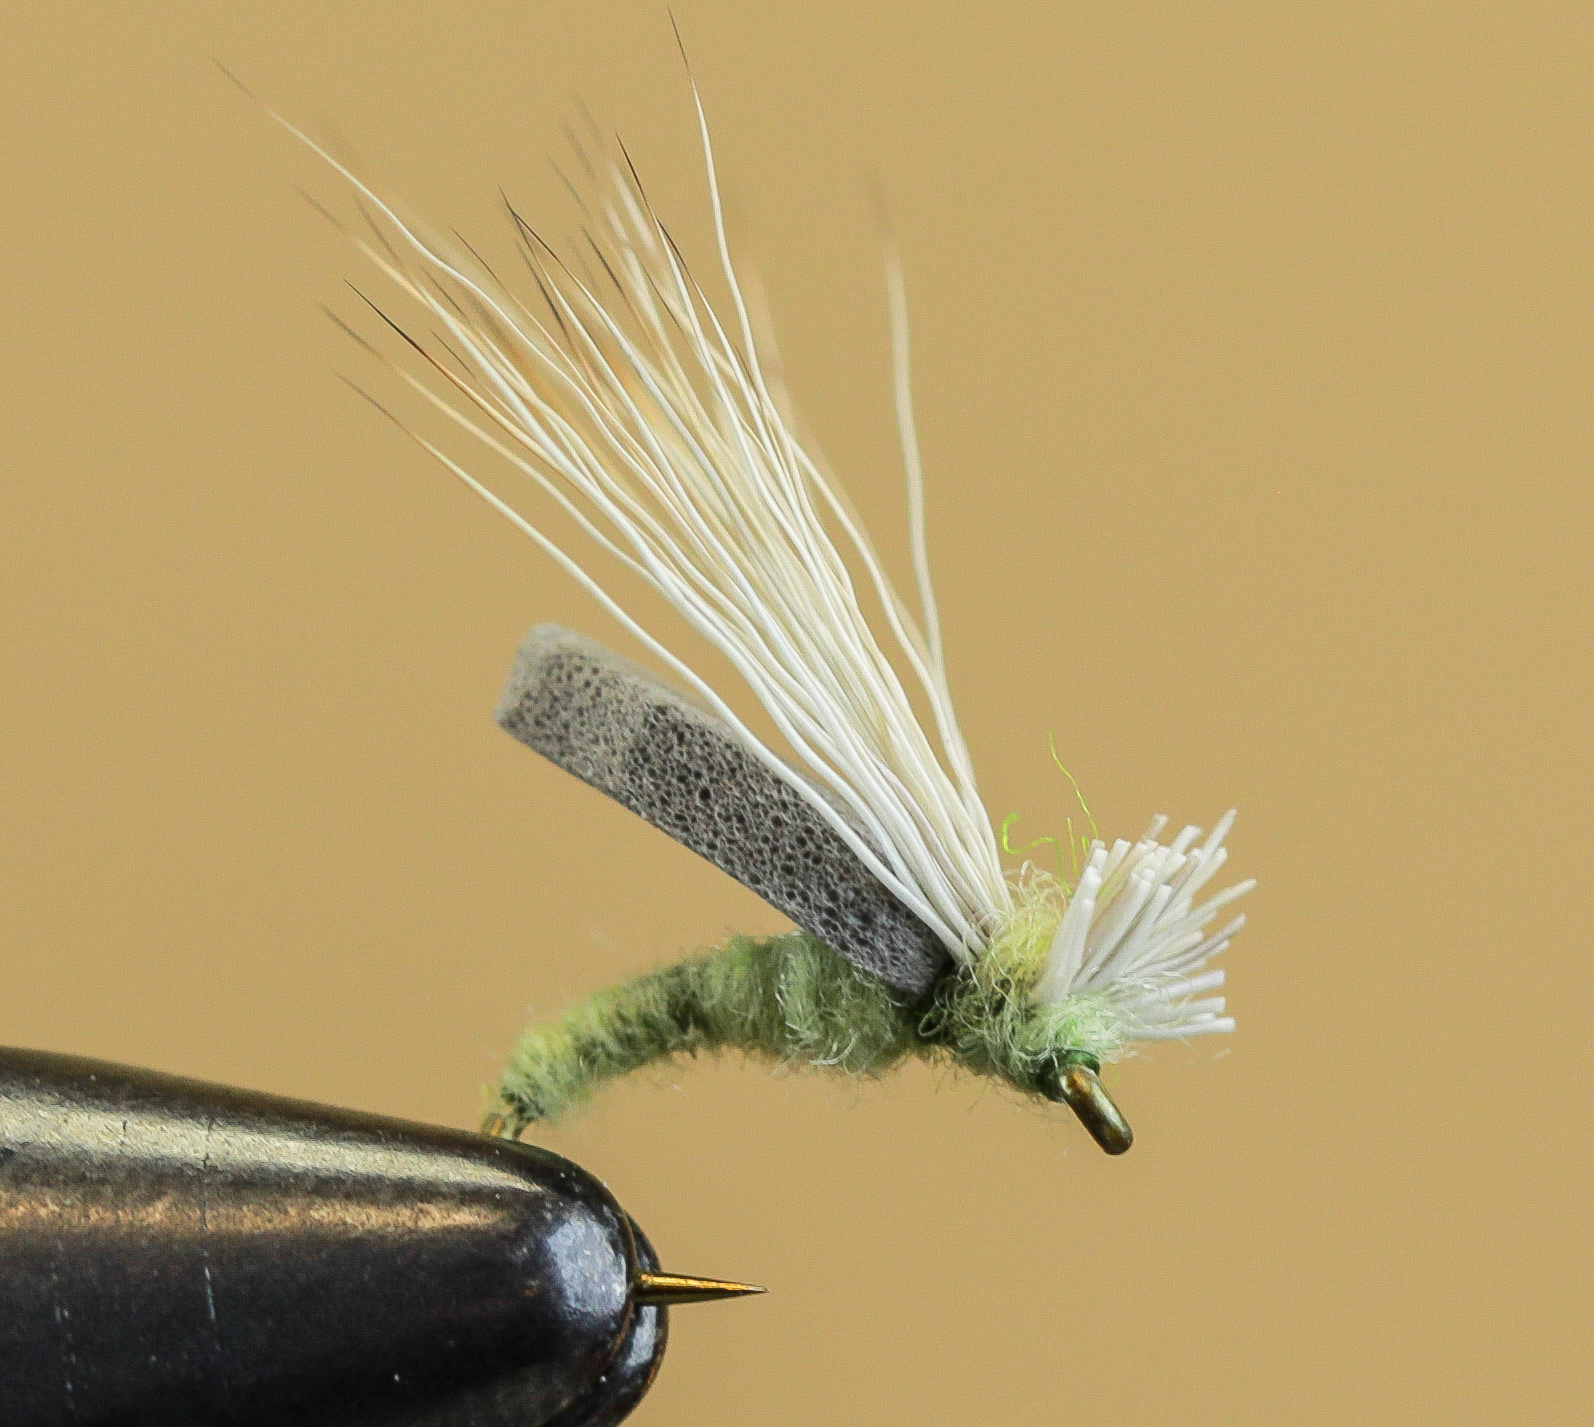
Simple Caddis Dry Fly


Guiding requires some specialized flies at times.  These flies need to get the job done by utilizing diversity, productivity, simplicity, and multifunctionality.  A caddis is a staple in most trout boxes.  Dries, nymphs, and puppas are the usual box fillers.  I needed something that would cross over blurring all of the life cycles of the Caddis. 

On the tail of Sulphur season and tying endless emergers I was standing knee deep in the Mad with clients.  We were swinging Soft Hackles and drifting emergers when there were splashed everywhere and fish on a heavy feed.  Our waders started to get covered with caddis and soon they were in our eyes.  My clients were very new and were having trouble keeping fish buttoned on the swing.  They wanted to catch a fish on a dry, but the fish did not want an Elk Hair Caddis.  I pulled out all the tricks of trimming down the dries and greasing up the wet flies and we landed a few fish.  That night I hit the vise. 

With mayfly emergers fresh in my mind along with the days events this fly “emerged.”  This fly has everything you need in a Caddis, minus the guide (for free.)  Dip the whole thing in some High and Dry liquid for a super high floating dry that take a dropper well.  Dust the wing with some High and Dry Power Floatant and add a drop of Henry’s Sink It to the butt for a low floating dry.  Grease your tippet with Snake River Mud for those really picky fish.  Add some High and Dry Gel to the wing and Powder to the body then swing it with a short sink tip for a very realistic puppa.  On and on and on… 

Do not just pigeon hole this for Caddis though.  Tweak it to look more like a mayfly emerger, cripple, or spinner.  Pull out the black materials and tie it as a cricket in the summer.  What about in a size 8-10 as a hopper…endless options.  Tie a few of these up and then let your imagination flow.

Ryan Ratliff- December 2018


Simple Caddis Recipe:

Hook: TMC 2457 #14- Click Here or Daiichi 1167- Click Here
Thread: Uni 8/0 or equivalent- Click Here
Body: Micro Fine and Dry Dubbing- Click Here
Underwing: 2mm Foam- Click Here
Overwing: X Caddis Deer- Click Here hair or Elk Hair- Click Here


1. Place hook in vise and wrap thread way back on the bend of the hook.

2. Prep some dubbing and apply to thread creating a slender dubbing rope.


3. Dub the body tapering thicker towards the hook eye.  Stop abruptly about 2-3 hook eye lengths back from the eye.

4. Cut a thin strip of sheet foam the length of the entire sheet.


5. Taper one end of the foam to a point and tie it in extending back over your dubbed body.


6. Once secure pull the foam back and trim to the length of the hook.


7. Trim the square edges from the foam where you just cut (optional).


8. Select a piece of hair that meets your color, size, and purpose needed.  Elk Hair is great for larger patterns and Short and Fine or XCaddis deer hair is perfect for smaller patterns.


9. Cut hair off from the hide and pull out the underfur.  Place in a hair stacker tips first.  Tap a few times, separate the pieces of the stacker and grab the perfectly aligned tips.


10. Measure the hair against the foam wing.  You will want the tips to just pass the foam.


11. Carefully tie in the hair taking care to keep it all on top of the hook shank.


12. Pull the butts back and place a few wraps under the hair.  Be careful not to crowd the eye of the hook.


13. Apply some more dubbing of the same color or color of your choice to the thread.  Wrap two or so wraps over the exposed thread over the hair.  Then wedge a few wraps under the butts of hair behind the hook eye.  Again plan this out as to not crowd the eye.


14. Whip finish right behind the hook eye.  Glue, varnish, or UV resin if desired.


15. Trim the butts of the hair.  If you want a fly that skates well trim slightly longer and apply some SolarEz Flex fanning out the trimmed hair.  If you are targeting Panfish trim long and resin straight up so it will pop.  If you want a swinging fly trim short.  Typically, I keep it long and fine tune on the water.


16. The finished fly here trimmed slightly long with the hair fanned out wide.  


Watch the Video:


Mad River Outfitters/Midwest Fly Fishing Schools

Fly Shop, Fly Fishing Guides, Hosted Fly Fishing Travel, Schools, Classes and more!

813 Bethel Rd.
Columbus, Ohio 43214

614-451-0363

Fly Tying- McCabes “Plus” Crayfish

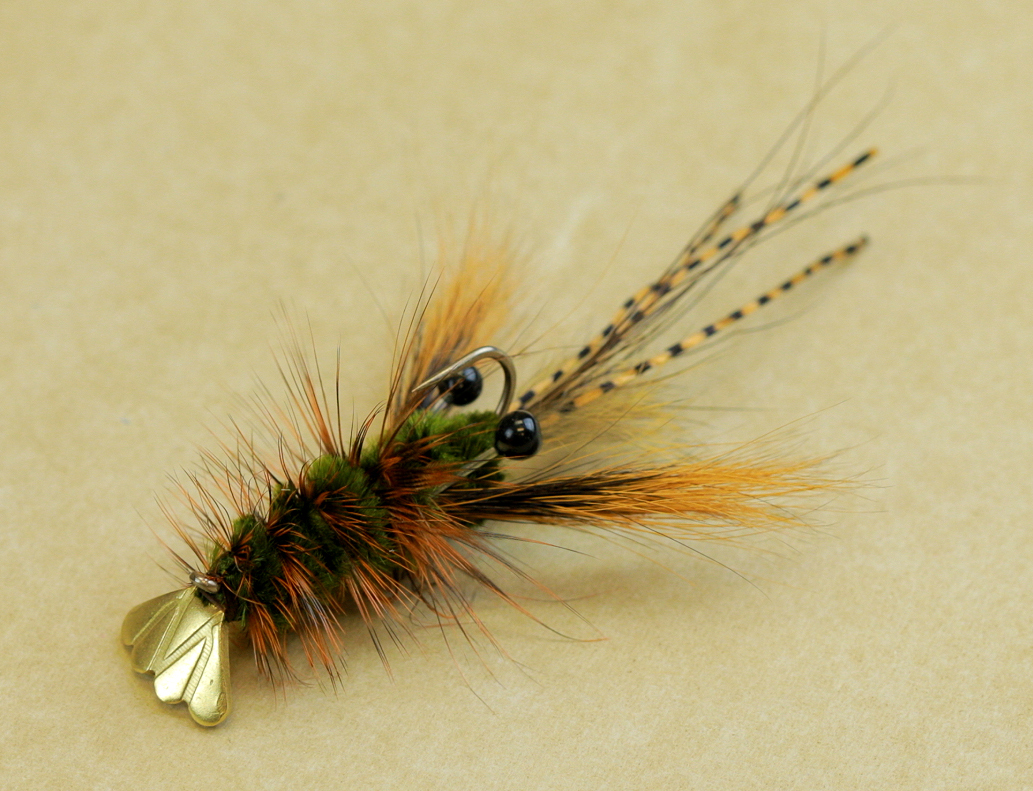
McCabes “Plus” Crayfish


The original version of this fly was shown to us many, many years ago by our good friend and sales rep Jerry Darkes. It was designed by a guy named George McCabe from up in the Cleveland area and he originally designed it as a carp fly.

We started tying them and using them around here on both carp and smallmouth and sure enough, it was every bit as productive as Jerry told us. I do believe that we used them on our Lake Erie smallmouth trips as well back in the nineties. We started selling so many of them that we had to farm them out to a production house for custom tying!!! Unfortunately, we aren’t currently having them done as the supplier flaked out on us but we’re hoping to get them back in the shop eventually.

This is a “version” of that original fly that I tweaked a few years back and have been fishing locally with great success. We’ll call it the McCabe’s “Plus” Crayfish as it is certainly based on, and inspired by the original. When Flymen Fishing Company came out with their shrimp and cray tails, I just had to put them to use somewhere and this was a perfect match. I have said often that I don’t normally come up with patterns of my own, I just steal patterns and tweak them a bit!

Thought I’d share this one here as we sit inside thinking of warmer weather. Hope that you give this a try! It’s really a great pattern and when you do, let me know how it goes.

Brian Flechsig- December 2018


McCabes Plus Crayfish Recipe:

Hook: Umpqua U-Series U301 (or any equivalent 3X Nymph)- Click Here
Thread: Doesn’t matter- use whatever you are comfortable with- Click Here
Tail: Fish Skull Shrimp and Cray Tails- Large- Gold- Click Here
Atennae: Moose Mane- Click Here and MFC Speckled Sexi-Floss- Orange- Click Here
Carapice (if that’s a word): small tuft of Rabbit from a Black Barred Zonker Strip- usually gold variant or grizzly hare’s ear- Click Here
Body: Medium Chenille- usually Olive but you can use any color you want- Click Here
Claws: Fox Squirrel Tail- Click Here
Eyes: Enrico Crab/Shrimp/Crayfish Eyes- Click Here
Hackle: Grizzly Saddle Feather- Click Here or Click Here (of course tons of options here as well)

This fly can of course be tied in just about any color combination that you want!!


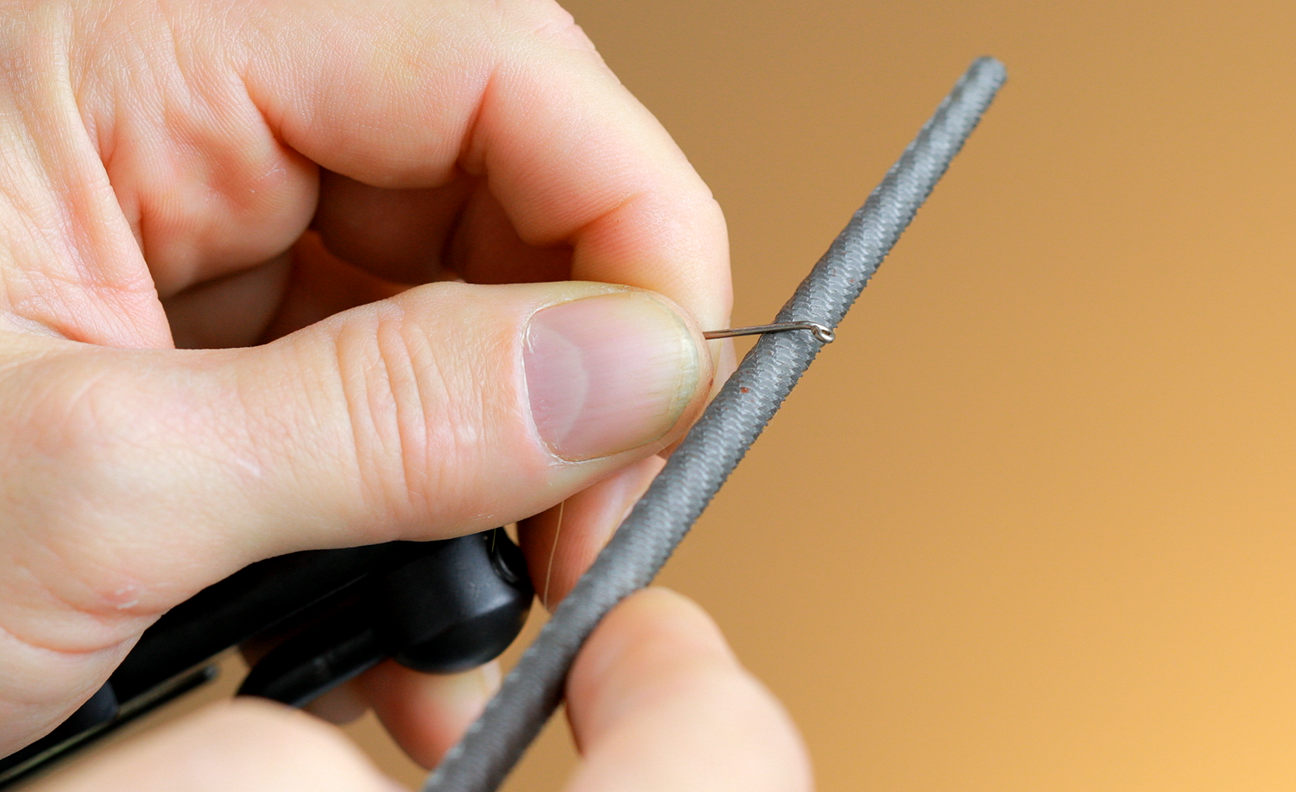
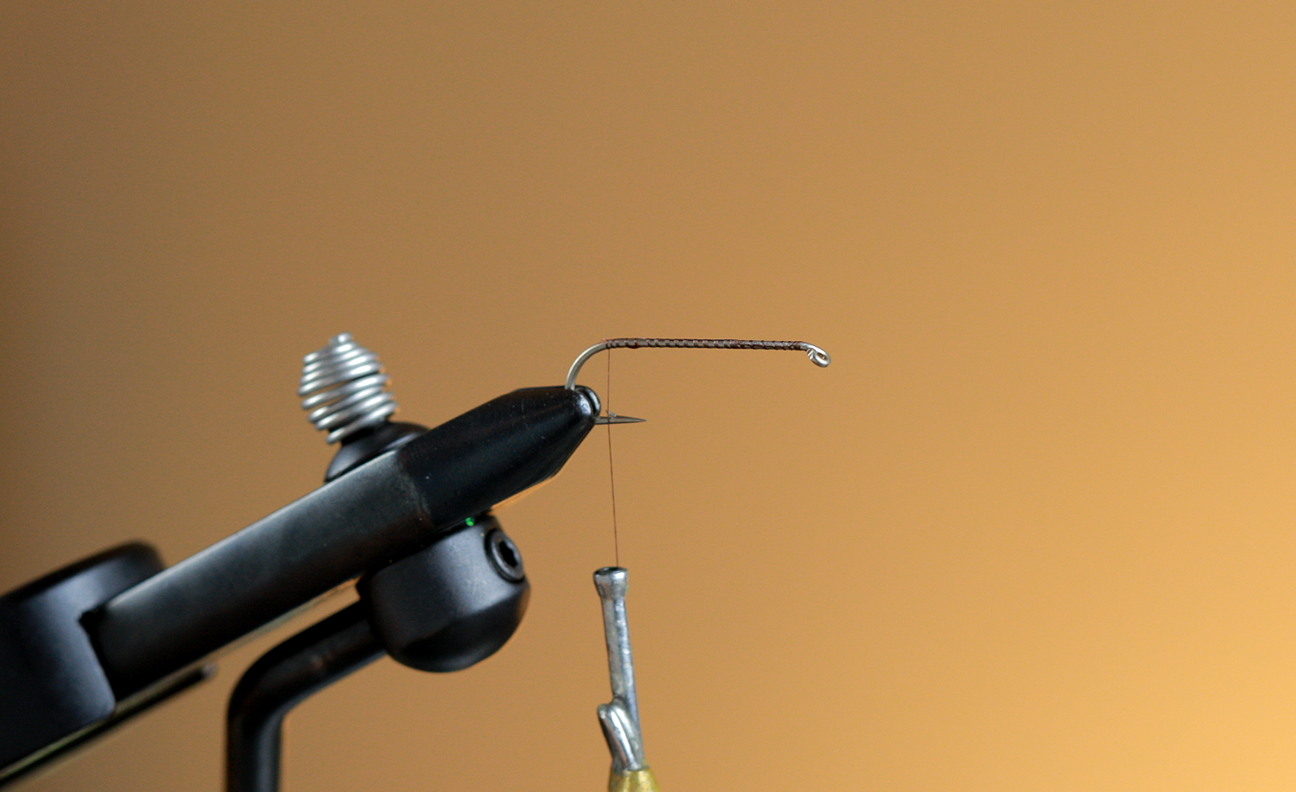
1. Insert the hook in the vise. I then “score” the hook just a bit behind the eye. This is of course optional but it does seem to help hold the Flymen “Tail” in place alot better and prevent it from spinning. You may have seen me do this on the Plantation Crab as well and it really makes a difference. 
2. Tie in the Fish Skull Shrimp and Cray tail just behind the eye of the hook using plenty of wraps of thread. Make sure the “fan” of the tail is pointing upwards (you’ll flip the hook in a bit). Glue it with your favorite super glue, then continue more thread wraps over top.

3. Add 5 or 6 turns of lead wire behind the Cray Tail and wrap your thread back to the bend.

4. Tie in your “bunch” of Moose Mane fibers at the bend of the hook. I suppose the length of these is somewhere around 1 1/2 to 2X the length of the shank in total. Then repeat the process with 3 strands of the Sexi-Floss. I usually make these just a bit shorter than the Moose Mane….for no scientific reason at all.

5. Cut off a small “tuft” of Rabbit from a Zonker Strip and tie it in right there at the bend of the hook as well. It should be very short, maybe a 1/4 to 1/2 inch or so. This is what I called the “Carapice” in the video which I’m not even sure is a word. I might have made it up? It’s basically the nose of the crayfish but sound more scientific if you call it something more sophisticated. Here we will go with “Carapice”.

6. Now tie in the chenille, also at the bend of the hook. The lash down should run you right up to the base of the lead wraps and you can leave your thread there.

7. You will now wrap the “head” of the crayfish with the chenille. I usually get about 3-4 wraps here with one in the middle, creating a bit of bulk. You want this to be somewhat of a ball shape so that the claws and eyes flare out over it a bit. Tie off the chenille but don’t trim it. You will use the remainder to wrap the rest of the body.

8. Now flip the hook upside down in your vise. (I suppose if you have a rotary vise you can just rotate away). Take a bunch of Fox Squirrel and tie in your 1st claw on the side closest to you and wrap over the butts. 

9. Tie in your 2nd claw with another bunch of Fox Squirrel on the opposite side. Using a “horizontal pinch” will help keep this in place. You will see that the ball of chenille that you built up there will help flare these claws out just perfectly.

10. Basically the same step, you will now add the eyes. One at a time, near side then far side. They should ride just above the claws and extend back to just about even with the bend of the hook.

11. Wrap your thread over the butts of the squirrel and the mono stems of the eyes real well and then glue it up. I always glue here as otherwise, the claws and eyes may pull out. This fly is going to catch you a mess of fish and we want it to hold up. Your chenille is still hanging right in front of the original “ball”.

12. Tie in your grizzly saddle hackle feather by the stem. You tie it in by the stem to give a semblance of taper so that the adbomen tapers as you get to the tail. You may have to play with at what point on the feather that you tie it in to give the desired bugginess and taper. 

13. Wrap the remainder of the chenille up the hook shank to just behind the eye and tie it off and trim. This forms the abdomen of the crayfish.

14. Palmer the saddle feather up the hook shank….Wooly Bugger style! Tie it off and trim just behind the eye of the hook.

15. Whip finish a few times using your fingers or whip finish tool. Throw a little cement on there if you like and you are all set!


Give it a whirl and let me know how it works for you!


Watch the Video:


Mad River Outfitters/Midwest Fly Fishing Schools

Fly Shop, Fly Fishing Guides, Hosted Fly Fishing Travel, Schools, Classes and more!

813 Bethel Rd.
Columbus, Ohio 43214

614-451-0363

Fly Tying- Polar Bugger


Polar Bugger


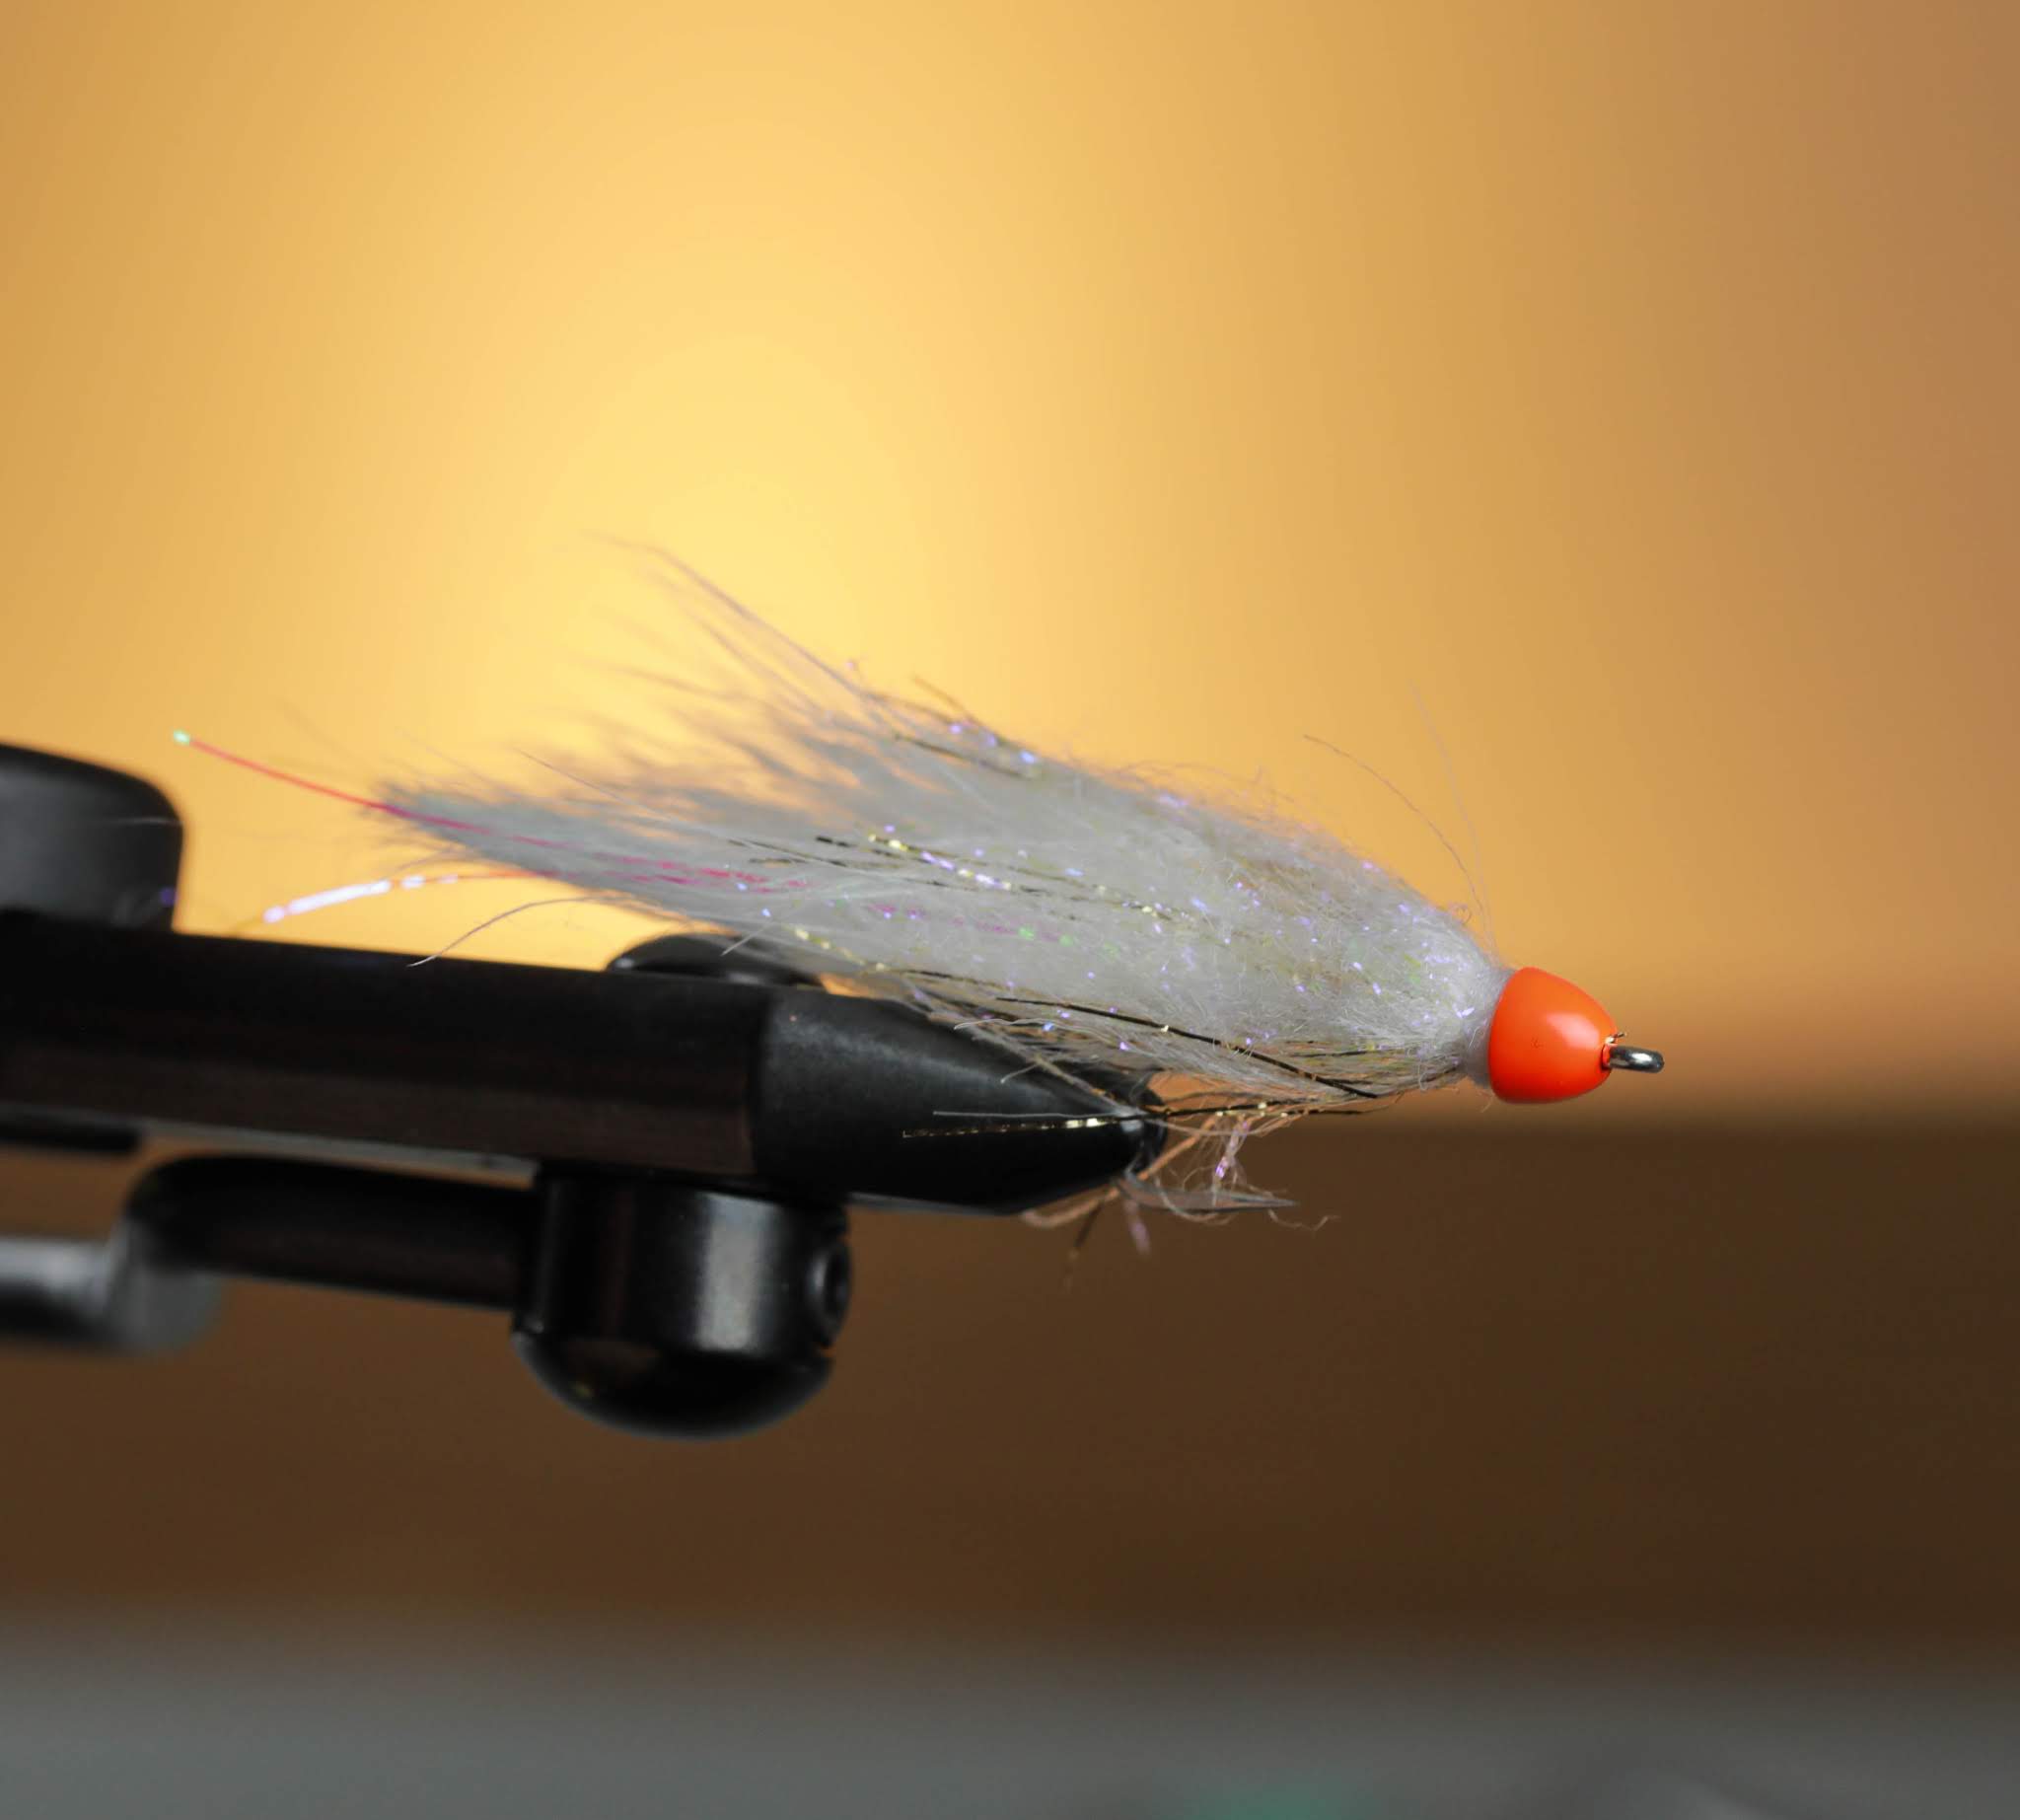
This pattern came about as the need for a quick ‘Bugger pattern that was durable and utilized different color spectrums than an old school Wooly Bugger.  Originally designed as a low water swinging or stripping Steehead fly, the Polar Bugger is very versatile.  Smallmouth Bass, Crappies, Rock Bass, and Largemouth have all been caught on this fly.  Adding this pattern to an Indicator/Float rig can also be very effective once the water temps drop in late fall and winter.  

White is my usual color of choice but swapping out the white for the same materials in olive, black, or purple have all put fish into the net.  Also, you can swap out the cone for a nickel, gold, or chartreuse.  Give this fly a shot when you are looking for something different than the typical boring ‘Bugger.

Ryan Ratliff- November 2018


Polar Bugger Recipe: 

Hook: Gamakatzu SL11-3H #6- Click Here
Cone: Hot Cone ¼” Orange- Click Here
Thread: UTC 140 White- Click Here
Tail: White Strung Marabou- Click Here
Flash: Opal Mirage Lateral Scale- Click Here
Body: Speckled Crystal Chenille White- Click Here
“Hackle”: UV Polar Chenille Gold- Click Here
Collar: Laser Dub White- Click Here


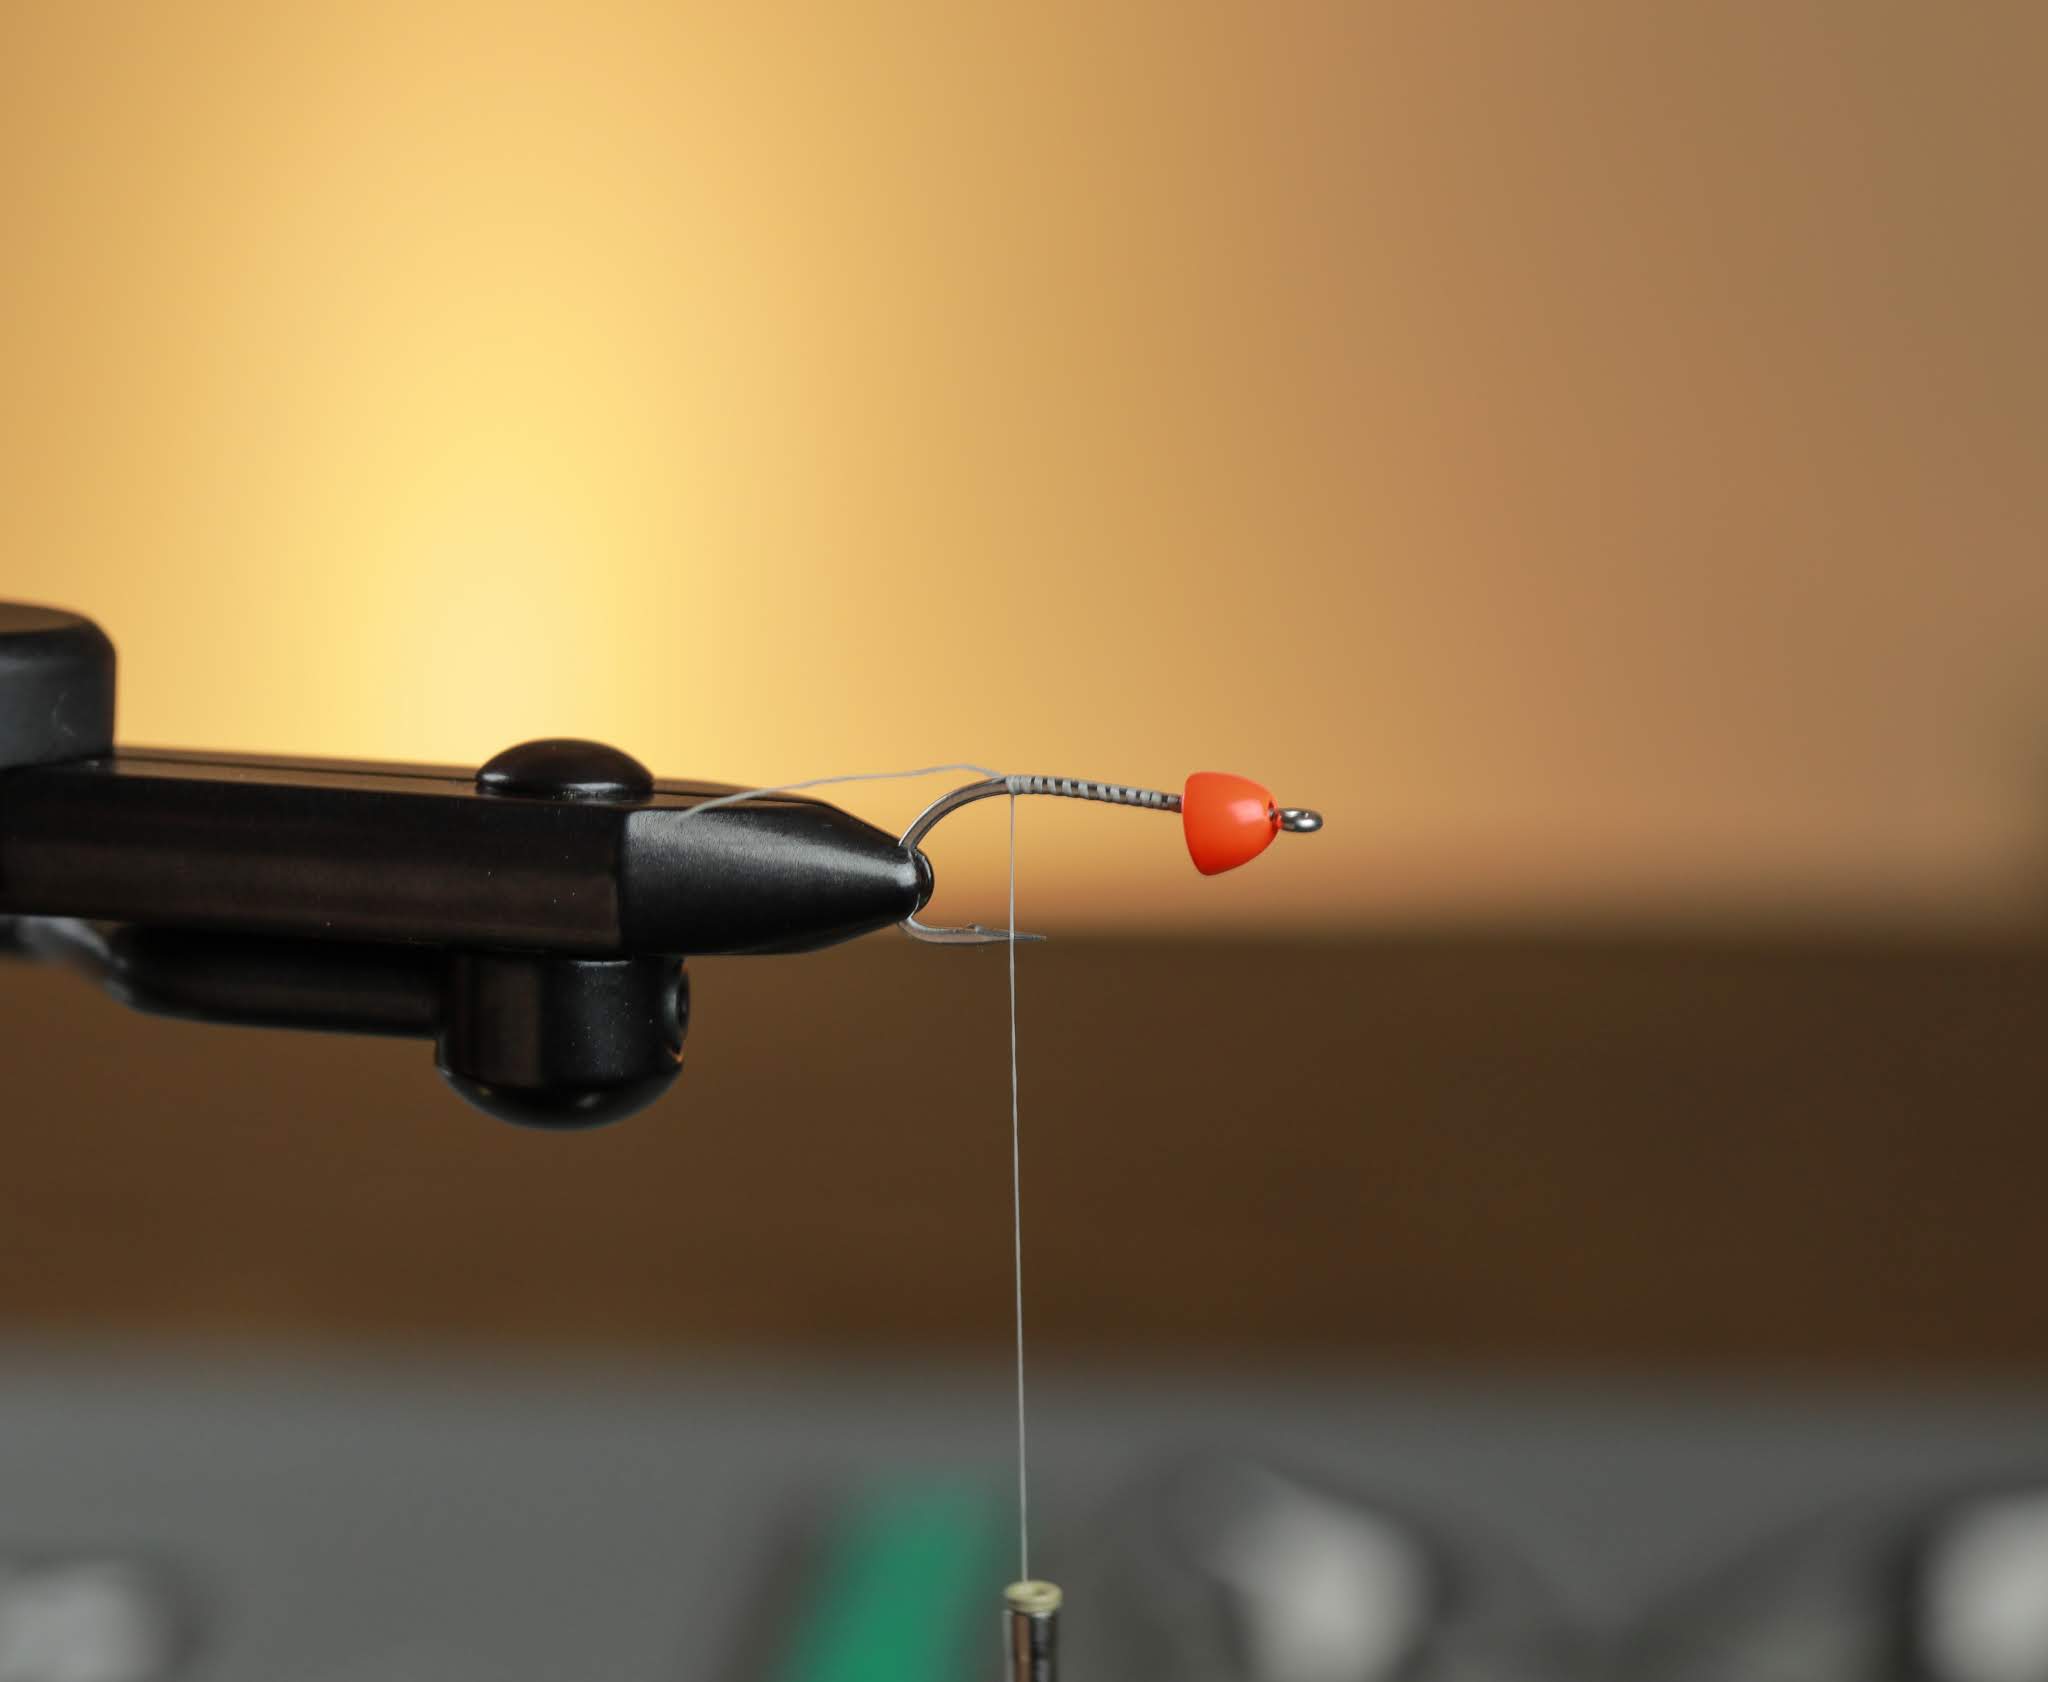
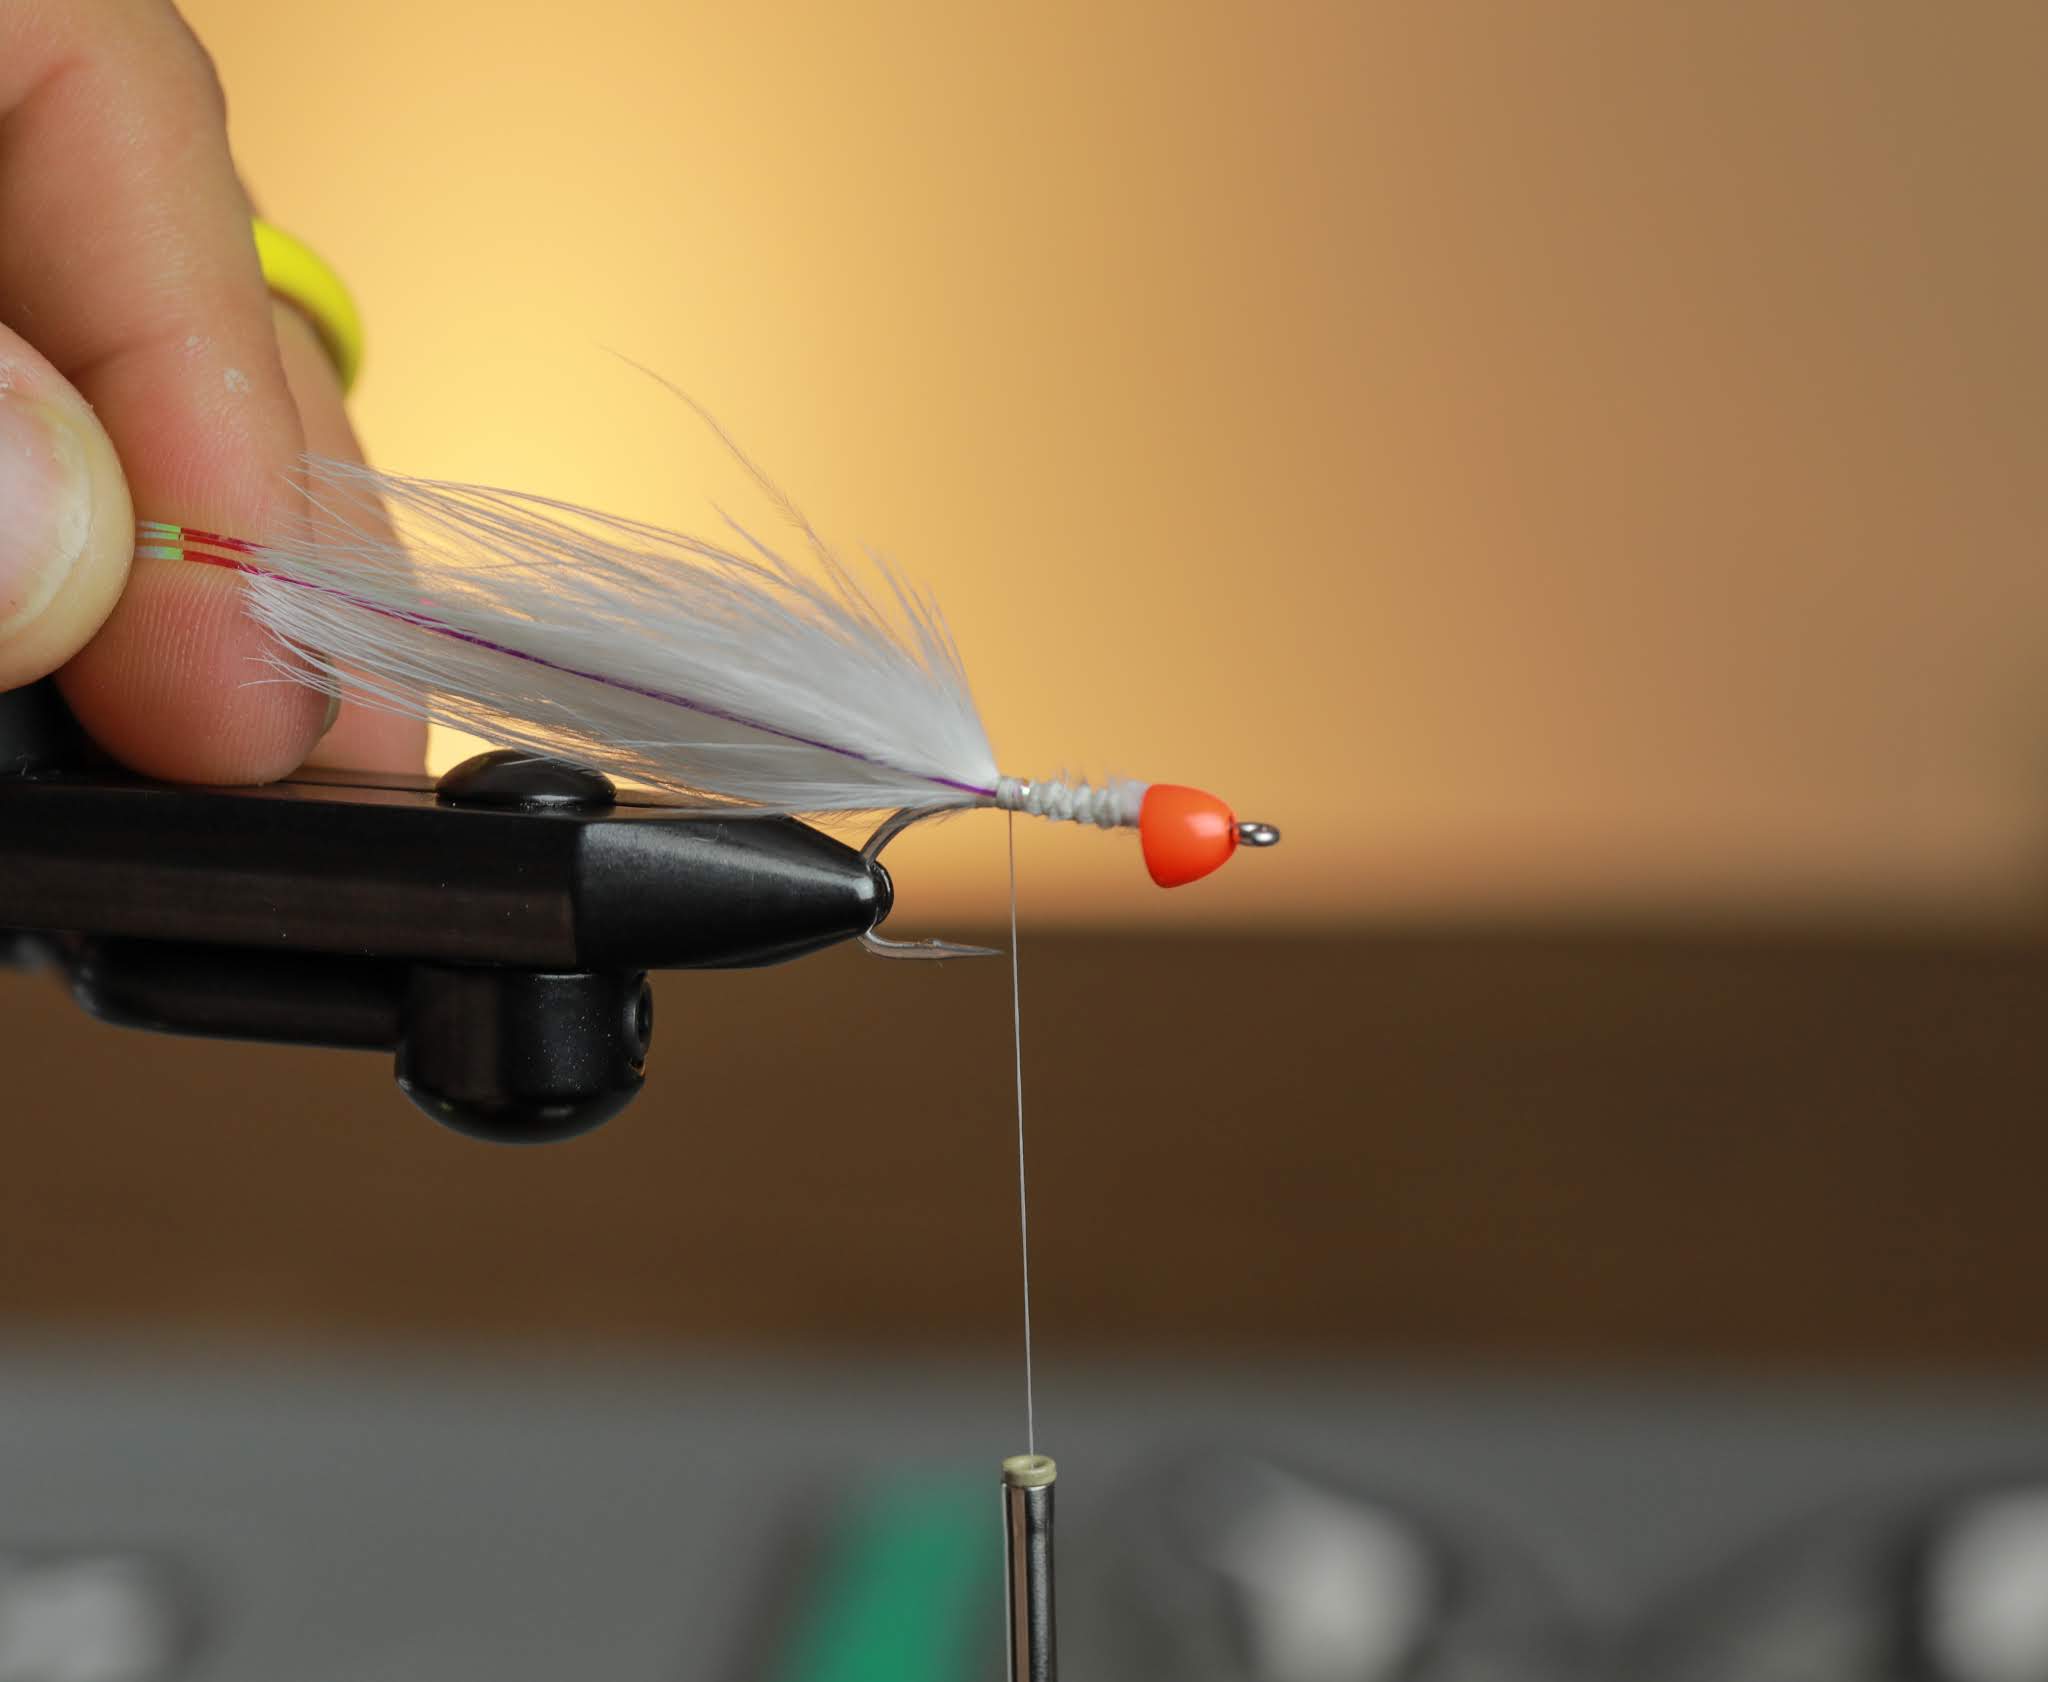
1. Force the cone over the hook barb.  Sometimes they just slide right on, but if you are having issues you can pinch the barb or force it over.  


2. Start your thread and wrap back to the tie in point.  Notice the tie-in-point on this hook is between the barb and point.  


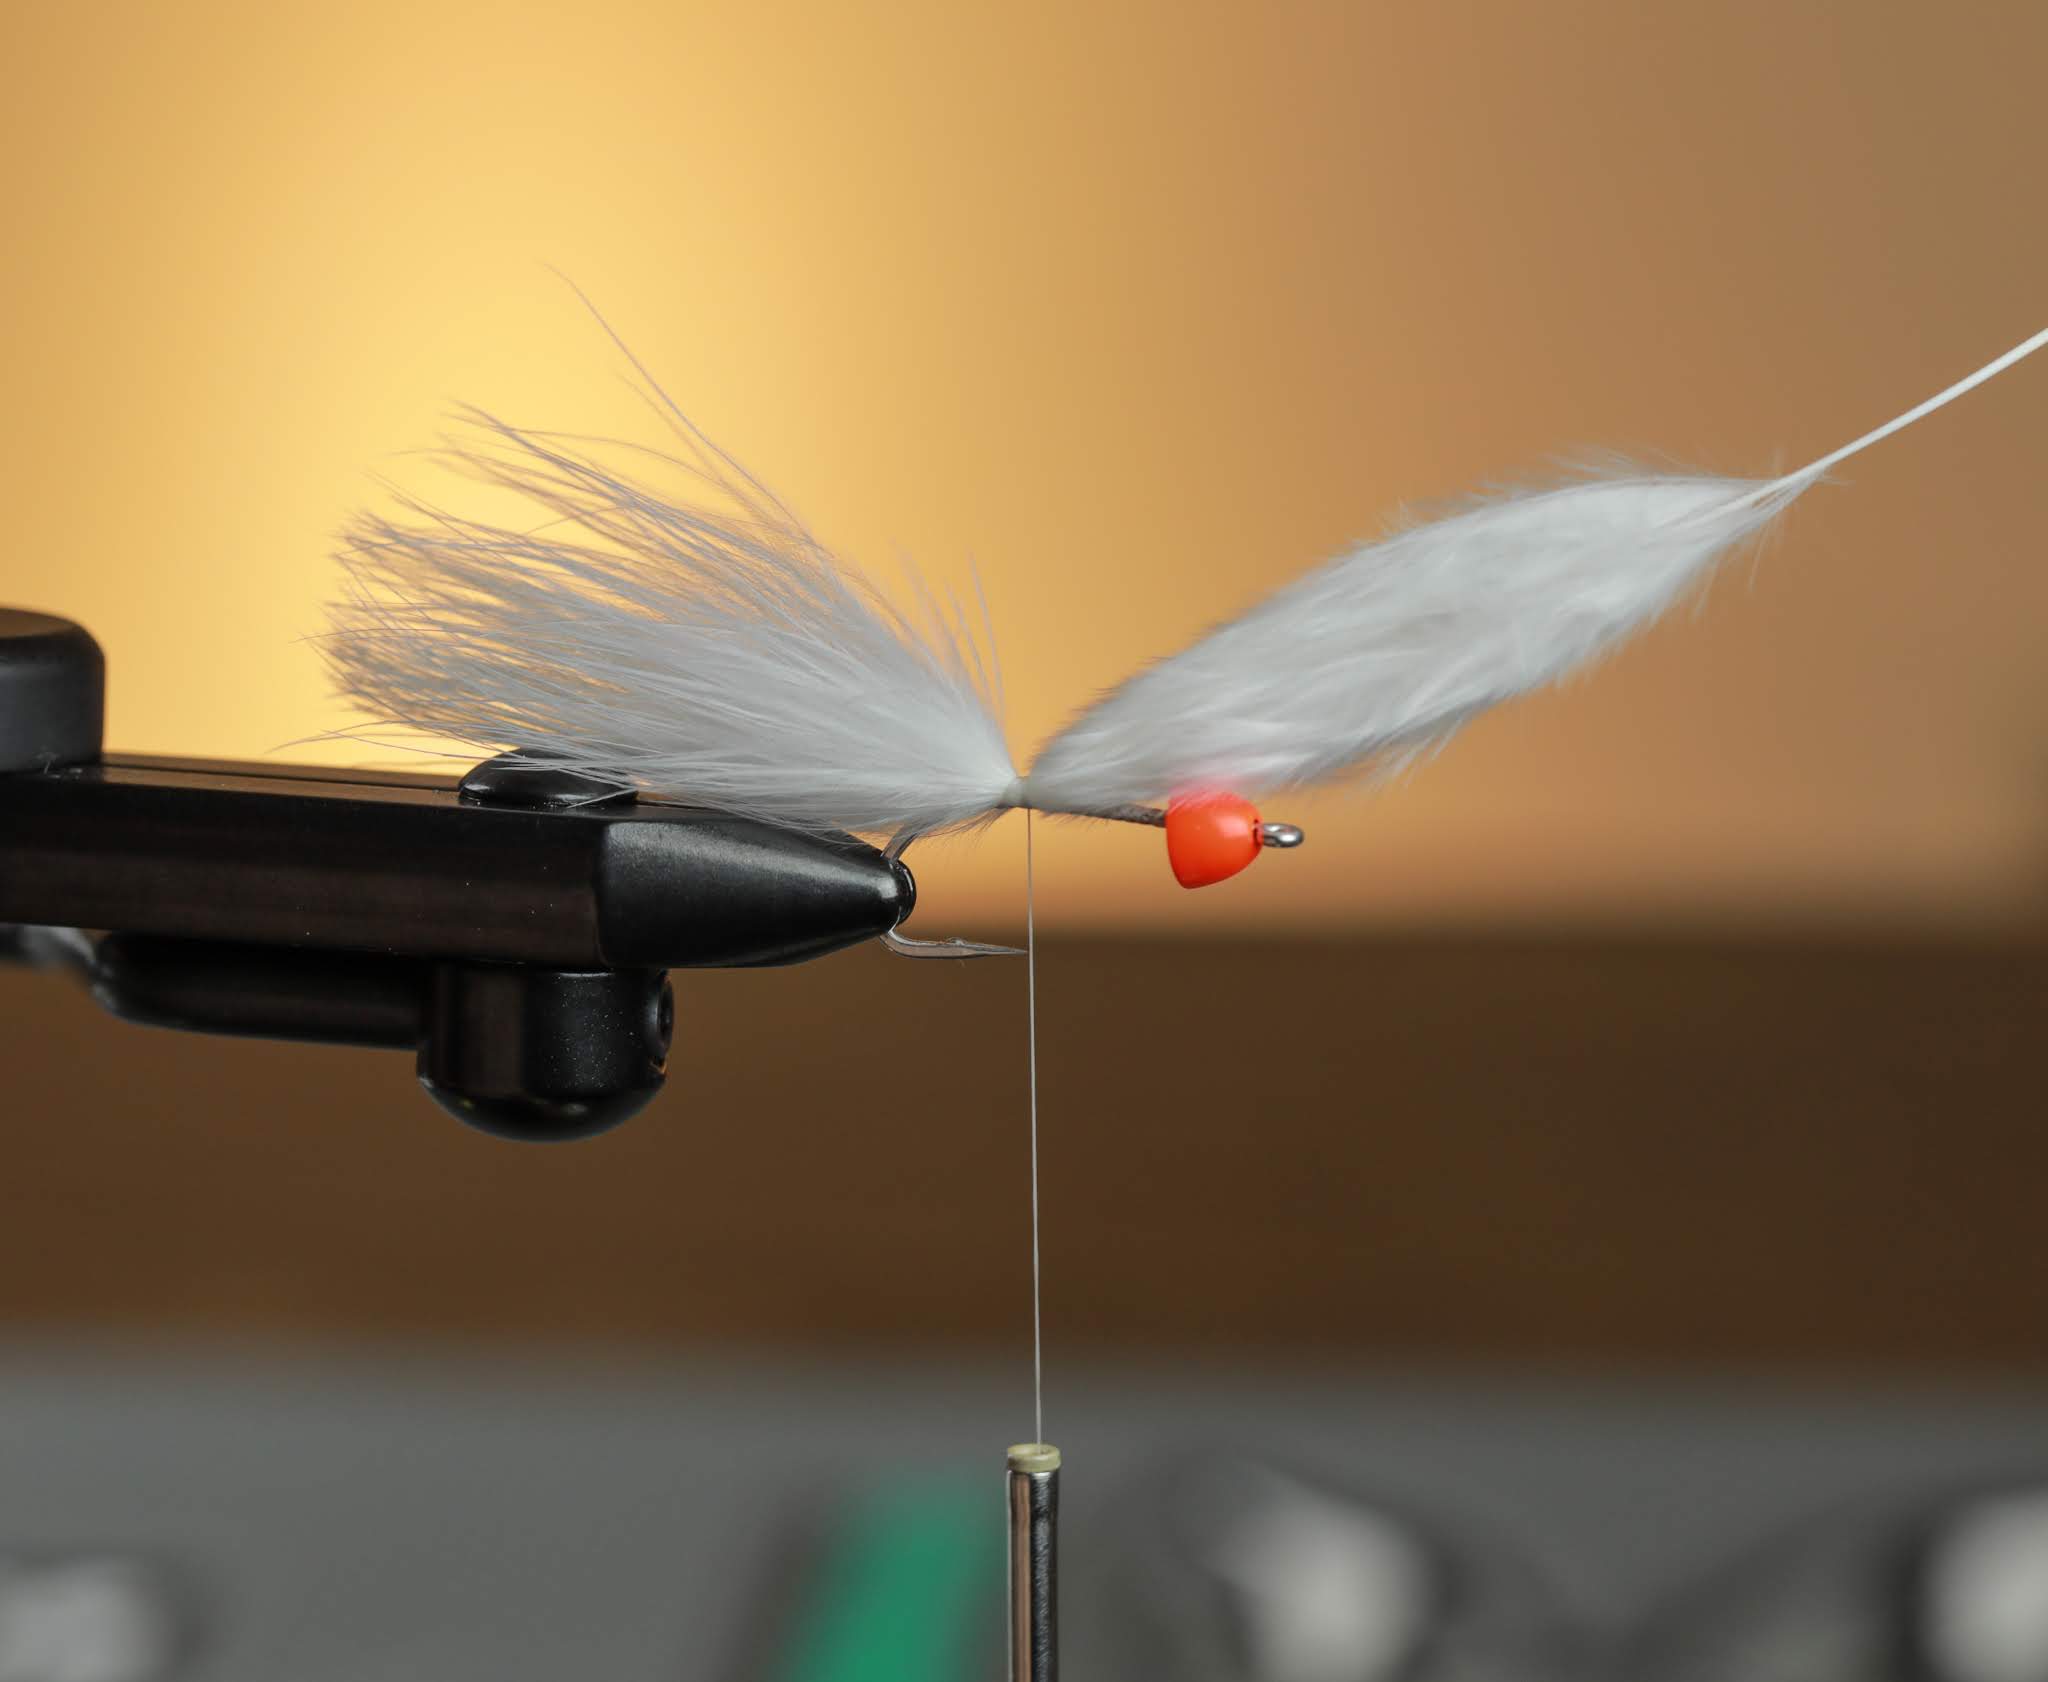
3. Select a dense wispy marabou plum and tie it in at this point.


4. Wrap over the stem with your thread towards the cone and back.  This will lock your tail in and build up the under body.


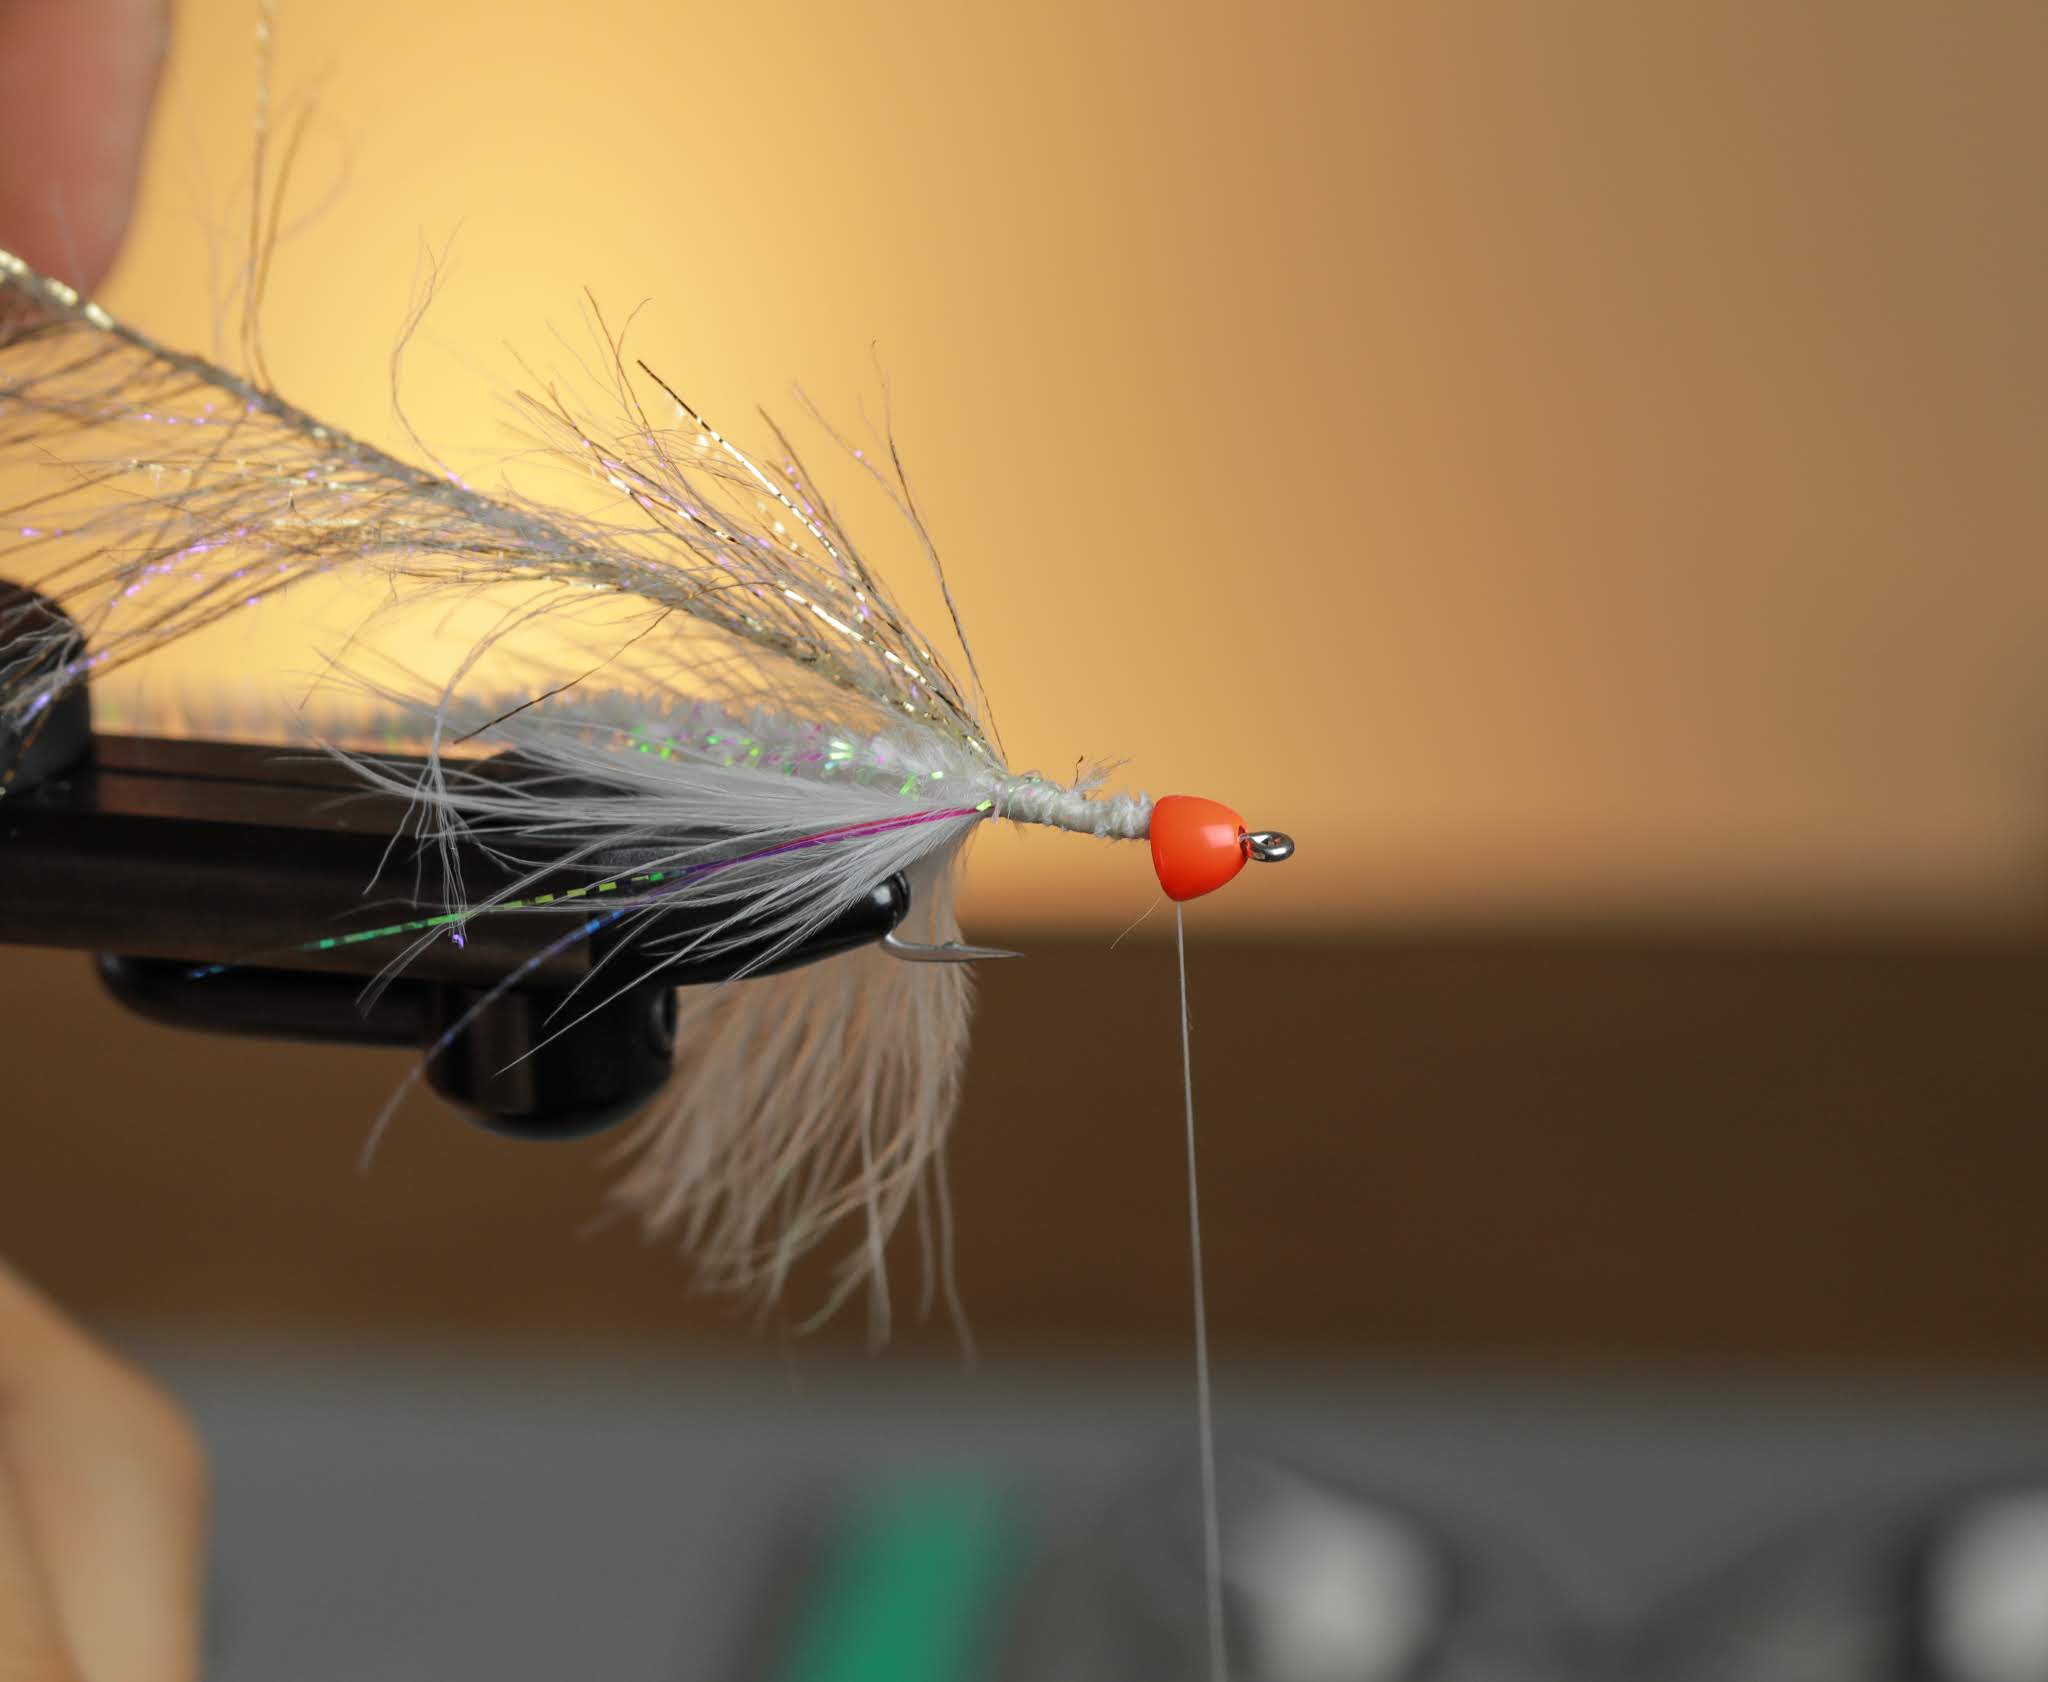
5. Select a couple pieces of Lateral Scale.  Center tie in two strands on once side.  Next fold the other half over to the other side and back.  Give a couple wraps to lock it in.  


6. Trim the Lateral Scale flash about half an inch beyond the marabou tail. 


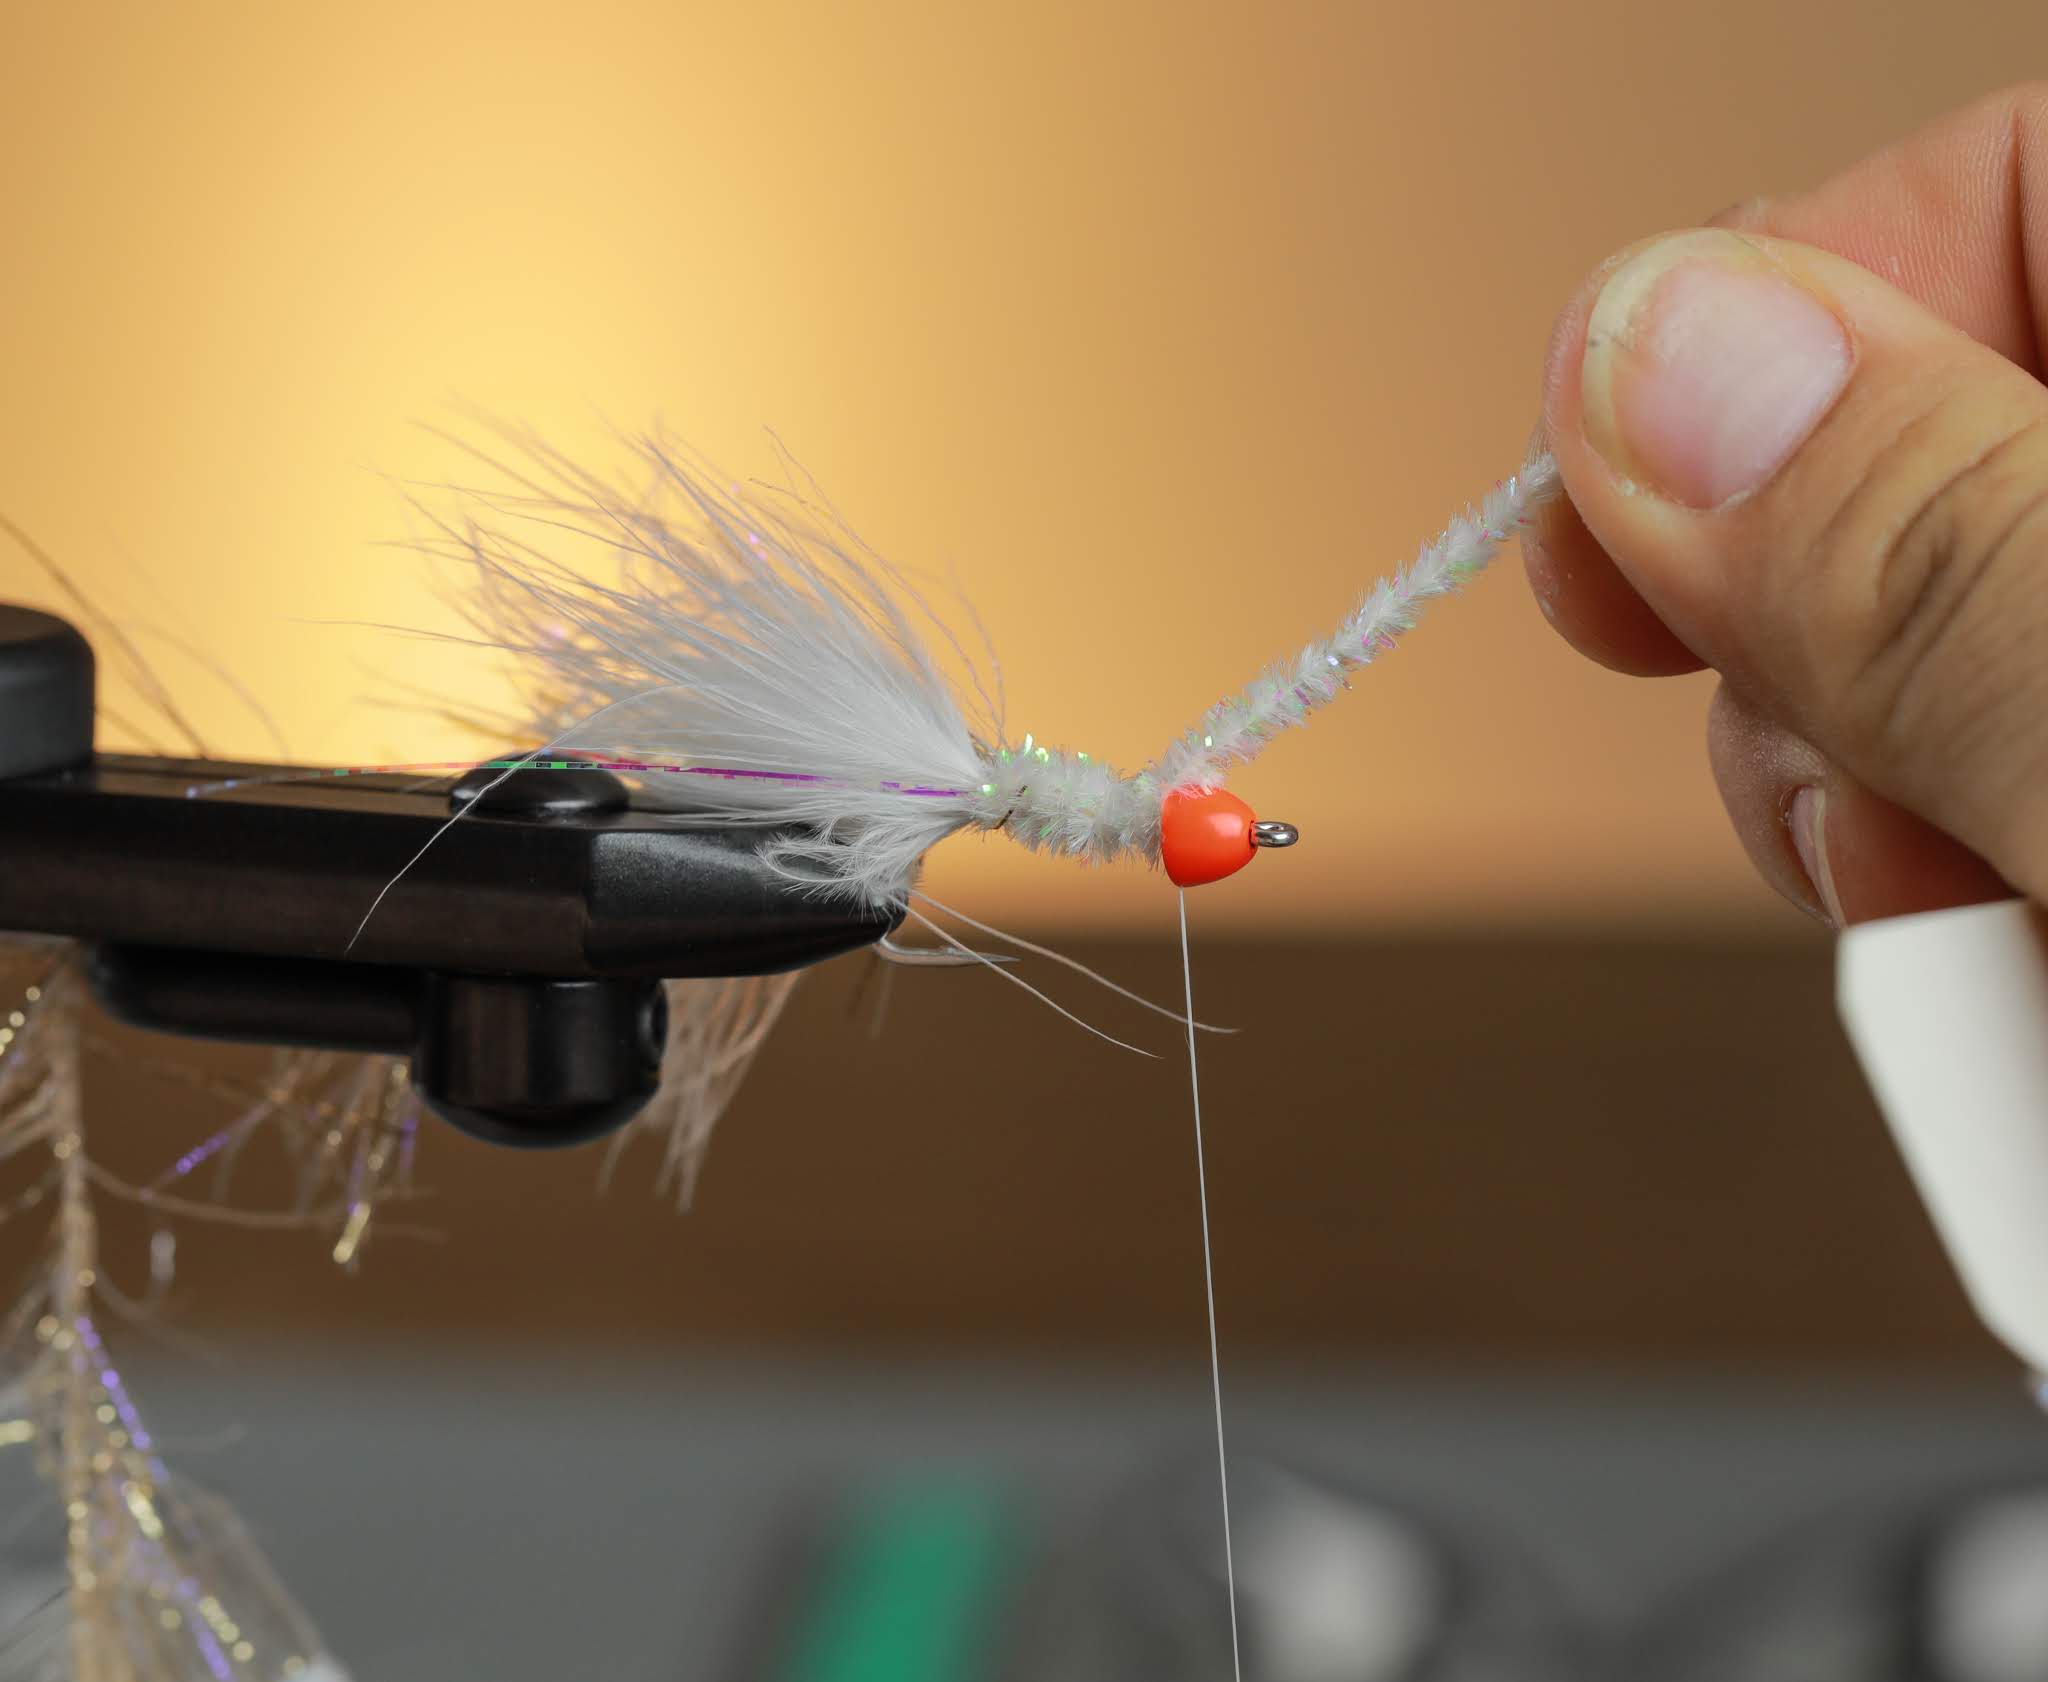
7. Tie in your Crystal Chenille and Polar Chenille both my the tip making sure they will not pull out.


8. Wrap you Crystal Chenille forward with tight side-by-side wraps.  


9. Tie off at the cone making sure the cut off end is tucked into the “opening” of the cone.  


10. Palmer your Polar Chenille forward with spacing or candy cane stripes.  Make sure you are not trapping any fibers under as you wrap forward.  Give a couple wraps tight together at the cone before you tie off.


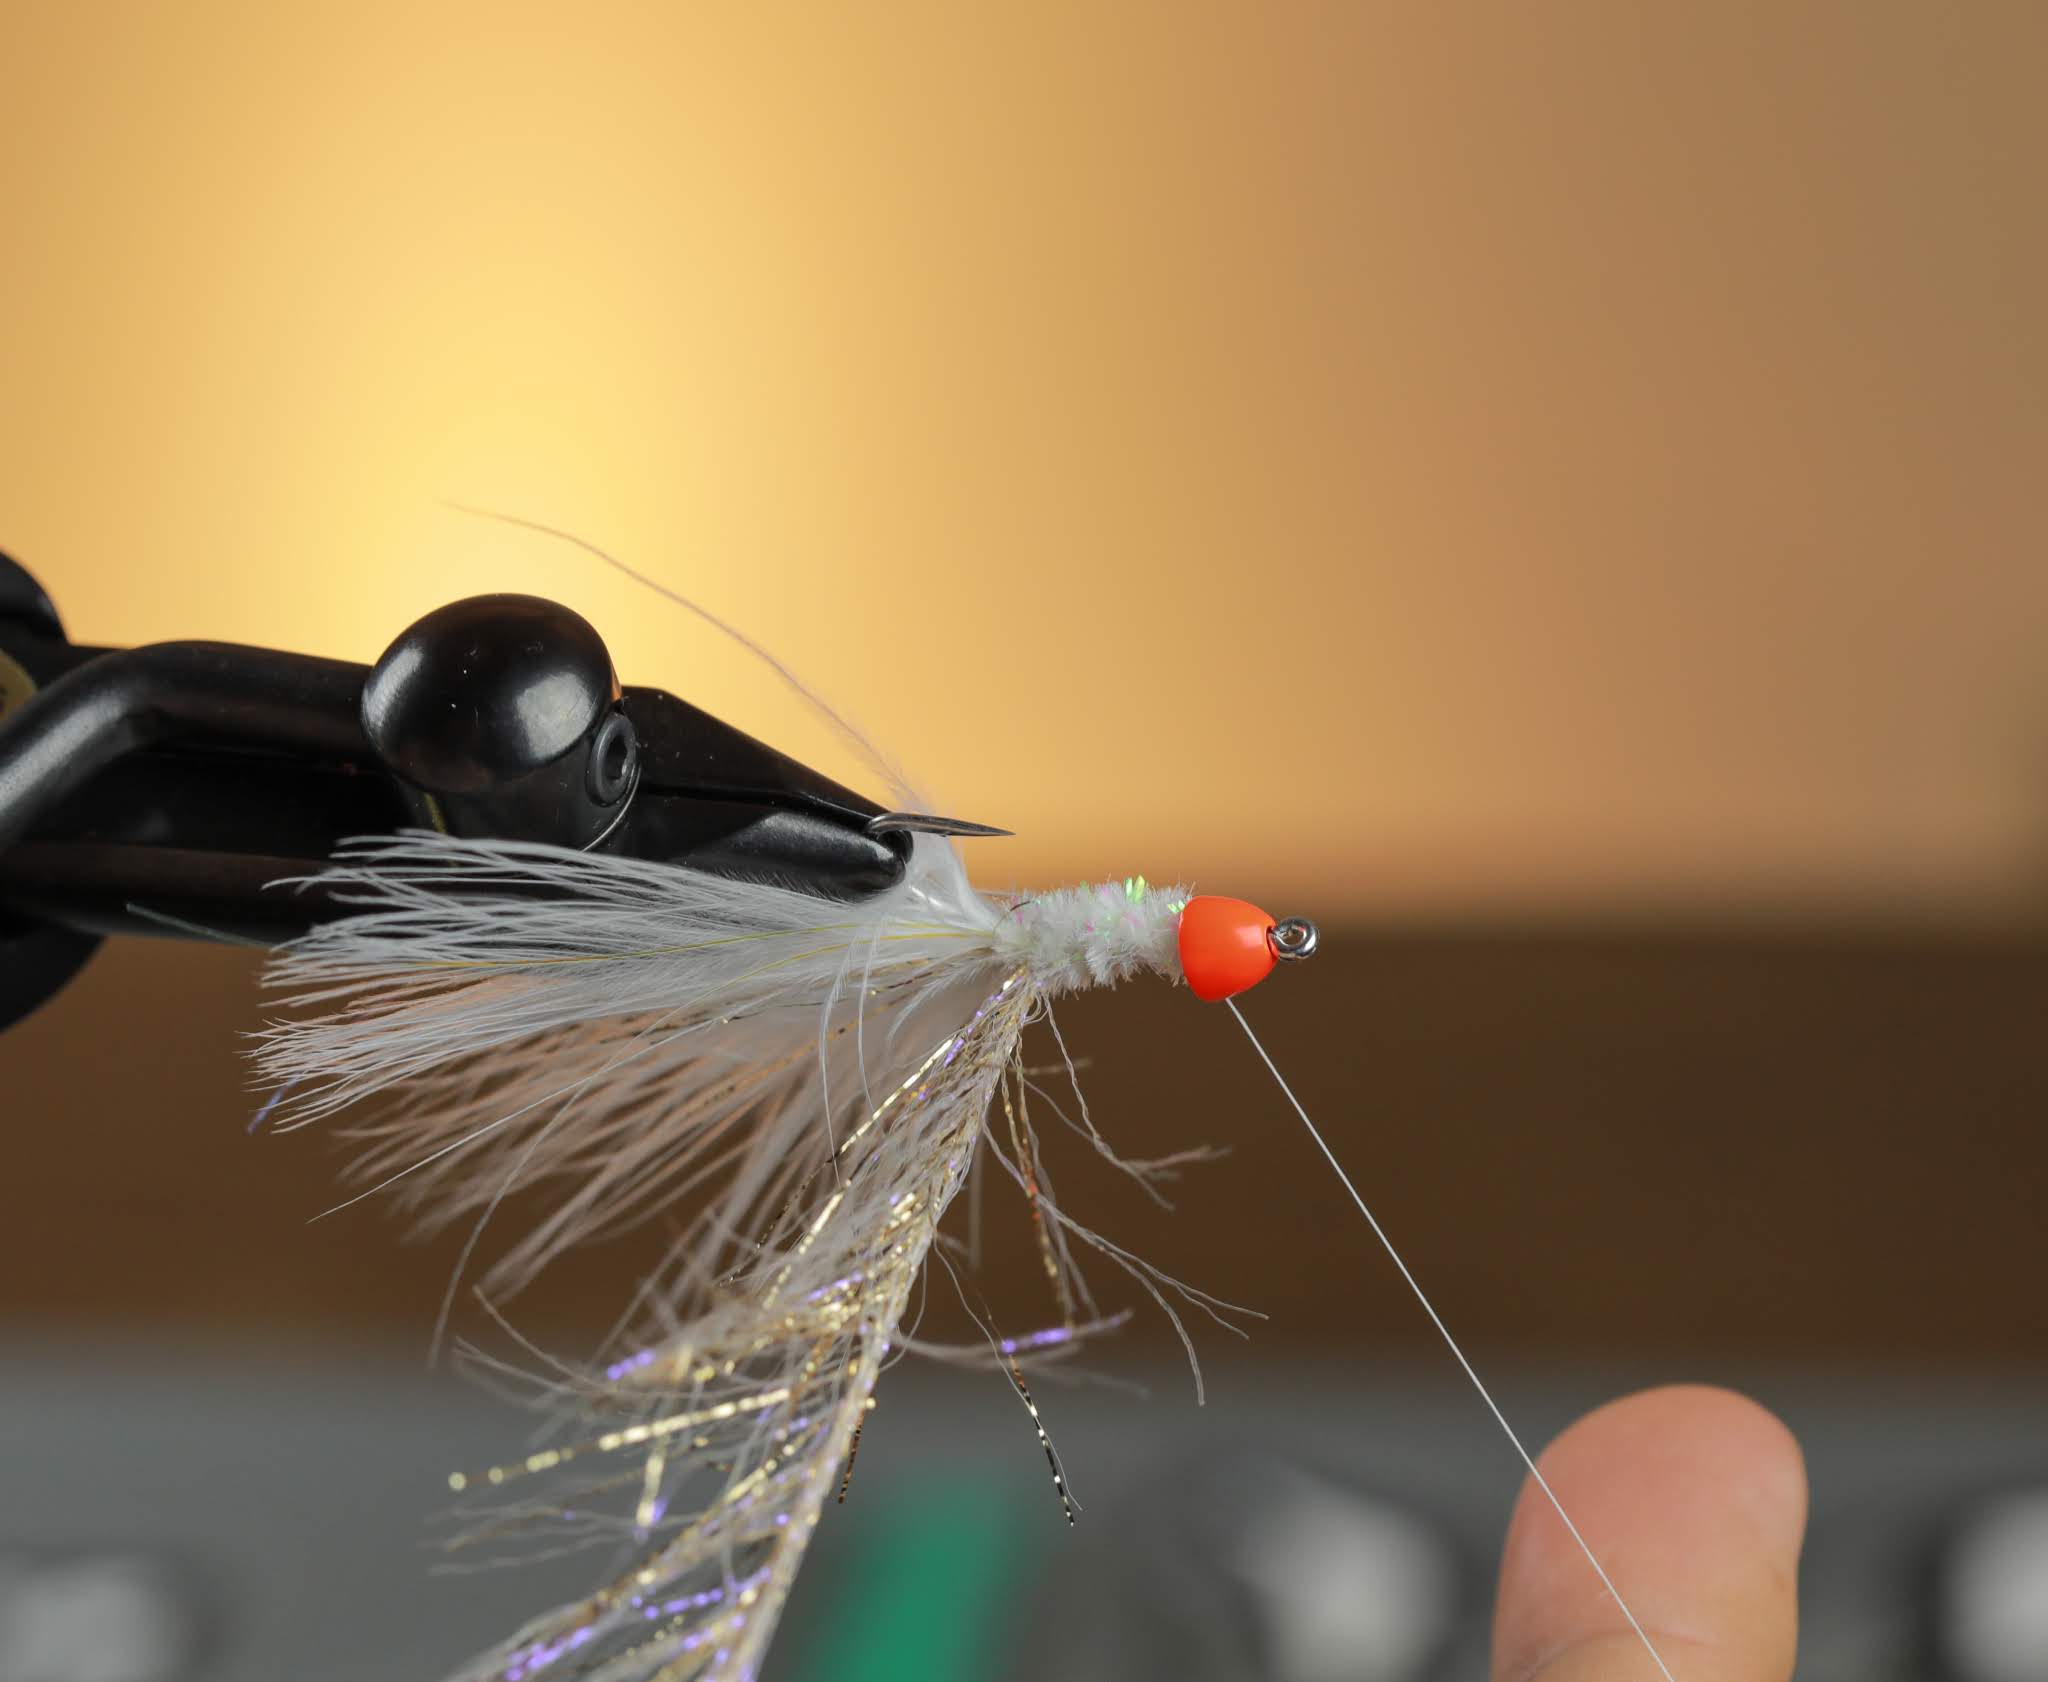
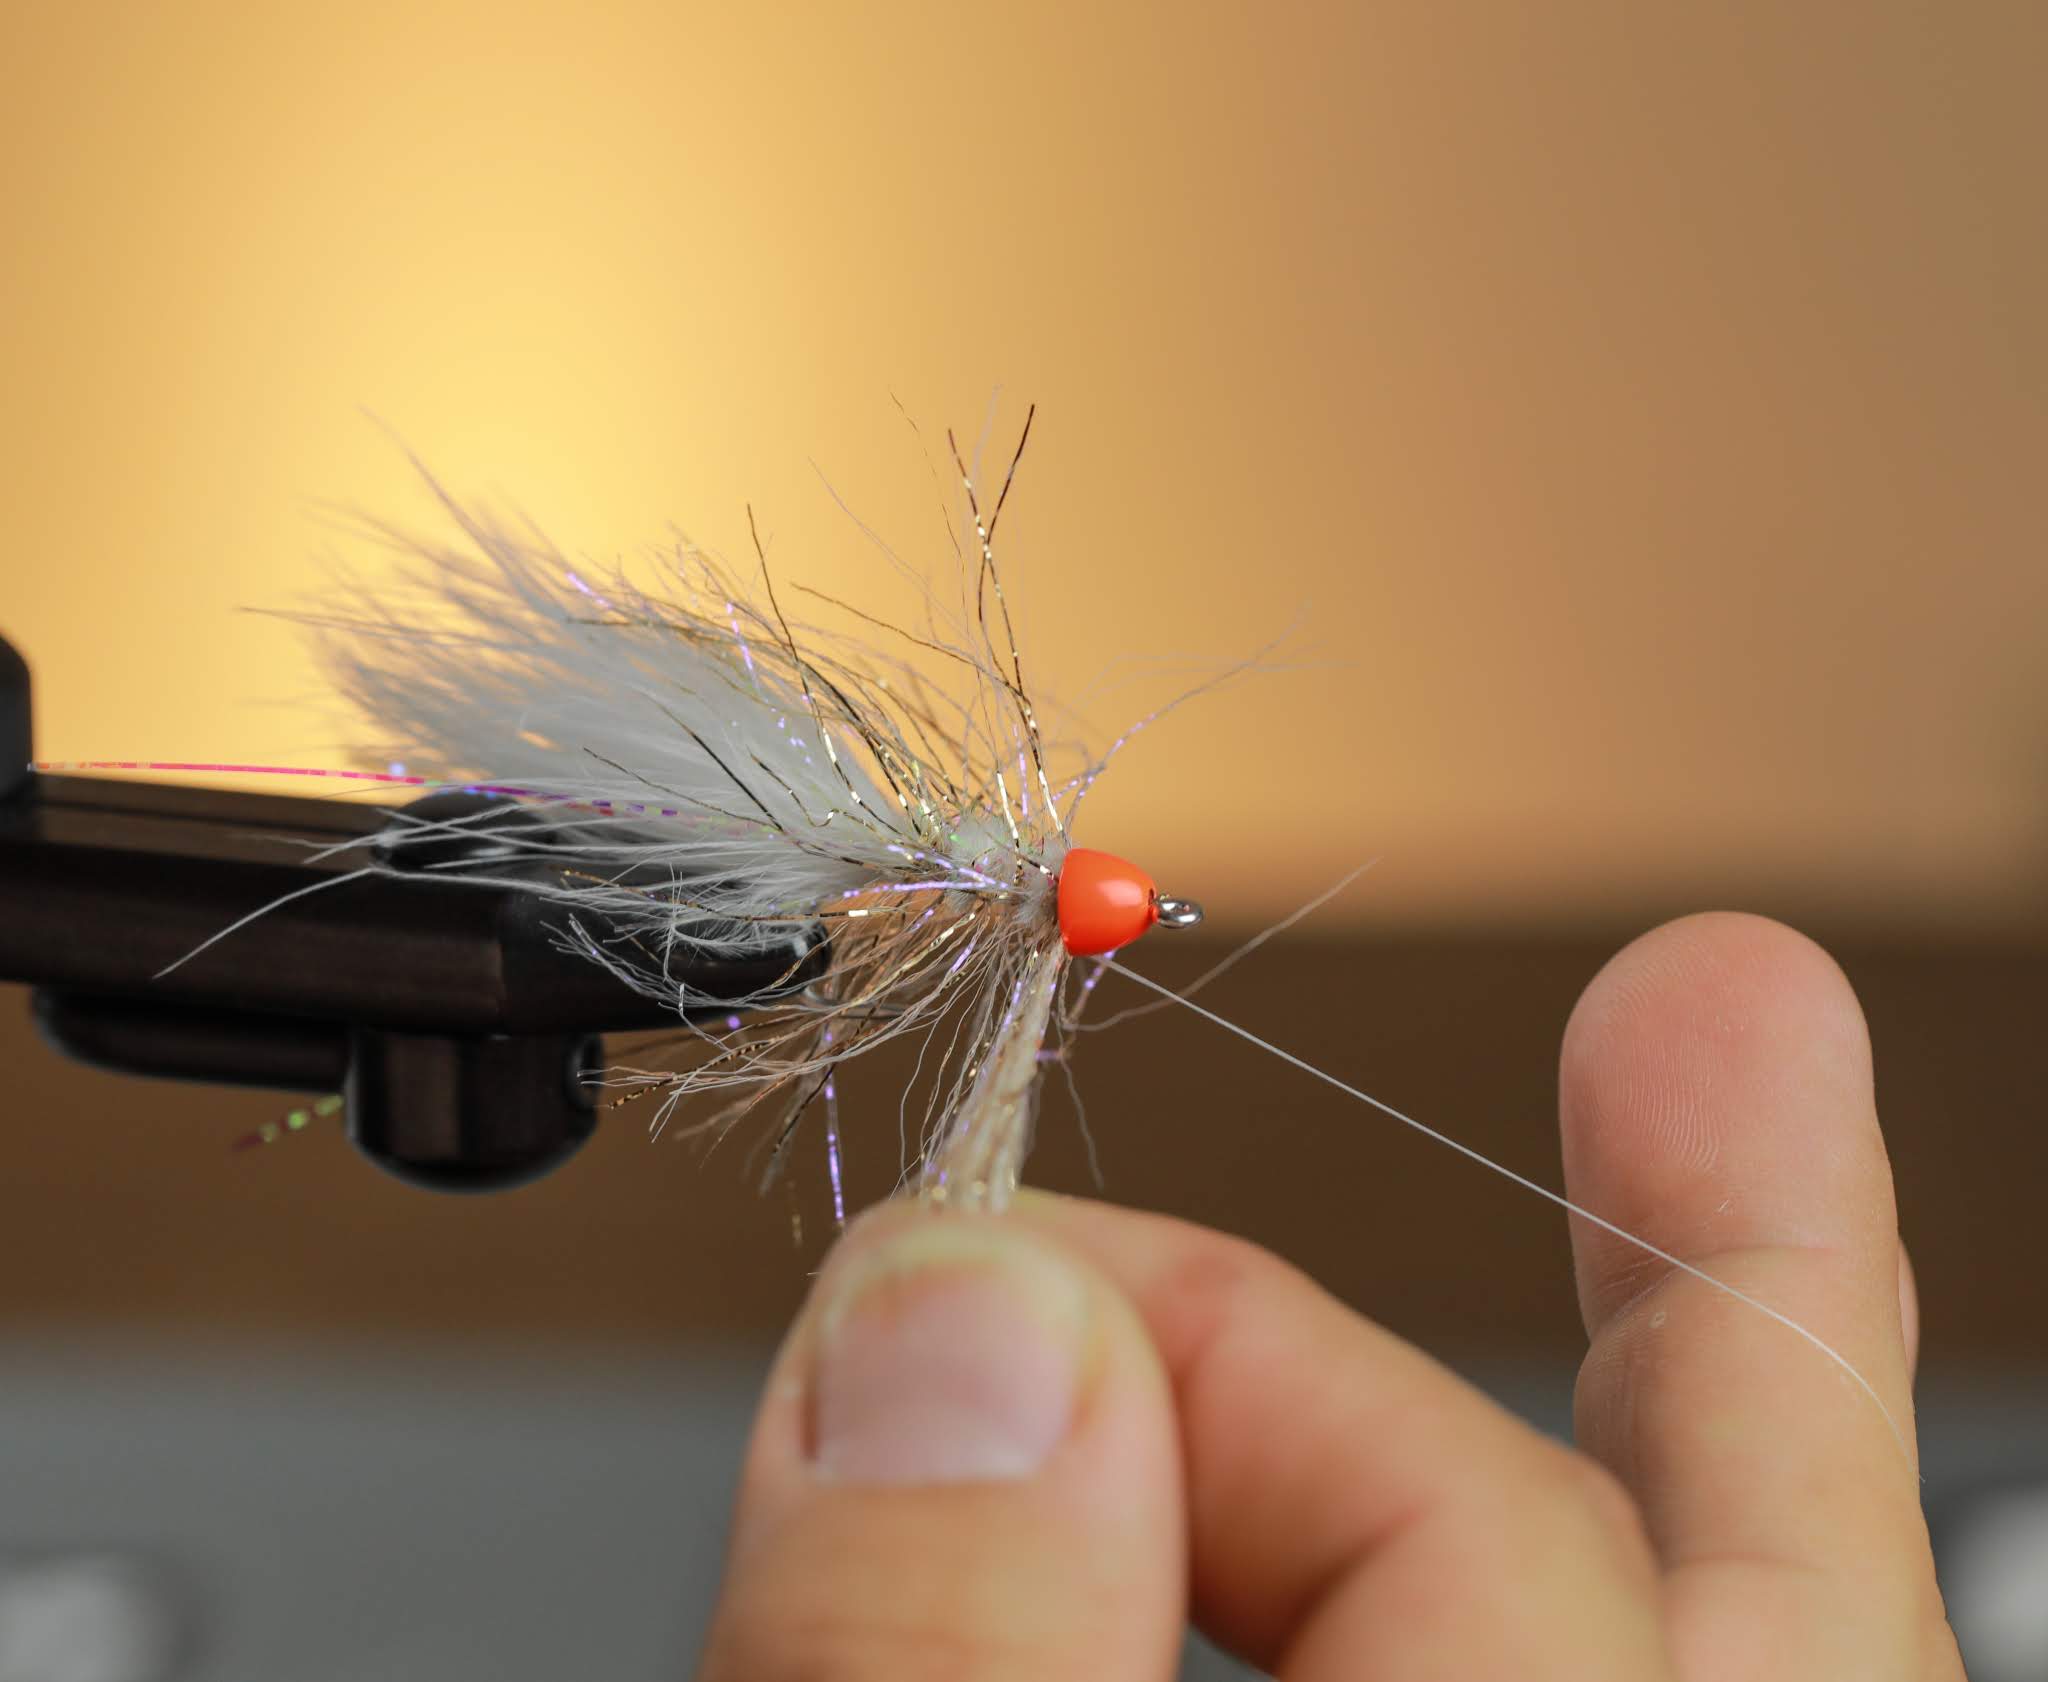
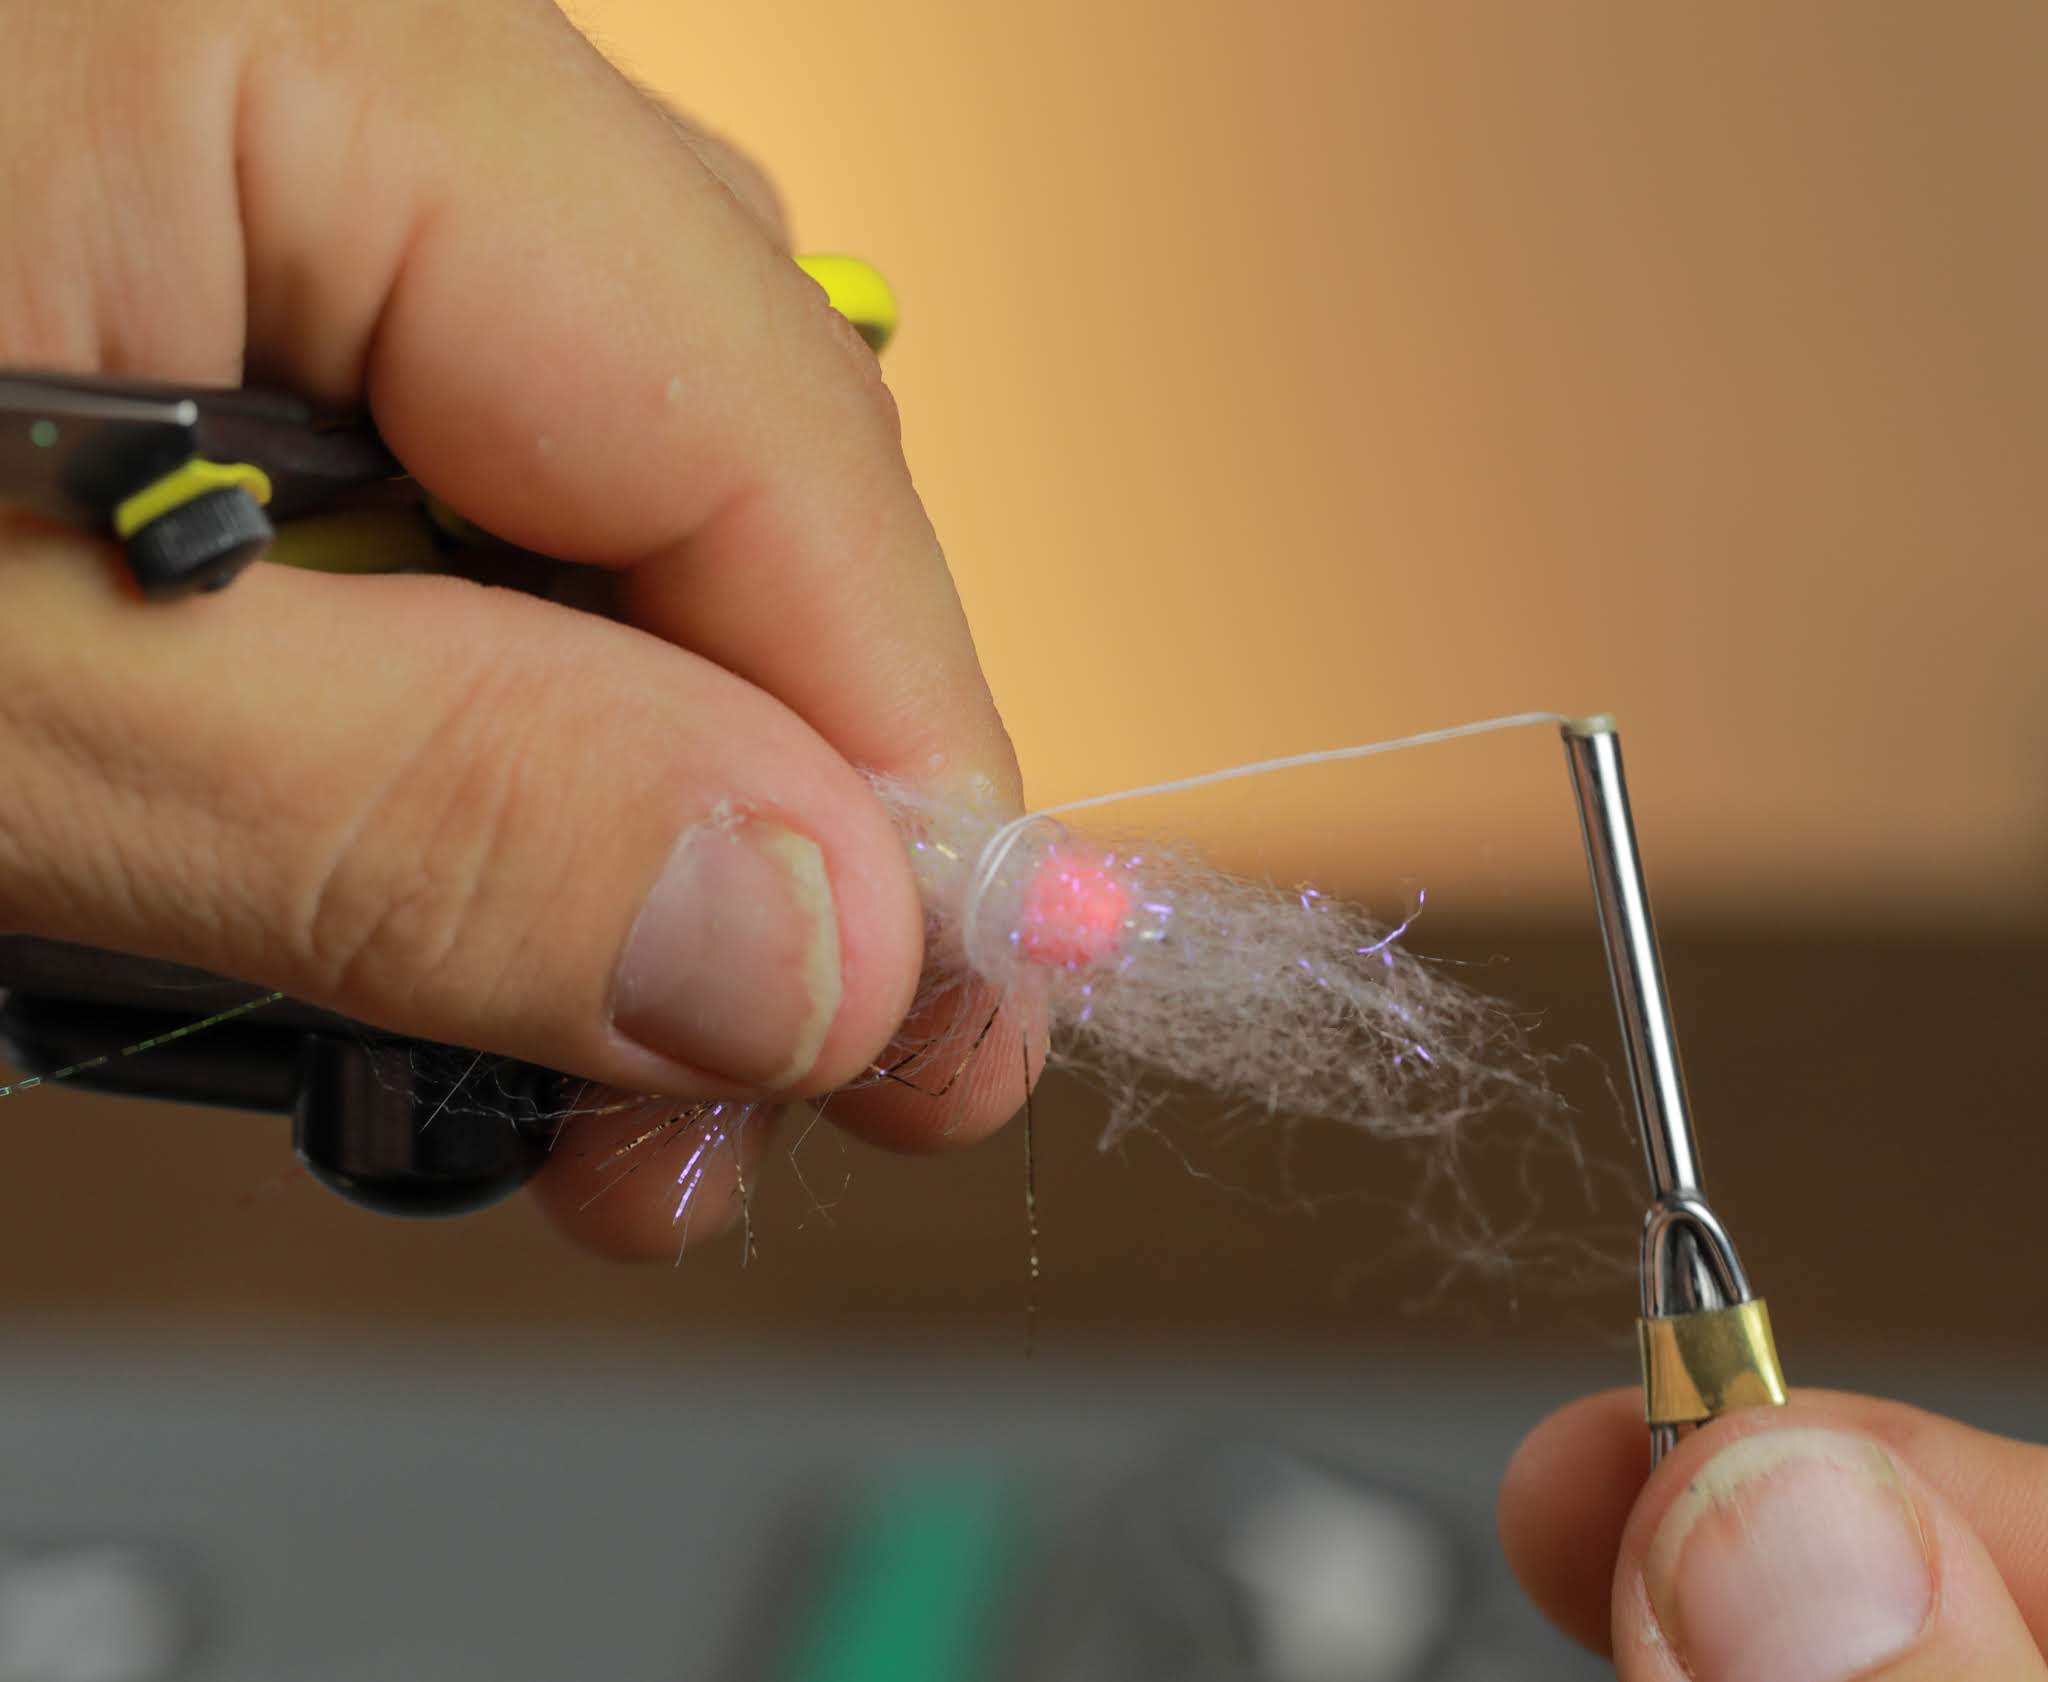
11. Prep a clump of Lasor Dub and wrap the center of the clump slightly around the hook right at the cone.  Give a couple loose wraps to start then tighten down tucking the clump into the slot in the cone.


12. Fold the front half of the Laser Dub back over the body.


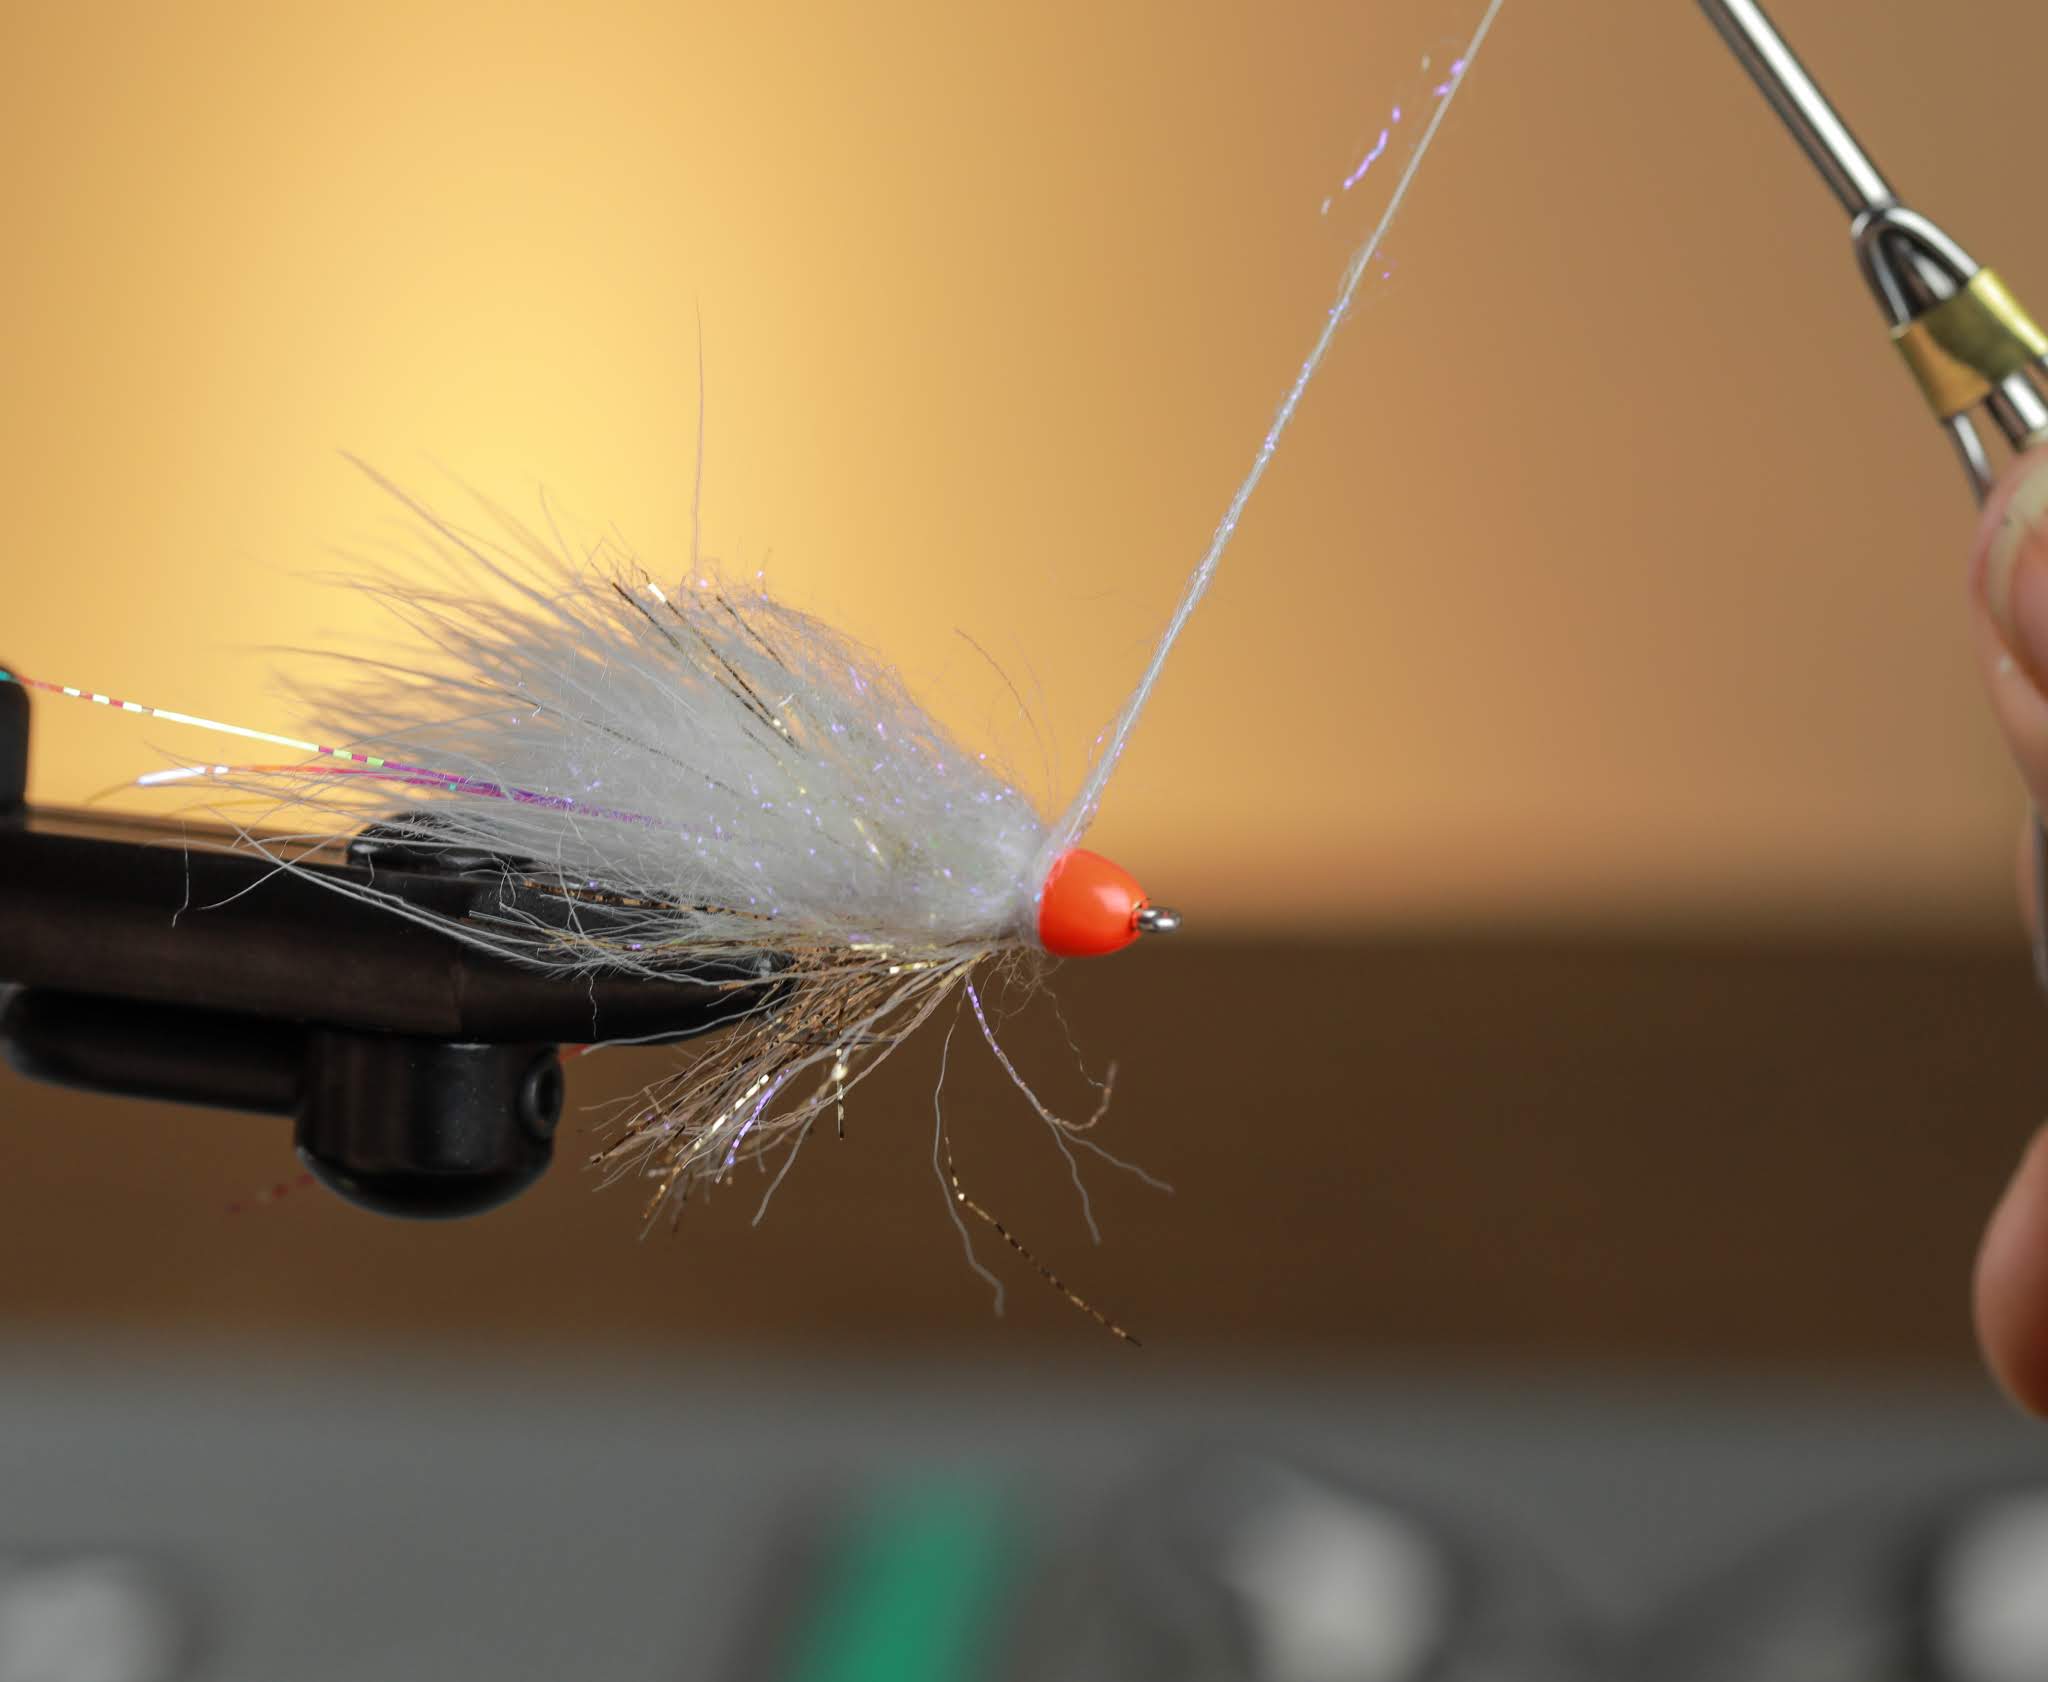
13. If your cone is a little loose simply dub a little of the same Laser Dub into the opening of the cone to lock it tight. 


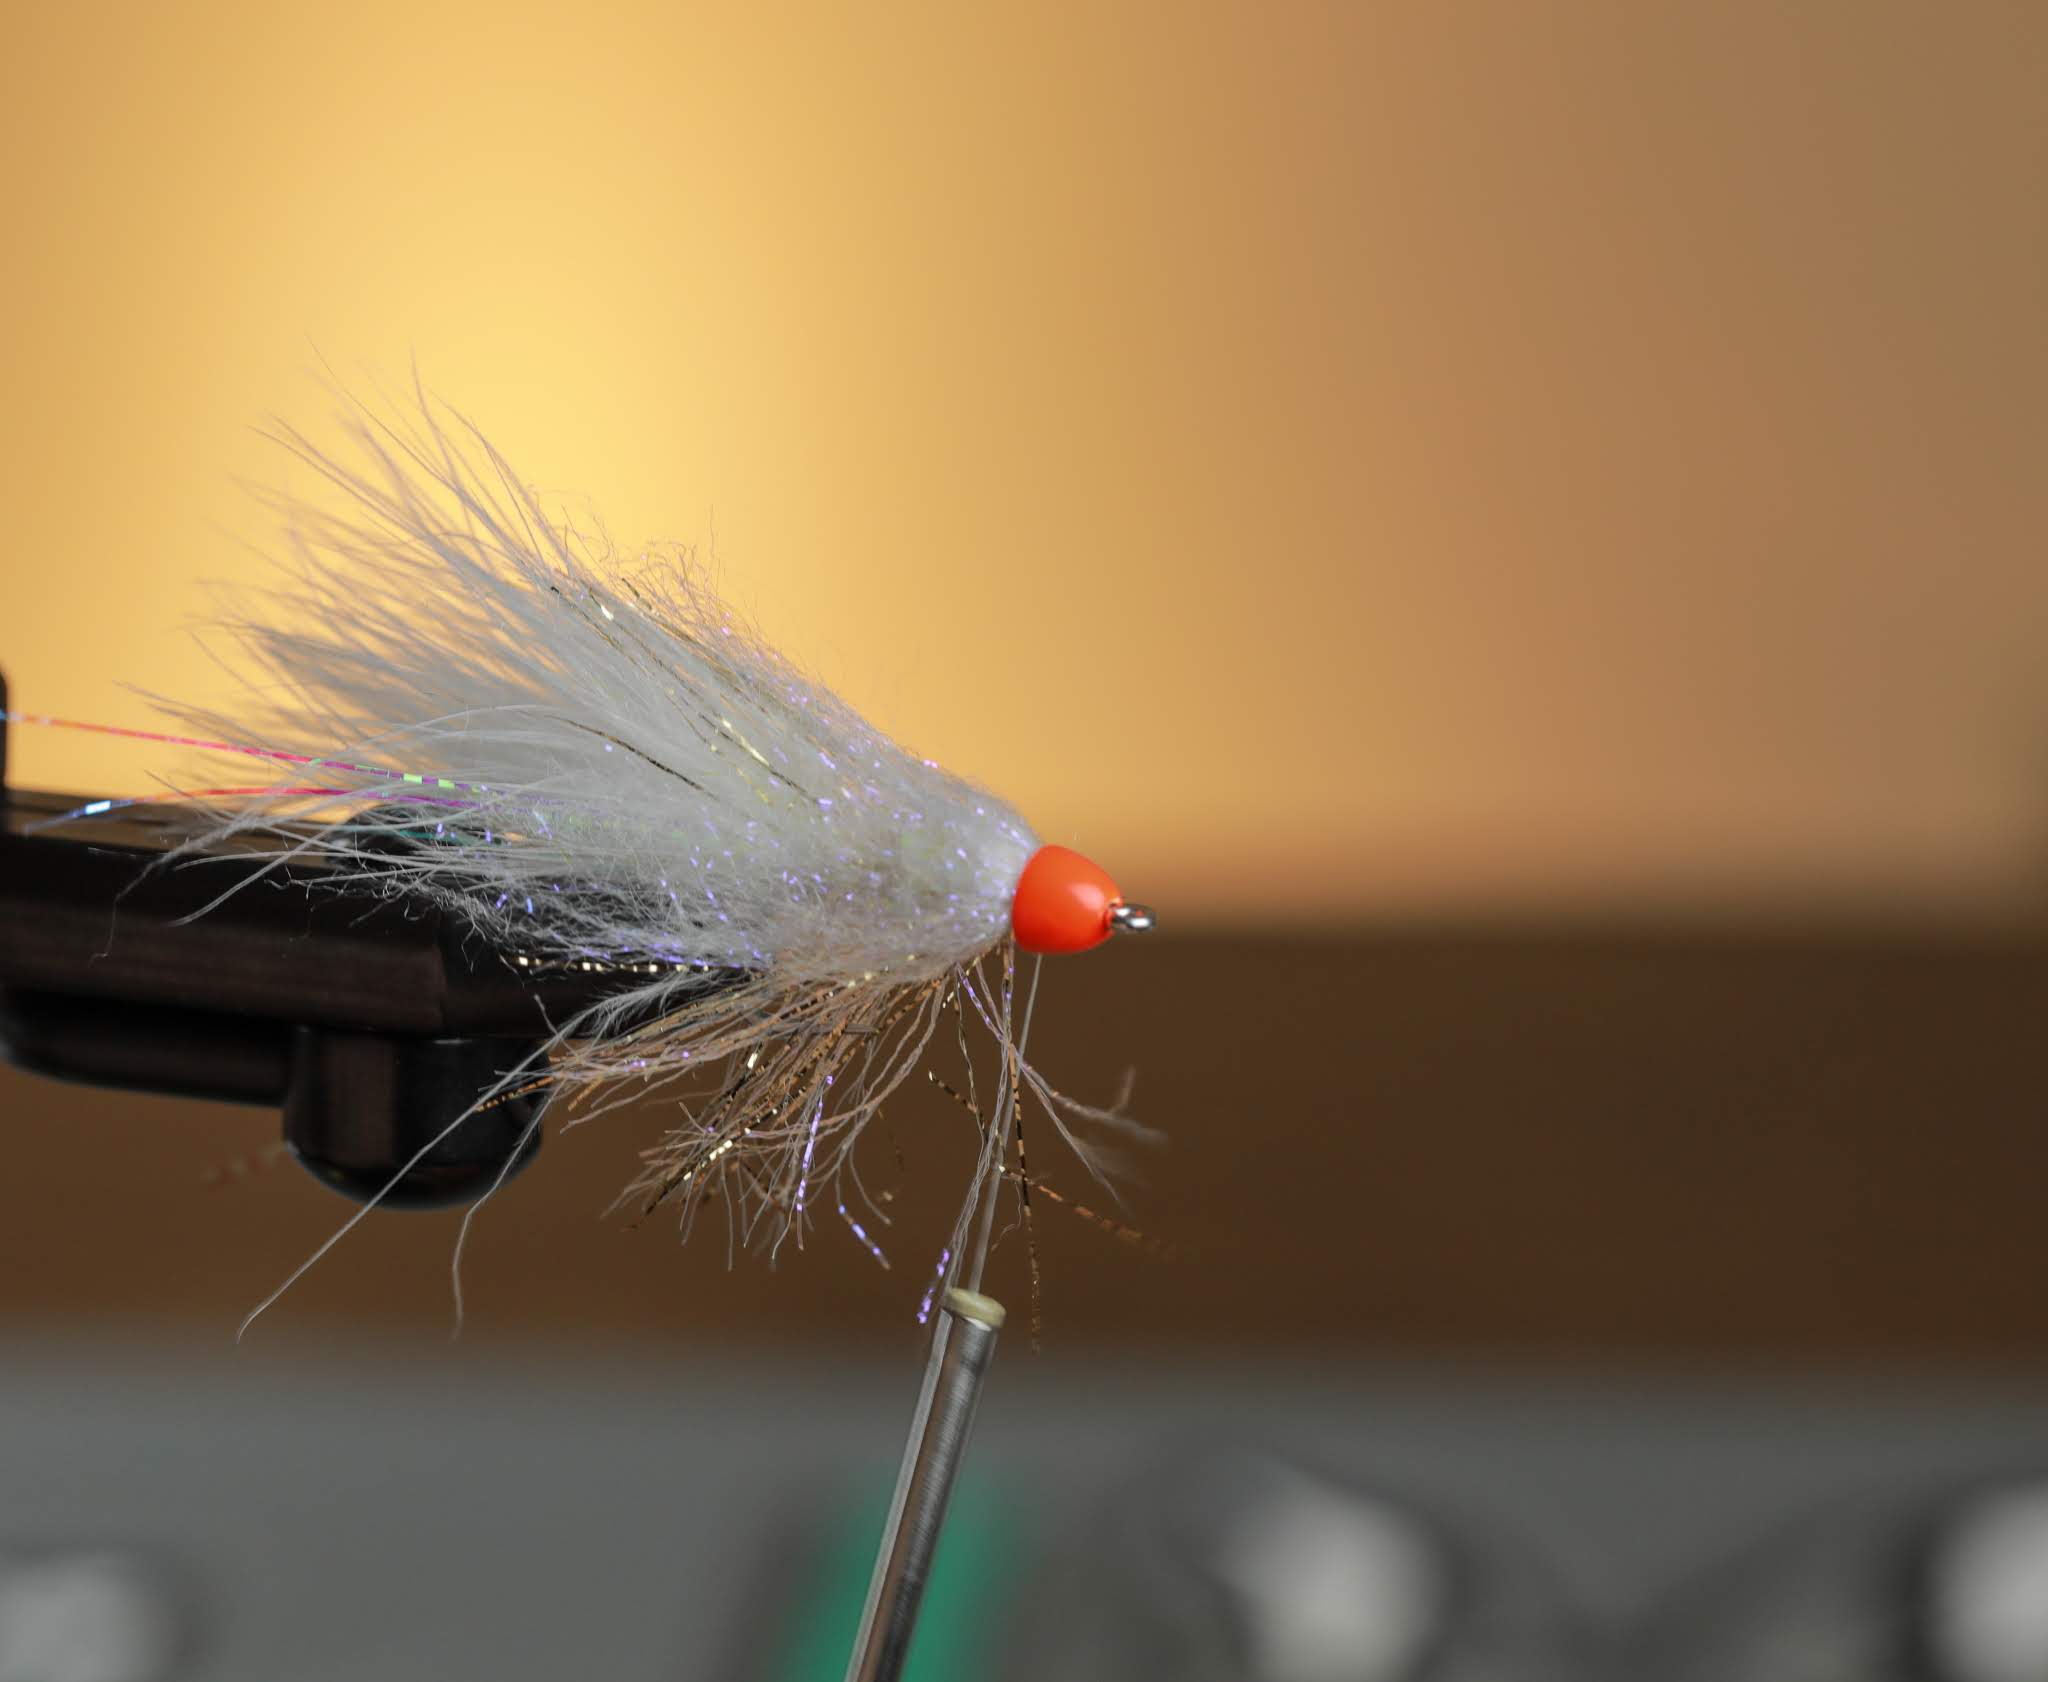
14. Whip finish your thread and you are finished.  You can comb back all the fibers to blend them if needed.  

Thanks as always for watching/following. Stay tuned as we have alot of fly tying in store for you for the Winter 2018/2019 season!

Ryan Ratliff


Watch the Video: 


Mad River Outfitters/Midwest Fly Fishing Schools

Fly Shop, Fly Fishing Guides, Hosted Fly Fishing Travel, Schools, Classes and more!

813 Bethel Rd.
Columbus, Ohio 43214

614-451-0363


Fly Tying- The Bucktail Deceiver Fly


The Bucktail Deceiver Fly

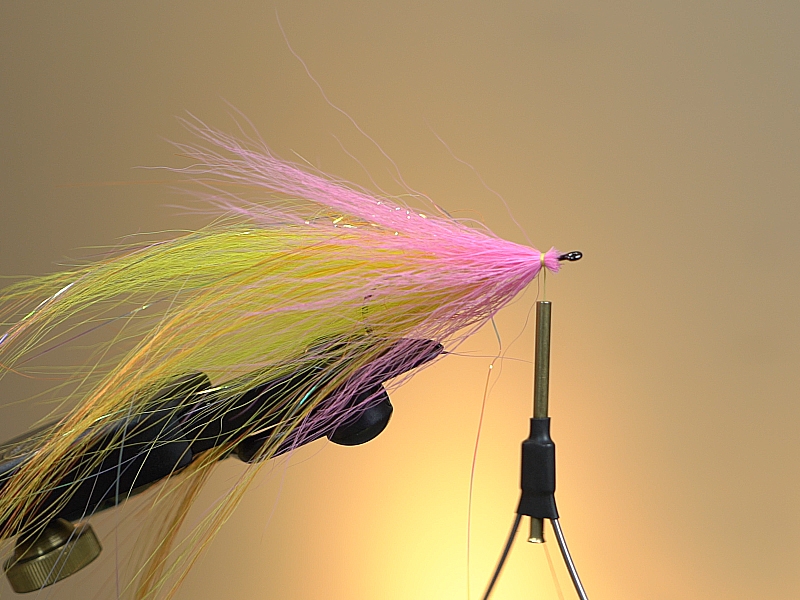
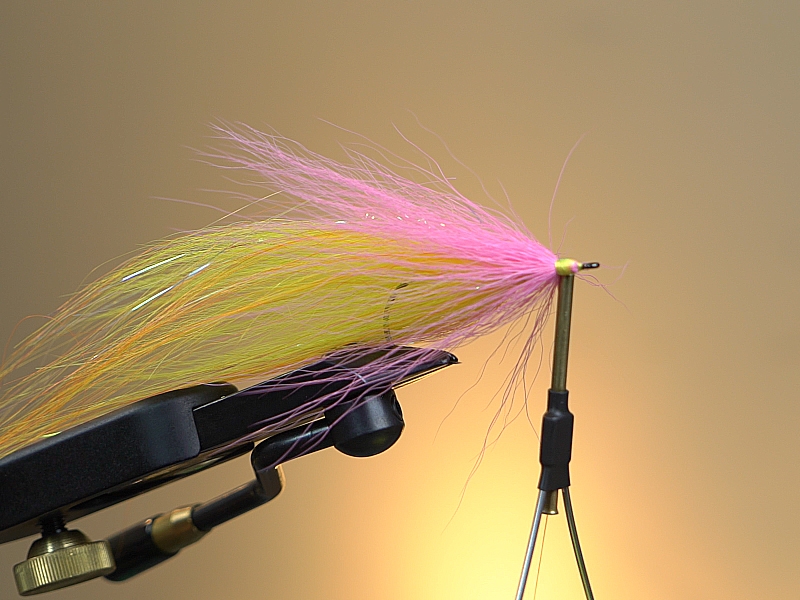
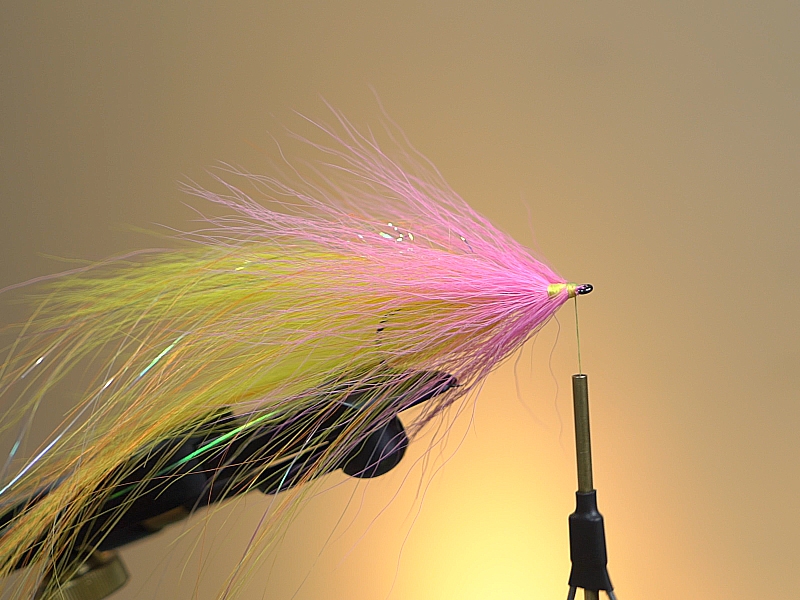
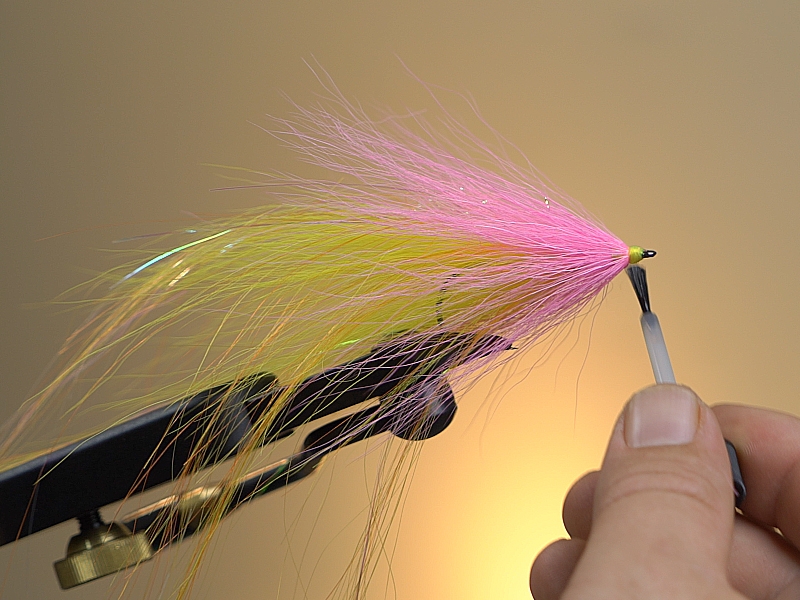
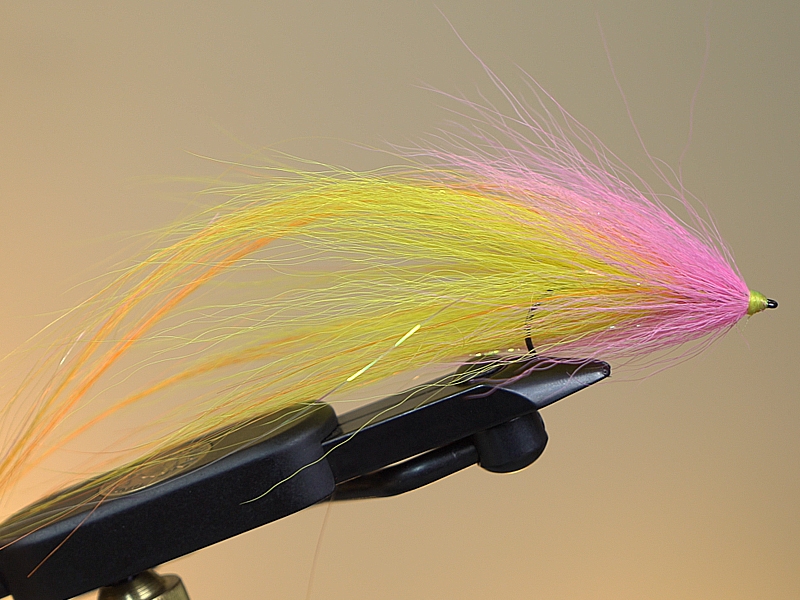
The Bucktail Deceiver is a fly that myself and other Mad River Outfitters guides use extensively for Pike, Smallmouth and even Musky here in Ohio. It is basically a variation on Lefty’s original deceiver with a bit of Bob Popovics innovation thrown in there. This fly was shown to me of course by the master, Pat Kelly and this color in particular is one of our favorites. Anyone who has been on a boat with myself or Pat has fished this fly! Although it’s pretty easy, we thought we’d share it here on the YouTube Channel for those interested.

I hope you enjoy tying and fishing these as much as I do. Let your imagination run wild with variations and color schemes and be sure to share with us what you come up with.

Josh McQueen- June 2018


Bucktail Deceiver Recipe:

Hook: Partridge Universal Predator – 4/0  Click Here
Thread: Flat Waxed Nylon 210 – Fl. Yellow  Click Here
Tail: Big Fly Fiber- Sunrise  Click Here
Body: Bucktail- Fl. Yellow and Hot Pink  Click Here
Flash: Flashabou Mirage Blend- Fl. Yellow  Click Here
Cement: Brushable Zap-A-Gap or Hard as Hull  Click Here

Step 1: Secure hook in to vise and lay foundation of thread from hook eye all the back to the bend of the hook, allowing thread to hang between the barb and the point. Laying a thread base will ensure good traction for the materials that we will secure to the hook shank through out the tying process.


Step 2: Secure first bunch of fl. yellow bucktail to the hook, spreading hair evenly 360 degrees around the hook shank. Try to keep this bundle of hair pretty sparse as we will progressively be adding more bucktail to each bundle as we move of the hook shank. After securing bucktail to the hook shank advance thread about one hook eye width in front of the last tie in point and build a small bump of thread. This will serve as the prop for the next bundle of bucktail. (similar to the methodology used in Bob Popovics Bucktail Deceiver) 


Step 3: Tie in the next bundle of bucktail directly in front of the thread bump constructed in the previous step and distribute hair evenly 360 degrees around the hook shank. Once hair is evenly distributed around the hook shank make securing wraps over the bucktail back towards the thread bump causing the hair to flair. (this bundle of hair should be slightly more dense that the amount of hair used in step 2)


Step 4: Repeat the previous step one more time. Remembering to increase the amount of hair slightly as compared to the previous bundle as we are trying to build taper in the fly.


Step 5:  Secure the Big Fly Fiber on top of the hook shank with three loose wraps. Then use thumb and forefinger to distribute fibers evenly around the hook shank. After securing Big Fly Fiber build another thread bump/dam in front of tying point to use as a prop for the next bundle of bucktail.


Step 6: Repeat step 3 but in this stage of the fly we will switch over to the hot pink color of bucktail. You will also want to make sure you are continuing to use more hair than in previous steps. 


After securing and evenly distributing pink bucktail create another thread bump and repeat this step one more time. Giving you a total of two cones of pink bucktail. If for some reason you have more than one hook eye width left on the shank you may add third cone of pink bucktail. Once complete whip finish and cut thread. 


Add super glue or UV Resin to the thread head (eyes are optional) If using a UV Resin you will want to finish with a coat of Hard as Hull or Hard as Nails to give you a nice tack free bomb proof coating.  


Watch the Video:


Mad River Outfitters/Midwest Fly Fishing Schools

Fly Shop, Fly Fishing Guides, Hosted Fly Fishing Travel, Schools, Classes and more!

813 Bethel Rd.
Columbus, Ohio 43214

614-451-0363


Fly Tying- The Sunken Fox

The Sunken Fox Fly

Steelheading in the Great Lakes,  especially “Steelhead Alley” can provide tough conditions at times throughout the season.  The past few falls have provided very low and clear water and that seems to be the new “norm”.  Trying to swing modern flies in low flows is a challenge as they are too big, too flashy, or too heavy.  I could see steelhead chasing shiners, but the flies that were in my box did not fit the bill.  Later while on a small trout stream swinging soft hackles in low clear water the building blocks for this fly began.  I wanted a fly that had a little weight, a touch of flash, was the right size, and just the right amount of movement.  Combining the productivity of a soft hackle and materials from a Scandi birthed a small swinging fly that can be fishing on a floating line as well as with a sinking tip.  

Although originally designed for Steelhead Alley the Sunken Fox has produced equally well for trout and warm water species.  The color design here is Emerald Shiner, but black and blue, red and black, tan and white, or silver and white all are must haves in your fly boxes.  Give this fly a shot when you find those low and clear conditions on any water you fish.  

Ryan Ratliff- April 2018


Sunken Fox Fly Recipe:

Hook: TMC 7999 #4-8  Click Here
Thread: GSP 100  Click Here
Body: Ultra Wire size Large in contrasting colors  Click Here
Thorax: Ice Dub  Click Here
Prop: EP Foxy Brush  Click Here
Wing 1: Arctic Fox in Dubbing Loop  Click Here or Click Here
Wing 2: Coq de Leon Hen Saddle  Click Here
Cement: Loon UV Thin  Click Here


1. Place your Salmon Iron hook of choice (here TMC 7999) into vise.


2. Using GSP 100 lay down a single layer of thread.


3. Pull off a few inches of Ultra Wire in contrasting colors (here green and silver).  Tie in both wires on the top of the hook shank. 


4. Wrap both colored wires together side by side progressing up the hook shank.


 5. Tie off the wires 3/4 up the shank.  Make sure to lightly cover your wire ends with thread carefully.  These ends are very sharp thus the reason for the GSP.


6. Dub a large ball of Ice Dub (here Olive Brown) at the end of the wire wraps.


7. Tie in a section of EP Foxy Brush 1.5 (here Olive Brown) and carefully wrap under tight pressure.  


8. Continue for three wraps making sure not to trap any material.


9. Tie off the brush and cover the wire core ends with thread.


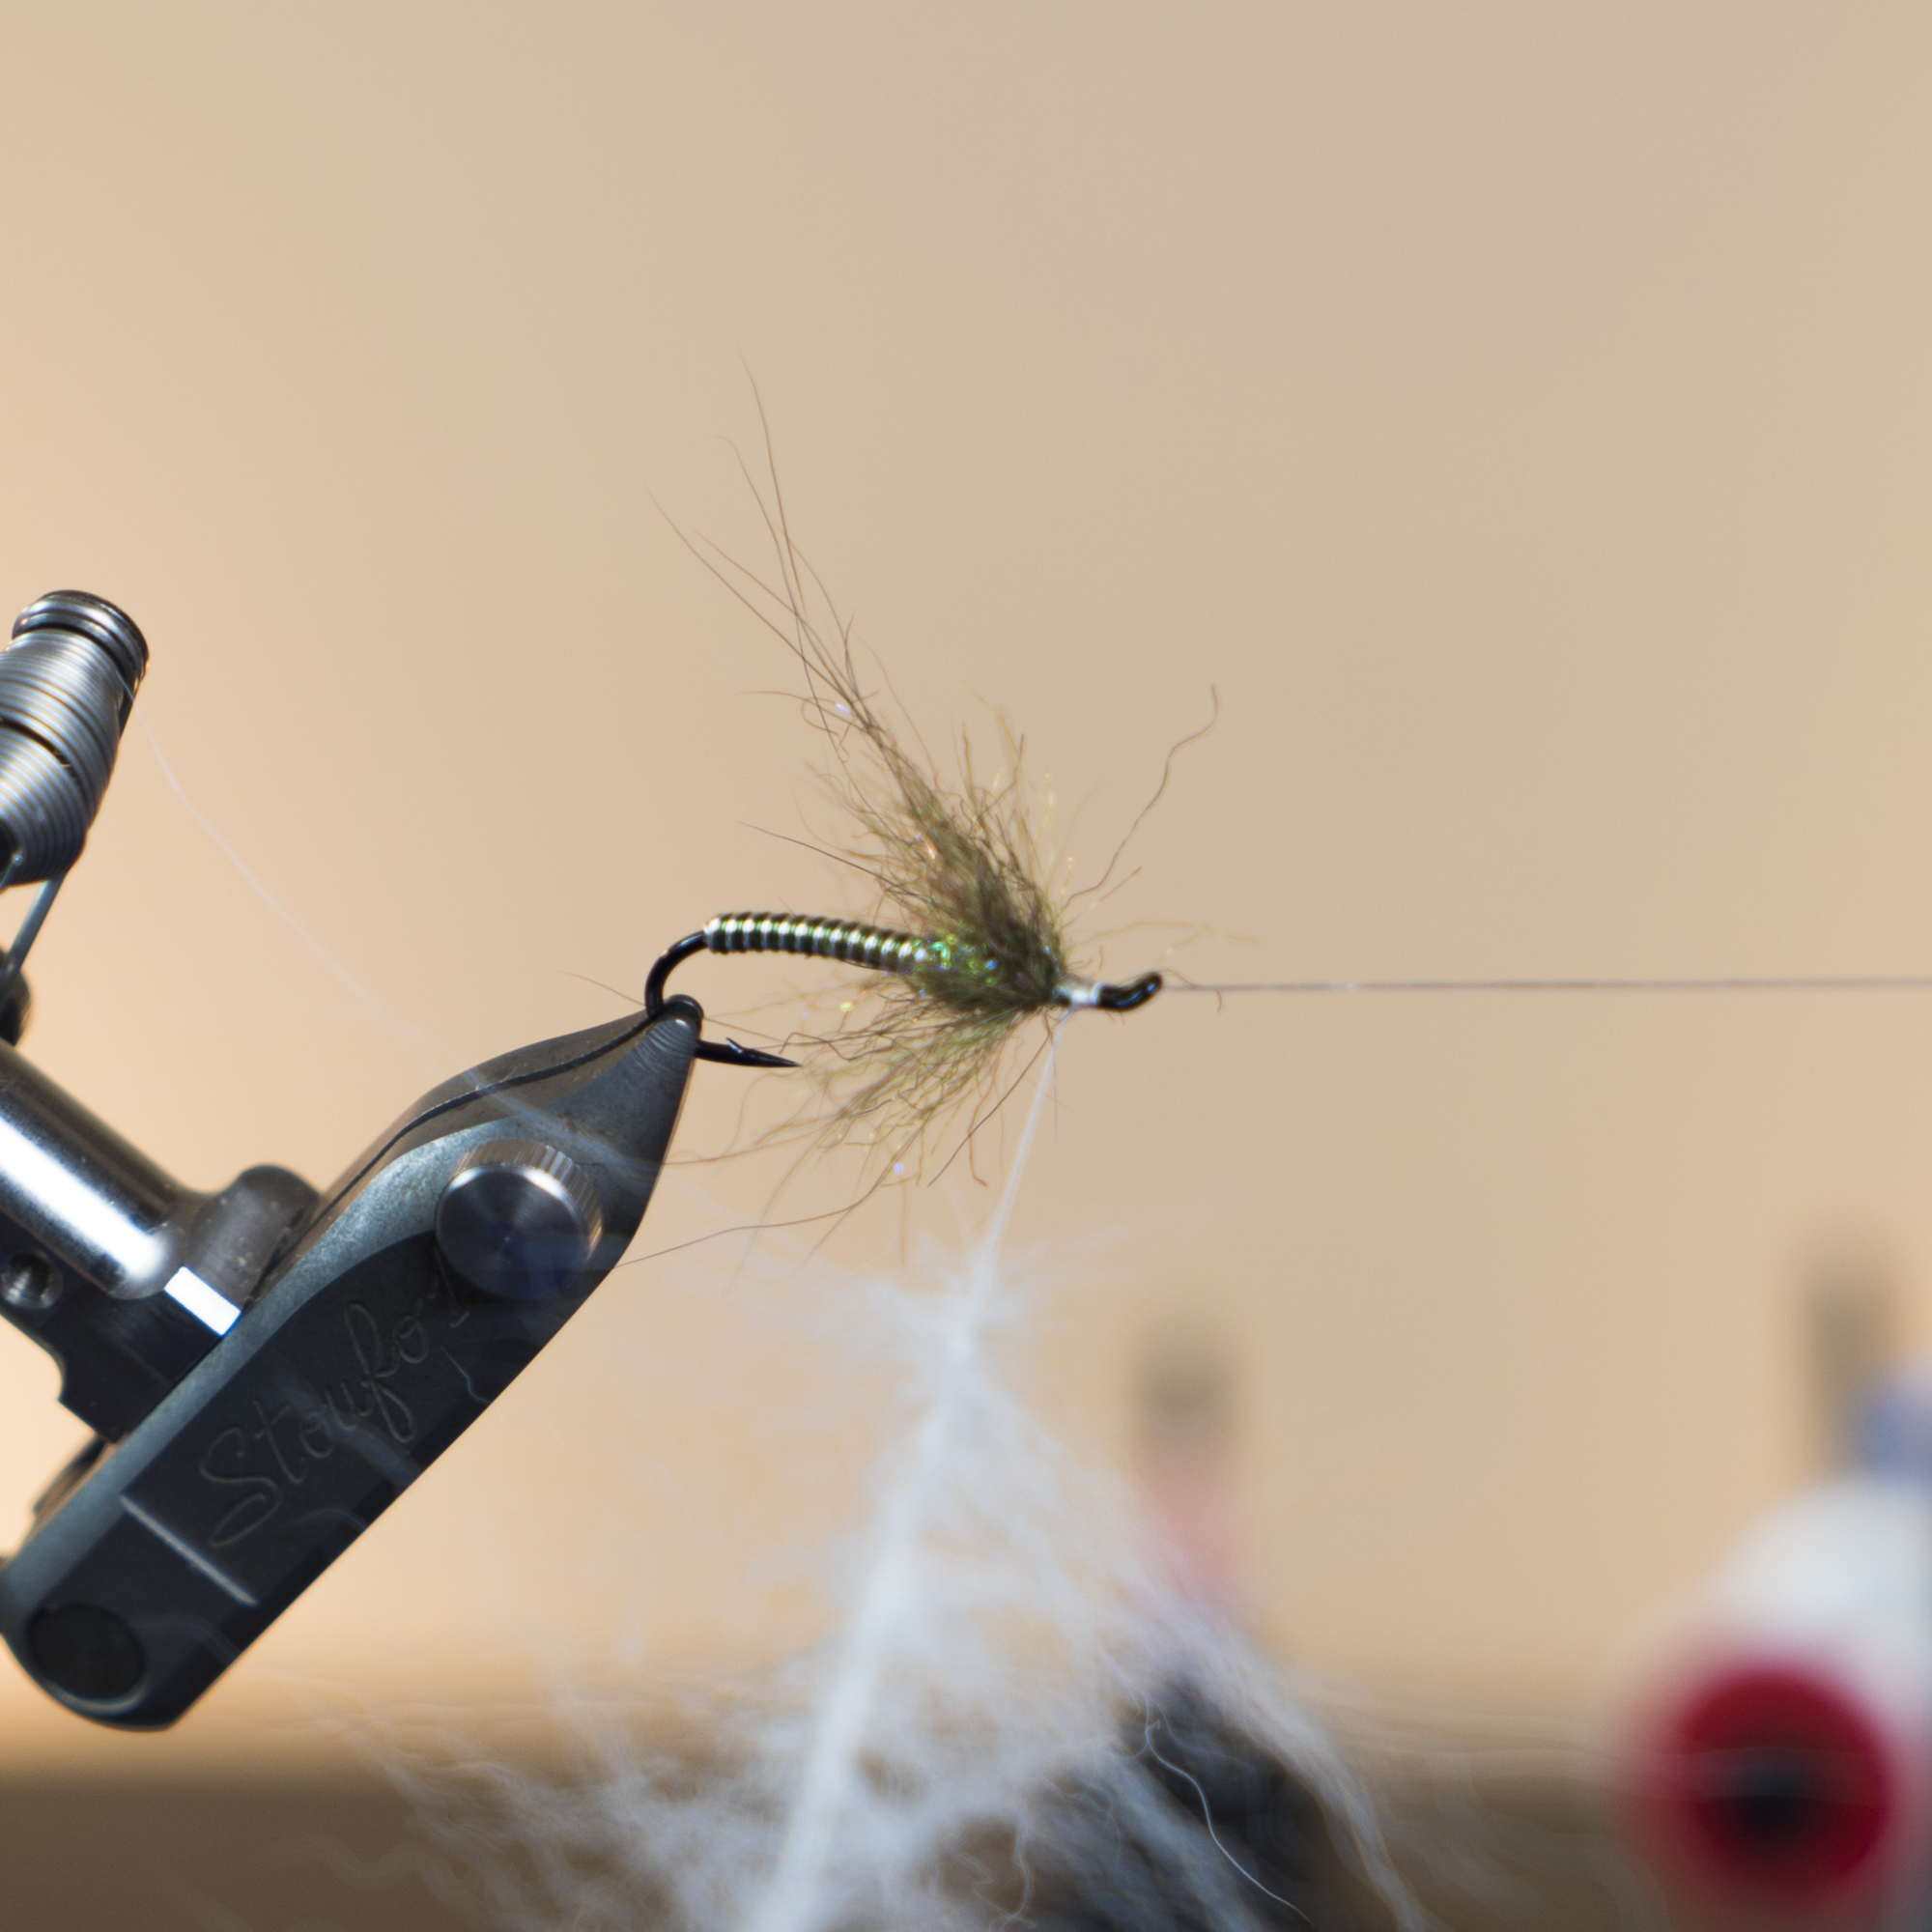
10. Create a Dubbing Loop right off the end of the Foxy Brush.  Place a clump of stacked Arctic Fox in the loop and evenly disperse the fibers. 


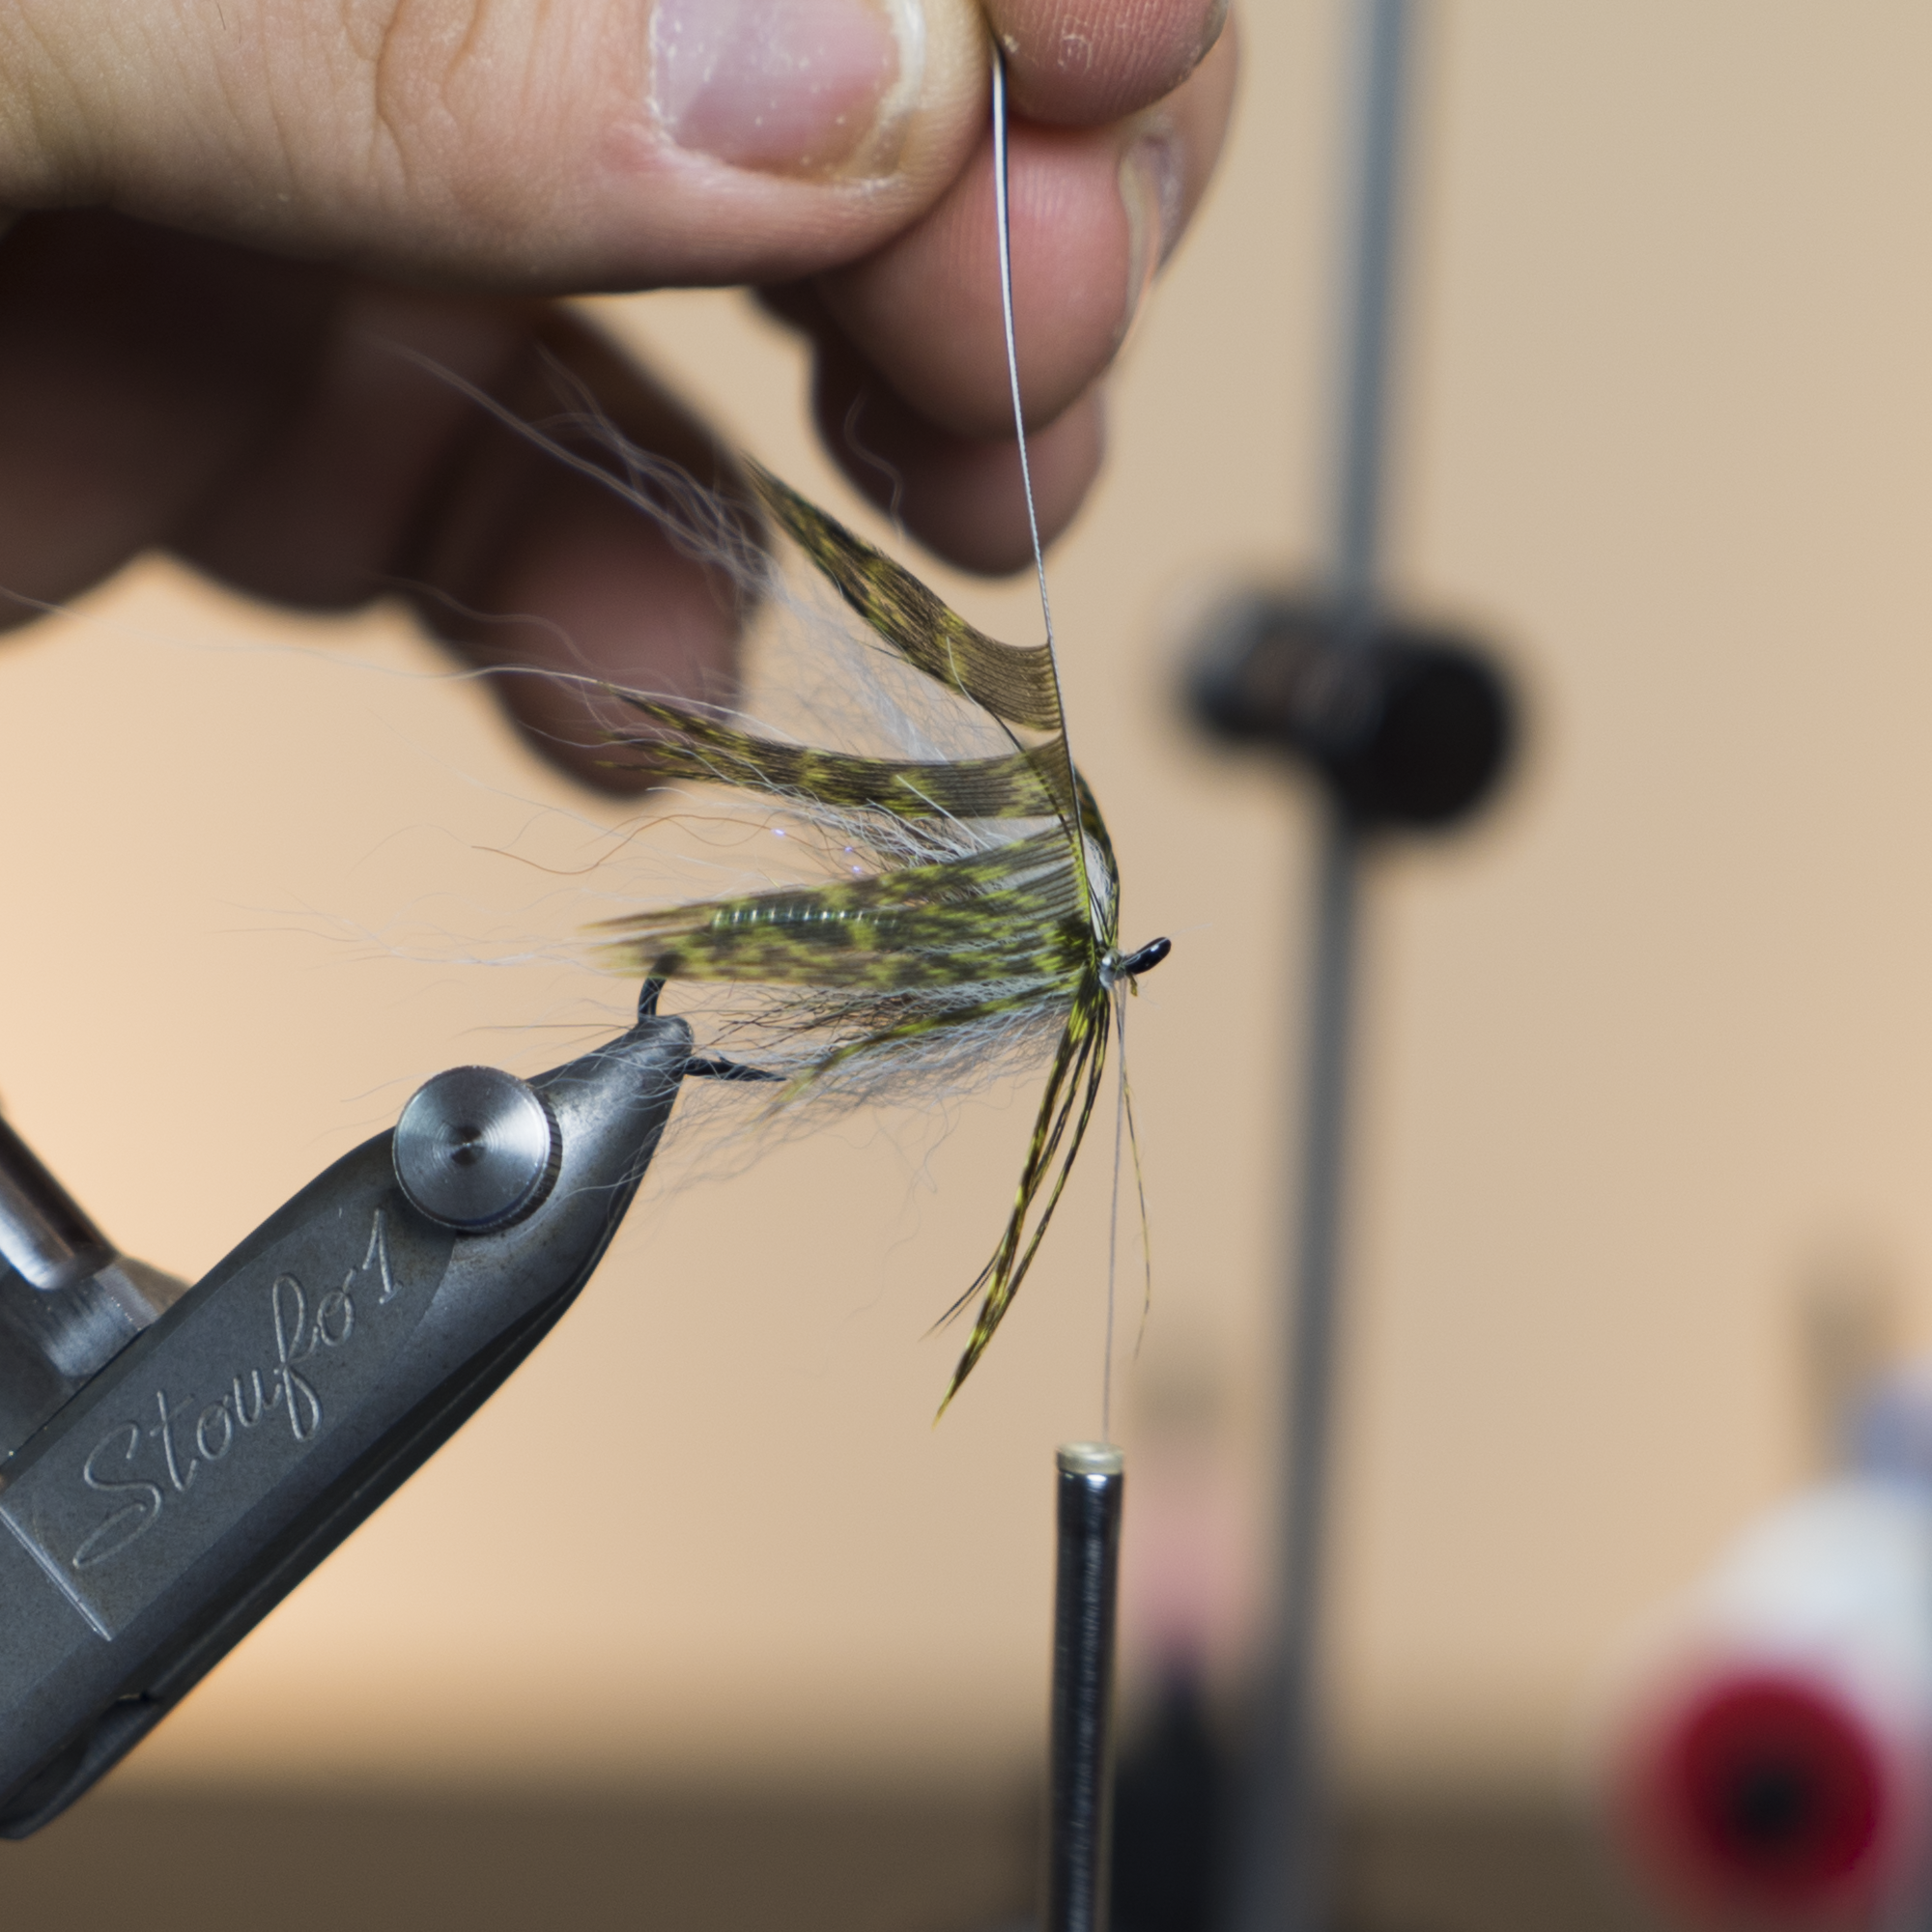
11. Using a dubbing spinner carefully spin the dubbing loop to make a brush with the fox.  


12. Wrap the dubbing loop around the hook shank in the same fashion as the Foxy Brush.  Three of so wraps will be good.  Tie off the dubbing loop and trim the extra. 


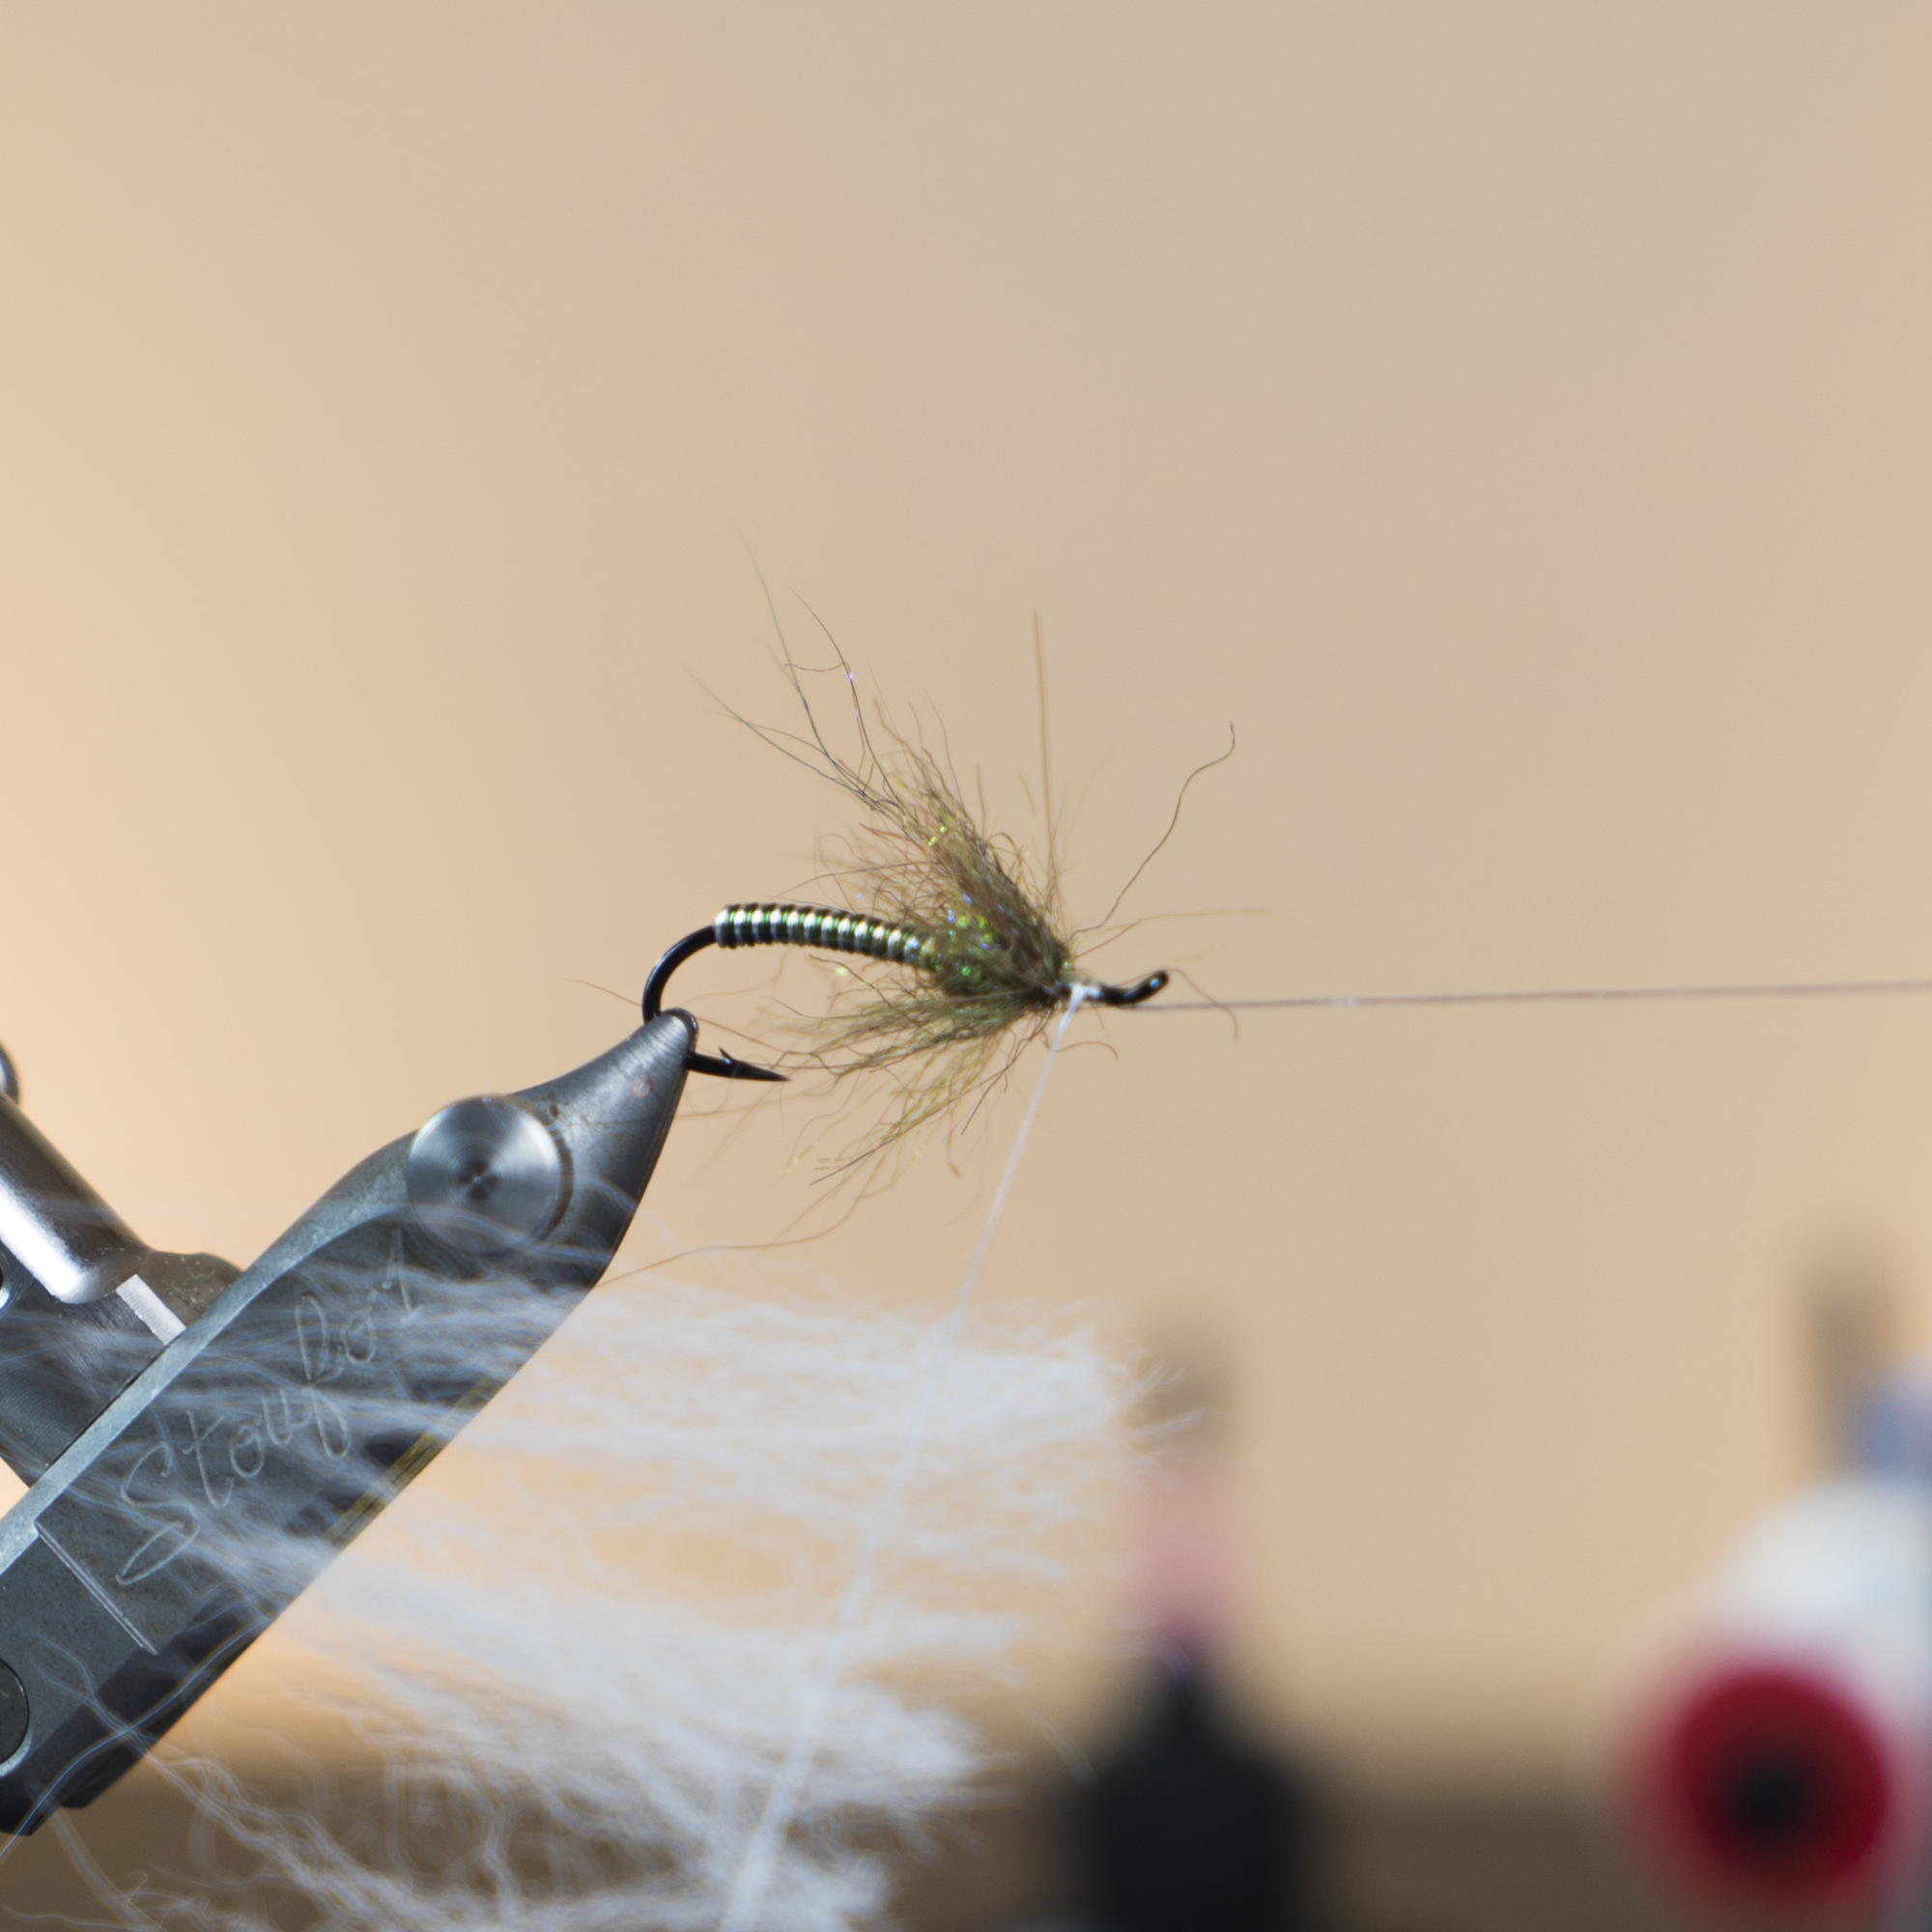
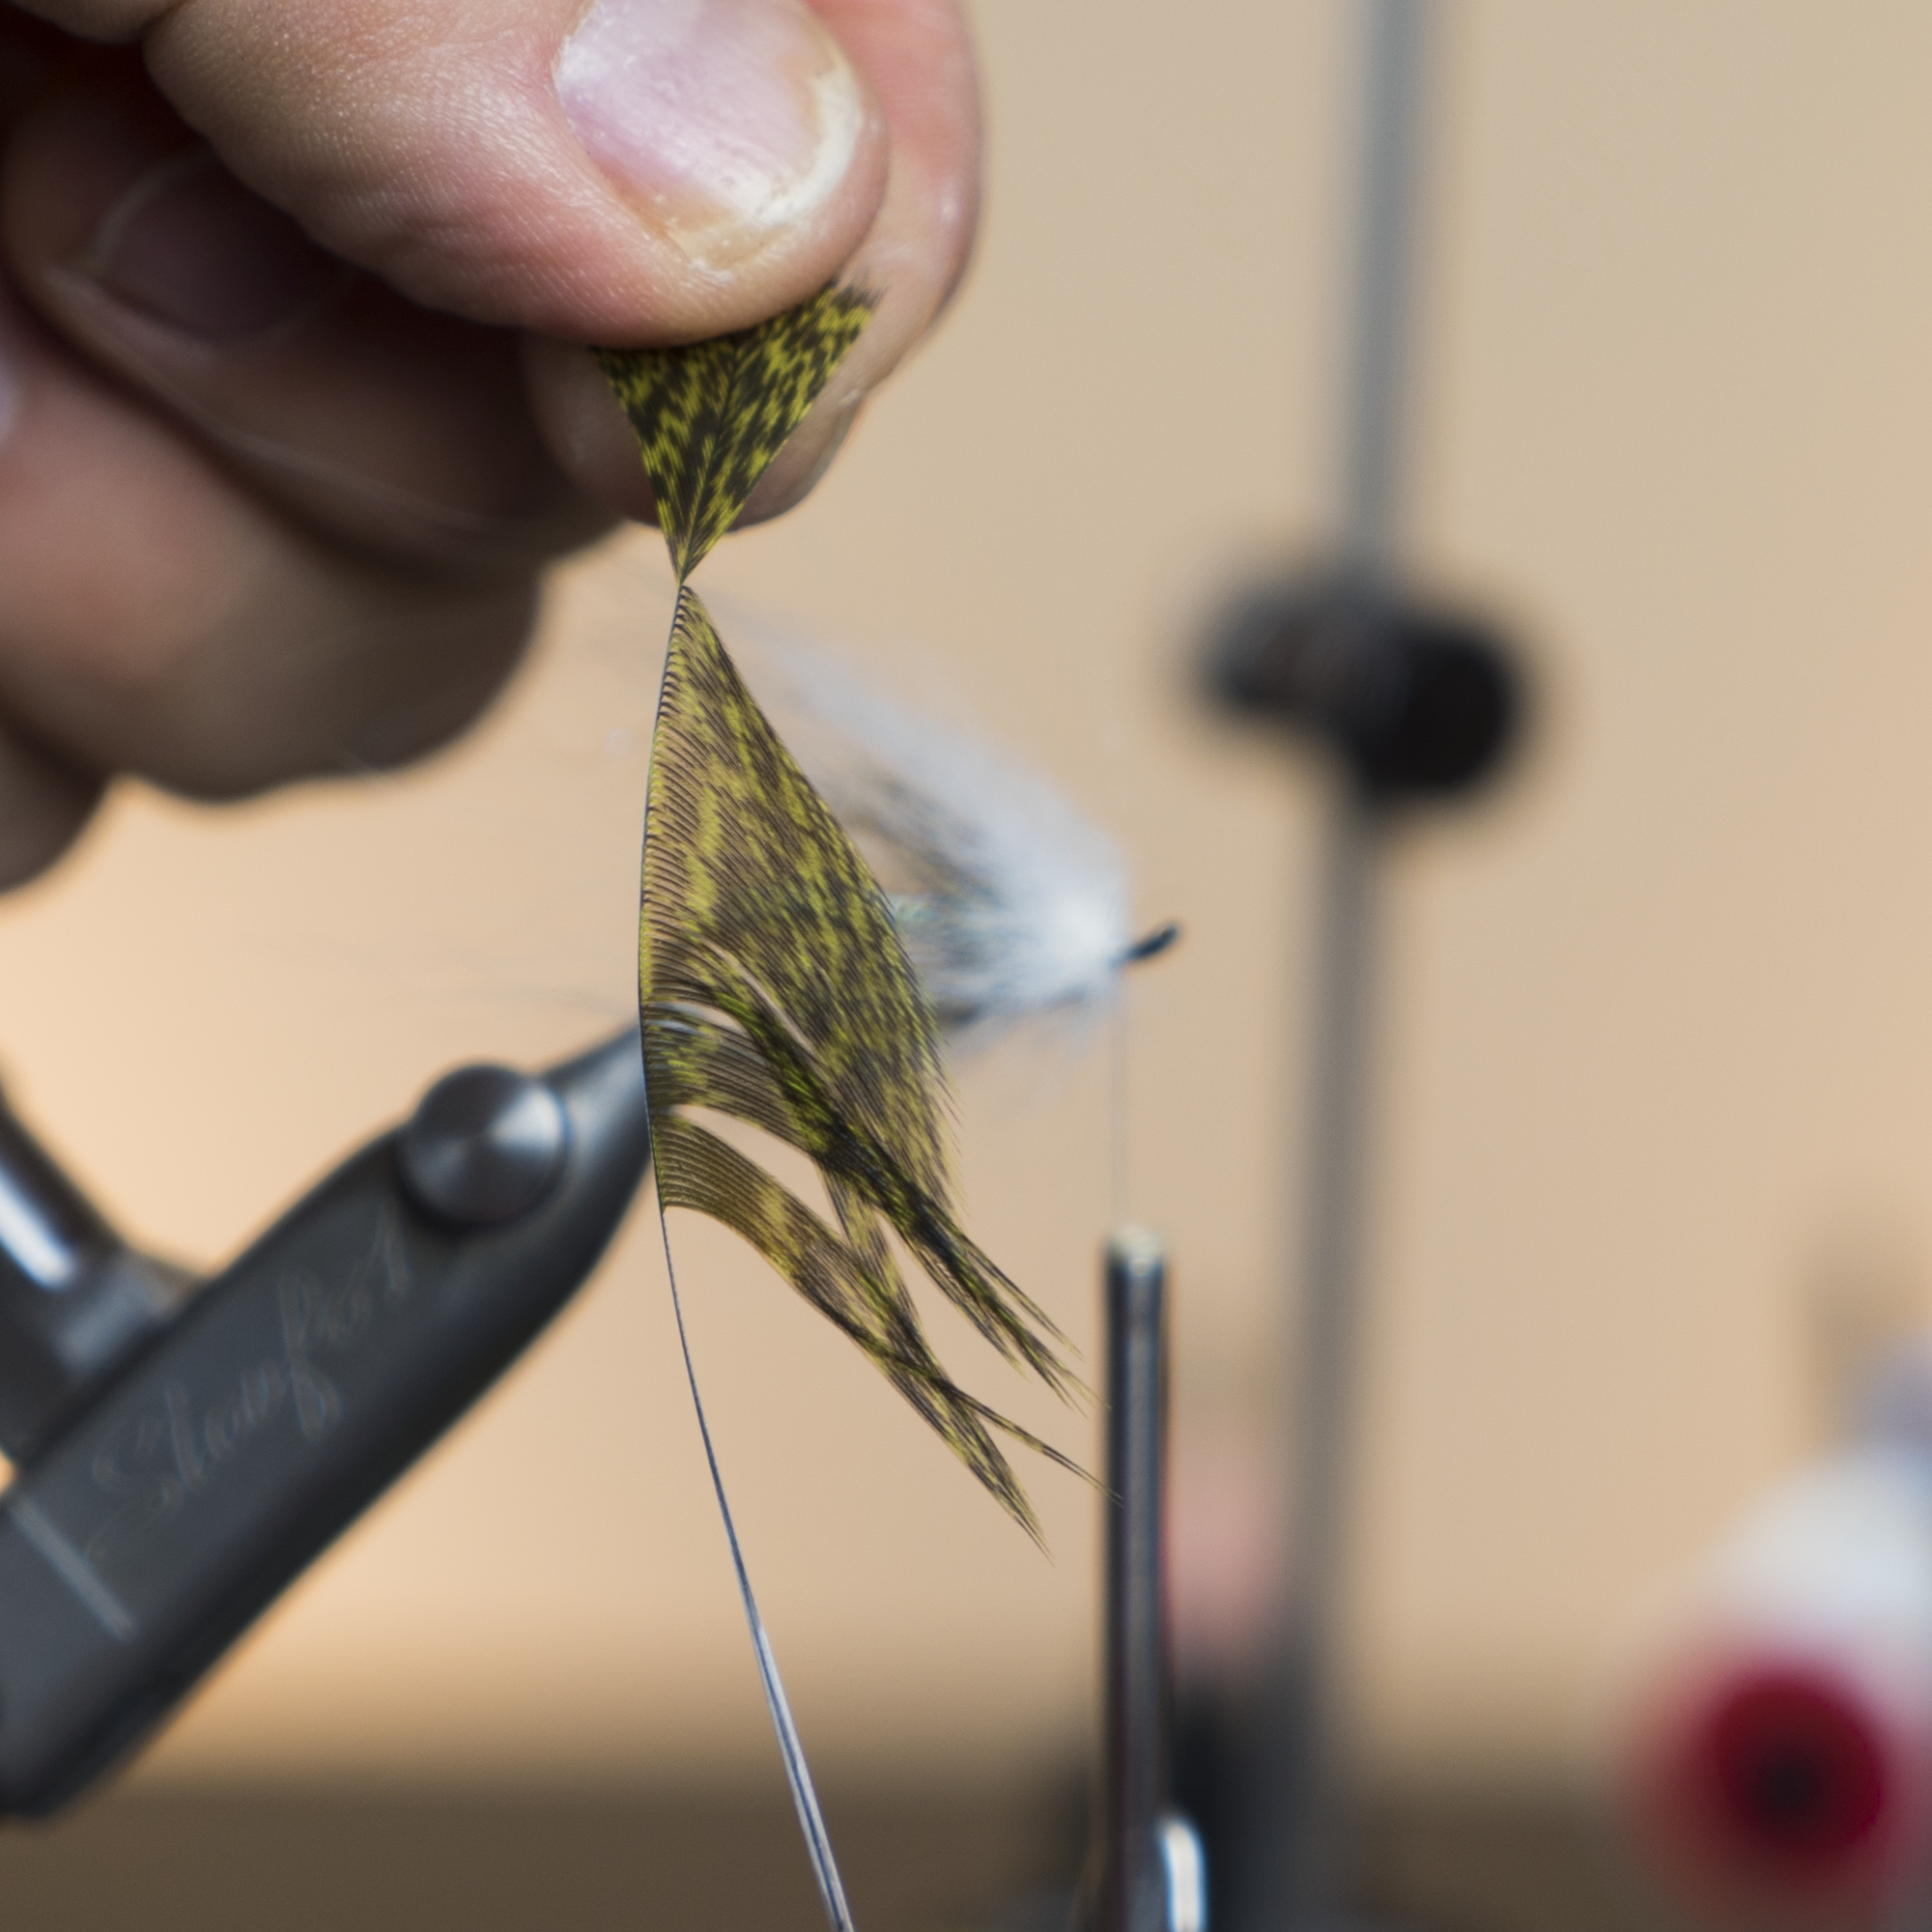
13. Select the appropriate sized Coq de Leon Hen Saddle (here in Chartreuse).  Holding the feather by the tip and with the concave/underside away from you strip off the left dies of the feather. 


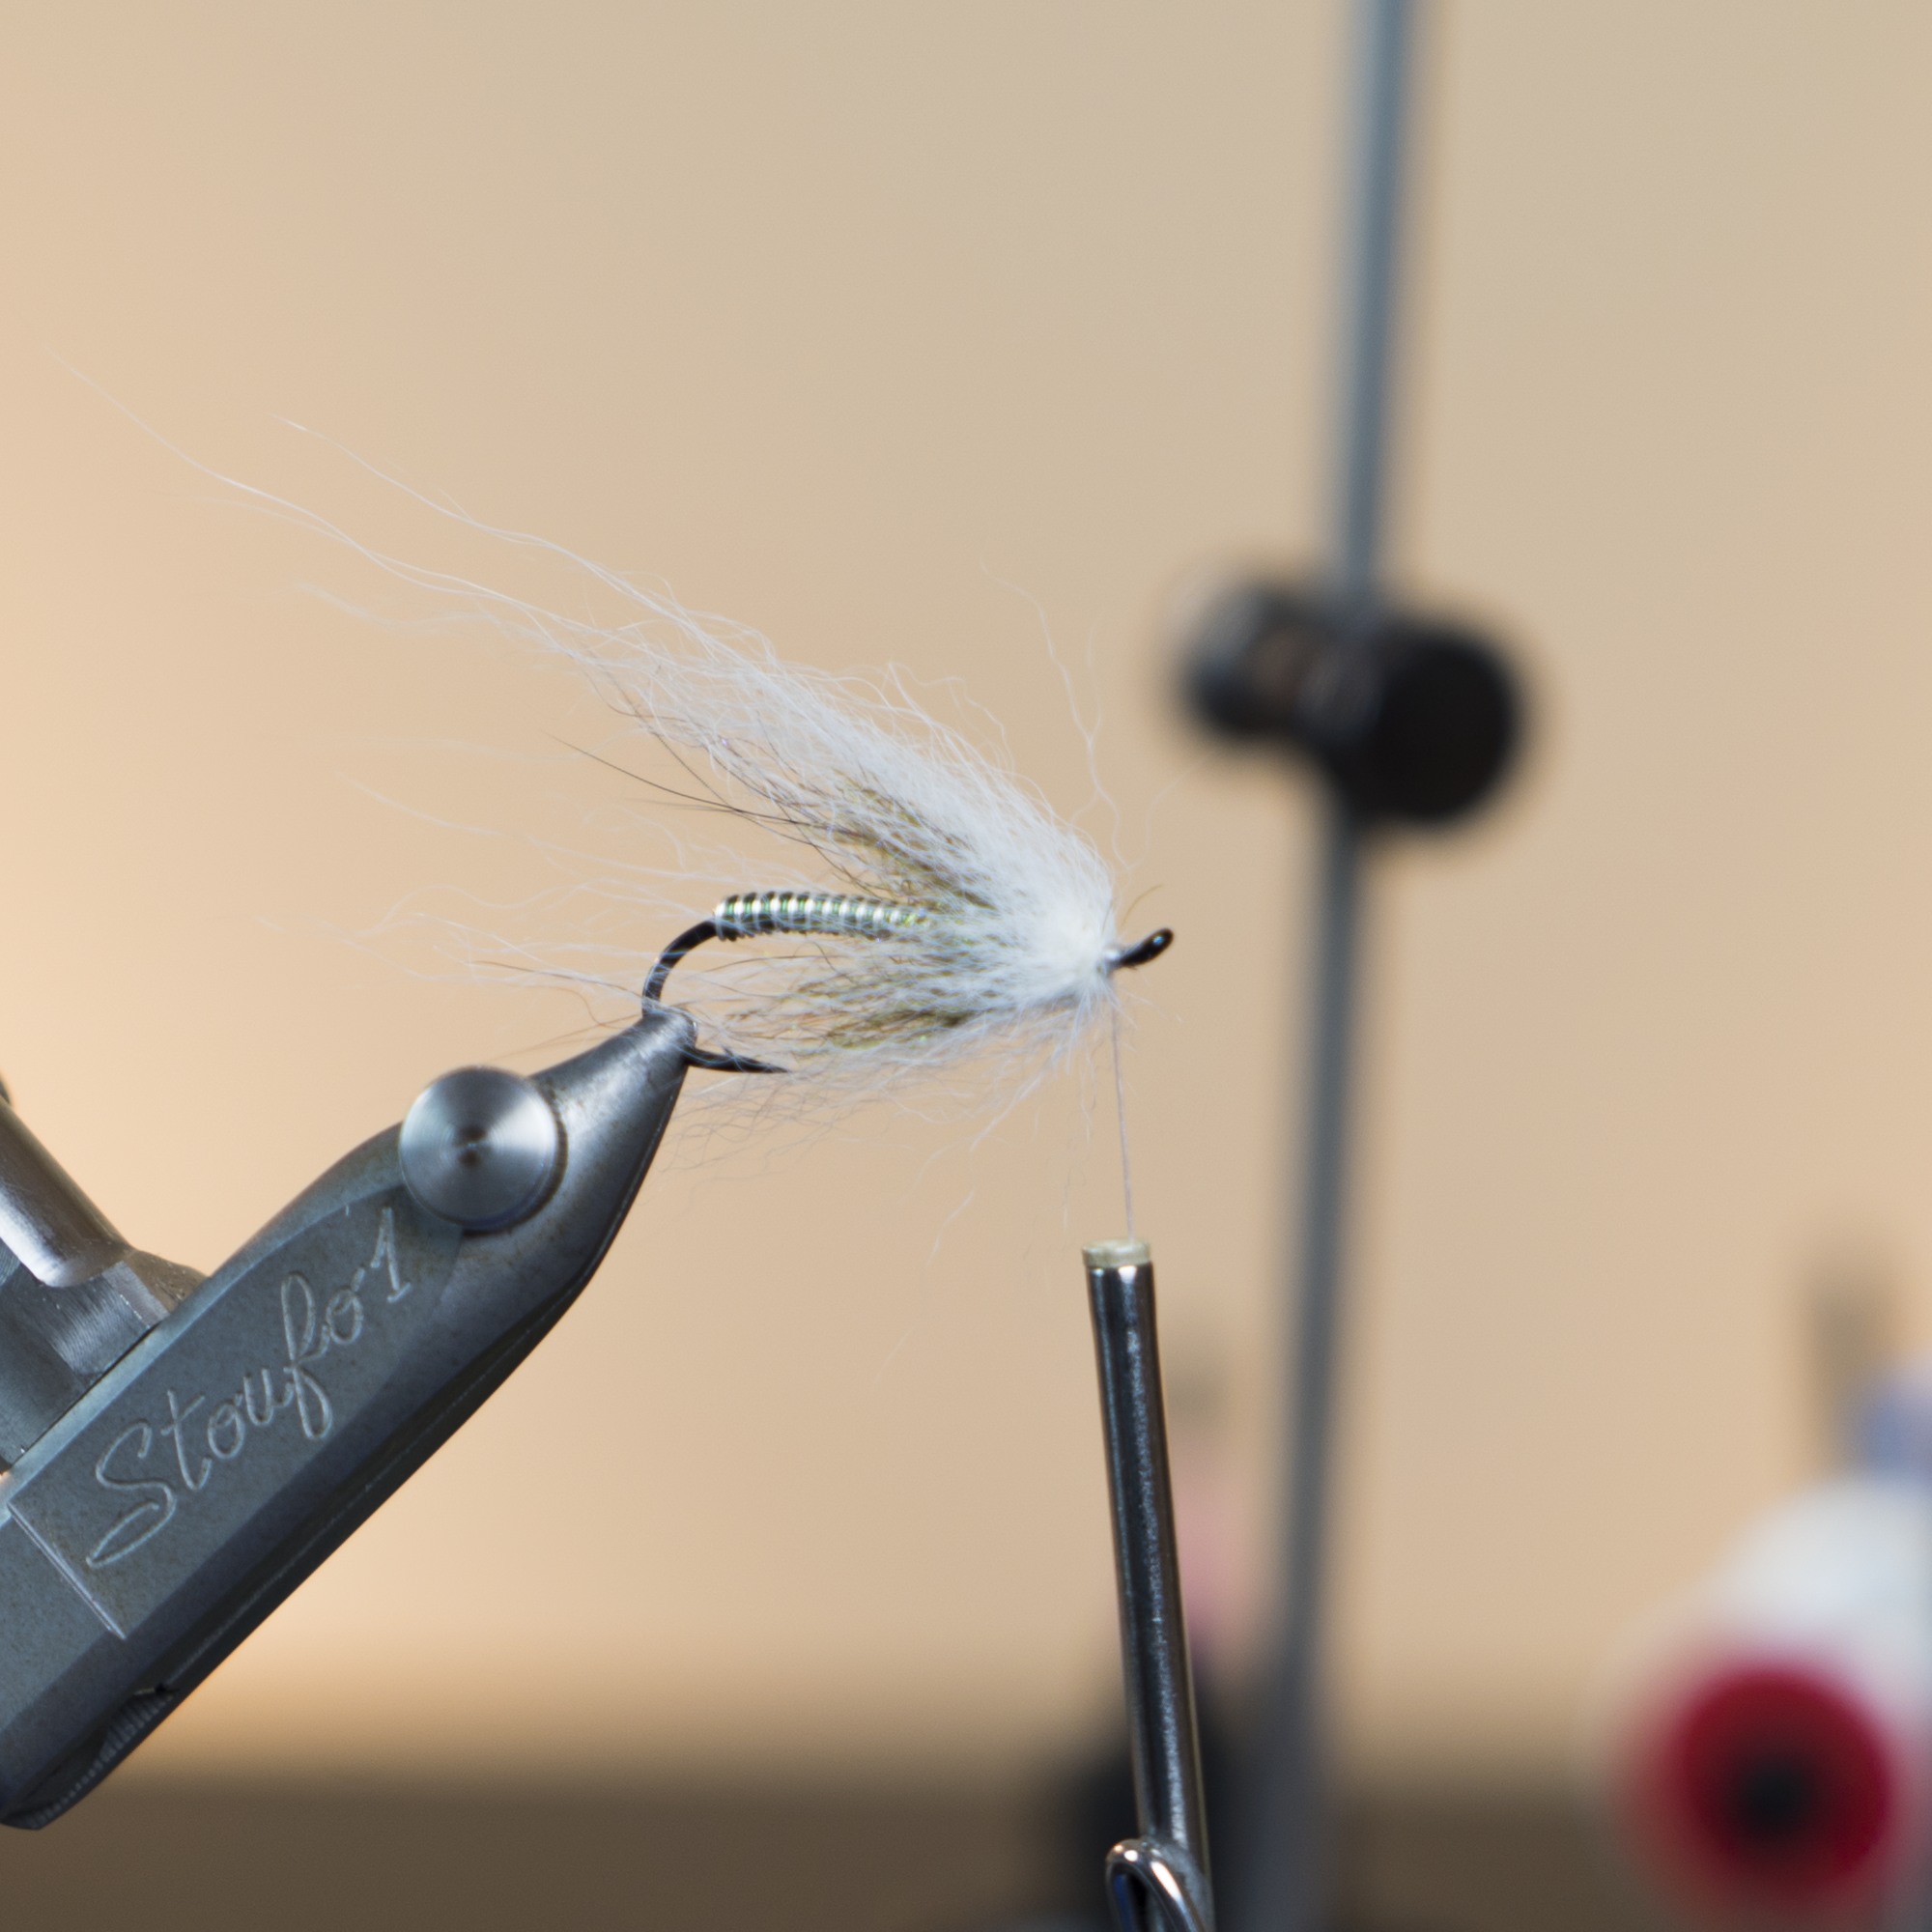
14. Tie in the feather by the tip and wrap the stripped side around the shank right against the Arctic Fox wing.


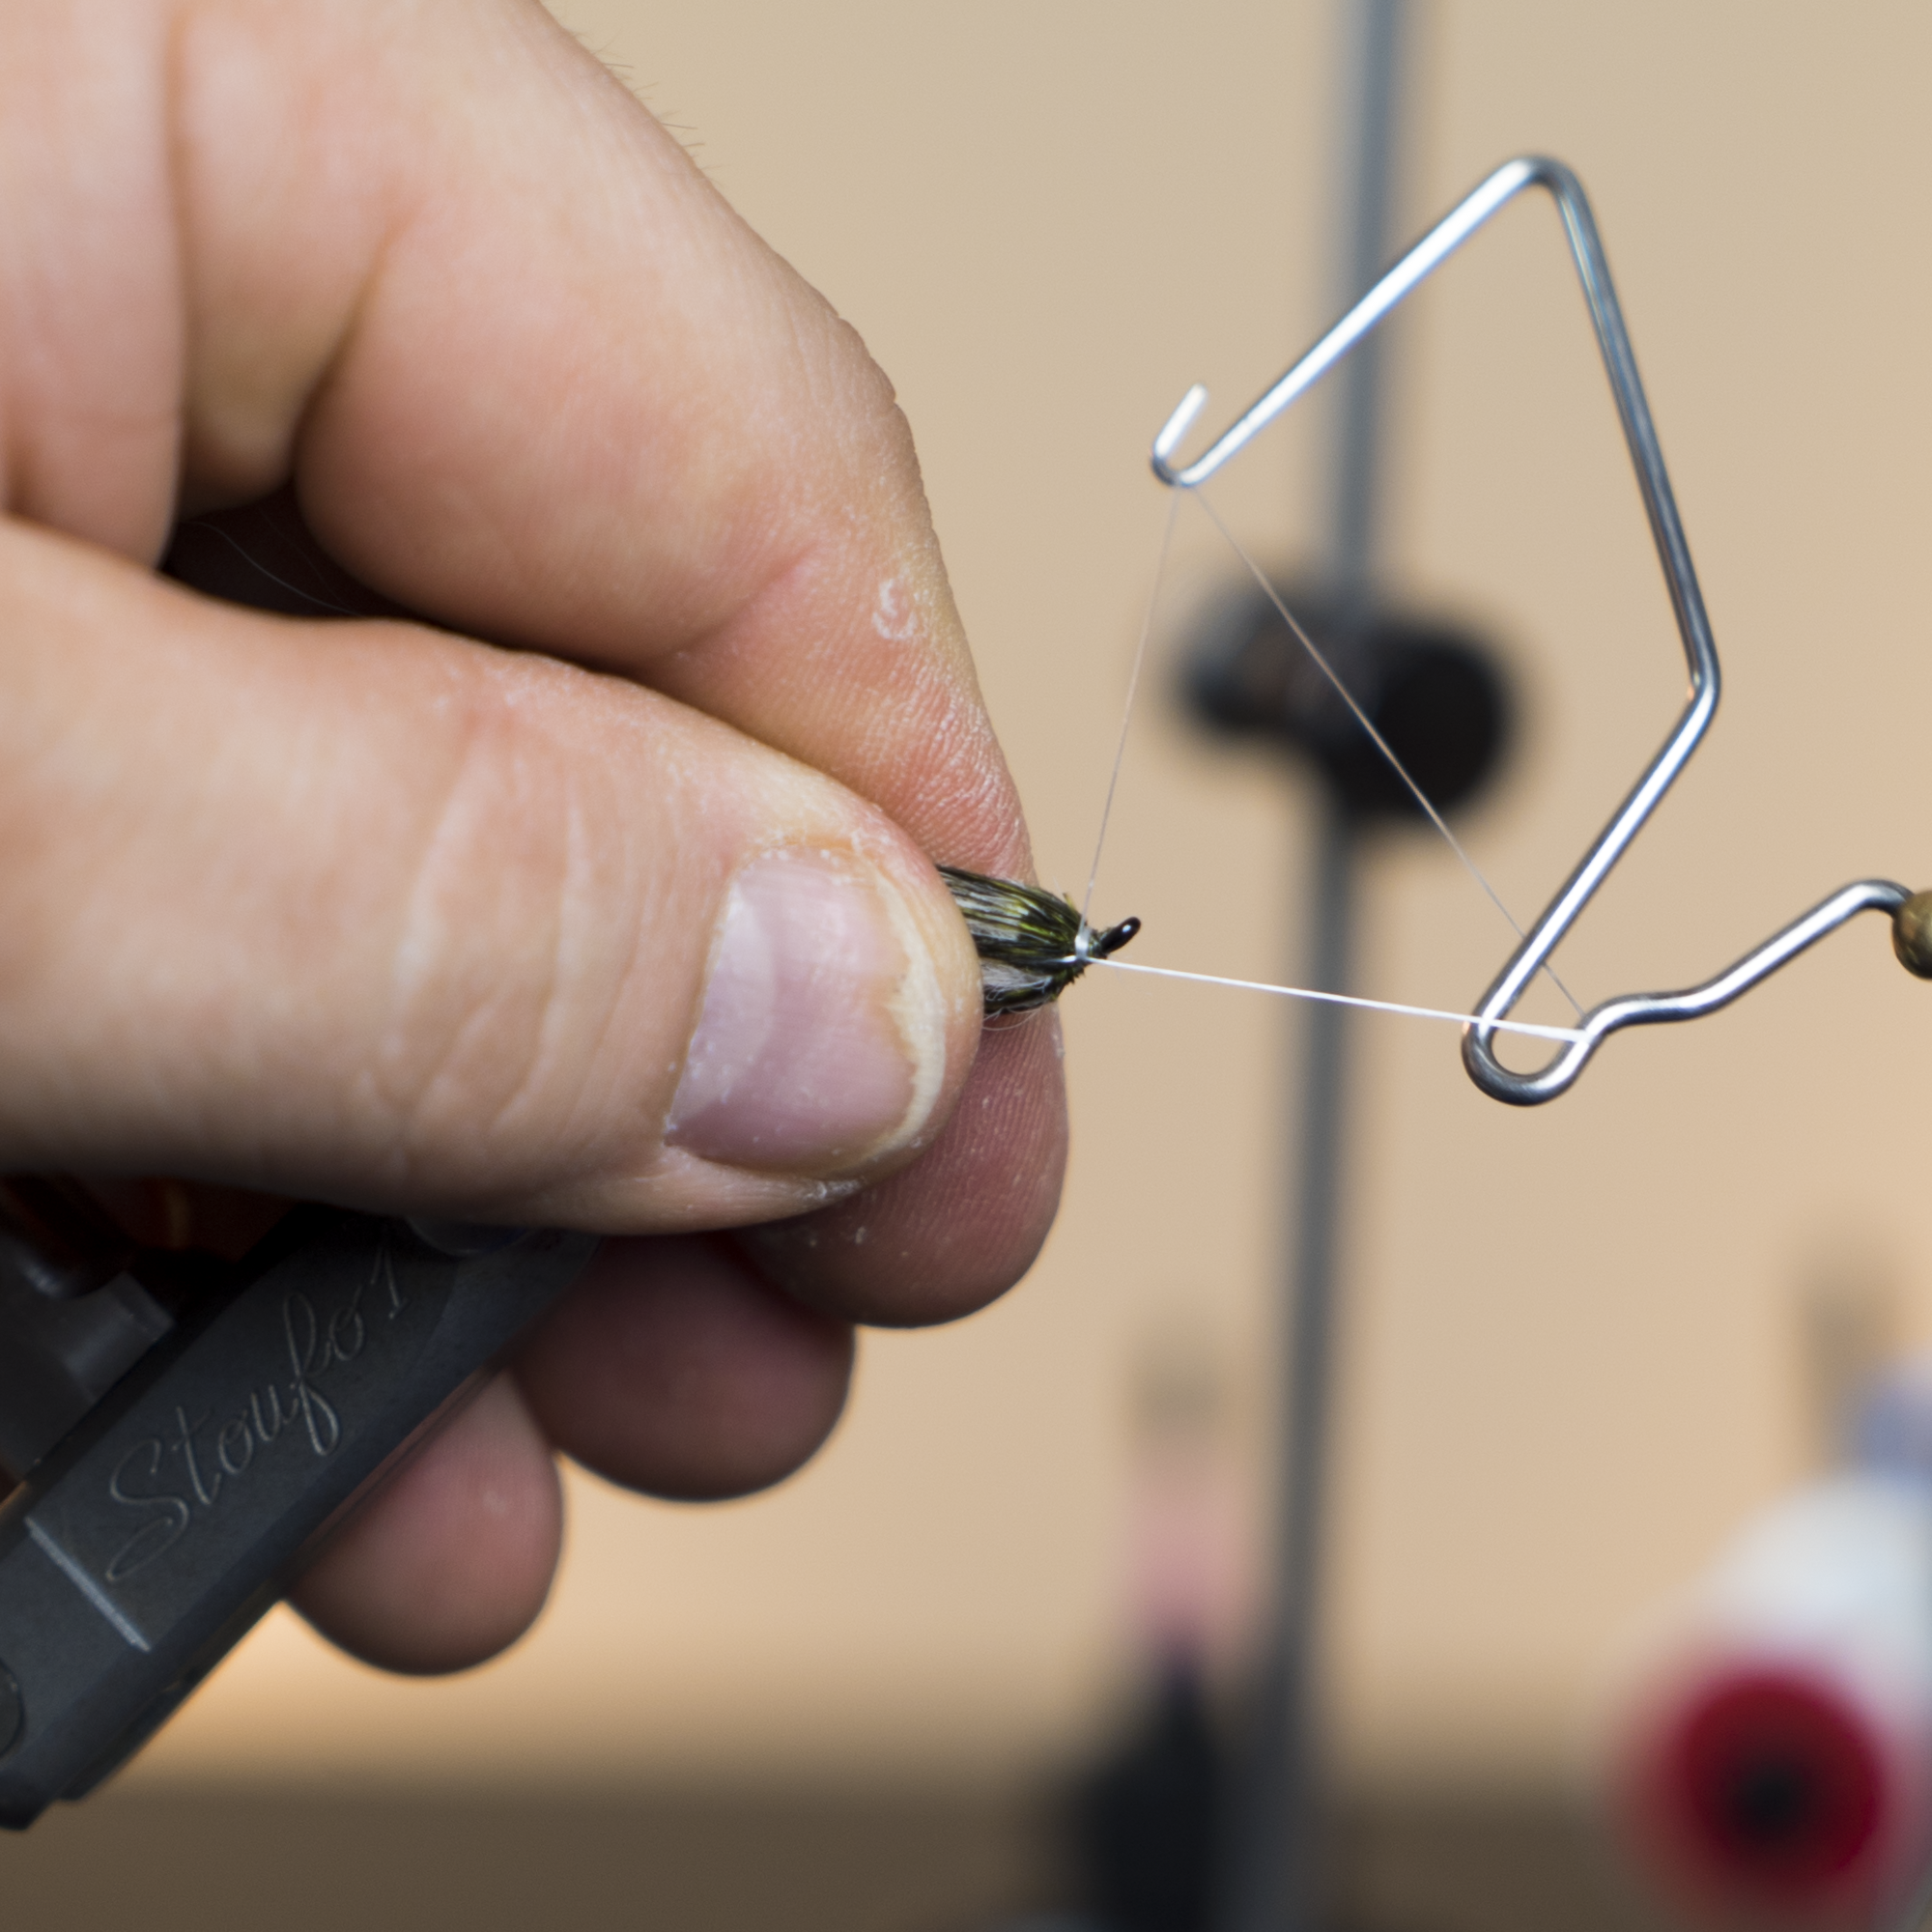
15. Tie off the feather and whip finish the head.  


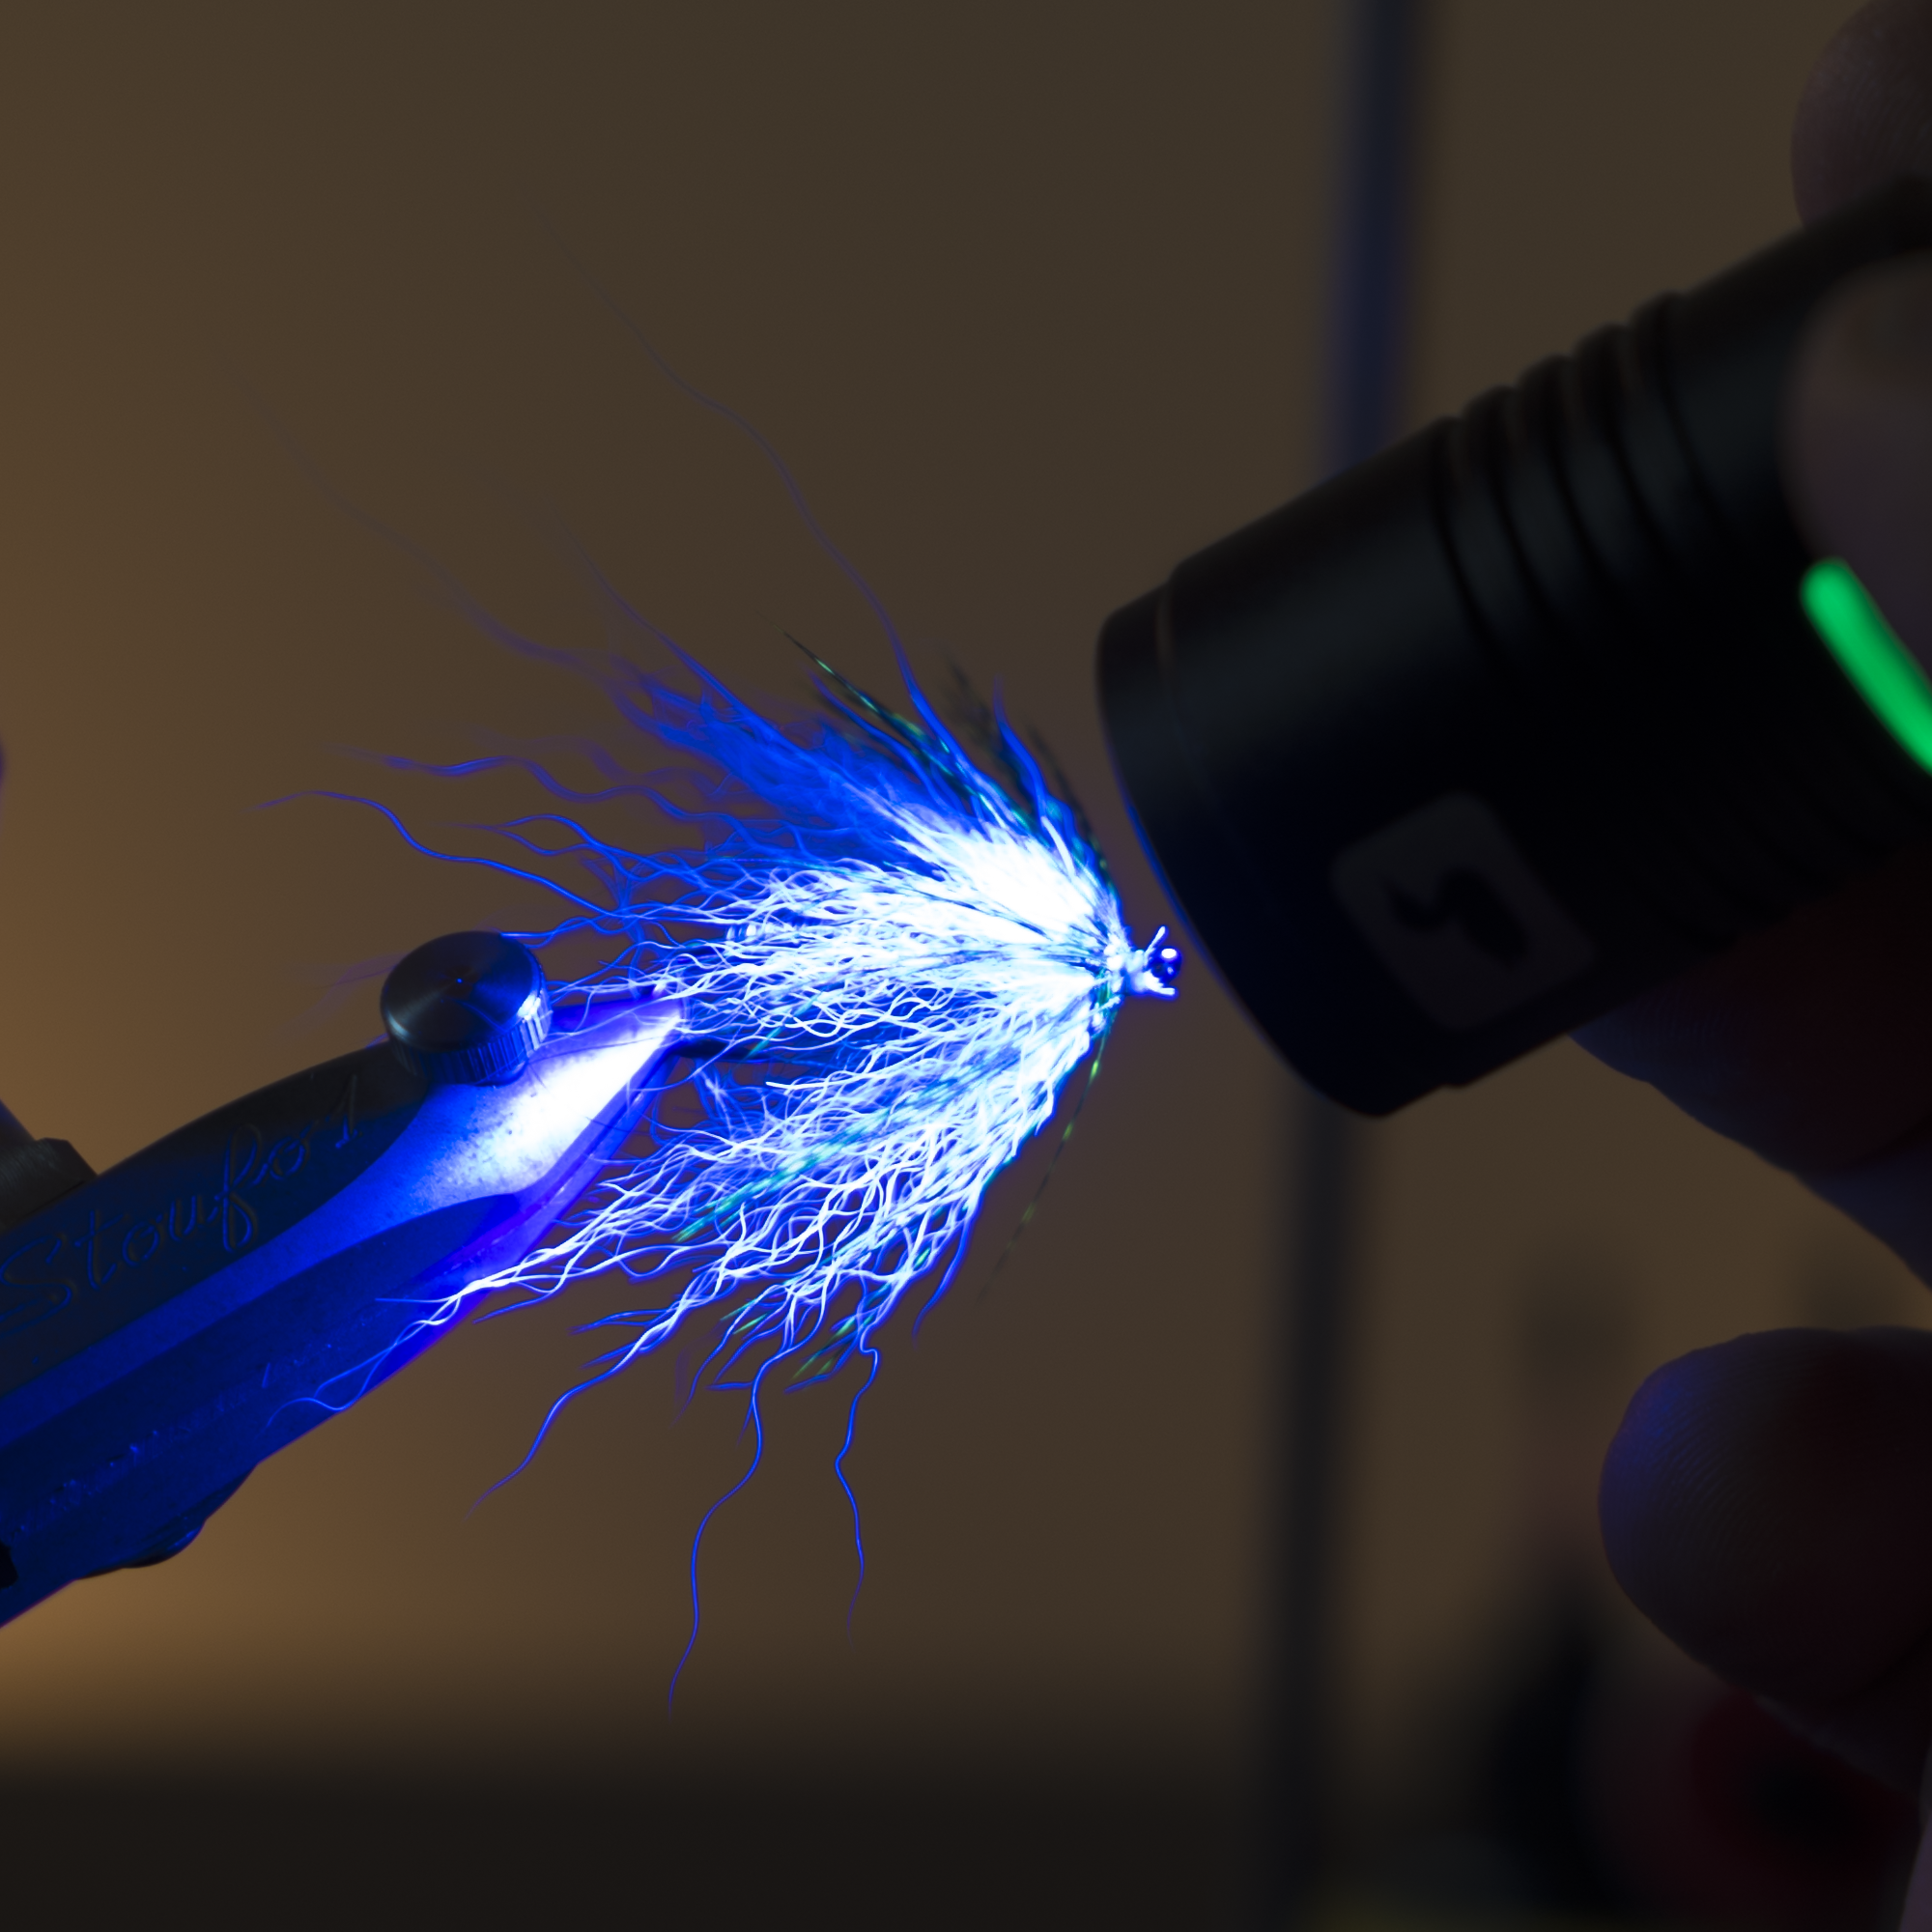
16. Coat your thread and the stem of the wrapped feather in Loon UV Thin resin.  Hit the resin with your UV torch and you’re finished.


Watch the Video!


Mad River Outfitters/Midwest Fly Fishing Schools

Fly Shop, Fly Fishing Guides, Hosted Fly Fishing Travel, Schools, Classes and more!

813 Bethel Rd.
Columbus, Ohio 43214

614-451-0363