Free shipping over $50 1-888-451-0363

Fly Tying- The Bulkhead Deceiver

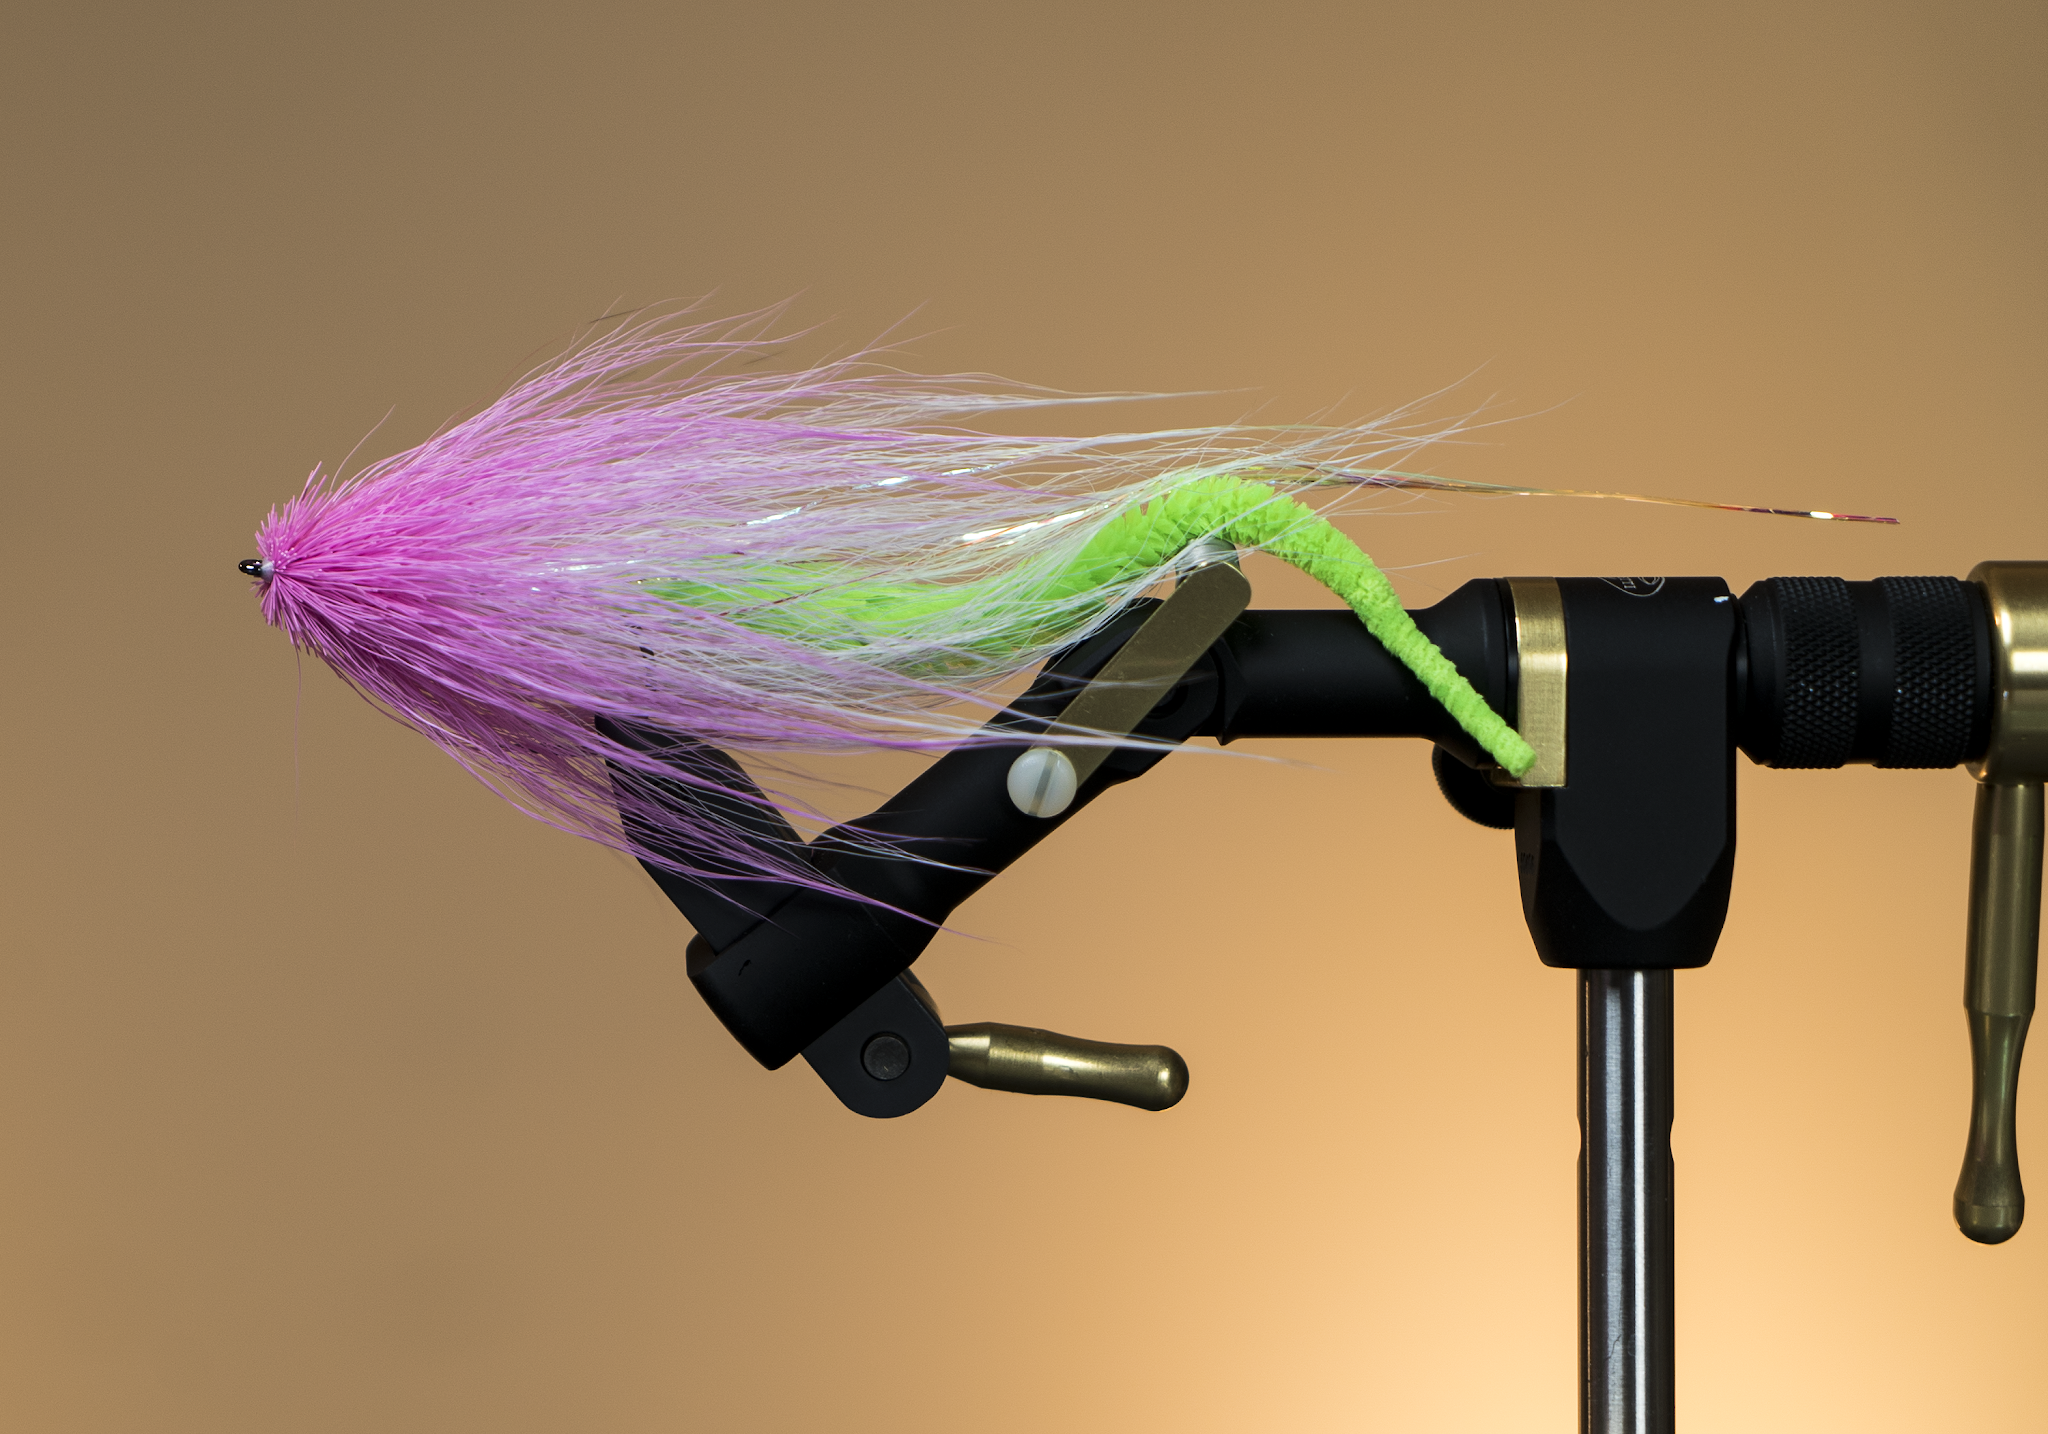
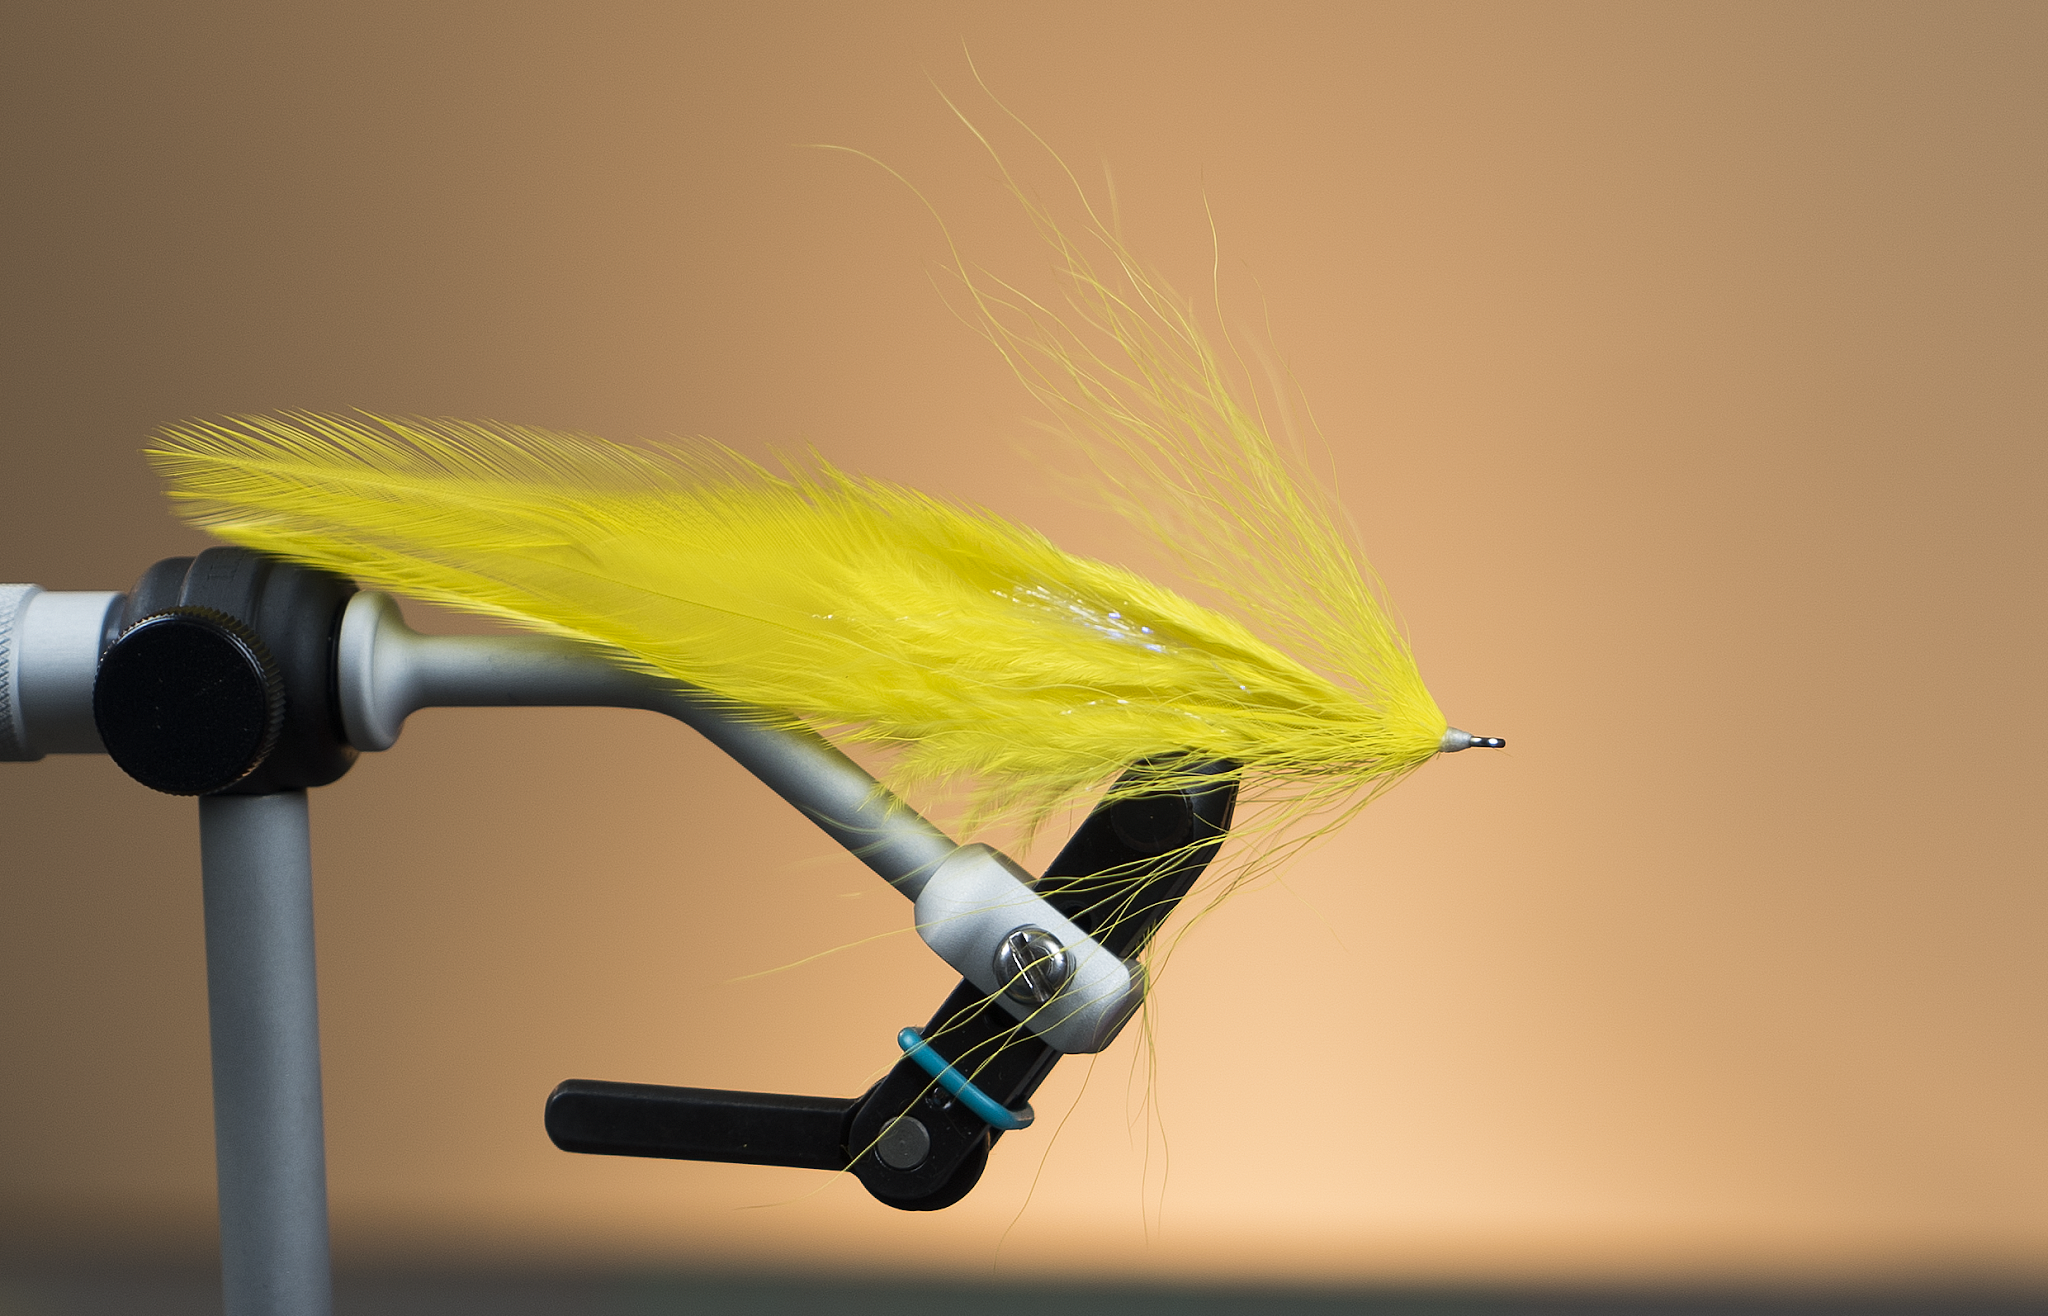
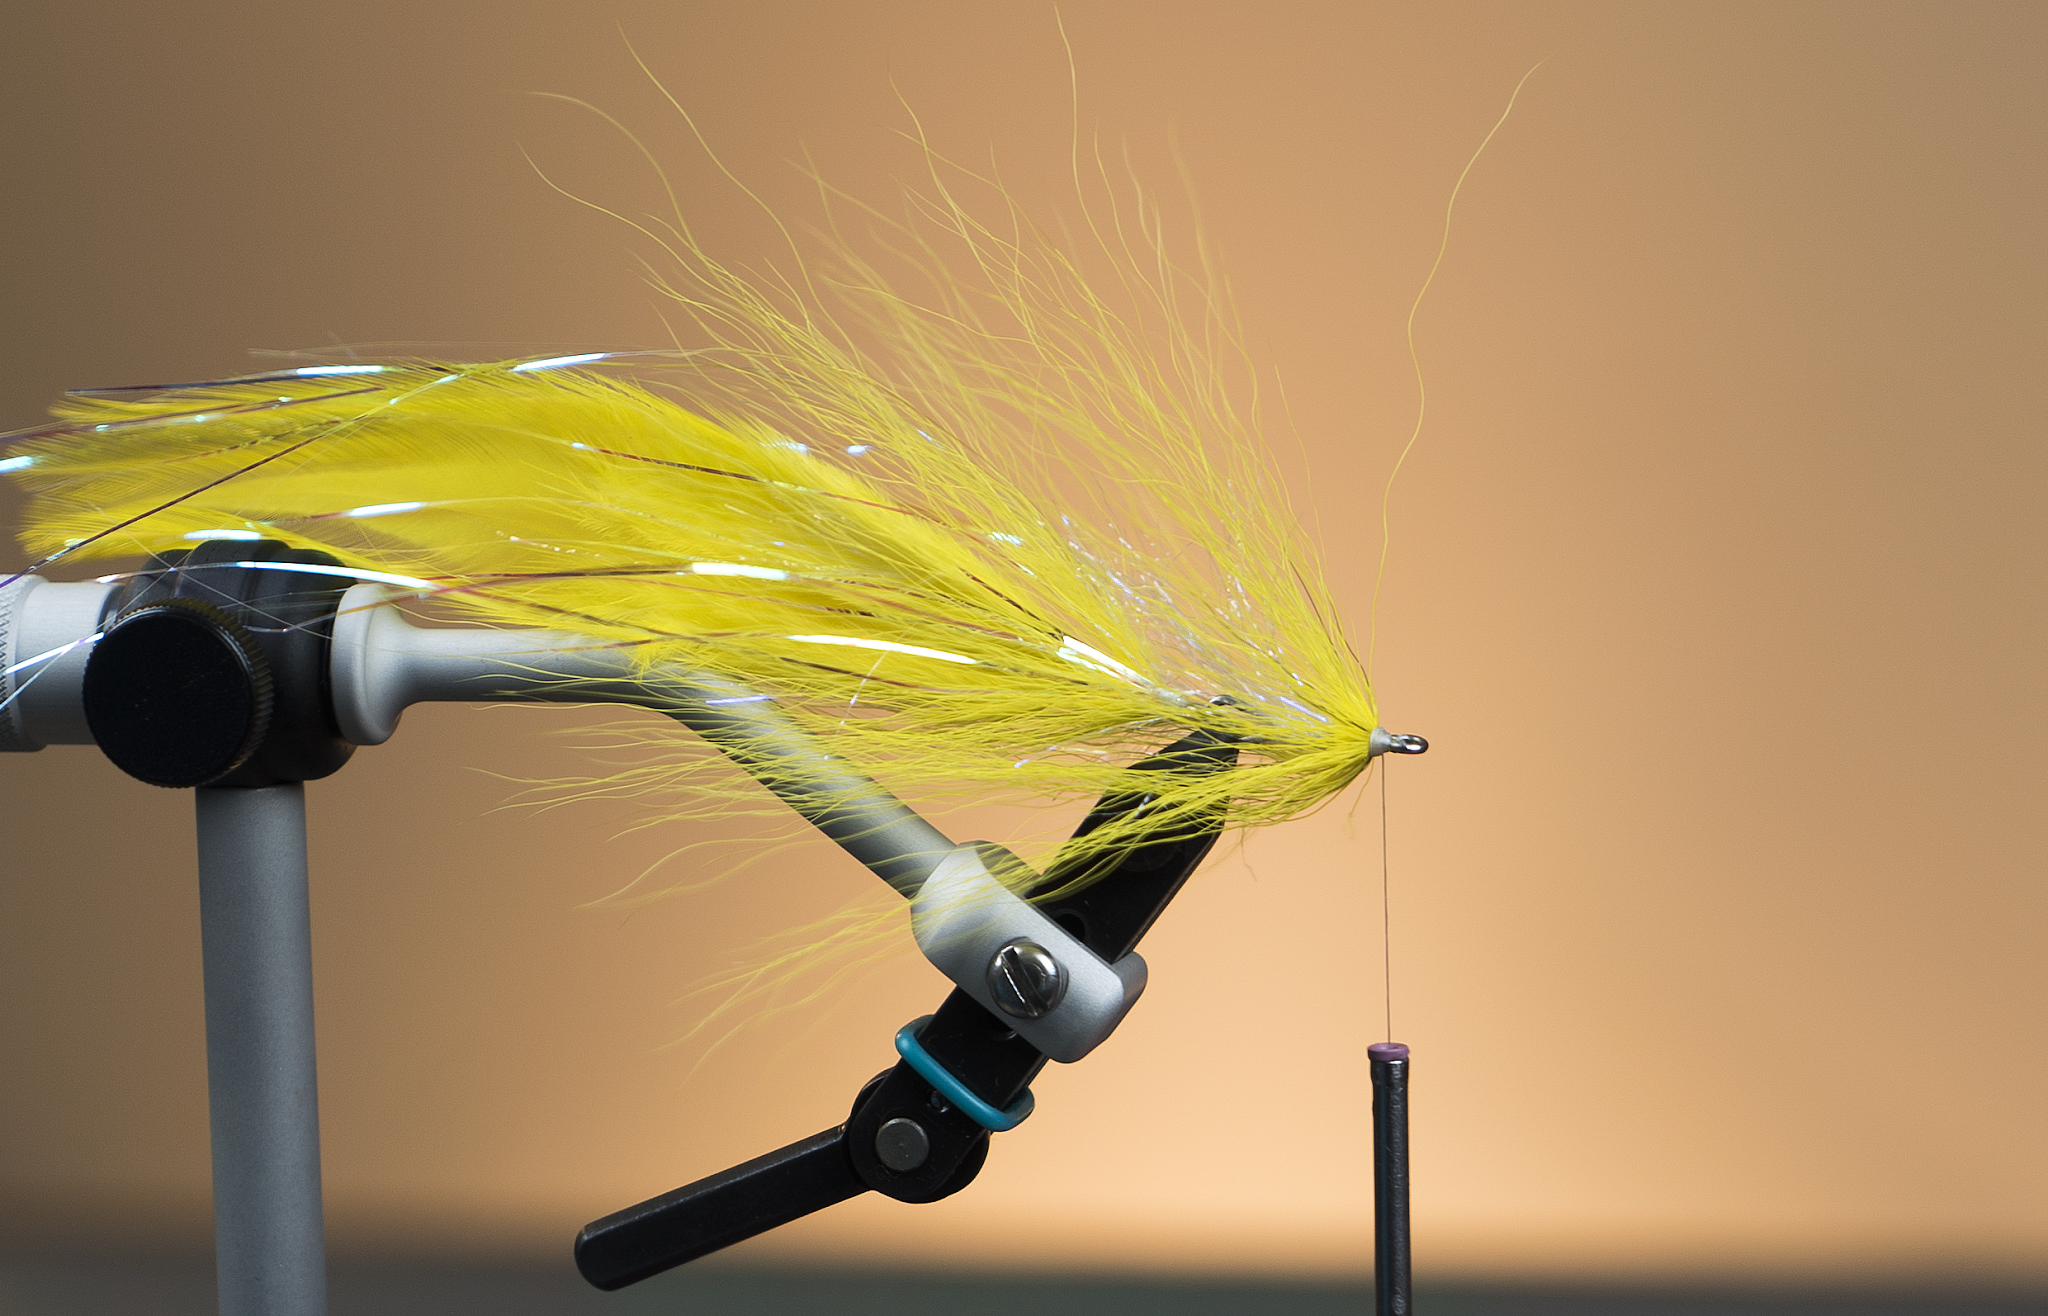
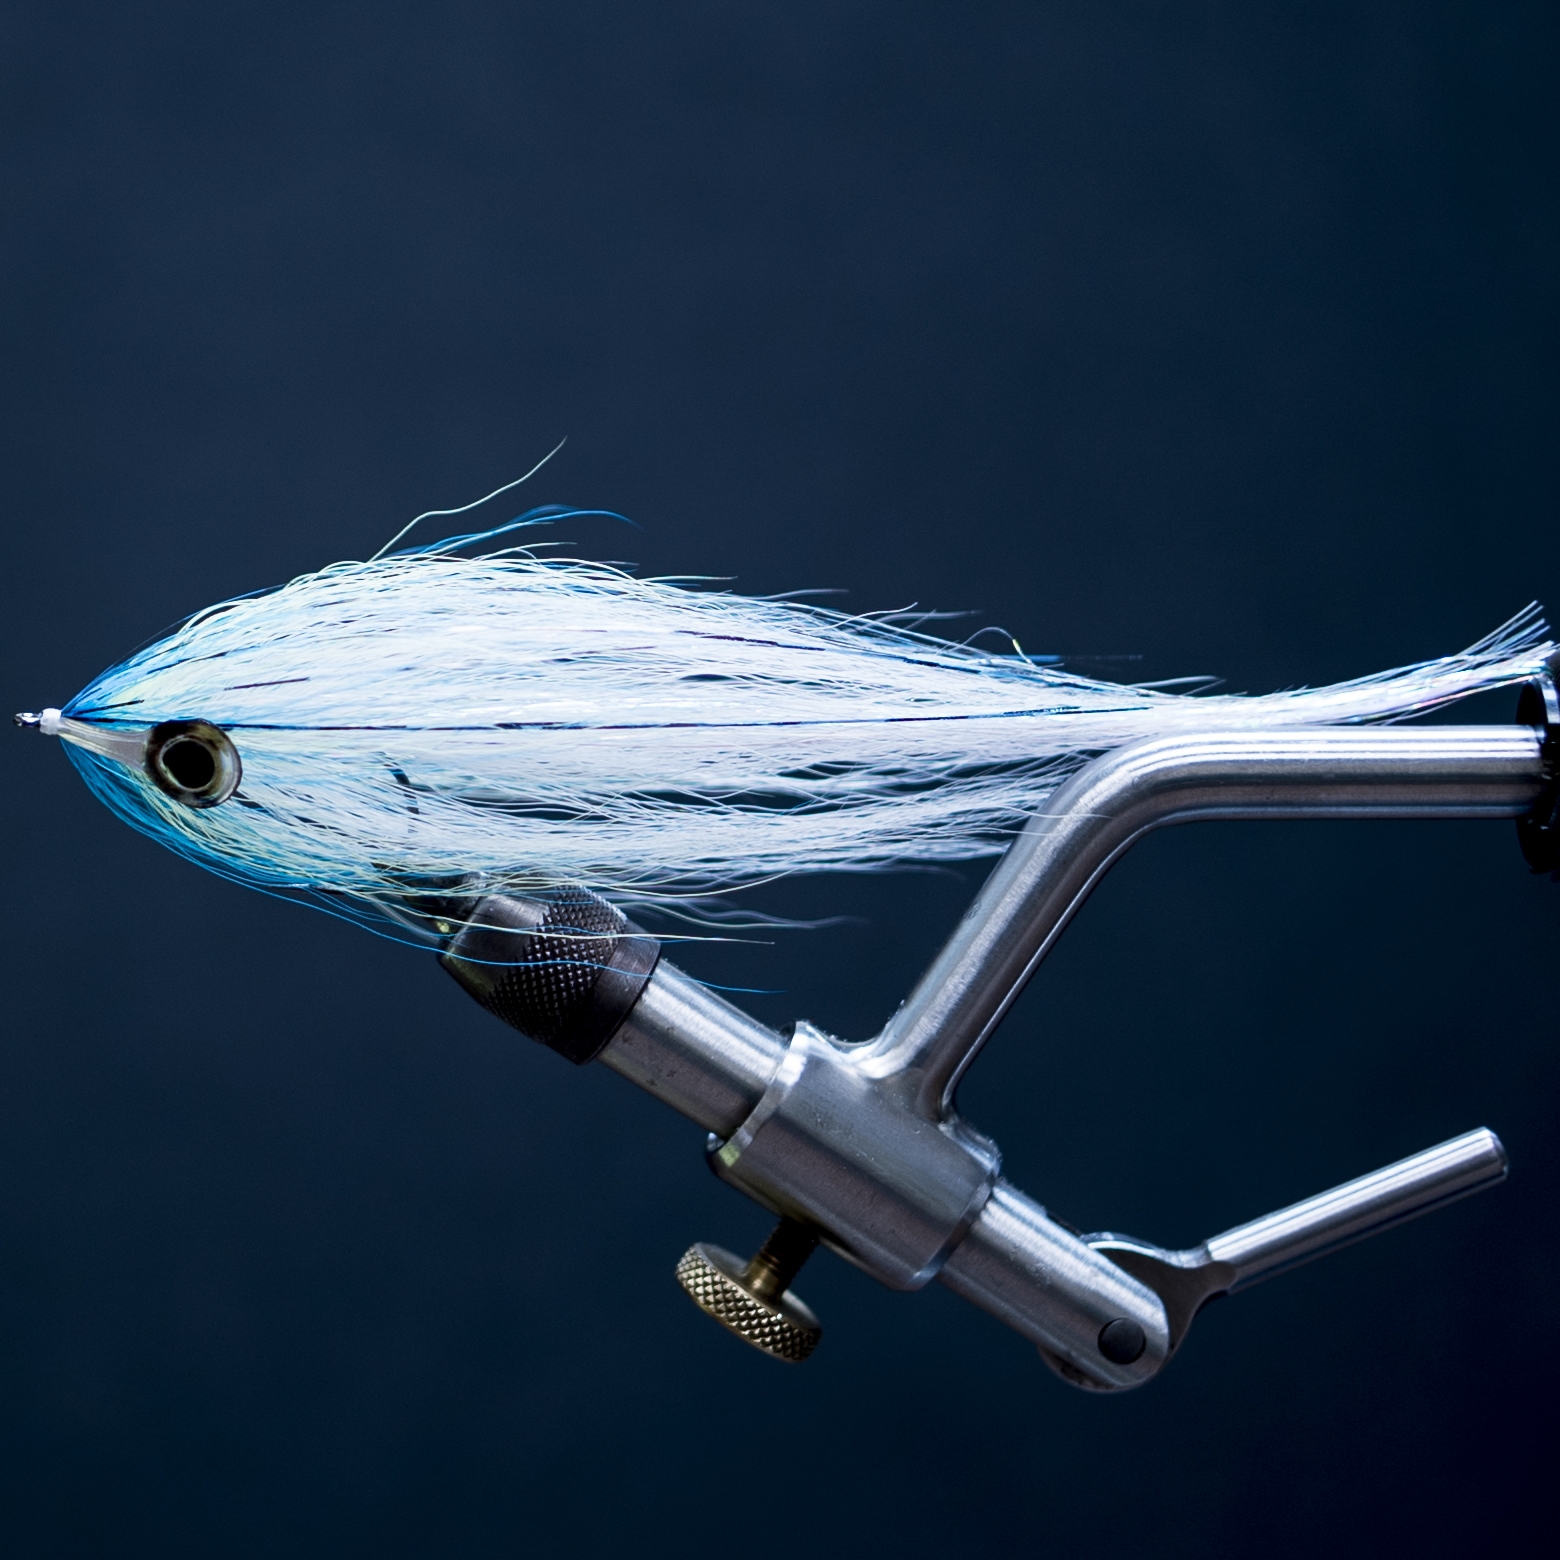
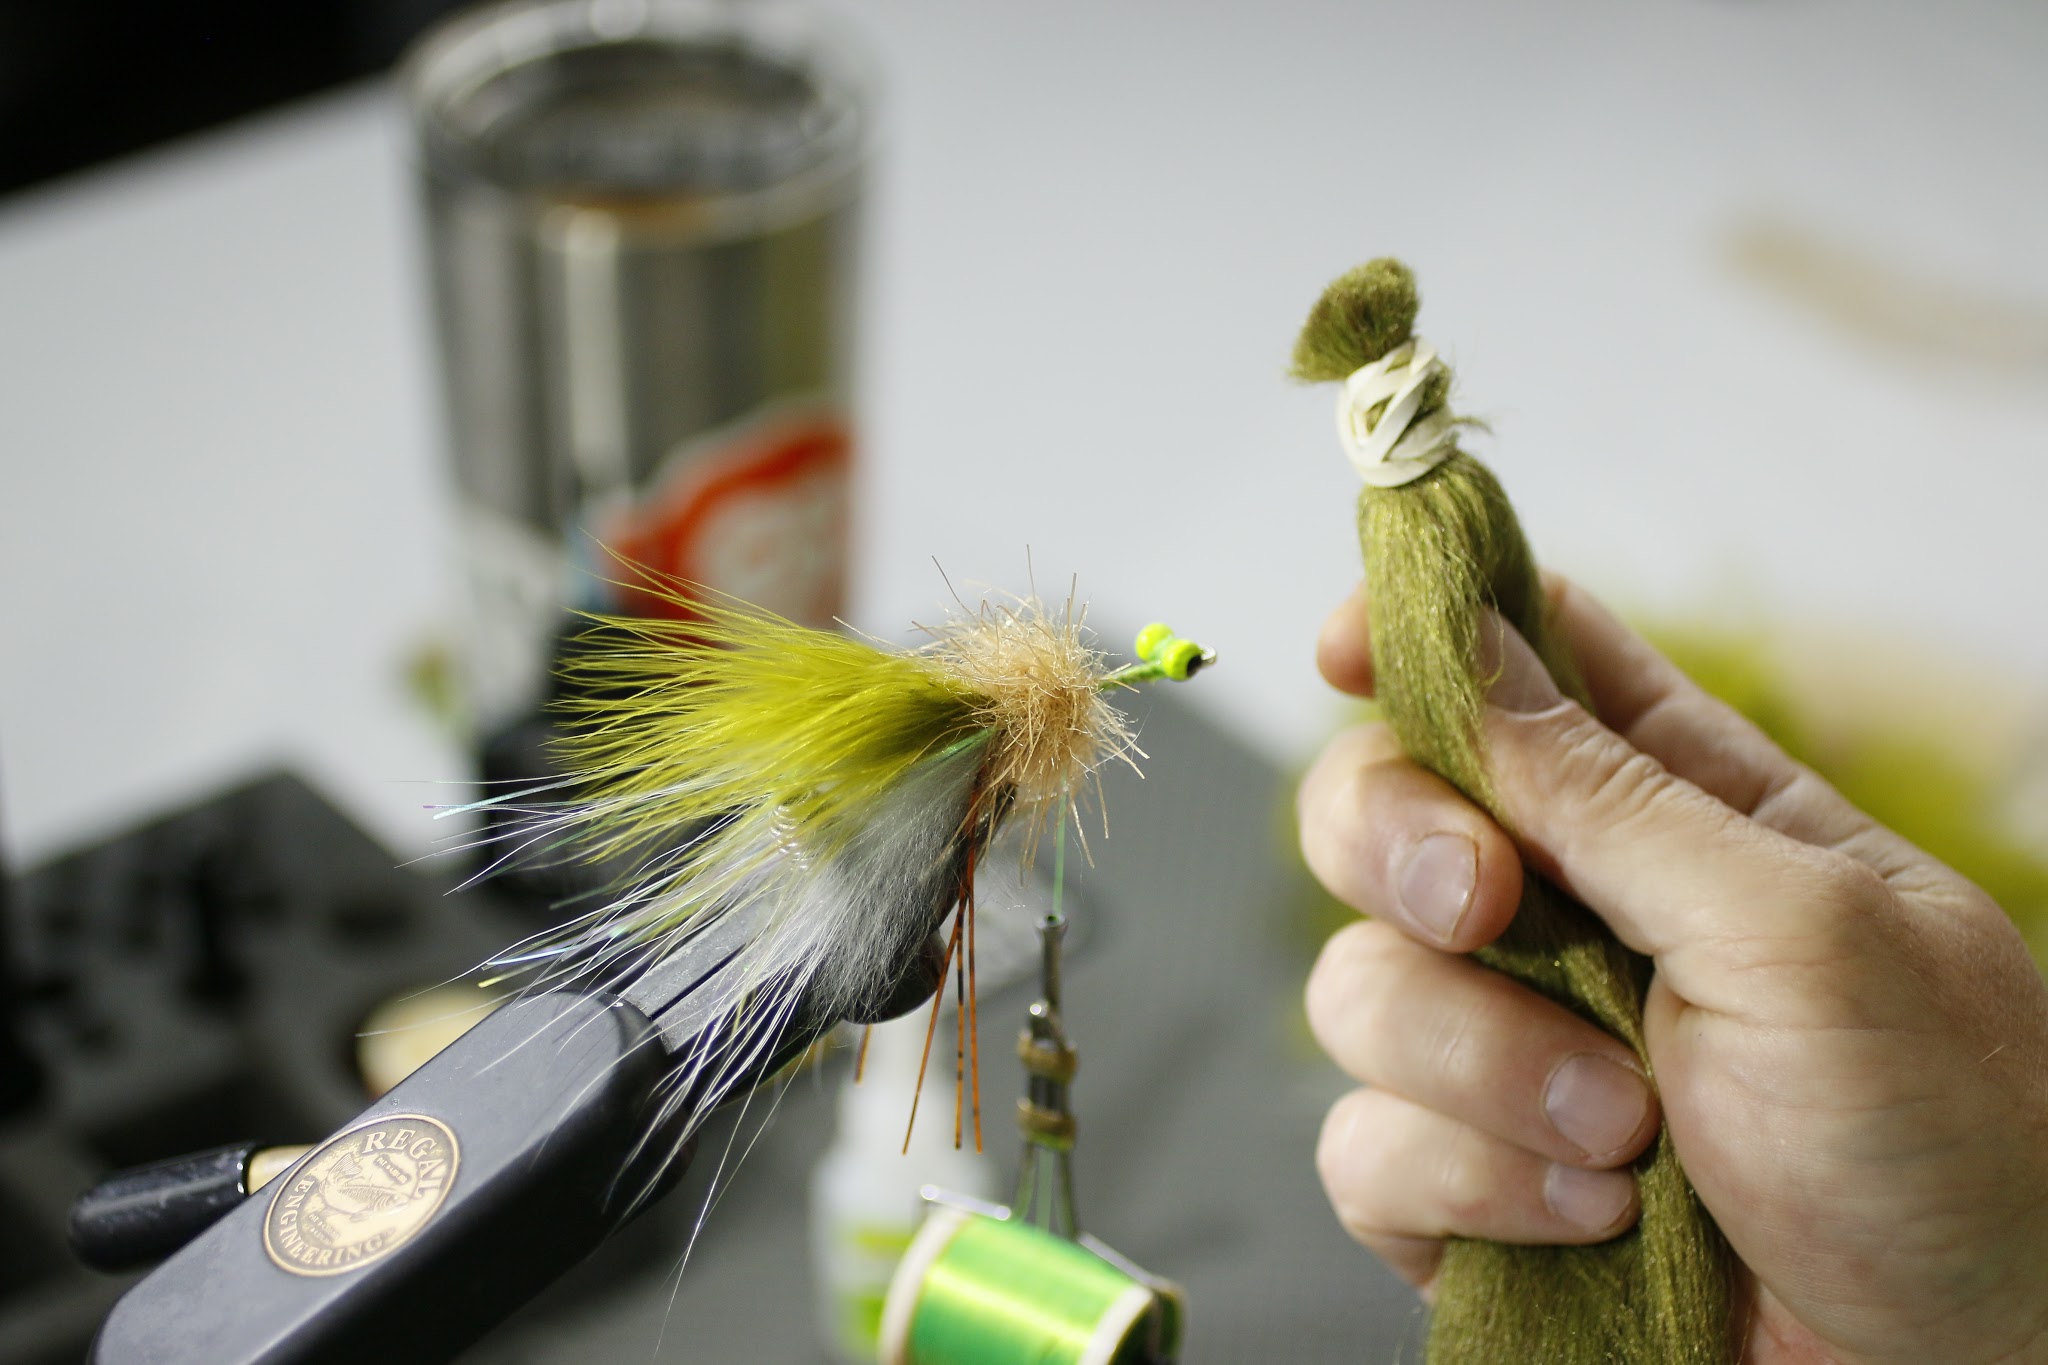
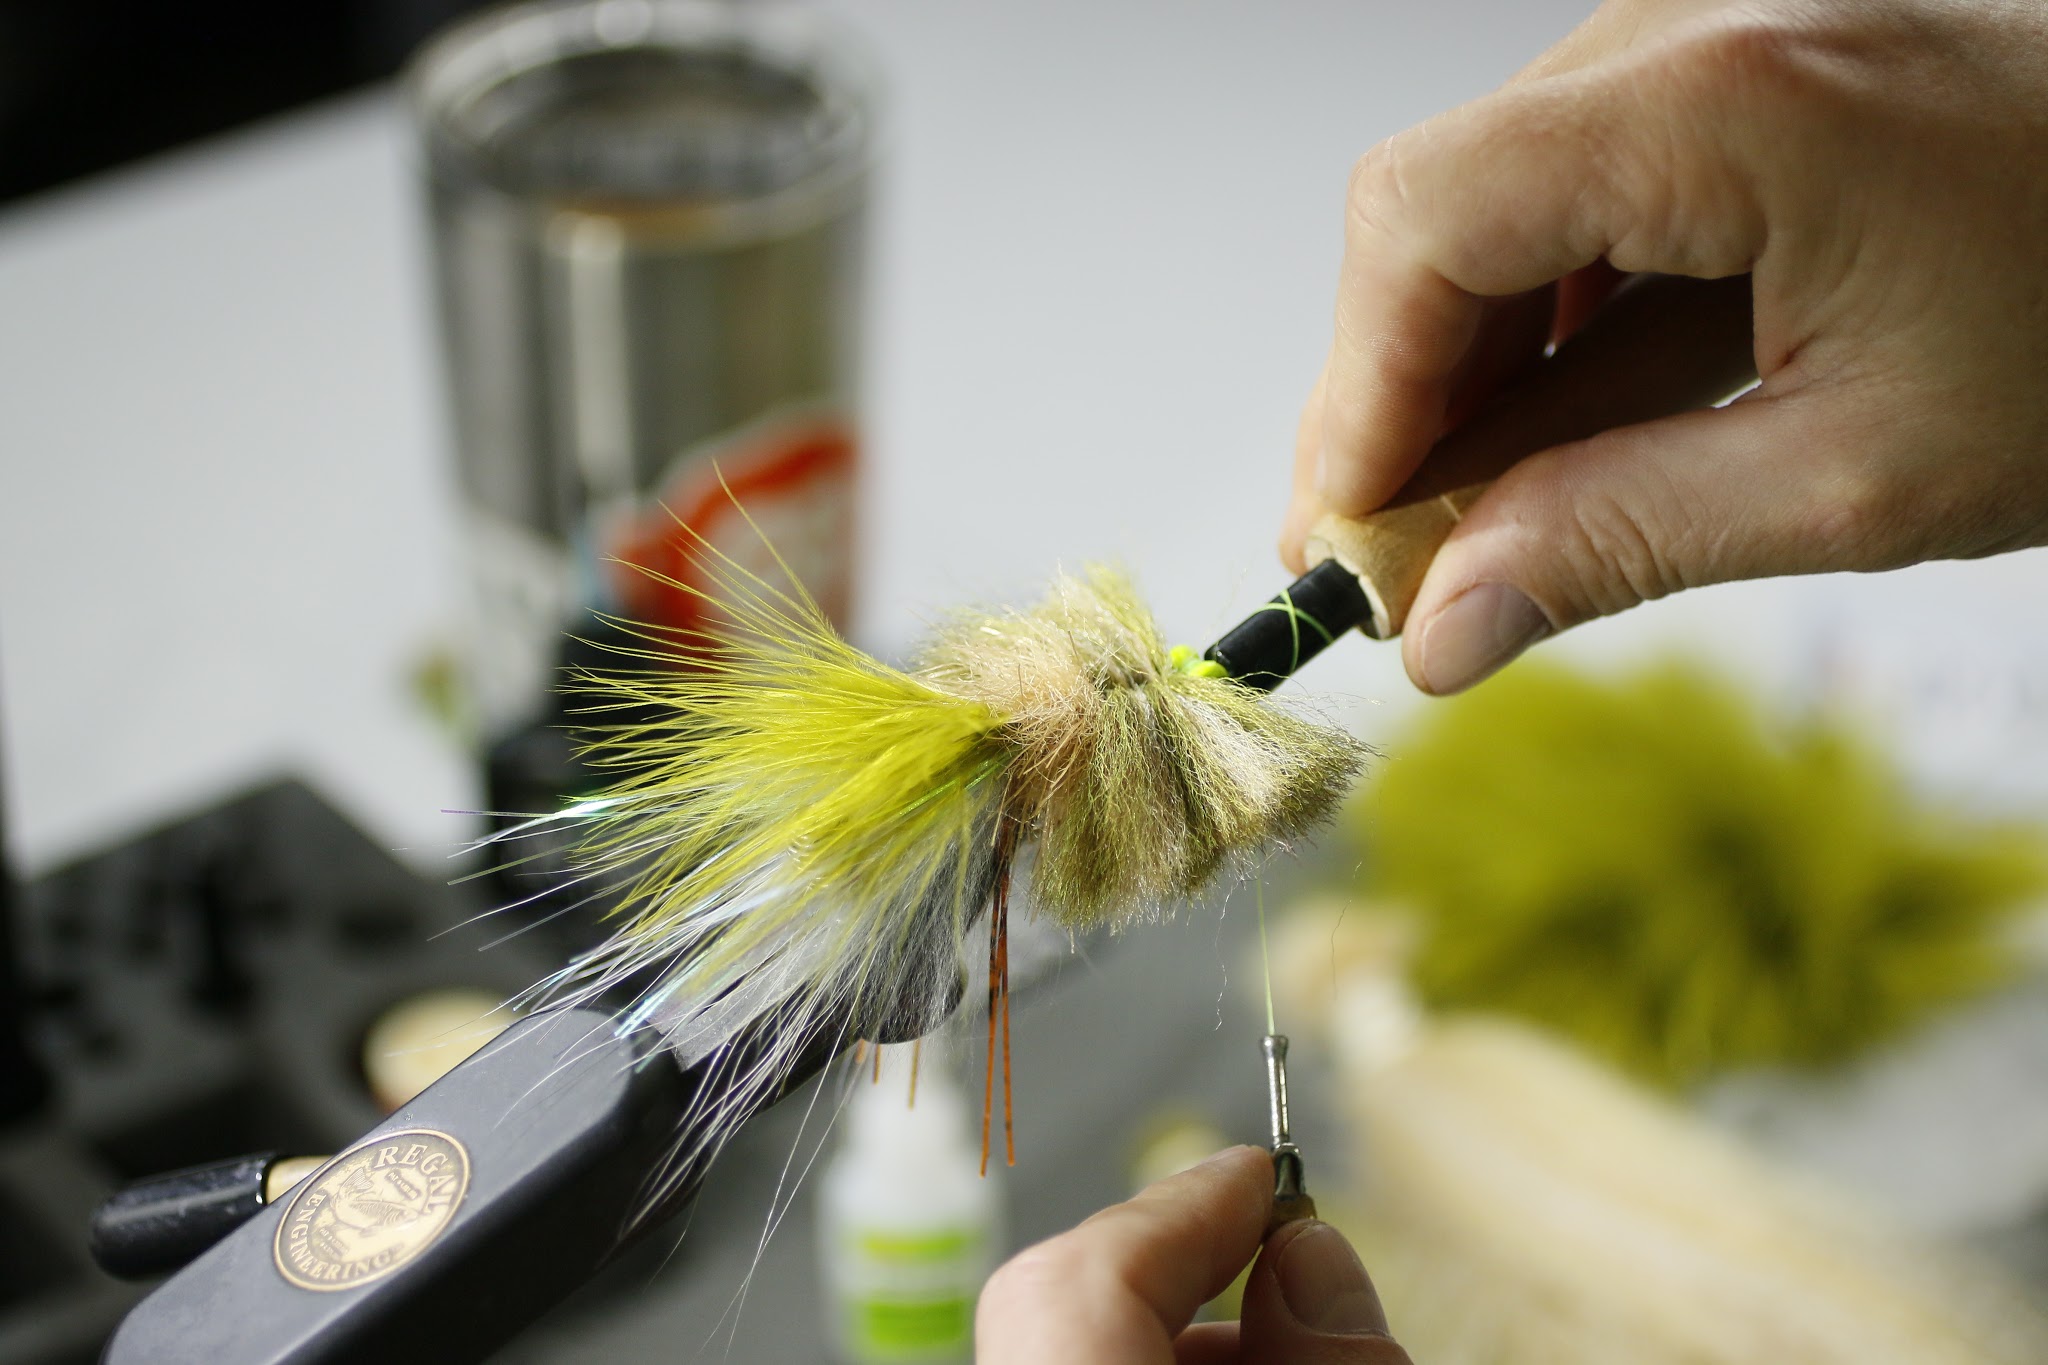
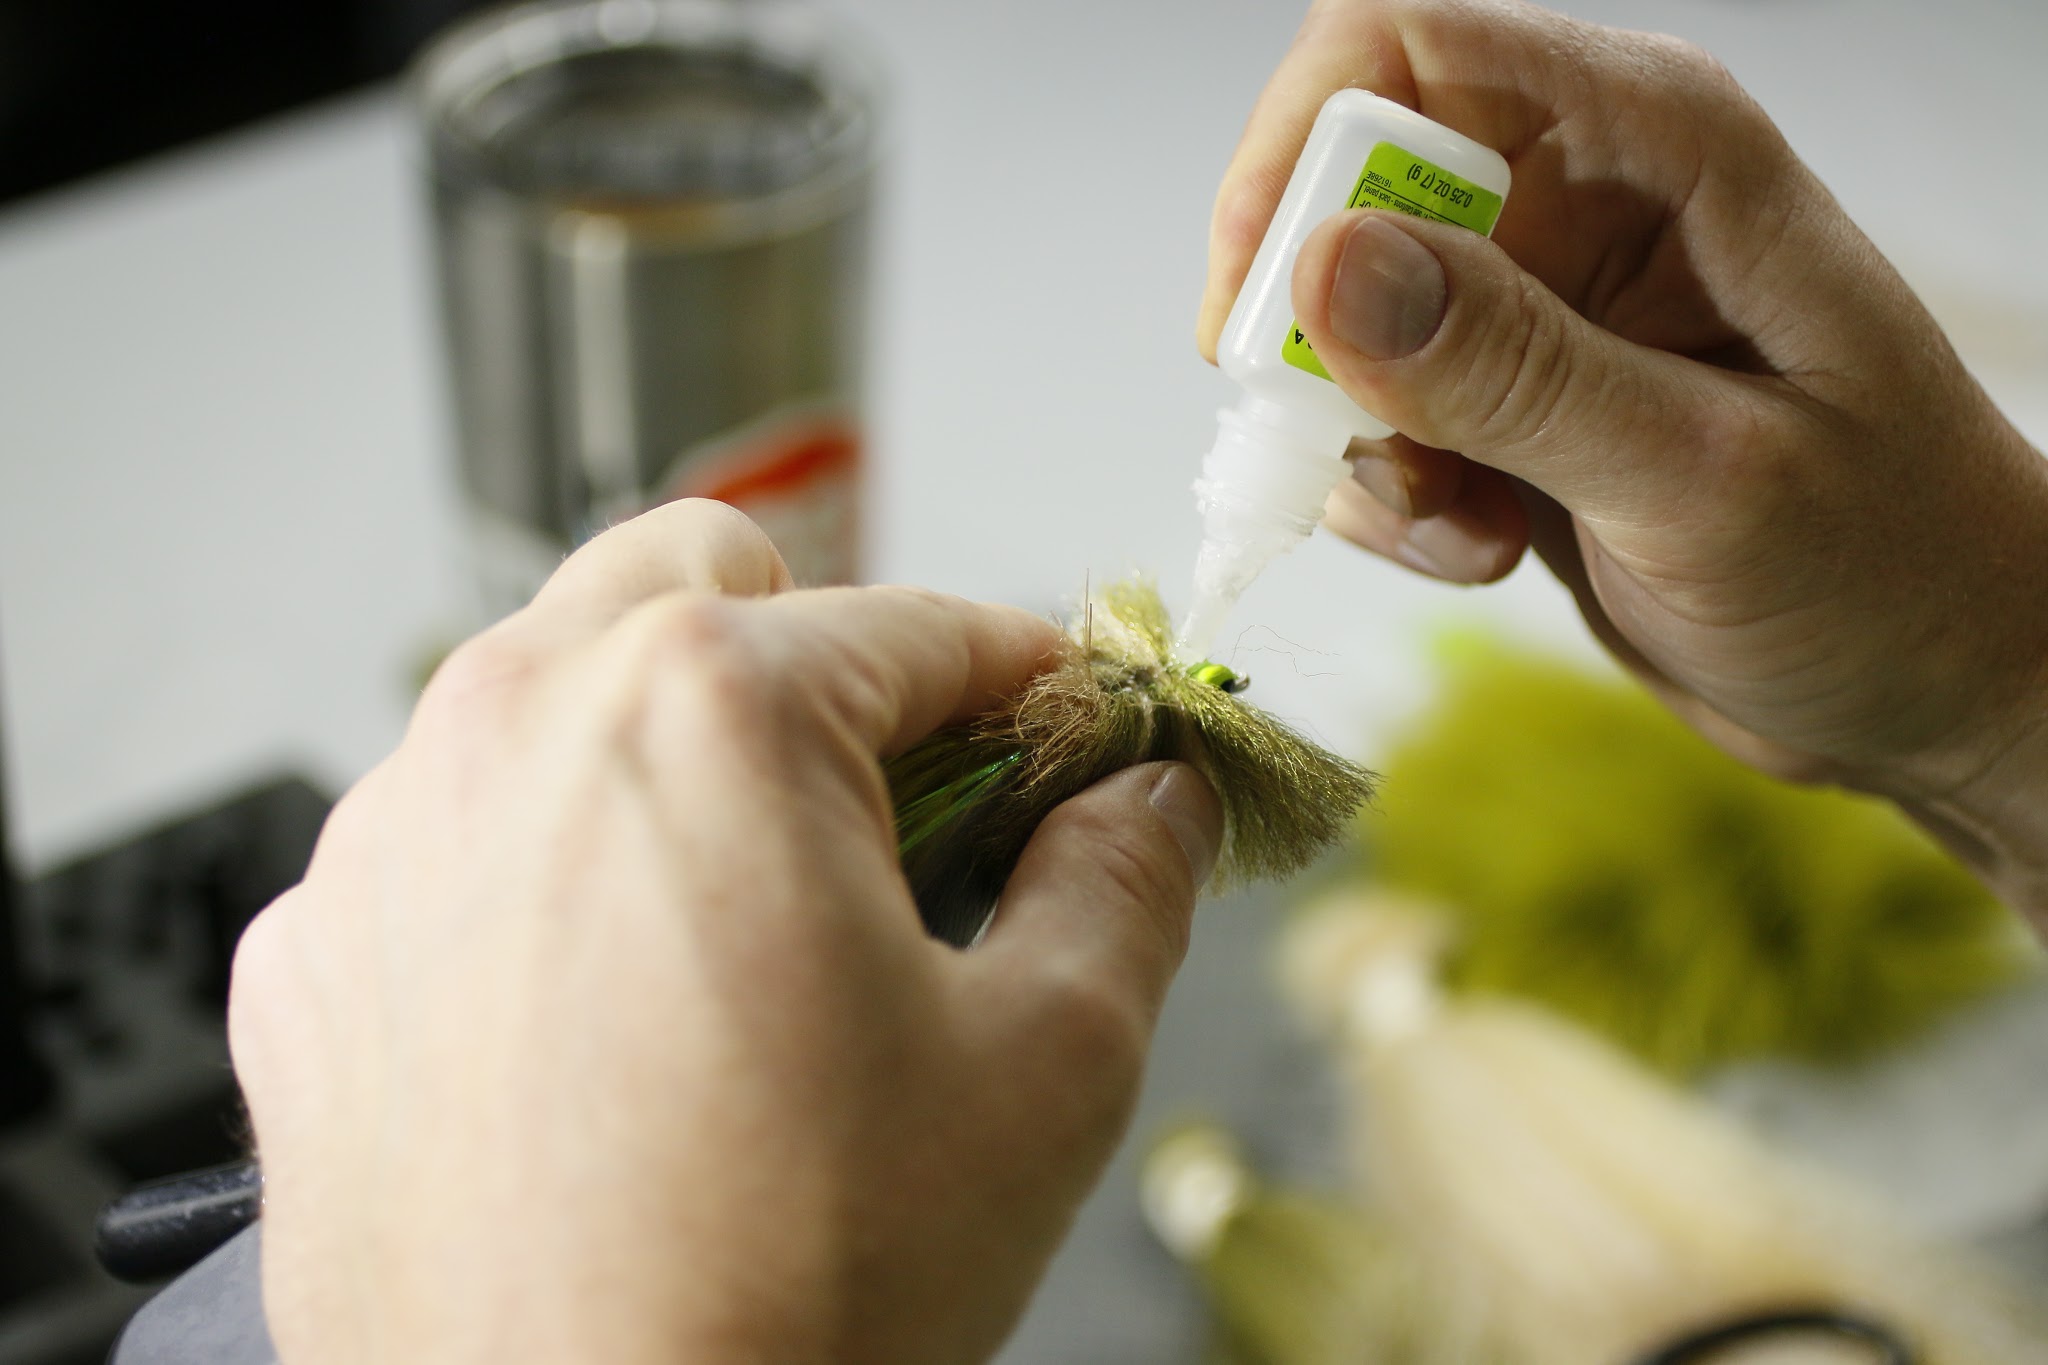
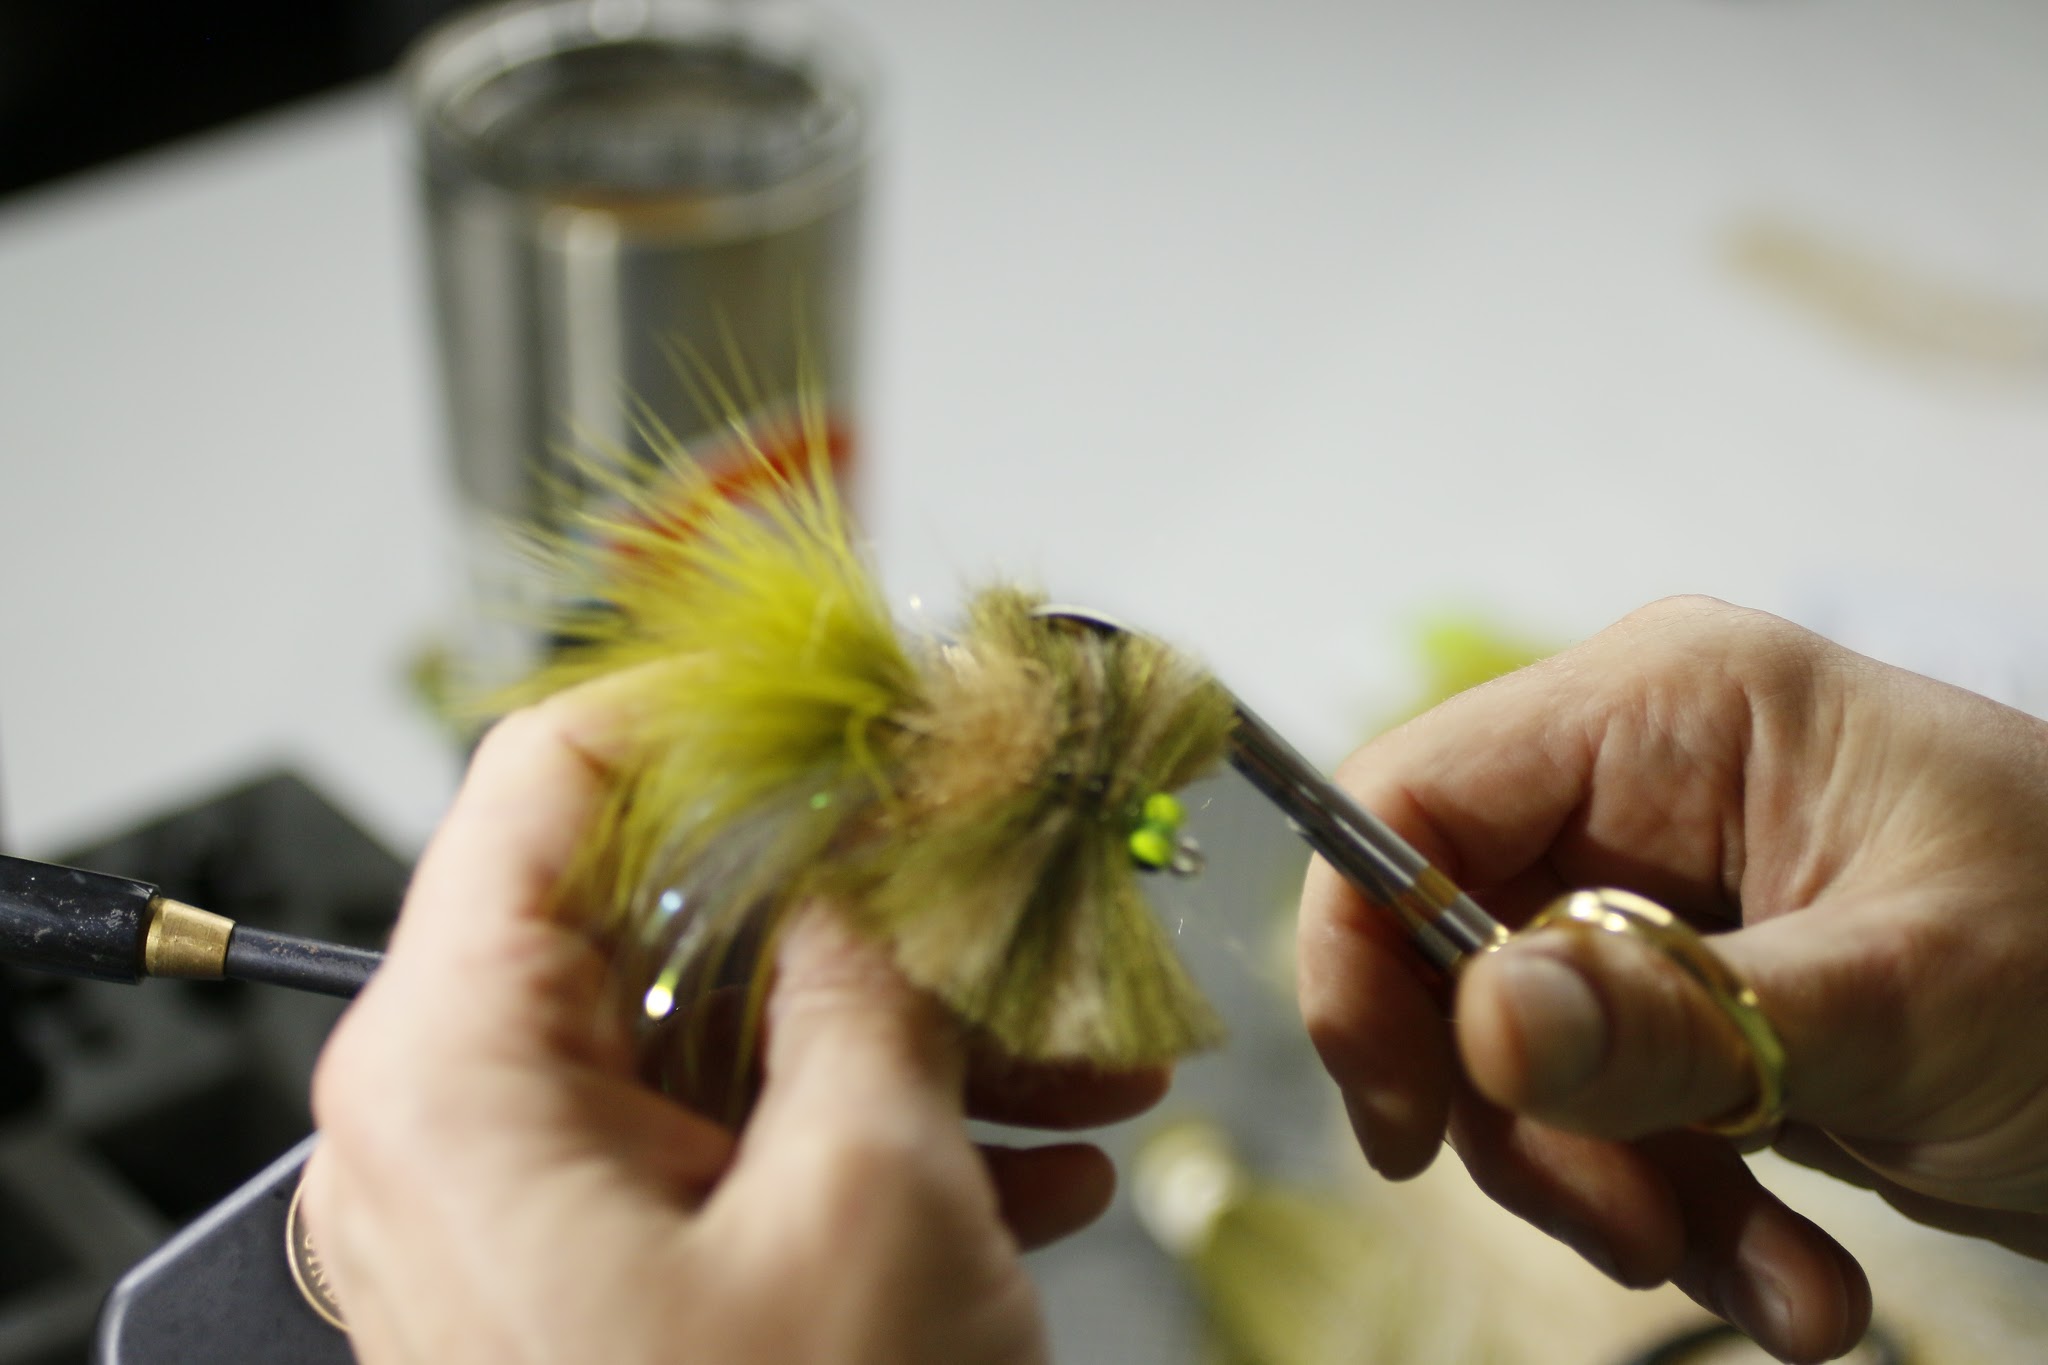
Bulkhead Deceiver Fly

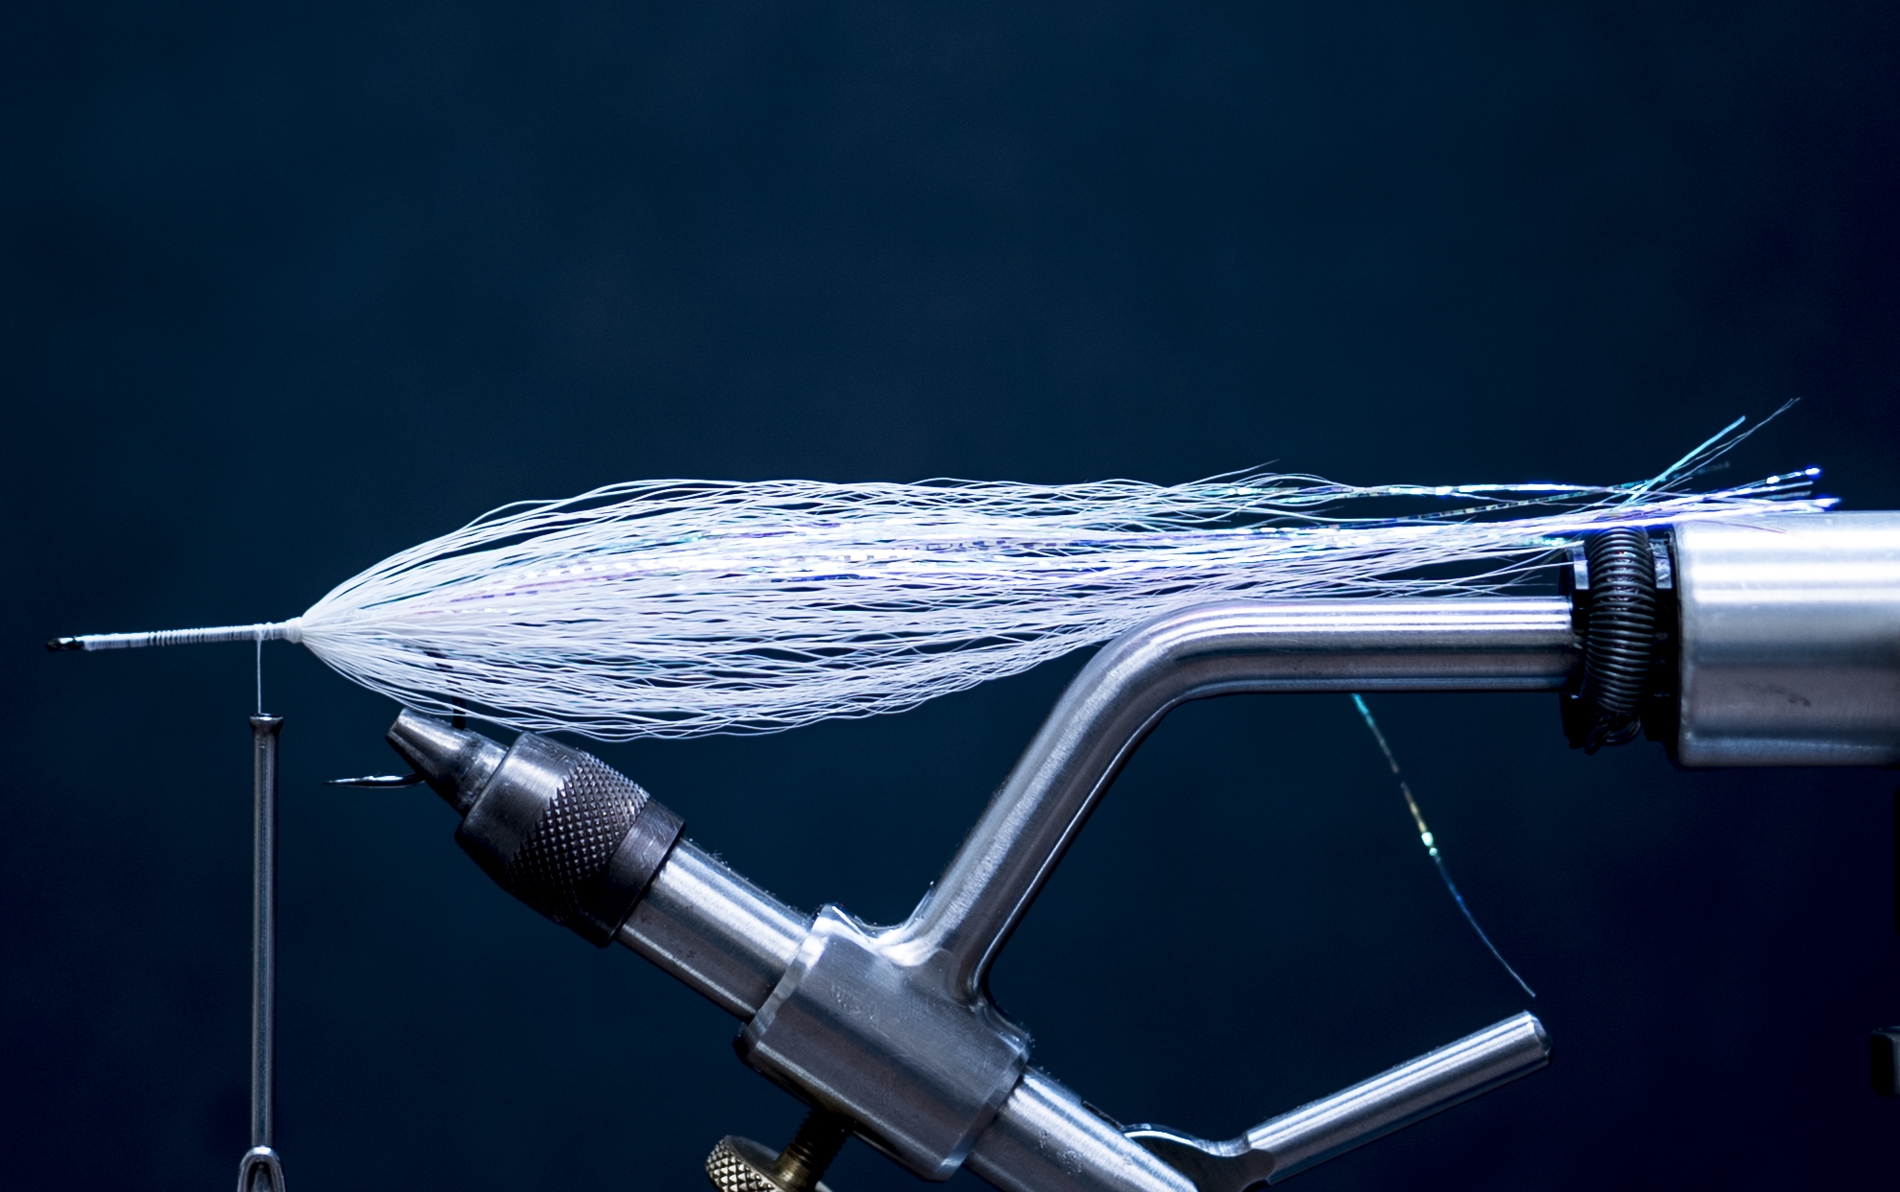
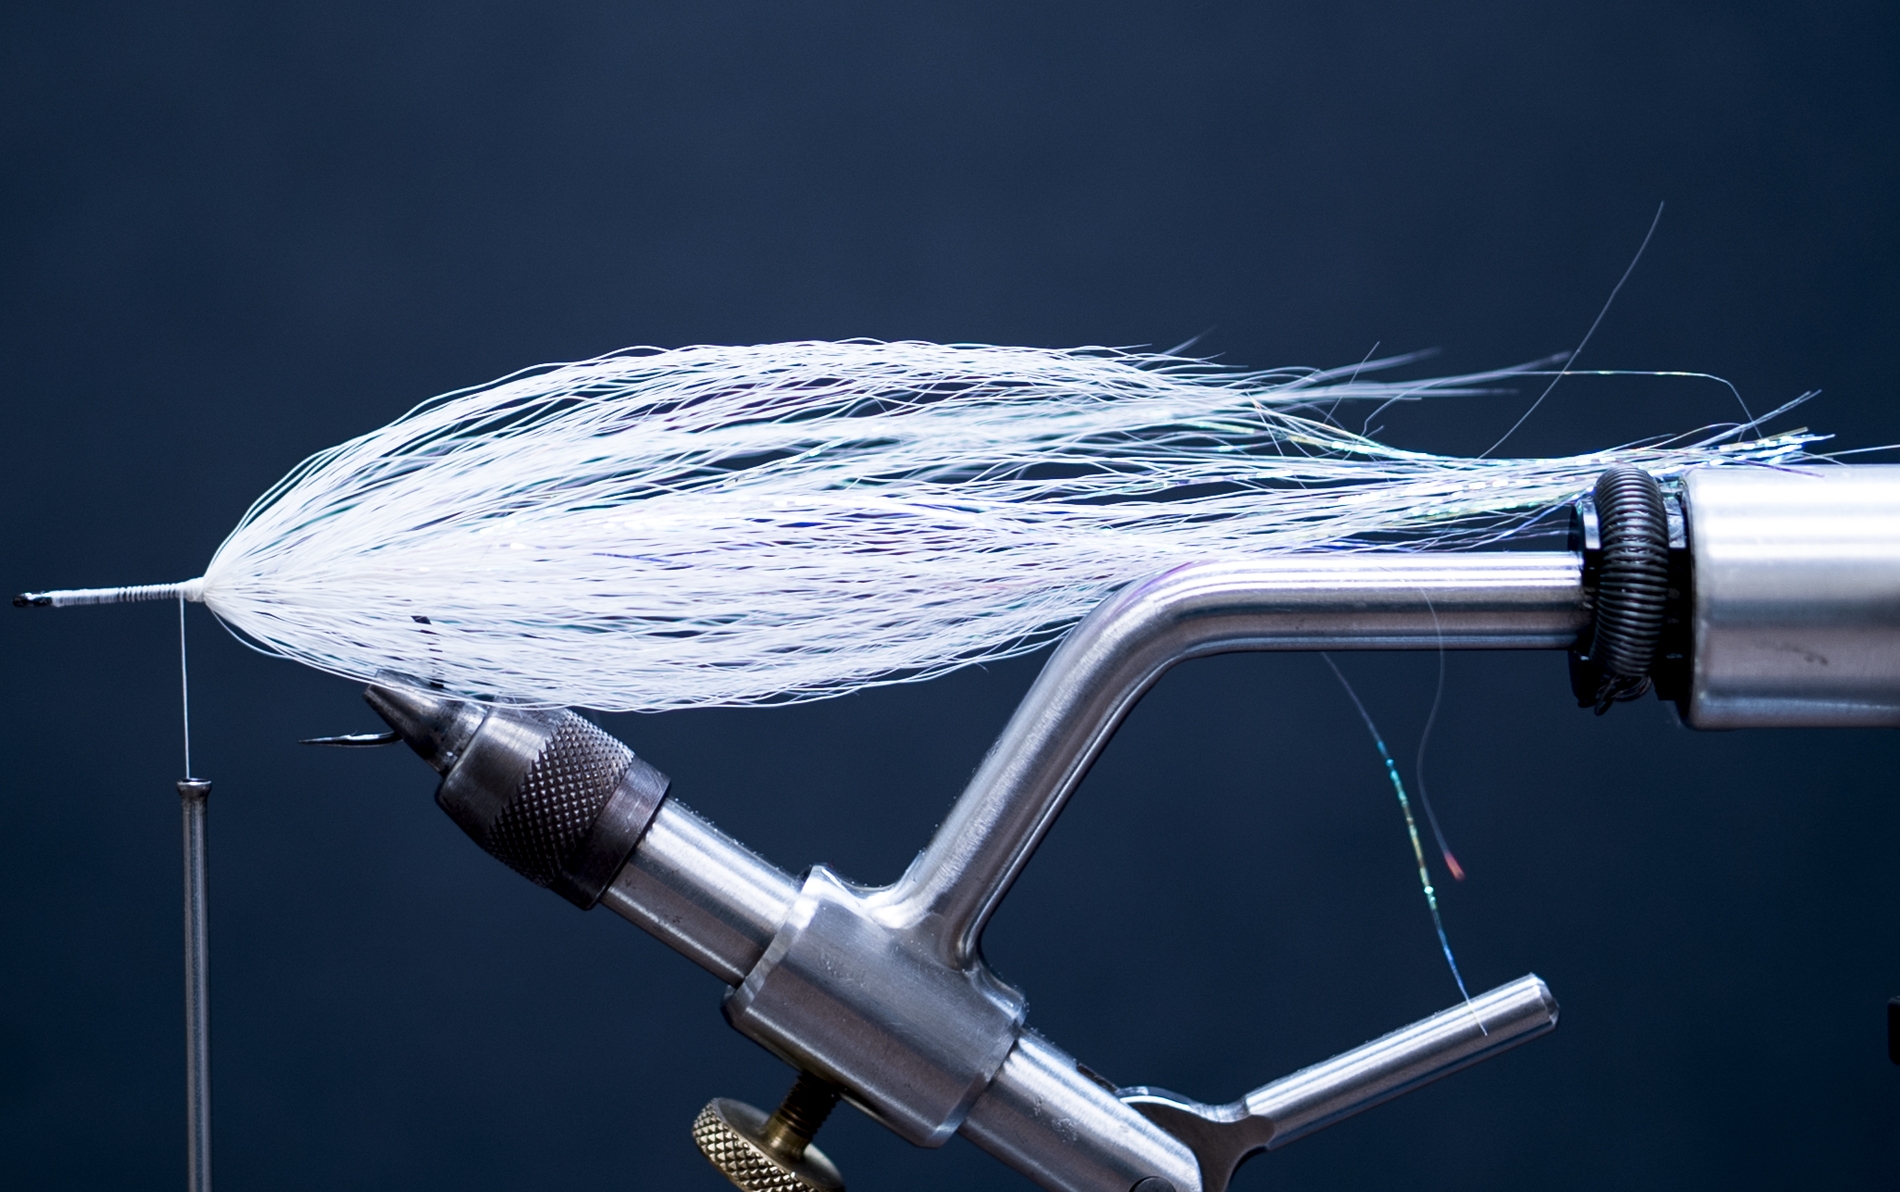
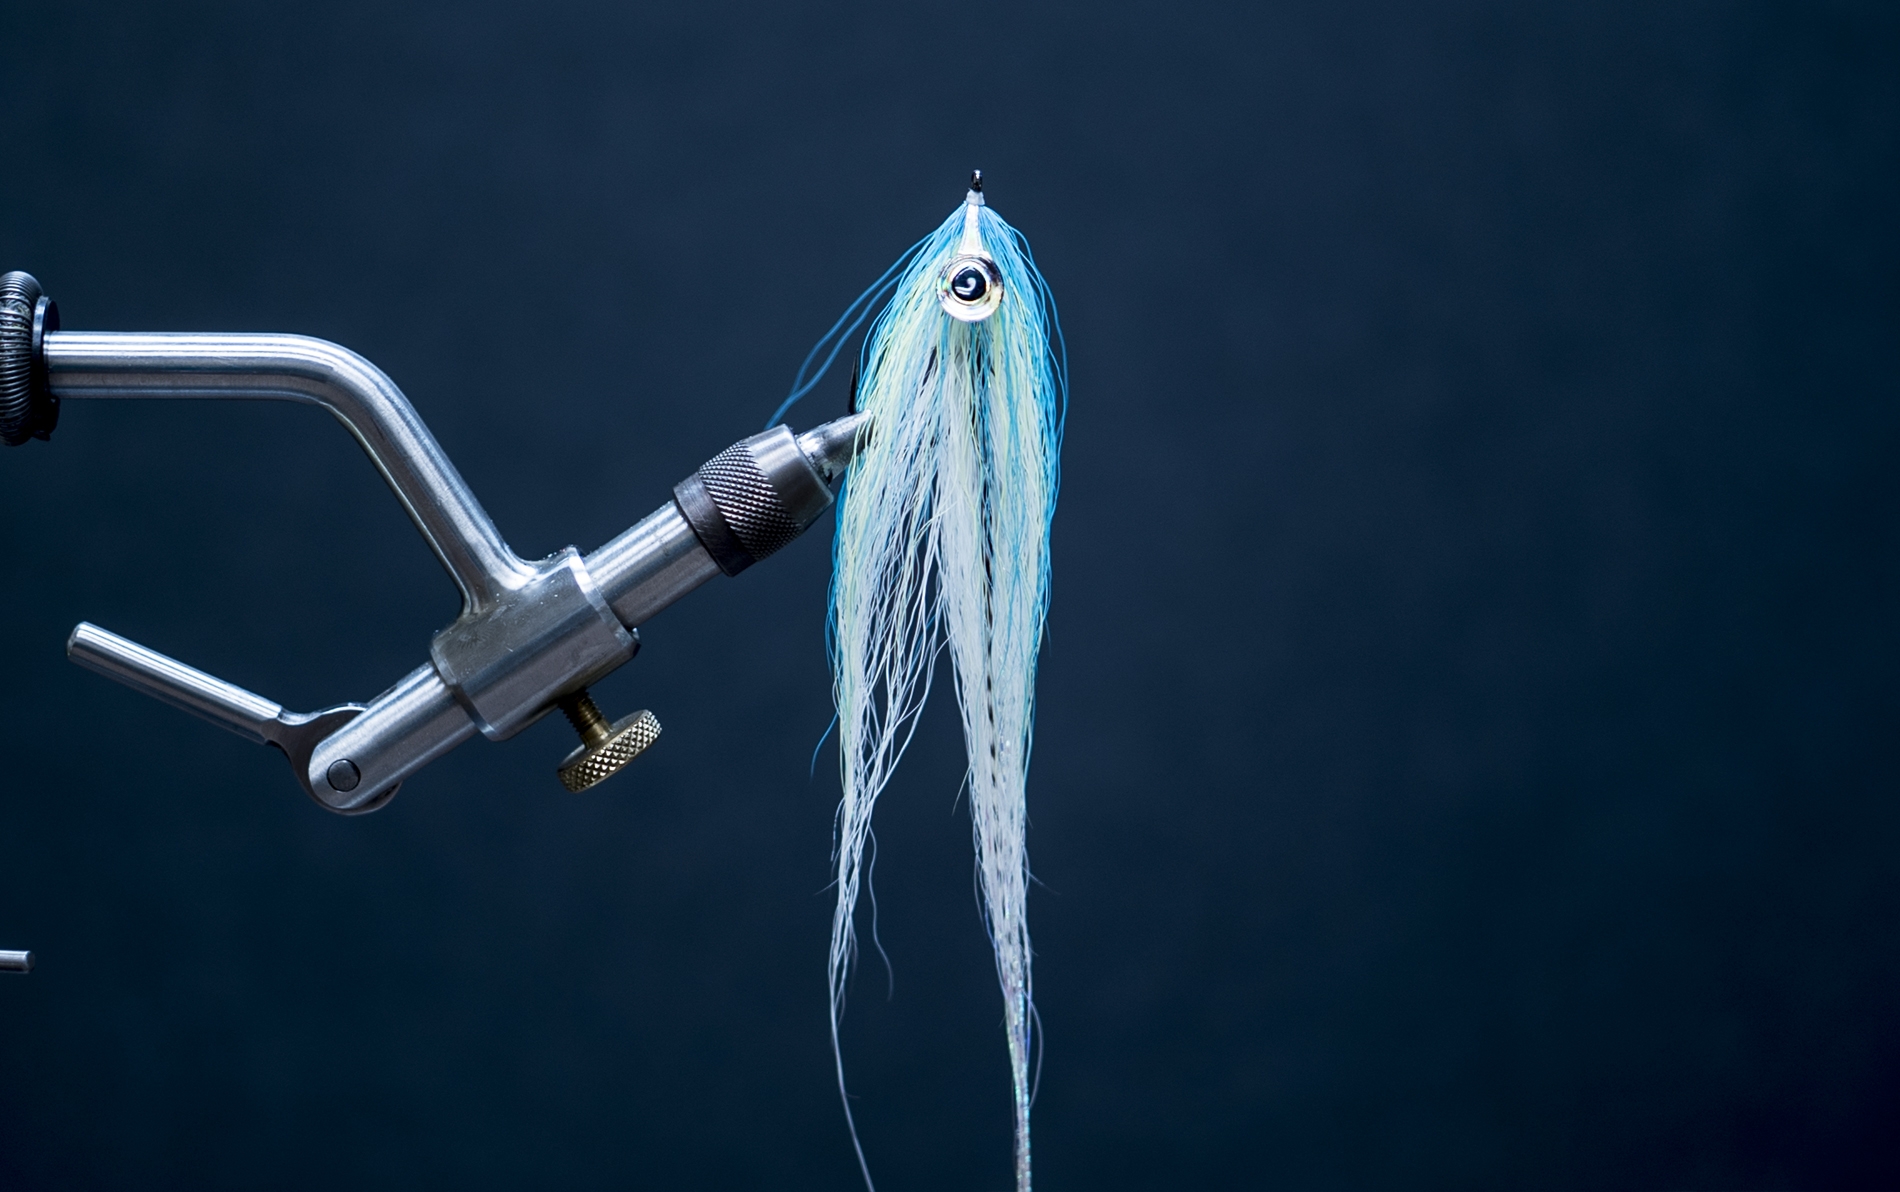
This variation of the BULKhead Deceiver was tied as a Smallmouth Bass fly but can obviously be tied in any color that you see fit for the application at hand. An upsized version of this fly also works extremely well on Musky, Pike, Peacock Bass and any other predatory game fish. Absolutely killer of course for the salt! 

After you get a chance to fish the BULKhead and see how it behaves or misbehaves in the water you will have a hard time fishing anything else. 

The great thing about this fly is it is really just a technique for building the head of a fly so you can take these principles and apply them to other patterns with great success! 


“BULKhead” Deceiver- Recipe

Thread: 100 Denier GSP- Click Here
Hook: Partridge Universal Predator 2/0- Click Here
Tail: Mangum Dragon Tail- chartreuse- Click Here
Hollow tie #1: White Bucktail- Click Here
Hollow tie #2: White Bucktail
Hollow tie #3: White Bucktail
Flash: Mirage Flashabou- opal or Lateral Scale- Click Here  Click Here
BULKhead tie’s 1-3: Light Pink Bucktail
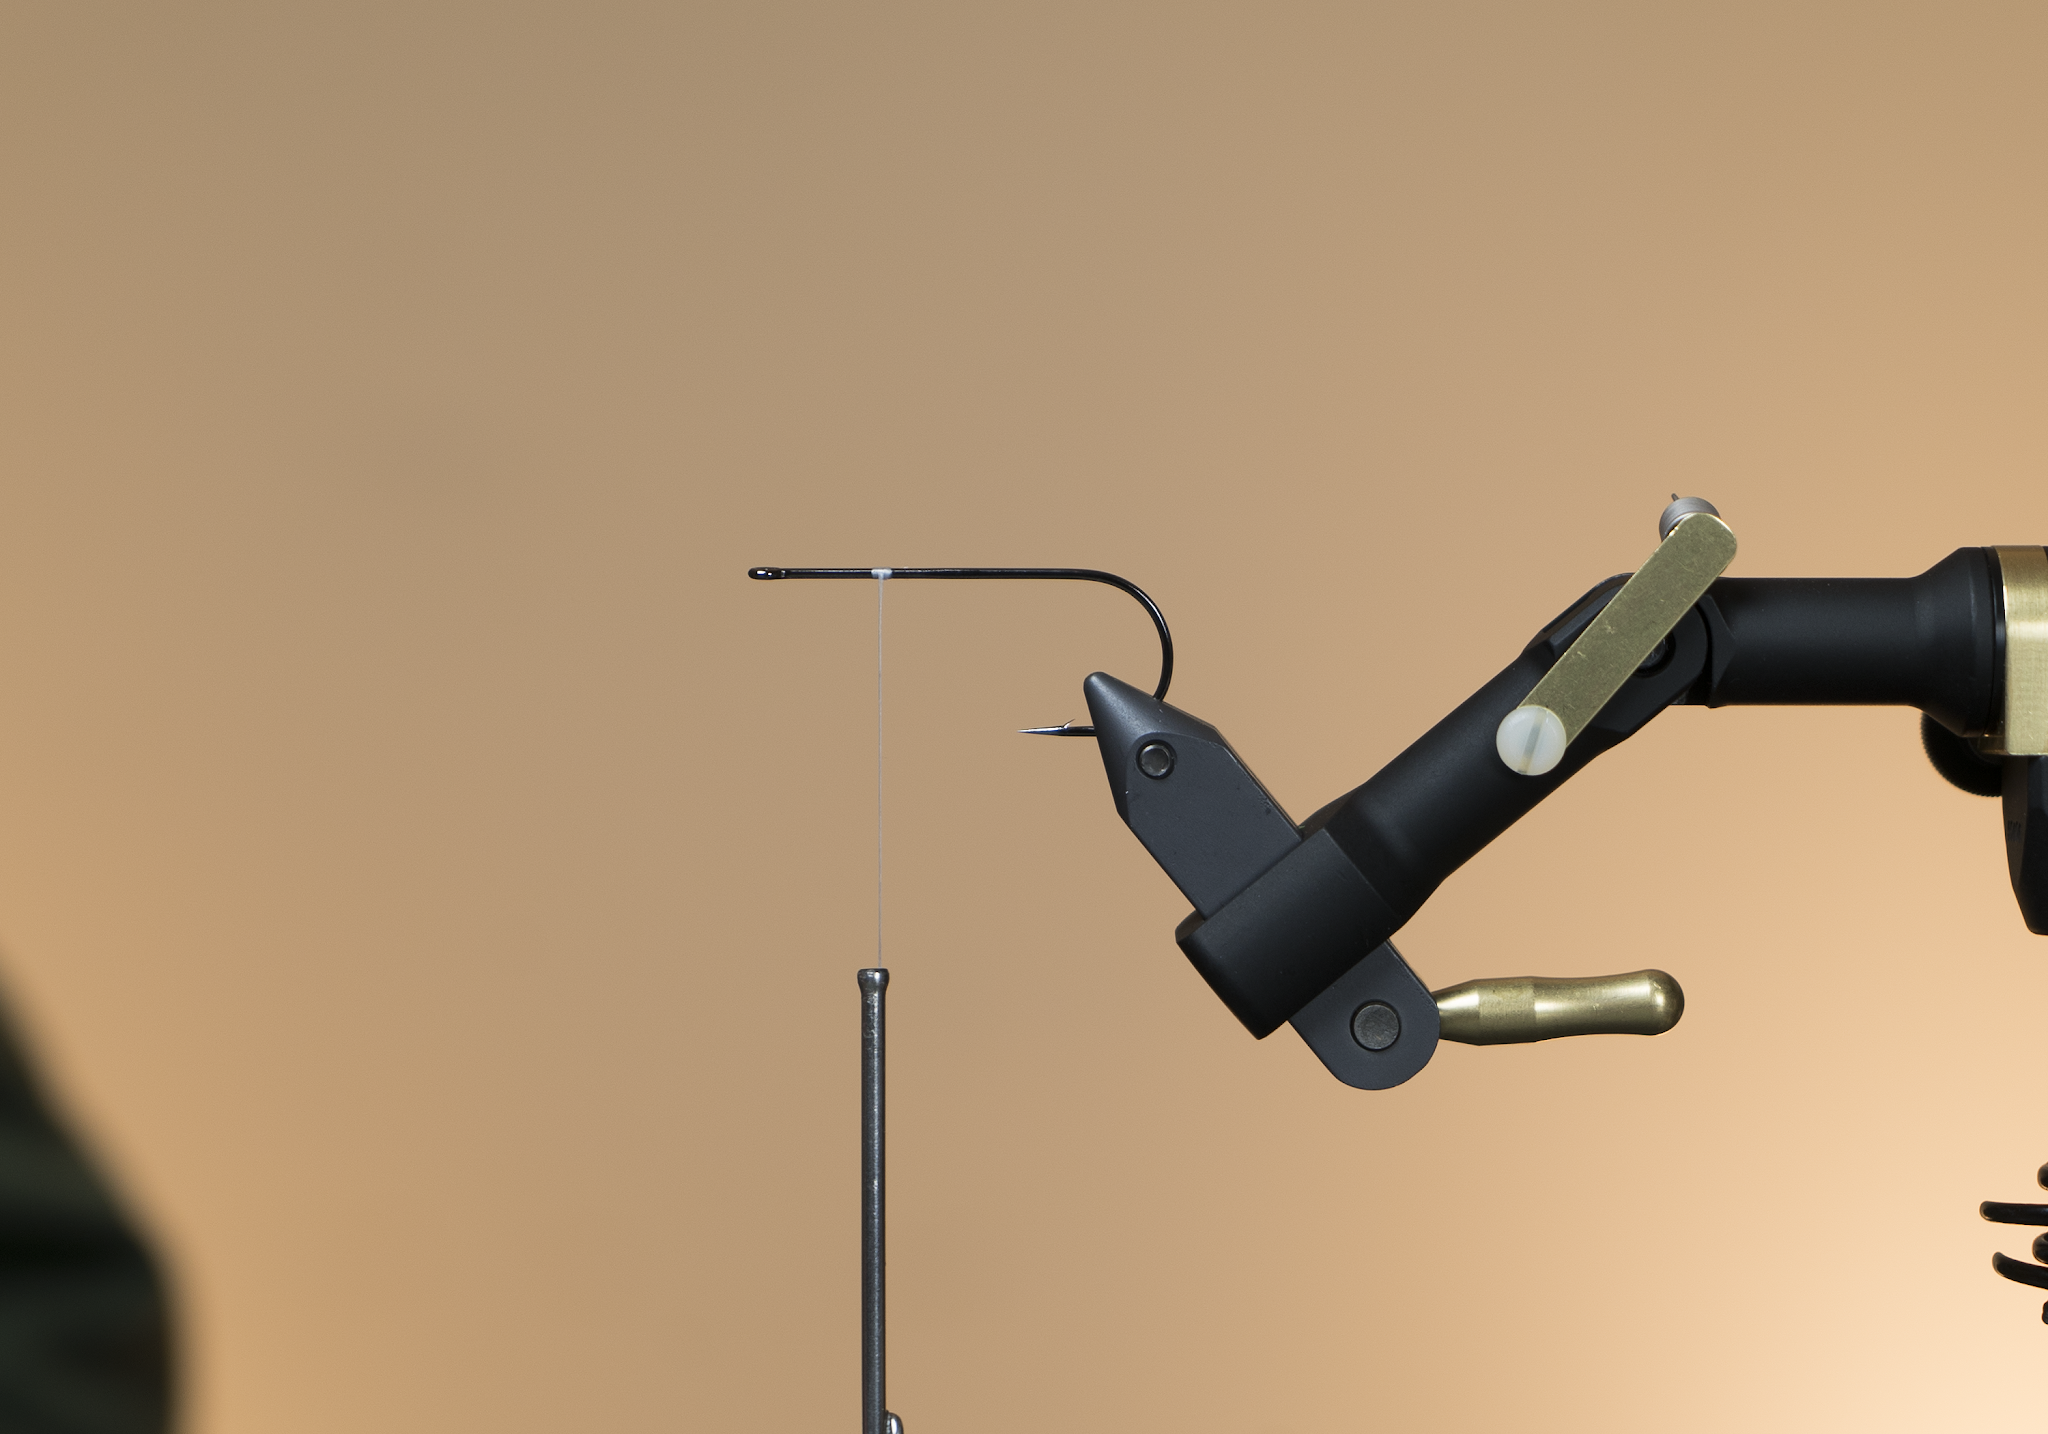

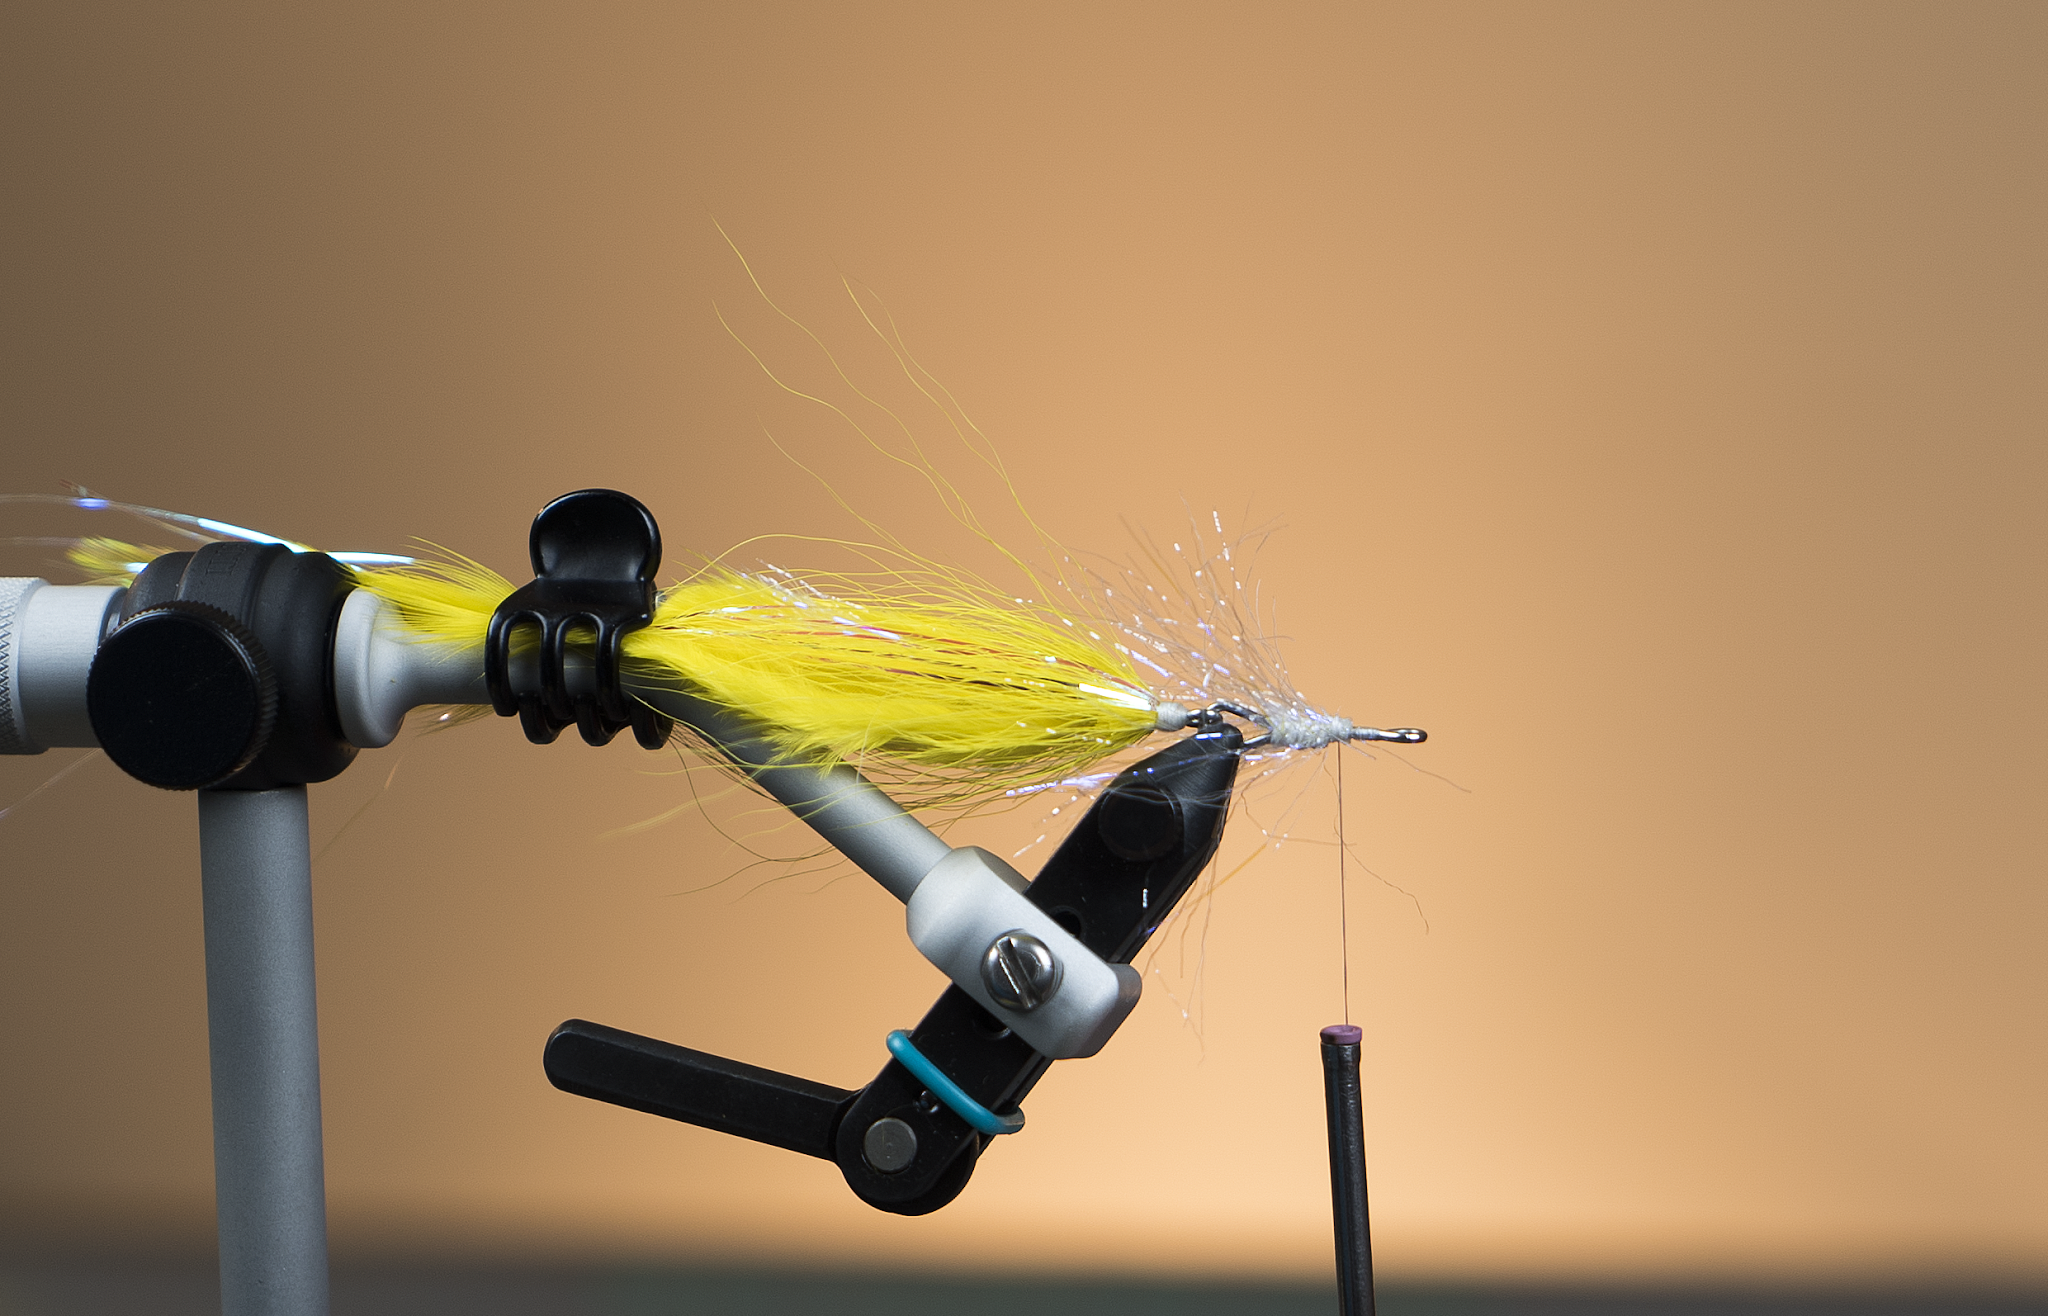
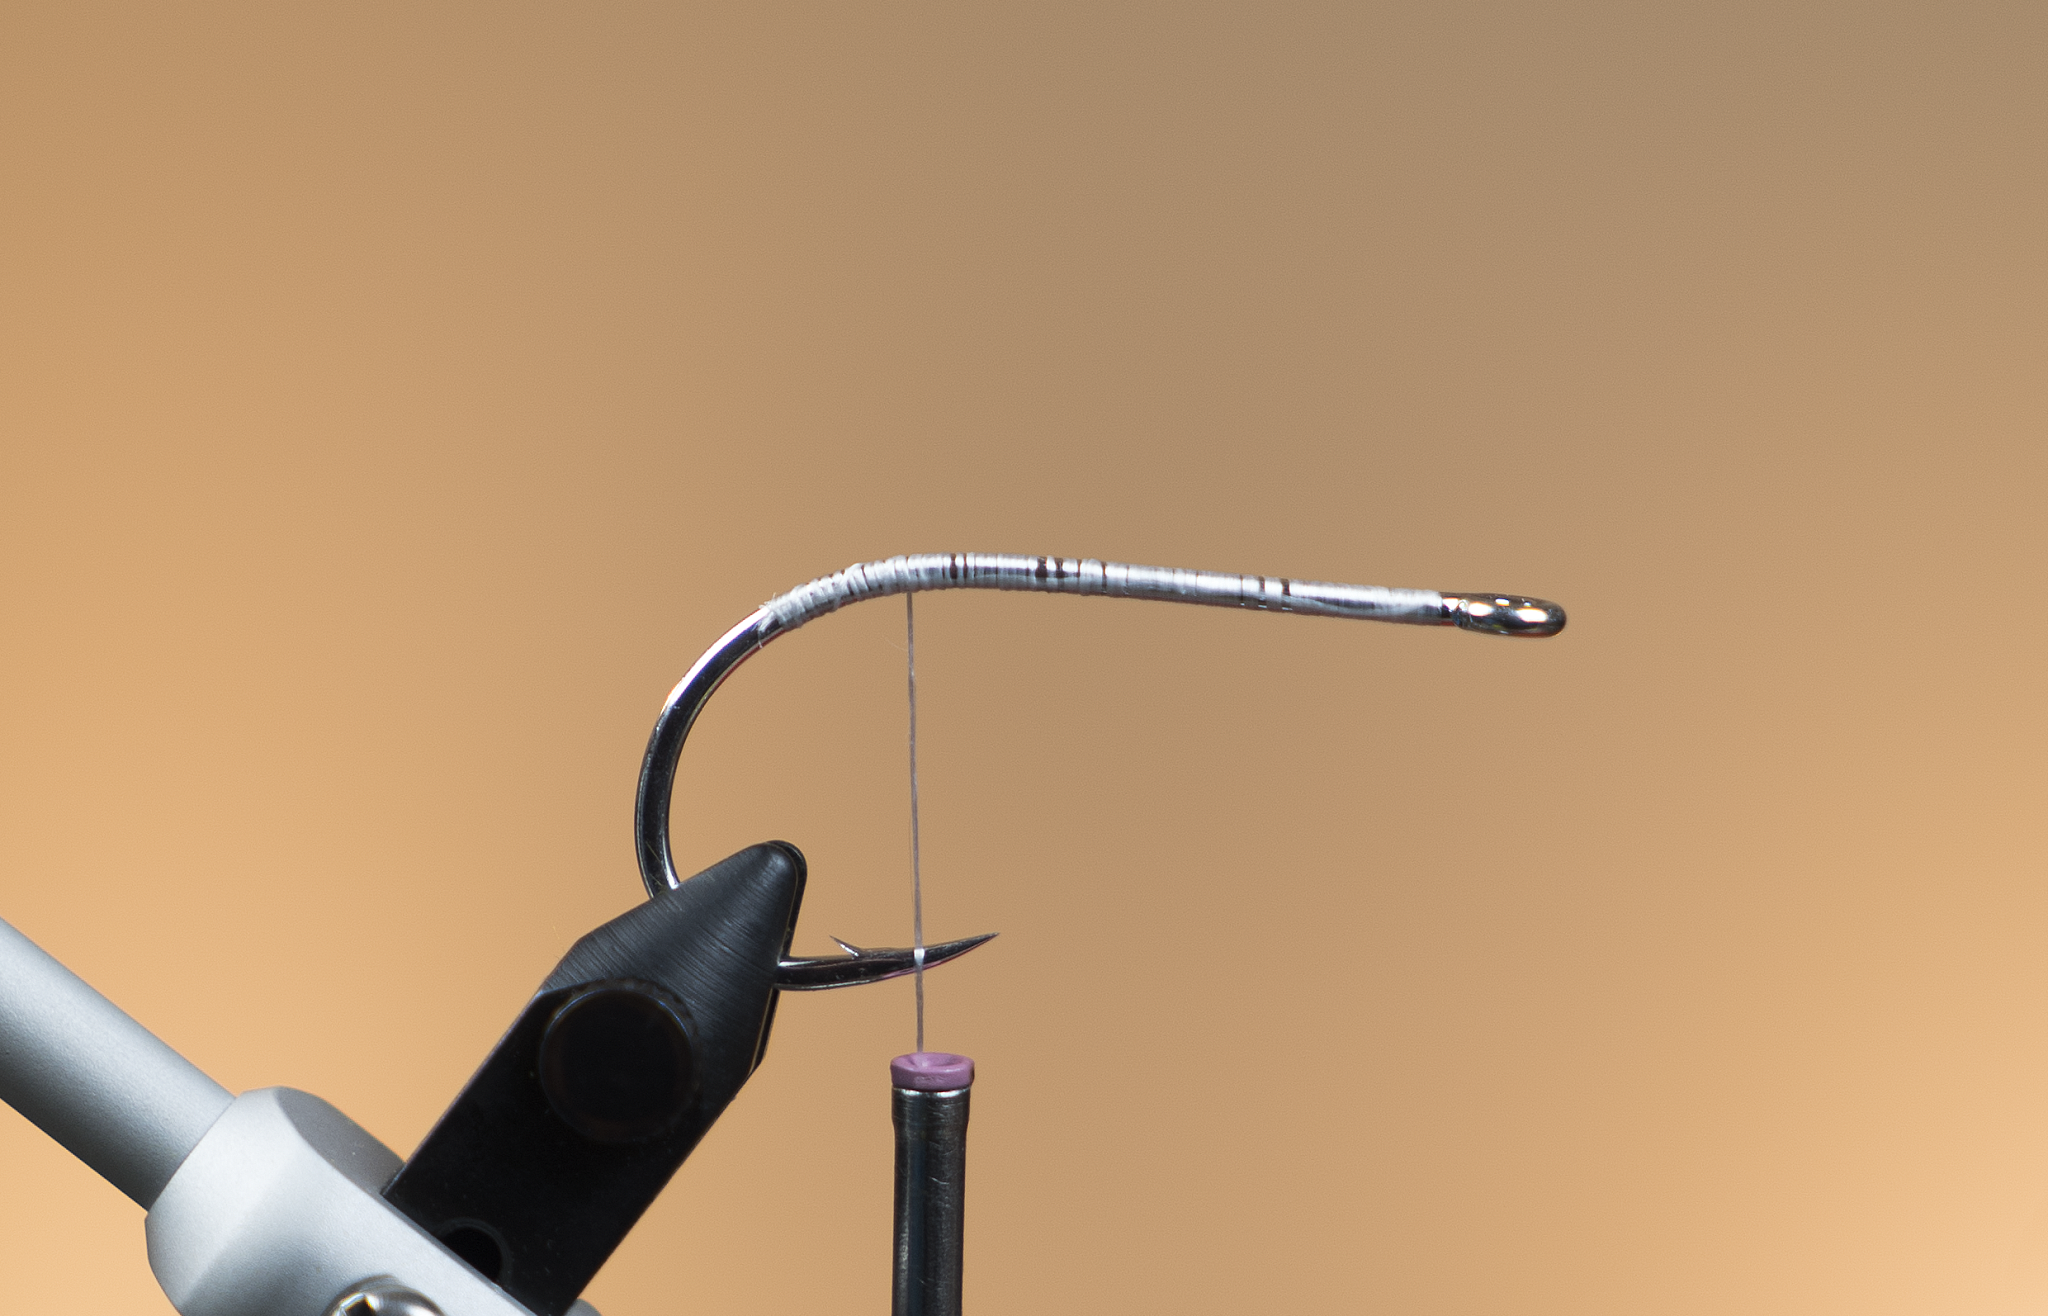
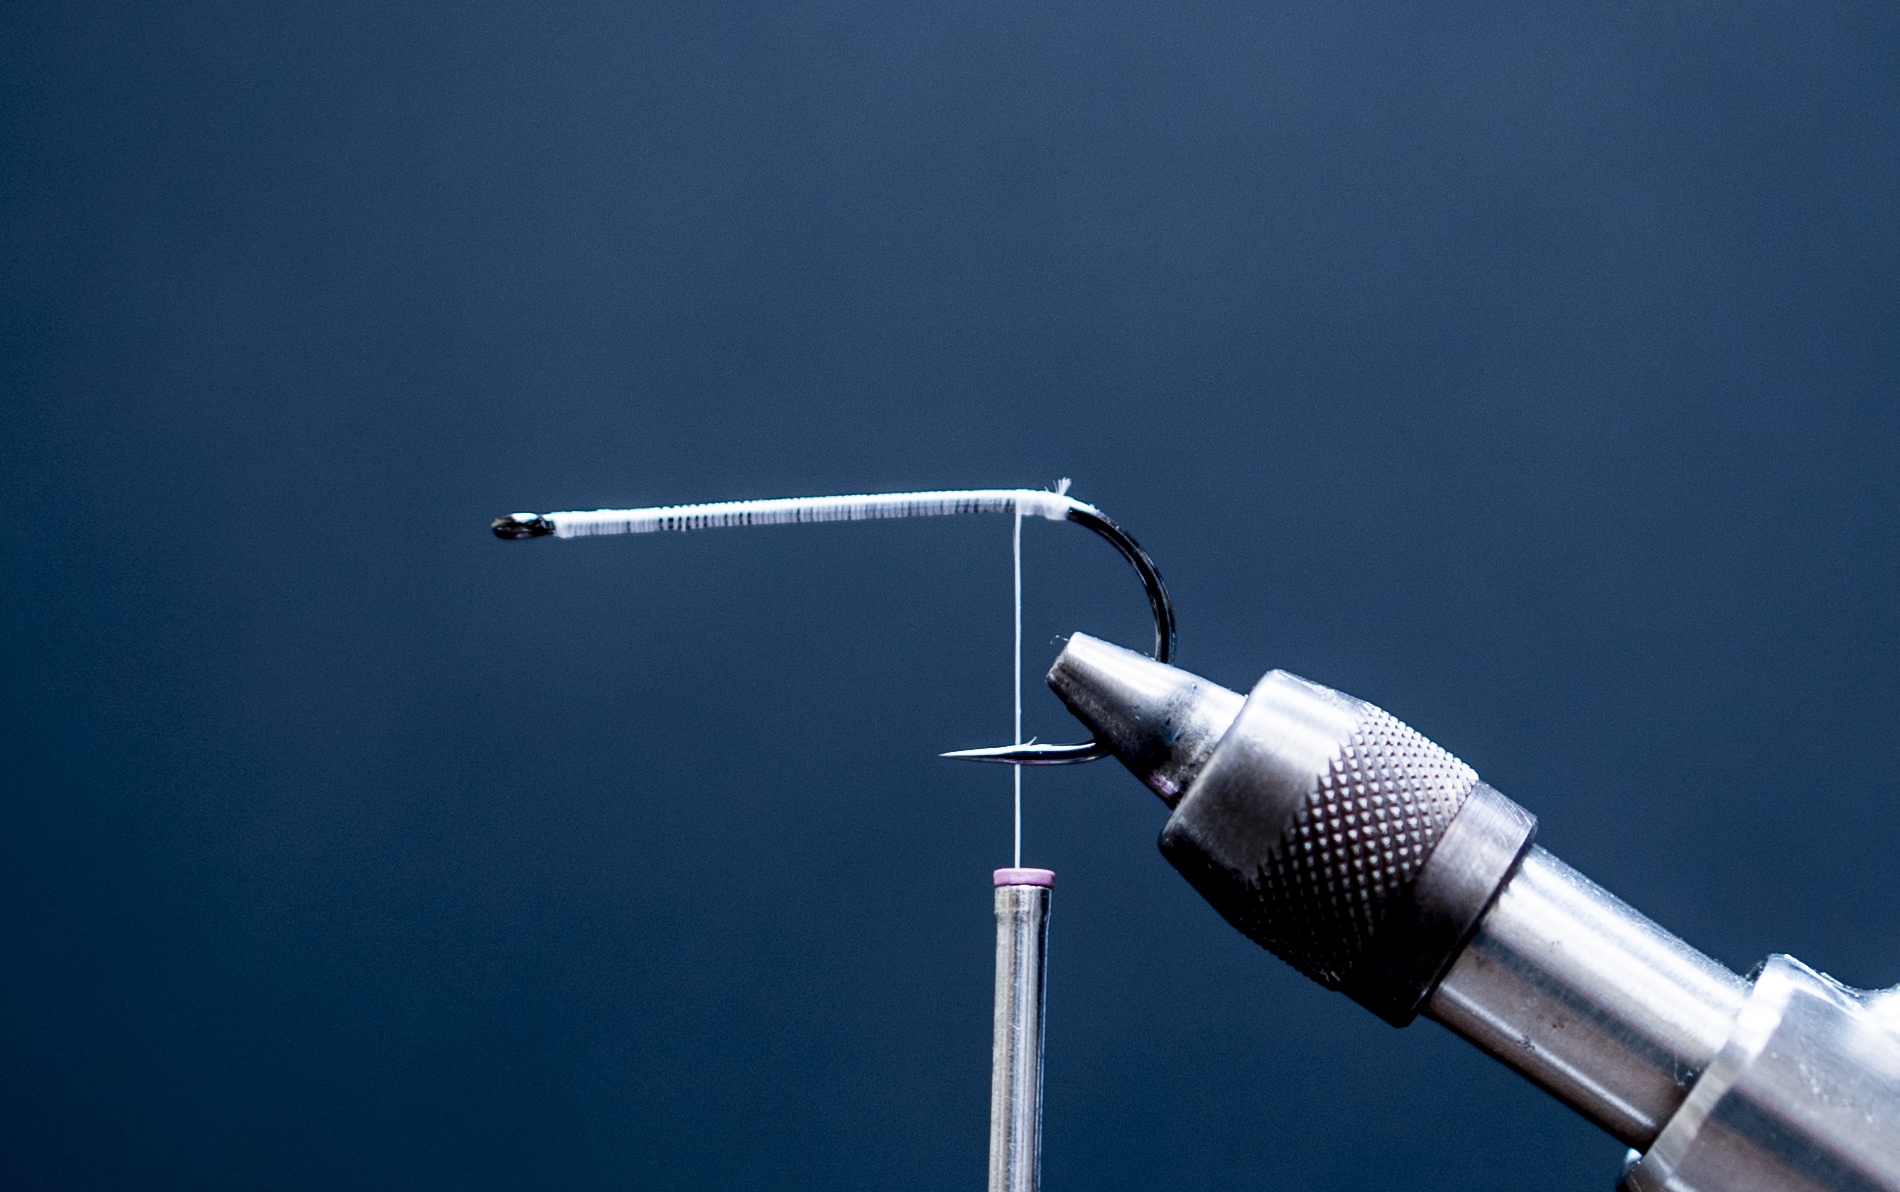
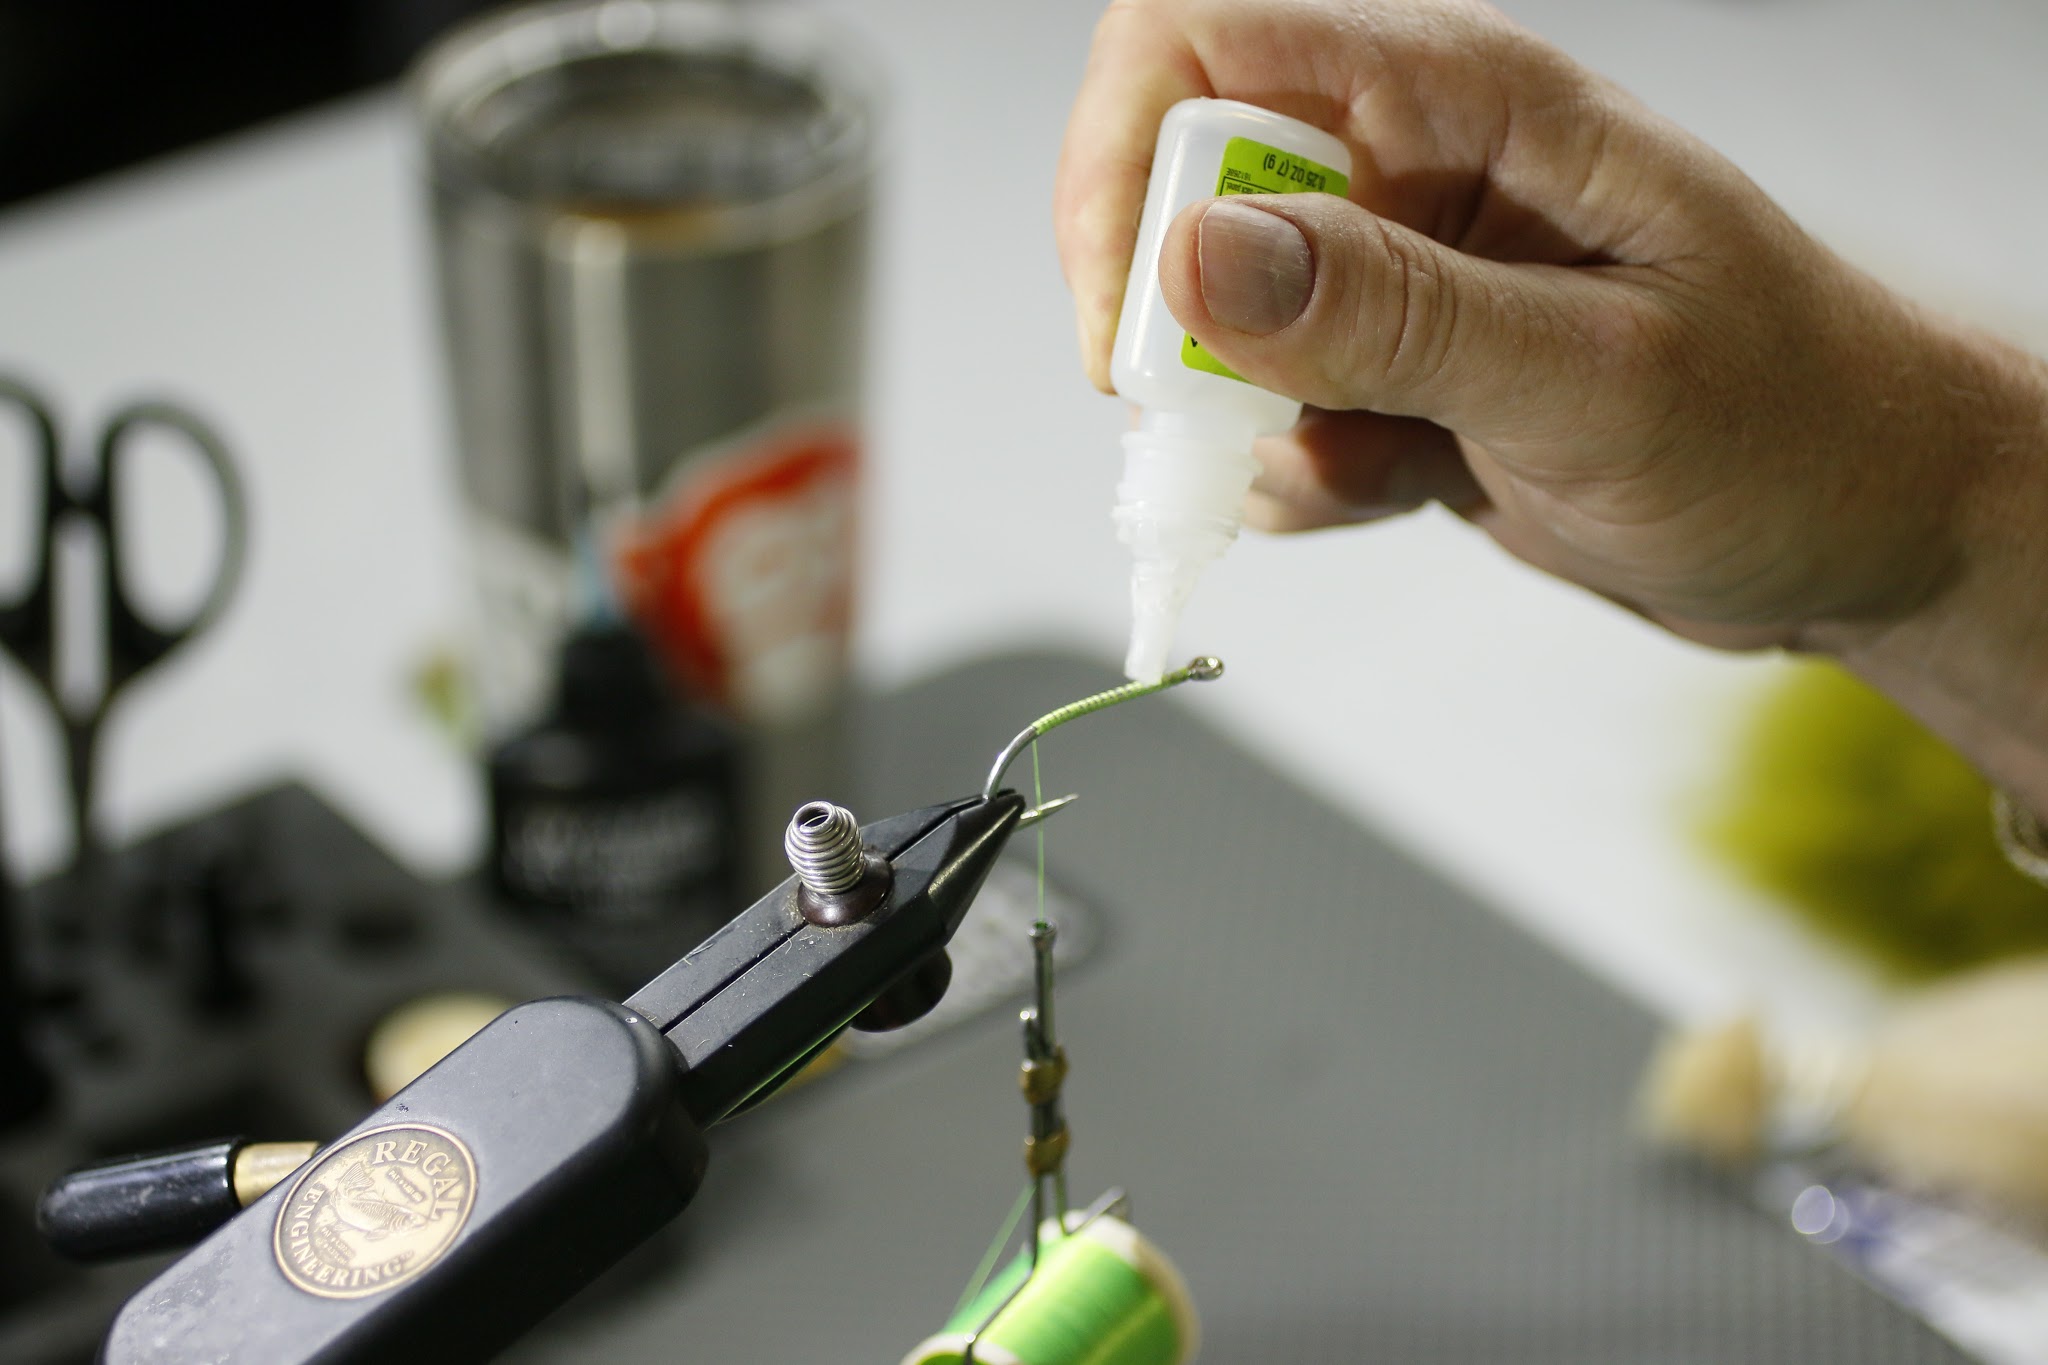
1. Start your thread 1/3 back from the eye of the hook and wrap a foundation of thread to the rear pf the hook. Starting your thread a third back from the eye gives you a reference point as to when you need to make the transition from the body of the fly to the head of the fly. By marking this point with your thread it ensures you do not leave yourself short on space when finishing the fly.
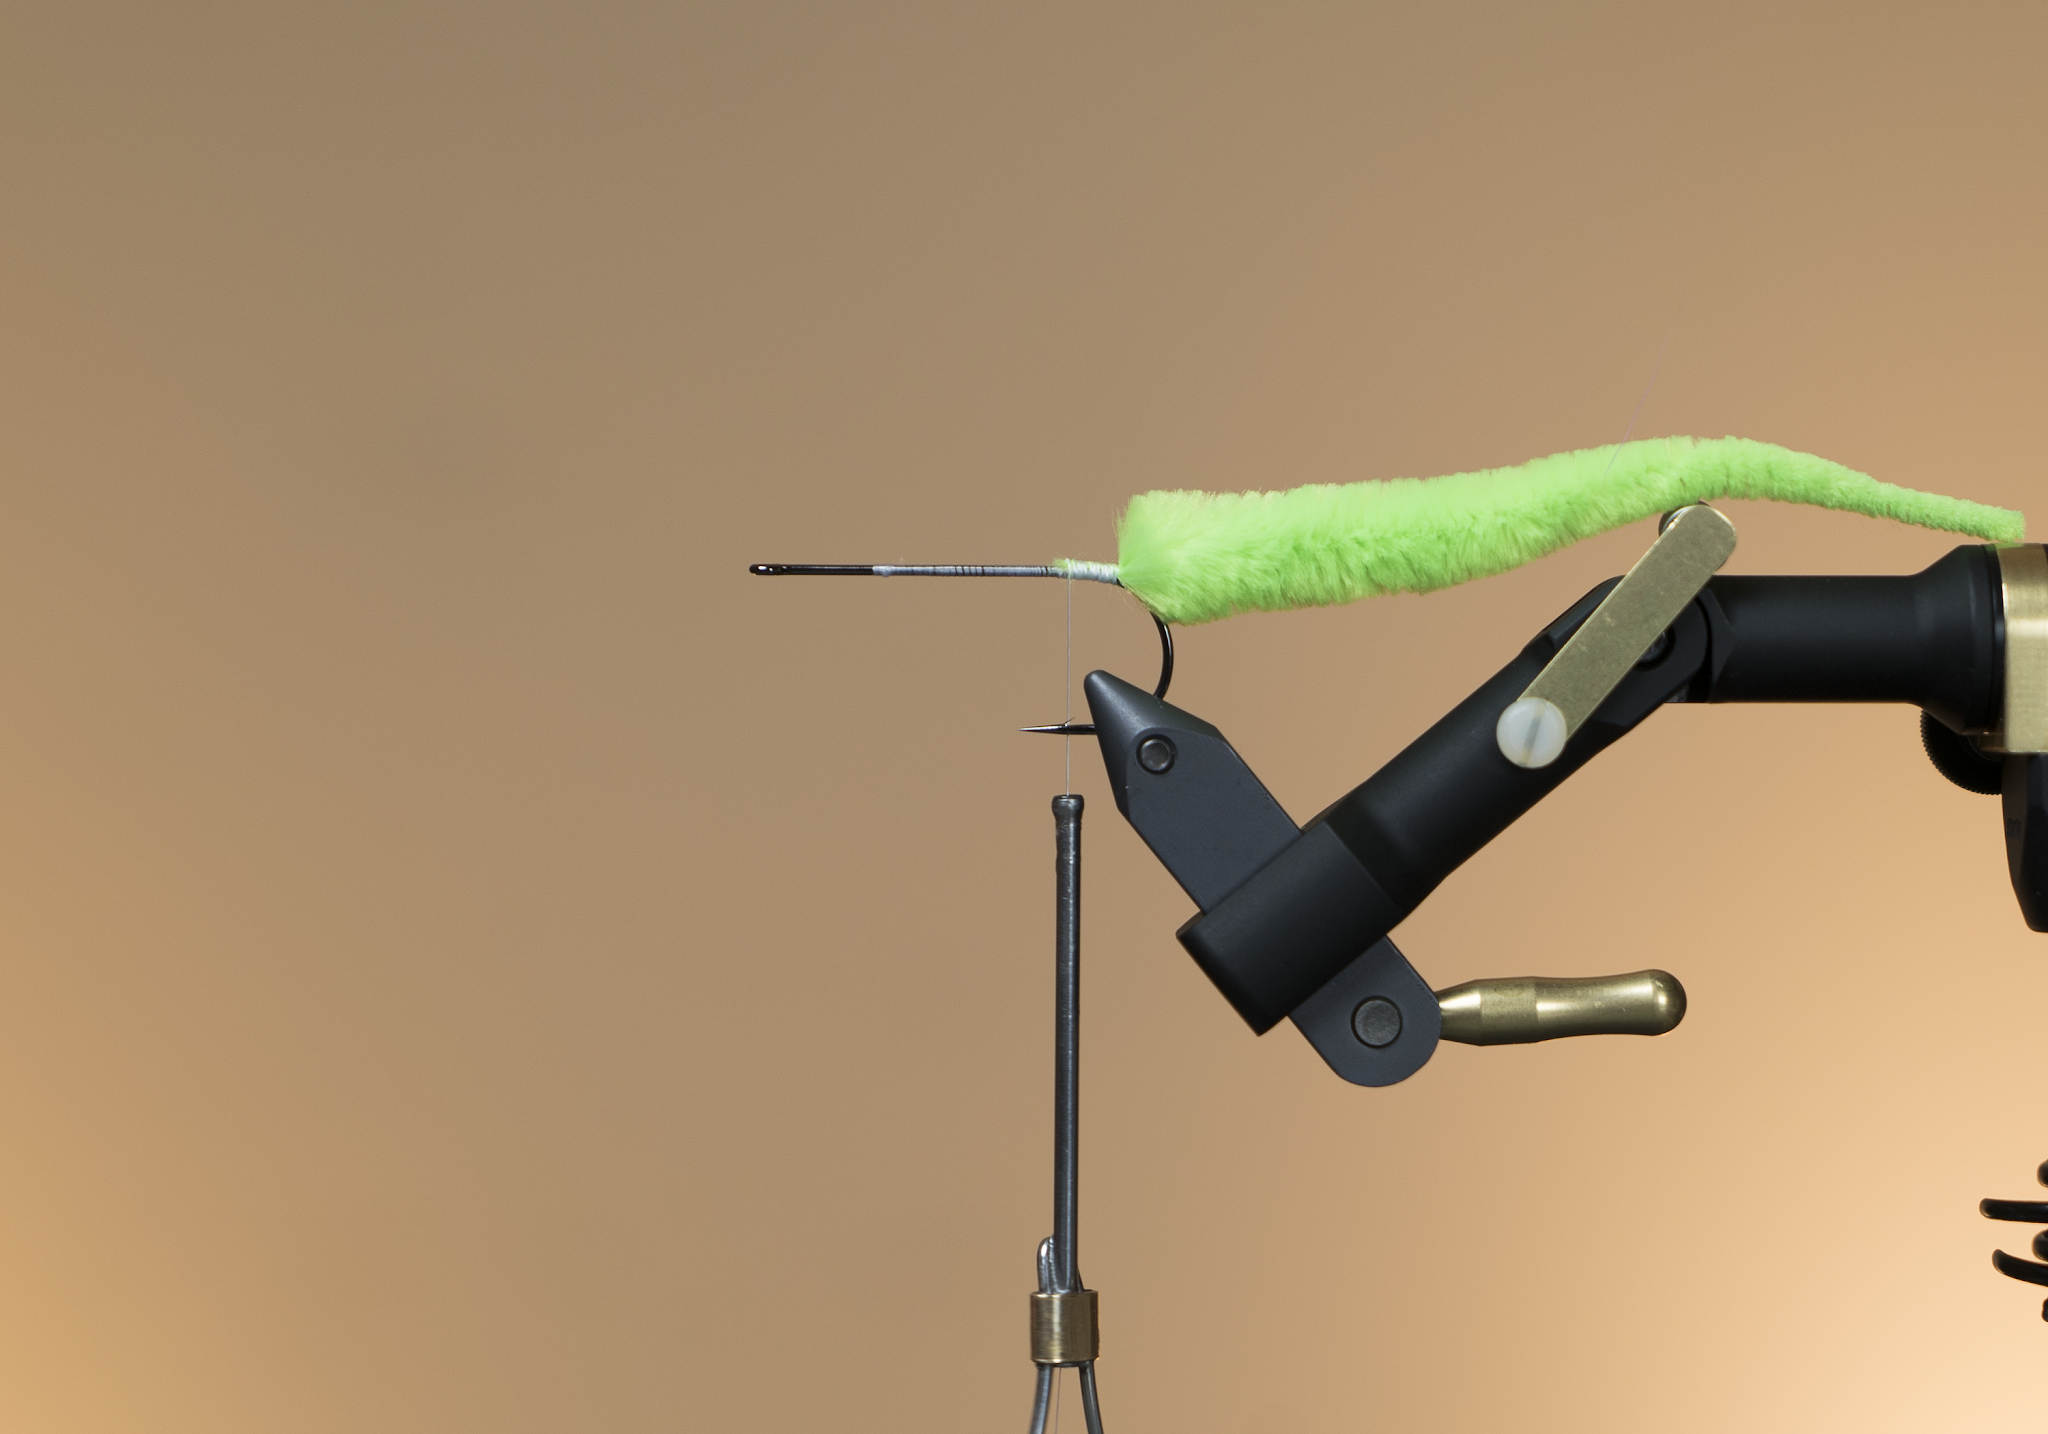
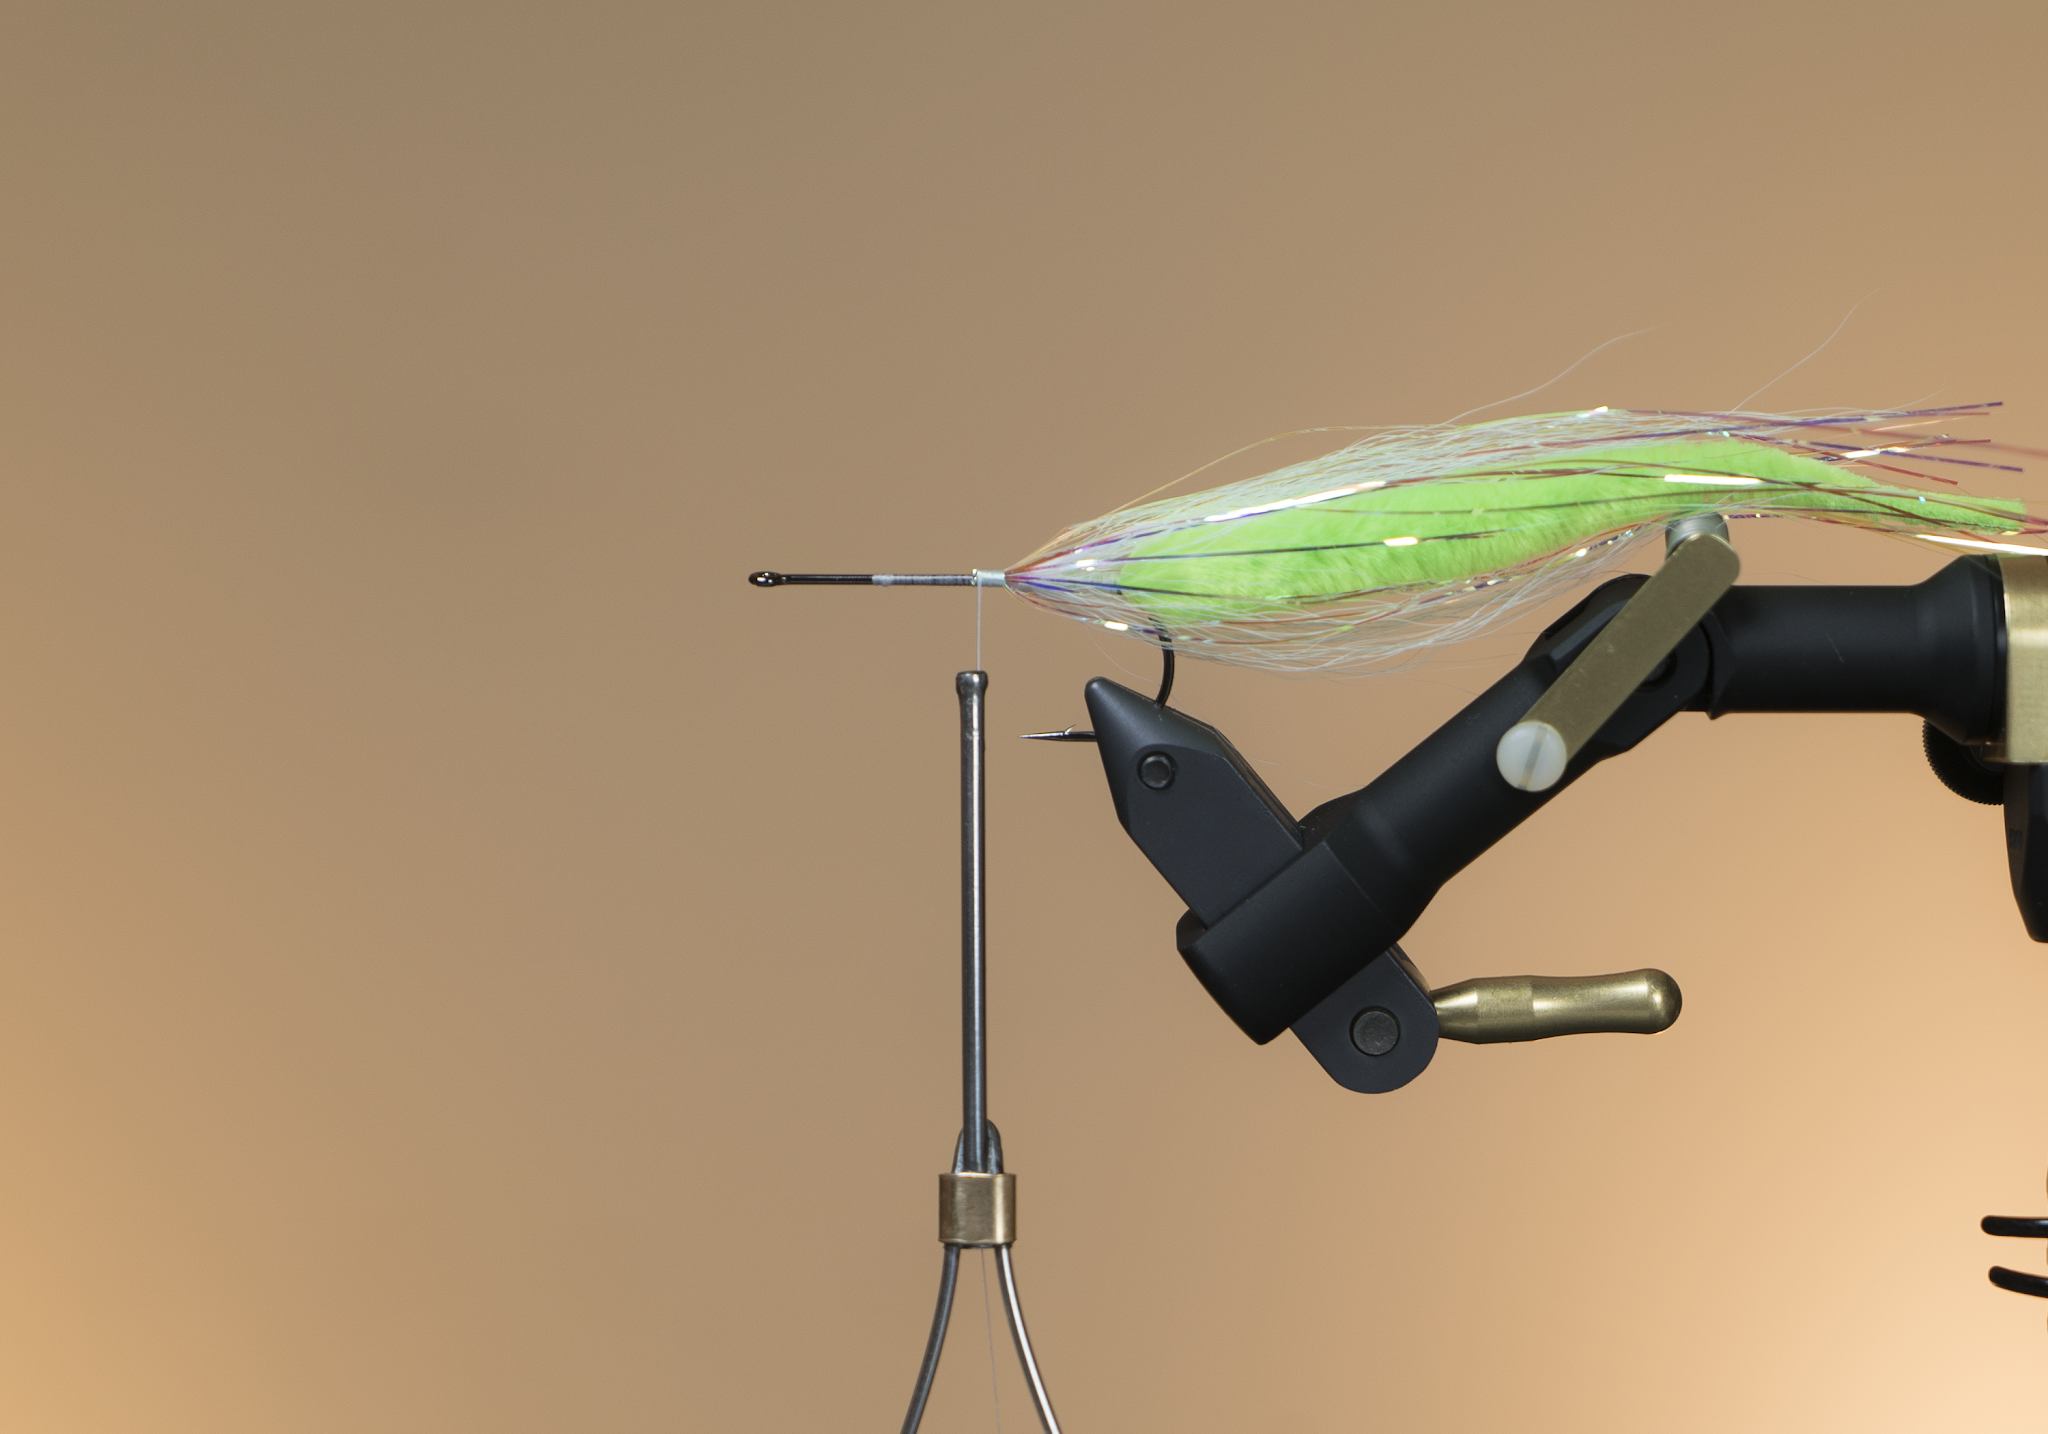
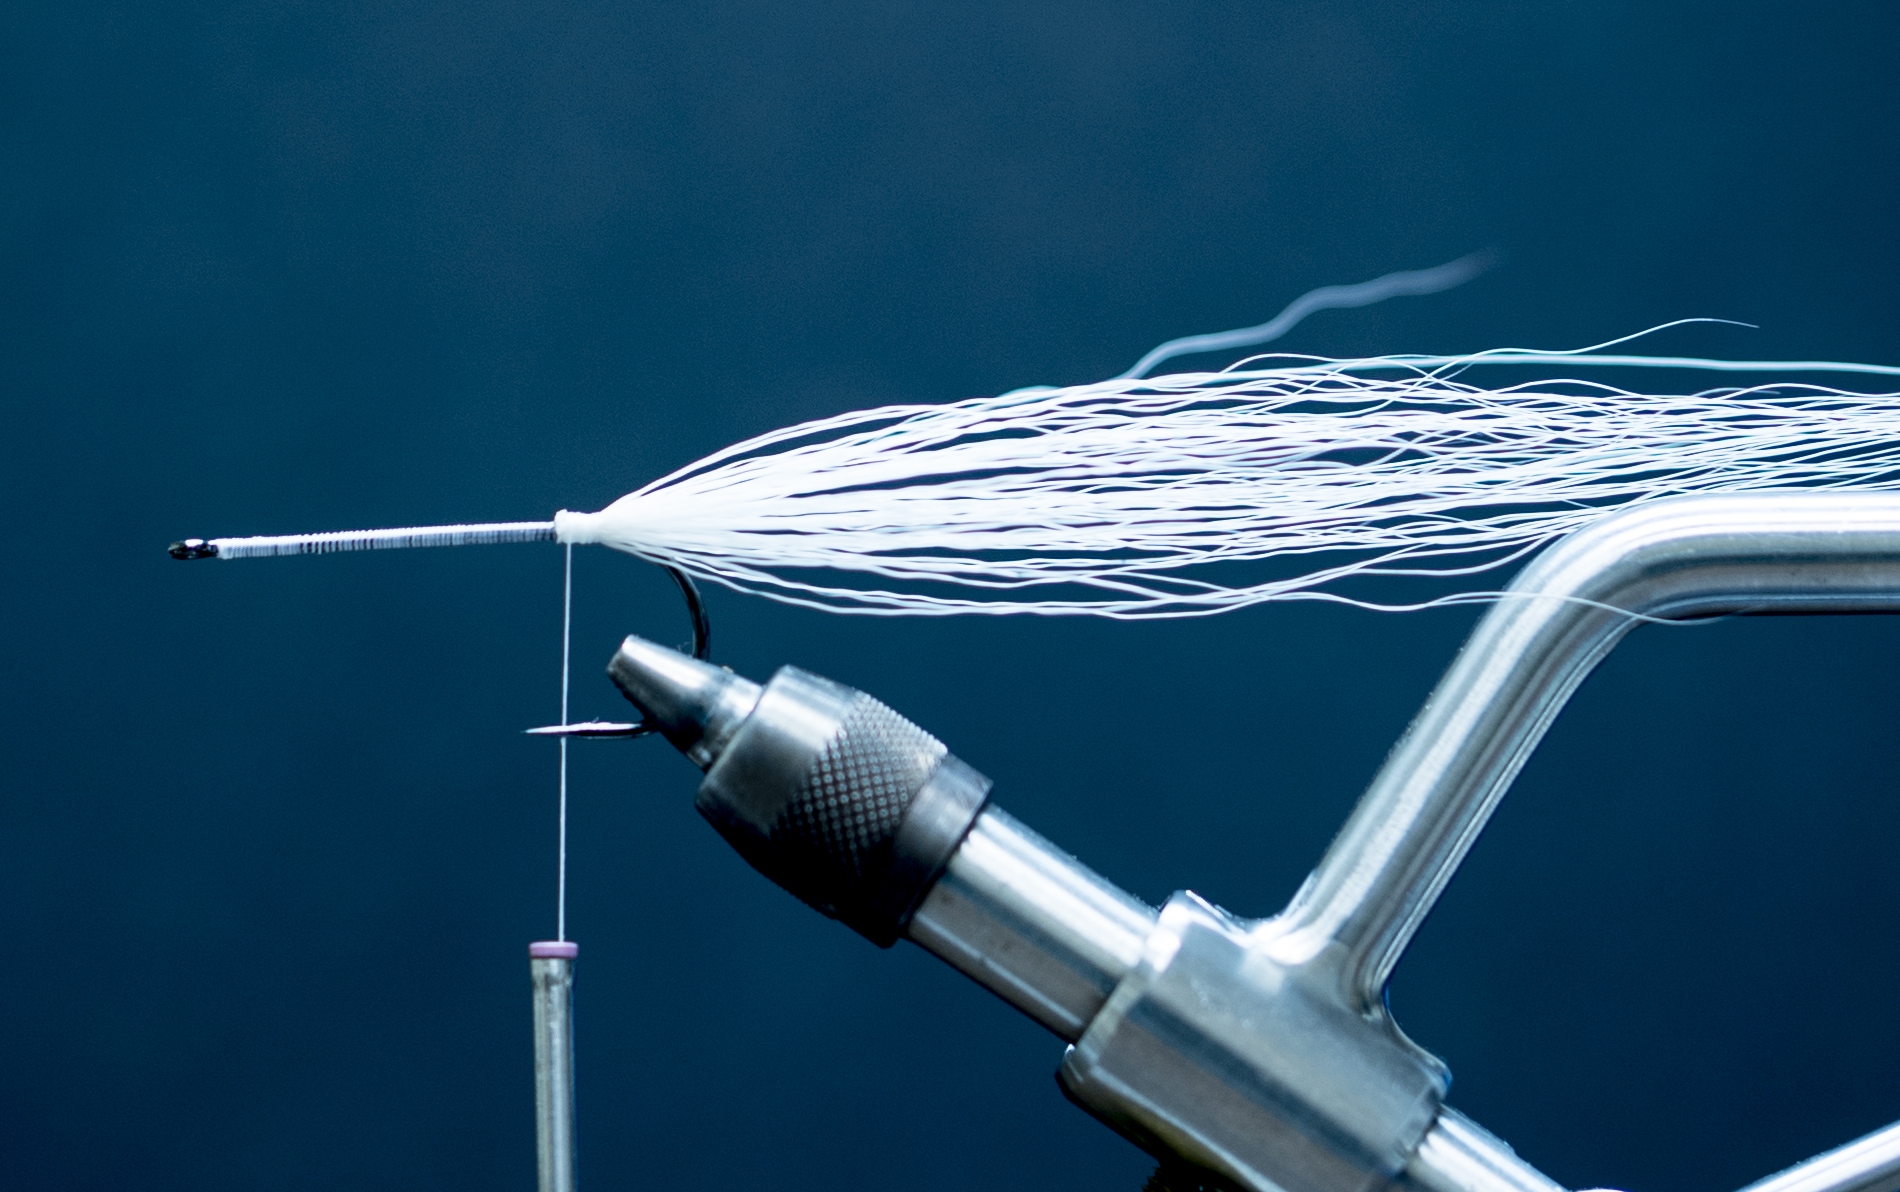
2. Take the Mangum’s Dragon Tail and cut it approximately the length of three and a half shank lengths and tie in just above the barb of the hook.

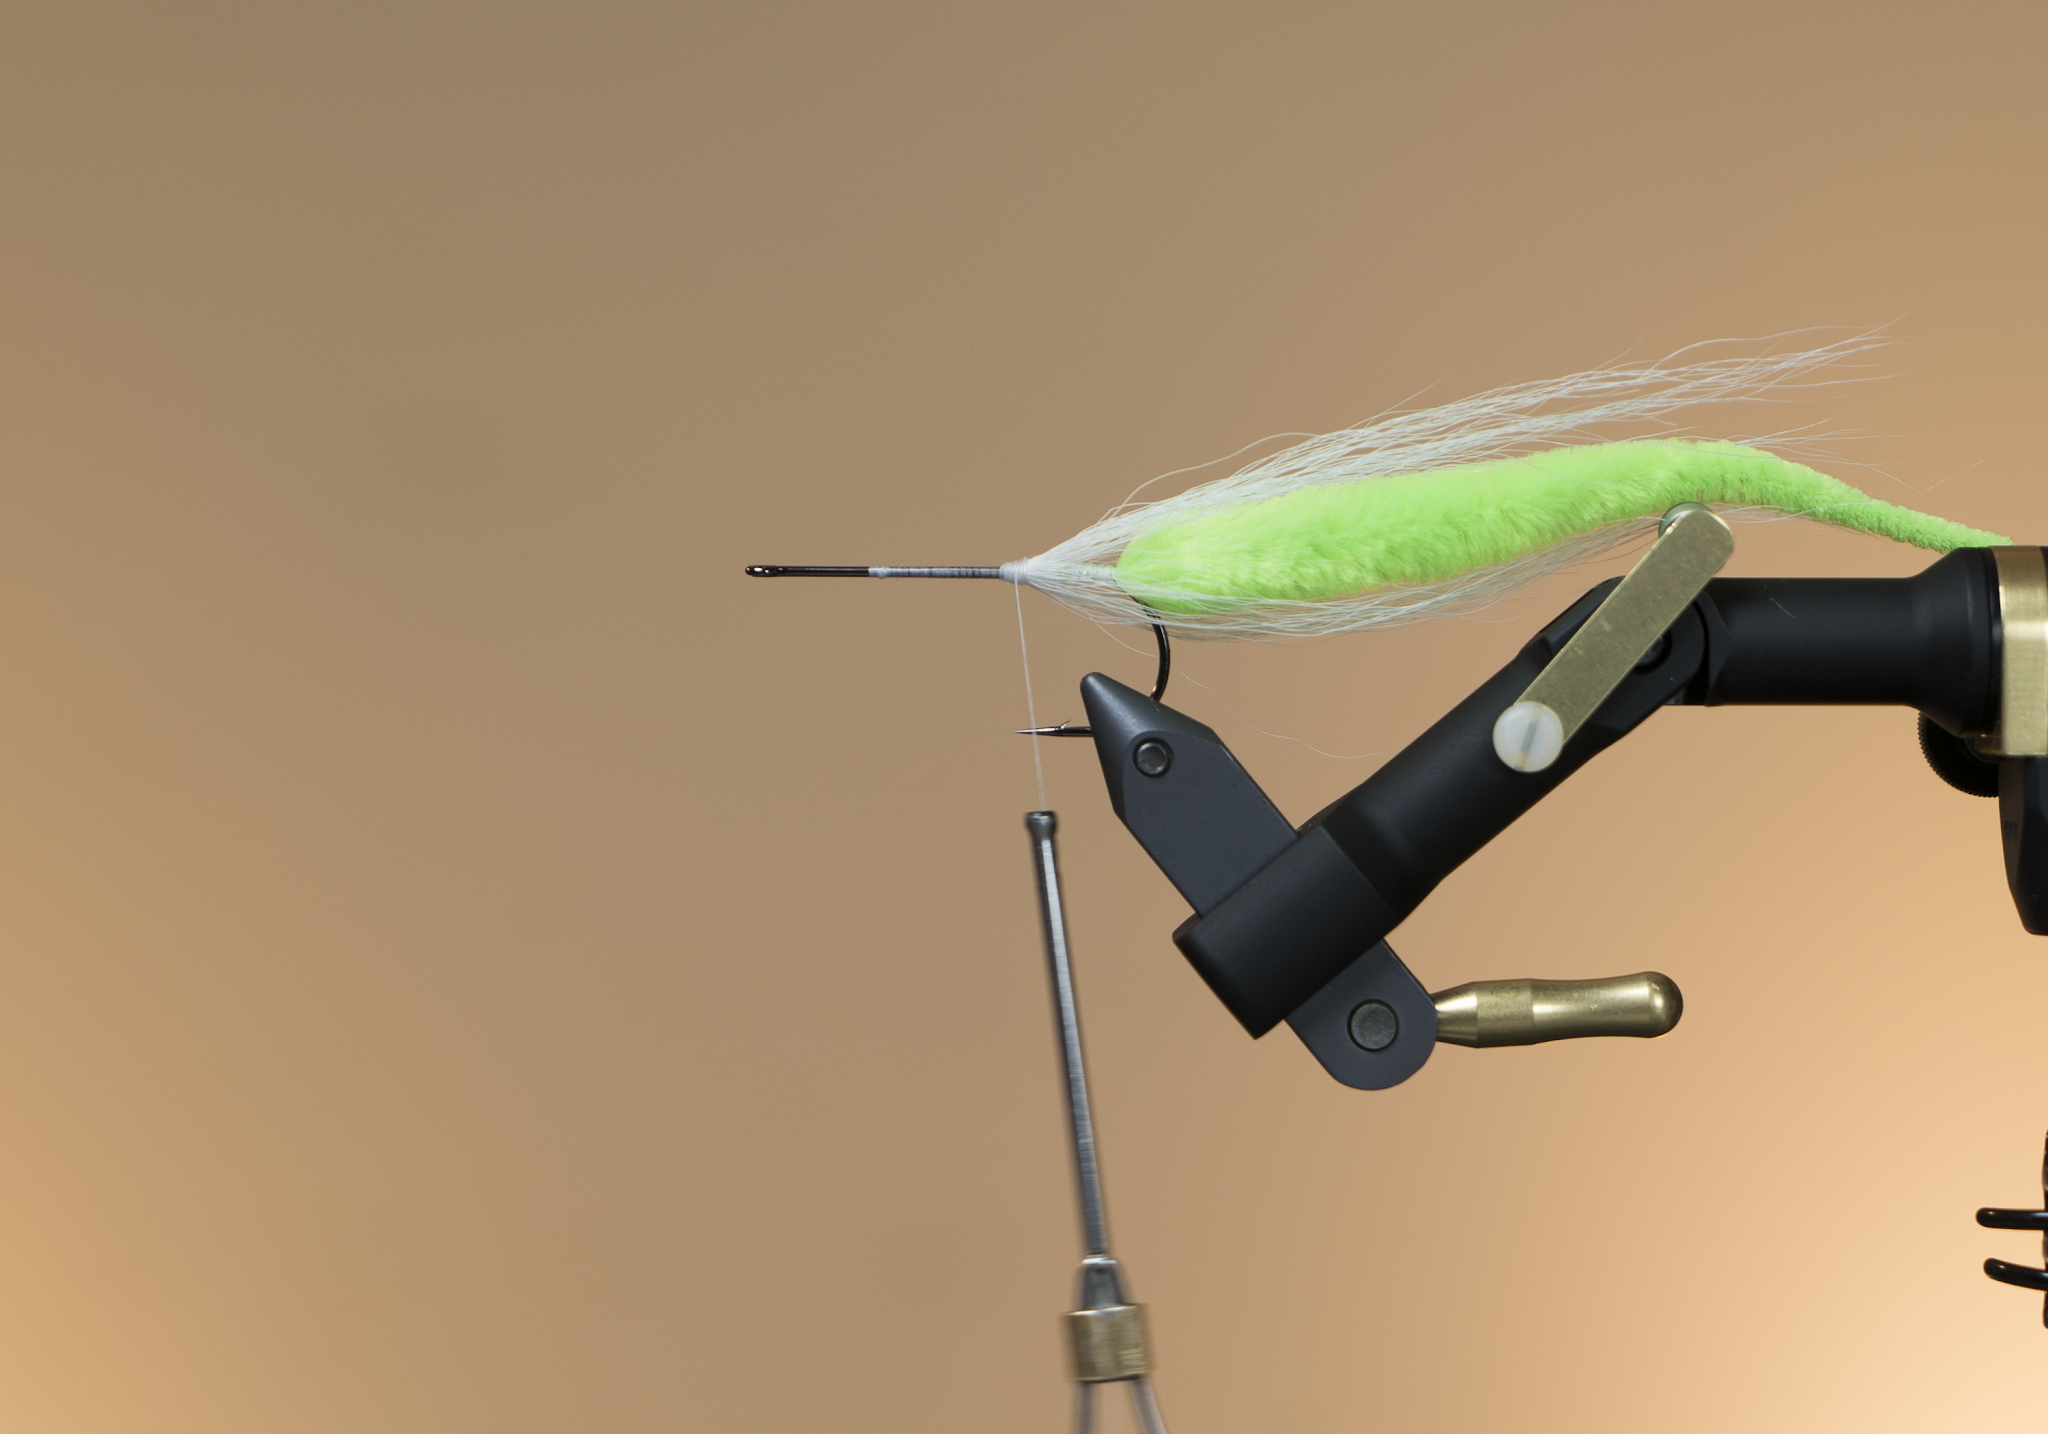
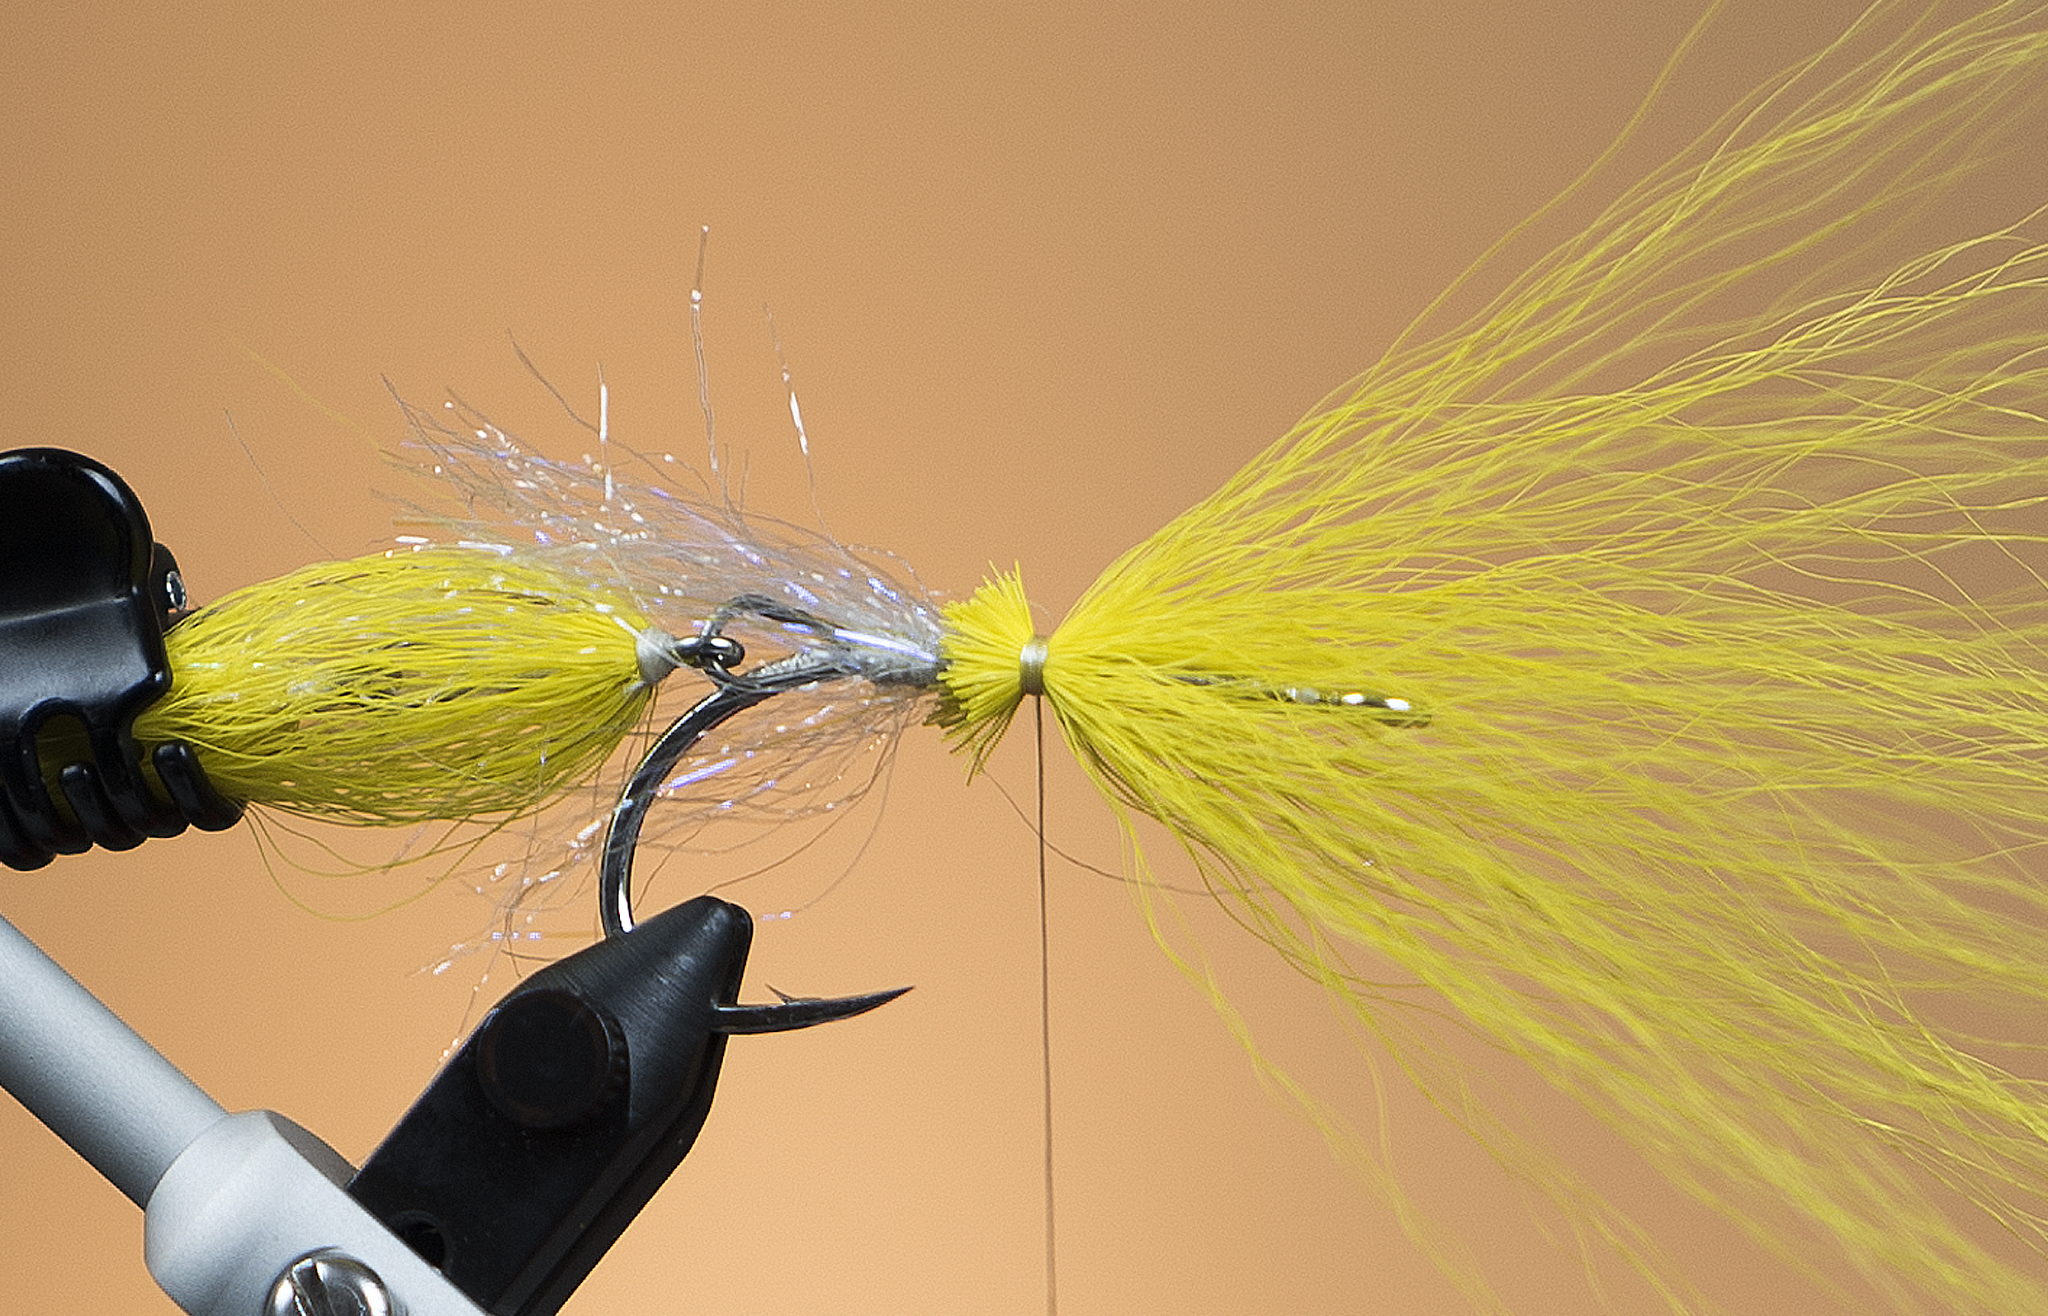
3. Hollow tie-in your first clump of white bucktail just above the barb of the hook. You will want the finished angle of your bucktail to lay more or less flat against the Dragon Tail. As with all hollow flies we will gradually increase the angle of our hollow ties as we progress forward. 
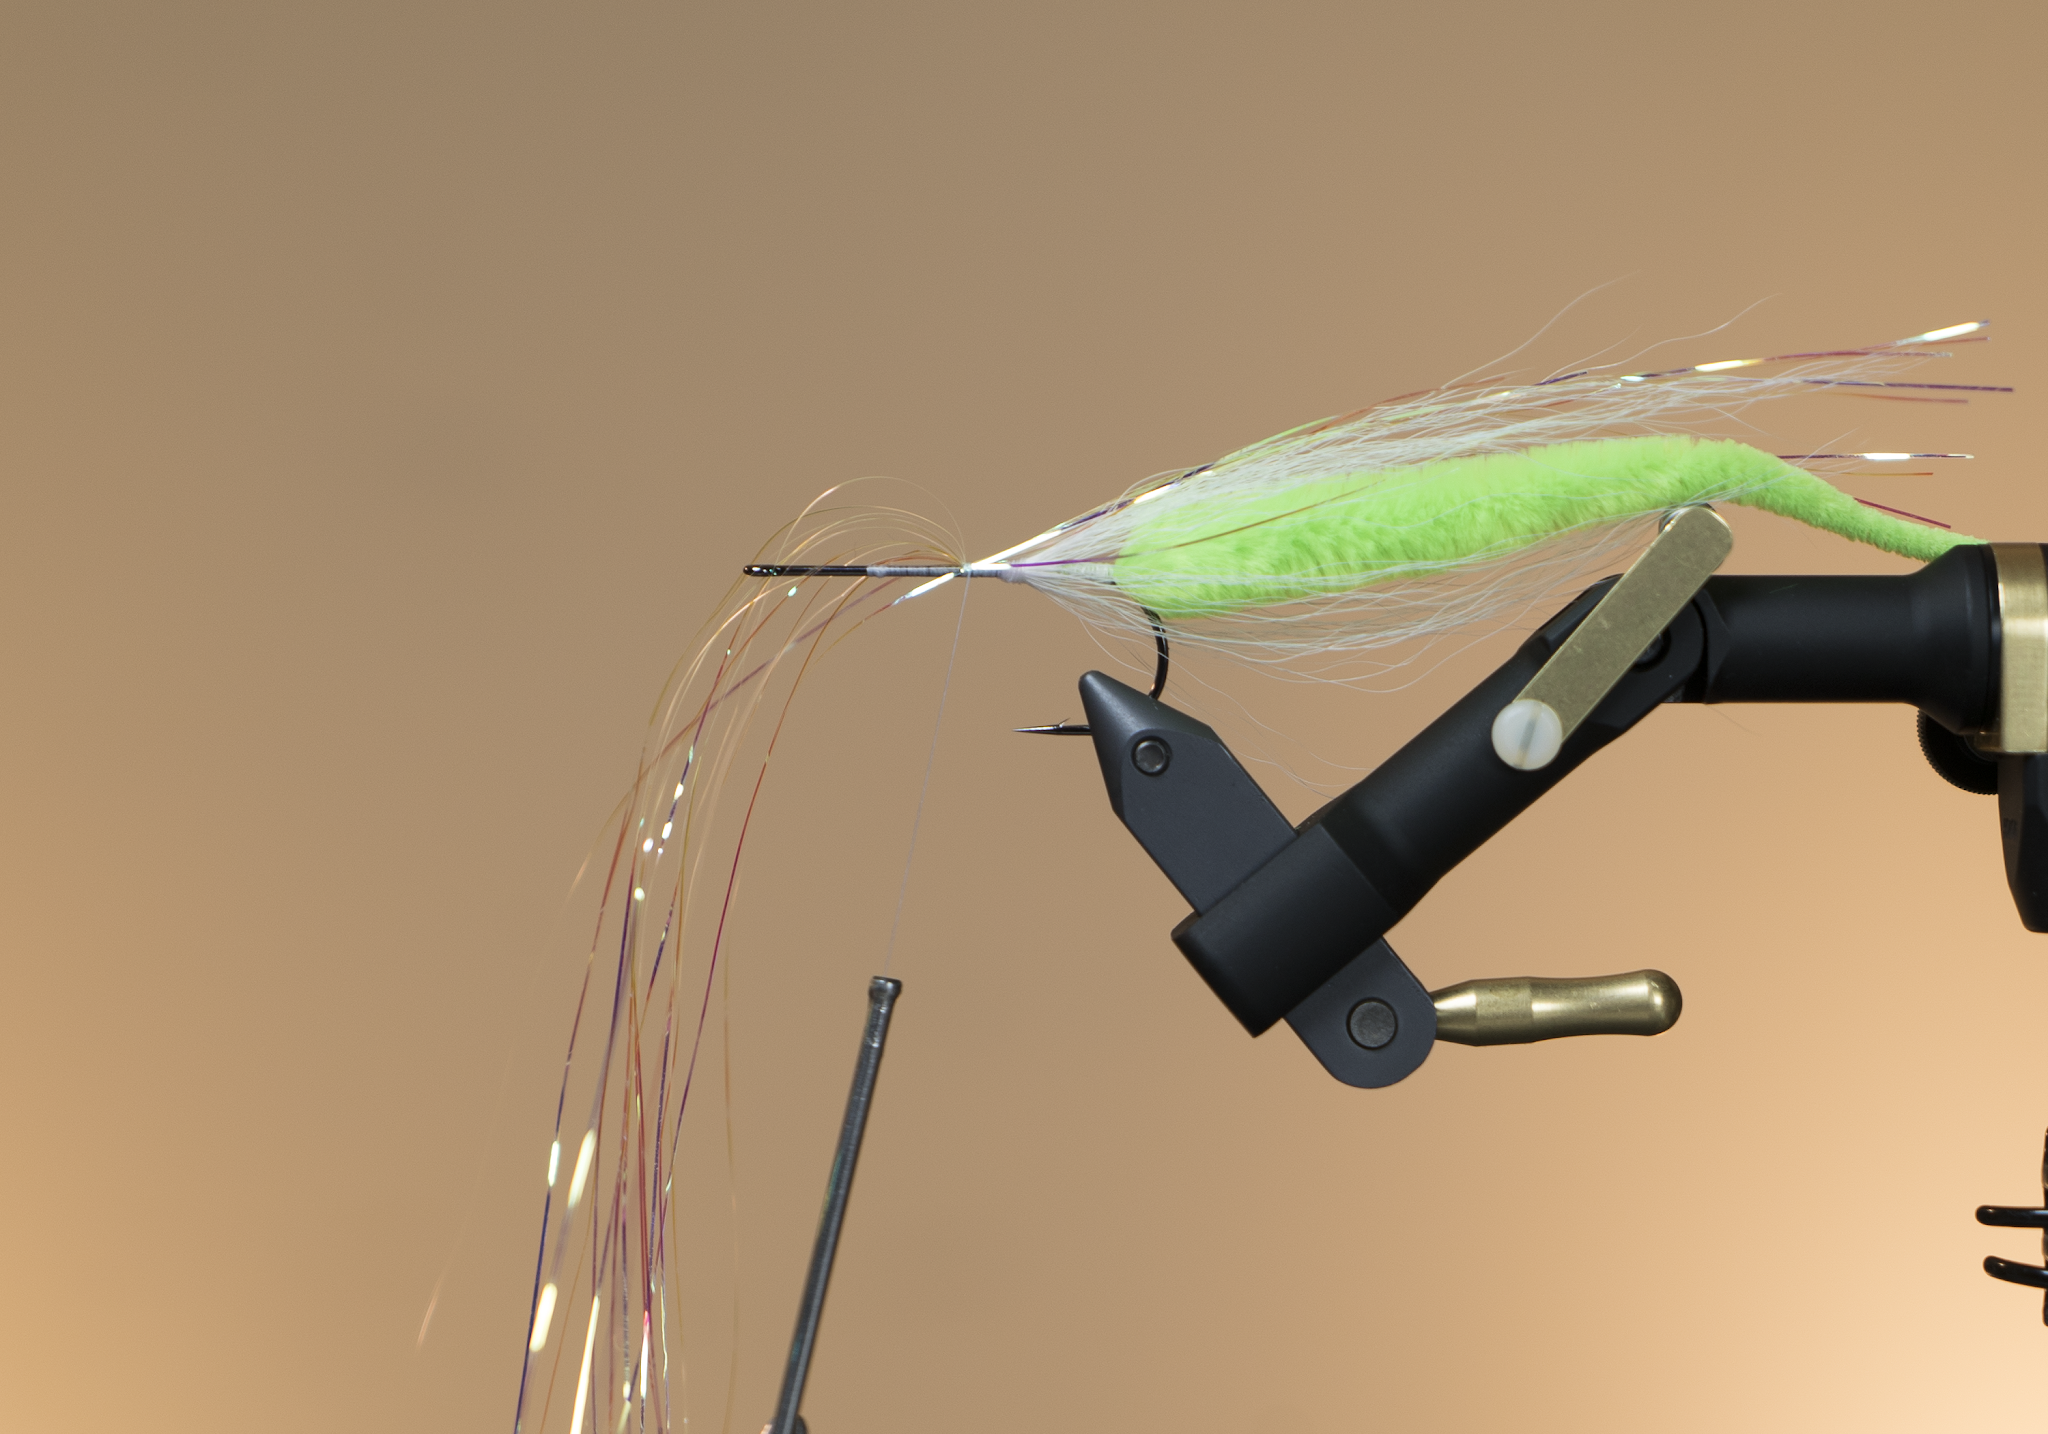
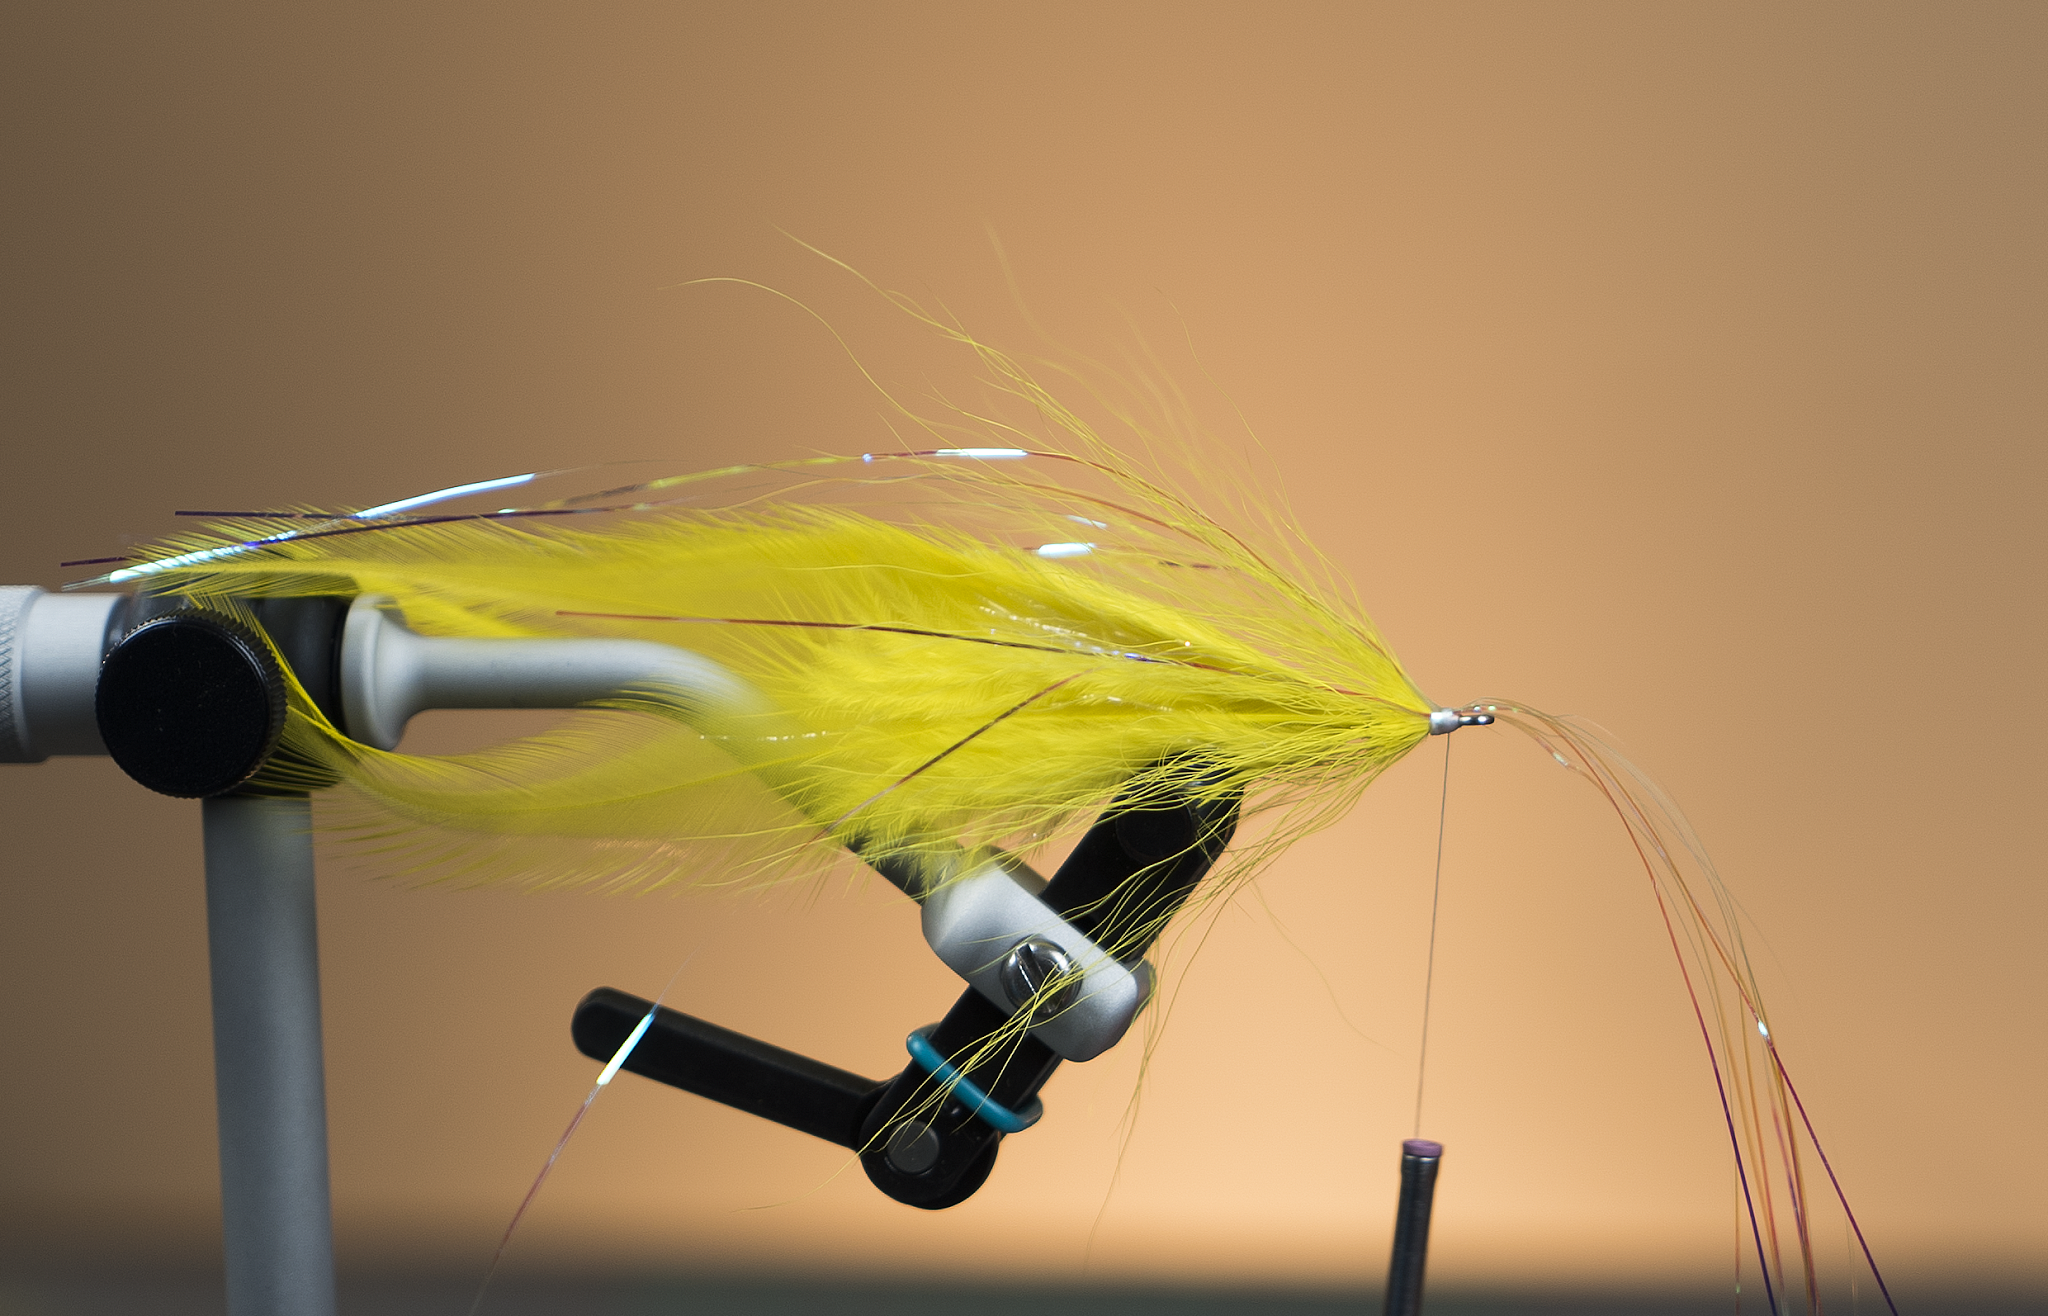
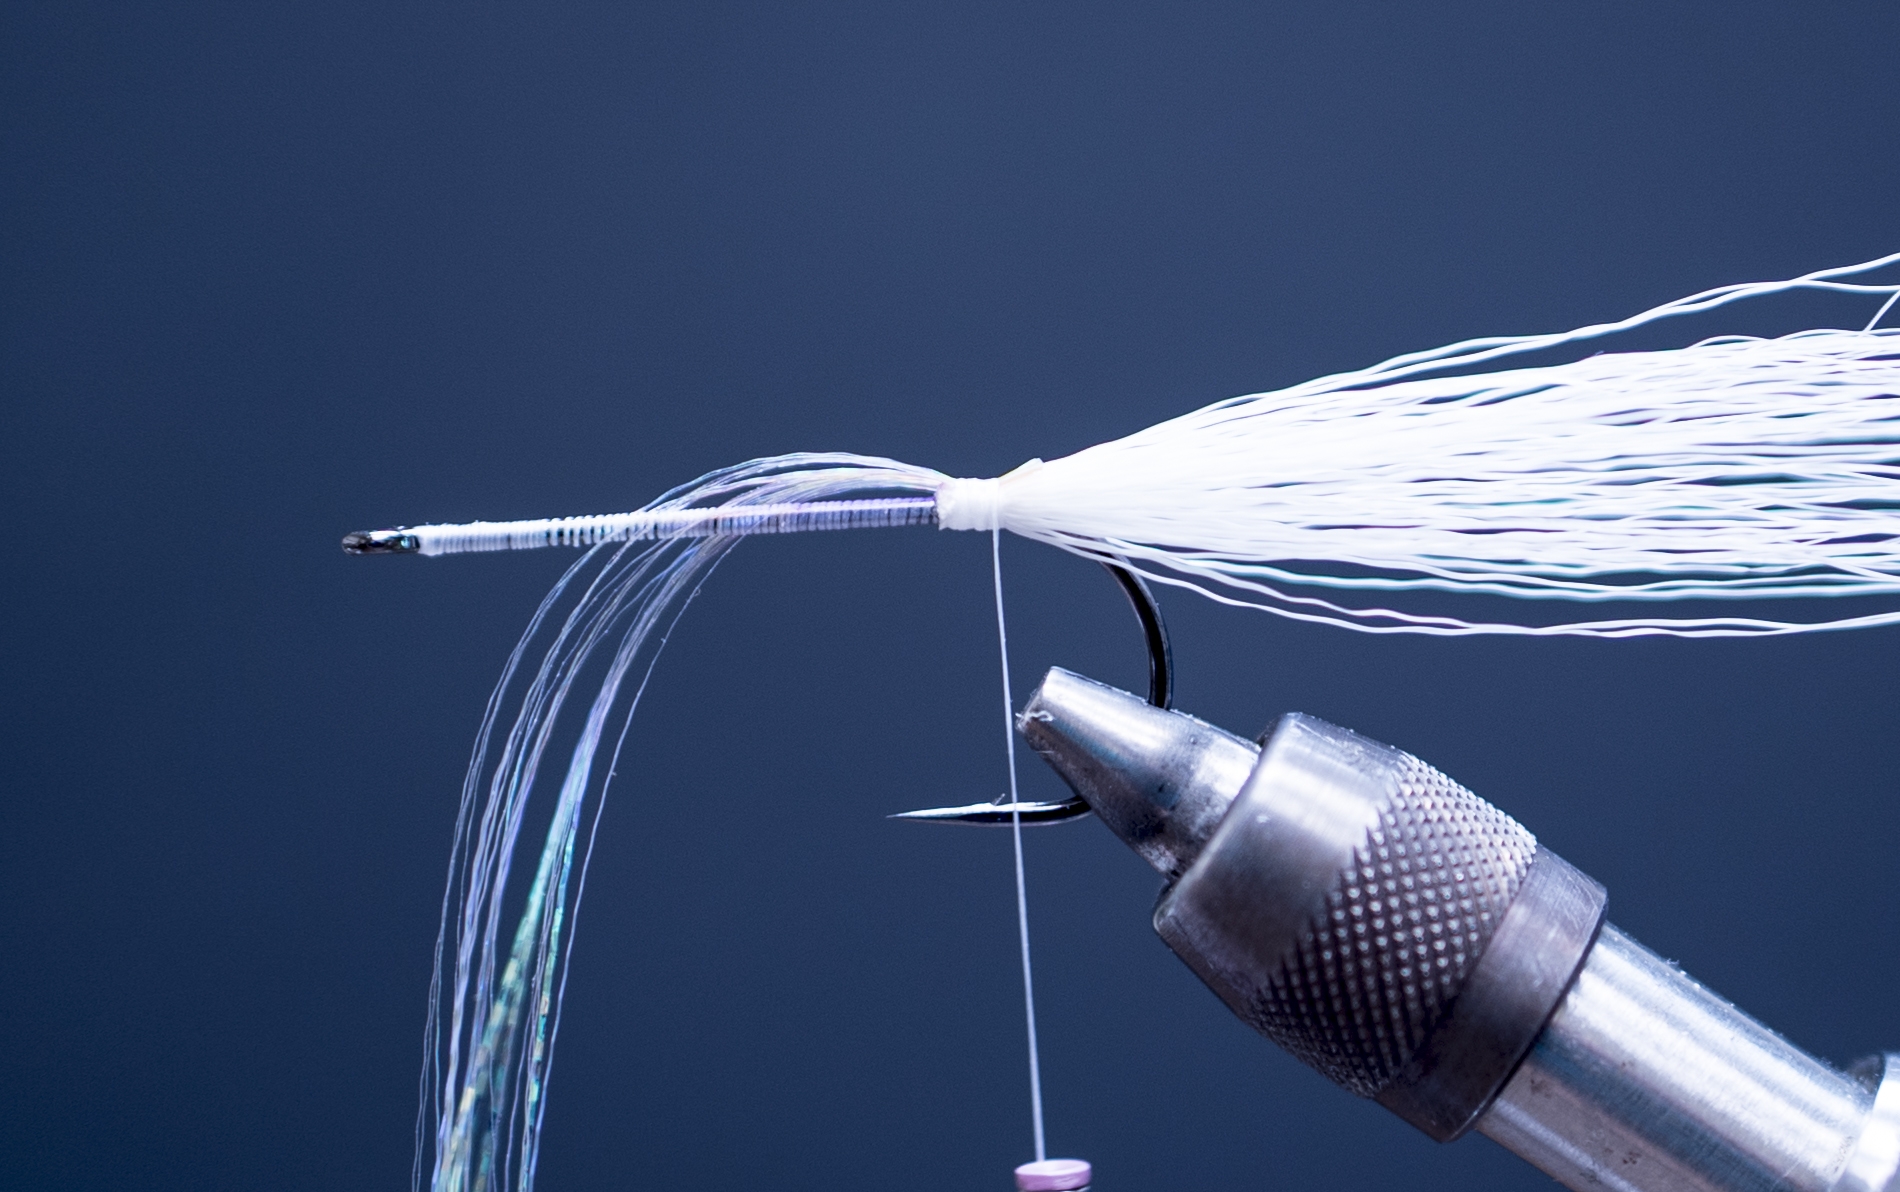
4. Secure flashabou/lateral scale to the hook shank allowing for sixty percent of the total length to extend towards the tail of the fly and the remaining forty percent extending out toward the eye of the hook. Once complete fold the flash that is extending out toward the front of the fly back over itself and secure. By staggering the length of your flash you are creating taper, giving a much more natural look and increasing the overall movement of the flash. This will be a reoccurring theme in most all of my fly tying tutorials. One should always be considering shape and taper when constructing a fly. Your finished product will not only look more natural but will also swim better as a result.

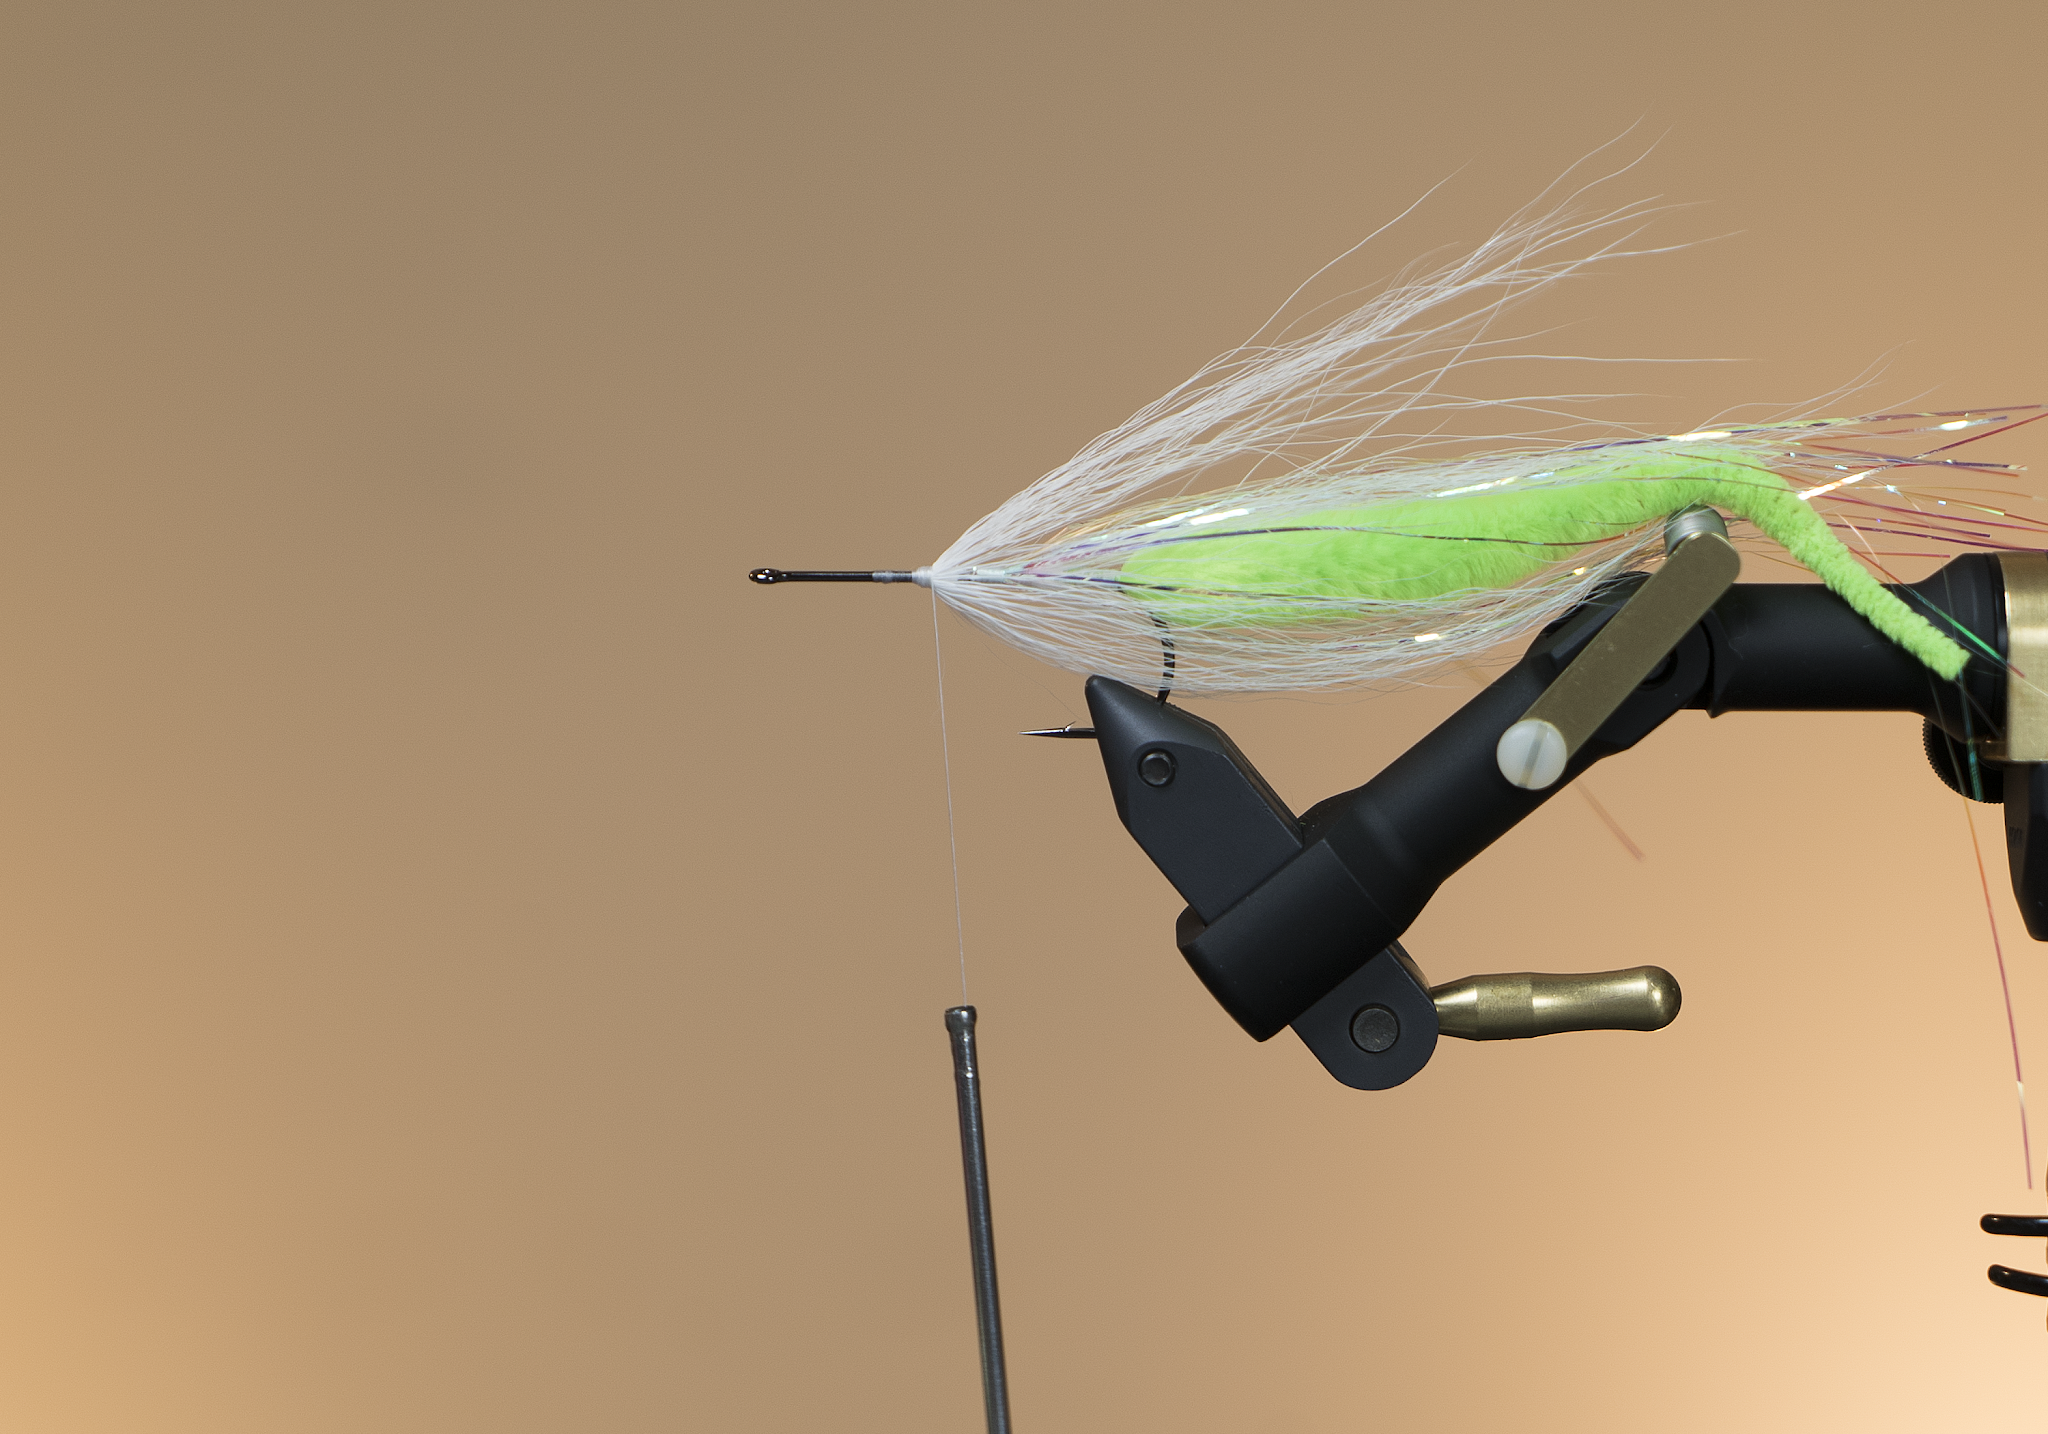
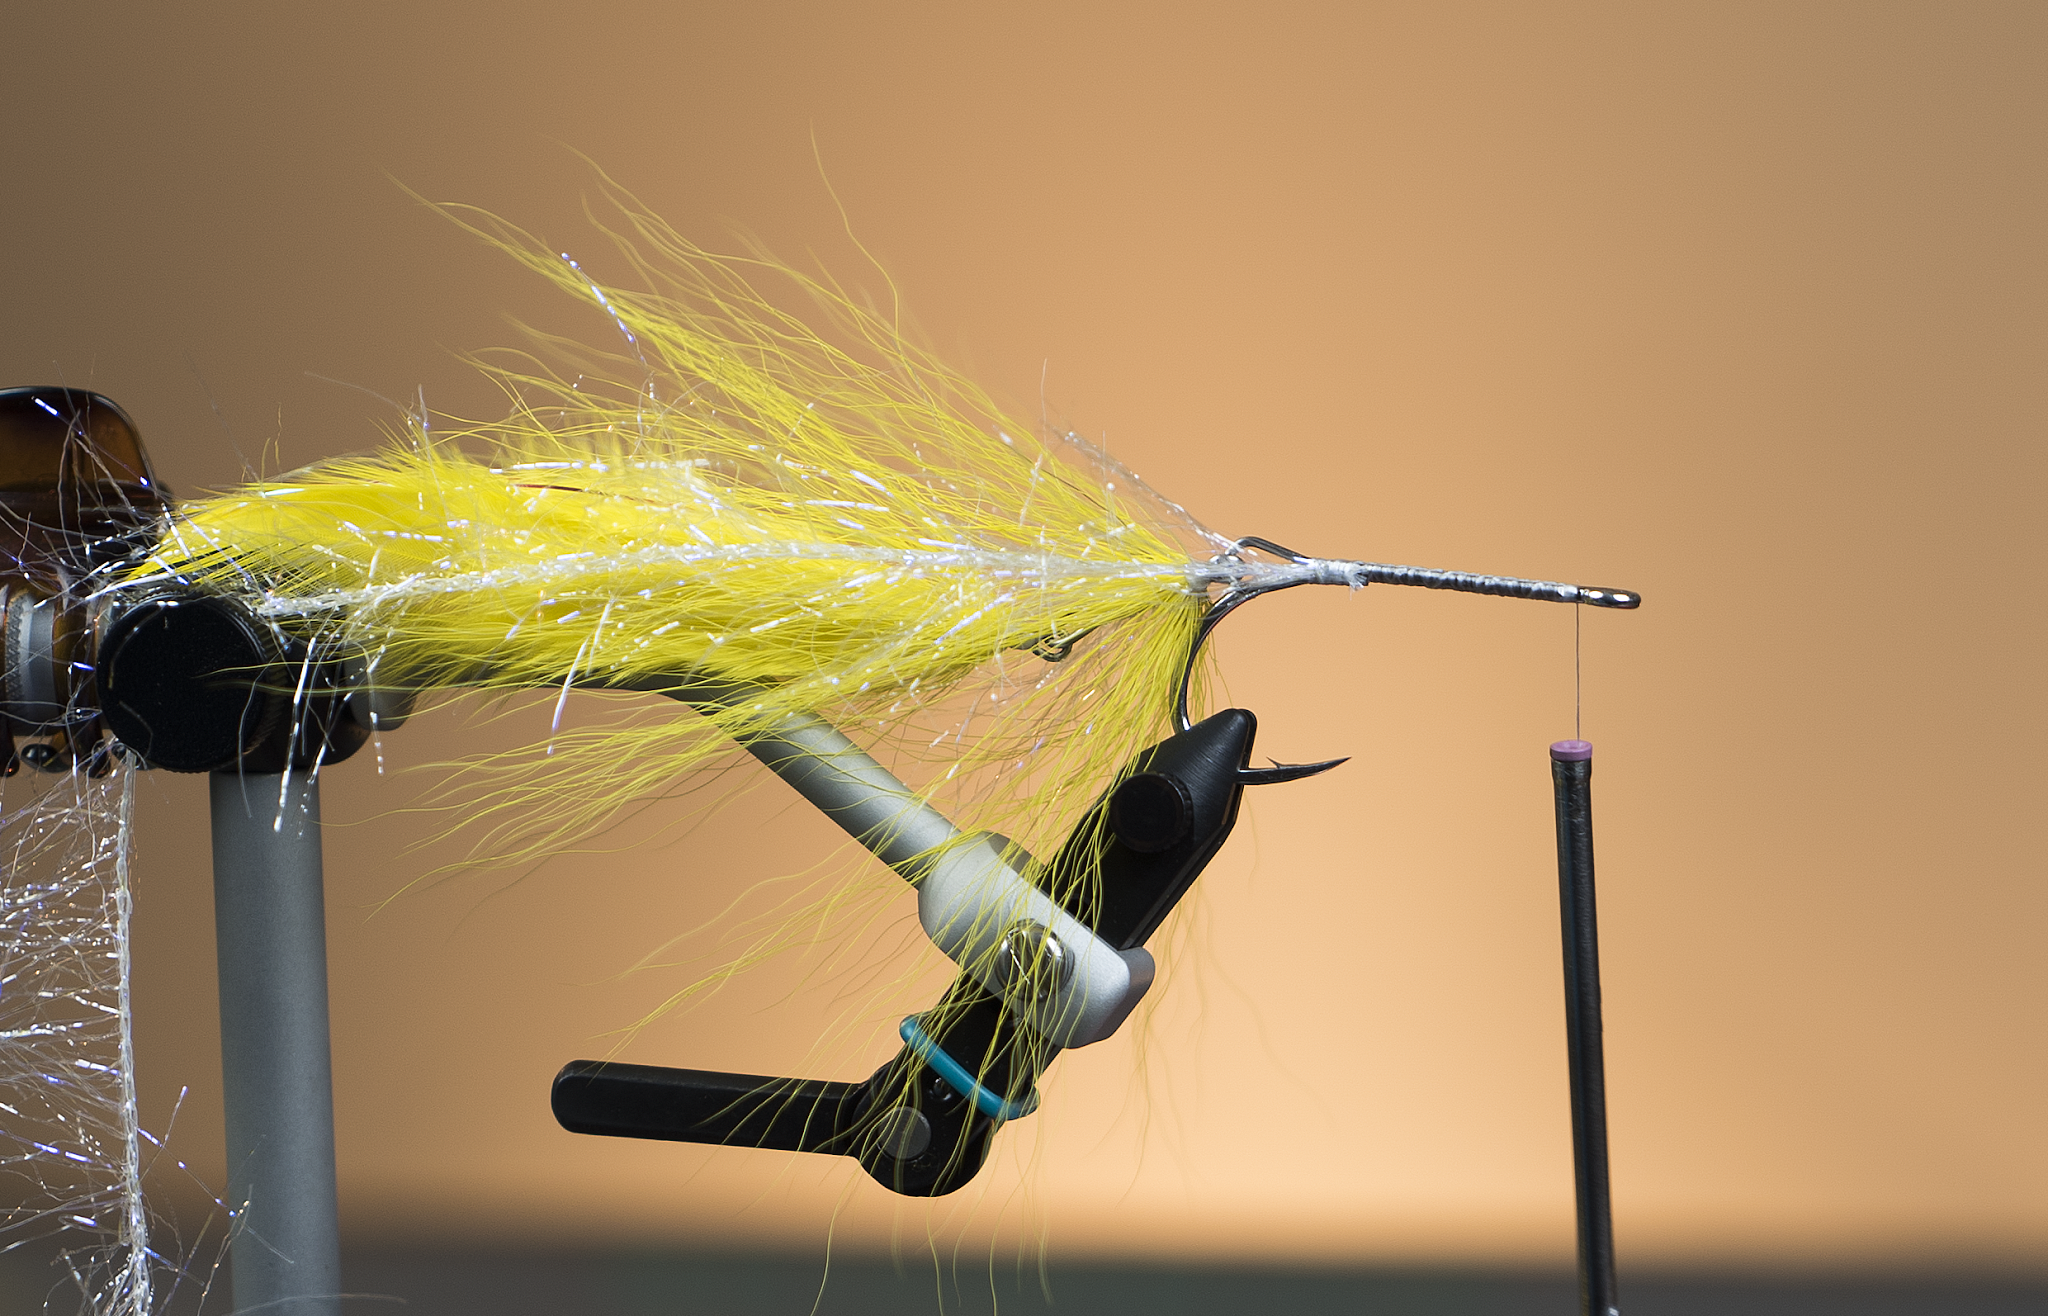
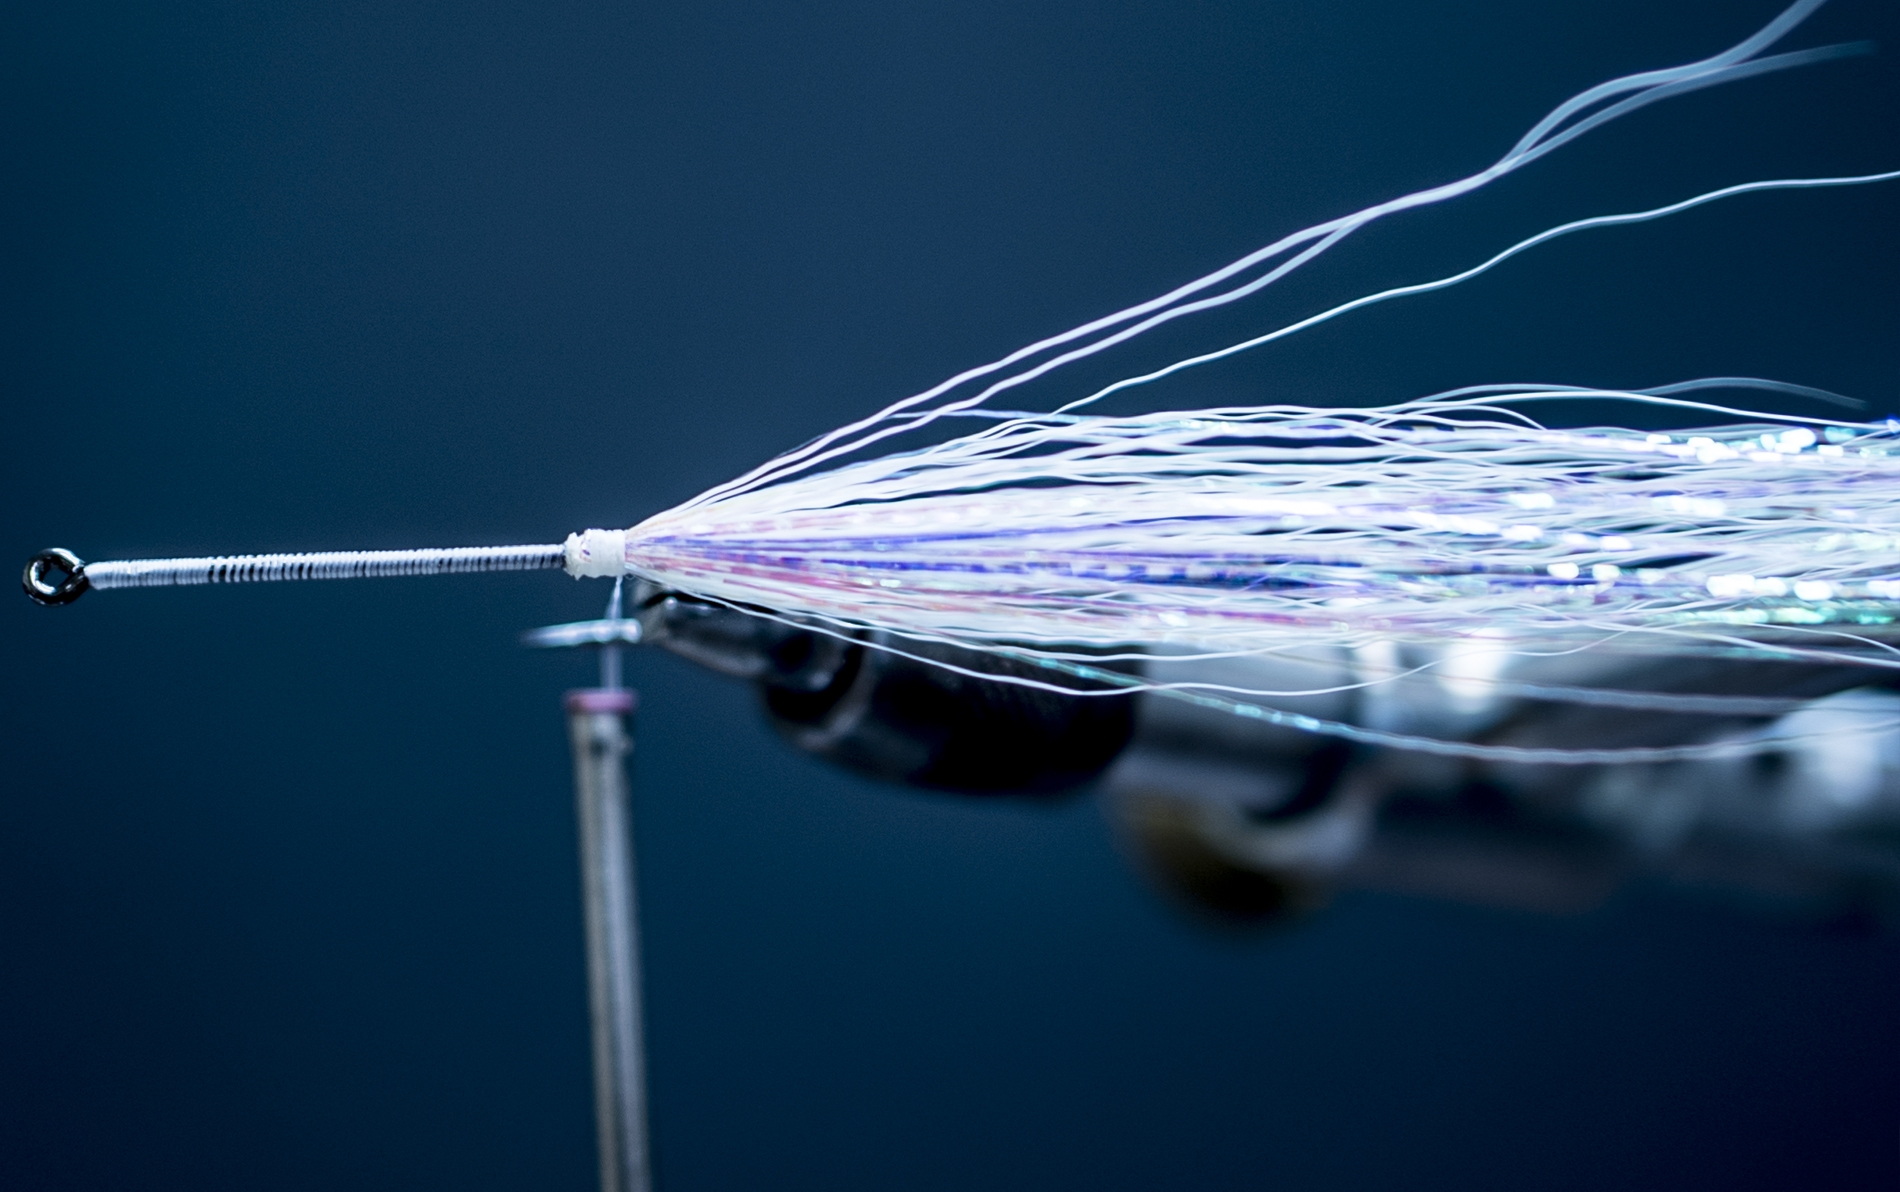
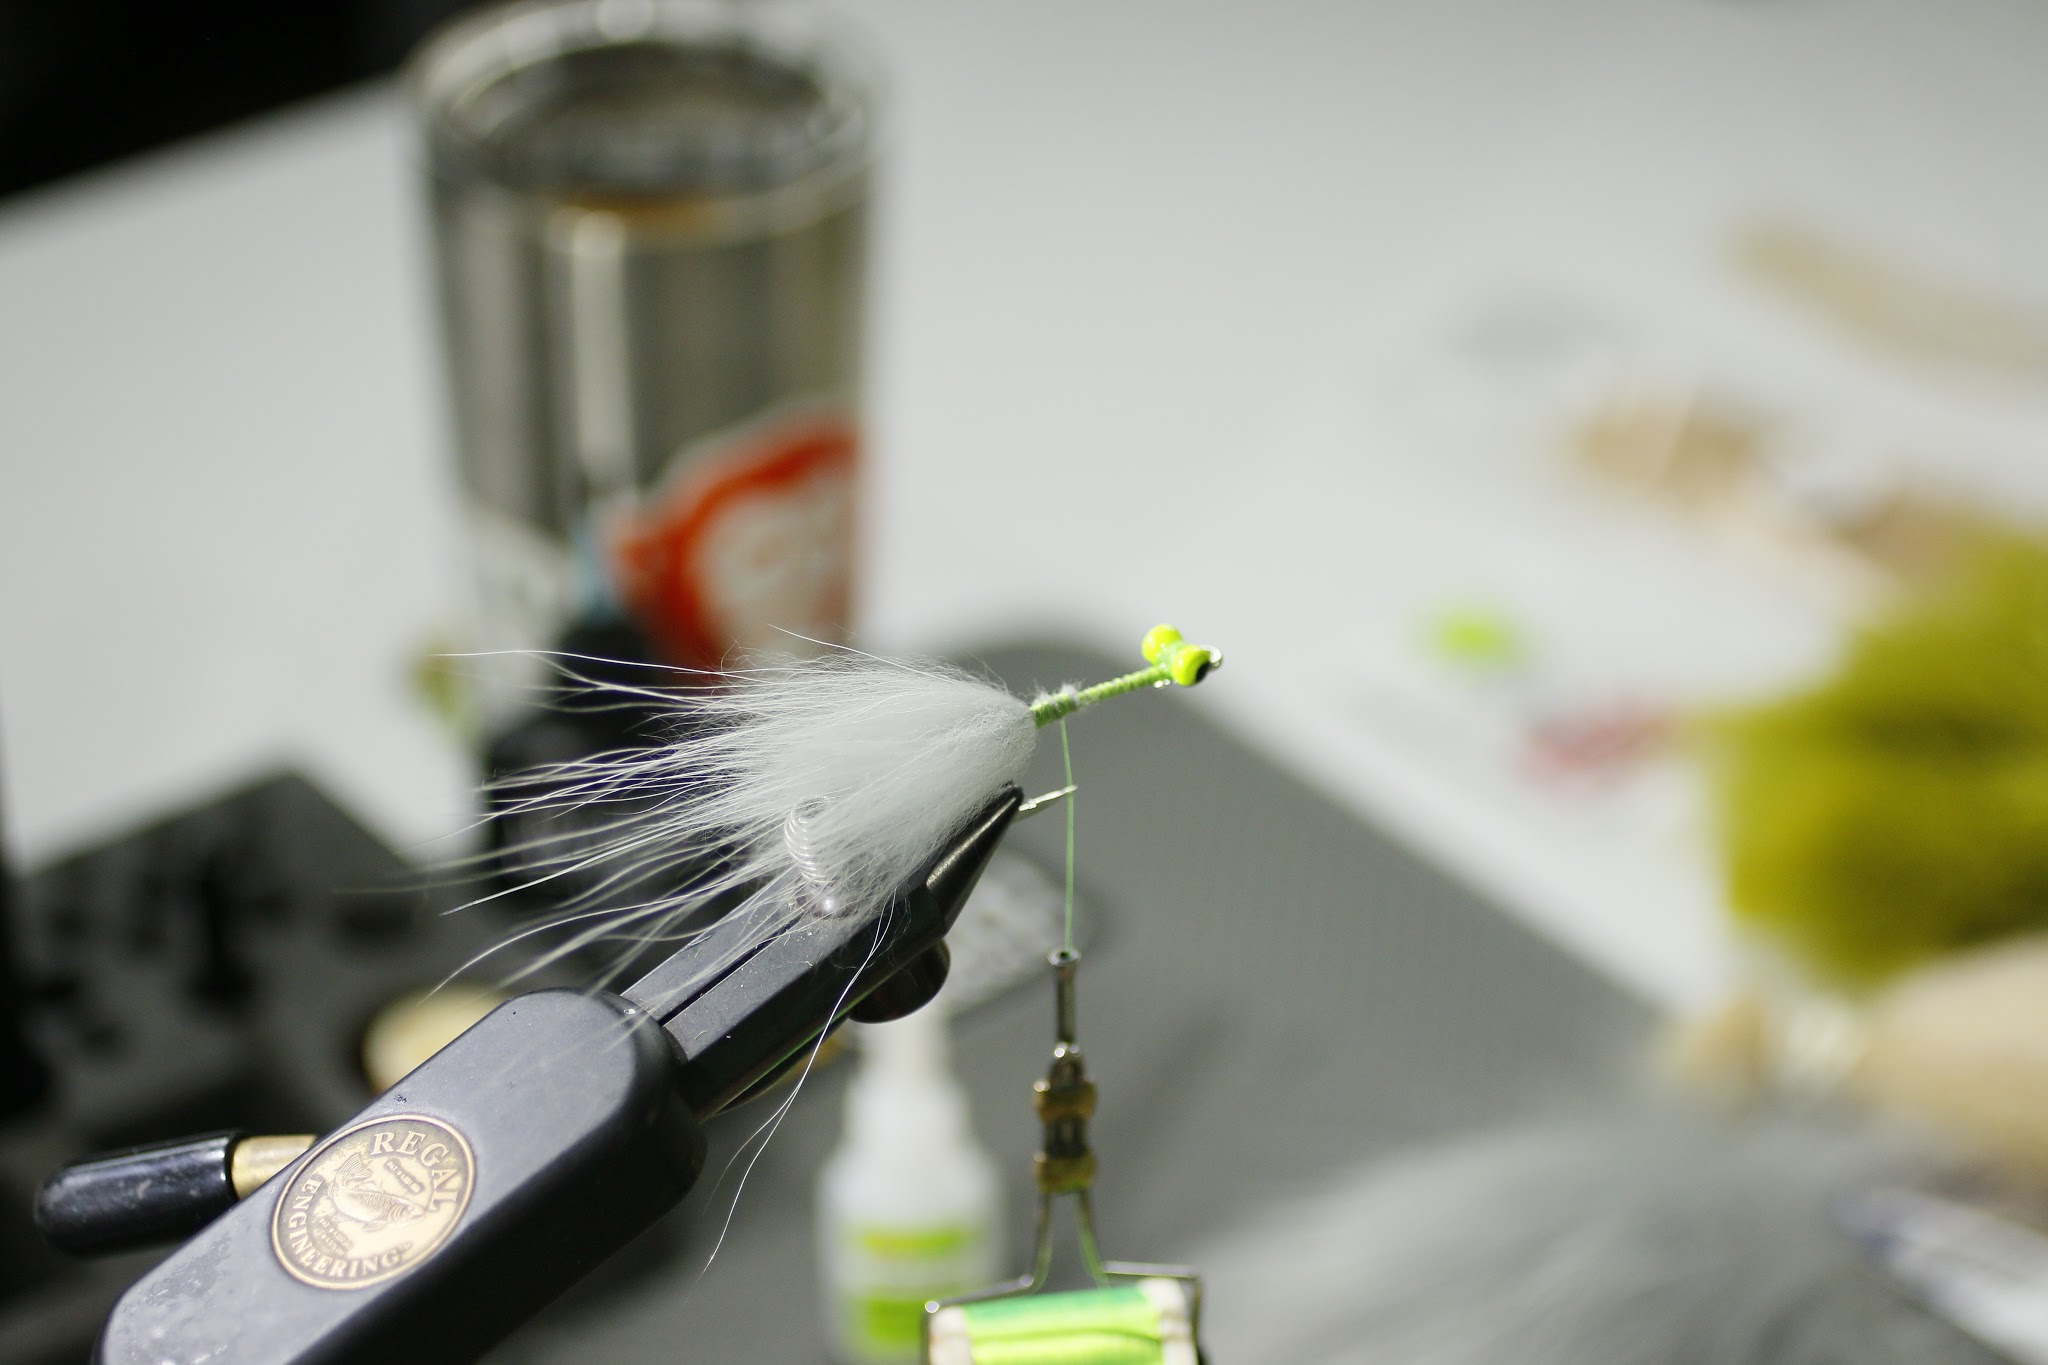
5. Tie in two more hollow ties of white bucktail. With each tie you need to increase both the amount of hair and angle of hair as you progress forward. Again always thinking about shape and taper in the finished product.

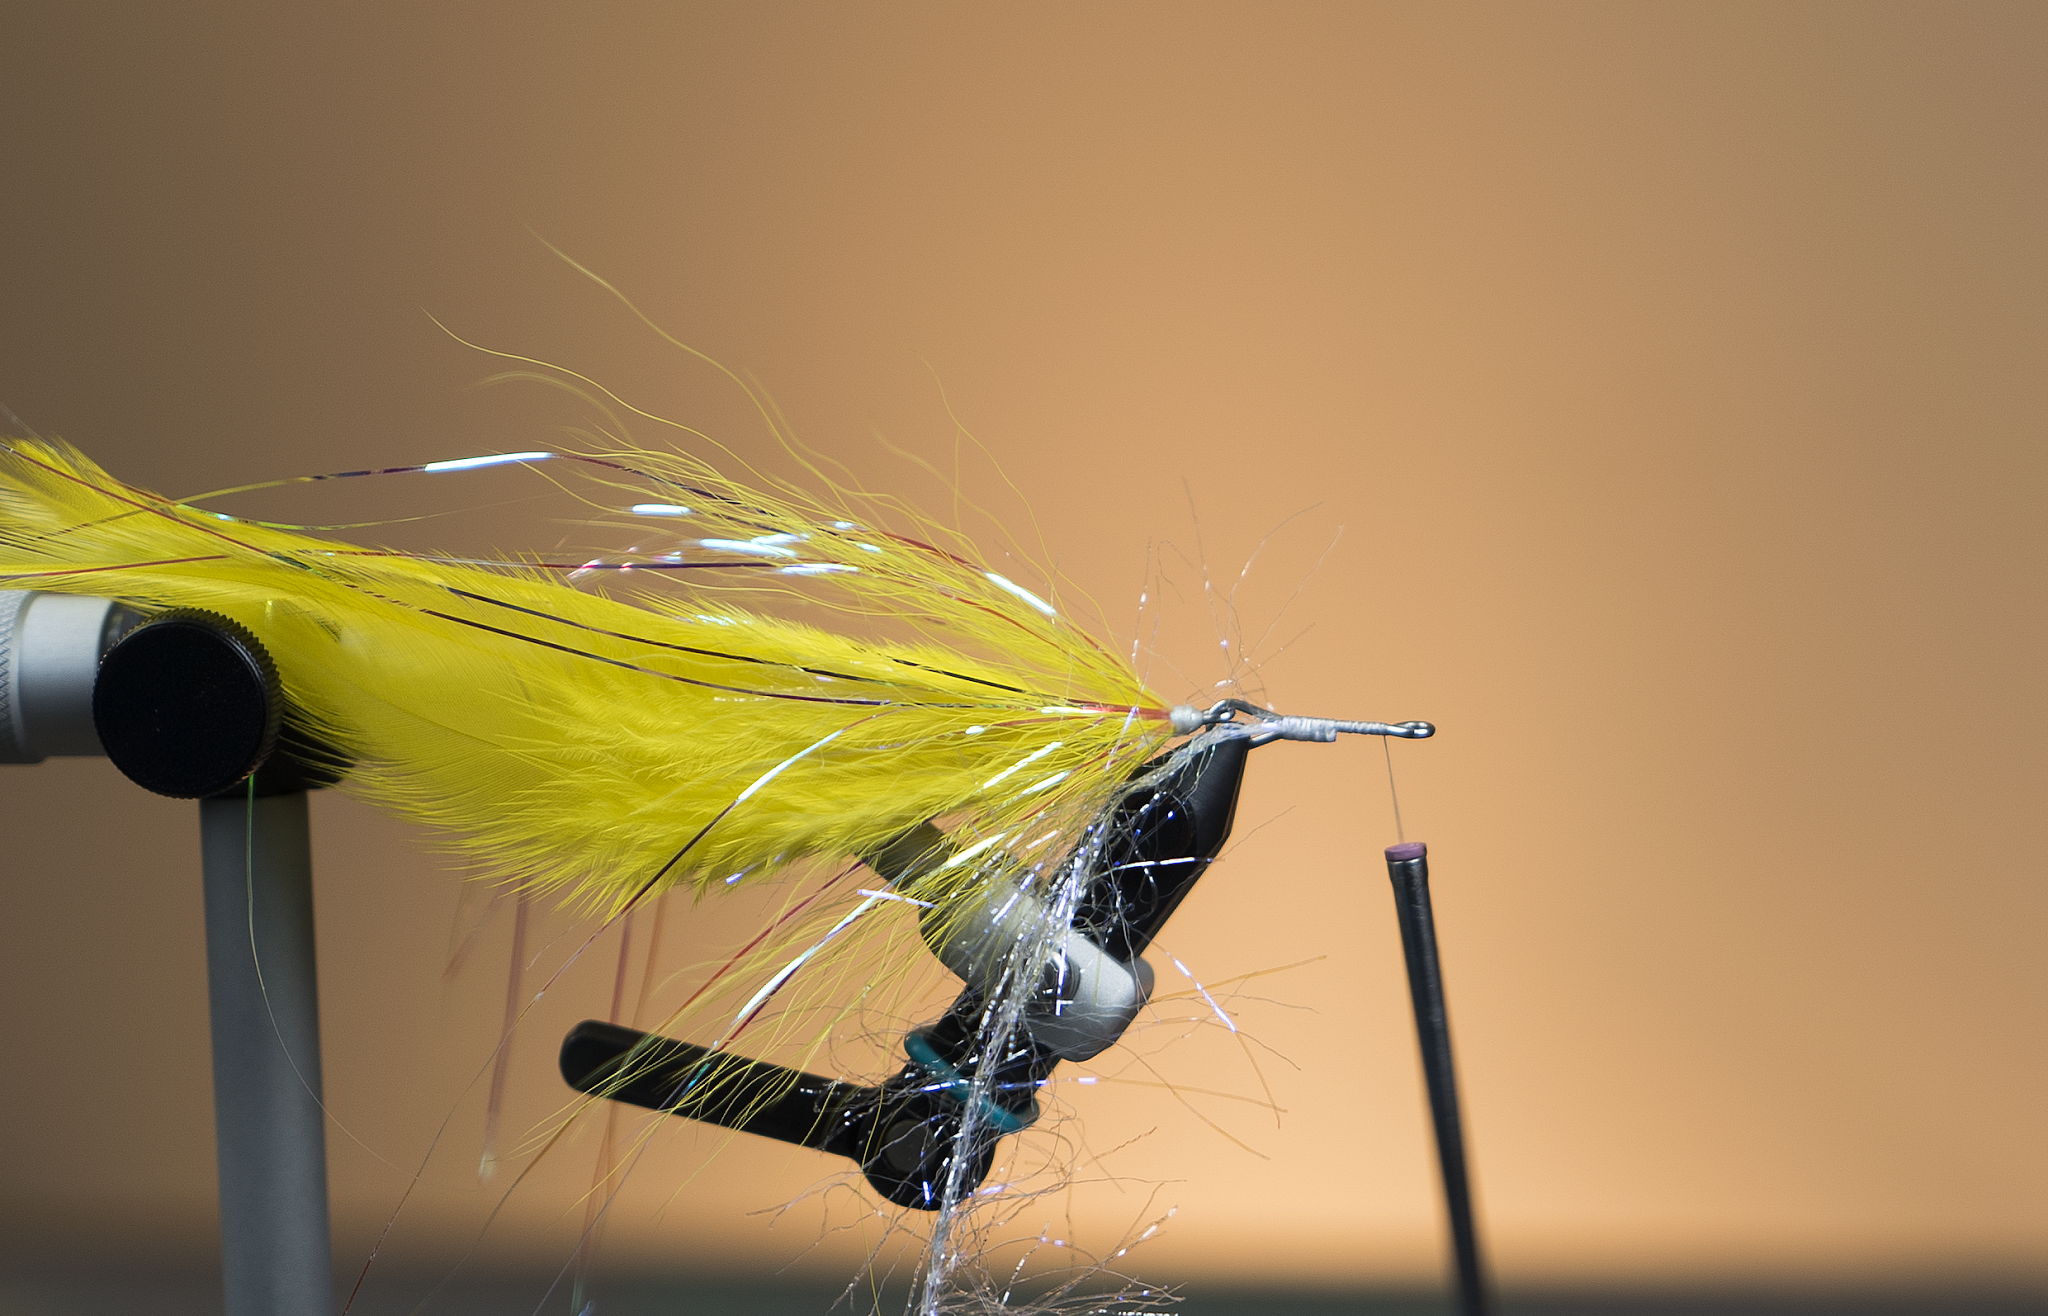
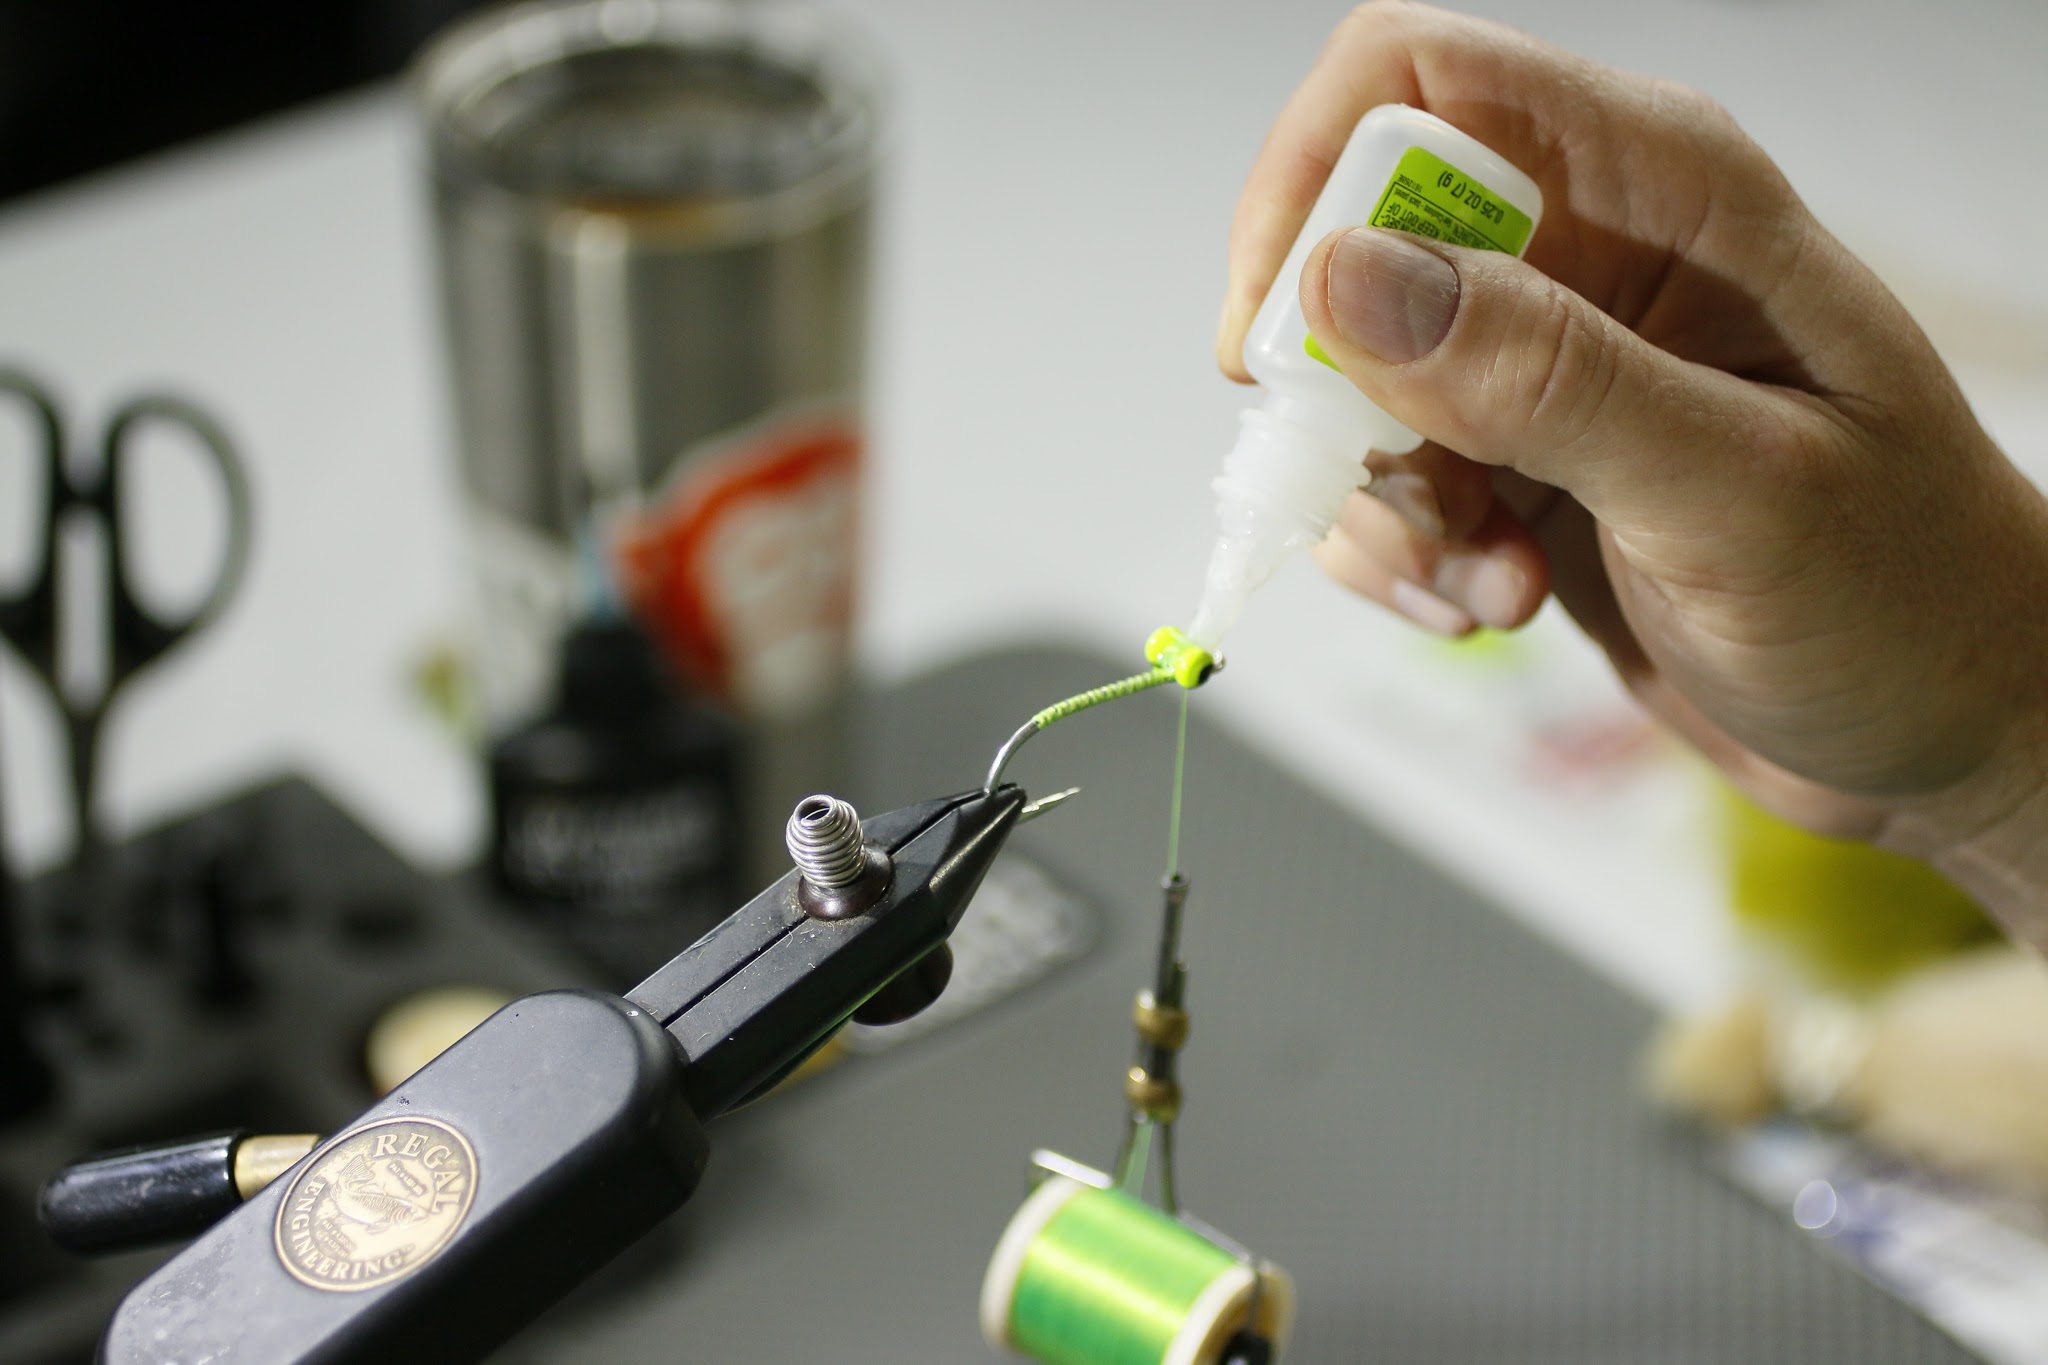
6. At this stage of the fly we need to start introducing bulk as this is what makes this fly swim so well. 

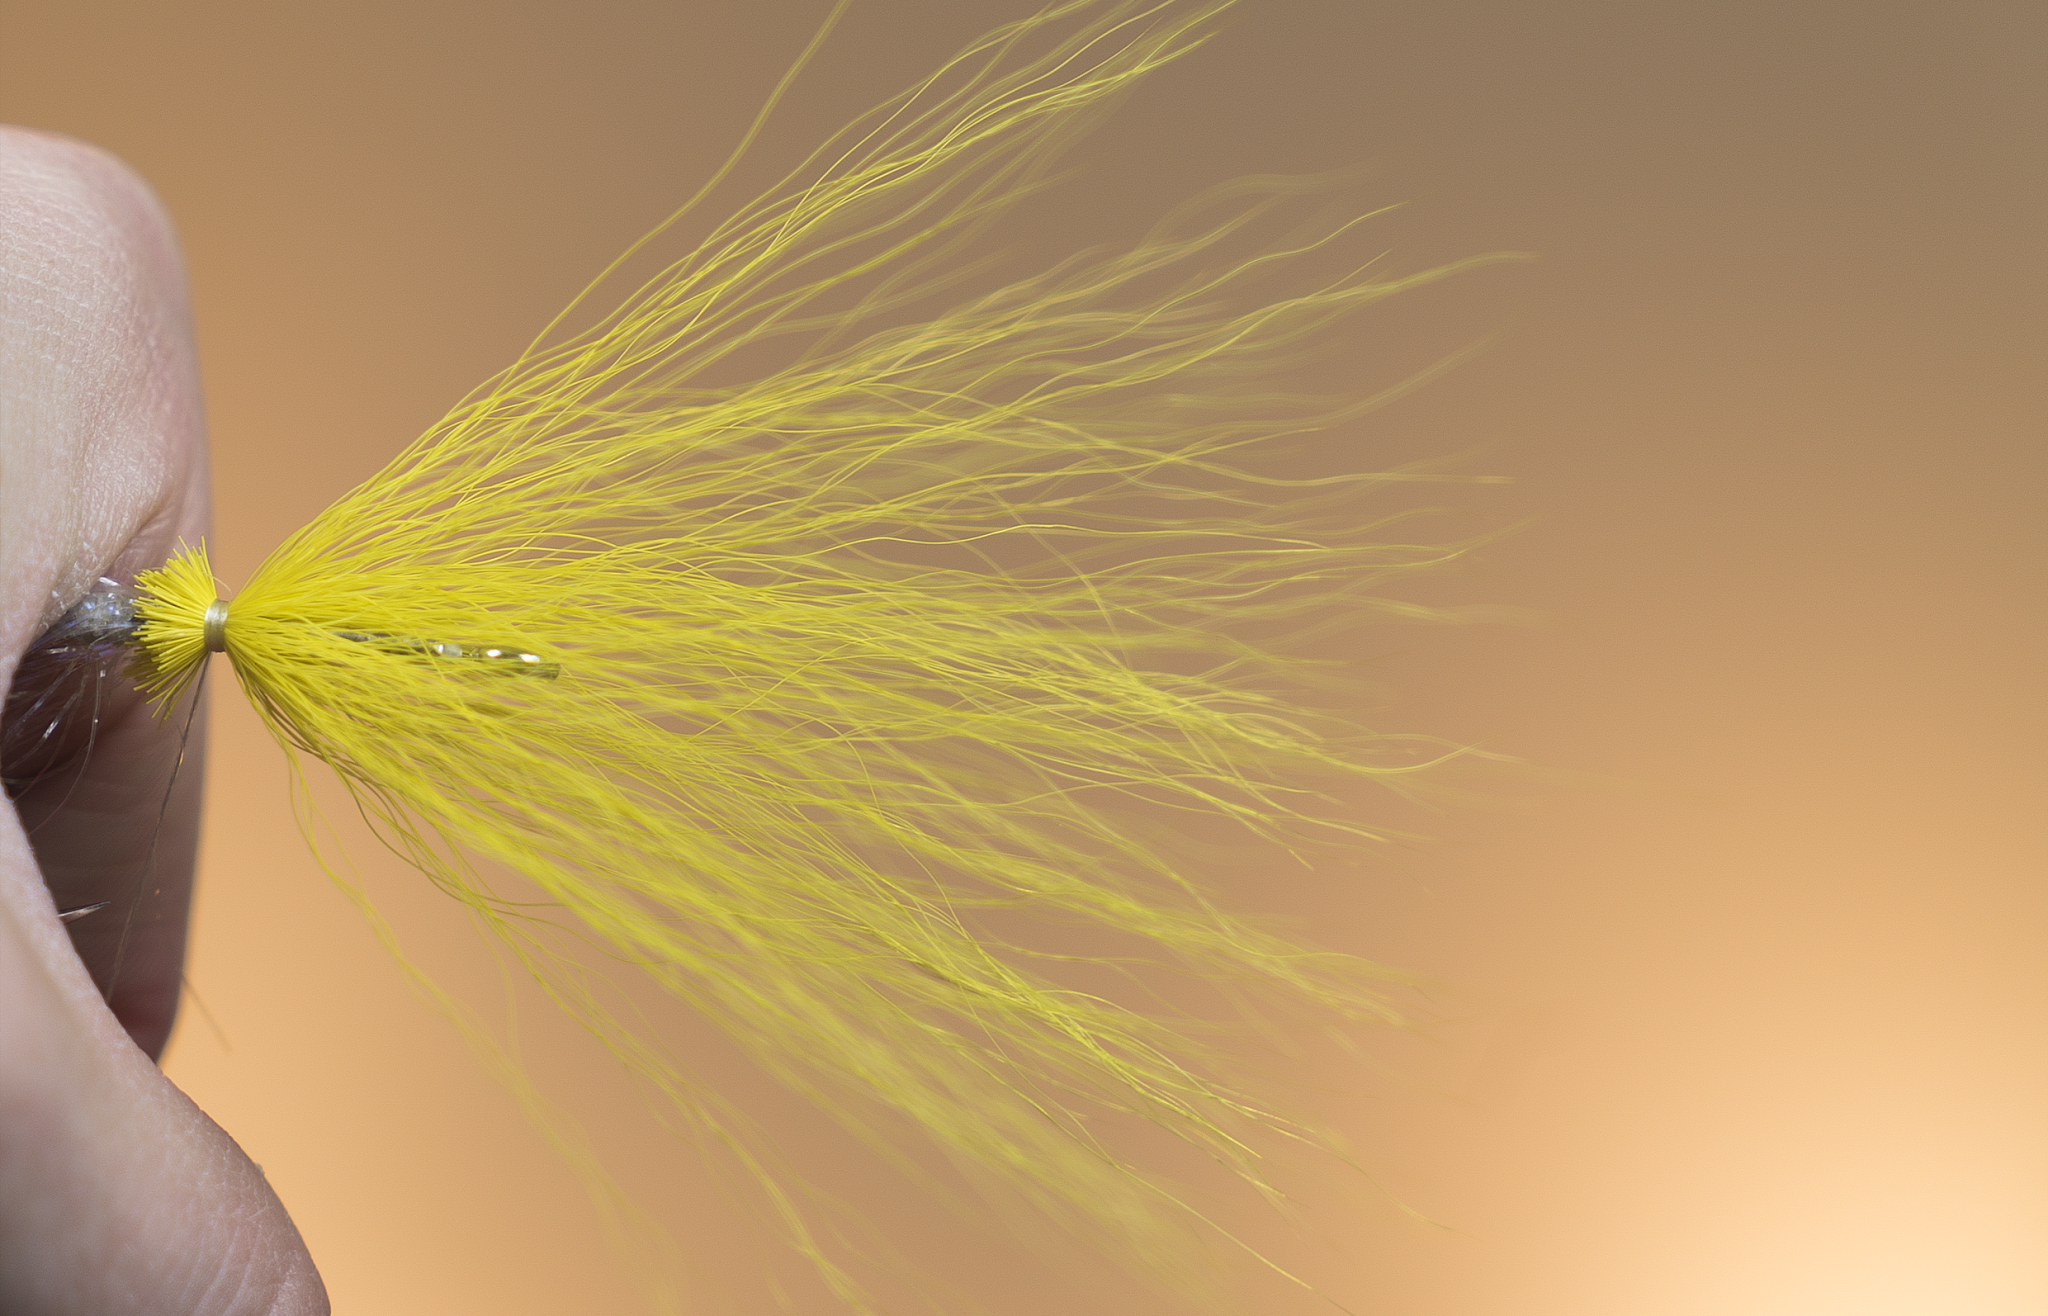
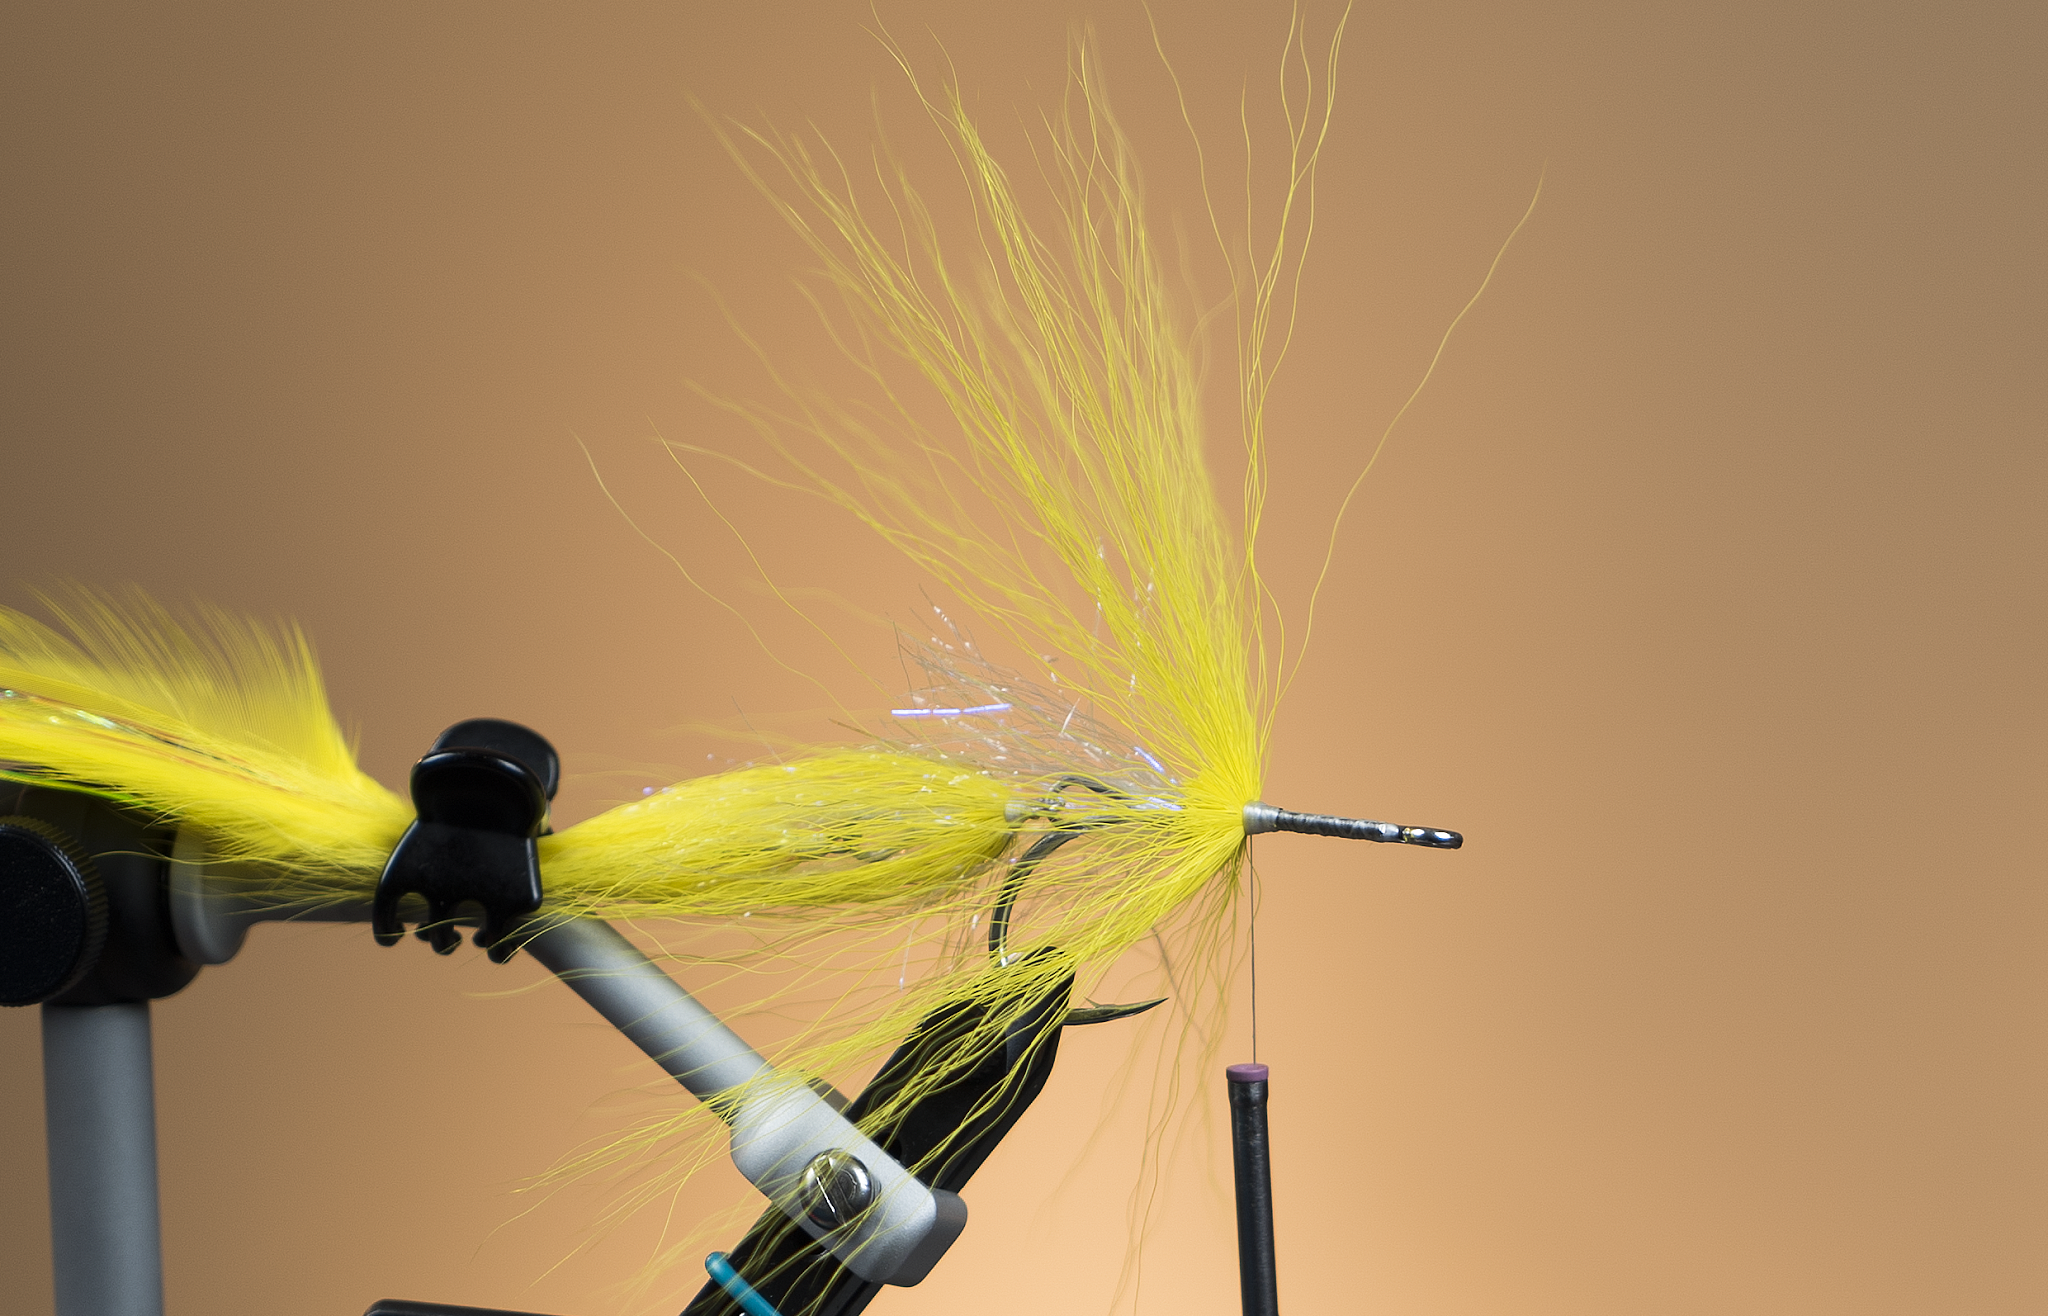
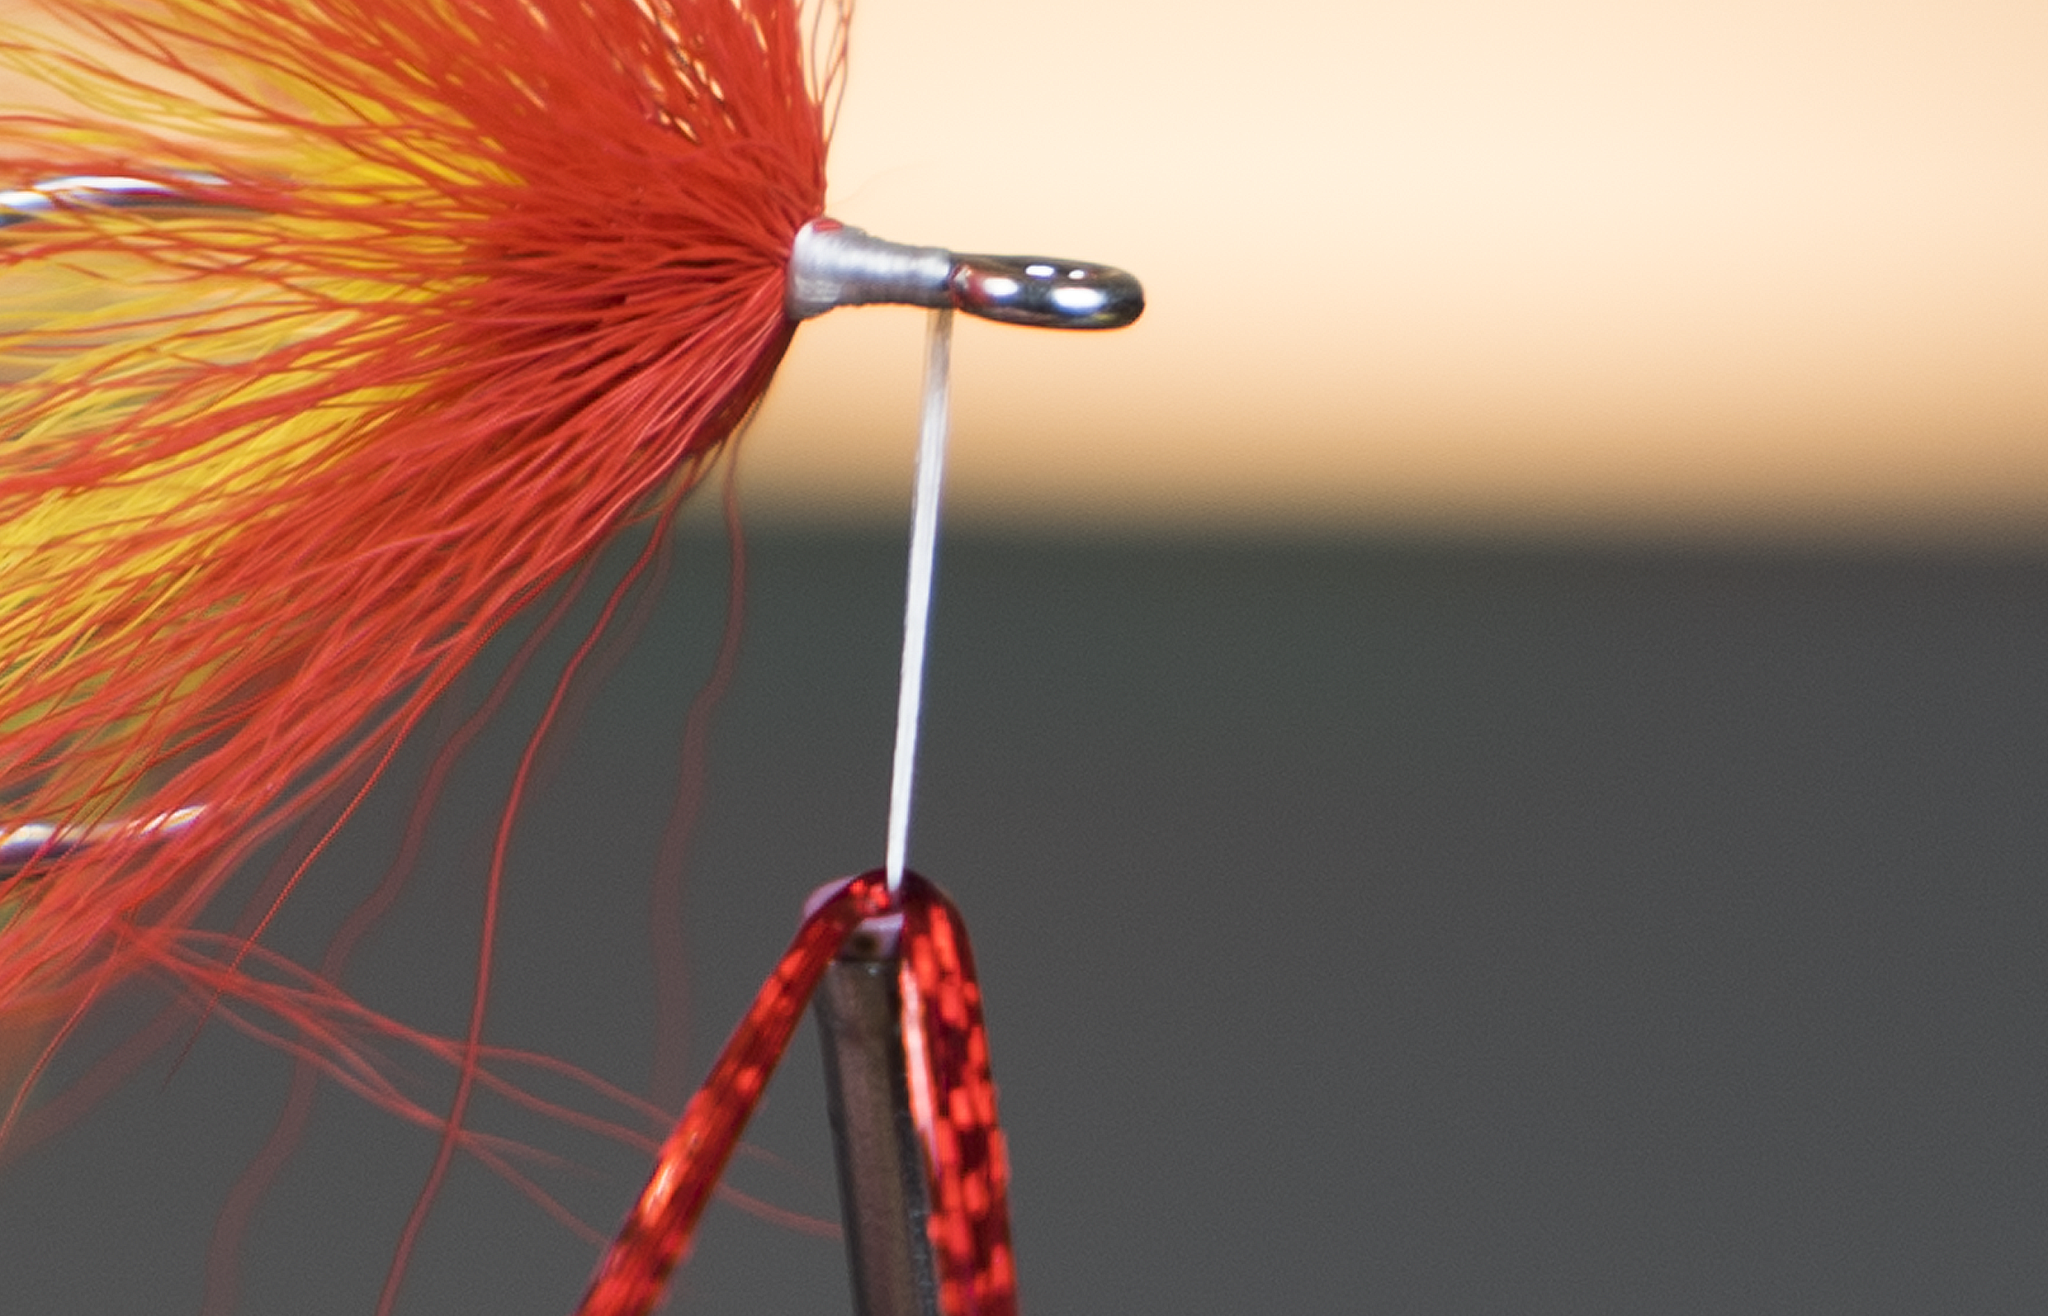
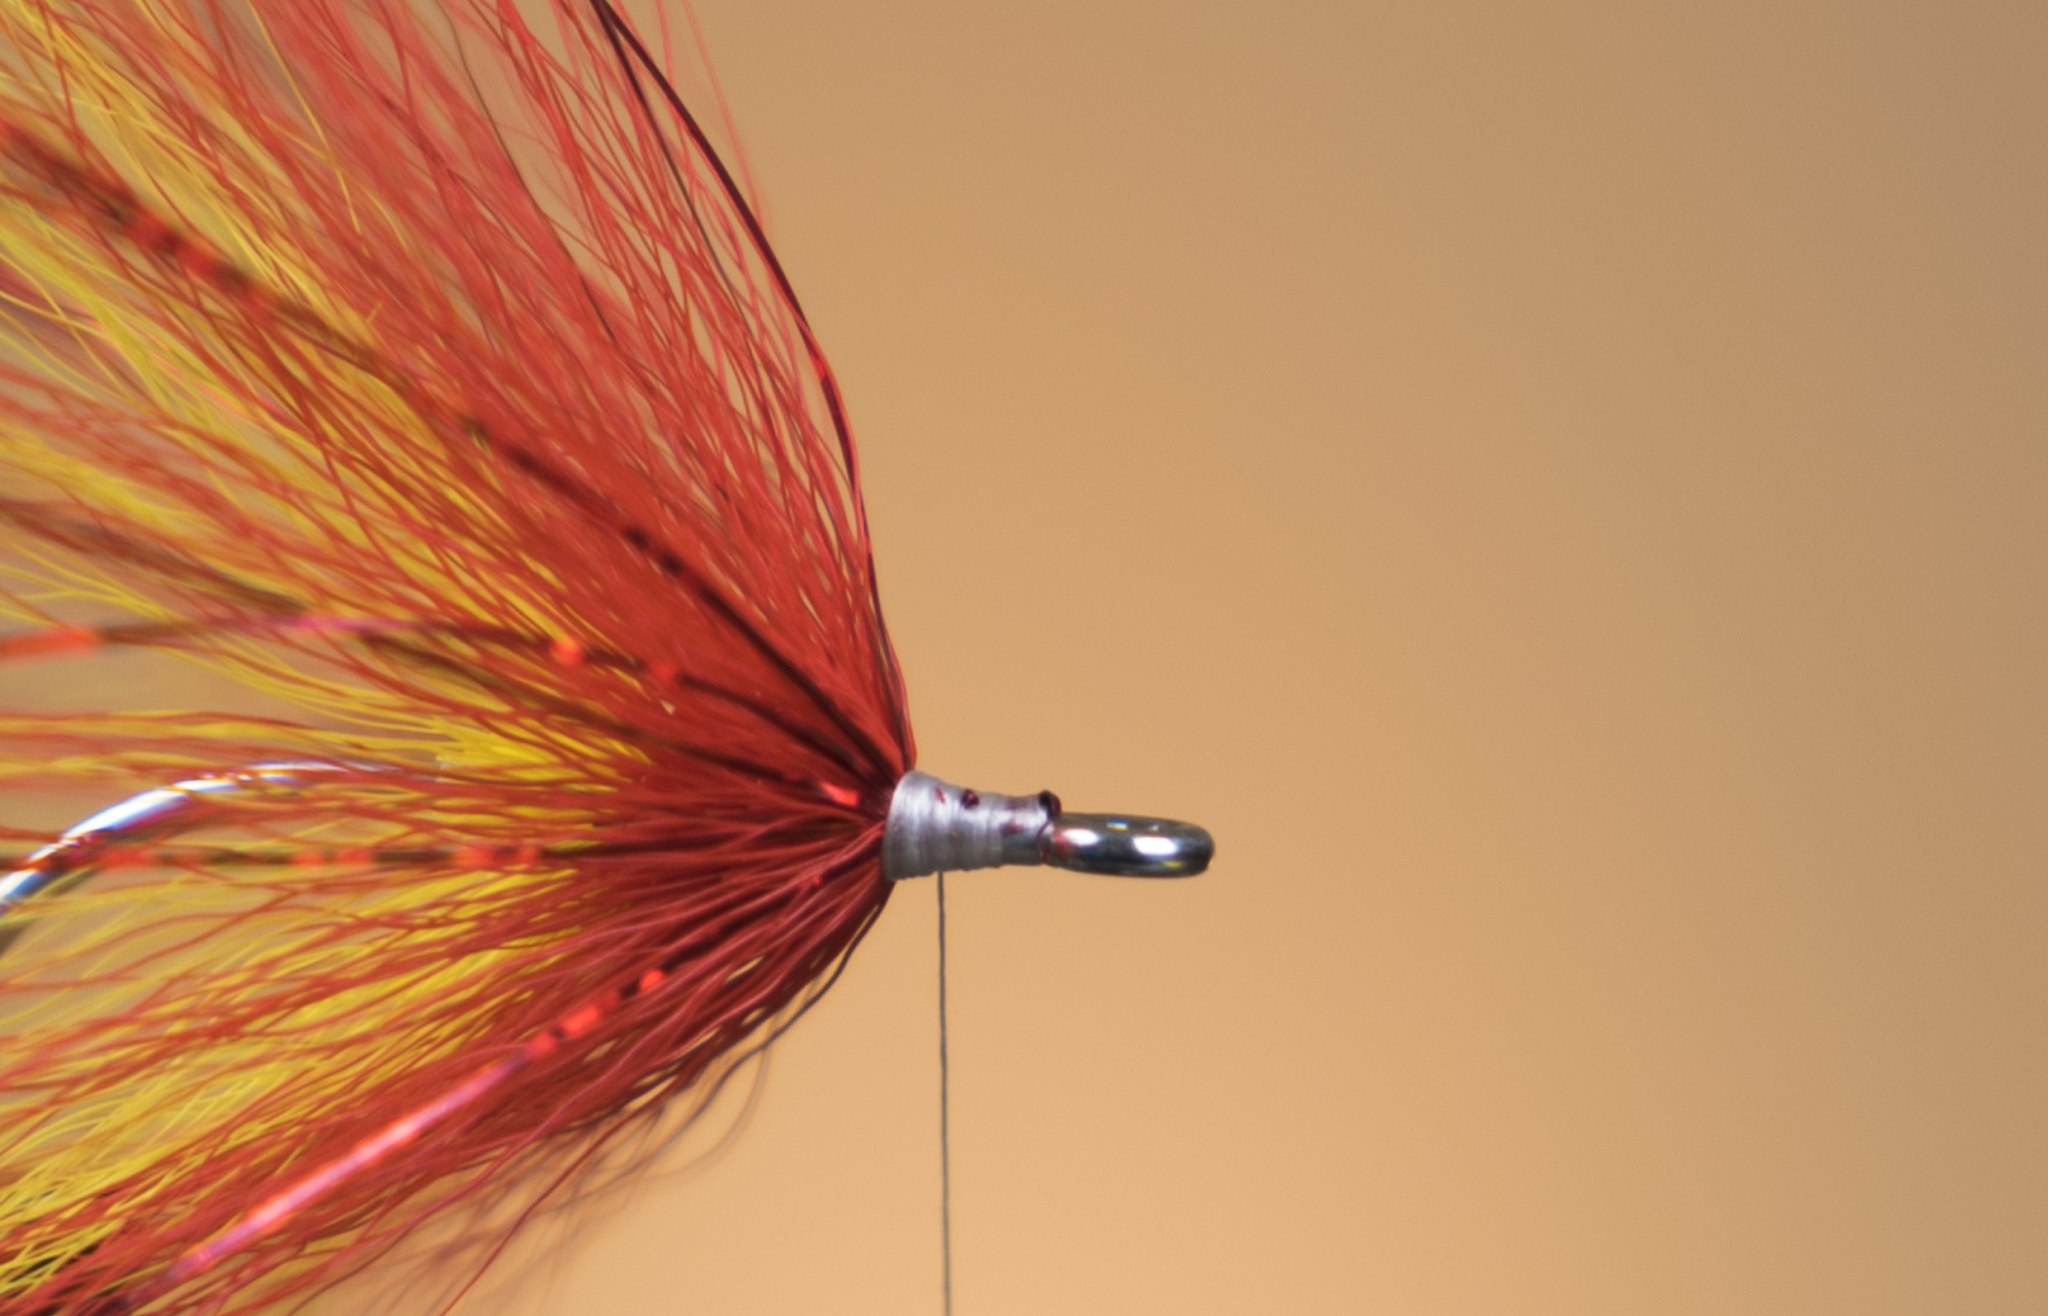
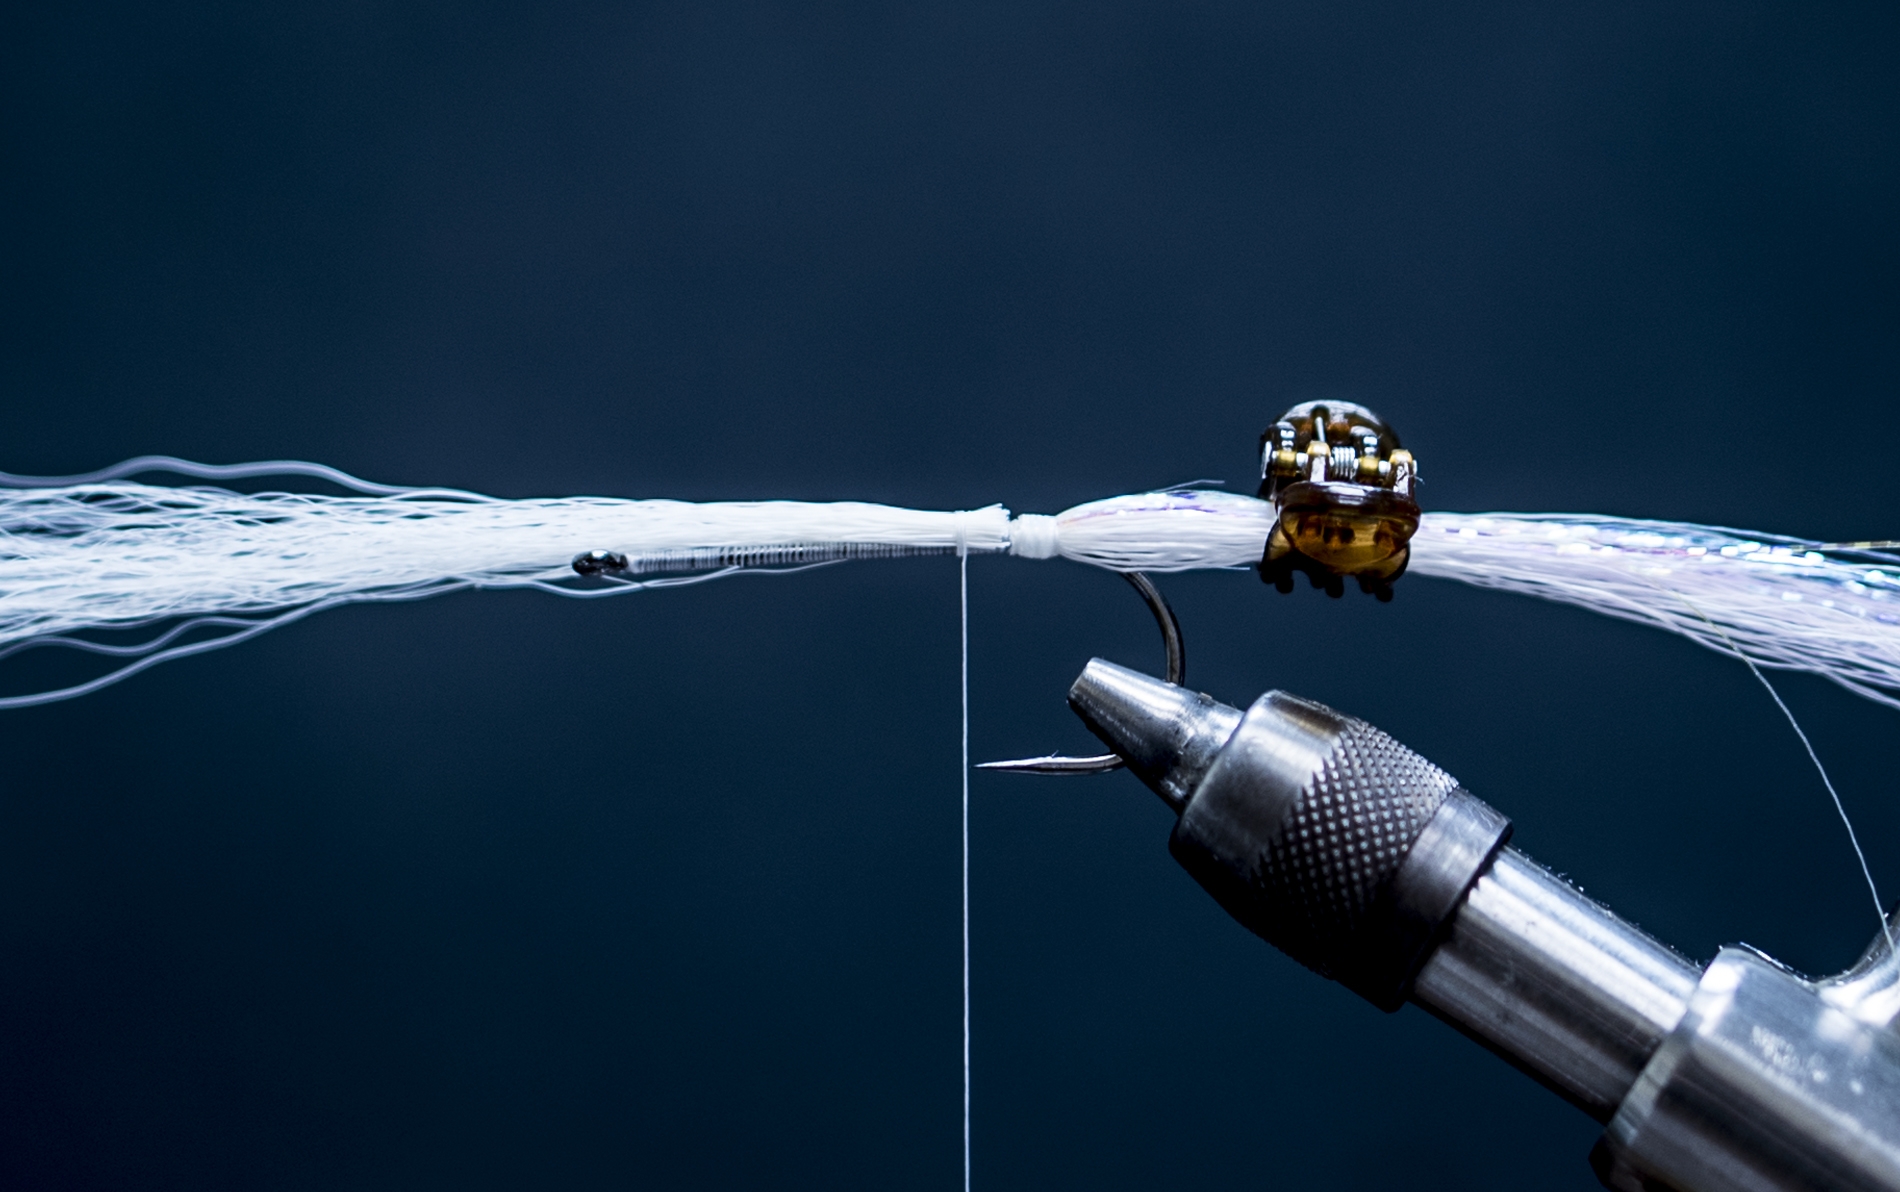
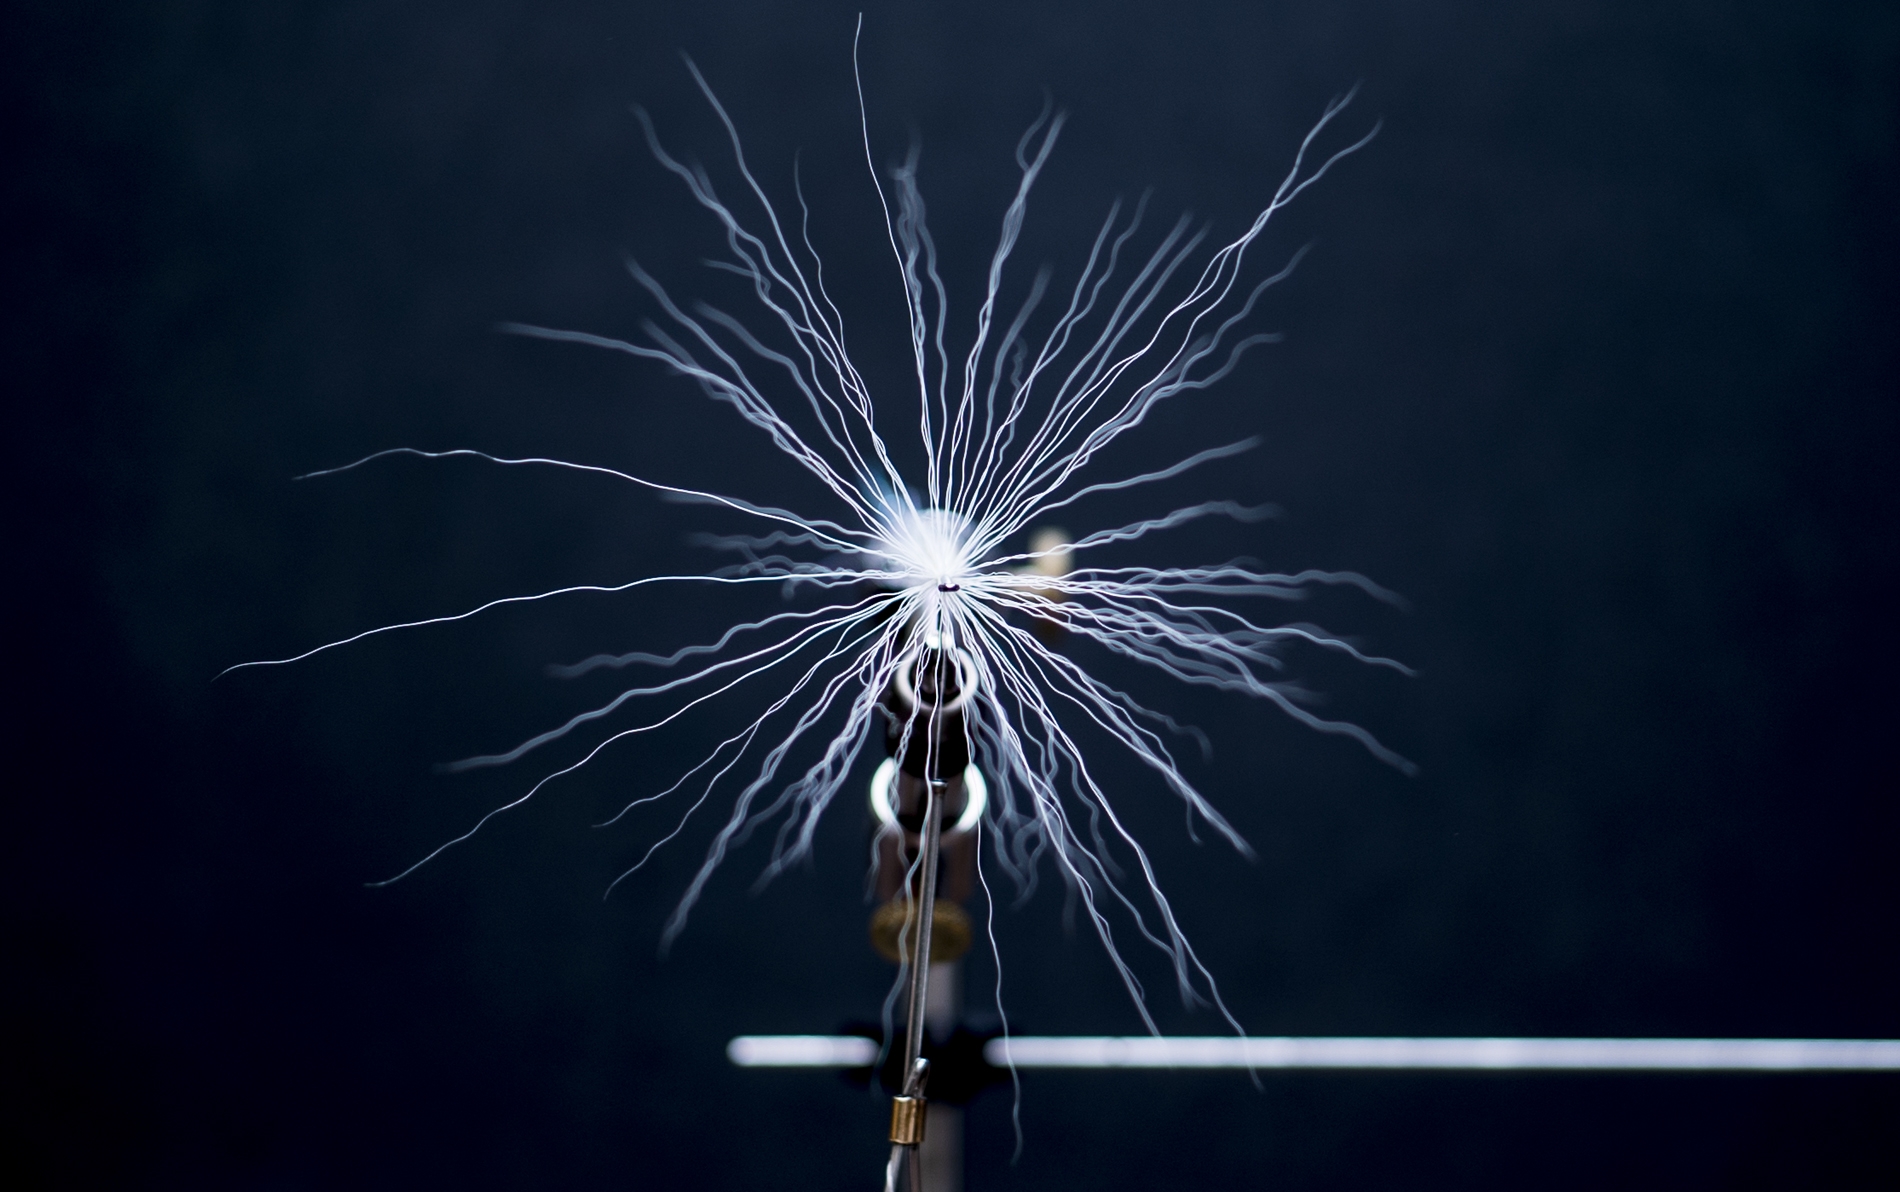
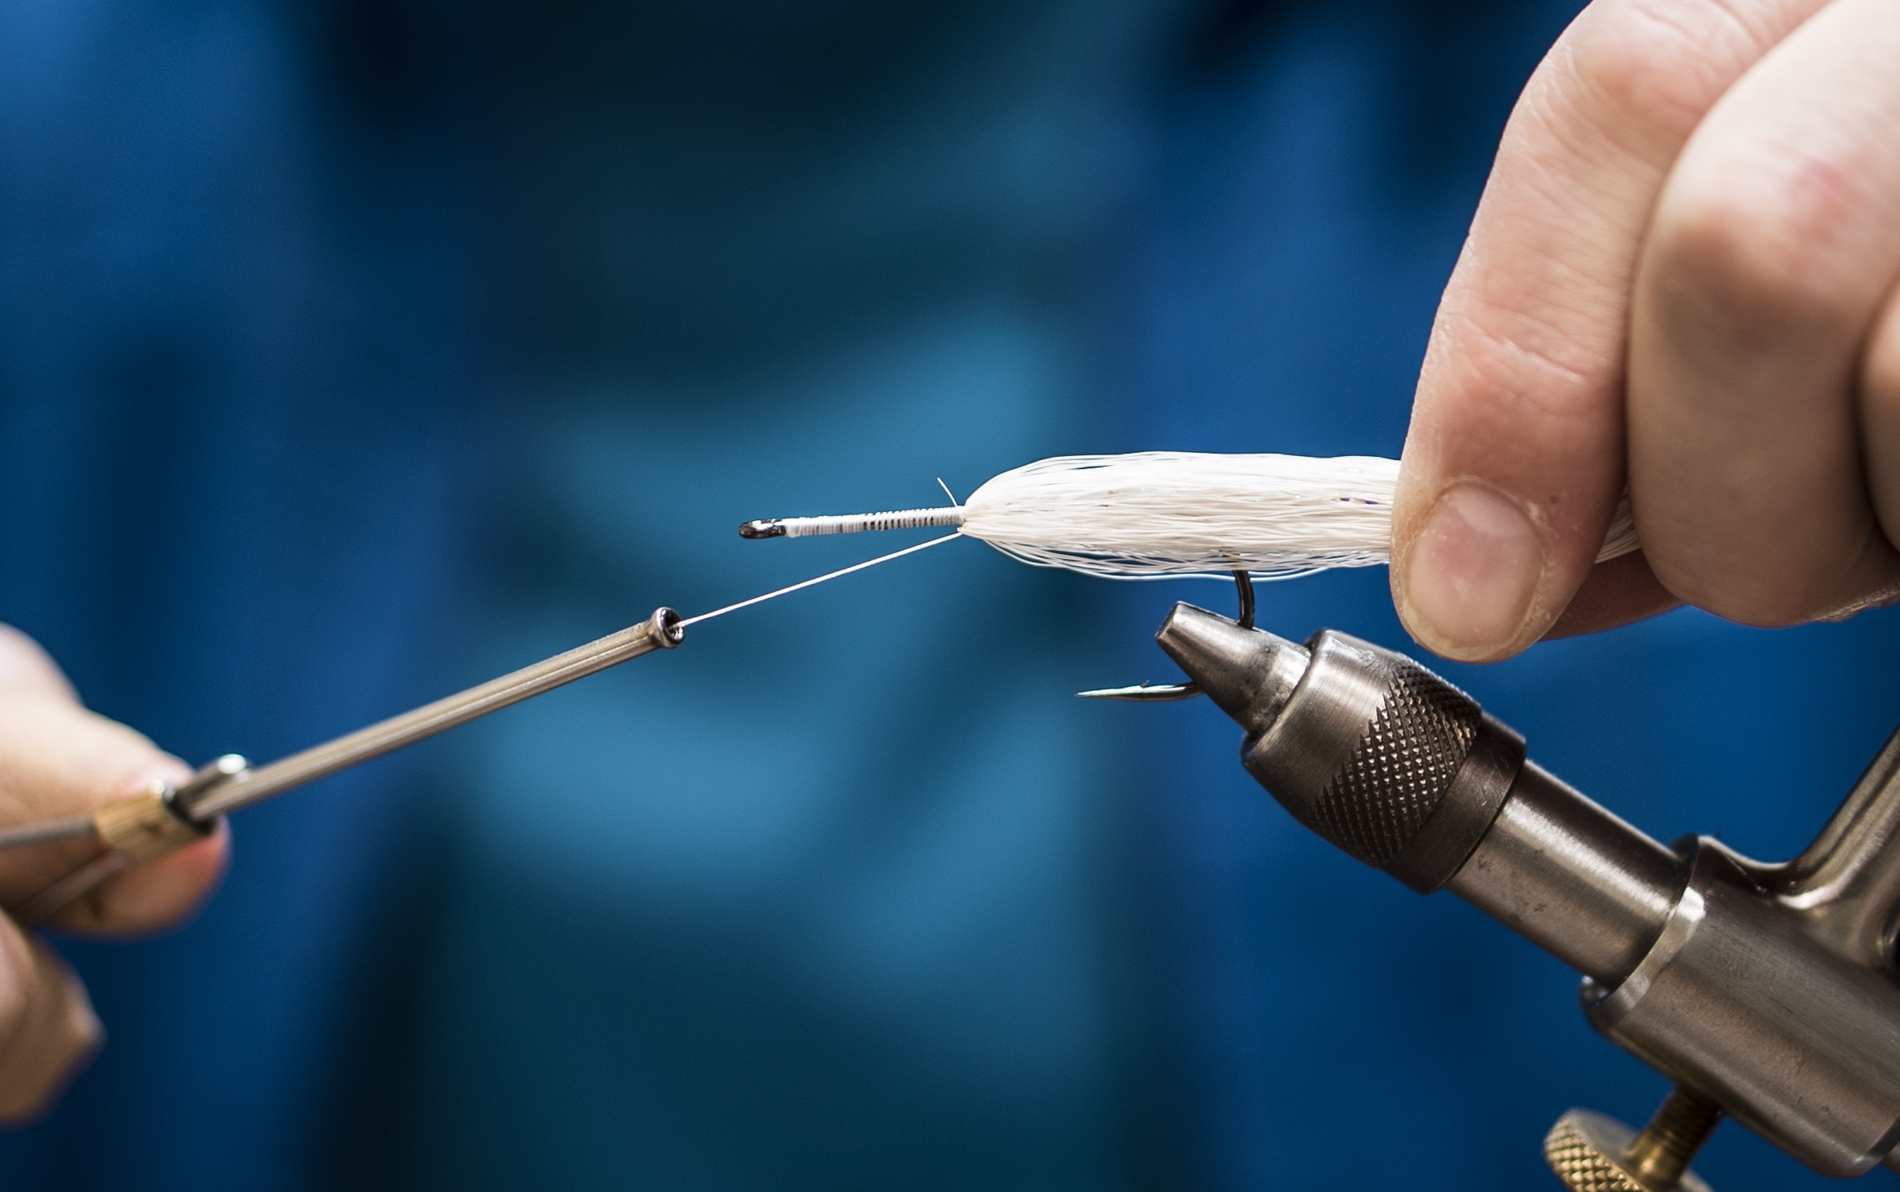
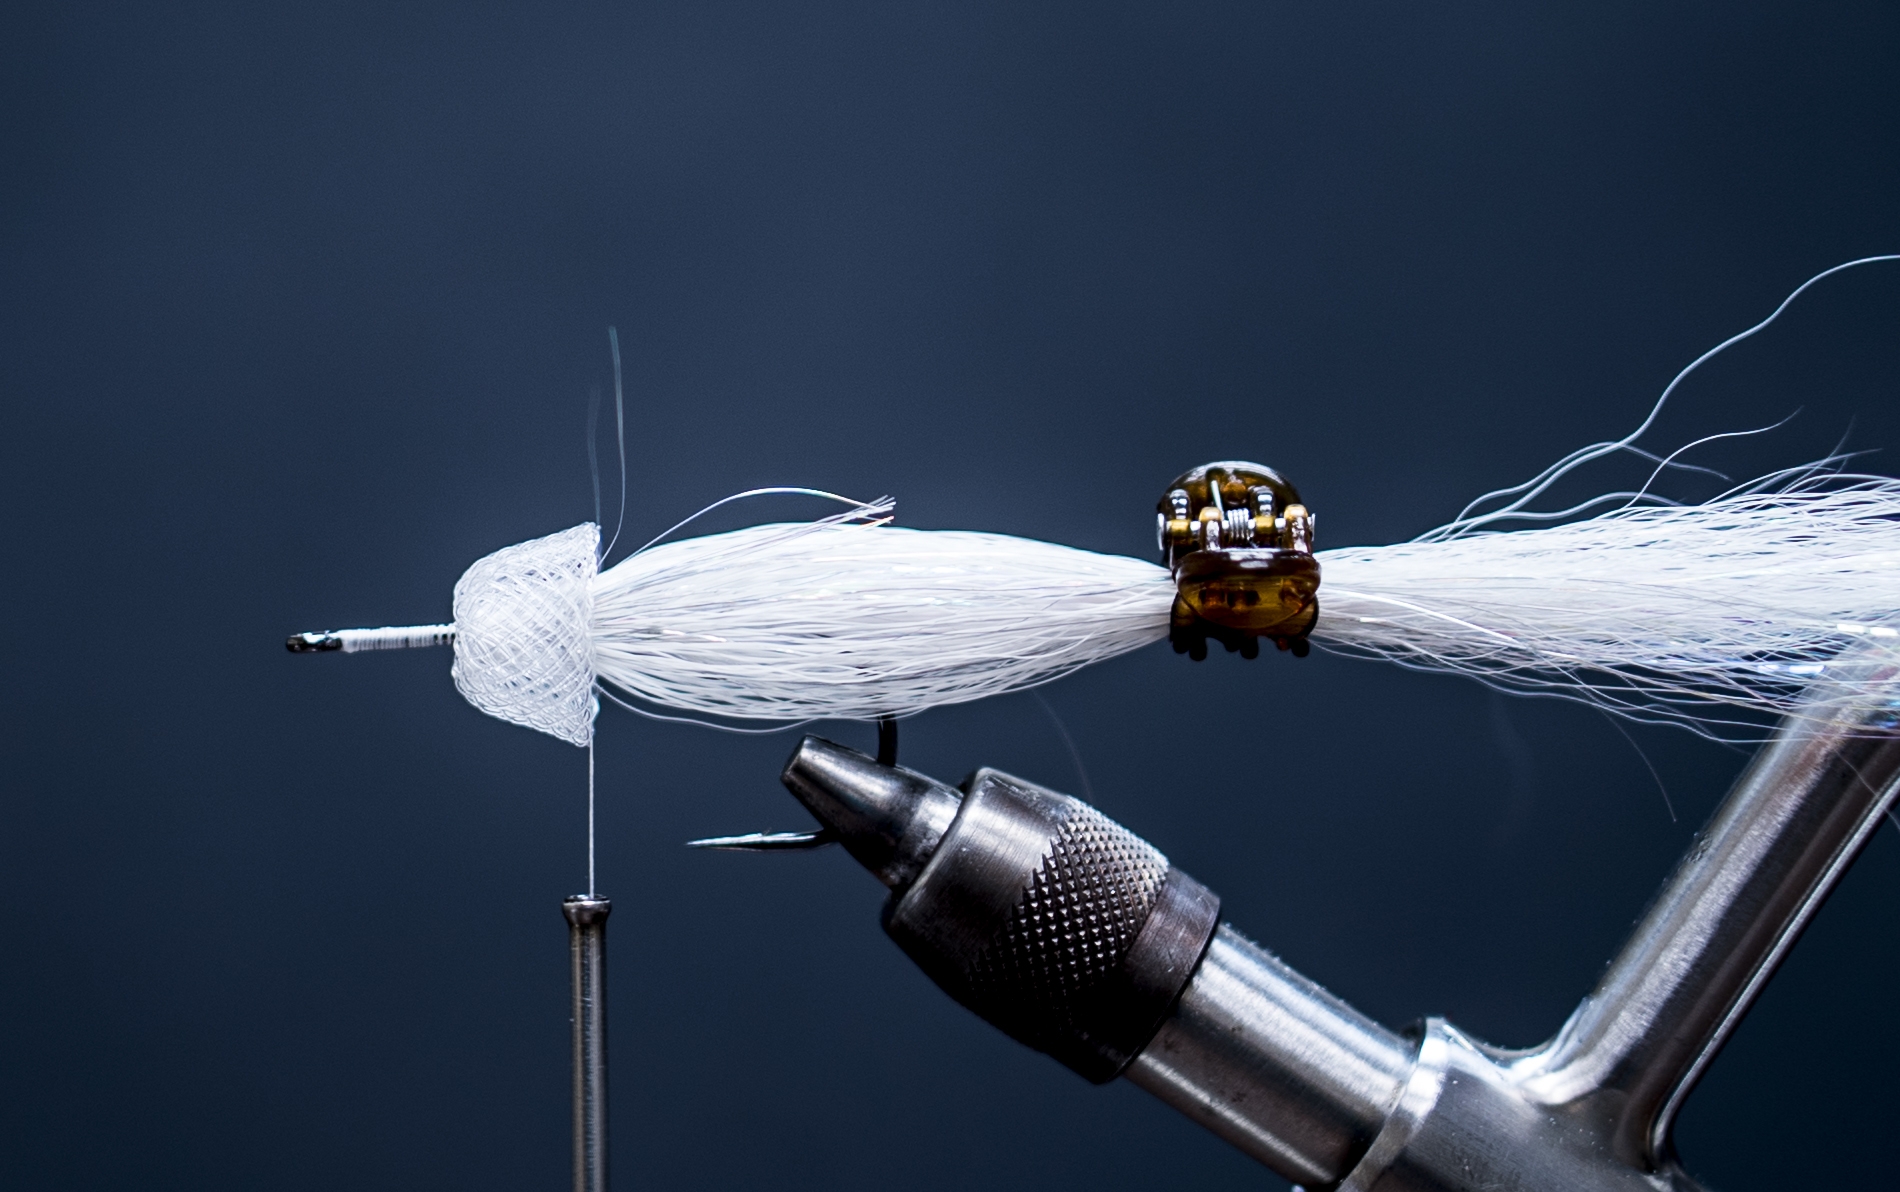
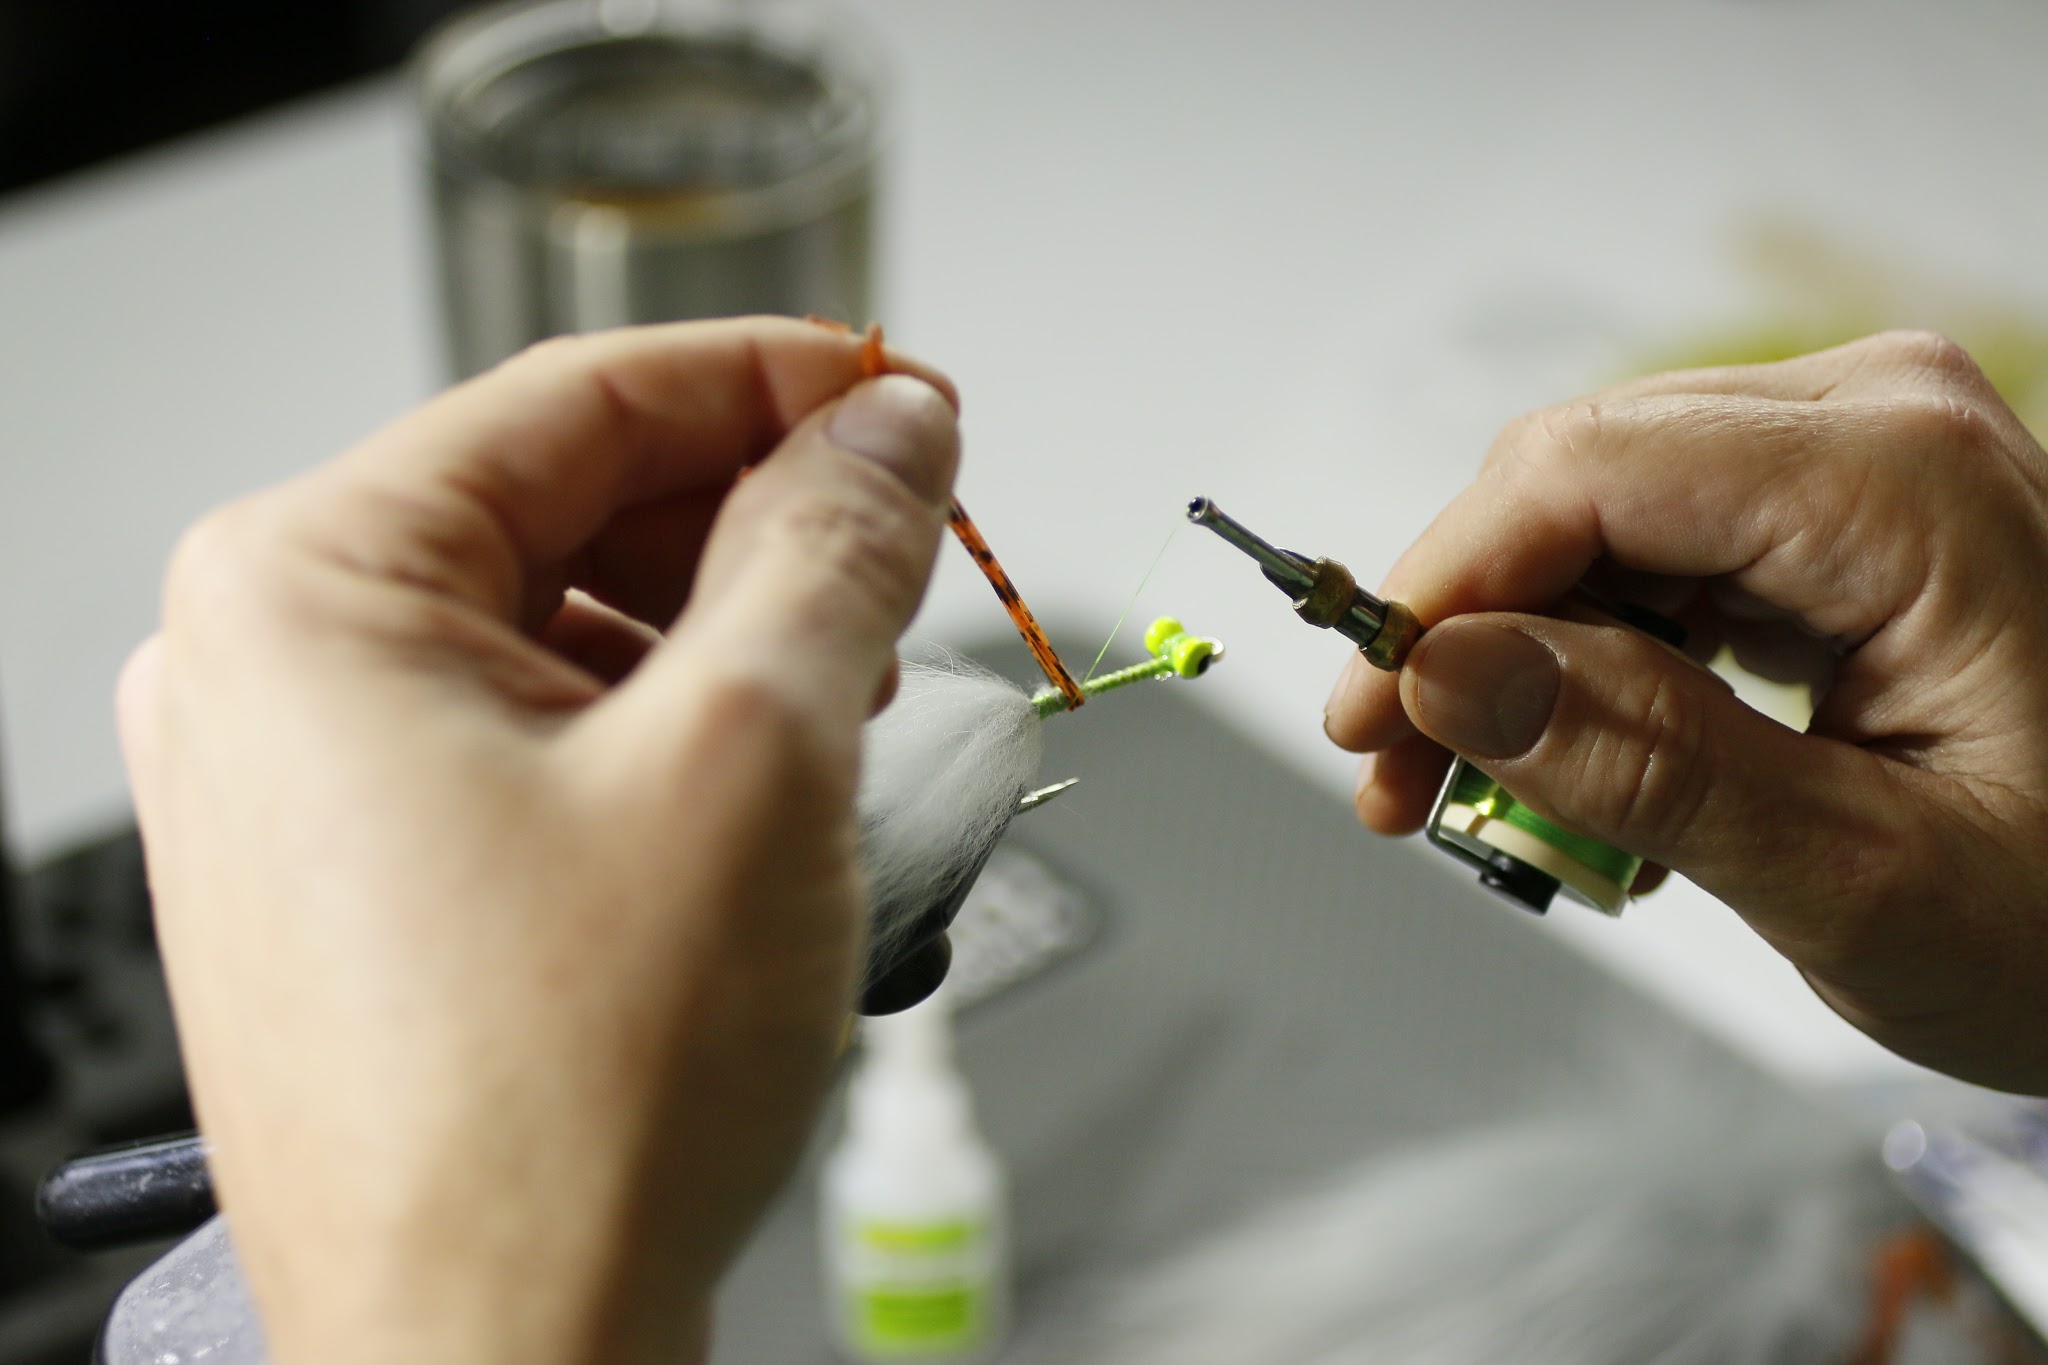
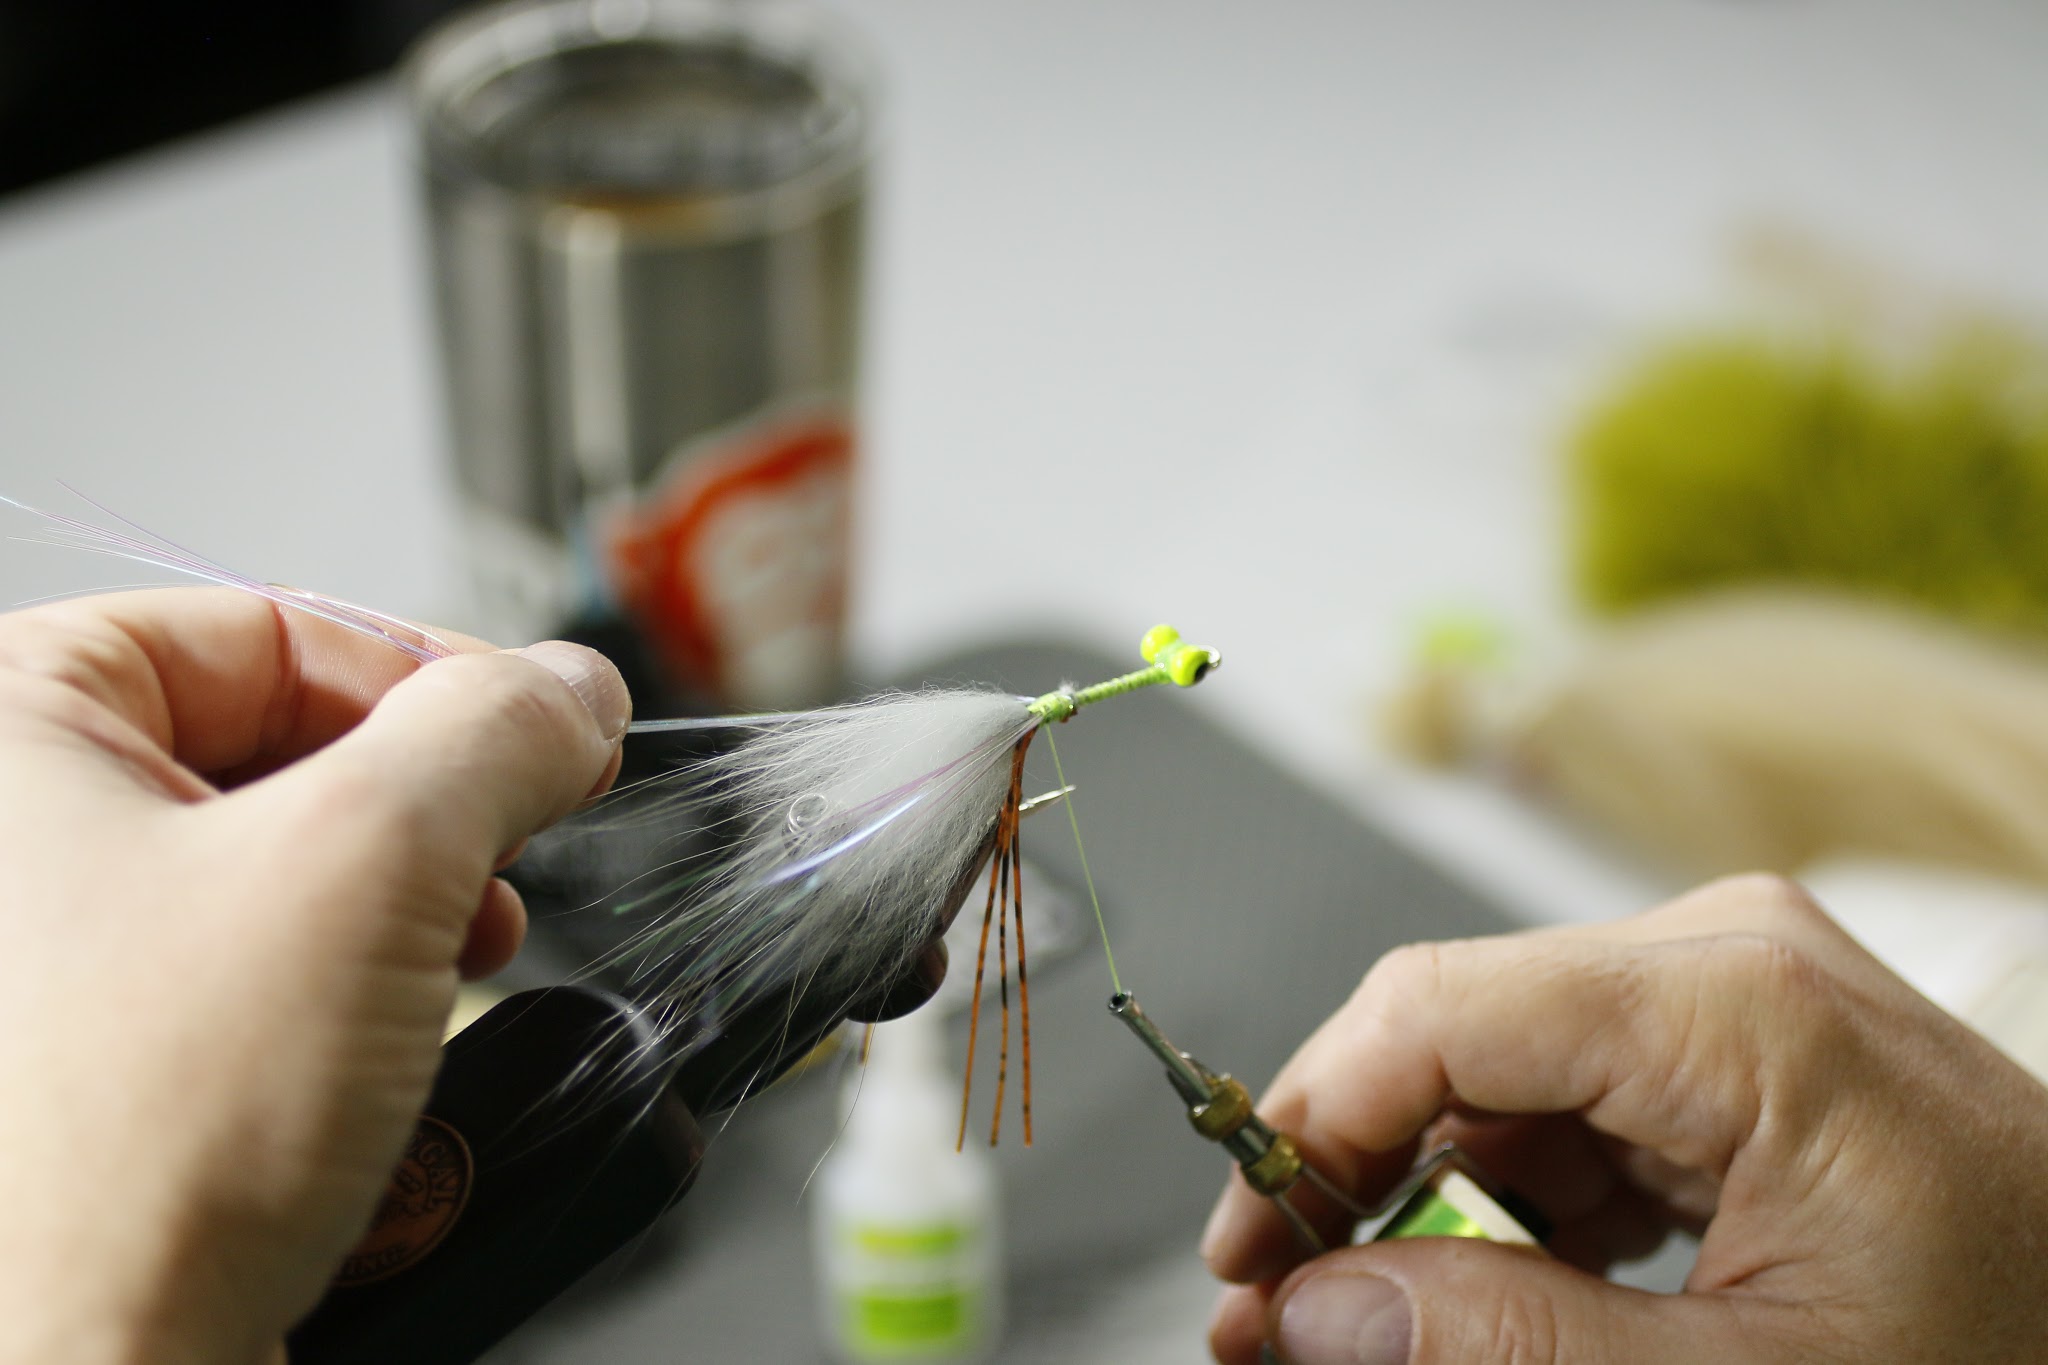
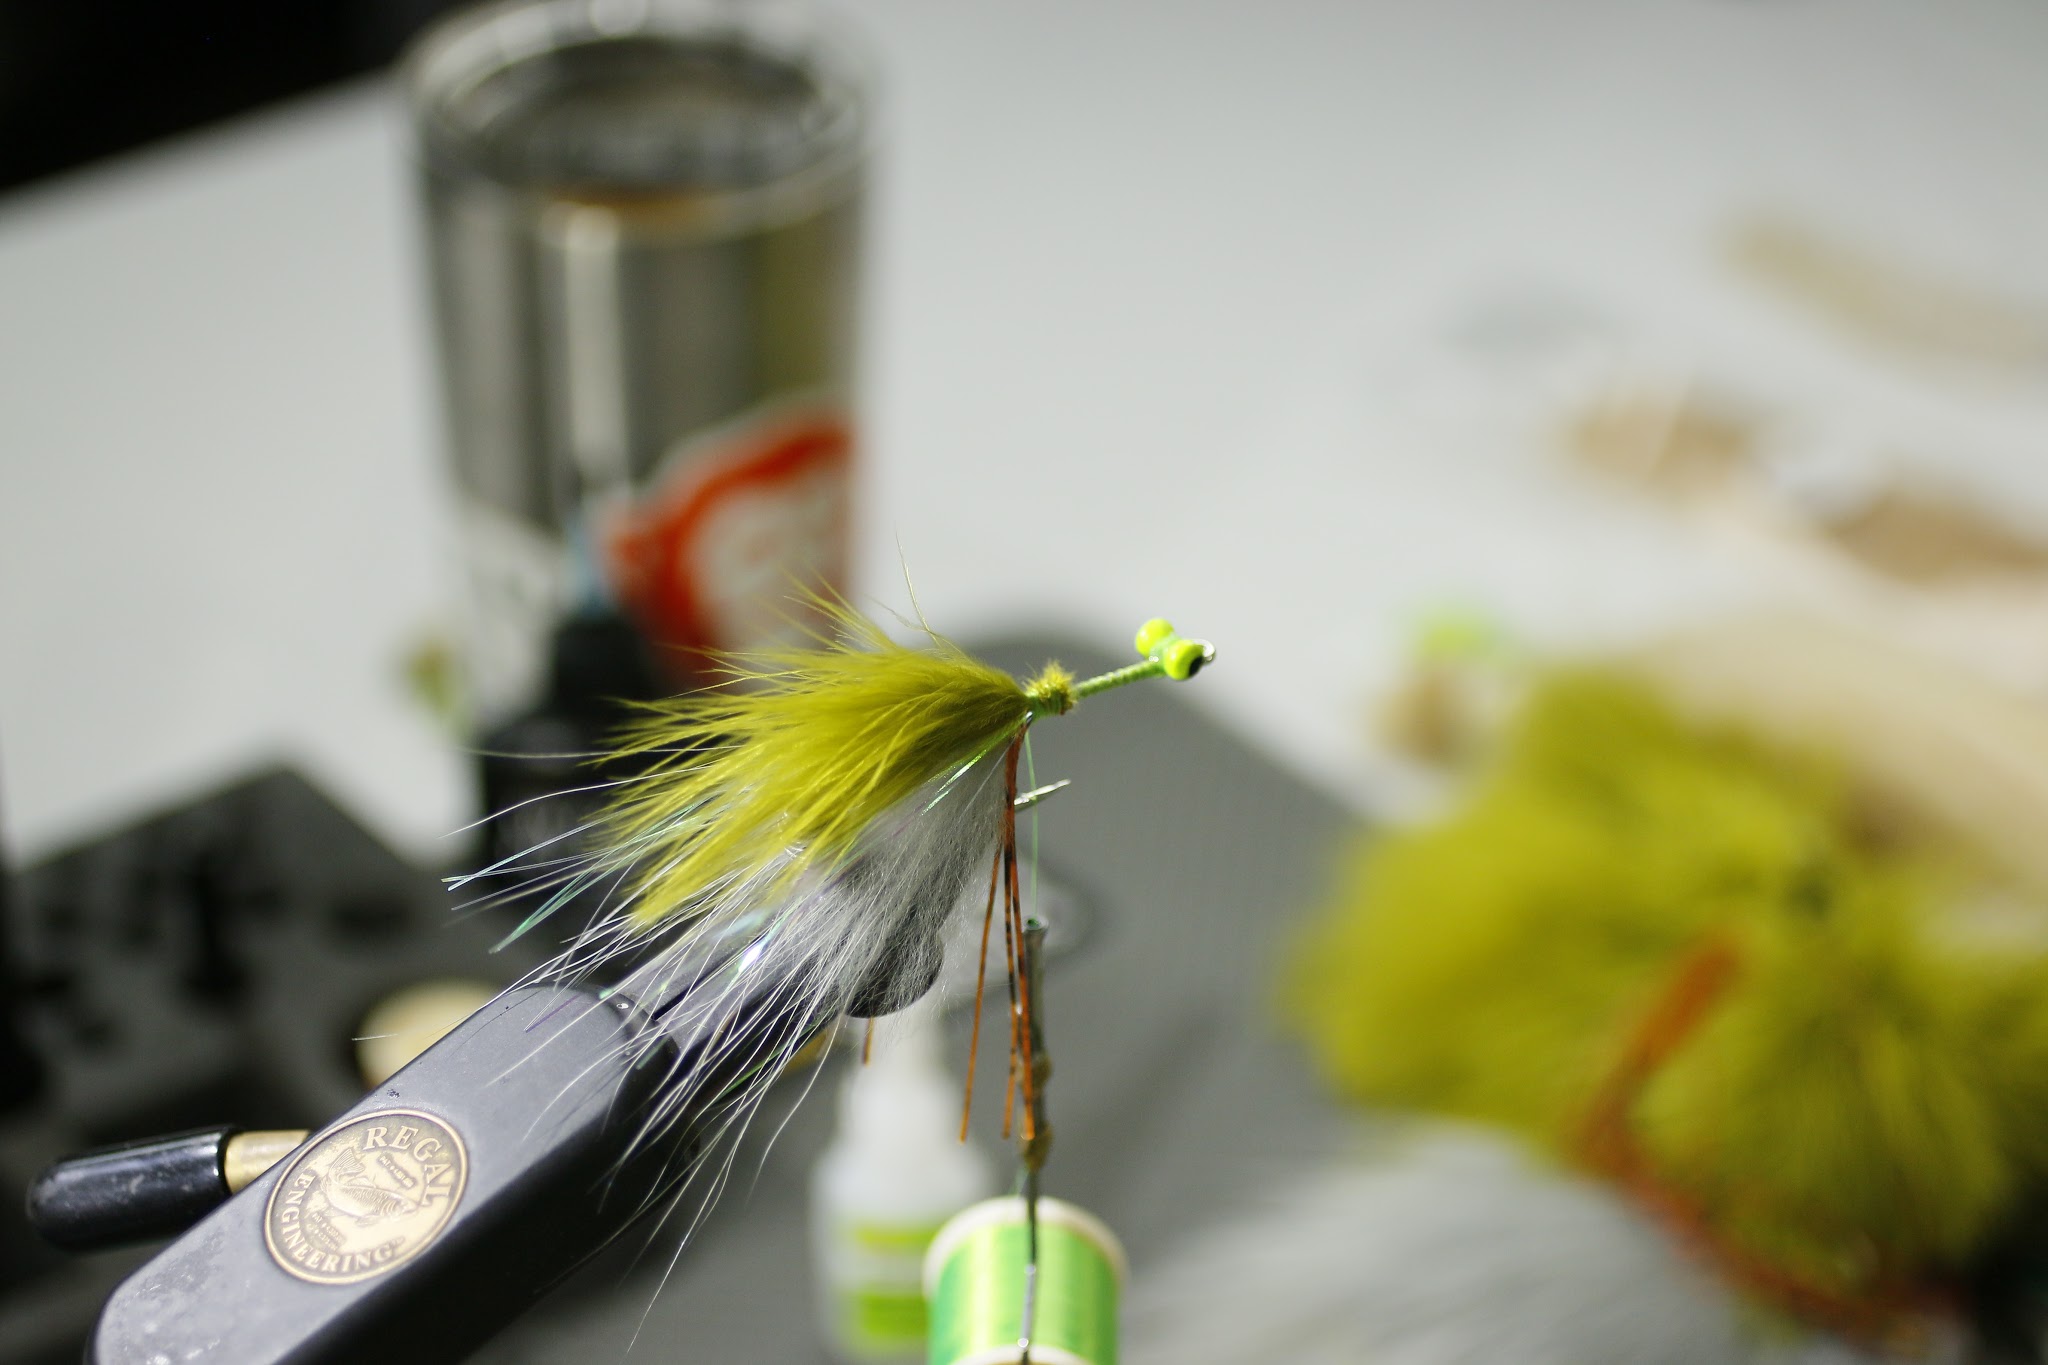
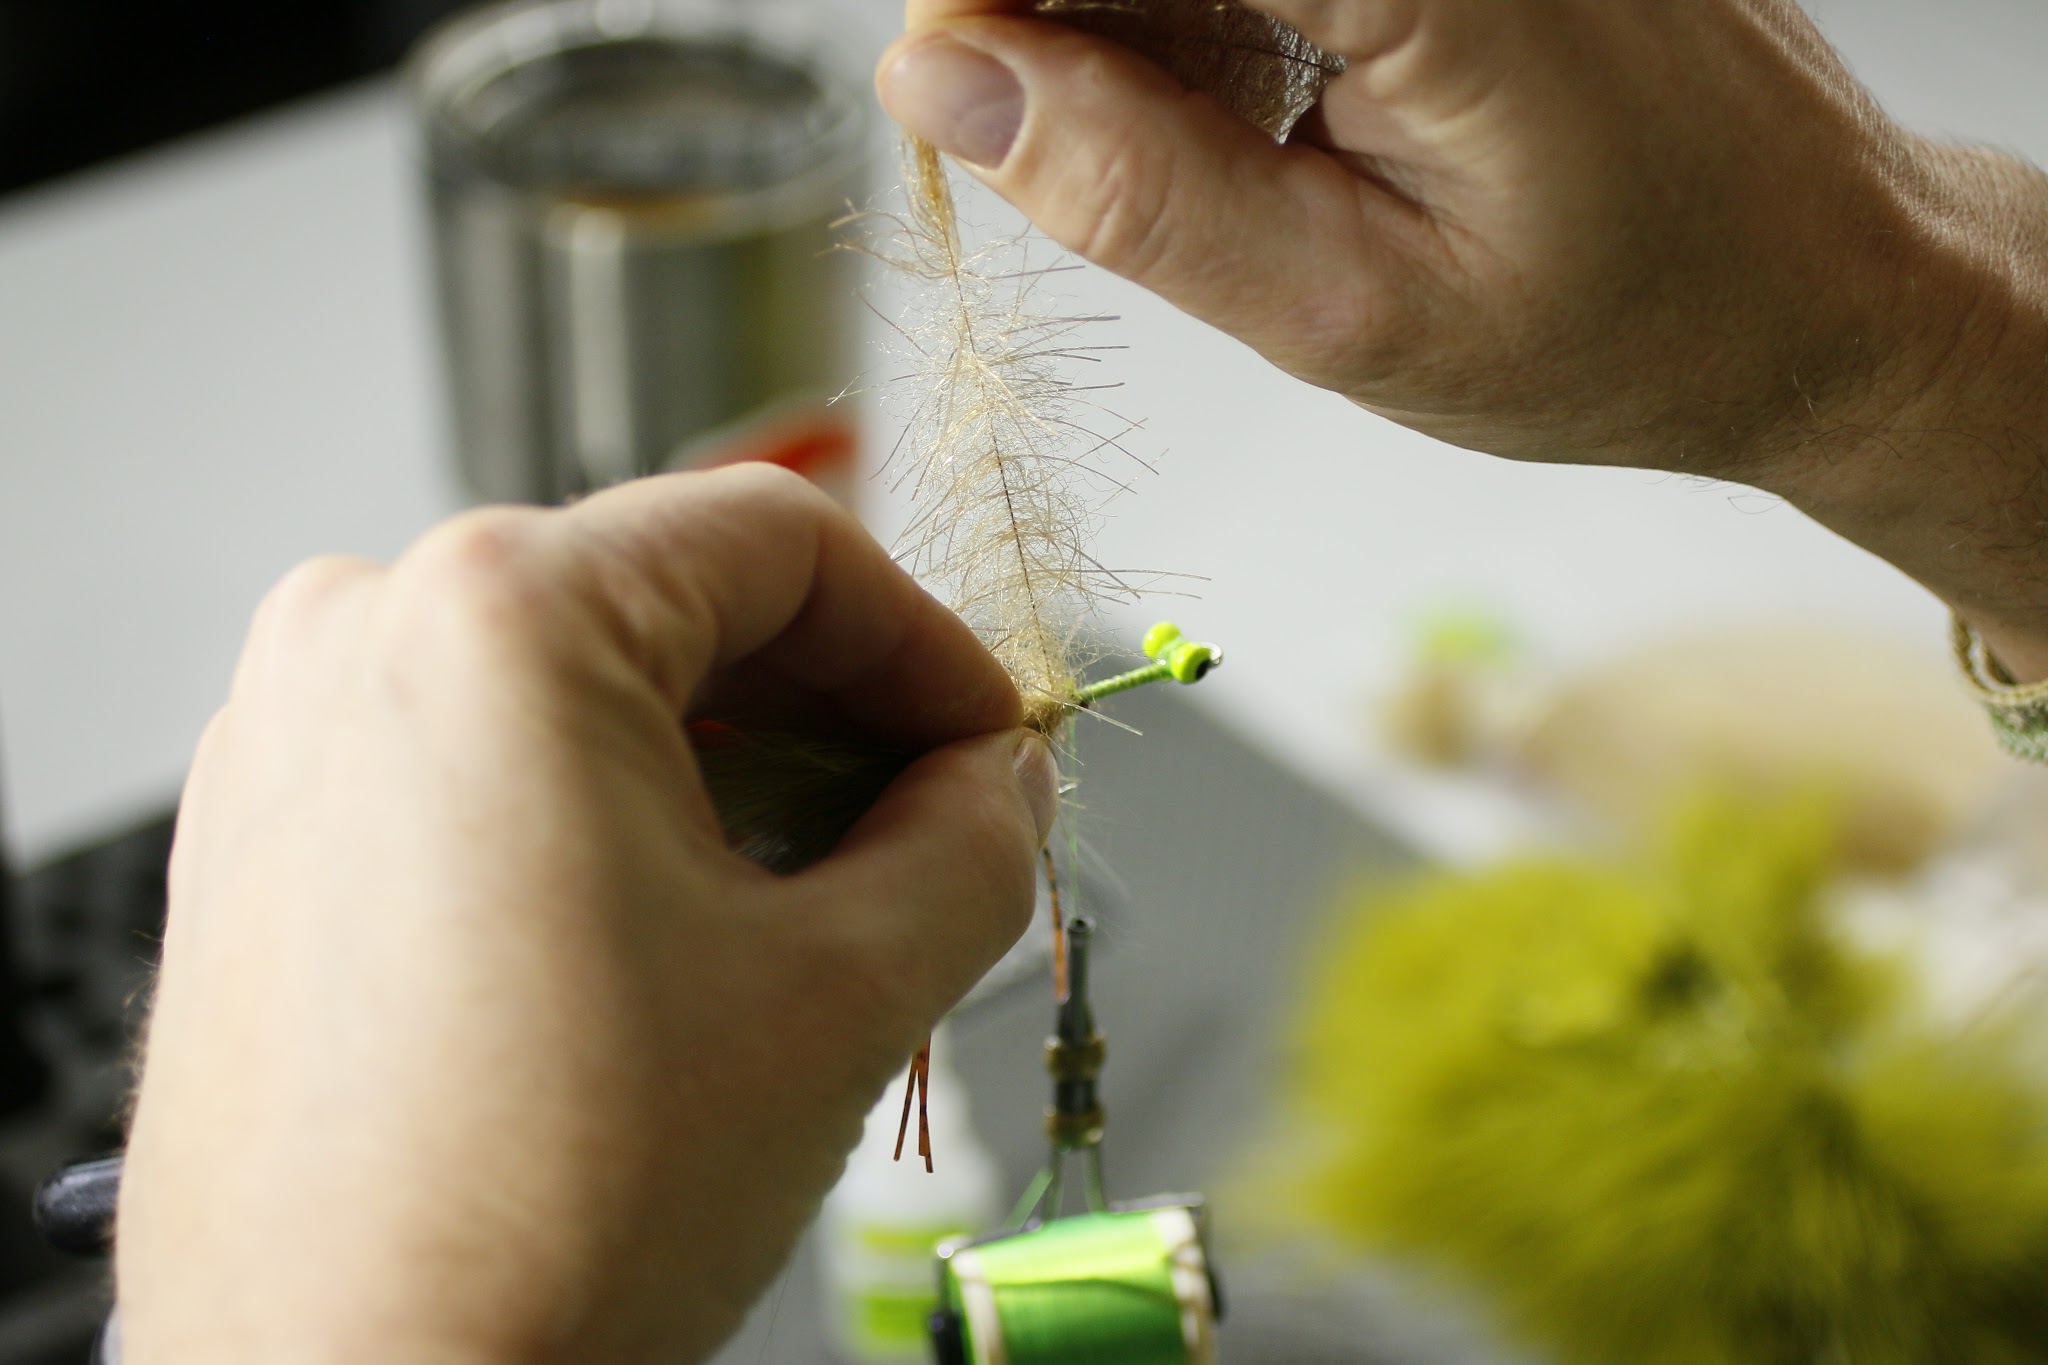
Cut a fairly good bundle of hair from the base of the bucktail. Generally speaking the hair located at the base is going to be larger in diameter and most importantly hollow, an important characteristic to executing this stage of the fly effectively. Because the hair is hollow thread tension will compress and flair the hairs much like when spinning or stacking body hair. Hold bundle of bucktail on top of the hook shank, with tips facing reward and butt’s facing forward. Trap with three loose thread wraps. Now before tightening thread wraps you will want to distribute the hair evenly 360 degrees around the hook shank. Once evenly distributed tighten thread and lock into place. Shorten some of the innermost fibers with a handful of scissor snips in the center of the forward-facing butt fibers. The goal is to create taper and have a well-proportioned cone when the butt fibers are forced back toward the rear of the fly. Like with any hollow tie when folding the butt fibers back, build a thread dam with your tying thread to hold in place. 

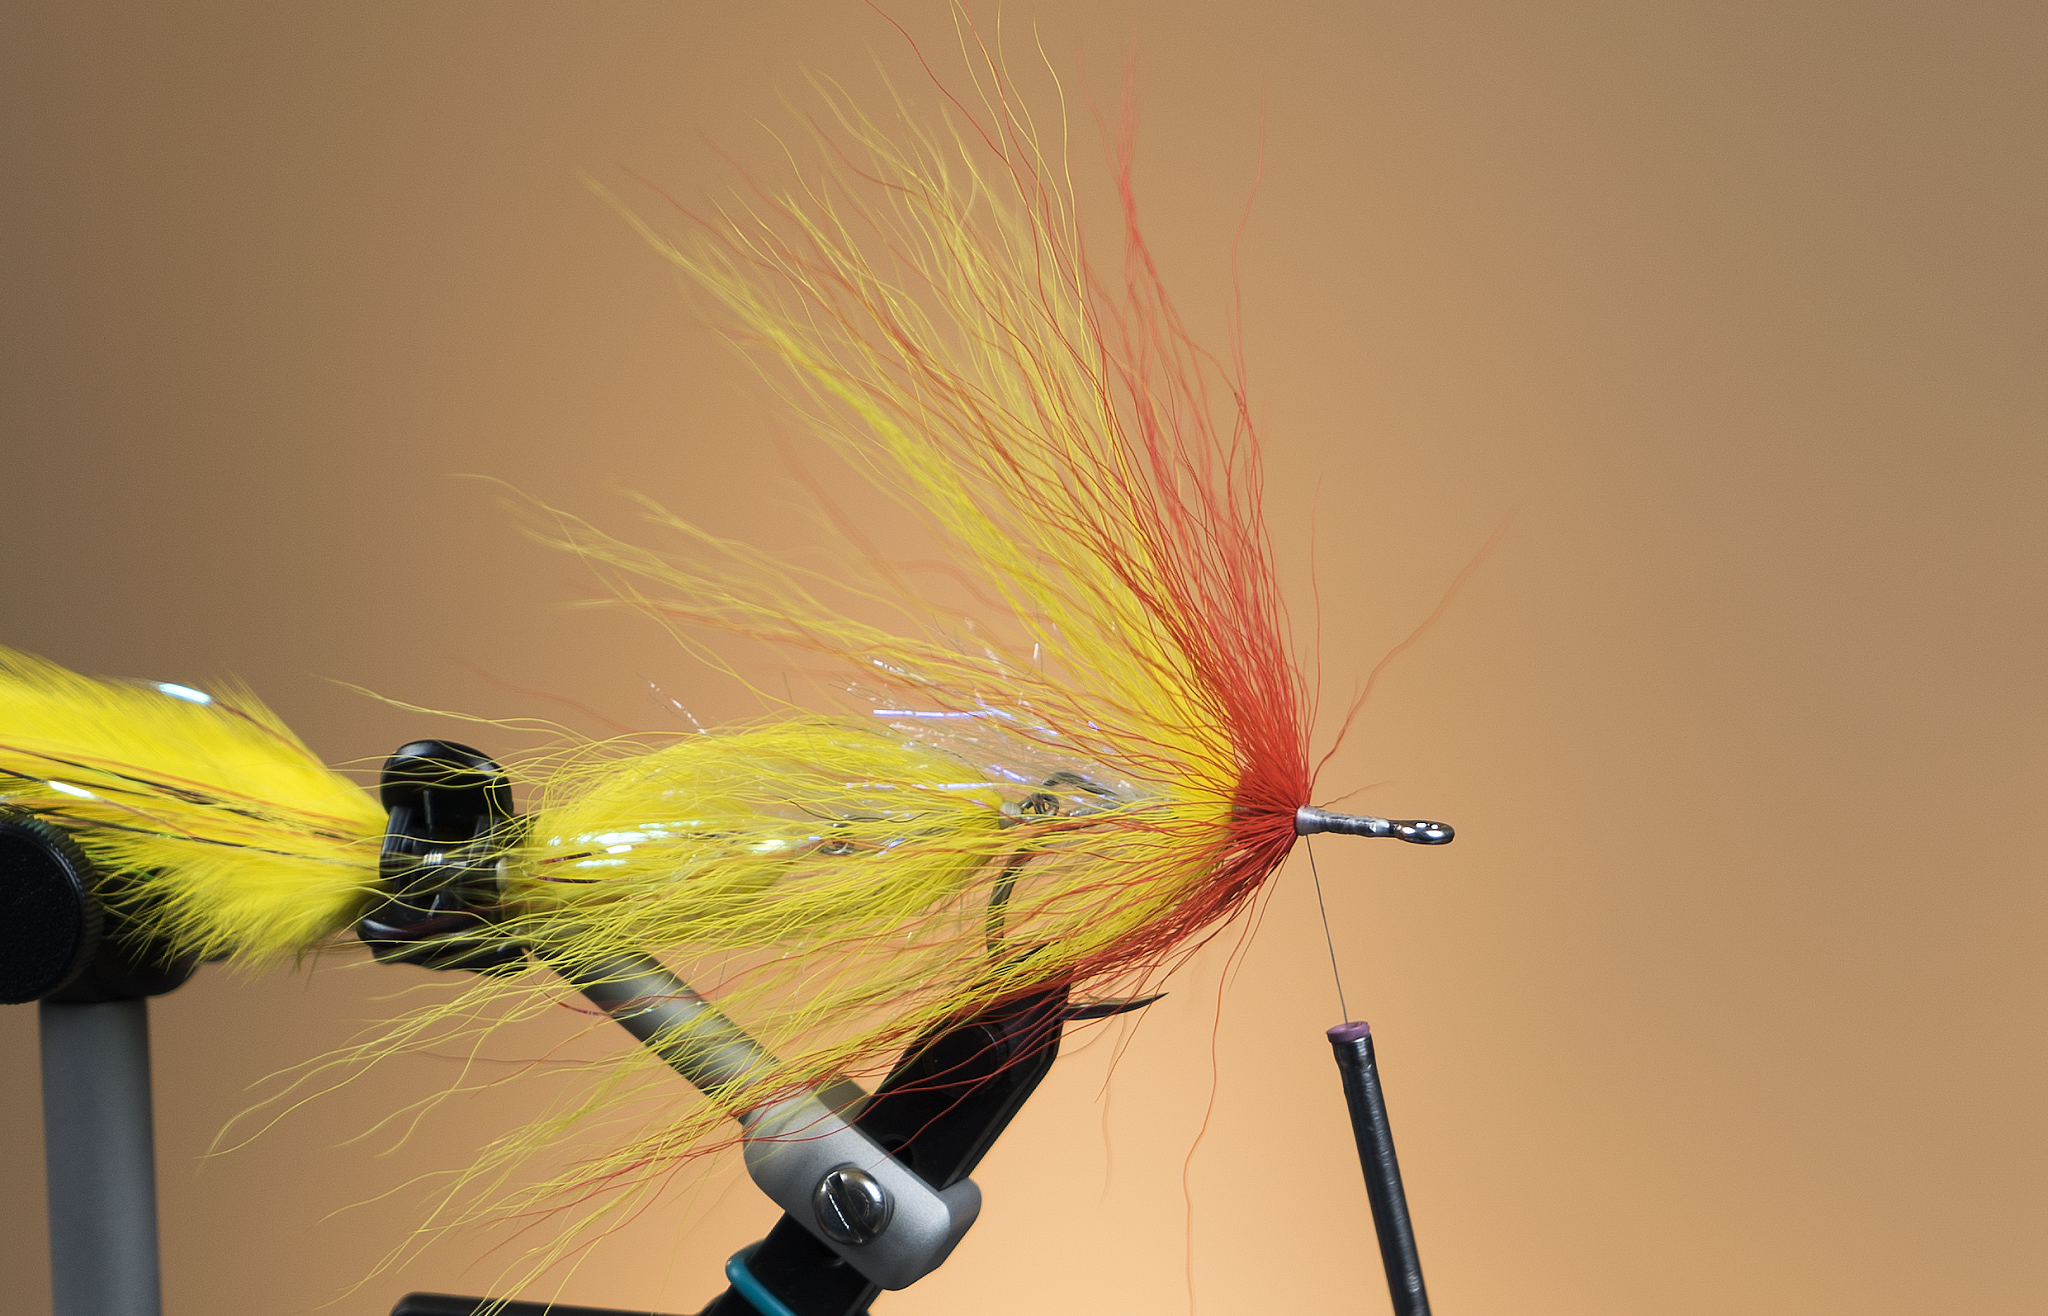
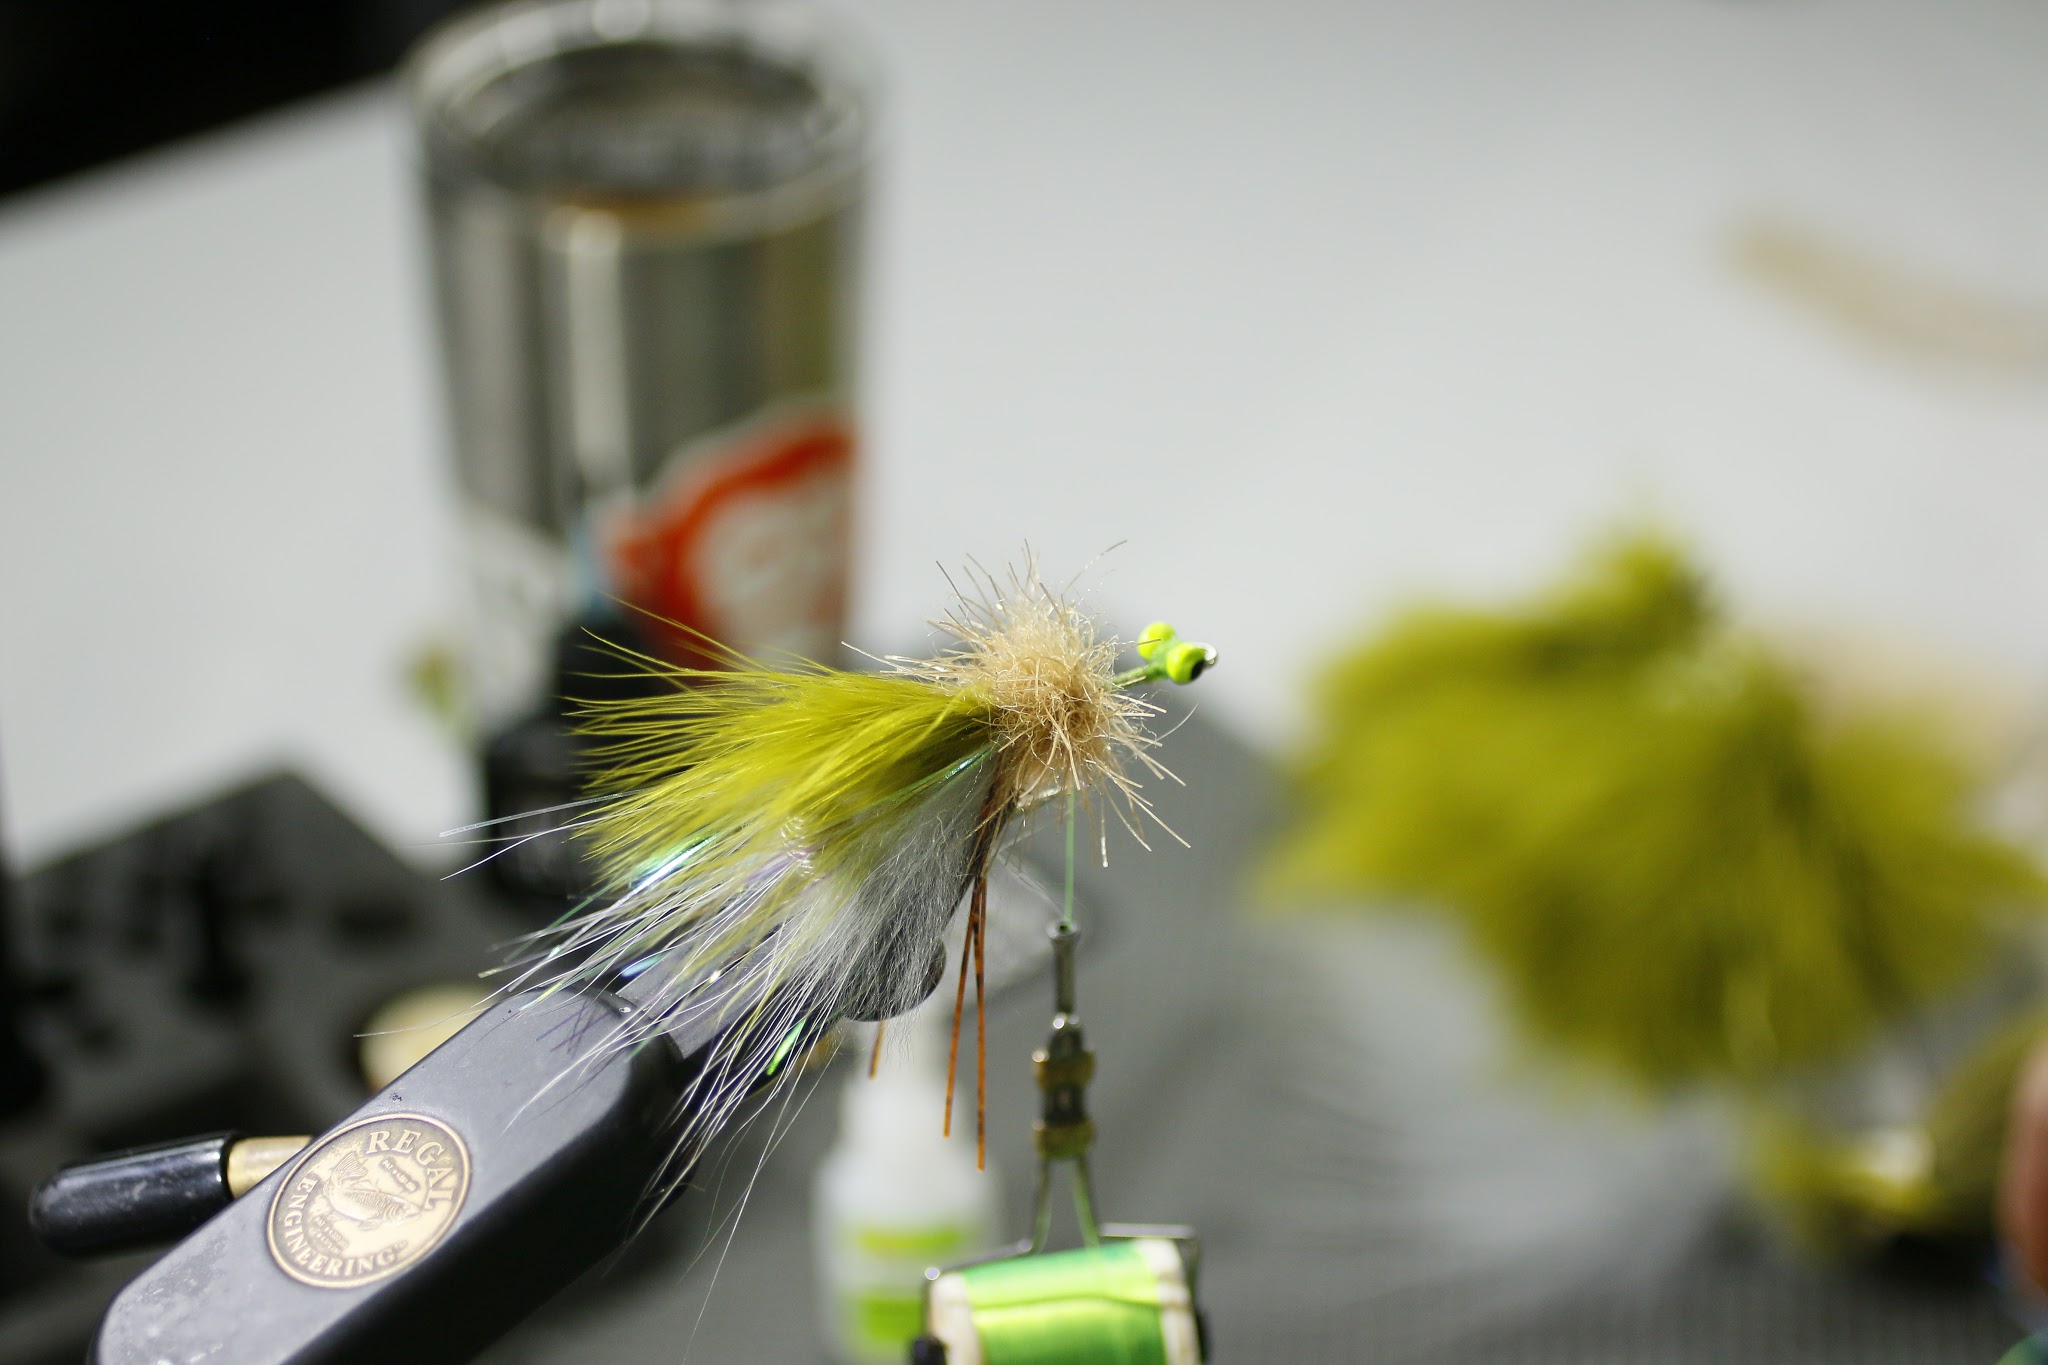
7. Repeat step 6 two more times. Each time gradually increasing the amount of hair used and decreasing the overall length of hair in each tie (creating shape and taper). 
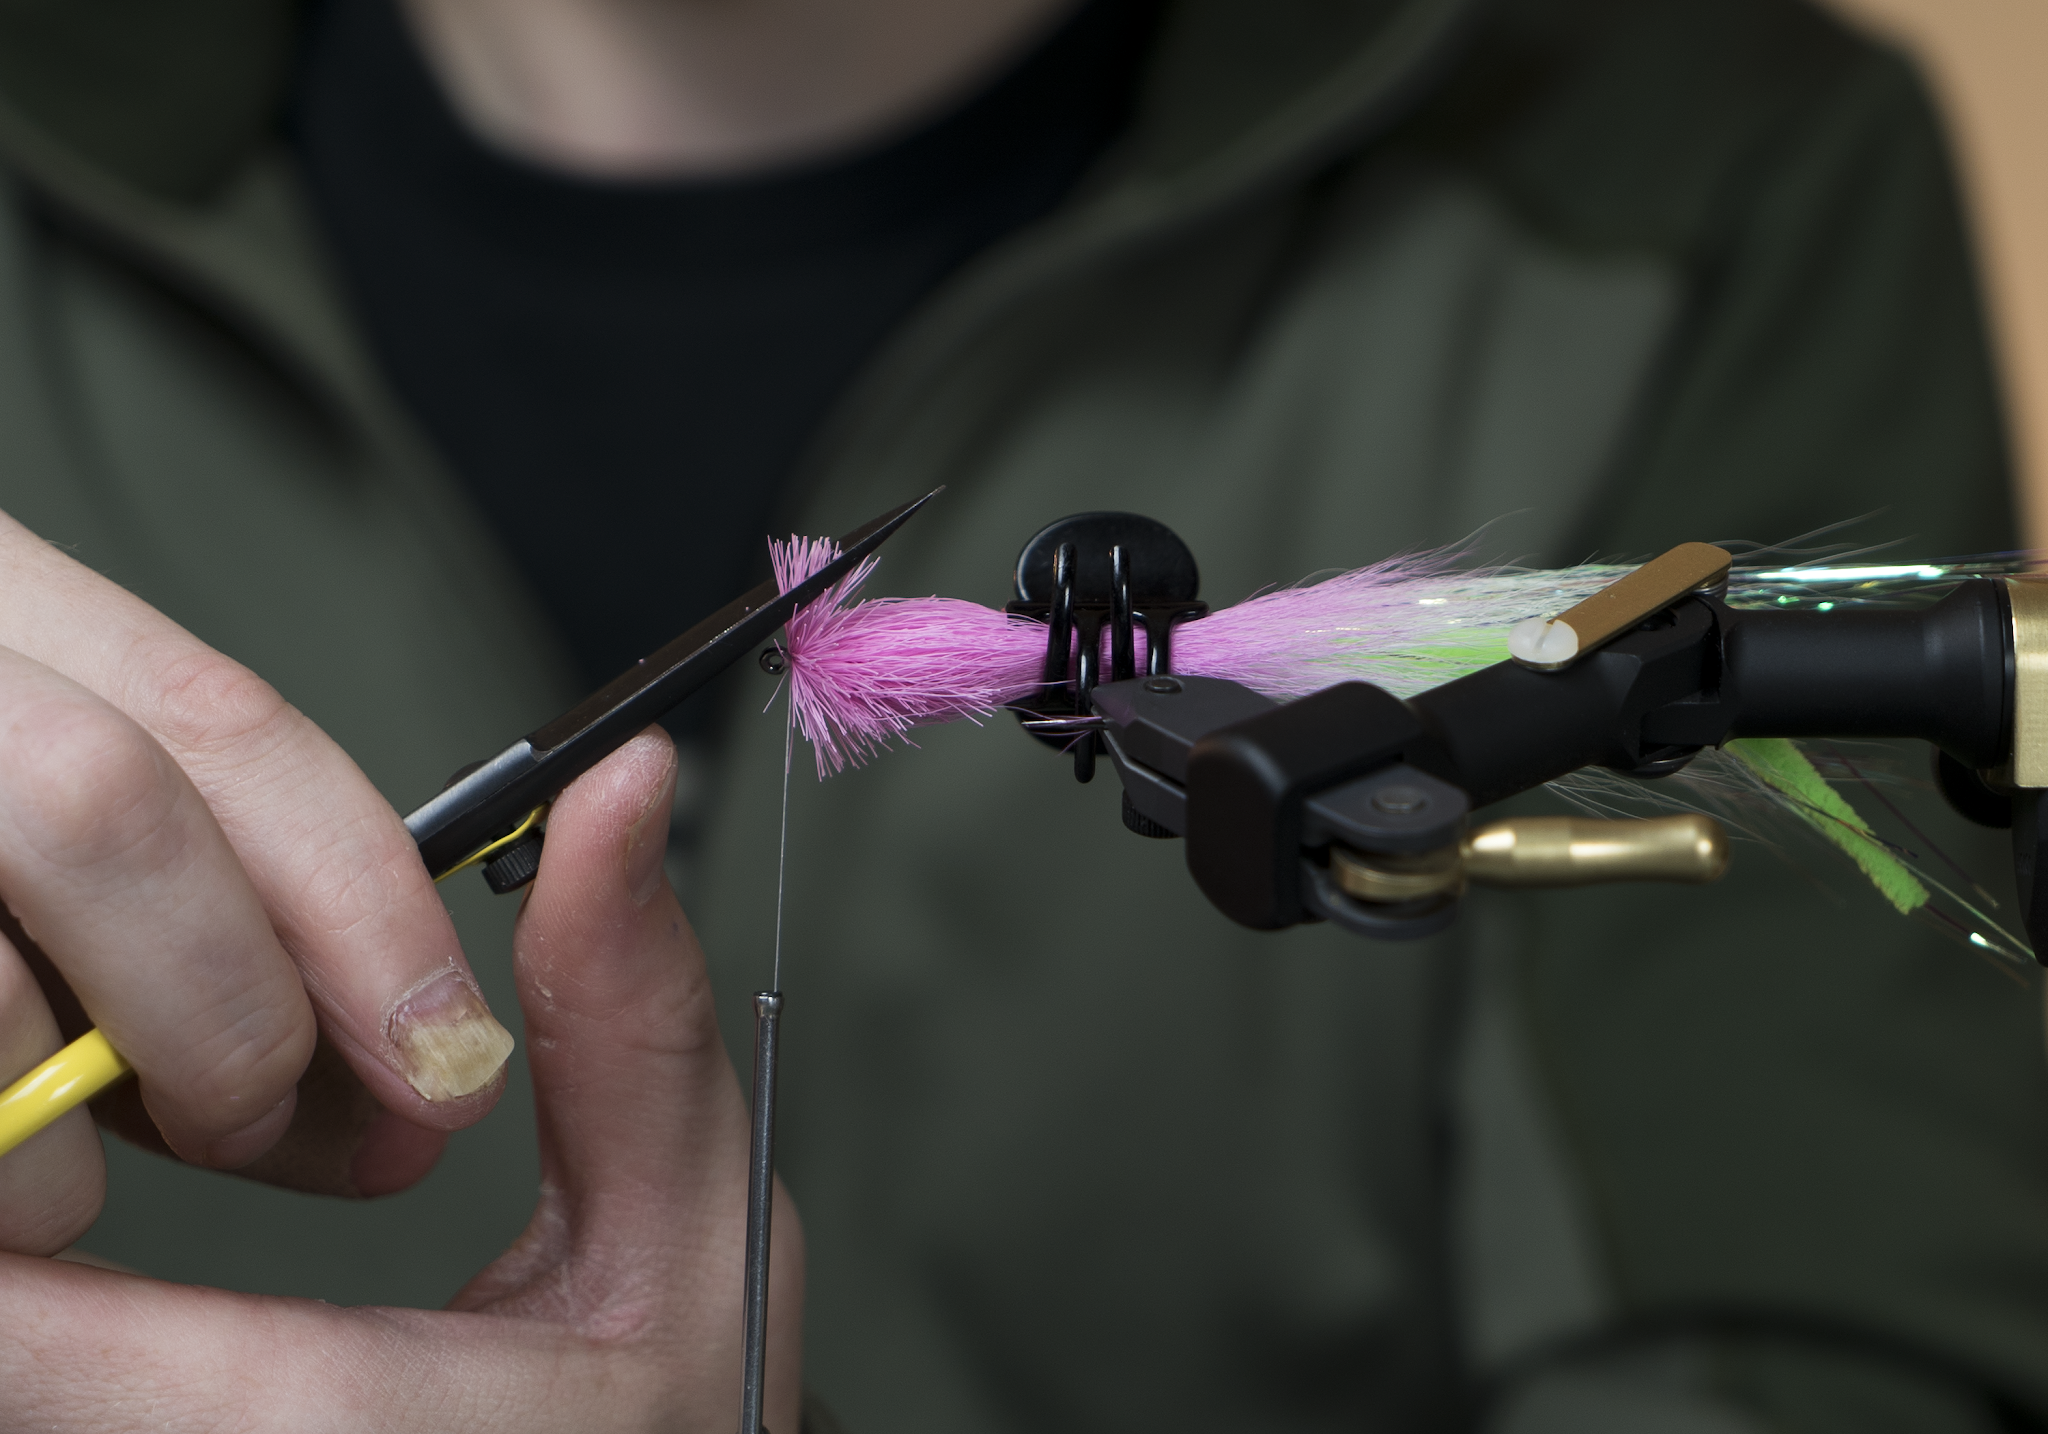
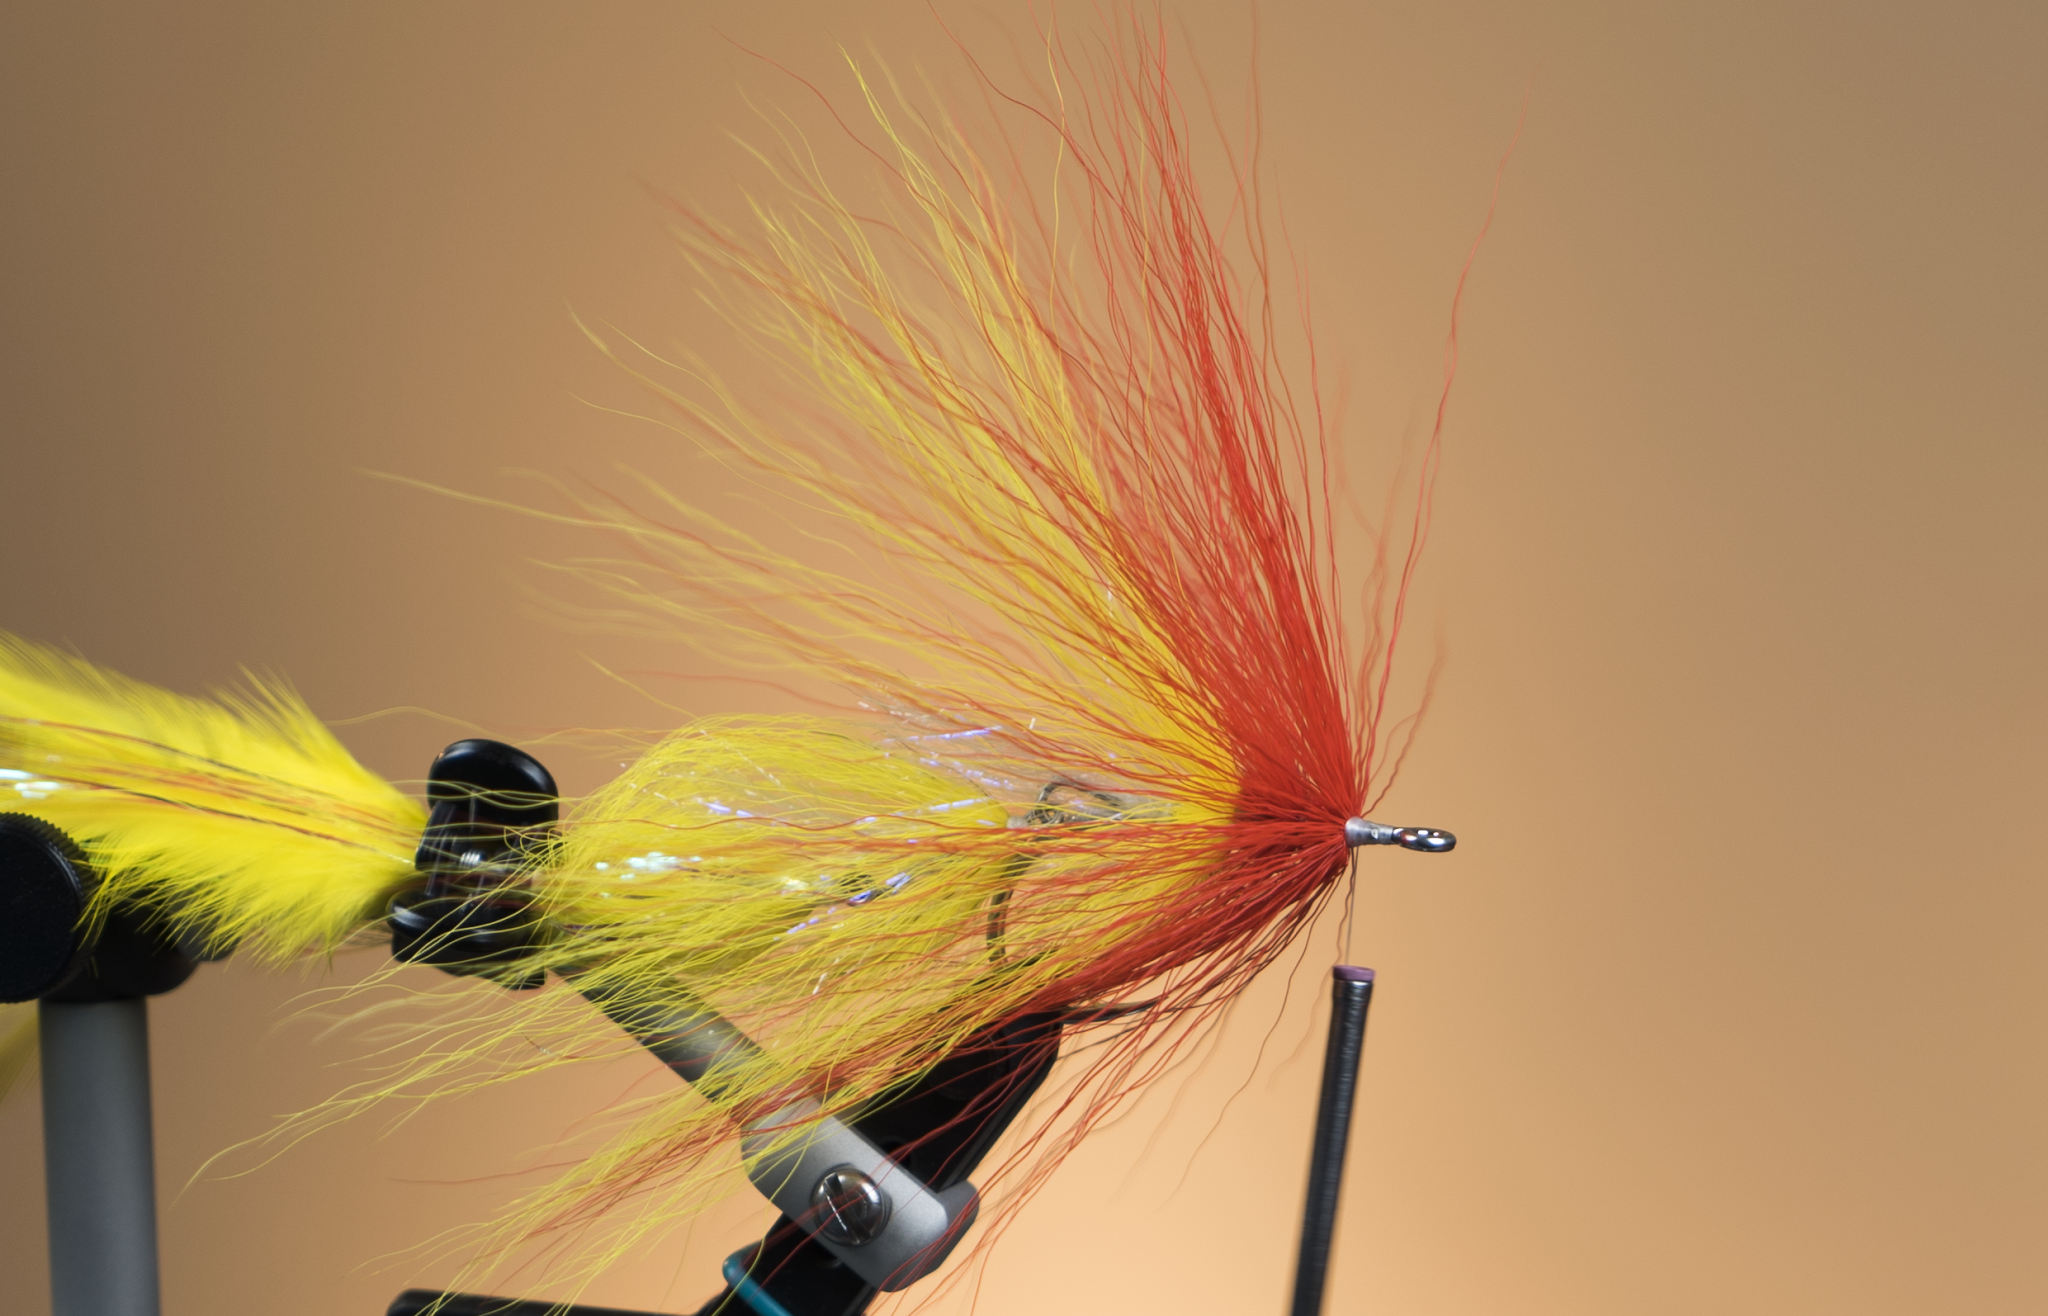
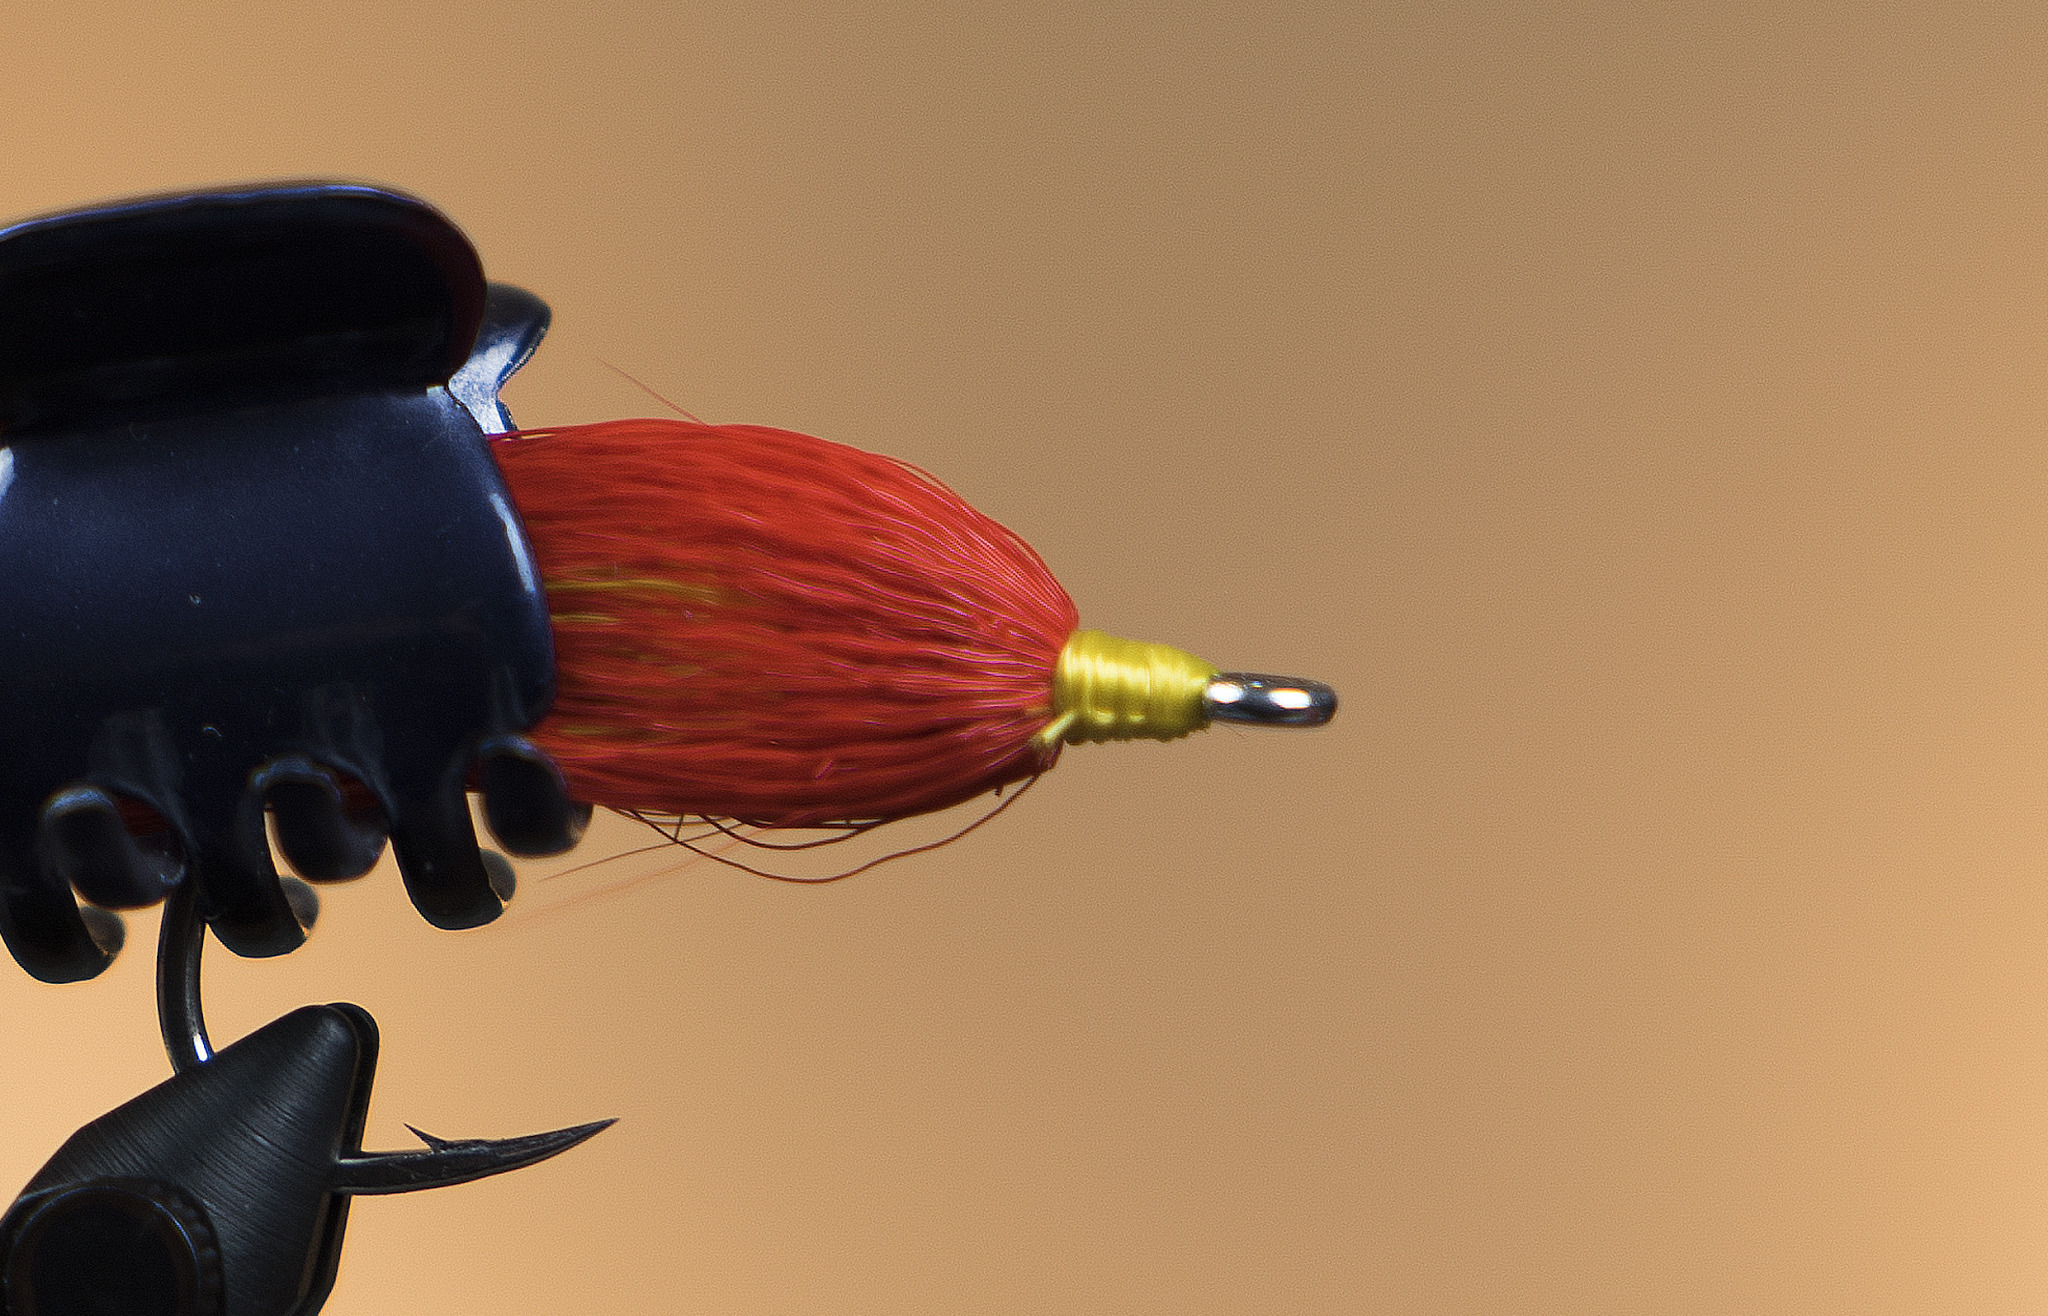
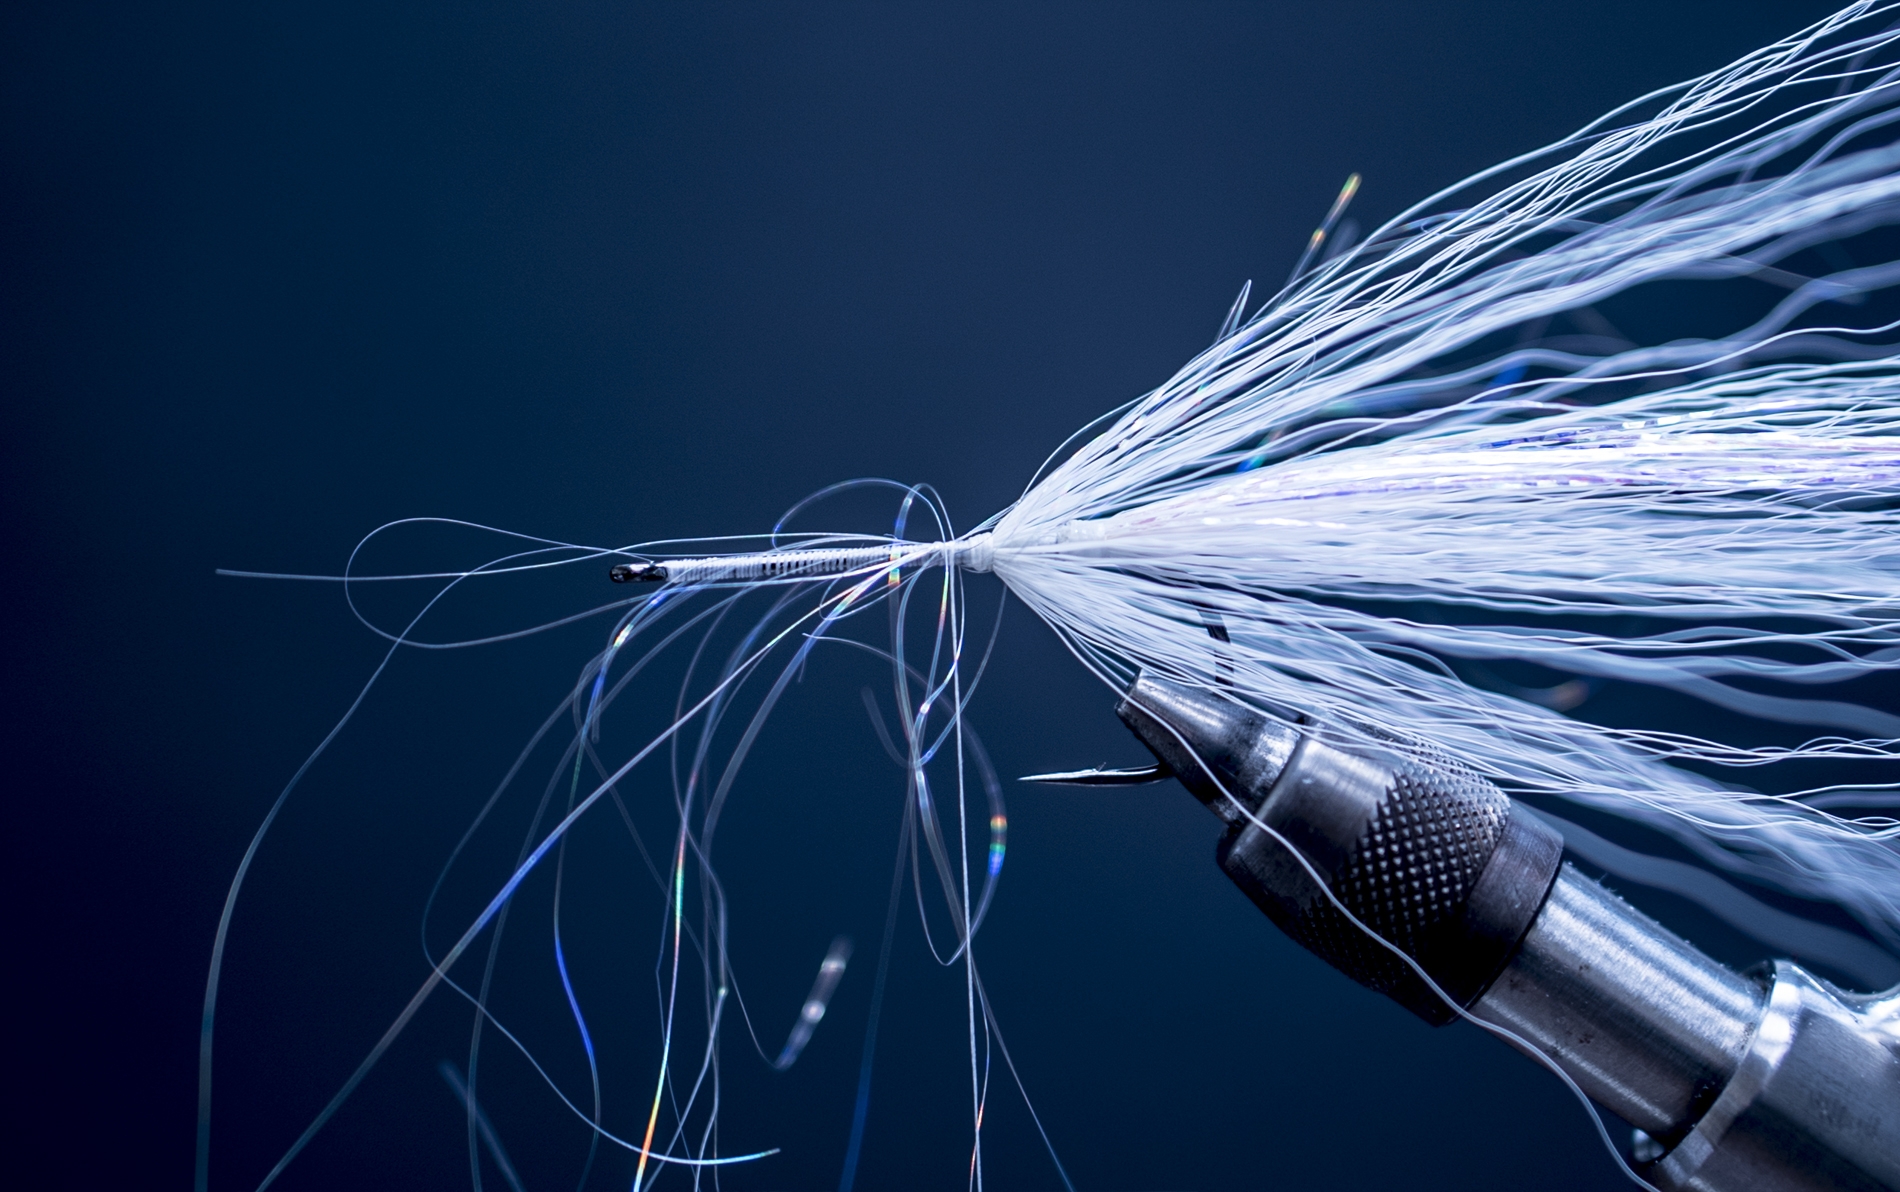
8. We may want to reference the youtube video at this stage here. Dip the fly in water and then tightly hold down the tapered ends of the front three collars, exposing the butts. Trim these fibers to angle gently down to the eye of the hook, creating an even, rounded, or conical head. When the fibers dry, snip out any stray butt fibers to finish tapering the head. The process is similar to trimming a spun-hair bug, but since the hair at the head of the fly includes both tapered and butt ends, take care to trim mostly the butts, leaving the tapered ends to complete the smooth shape and profile of the fly. 

So there you have it! Again, more of a technique and style of fly here than a specific pattern. You of course may want to add eyes to this, although I usually don’t on my “guide flies”. You can certainly play with the size, colors and tailing materials. I just figured I’d include the Mangum’s Dragon Tail in this one since they are such a hot topic right now. We are incorporating them into many of our fresh and saltwater patterns with great success. Yet another “game changing” material in our opinions around here.

One thing I do know……..this style of fly will become one of your favorites!!!

Pat Kelly- March 2018


Watch the Video!



Mad River Outfitters/Midwest Fly Fishing Schools

Fly Shop, Fly Fishing Guides, Hosted Fly Fishing Travel, Schools, Classes and more!

813 Bethel Rd.
Columbus, Ohio 43214

614-451-0363


Fly Tying- “The Peacock Punisher”

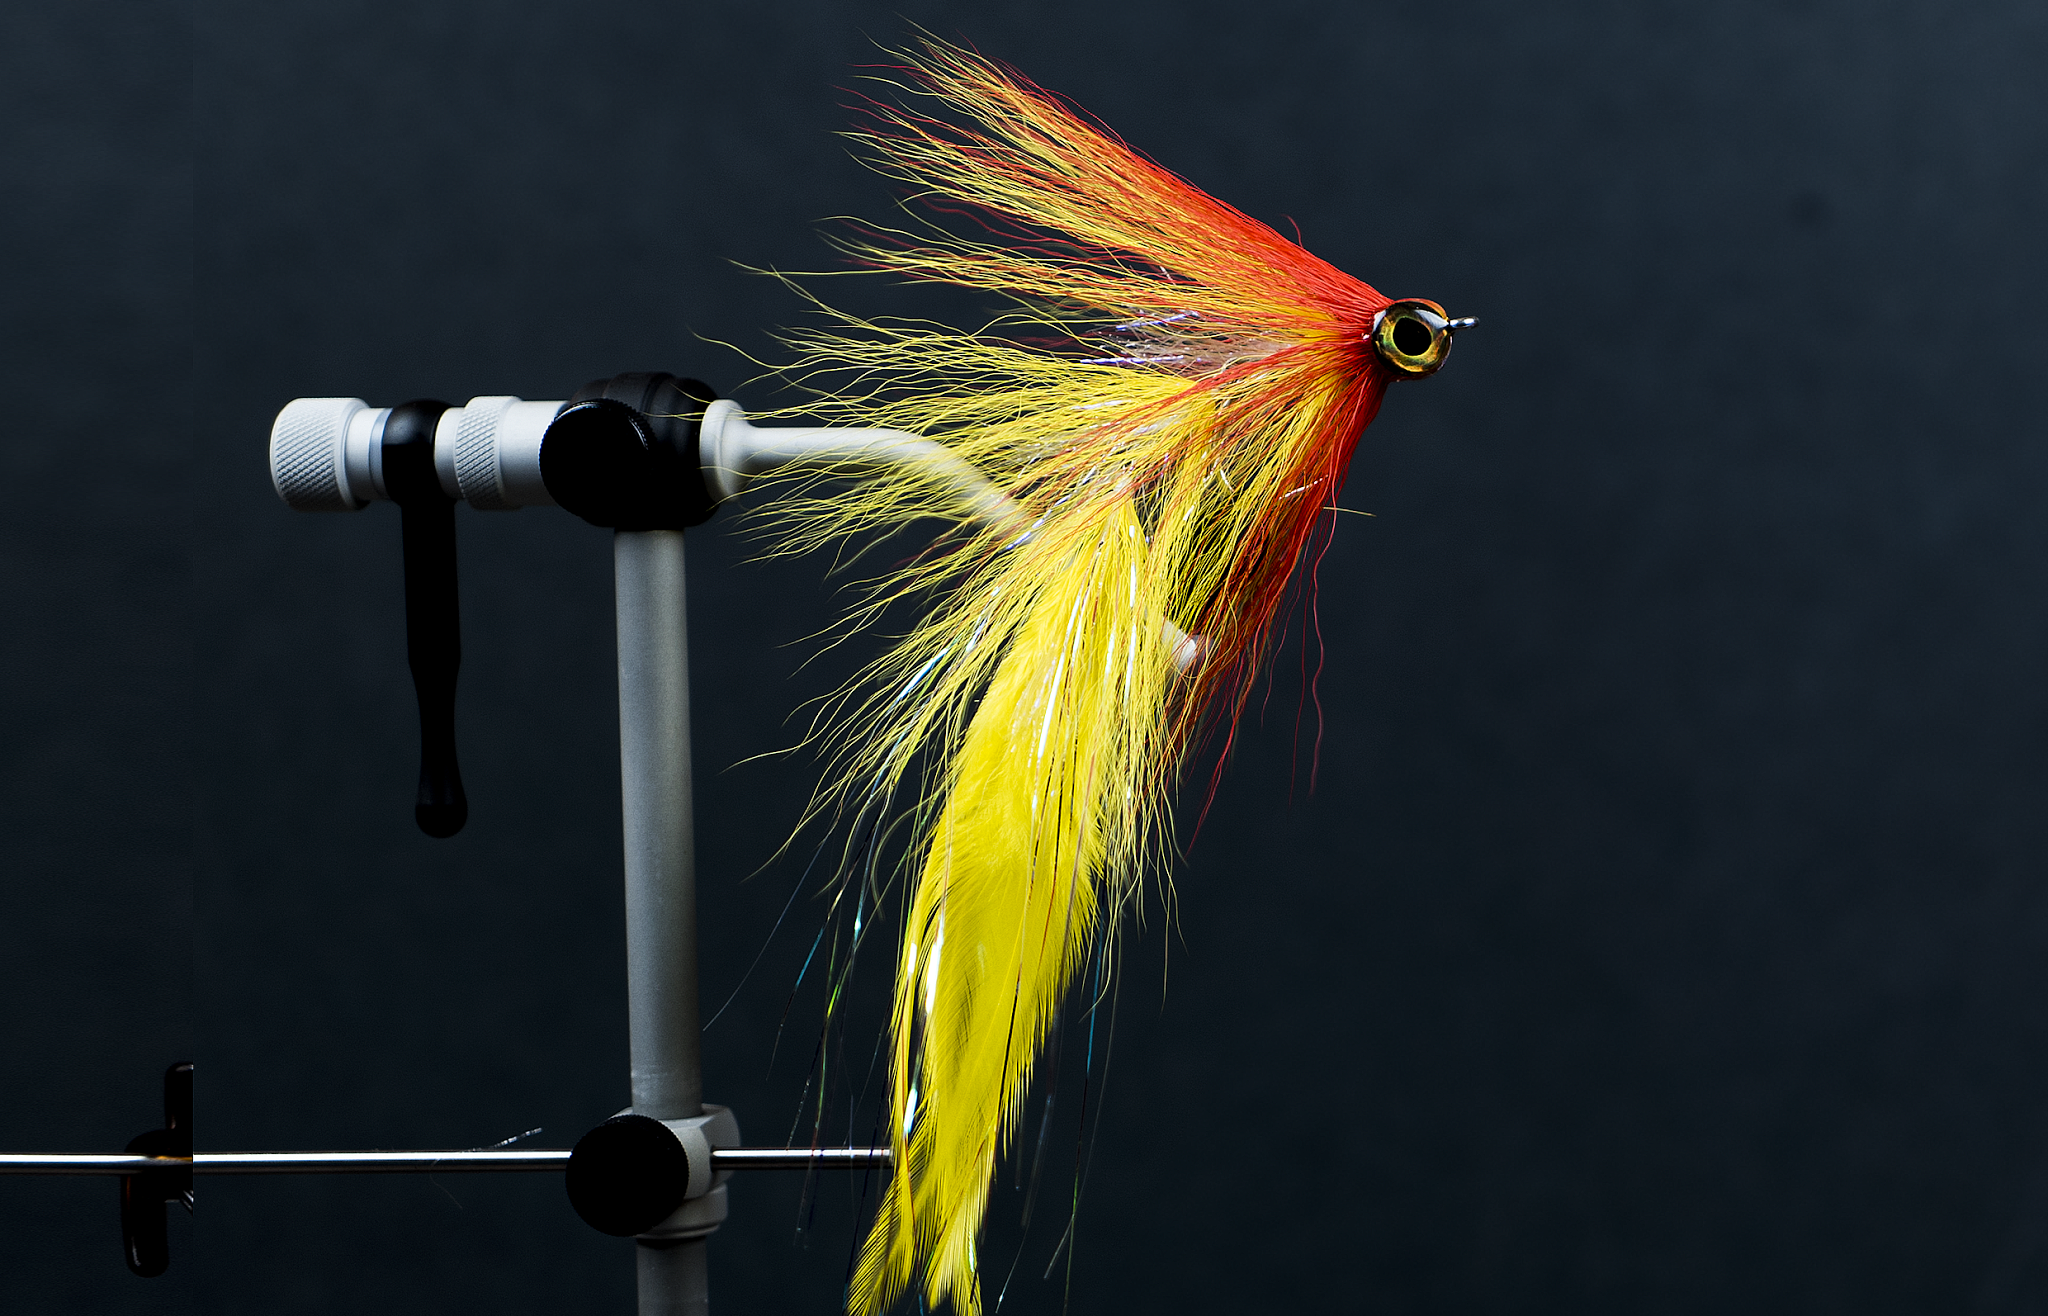
“The Peacock Punisher”

Over the years I have played around and fished with countless different fly designs for Peacock Bass. I have settled on this and only a few others. There are a few characteristics that I look for in a Peacock Bass fly. First and foremost it has to be durable. Flies that cannot hold up simply don’t have a place in my box…if you run out flies in the jungle you can’t take a ride to the local fly shop and buy more. Secondly a fly needs to be easily cast all day. You can count on putting in ten hour days on these trips and if your fly casts like a waterlogged chicken you simply will not be on your A game throughout the course of the day. Last but certainly not least is it has to have mojo. The more stimulating your fly is the more confident and engaged you will be on each and every cast. It is a lot harder to space out while fishing in one of the most humid climates on earth if you think your fly looks amazing, often times I catch myself talking out loud to the fly while fishing. 

Brian Flechsig is heading up our January trip to the Amazon. The group leaves tomorrow, January 11th, for what will most definitely be an awesome week of fishing. I am looking forward to the pictures and stories that will follow upon the group’s return!    

Pat Kelly- January 2018


“Peacock Punisher”- Recipe

Thread: 100 Denier GSP- Click Here
First Shank: Flymen Fishing Co. Articulated Fish Spine 25mm- Click Here
Second Shank: Flymen Fishing Co. Articulated Shank 20mm- Click Here
Hook: Gamakatsu SL12S 4/0- Click Here
Flash: Mirage Flashabou- Fl. Yellow- Click Here
Flash: Holographic Flashabou- Red- Click Here
Flash: UV Pearl Polar Chenille- Click Here
Eyes: Flymen Fishing Co. Living Eyes 10mm (color of choice)- Click Here
Articulation Point: Flymen Fishing Co. Articulated Shank 35mm- Click Here
Tail: Strung Rooster Saddles- Yellow- Click Here
Body: Yellow Bucktail, Red Bucktail- Click Here
Cement: Brushable Zap-A-Gap- Click Here
Epoxy: Loon UV Resin Thick- Click Here

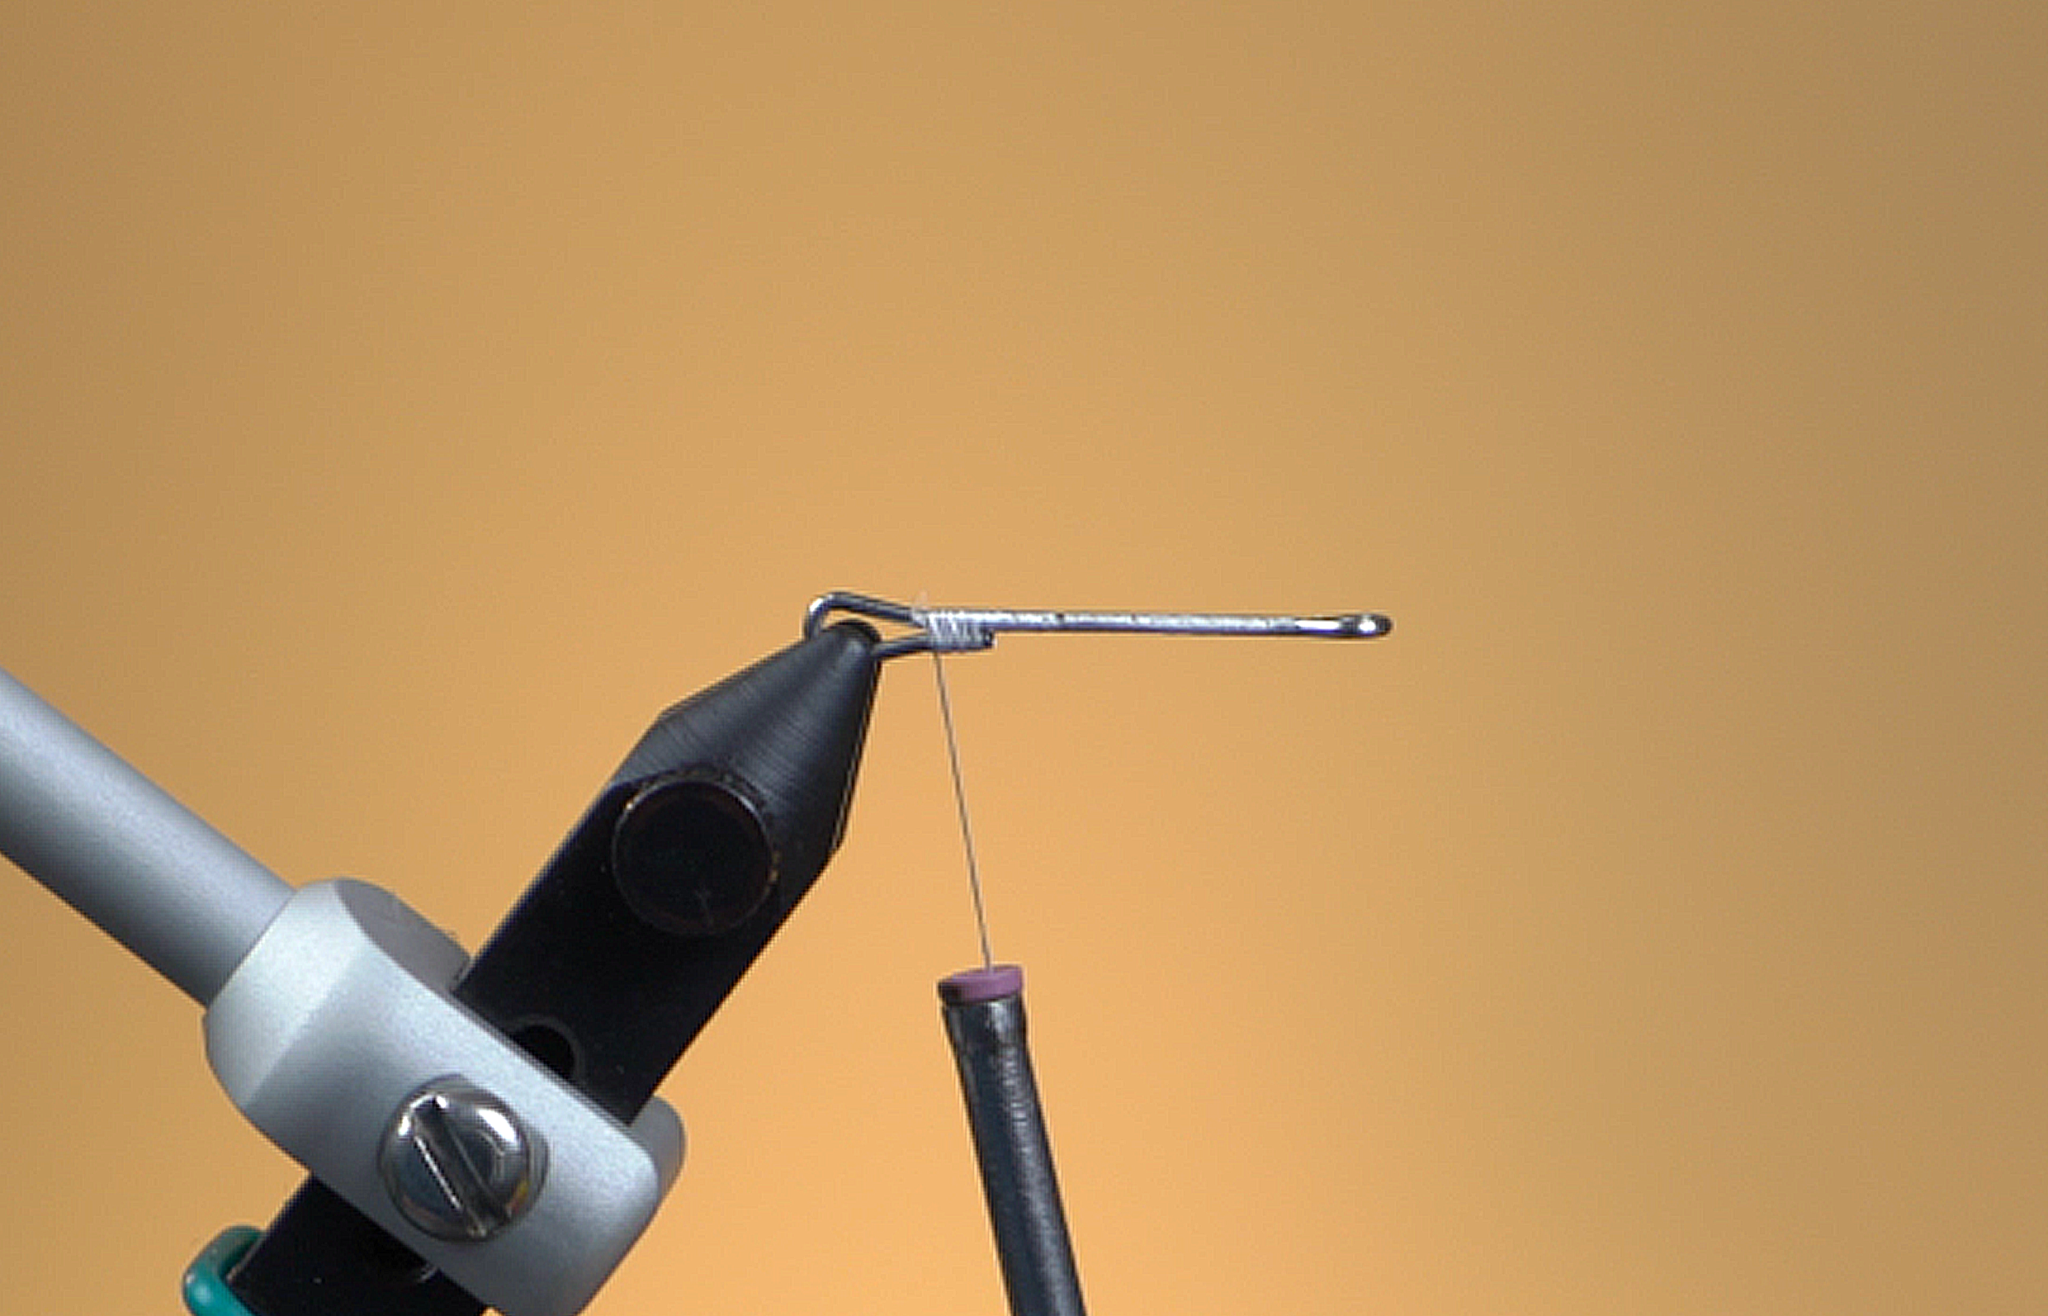
1. Secure 25mm Fish Spine in vise and lay a foundation of thread from the eye all the way back to the bend. 


2. Tie in UV Polar Chenille- Pearl and wrap to the mid-way point of the shank.


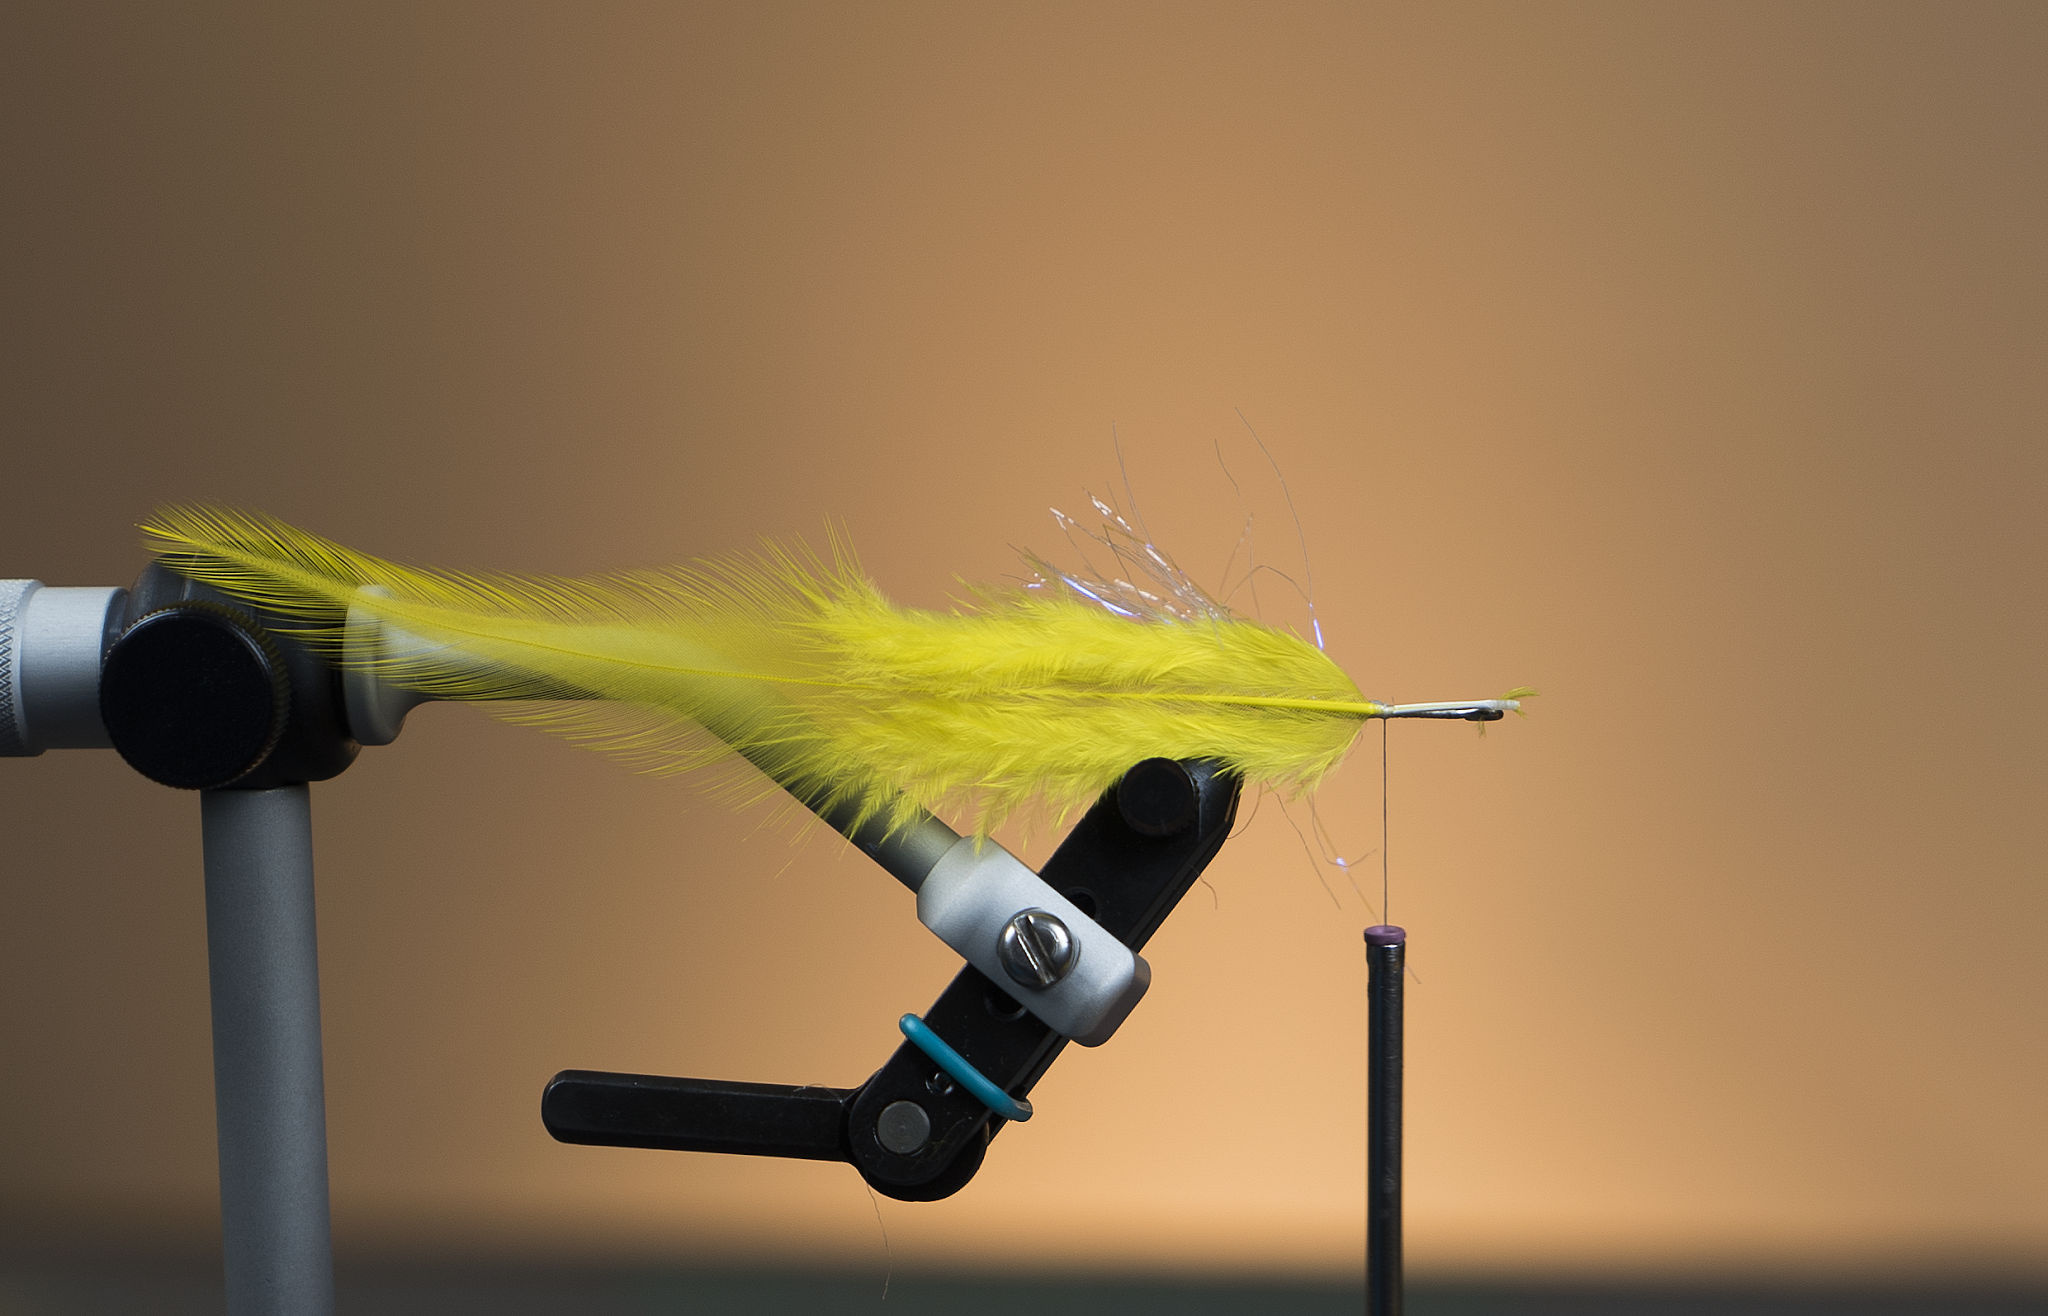
3. Select four Rooster Saddles approximately 5inches in length and tie in on the near and far side then top and bottom of the shank. By tying these feathers in the round you should have 360 degree coverage of the shank. This will give you a nice round and full profile. 
*You may be asking yourself what the purpose of UV Polar Chenille is if your just going to cover it all up with the saddles…this material serves as a prop for the feathers, giving you a nice 3D shape. It also ensures maximum movement out of the feathers because they can not mat together when being stripped through the water.


       4. At this stage of the fly we will introduce our first hollow tie of Yellow Bucktail.  Try and     aim for about a 45 degree angle in your bucktail before completing this step.


       5. Cut full length piece of Mirage Flashabou- Fl. Yellow. Before tying in you will want to   pull a few strands so that the fibers vary in length. Tie in your flashabou so that approximately 60 percent of the total length is extending back toward the fly and the remaining 40 percent is extending out in front of the eye. Once that is in place fold the remaining 40 percent back over itself and secure. This will allow you to begin introducing taper and shape to your fly. 


6. Connect both shanks and secure into the vice. Just as in steps 1 and 2 secure UV Polar Chenille and wrap to the mid-way point and tie off. 


7. Tie in a bundle of Yellow Bucktail that is slightly more dense than the one on our first station on the previous shank. When executing this hollow tie you want the angle of the bucktail to be a little taller than on the first. Again by doing this we are forming taper and shape to the fly. When finished whip finish and cut thread. *Always be aware and thinking about the taper and shape of your fly throughout the entire tying process this will make for a fly that looks and swims more naturally.


8. Secure hook in vise and lay a foundation of thread from the eye back to just into the bend of the hook. Take the 35mm Articulated Shank and with a pair of side cutters remove the equivalent of about three eye widths from the shank. You want the shank to be roughly the same length as the shank of the Gamakatsu SL12S 4/0. Now once you are finished thread the back two sections onto the 35mm Articulated Shank and lay it along the side of the hook shank. Begin at the back of the hook with very tight side by side wraps all the way up to the eye. At this point I like to apply a coating of UV Resin along the shank. Once cured lay down a coat of Hard as Hull head cement. These two steps ensure that the articulation point cannot be ripped out or compromised in any way by the fish. 


9. Tie in UV Polar Chenille- pearl and wrap a 1/3 of the way up the hook shank and secure. 


10. Now you are ready for the last hollow tie of yellow bucktail. This time slightly more hair than the last. Next you will hollow tie two cones of red bucktail. Each cone consisting of slightly more hair and a slightly steeper angle than the previous tie. *You will notice that throughout the course of tying this pattern I have increased the amount or density of bucktail in each hollow tie as I move toward the front of the fly. By doing this I have constructed a fly that progressively becomes more dense toward the head. This is a very over looked and often not mentioned detail. By tying a fly that is significantly denser at the head it will create a greater diversion of water, one of the keys for getting a fly to dart and kick side to side or jack knifing on the pause.


11. To finish the fly we will fold a bundle of Holographic Flashabou- Red around your thread and secure on top of the hook shank. Take your thumb and distribute these fibers around the hook and secure. 


12. This step is completely optional. I like to finish the fly off with yellow tying thread for no other reason than to accent the yellow body of the fly. (Without this step fish will not eat your fly).


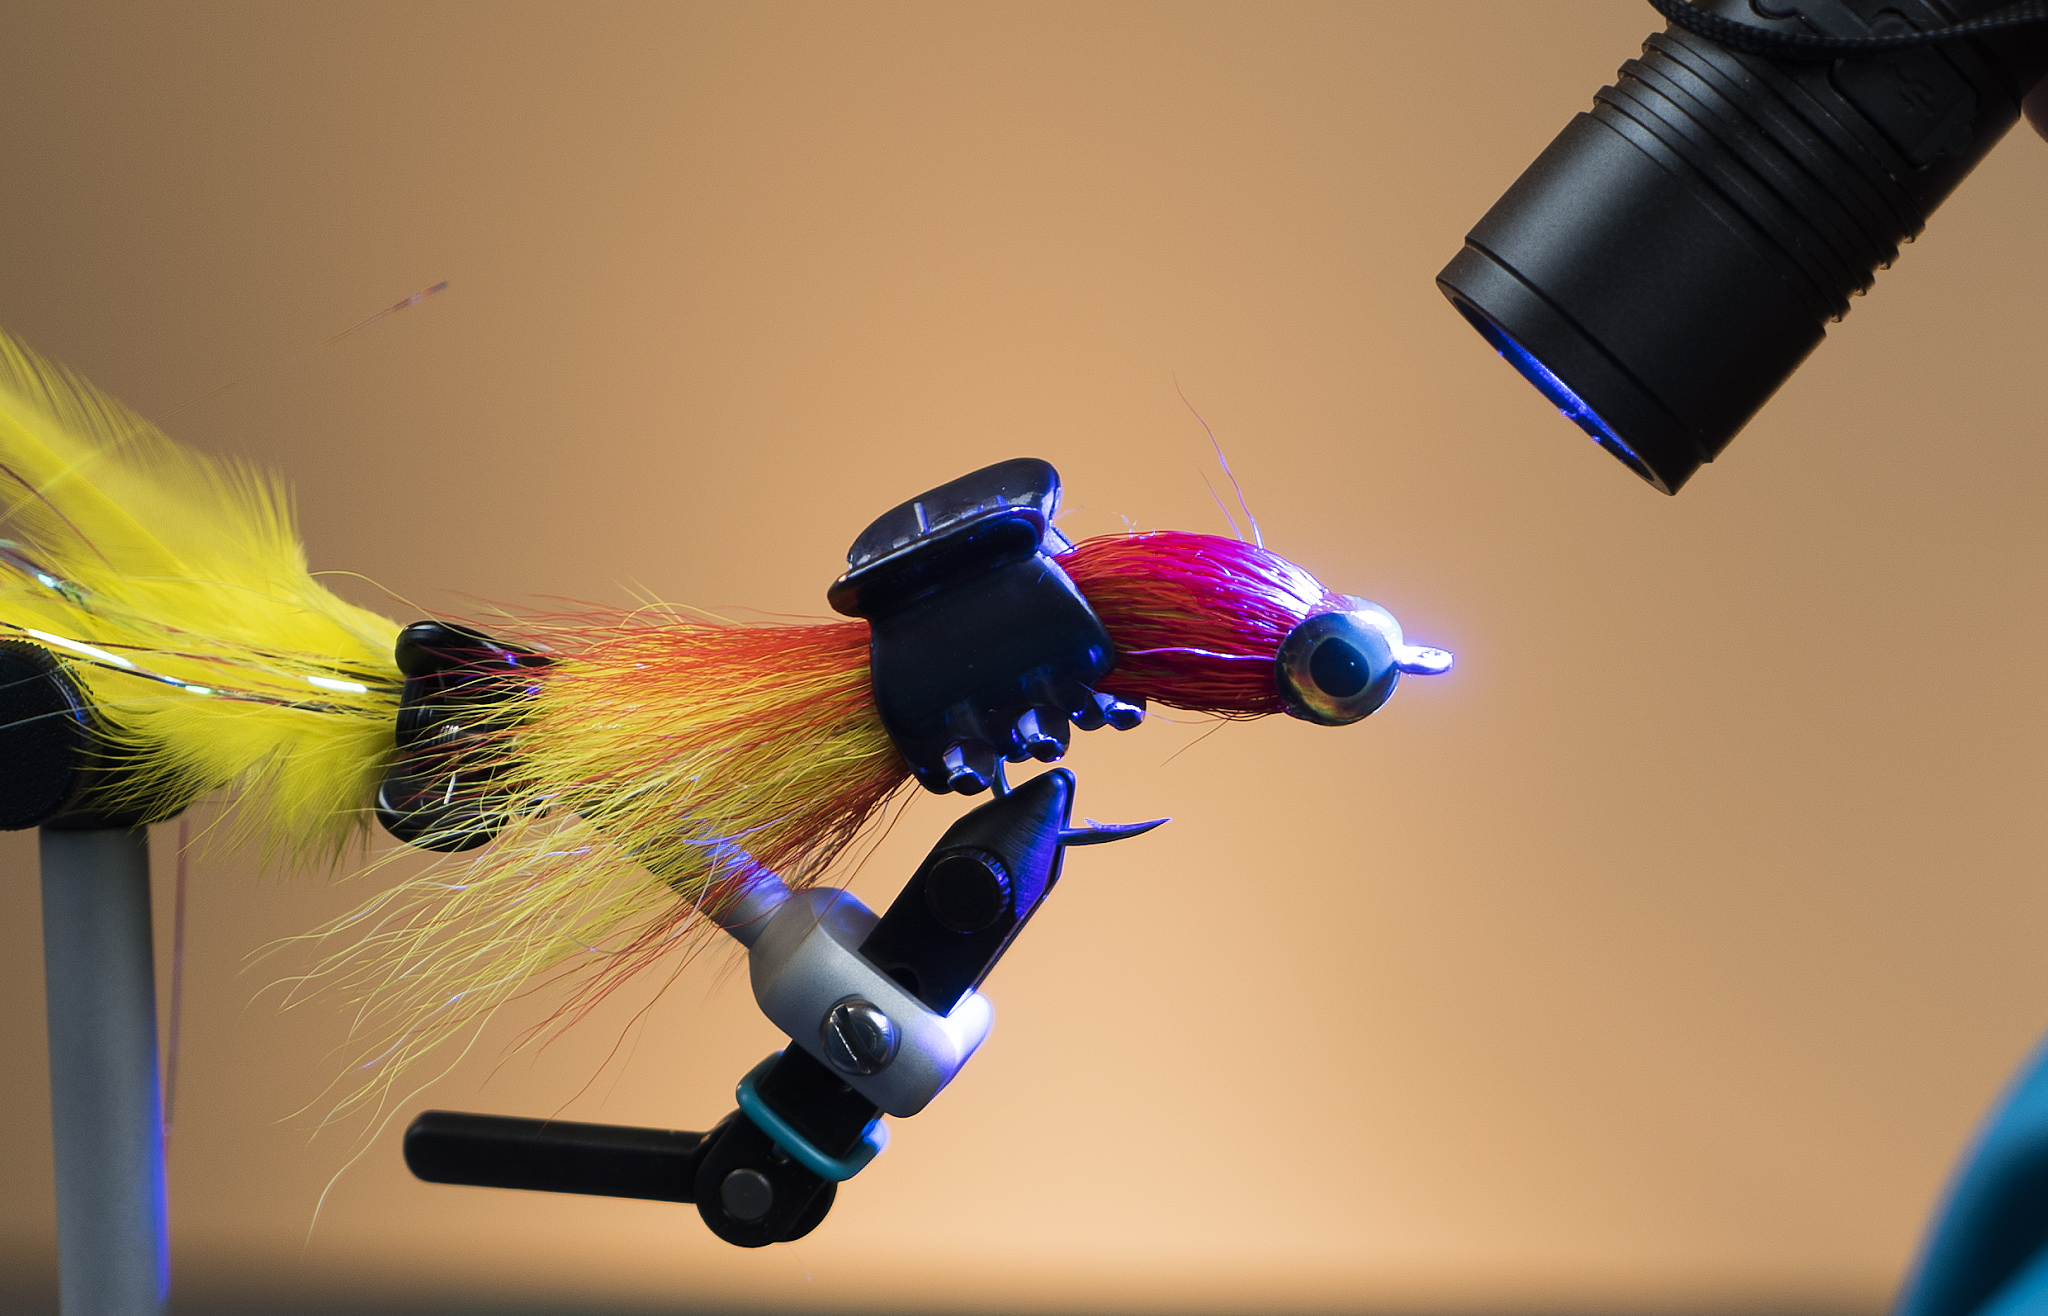
13. Take a pair of Flymen Fishing Co. Living eyes in 10mm and attach to each side of the head. Fill in the gaps between the eyes on top and bottom with a thick UV Resin. Finish by laying a nice even coat of the same UV resin all around the eyes ensuring they are completely covered up and protected. To remove the tacky finish left behind by the UV resin wipe down with some rubbing alcohol and then coat with Hard as Hull head cement.


So there you have it! If you find yourself chasing after Peacock Bass, this is a fly you NEED to have!


Watch the video!


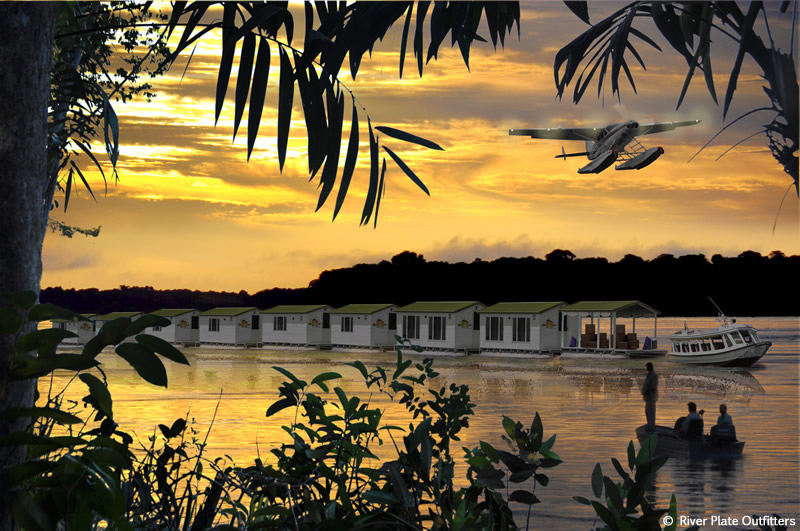
Mad River Outfitters hosted trips to Brazil for Peacock Bass!

Unique floating cabin system and exclusive virgin waters!

January 12th- 19th, 2019 with host Ryan Ratliff

January 11th- 18th, 2020 with host Pat Kelly

CLICK HERE for details, pricing and photos
Mad River Outfitters/Midwest Fly Fishing Schools

Fly Shop, Fly Fishing Guides, Hosted Fly Fishing Travel, Schools, Classes and more!

813 Bethel Rd.
Columbus, Ohio 43214

614-451-0363


Fly Tying- The Hollow Fly- “Sexy Shad”

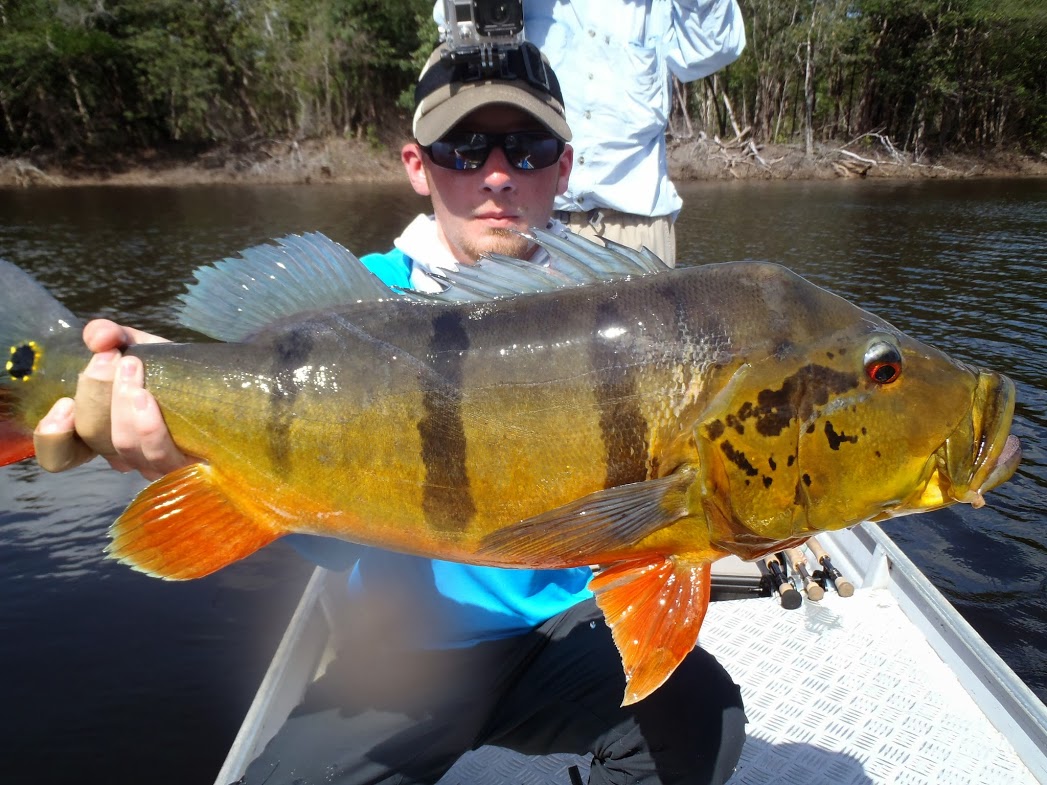
Hollow Fly- “Sexy Shad”

Most who know me can attest to my obsession and addiction to Hollow Tying and Hollow Flies. The way a properly constructed hollow moves through the water is nothing less than seductive.  There is so much movement and life in the fly whether at rest or swimming through the water. We as fly tyers and fishermen owe a great debt of gratitude to Bob Popovics whose fertile mind spawned this and many other techniques that have changed the way most us approach fly tying. If you look at any Musky, Pike or Smallmouth fly created over the last decade chances are you will see Bob’s influence peeking through somewhere.
 

For those who are not familiar with hollow flies hopefully will walk away from this tutorial with a more open mind and will see the endless opportunities this technique can be used for regardless of what species you target. Hollow tying is also not limited by just using bucktail, it can be executed with countless other materials whether it be natural or synthetic.     

Pat Kelly – December 2017 


“The Sexy Shad” Hollow Fly- Recipe

Hook: Partridge Predator 2/0- Click Here
Thread: UTC 140- White- Click Here
Tail: White Bucktail- Click Here
Tail Flash Material: Lateral Scale- Click Here
Hollow Ties #1-3: White Bucktail- Click Here
Body Flash Material: EP Sparkle Holographic Silver- Click Here
Chocklett’s Body Tubing: ¼” Clear- Click Here
Hollow Tie #4: Fl. Yellow Bucktail- Click Here
Hollow Tie #5: Fl. Blue Bucktail- Click Here
Eyes: Pro Sport Fisher Tab Eye- 10mm or Pro Sport Fisher Pro Jungle Cock Large- Blue or Red- Click Here
(We’ll add the PSF Tab Eyes here  once they are on the website)

Cement: Brushable Zap-A-Gap- Click Here

 
1. Secure hook in the vise. Lay a foundation of thread from the hook eye all the way back to just beyond the barb, then advance thread to just in front of the barb as this will be our initial tie in point.

2. Tie in your first bundle of white bucktail. This tail section should be approximately 3-4 times the length of your hook shank. After the hair has been cut off the hide hold the tips between your thumb and forefinger and preen out the shortest fibers and discard them. Once complete lay bucktail on top of half of the hook shank and secure with 3-4 locking wraps. *Be aware of how much hair isn’t used in the tail. Less is more anytime you are tying hollow fleye’s. If you think you have the right amount use half of that! 


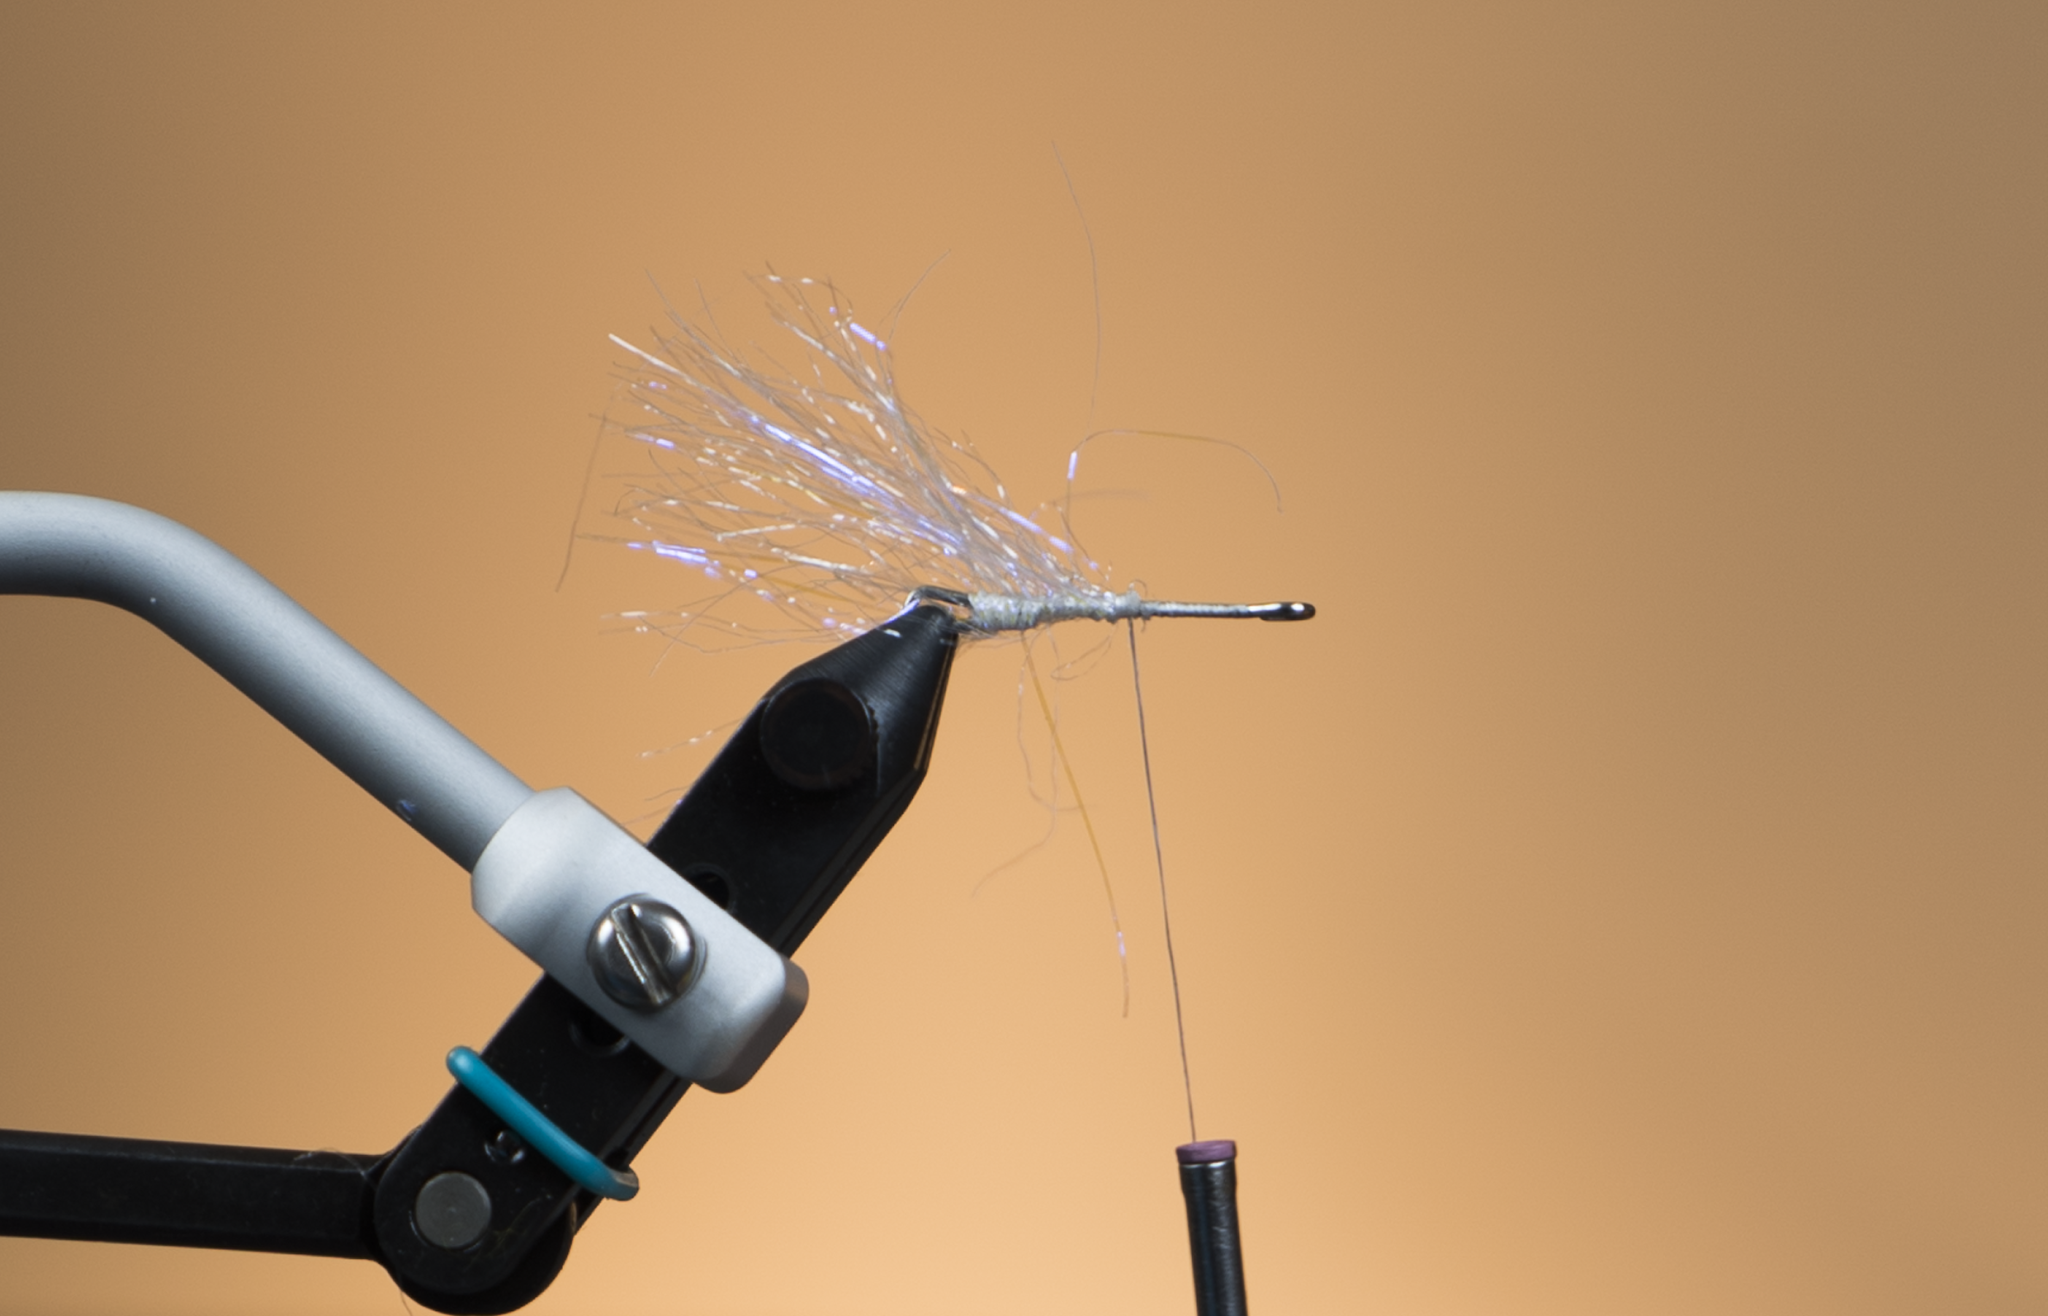
3. Select a liberal amount of Lateral Scale and tie it in reverse so that the longest fibers are facing forward to the eye of the hook. 

Once secure fold the flash back on top of itself and distribute 180 degrees around the bucktail and finish with 3-4 locking wraps. Apply brushable Zap-A-Gap to thread wraps. When finished I like to cut my flash so that it extends about a ½” beyond the tail. 


4. At this point we are ready for our first hollow tie. Select a bundle of hair that is a little less than was used in the tail. Before tying in be sure to preen out the shortest fibers like we did with previous step. Take the time to measure this bundle of hair against the previous one before tying in. You want this section to be about 75% the length of the tail. Now with your material hand lay your bucktail in reverse on top of the hook and trap with three loose thread wraps. Before securing the hair you want to take your thumb and forefinger and distribute the hair evenly 360 degrees around the hook. 

Once the bucktail is evenly distributed pull tight on the thread locking the bucktail in place. 

Once secured you will want to pull the fibers backwards toward the rear of the fly and advance your thread in front of the bucktail and begin building your thread dam.


5. Continue building up your thread dam until you have achieved a fairly flat angle to your hair. That larger your thread dam the flatter the hair will want to lay. At this point in we do not need much height as we are still building the rear portion of the fly.


6. At this point in the pattern I like to add some flash to the body. My preferred material is EP Sparkle because it has good length, is very light and blends well into the bucktail. Take a generous clump and center tie it on top of the hook shank. Fold back over itself and distribute evenly around the fly. Finish off by applying a little brushable Zap to lock everything in place.
 

7. Now at this stage of the fly we will begin to build up the profile by starting to form the back and shoulders of the fly. Repeat the same process as we did in the last step. Only difference being in the angle of your bucktail. Make your thread dam a little smaller so that the bucktail wing sits up a little taller as seen in the picture above.
 

8. After this stage is complete I like to incorporate Chocklett’s Body Tubing so that the fly will push more water causing a much more dramatic side to side swimming motion. This stage is optional. I recommend tying this pattern both with and without this addition as the action is very different in each variation.
 

9.    From this point on we will be tying in two more hollow ties. First one being with Fl. Yellow Bucktail and the last one with Fl. Blue Bucktail. At this point you have a finished product.  


10. Once you are finished with the last two hollow ties you have the option of adding eyes. I prefer to use either Pro Sport Fisher Pro Jungle Cock Eyes in Large or the Pro Sport Fisher 3D Tab Eyes, which is what you see on the photo above. This is a new product and will be available for purchase in the store soon.  After you are finished tying in your eyes whip finish and add a coat of brushable Zap-A-Gap and let dry. I typically will run the fly under some hot water for about thirty seconds then hang upright in my vise to dry. This will tame all the stray hairs and allow the fly to take on that beautiful fusiform shape and taper.


I generally fish this fly on a 6-8wt rod with some sort of an intermediate or sinking tip fly line with a 3-6ft leader. Due to the buoyant properties of bucktail fishing this fly on a floating line just doesn’t do it justice. Now with the solstice behind us we are gaining daylight everyday and Smallmouth season will be here before you know it! Once water temps consistently hit the 45 degree mark fish will start taking flies regularly. Early season fishing will generally produce the biggest fish of the year so fill your box with some Hollow Fleye’s and be ready…won’t be long!       

Watch the Video!


 Click Here to subscribe to our YouTube Channel


Ed. Note:

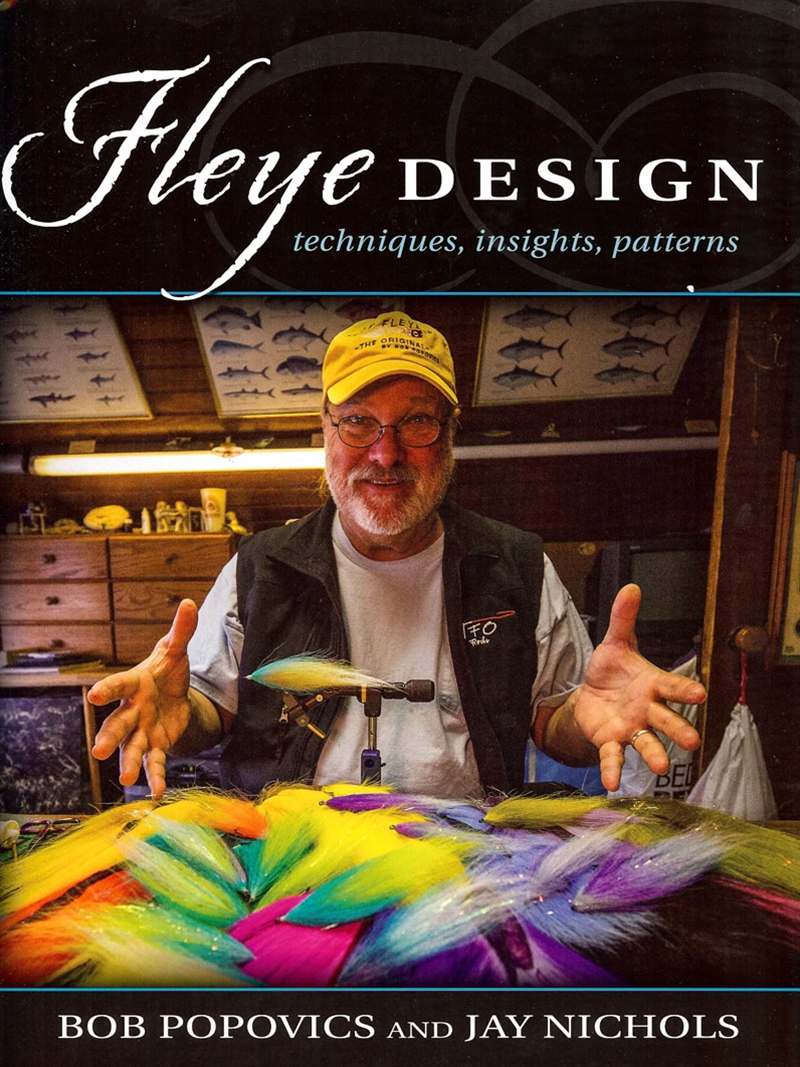
For those un-familiar, Pat Kelly strongly feels that these two books are two of the most influential of all-time in world of baitfish fly tying. He’s a Bob Popovics “groupie”.


Click Here to check out “Pop Fleyes”


Click Here to check out “Fleye Design”


 Mad River Outfitters/The Midwest Fly Fishing Schools

Fly Shop, Classes, Schools, Guides, Hosted Travel and more!

813 Bethel Rd.
Columbus, Ohio 43214

614-451-0363

Fly Tying- The Buck Nasty


The Buck Nasty


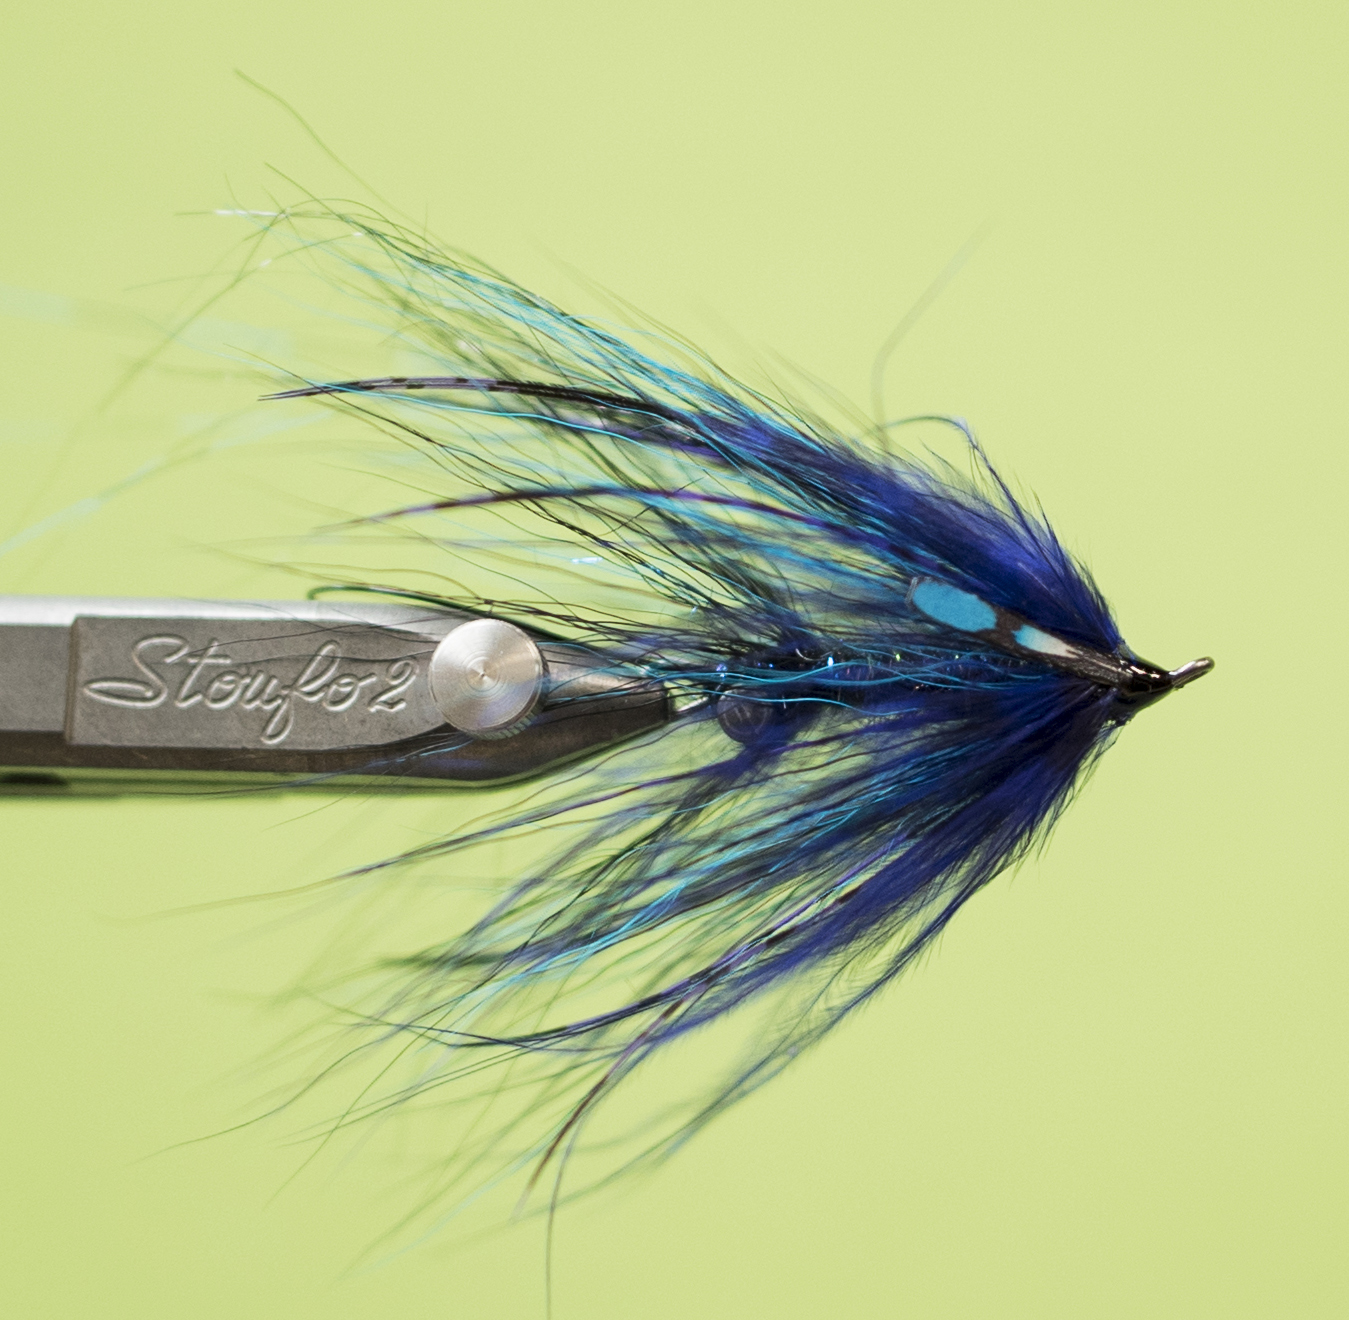
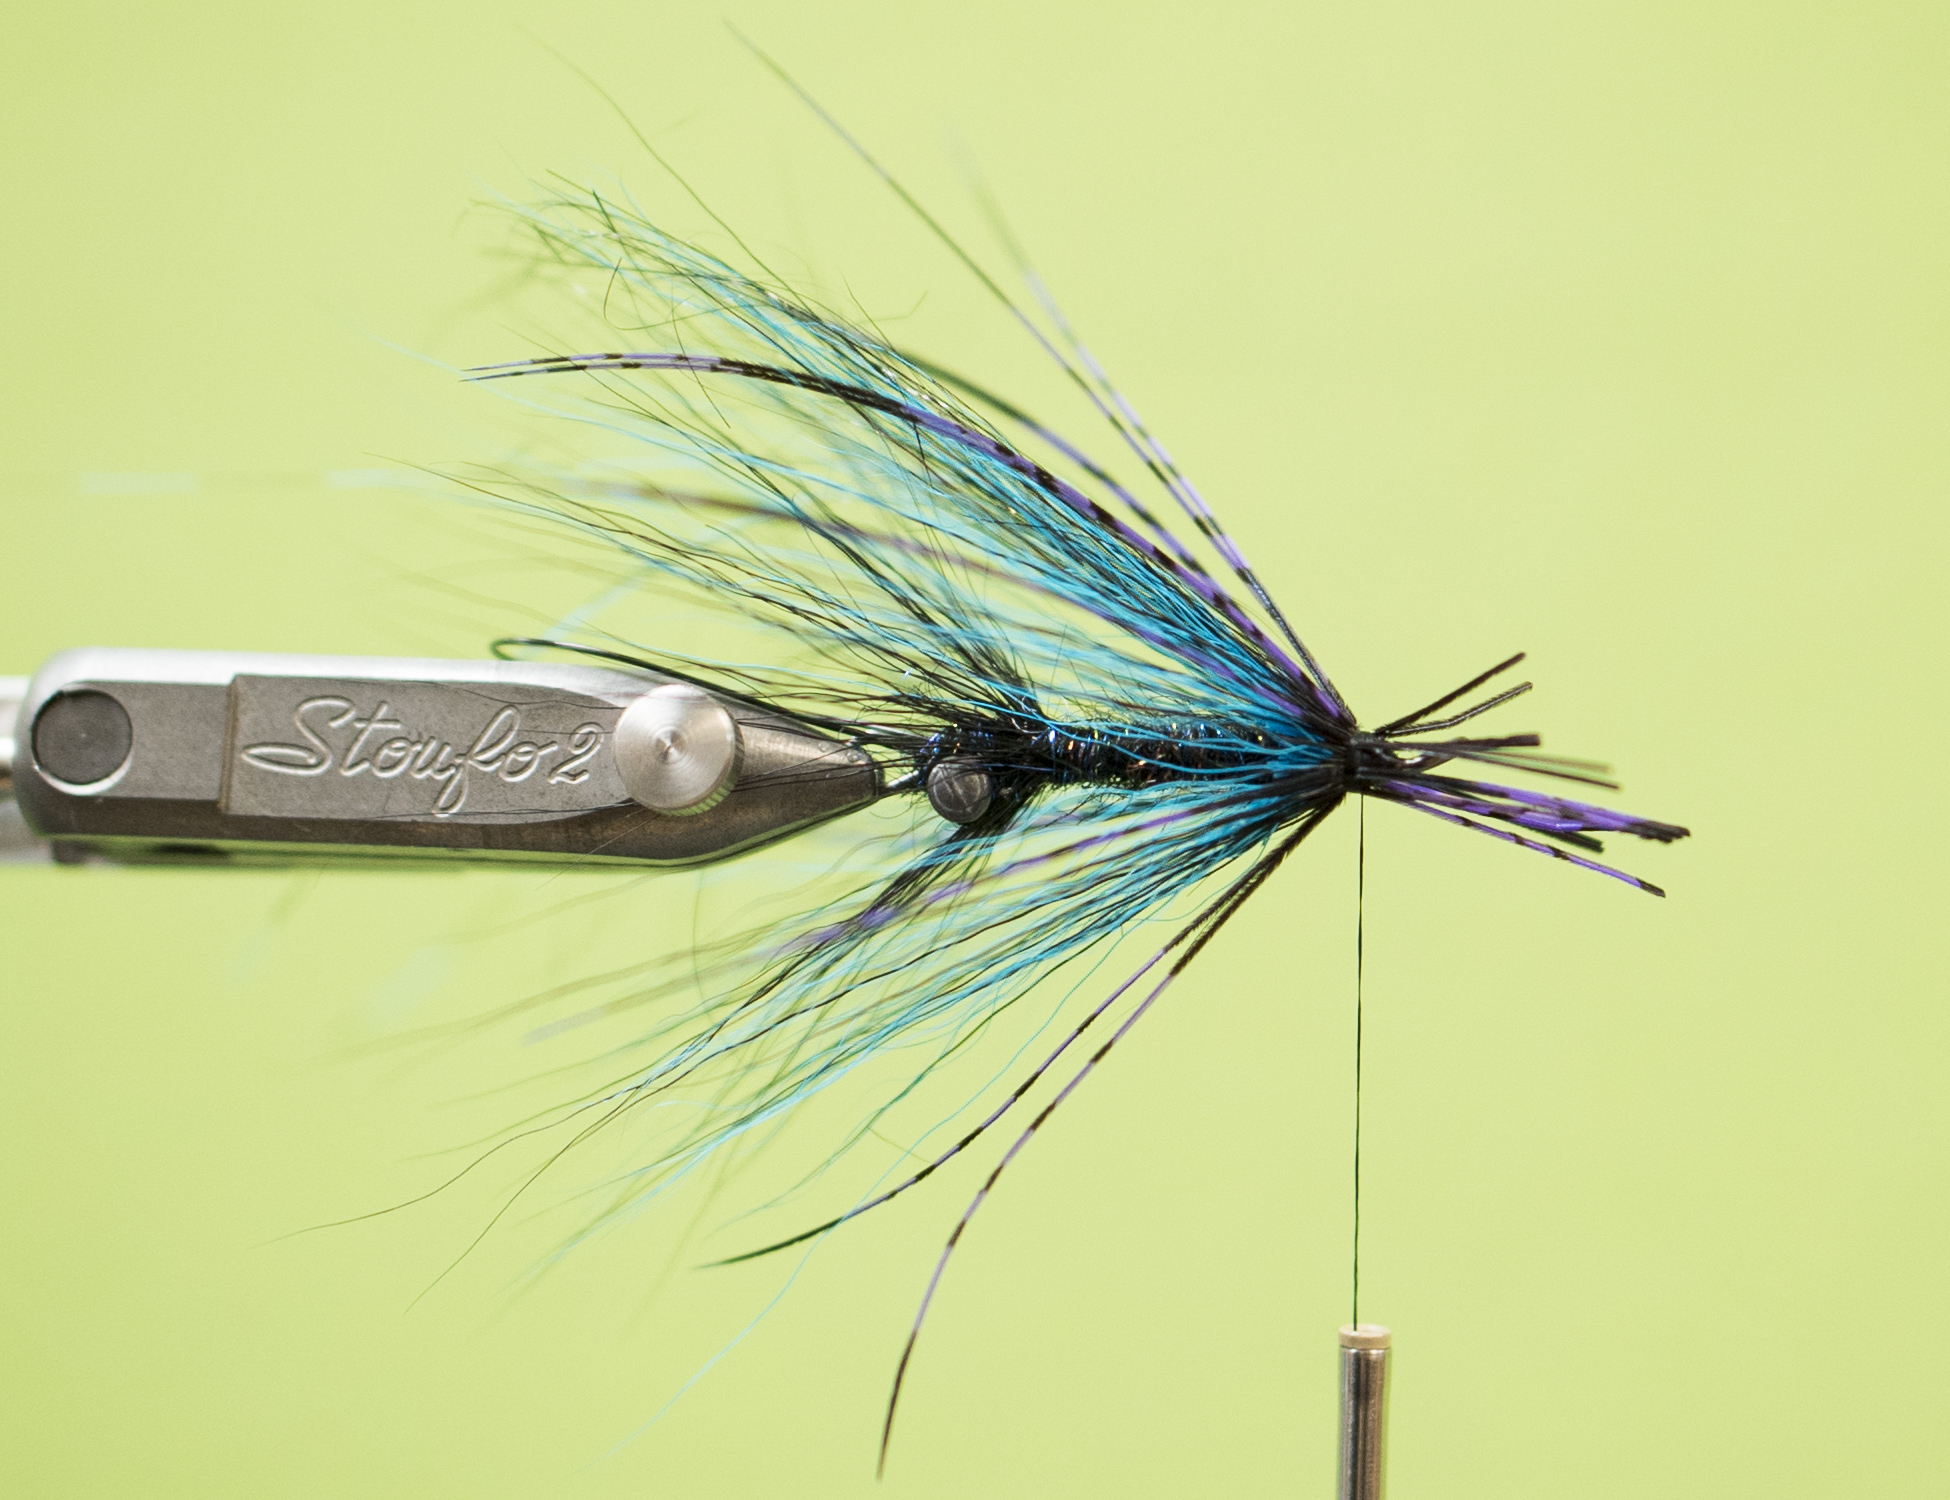
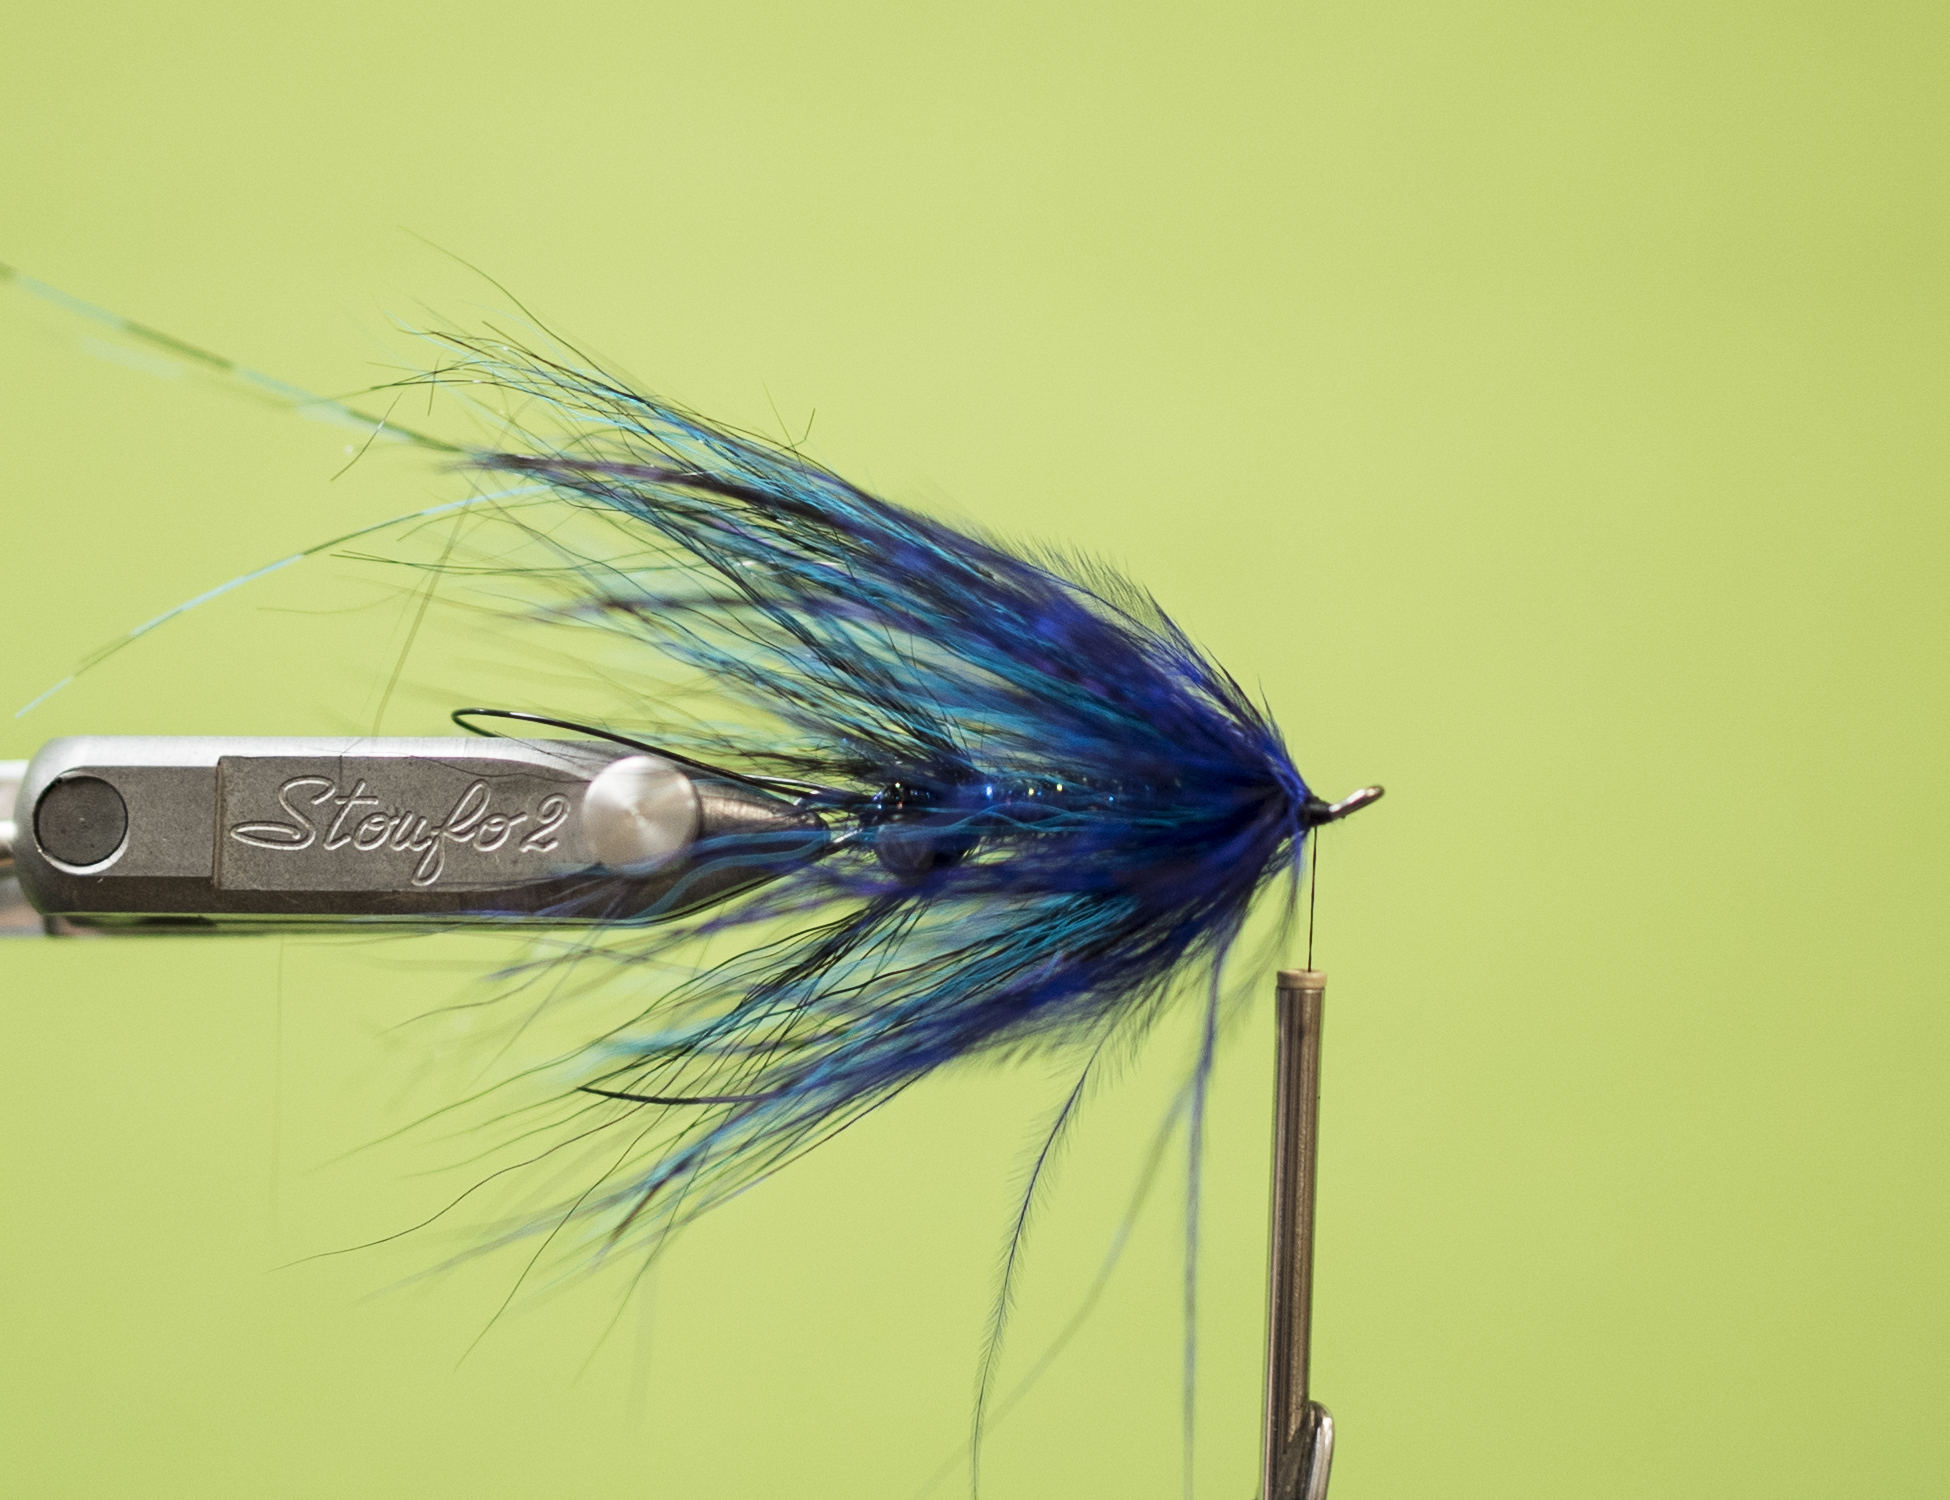
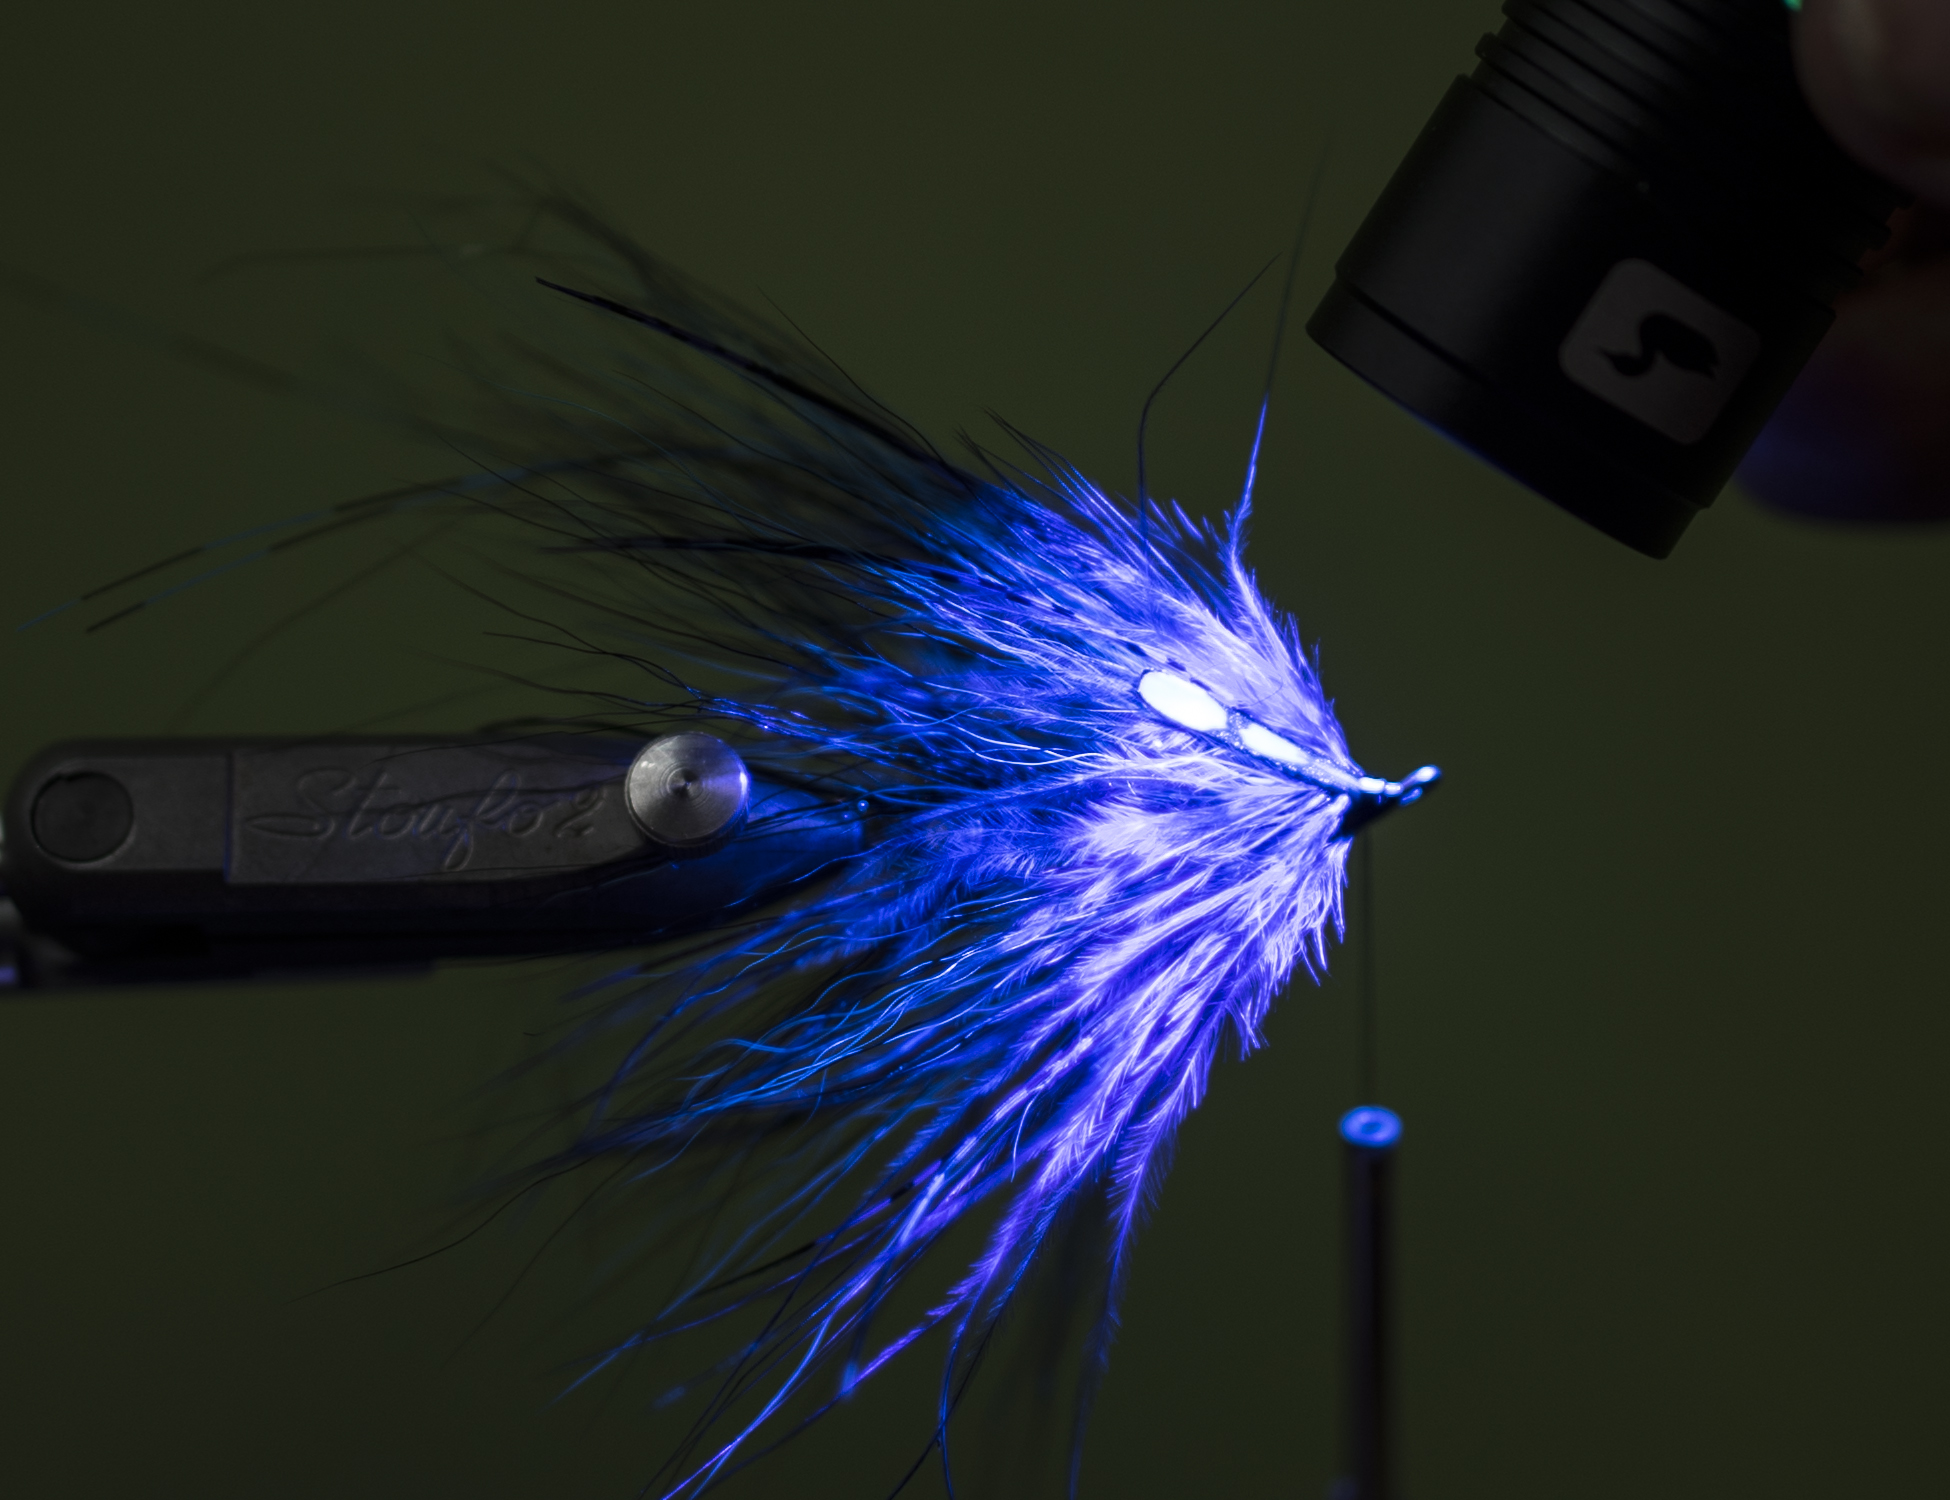
Combine my Jerry French and Ed Ward influenced mind with Pat Kelly’s Bob Popovics obsession and you start to see what happens when fly tyers brainstorm.  As usual every September my favorite worlds begin to overlap.  My love for Smallmouth bass fishing and my just as strong love to swing a fly for Steelhead collide forming some interesting flies.  Bob Popovics Hollow Fleyes are are a staple for us in the shop.  This specific time I was focusing on smaller clear water streamers.  After also studying up on the history of the Intruder fly I found myself with a pile of the materials for both patterns at my tying station.  While complaining about my lack of organization Pat brought up the idea of a Hollow Fleye Intruder cross.  I wanted a fly that would swim very well and produce a lot of vibration.  We also needed the fly to be sparse and keep to the original Intruder Platform.  That night after kicking the idea around in the shop I tied up the first prototype.  I hesitate to even use the terms  Intruder or Hollow Fleye as to not take away from the actual originals, but both of these patterns and originators are due the credit for the insperation.  From its original formation the Buck Nasty there have been multiple editions, but this is the final product…at least for now!  


Ryan Ratliff- December 2017


The Buck Nasty-Recipe


Shank: Senyo’s Articulated Shank 40mm by Flymen Fishing Co- Click Here
Hook: Daiichi 2553 #2-#4- Click Here
Thread: UTC 140 Black- Click Here
Weighted Eyes: Small Plain Lead Dumbell- Click Here
Stinger Loop: Senyo’s Standard Intruder Wire Black- Click Here
Dubbing Ball/Prop: Senyo’s Fusion Dub Midnight- Click Here
Rear Station: Large Northern Bucktail Black- Click Here
Rear Flash: EP Sparkle Black Purple- Click Here
Body: Senyo’s Fusion Dub Midnight- Click Here
Front Station 1: Large Northern Bucktail Fl. Blue- Click Here
Front Station 2: Large Northern Bucktail Black- Click Here
Front Flash: EP Sparkle Black Purple- Click Here
Wing 1: Lady Amherst Center Tail Lavender- Click Here
Wing 2: Barred Flashabou Fl. Blue- Click Here
Wing 3: Barred Marabou Blood Quill Purple Black- Click Here
Eye: Pro Sport Fisher Pro Jungle Cock Medium Blue- Click Here
Epoxy: Loon UV Clear Finish- Thin- Click Here
Cement: Zap-a-Gap- Click Here


1. Place the Senyo Articulated Shank in the vise and cover with thread.  Make sure to take care at the points where the shank loop back as this cut off point will cut your thread.  


2. Tie in the Lead Eyes using figure 8 wraps utilizing the maximum pressure your thread can handle.  Once the eyes are firm wrap your thread around the area that meets the hook like your posting a dry fly post.  


3. Tie in the Senyo Articulation wire approx 6” length folded in half to make a loop.  Wrap your thread like you are making candy cane stripes up and back 3 times.  Make sure to use the maximum pressure of your thread causing crisscrossing wraps.    


4. Next  dub a ball of the Fusion Dub around the lead eyes.


5. Cut a small clump of black bucktail from the hide.  This amount should be very sparse.  Once you have it sized to the length of the Stinger loop tie the clump with the tips facing the eye of the shank.  The tie in point should be just in front of the eyes and dubbing ball.  Start with two loose wraps then allow the bucktail to evenly encircle the shank.  Once encircled lock the hair down with a couple more wraps.  Take a hollowed out pen and slide it over the shank and push the bucktail back.  Grab it and remove the pen.  Pull your thread in front of the bucktail and start to build a thread dam.  Do not wrap on top of the bucktail, just build up in front.  Once the bucktail is angled back at roughly  45 degrees apply some UV Epoxy to the thread wraps.  


6. Next pull out a few strands of EP Sparkle.  Tie them in at the middle of the strands, but on the cone of thread built up as a thread dam.  Fold the strands of EP sparkle back over itself and wrap two turns of thread to lock it in.  Trim the EP Sparkle to just past the stinger loop.

7. Dub a thin layer of Fusion dub over the shank until you reach the front looped over eye section.
  
8. At this point pull out some more dubbing and create a ball just before the doubled over eye loop.

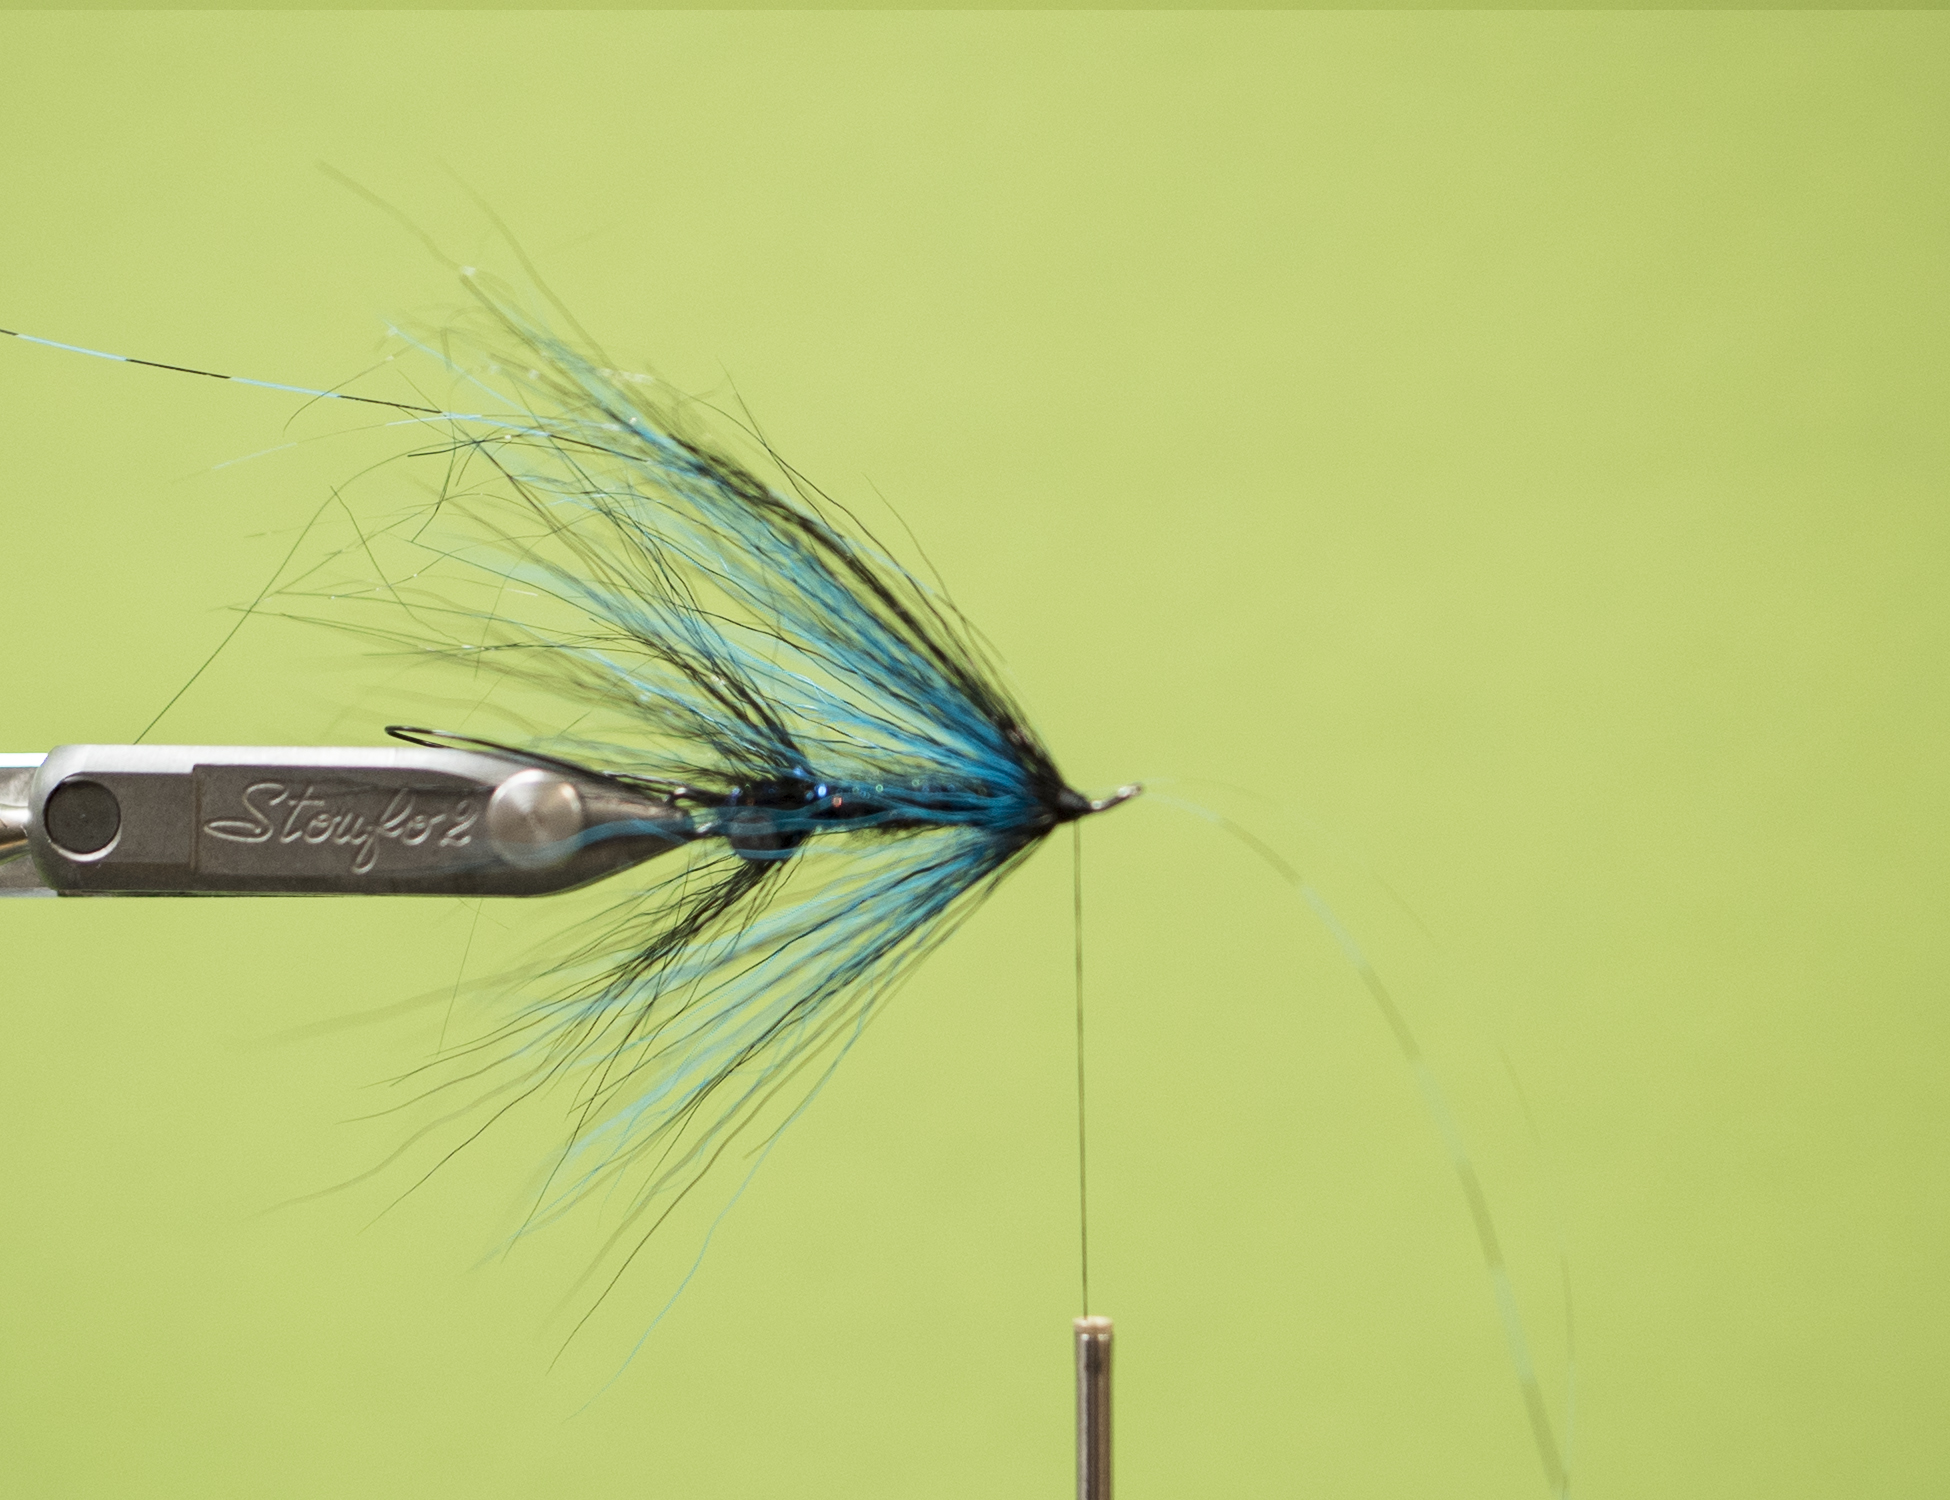
9. Next repeat step 5 with a thicker clump of Fl Blue bucktail.  Make sure to extend the bucktail just past the back of the shank.  Again repeat this step 5 with thicker clump of black bucktail.


10. Pull out a few strands of EP Sparkle and repeat step 6.


11. Cut off about 12-15 barbs off the middle of a Lady Amherst tail feather.  Pair up the barbs and begin tying them in evenly around the entire shank.  Make sure to use only two wraps per set.  Once you get them all around the shank take your left hand and hold them all in place.  Next unwrap all of the thread that is holding the Lady Amherst down.  Once they are untied, but still held in place with your left hand make two loose wraps and tighten down.  Double check that nothing has shifted and follow up with two or three more tight wraps.  This might seem a little redundant, but is nessesary to keep thread bulk at a minimum.


12. Pull out two or three strands of the Fl. Blue Grizzly Flashabou.  Tie them in by the middle and fold back Place two wraps over the folded material to lock it in.  Trim the length to reach the end of the stiger loop.


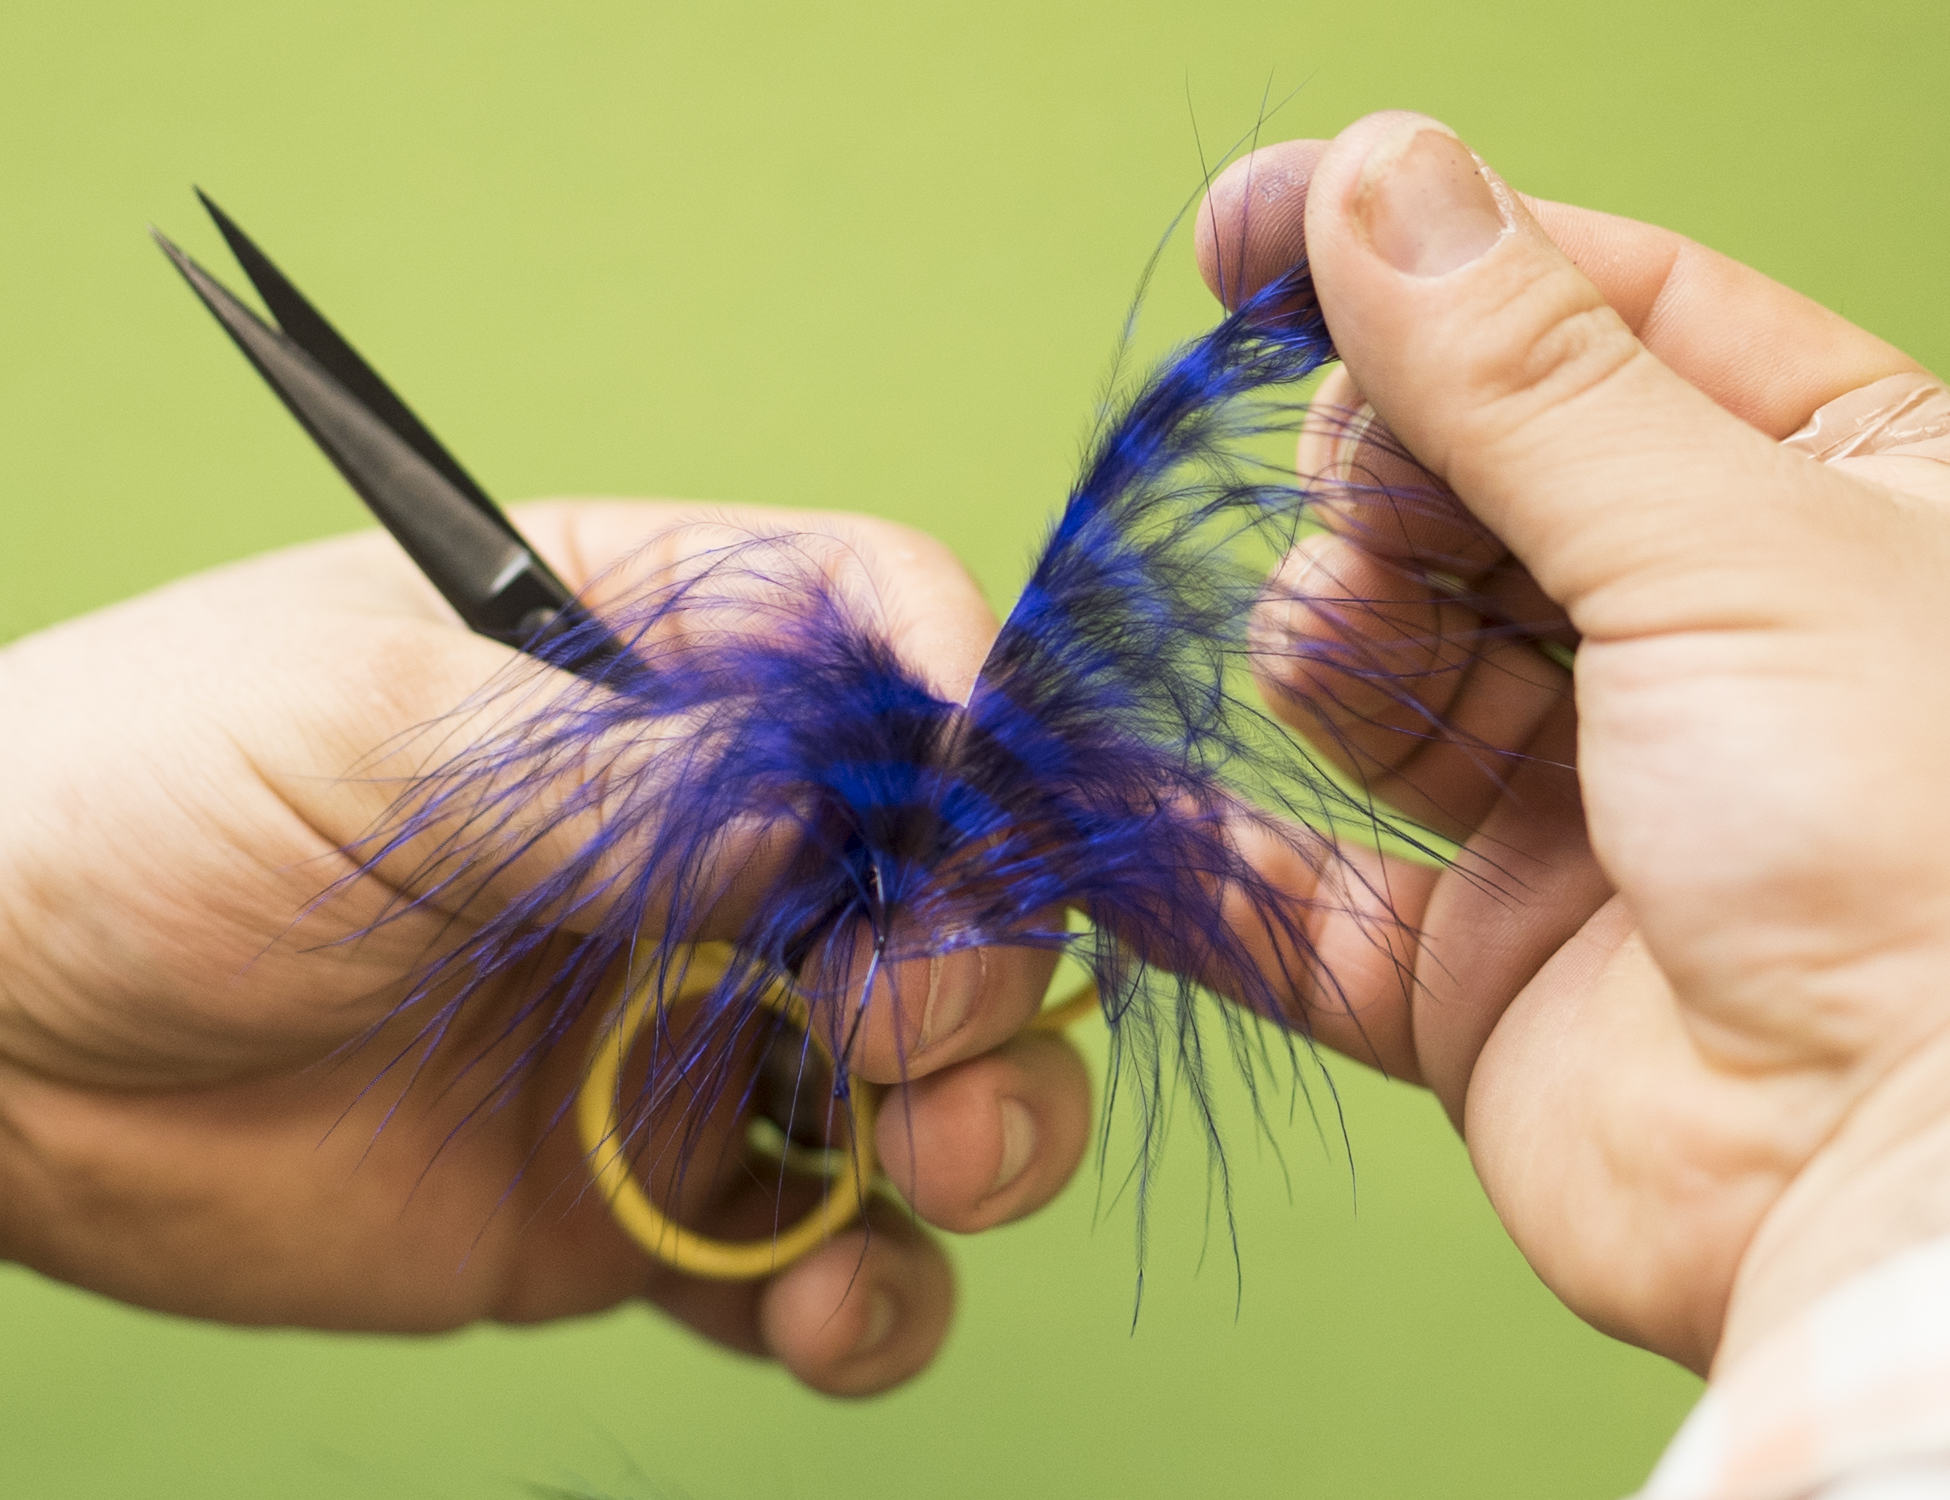
13. Select a single Montana Fly Grizzly Marabou plume in Pulrple Black bar.  Hold the feather by the tip with the concave side facing away from you.  Strip all of the fibers off the left side.  This will make for a sparse, but flowing wing.  Tying in by the tip palmer the plumb around the shank keeping each wrap close together.  Tie off the stem and trim.  


14.

 Prep two Pro Sport Fisher Pro Jungle Cock Eyes in Medium.  Tie them in on each side of the fly.  I like them to be slightly angled up pointing back.  Trim off the tags by the eye of the shank.  


15. Whip fininsh and coat the Jungle Cock and the stem of the Marabou plumb with Loons Thin UV Finish.  Hit all the sides with your Infinity Lite.  

16. Attach the hook by compressing the stinger loops tightly.  Pass the wire through the hook eye and over the entire hook.  Hook point up or down is a preference choice.  Typically I fish this fly with the hook point down to prevent hooking a fish far back in the roof of the mouth.
  
Grab your favorite two-hander, skagit head, and sink tip.  Now your ready to find some grabby fish!


Watch the Video!


 Click Here to subscribe to our YouTube Channel


 Mad River Outfitters/The Midwest Fly Fishing Schools

Fly Shop, Classes, Schools, Guides, Hosted Travel and more!

813 Bethel Rd.
Columbus, Ohio 43214

614-451-0363


Fly Tying- The Plantation Crab

The Plantation Crab


This fly came about a few years back while hanging out at my favorite haunt, the Woodland Plantation down in Southern Louisiana. We had been tossing a few different crab patterns for a few years and really hadn’t found anything that consistently fooled the fish. I hesitate to say that I invented this fly for sure….it’s certainly copied off of something I had seen previously. It’s basically a variation on a Tarpon Toad. Regardless, over the past few years this fly has become a staple on our trips as well as a “Guides Favorite”. Seems like I’m constantly tying them to send down there for many of the guides that we work with. The fly is also gaining some popularity for Permit as well and a couple of customers have had good results in Belize and Cuba with the pattern.

Posted here is the recipe and the step-by-step photos to go along with our YouTube tutorial. This is the format we will be using going forward with these tutorials that we’ll be posting to the channel. As always, we appreciate you tuning in and be sure to let us know if you have any questions or comments.


Best,


Brian Flechsig- December 2017


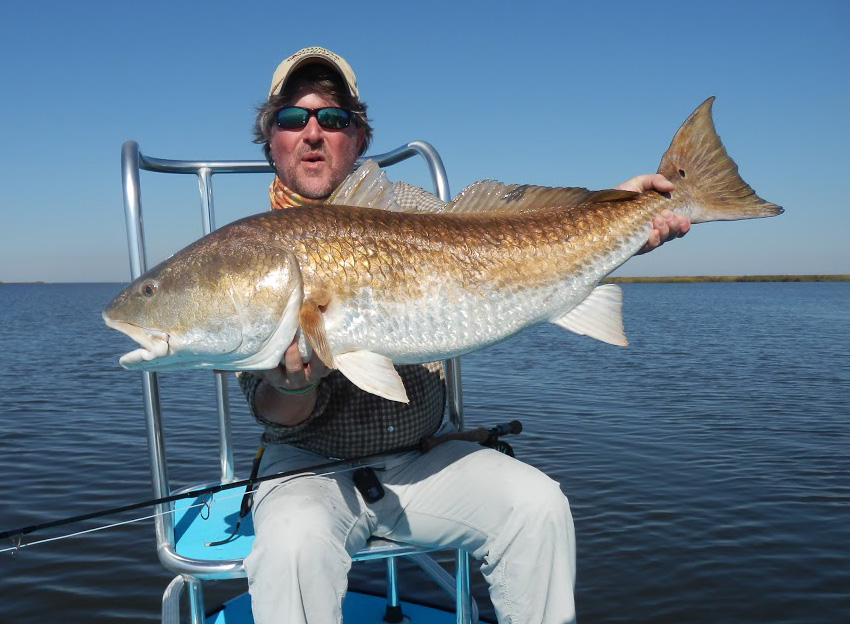
A big bull Redfish taken on the Plantation Crab last year on the  MRO Woodland Plantation Trip


The Plantation Crab- Recipe

Hook: Gamakatsu SL11-3H size 1/0- Click Here
Thread: Danville Flat Waxed Nylon- Fluorescent Green- Click Here
Eyes: Medium- 7/32 Lead Dumbell Eyes- Chartreuse- Click Here
            -or- Large Gold Bead Chain Eyes- Click Here
Tail #1: Pro Sportfisher Finn Raccoon- Light Gray- Click Here
Tail #2: Barred and Speckled Crazy Legs- Orange- Click Here
Tail #3: Pearl Flashabou- Click Here
Tail #4: Light Olive Marabou- Click Here
Tail #5: Enrico Puglisi Tarantula Brush- Tan- Click Here
Body: Enrico Puglisi EP 3D Fibers- Eel Green and Sand- Click Here
Cement: Zap-a-Gap- Click Here
Epoxy: Loon UV Clear Finish- Thin- Click Here


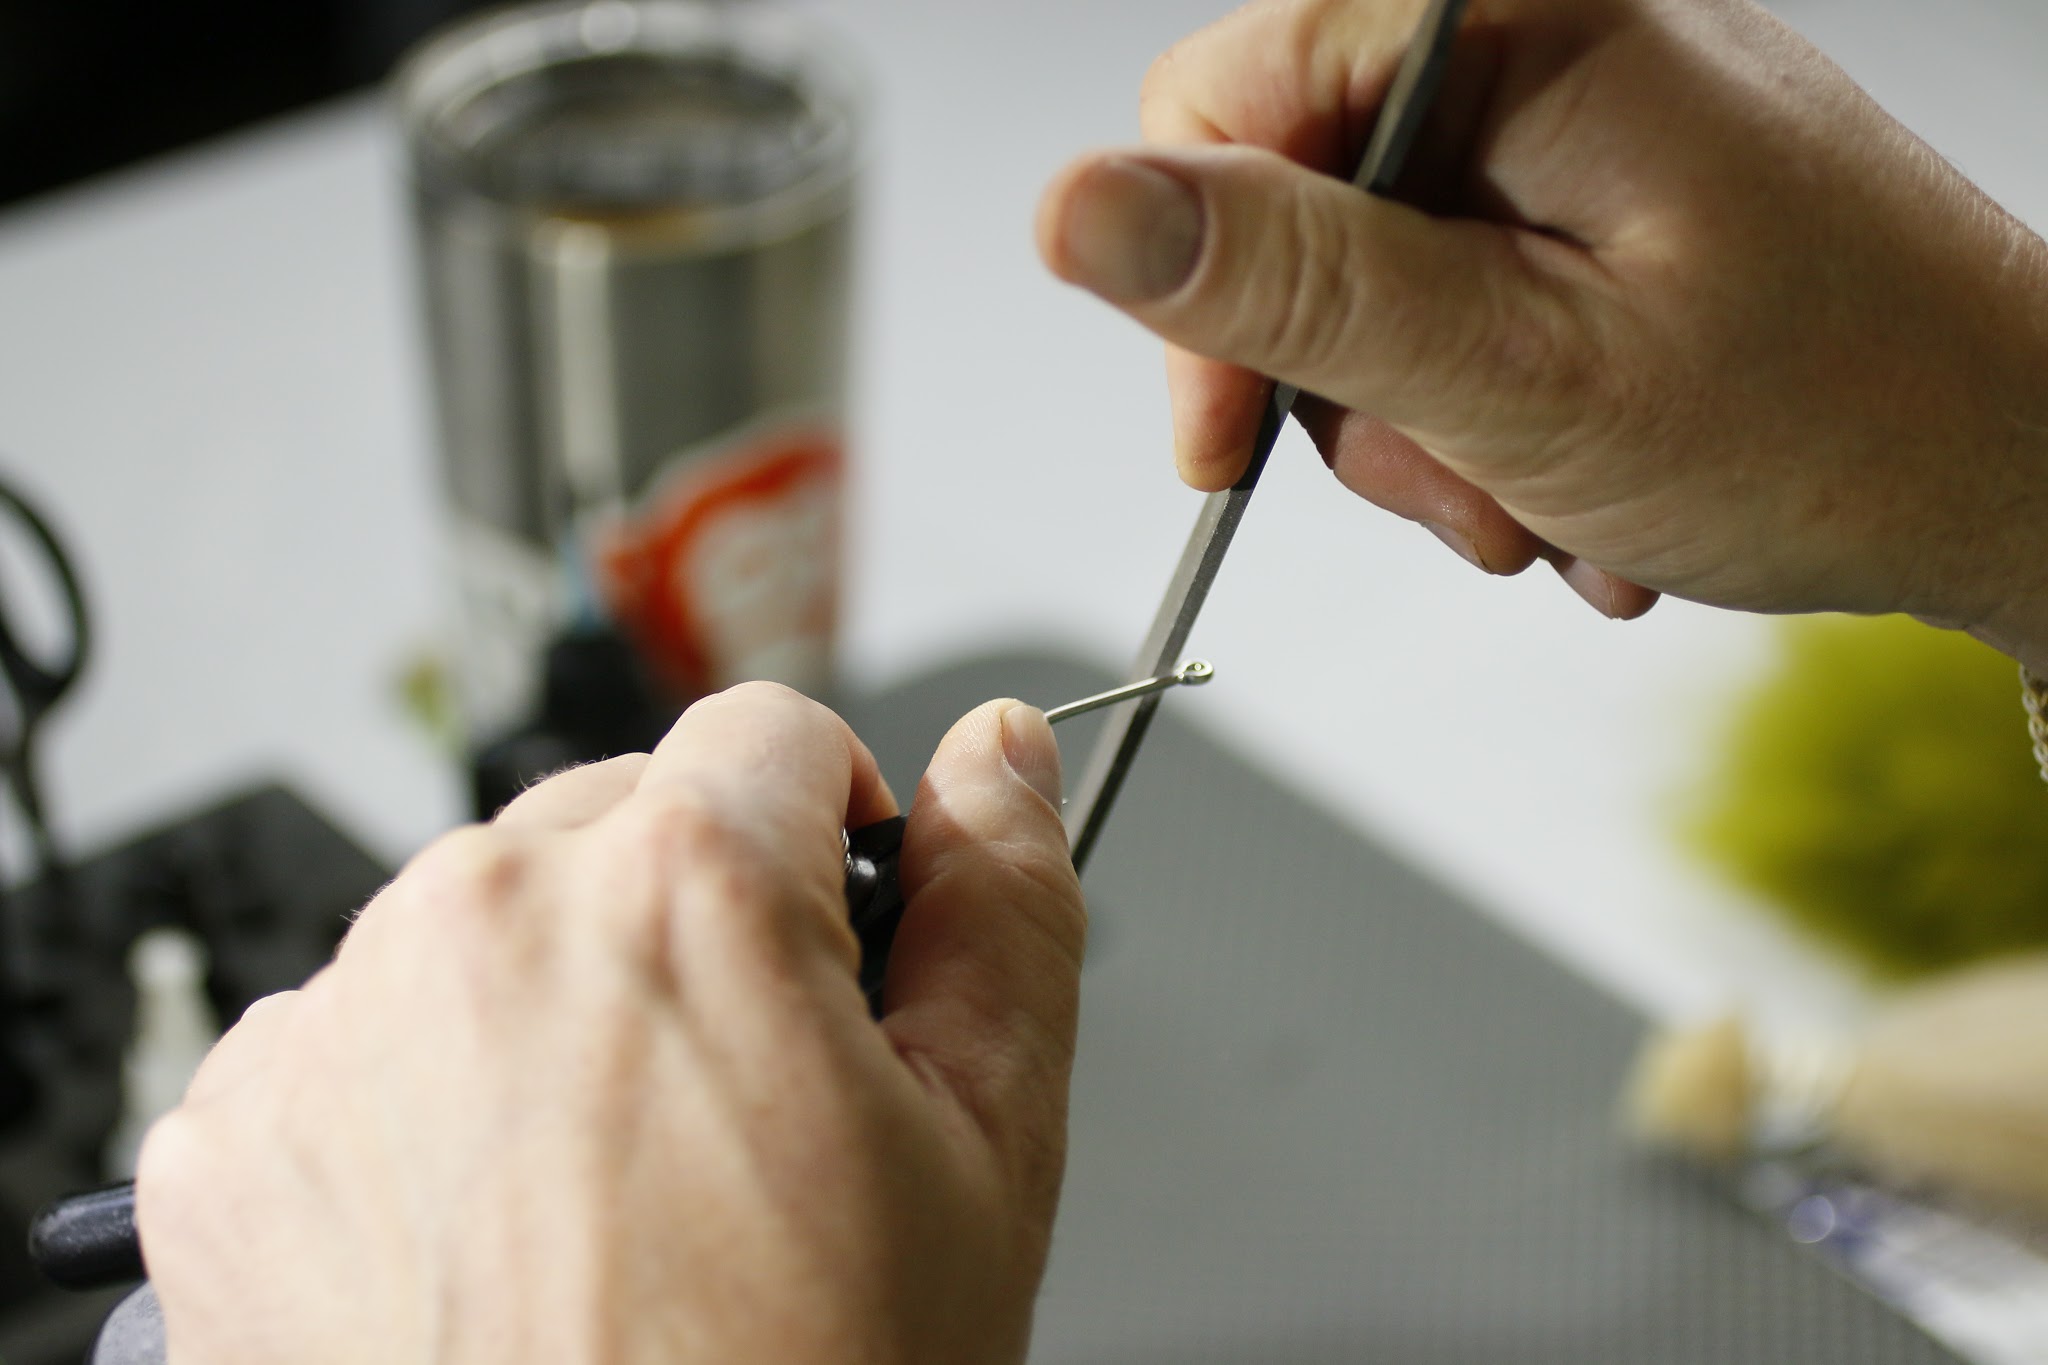
1. Score the hook! This is a technique that Dave Whitlock taught us many years ago. It pretty much eliminates the thread and materials from spinning around the hook. One of the problems with the early versions of this fly was that they didn’t last long and would spin and rotate after a fish or two. Adding this step has made these flies virtually indestructible.


2. Start the thread behind the eye and wrap back to the bend. I then coat the thread with Zap-a-Gap and wind back to behind the eye. It is not critical to get the underwraps perfectly spaced here and I think that some “criss-crossing” even adds to the durability.
3. Tie-in the Chartreuse Medium Lead Eye just behind the eye of the hook using the “figure 8” method. I then add some Zap-a-Gap and repeat the process with the thread.
4. Wrap the thread back to the bend of the hook. Then tie-in the Finn Raccoon as the “under tail”. The tie-in point should be right at the bend and you should secure all the tail materials right up to the point. I make this measurement prior to tying in so that I can make the perfect cut on the material before I tie it in. This way you don’t have to trim anything after you have secured to the hook.
5. Next comes the Crazy Legs. I cut three legs out of the bunch and use the entire length. Make sure that your thread is at the POINT of the hook and I then fold the legs under the hook shank and bring them above the hook as shown. Make sure you have three legs on each side. Then I take the thread and start to wrap towards the bend. The first few wraps you will continue to hold the legs up, and then as you continue to wrap back to the bend, you will begin to bring them down along the sides of the hook shank. At this point you will seperate the legs, making sure that you have 3 on each side, and use the thread wraps to get the proper placement. Wind up with the thread at the bend of the hook.
6. Now you are going to add the Pearl Flashabou. I usually grab about 6 strands and cut from the top of the hank. This gives you plenty of length. Starting at the bend, I lay the strands along the hook shank and get the proper length on the side closest to me. I usually want this a bit longer than the Raccoon tail. I then begin to wrap towards the hook point to secure the flash in place. Once I get to the point of the hook, I fold the remaining flash over and hold in place along the shank while I then wrap back to the bend. This allows you to get the flash on both sides without having to tie in two separate bunches. You can then trim the bunch on the far side to match the length on the near side.


7. Now you will add the Light Olive marabou to the top of the tail. Again, make your “measurement cut” so that you tie this in from the bend to the point and don’t have to trim any excess once secured. I like for the marabou to be slightly shorter than the Finn Raccoon on the underside. Wrap the thread back to the bend.
8. Tie in the Enrico Tarantula Brush. Again using the area from the bend to the point to secure. I then wrap the Tarantula Brush forward and usually get about 5 or 6 wraps jammed into that “space” between the bend and the point. In between each wrap it is very important to stroke the brush fibers back and out of the way of the next wrap. Otherwise, the fibers and rubber legs get trapped down and it becomes a mess.
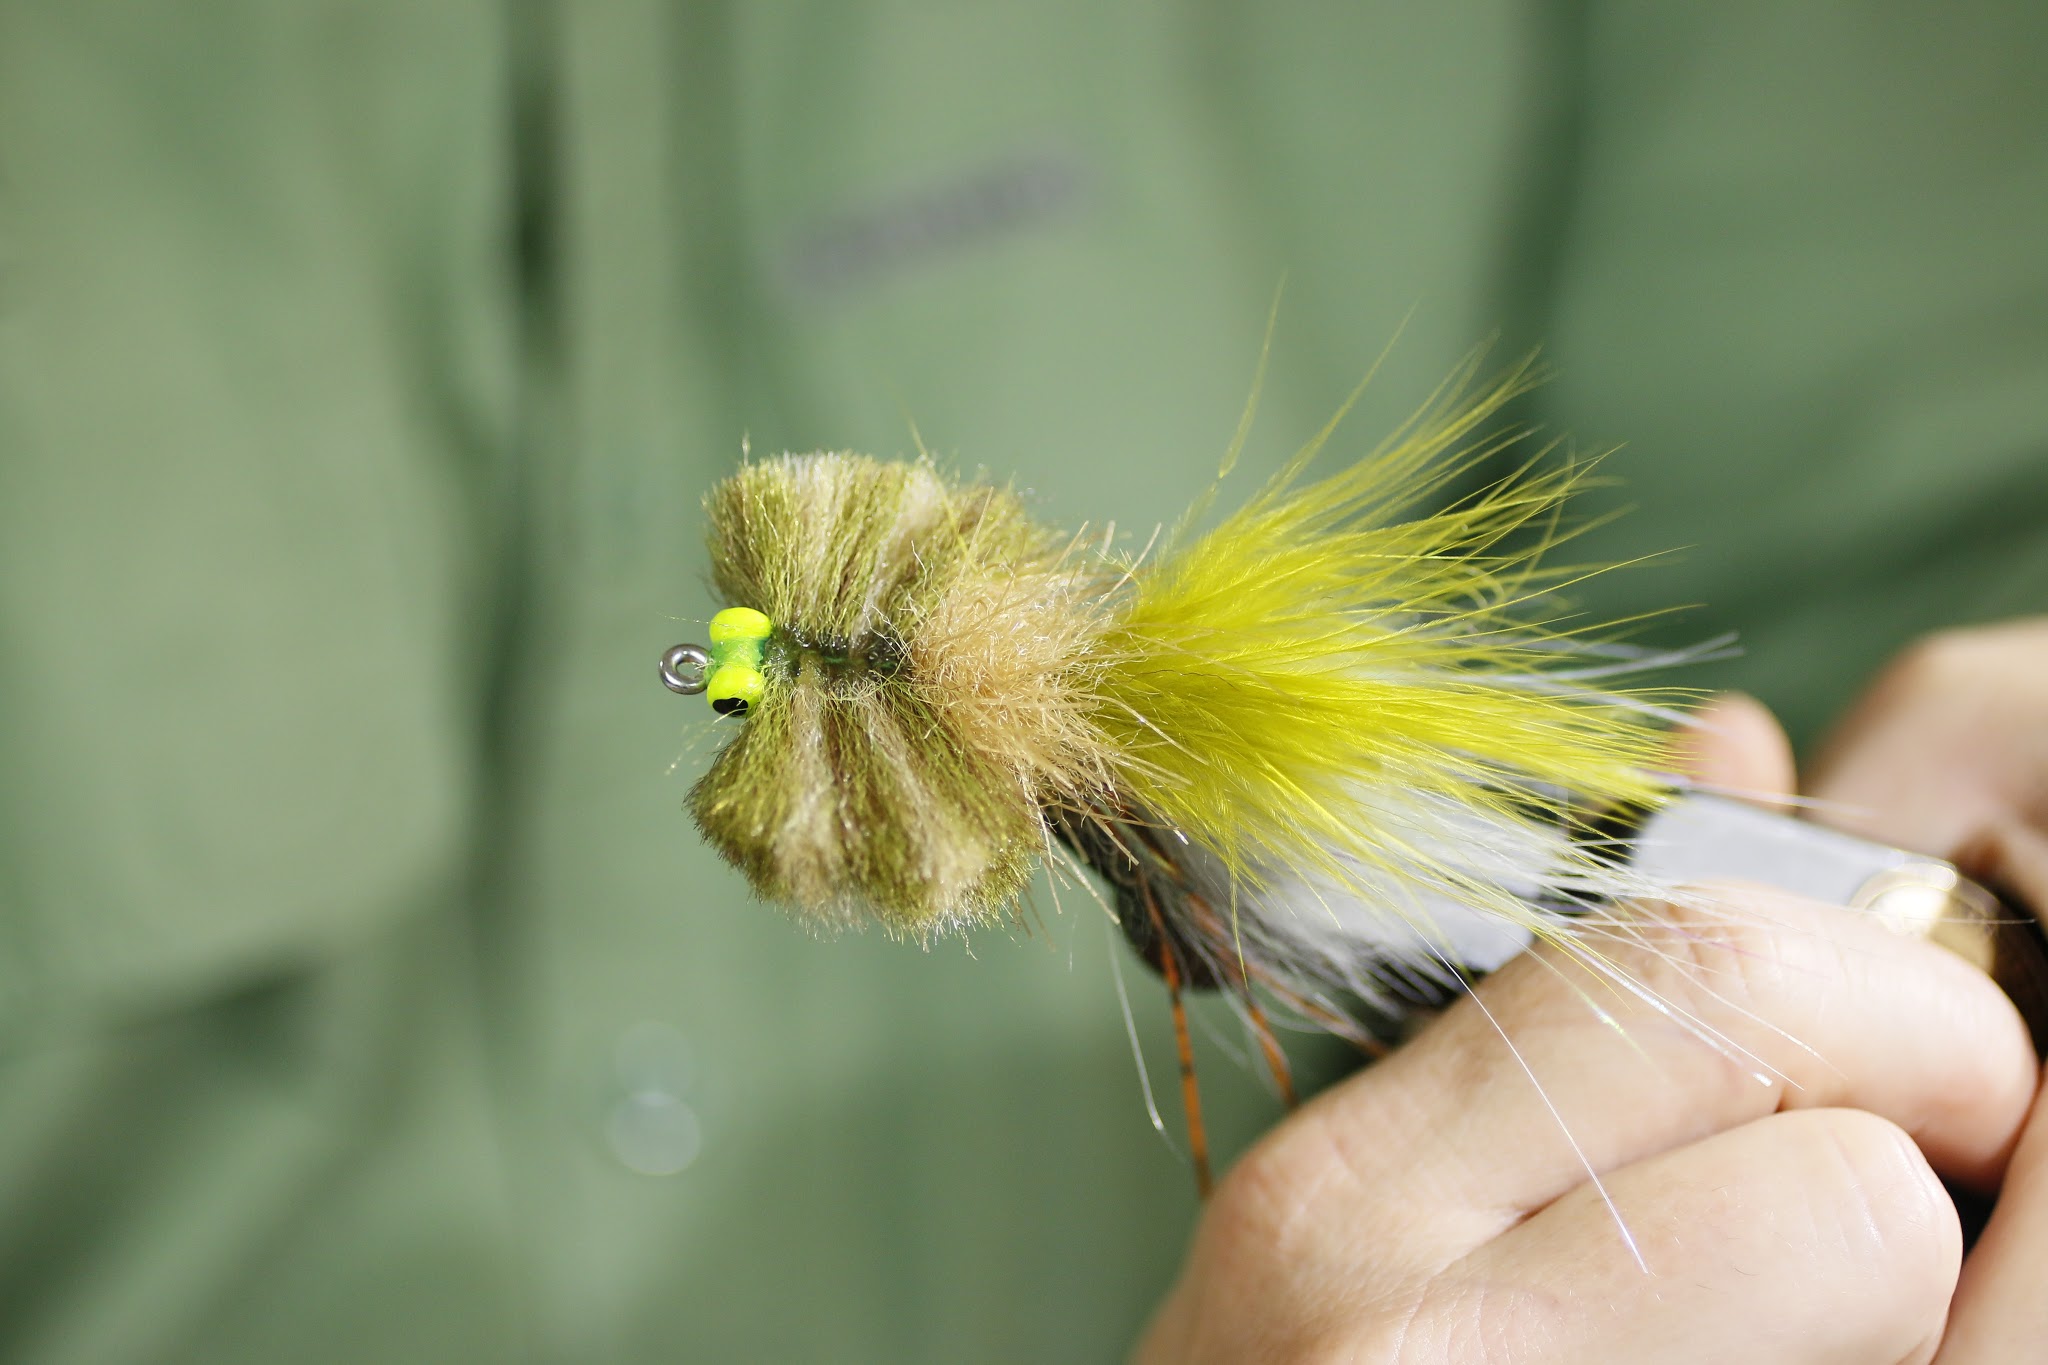
The finished “Tail Section”. I typically come in with a Bodkin or my Scissor Points and pluck out and fluff the Tarantula brush making sure that all the fibers and rubber legs are able to do their job. Your thread should be hanging right in front of the tail section, which should be right about even with the hook point.
9. Now we are going to grab our 3D EP Fibers. Eel Green and Sand are the colors that I use. A little trick I learned and show in the video is when you open the package, pull all the fibers out as a unit and use a stout rubber band on one end to secure them. This keeps them from getting tangled and makes it much easier to cut the amount that you want.
10. Cut off a hunk of the EP Fiber say about the diameter of a pencil or so. I then cut off pieces about 2″ or so as I am tying them in. Lay the 2″  piece perpendicular to the hook shank and on top. Then take your thread and cross over the Fiber twice forward, and twice backwards, creating an “X” of thread. I will then take two or three wraps right in front while stroking the fibers back. I will then repeat this process moving up the hook shank until I jam the last bunch right behind the eye. I start with the Eel Green and usually get 5 bunches tied in. Eel Green, Sand, Eel Green, Sand and Eel Green right behind the eye.
11. You can now secure the thread and I do this in front of the lead eye. You can of course use whatever method you prefer but I typically just throw a few half hitches in there. As well, the Zap-a-Gap is typically still a little wet so it will grab onto the thread as well and add some extra security.

12. Now I take my Zap-a-Gap and run it right along the hook shank on top of the EP Fibers. This glues the material and the thread wraps to the under thread and helps to keep the entire fly in place and keep the fibers from pulling out.

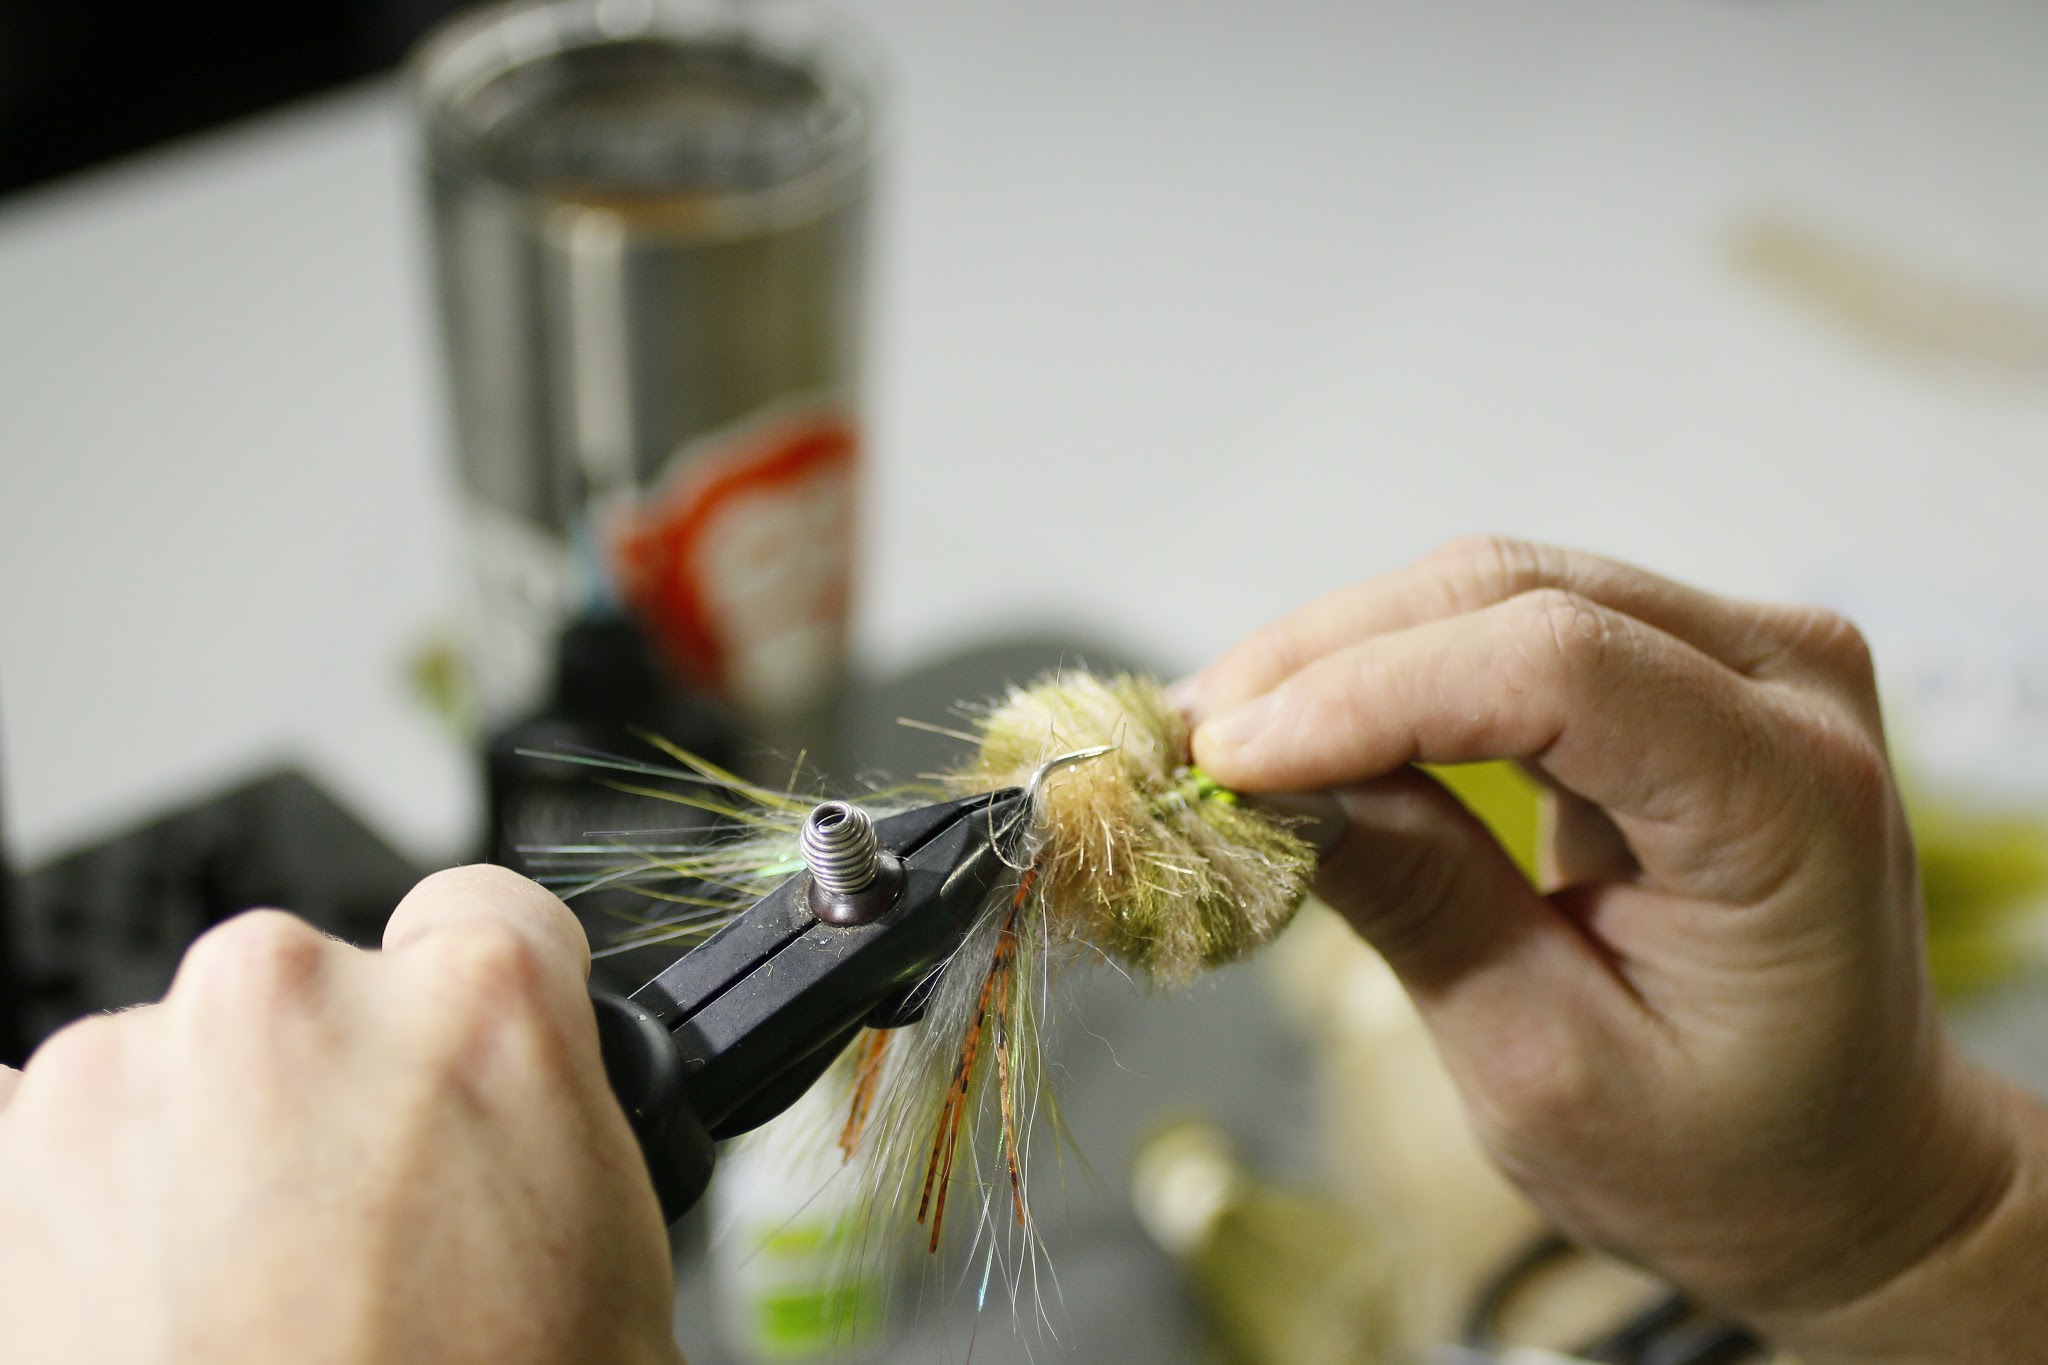
13. After allowing the Zap-a-Gap to set-up. I then remove the fly and use my Curved Scissors (All-Purpose Curved from Dr. Slick) and trim the EP Fibers to a rounded, crab shape. The fibers on each side I usually trim to right about 1″, making the fly approximately 2″ at the widest point.
After trimming I put the hook back into the vise.

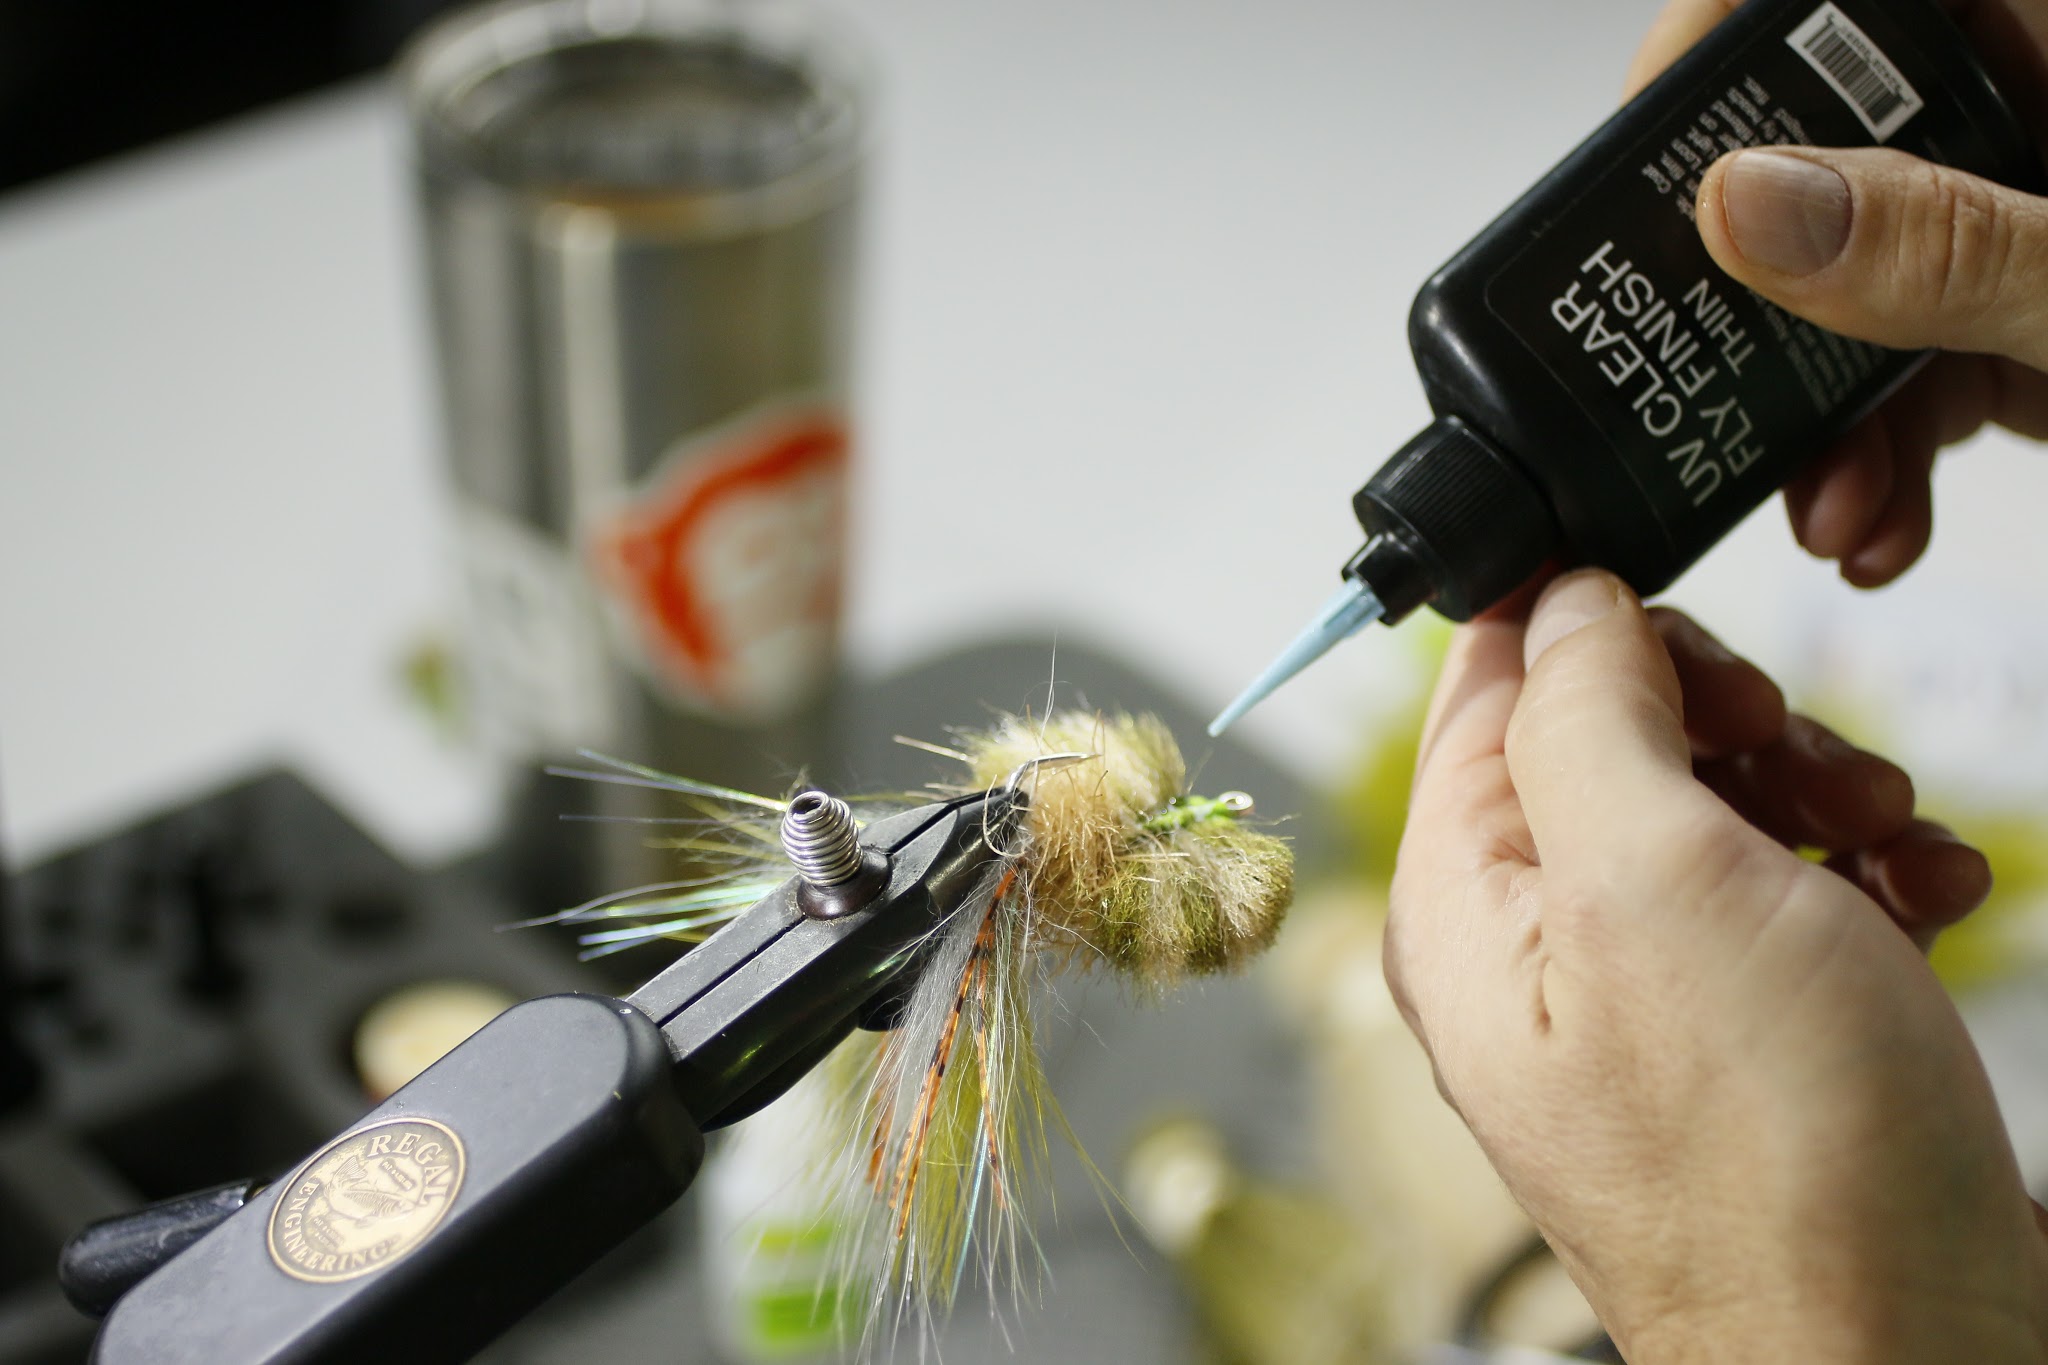
14. Run a thread of Loon UV Thin along the hook shank, again covering up the thread wraps and center of the EP Fibers. I allow a bit to seep onto each side a bit as well….adding more security and making this a more durable fly. Cure the Epoxy with your UV Light. Then I turn the fly over and do the top side as well.

Now….take it for a swim! 


Watch the Video!


Click Here to check out the details on our famous trips to the Woodland Plantation

Don’t tie flies?….Click Here to buy these flies on our website
 Click Here to subscribe to our YouTube Channel


 Mad River Outfitters/The Midwest Fly Fishing Schools

Fly Shop, Classes, Schools, Guides, Hosted Travel and more!

813 Bethel Rd.
Columbus, Ohio 43214

614-451-0363