Basic Fly Tying- THE course for Beginners! Learn the basic fundamentals of fly tying with a night spent on each, Wet Flies, Nymphs, Streamers and Dry Flies. Geared towards trout flies but the skills and concepts can be used on any types of flies. A 4 week course, 2 hours each class, one night per week for 4 weeks. Course include all hooks and materials and step-by-step patterns sheets and recipes for each fly tied. You need to bring your vise and basic tools.
Group Size: 6 students | Instructor: Ryan Ratliff- January Pat Kelly- February
Cost: $195.00 | Location: Mad River Outfitters
January Course- starts Wednesday, January 10th- Click Here
February Course- starts Wednesday, February 7th- Click Here
Intermediate Fly Tying- Takes over where the Beginner Class leaves off. More intermediate advanced patterns and concepts will be covered: Material blending, articulation, hollow tying techniques. Understanding silhouettes and shapes. Like like patterns/impressionistic. Match the hatch “Big Bugs. Classes include all hooks and materials, you need to bring your vise and basic tools.
Group Size: 6 students | Instructor: Ryan Ratliff- March Cost: $195.00 | Location: Mad River Outfitters
March Course- starts Wednesday, March 13th- Click Here
Introducing: Saturday Sessions
Morning Coffee? Donuts? Fly Tying…..count me in!
Saturday Sessions are specialty fly tying classes geared towards intermediate and advanced tyers. These will be held on select Saturday mornings during Winter Semester at the shop from 9 a.m. – 12 p.m. Participants will need to bring their vise and basic tools and all hooks and materials for the classes will be provided. Class dates and registration for 2024 classes are listed below and on the Calendar Page of our website.
Topics for 2024 Winter Semester:
Women’s Beginner Class- with Katie Johnstone Pike/Musky Flies- with Pat Kelly Steelhead Flies- with Ryan Ratliff Saltwater Flies- with Brian Flechsig Bass Flies- with Pat Kelly Carp Flies- with Brian Flechsig Women’s Fly Tying- with Katie Johnstone
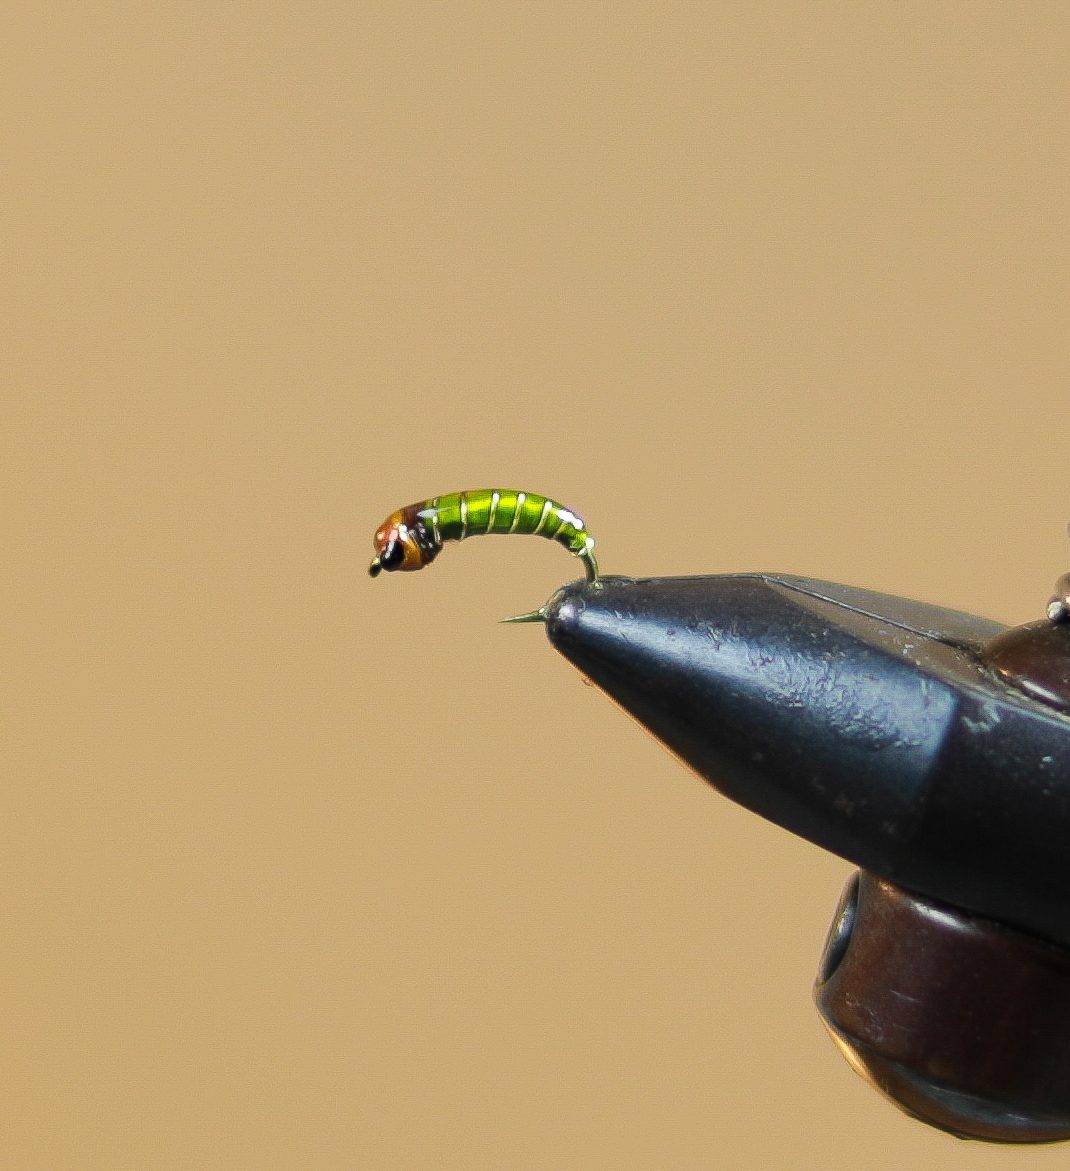
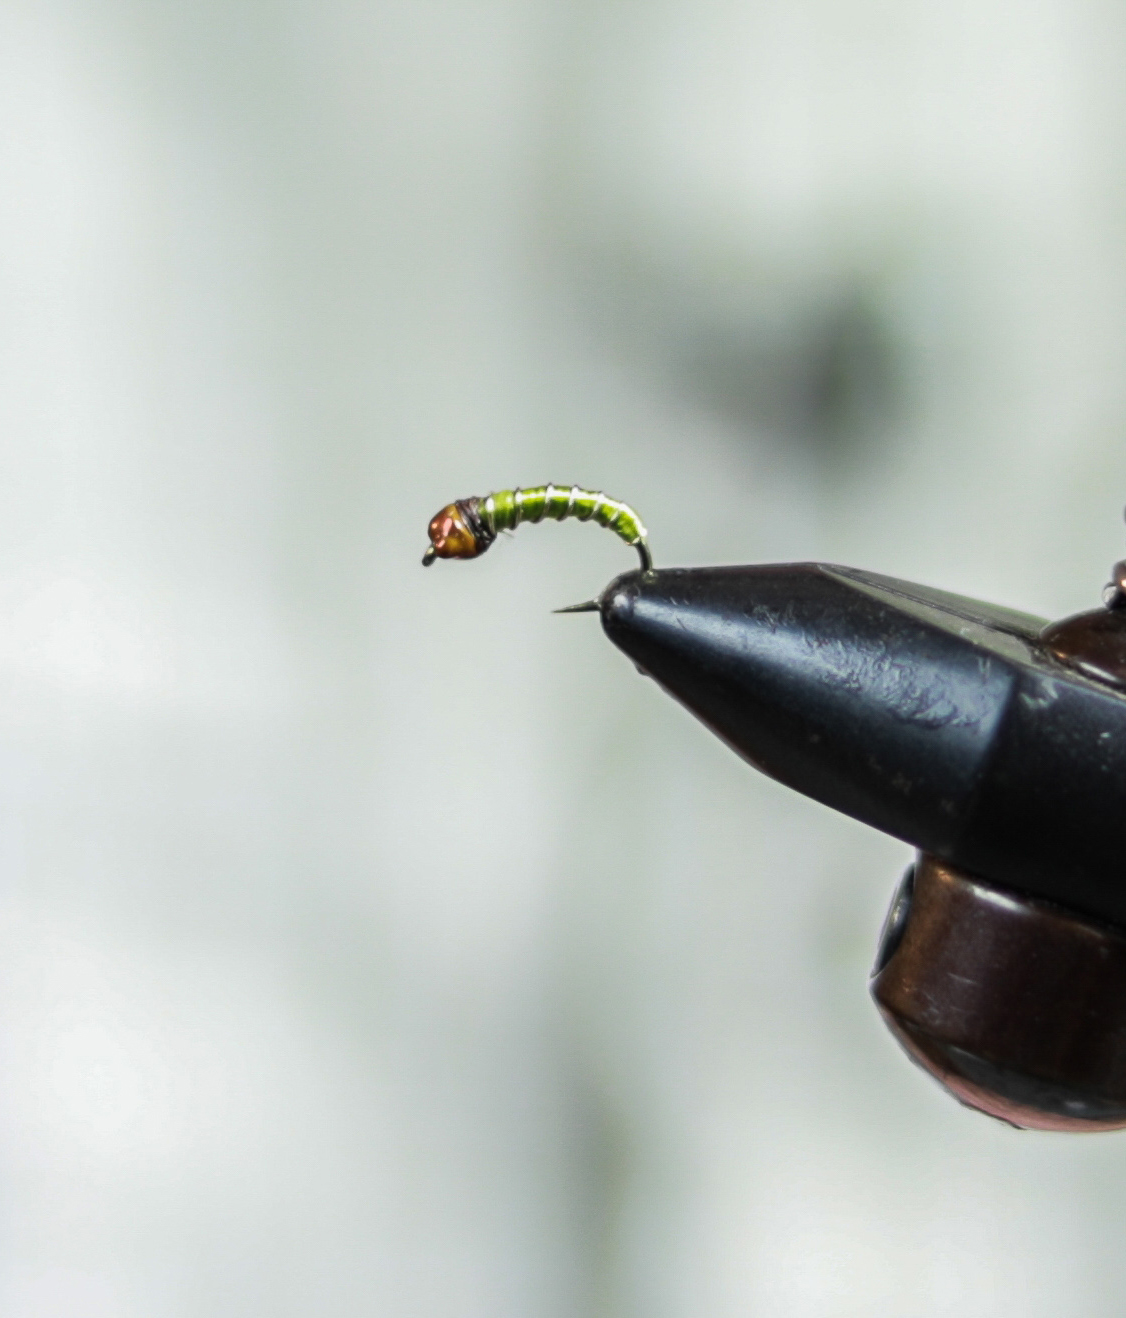
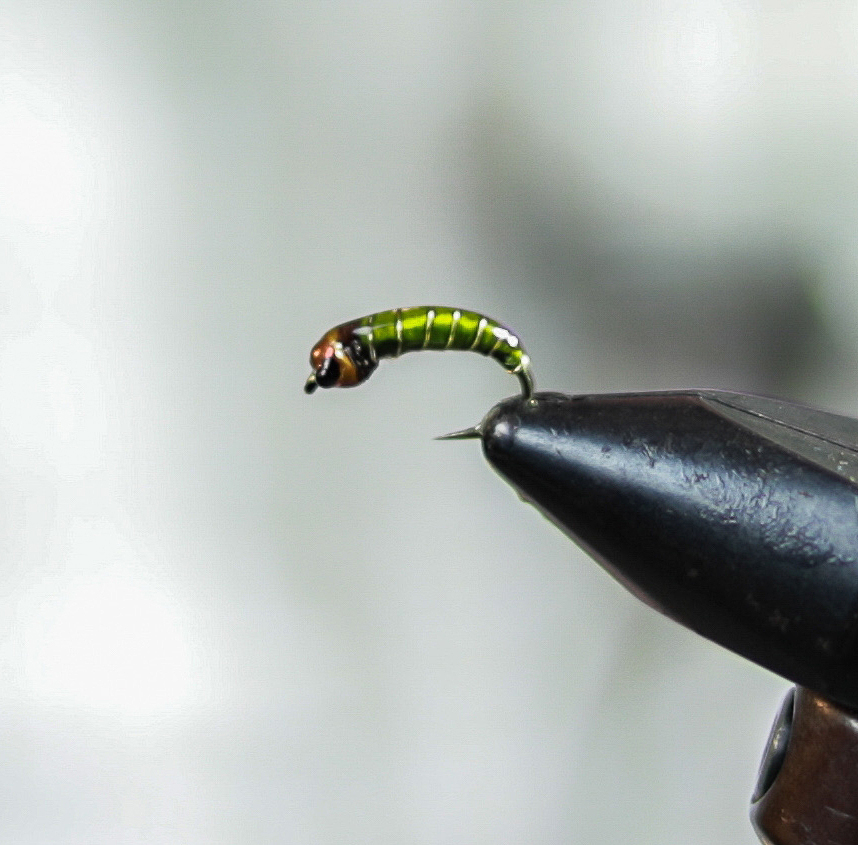
This fly came about a few years back when I was just starting to mess with UV resins. Have always done well here on the Mad with Green Caddis Larva, as well as elsewhere of course, and I sat down and knocked this one out and it’s become a staple in my box since. I often fish it along with a soft hackle behind it and it really is deadly.
Just furthers my obsession these days with putting UV resin on almost any subsurface fly that I tie. This stuff has changed my game more than anything in recent years. Creates a really lifelike effect on nymphs! There isn’t a wing case that I tie anymore that doesn’t get coated with UV.
I kinow…..it’s stupidly simple….but it works.
Brian Flechsig- May 2018
Stupidly Simple Caddis Larva Recipe:
Hook: Tiemco 2457 #14-16 (or equivalent)- Click Here
Bead: Flymen NymphHeads Tungsten Caddis Bead- small-brown- Click Here
Head: Peacock Herl (if no bead desired)- Click Here
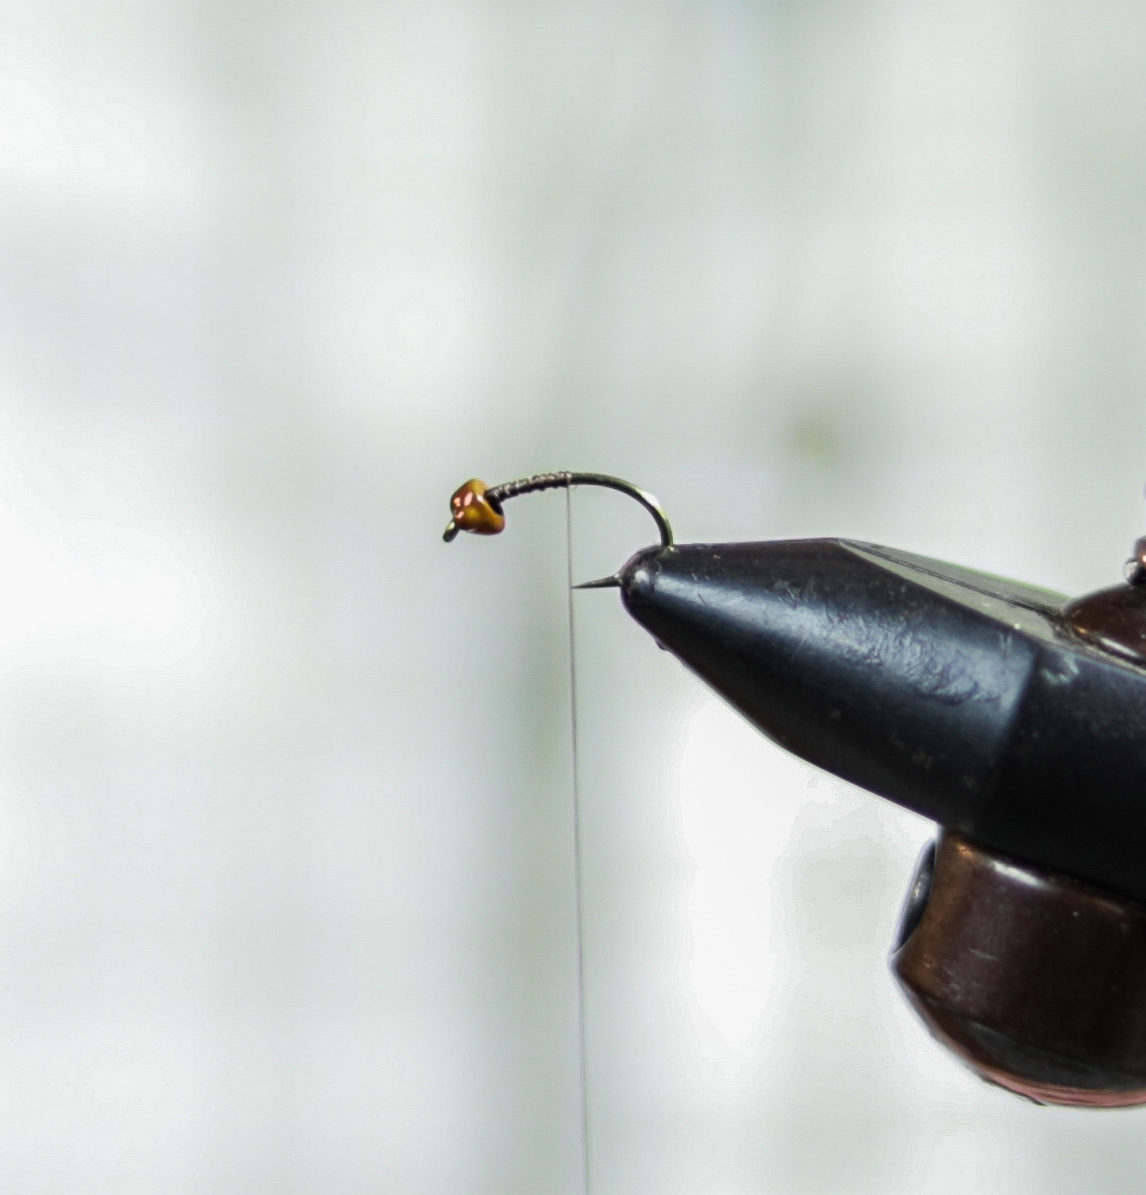
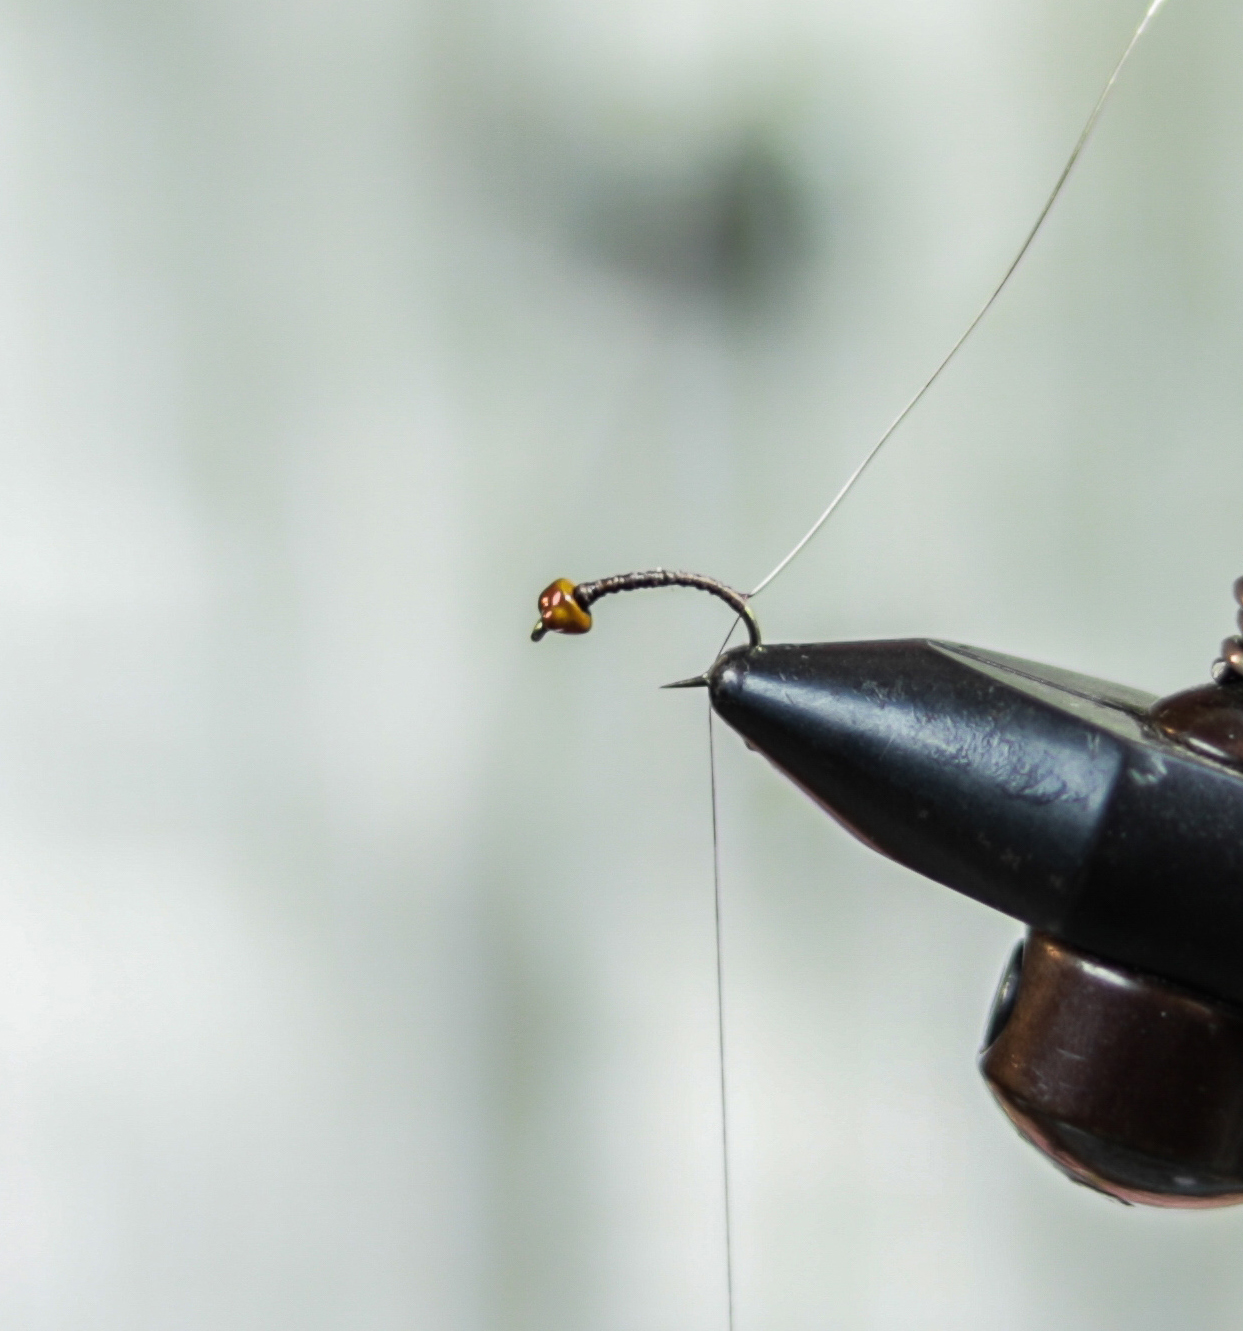
1. Slide the bead onto the hook and start your thread. There is a proper “direction” to slide the bead on. They eyes should be closest to the eye of the hook. You can look at the picture on the item link and get a good idea there.
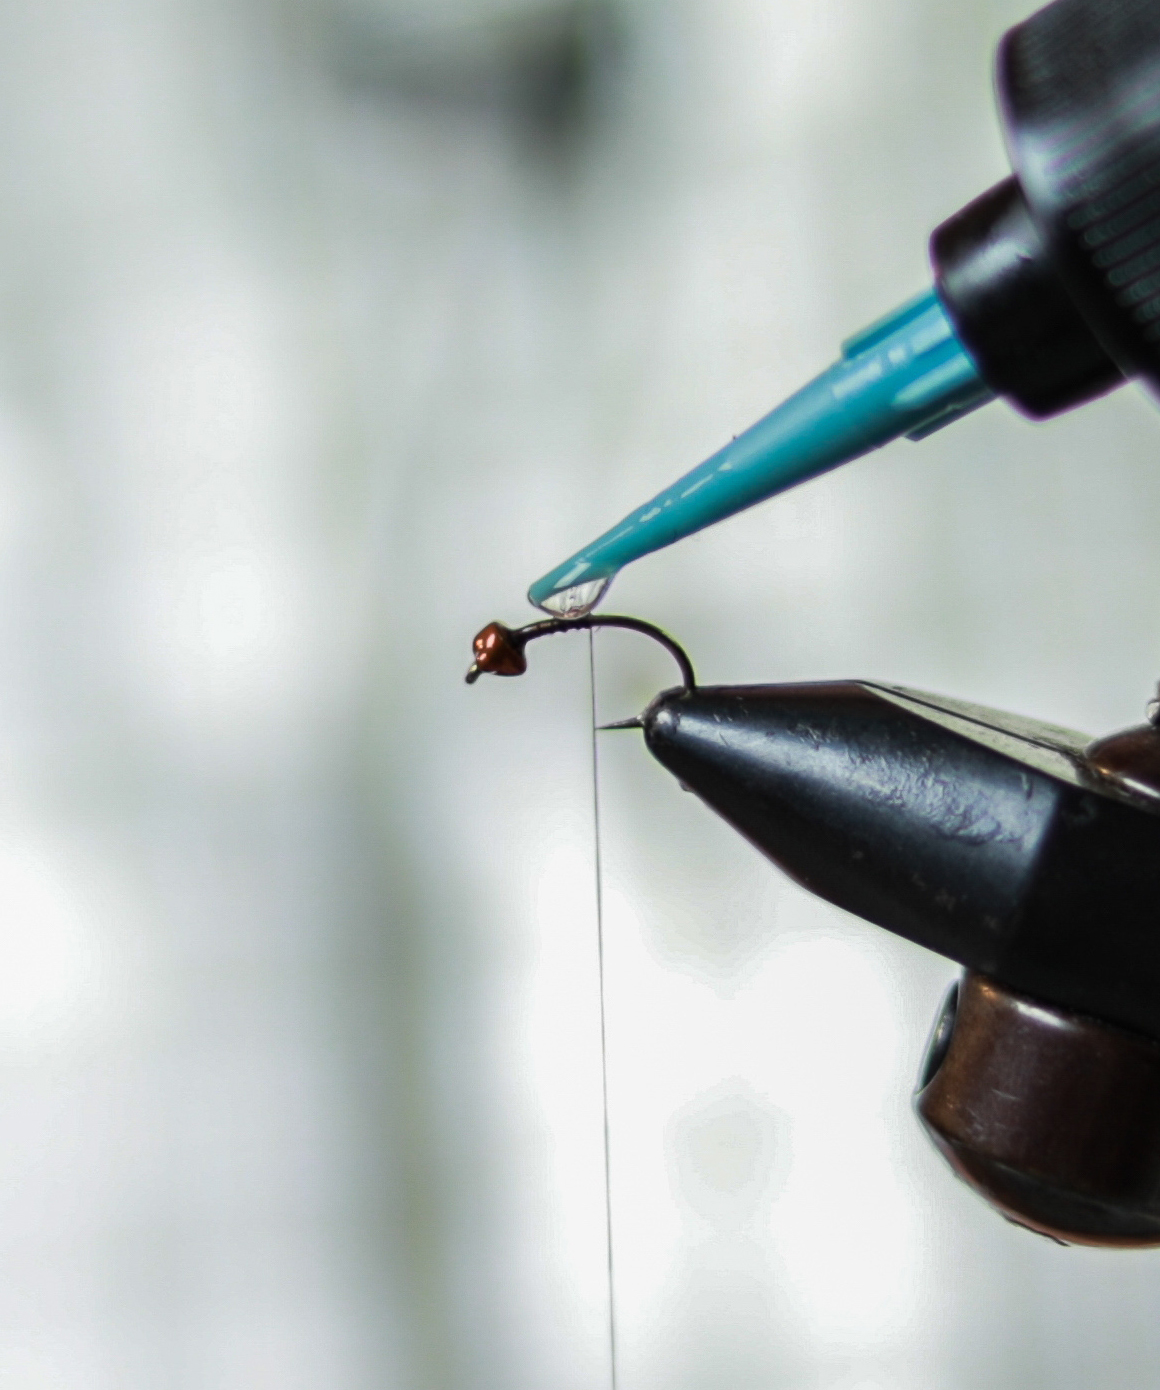
2. Getting the bead to stay in the proper, (upright) position can be a challenge. I combat this by wrapping a small thread dam behind it and then using UV to hold it in place. Again, look at the picture on the item page of the beads to get an idea of the proper placement.
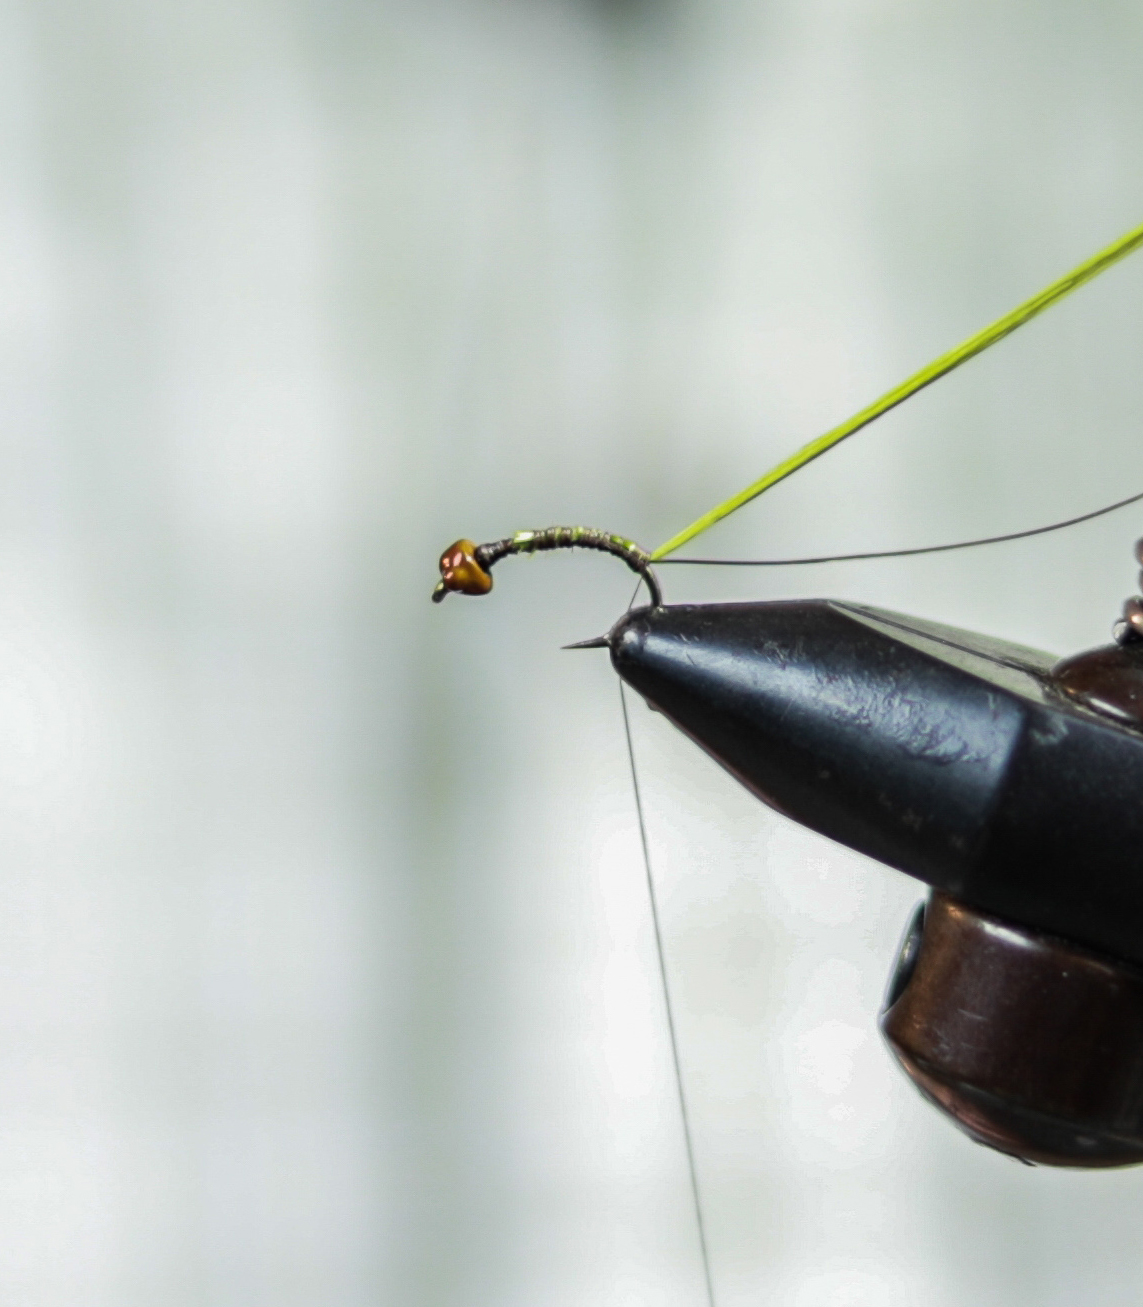
3. Wrap your thread back to the bend, or a bit past being a curved caddis hook. Lash in the Gold Wire and then the Floss.
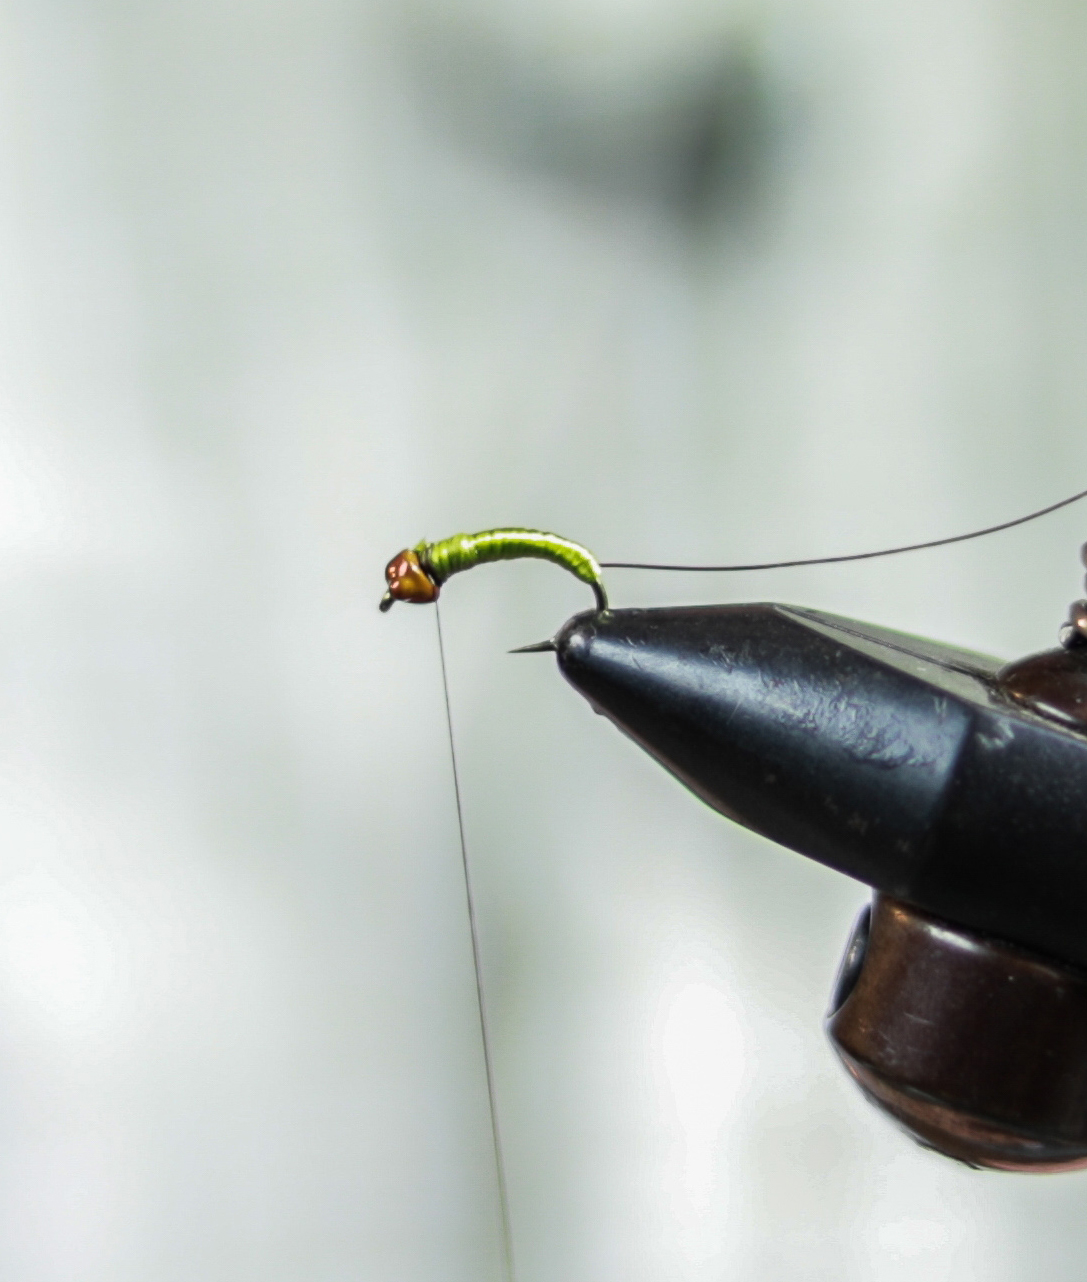
4. Wrap the floss body up the hook, creating a semblance of taper as you go. Tie off the floss just behind the bead.
5. Rib the fly with the Gold wire. Again, try to create a semblance of natural taper with the segmentation being closer together towards the rear and more spacing as you wrap towards the head. Tie off the Gold wire and then whip finish a few behind the bead.
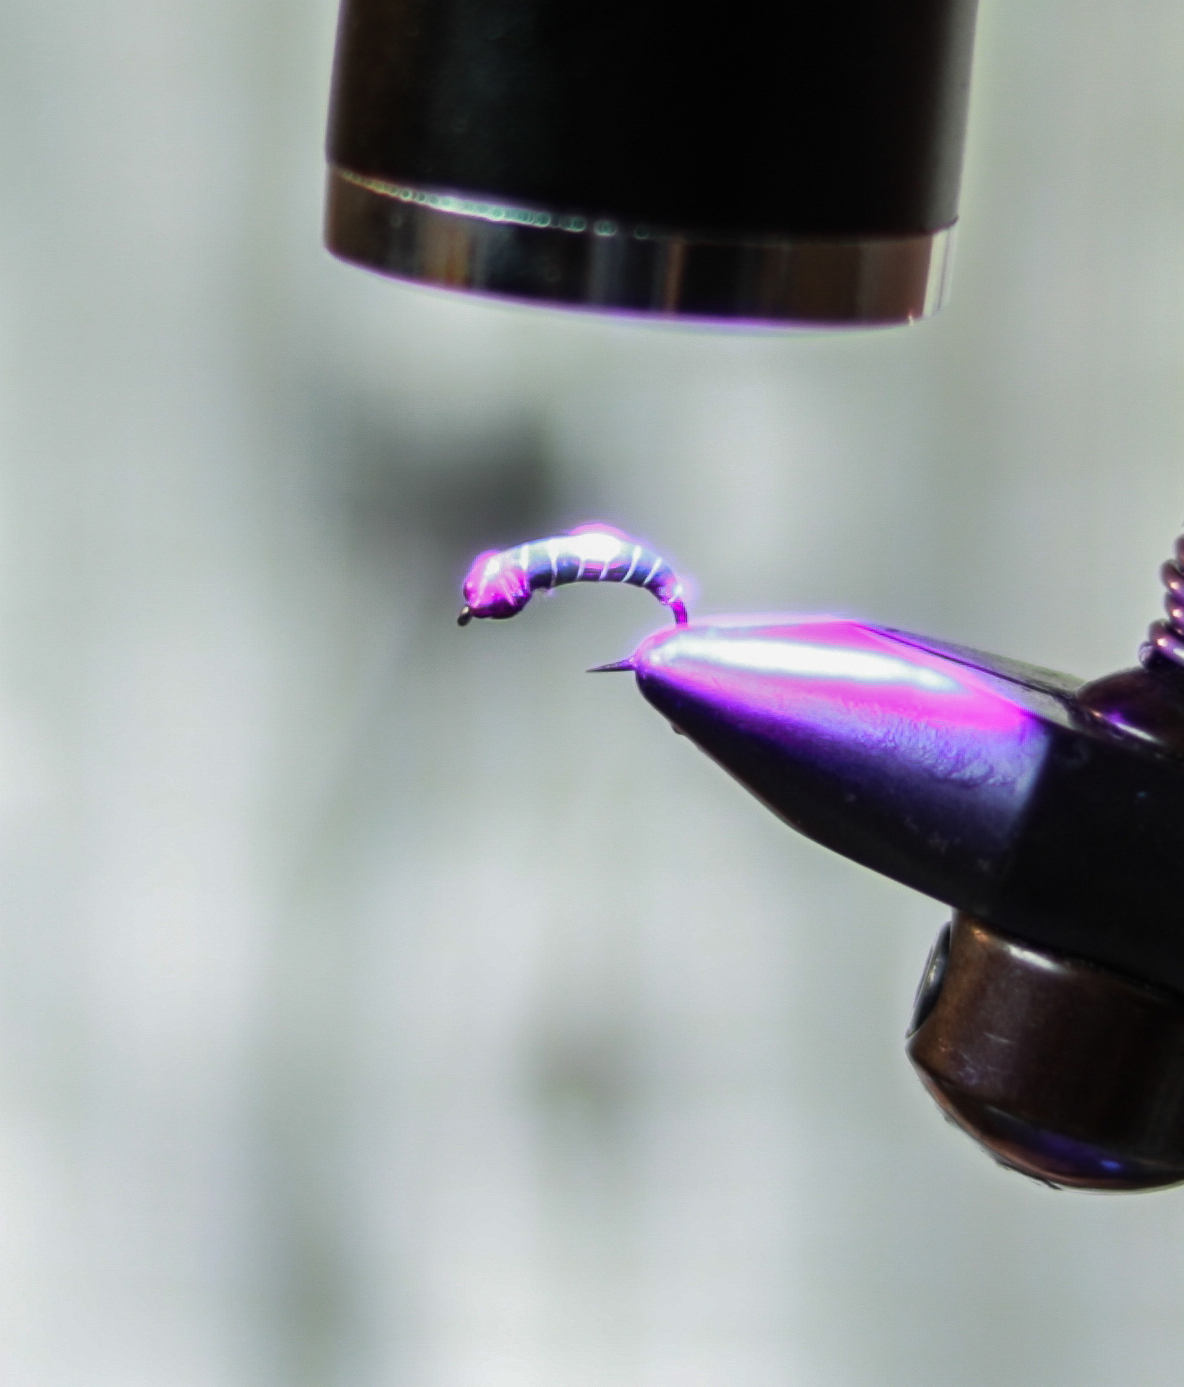
6. Run a “candy coating” of UV over the back of the fly and hit it with your UV curing light.
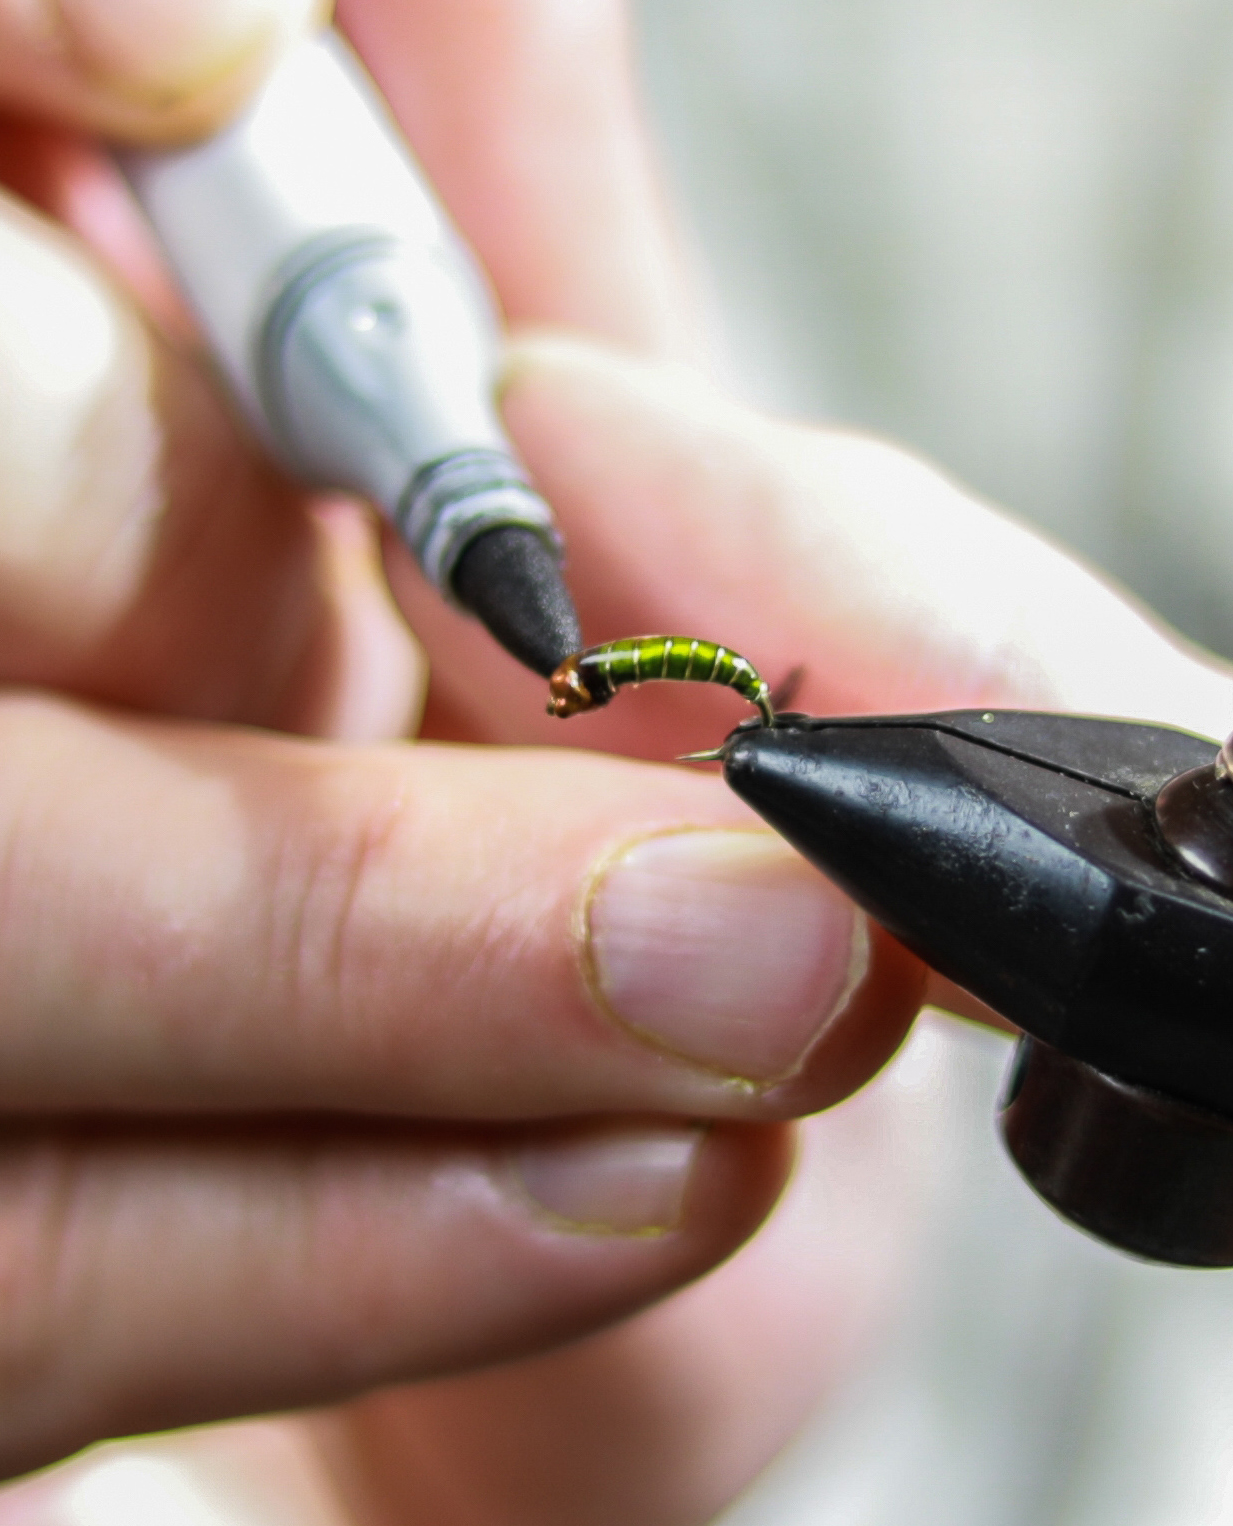
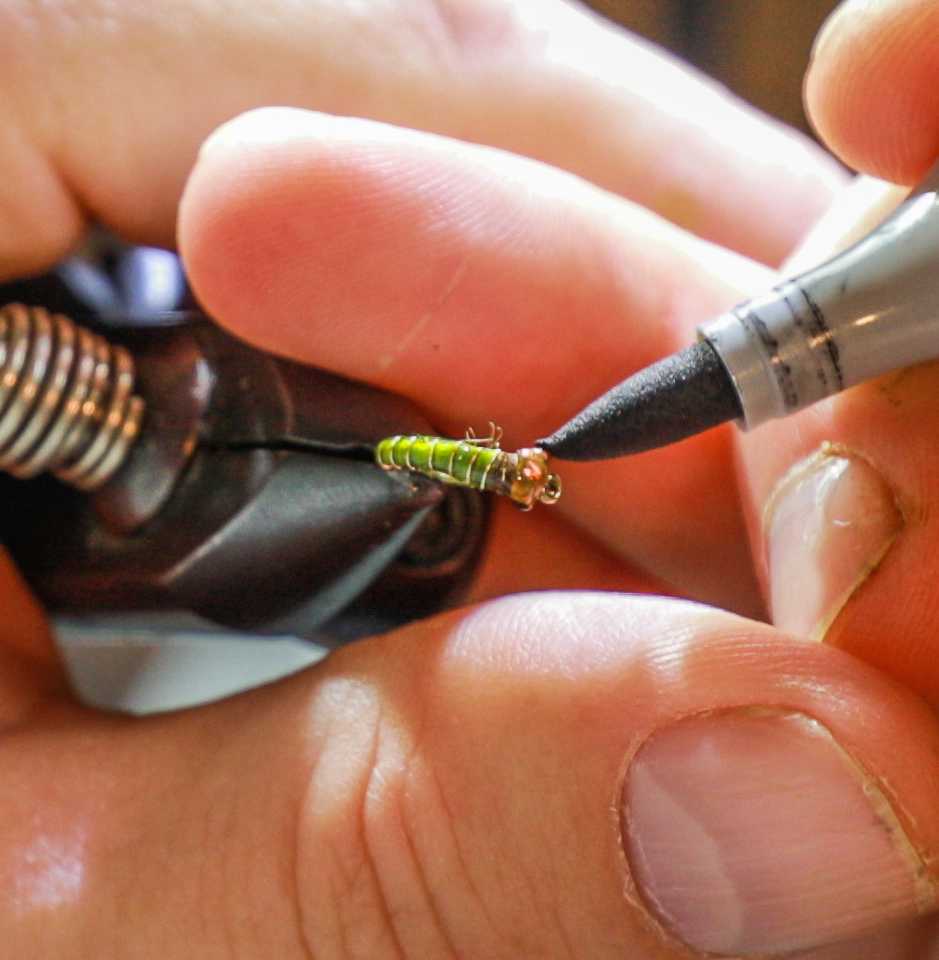
7. Use a fine point black permanent marker to color in the “eyes” on the flymen bead. Not critical but just looks cool!
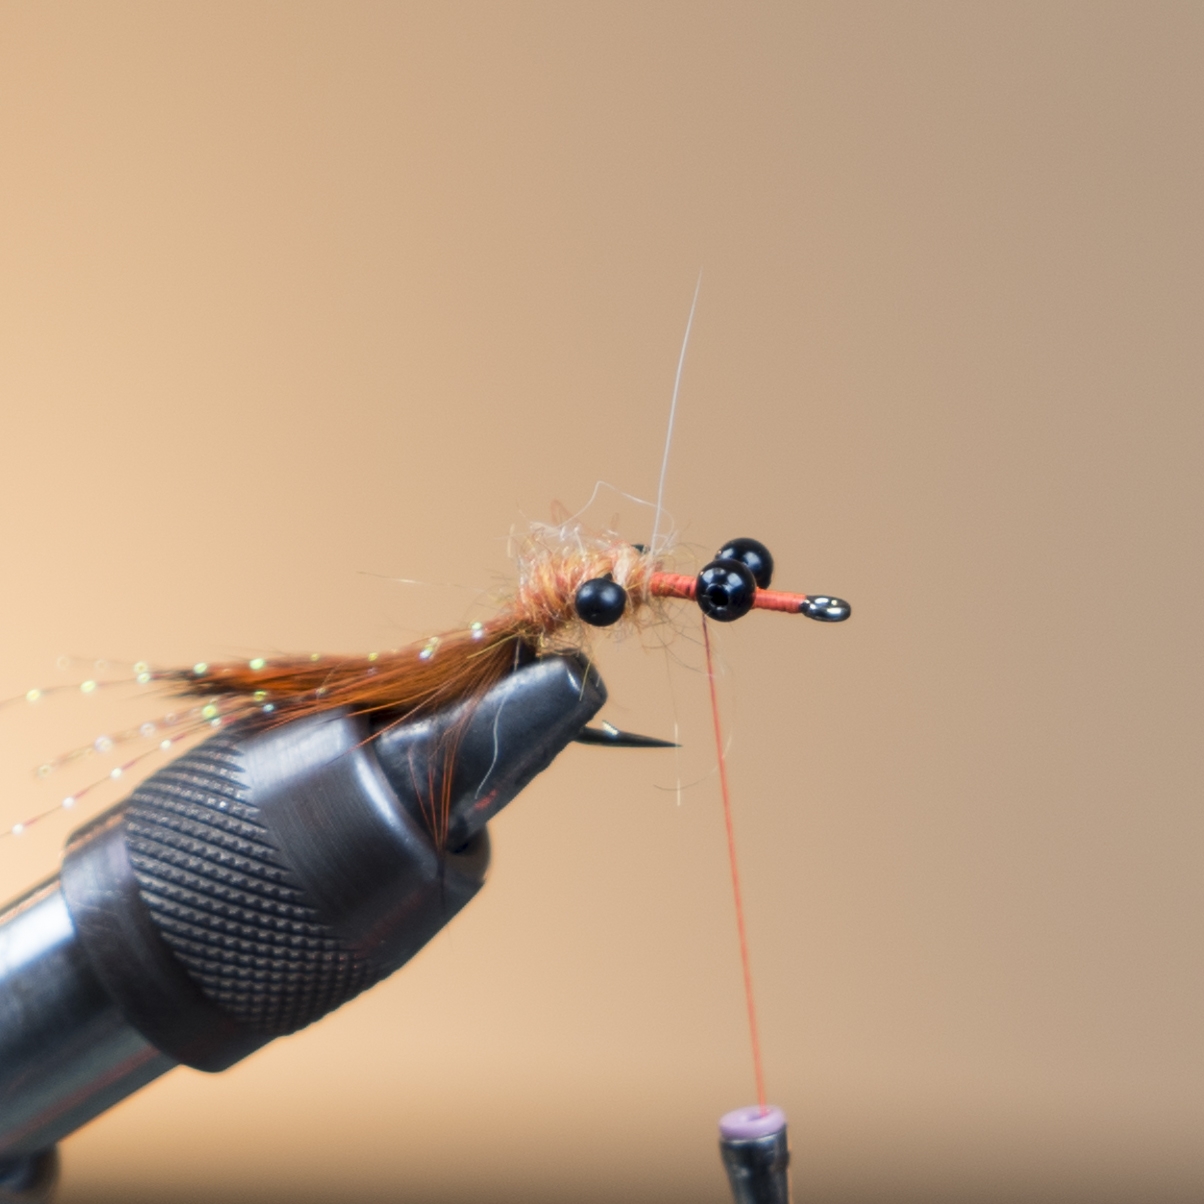
The Carpinator is all around a fantastic carp fly and without a doubt my hands down go to fly. Not exactly sure where it came from but I do remember that Brian used to custom tie this for the shop going back 15 years or so. I think he said he learned it from Brad Befus at one point.
There are a few key characteristics I look for when I am either choosing or tying a carp fly. First I want a pattern that can be tied quickly and is very durable. It also needs to tied/designed in such a way that allows the fly to enter the water very quietly but at the same time sink very quickly. I believe this is why I turn to this pattern more than any other in my carp box. It can also be easily tied in a multitude if different colors to either match bottom color or a specific species of crayfish.
Try this fly! I think it will become a top producer in your carp box!
Be sure to check out the tutorial on our You Tube channel which is linked below.
Collar: Hen Back Patch- speckled brown natural- Click Here
1. Secure hook in vise. Lay down base of thread and secure bead chain eyes approximately three hook eye lengths behind the eye of the hook.
2. Cut off piece of rabbit from the hide and tie in directly above the barb and wrap with thread half way down the hook bend and return thread to just above the barb. *When the fly is lying inverted on the river bottom it will give the appearance of a crayfish posturing up in a defensive position.
3. Tie in Krystal flash so that it extends a full tail length beyond the rabbit strip tail. Return thread to tie in point and secure mono eyes with figure eight wraps.
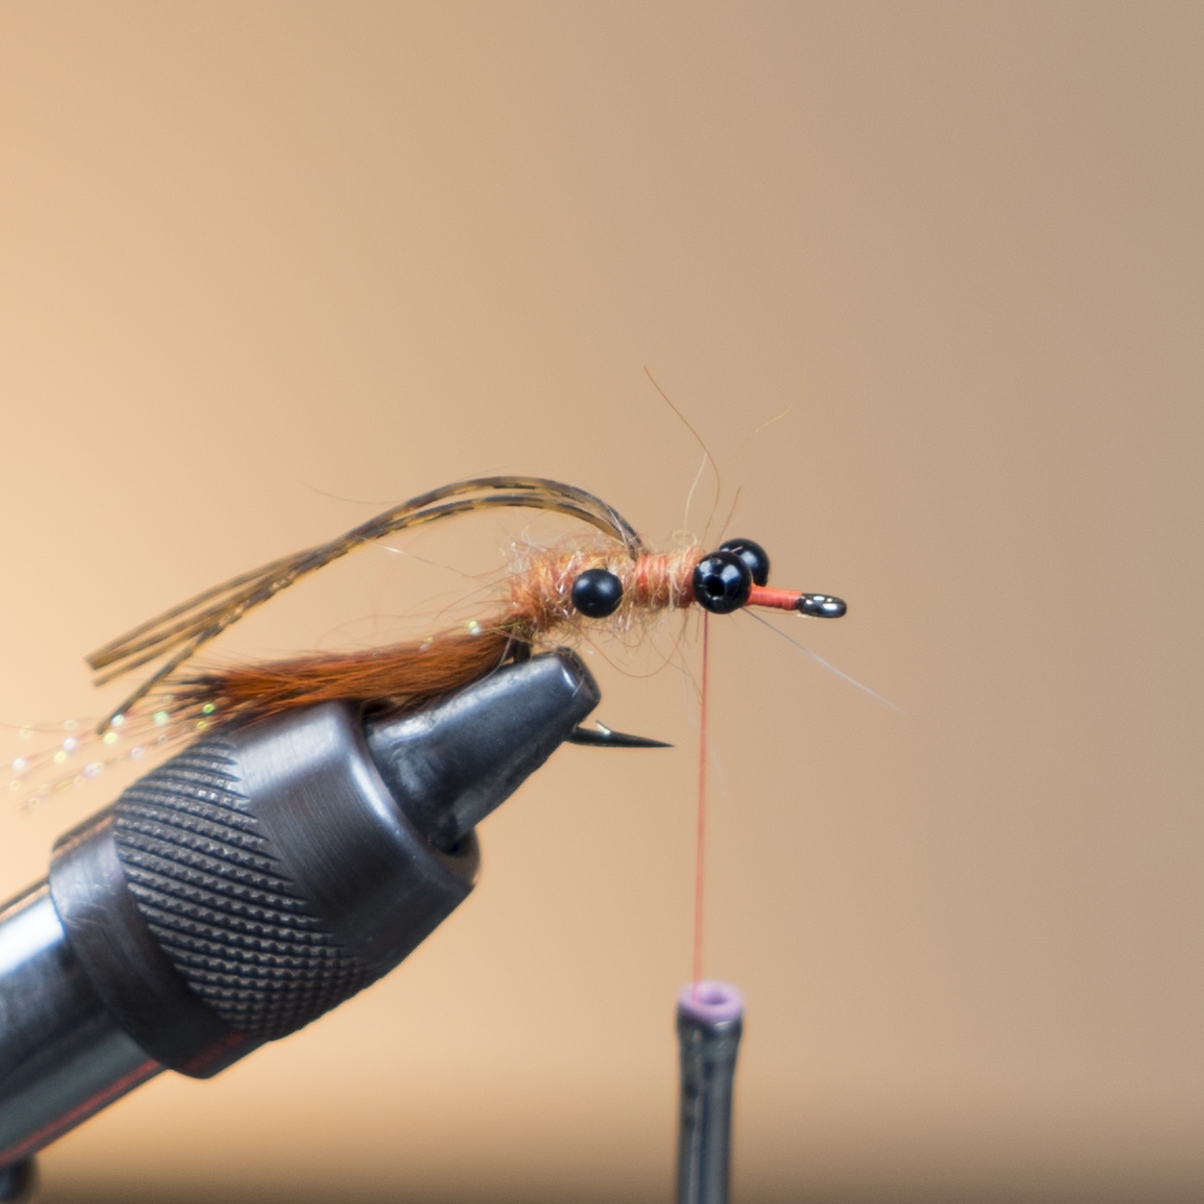
4. Bring thread back to where tail begins and dub your thread and begin to work up the hook shank and around the mono eyes.
5. Once you have dubbed around the mono eyes continue dubbing to about half way between the mono eyes and the bead chain eyes and tie in your Sili Legs.
I like to take one Sili Leg and fold in half and then half again. This will give you four individual legs that will be the perfect length, not so short that the will not wiggle around in the current but at the same time not too long as to foul while casting. Once the legs are secure I like to make a couple wraps with the dubbing behind the legs as to help prop them up. I find this maximizes the action of the legs.
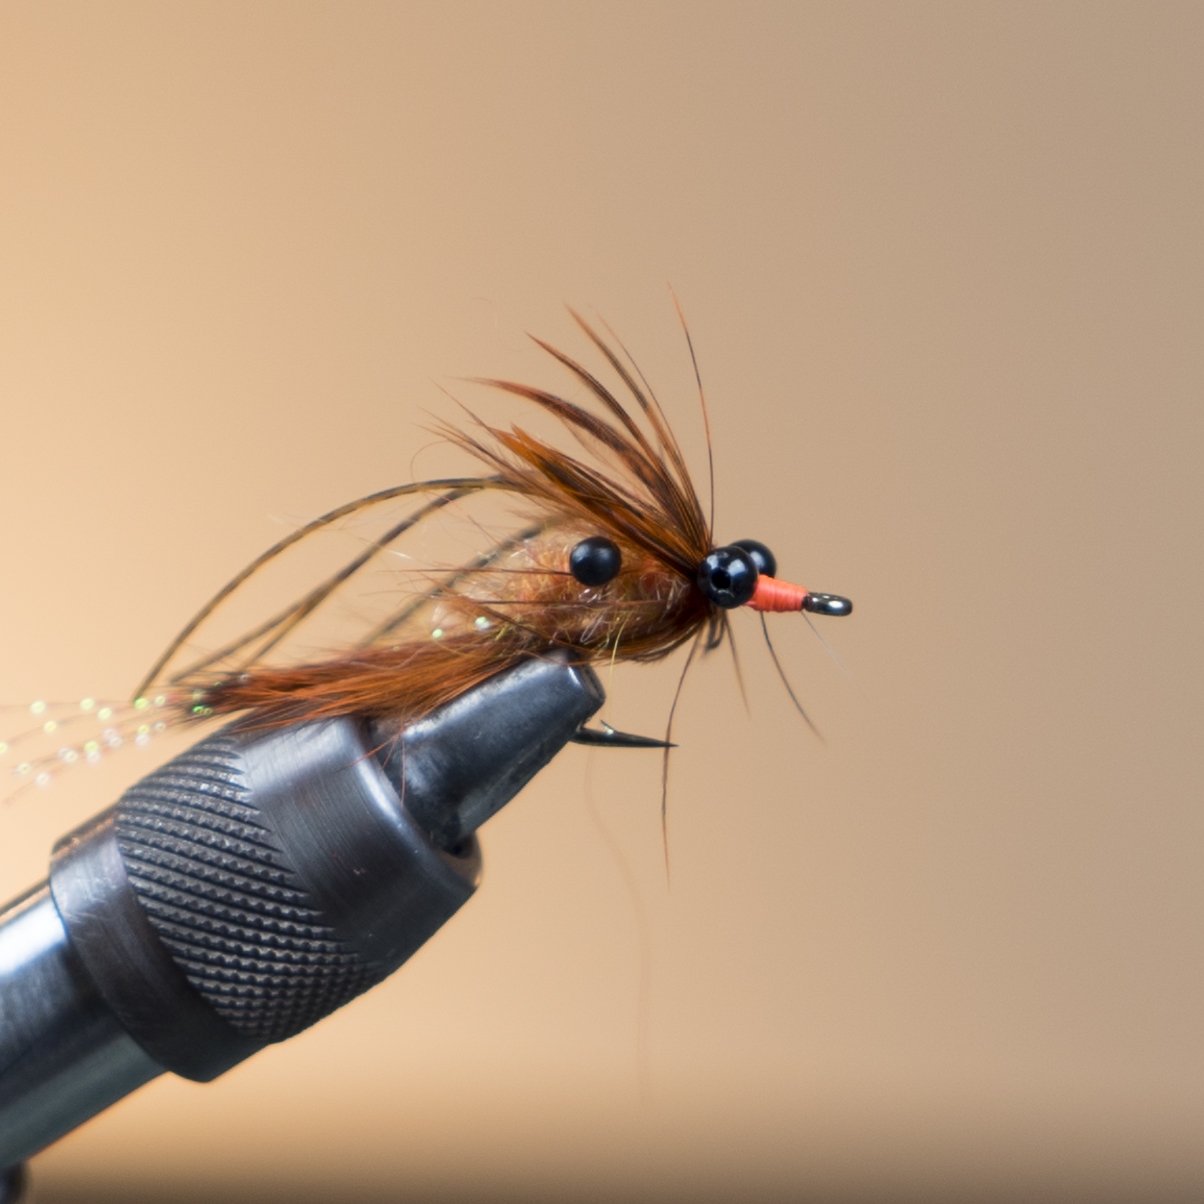
6. Continue dubbing all the way up to right behind the bead chain eyes. At this point you will want to tie in your hen saddle.
I prefer to tie in my saddle by the tip and with the concave portion facing rearward. This achieves two things. By tying in the feather by the tip it allows the shorter more stiff fibers to support the longer softer fibers. Secondly, by tying in the saddle with the concave portion of the feather facing rearward when you begin palmering the feather forward it ensures the natural flow of the feather veils back toward the rest of the fly.
After wrapping the feather in its entire length tie off and advance thread in front of the bead chain eyes. At this point you will finish the fly by building a nice tapered thread head, whip finish and add a little zap or hard as hull.
Done!
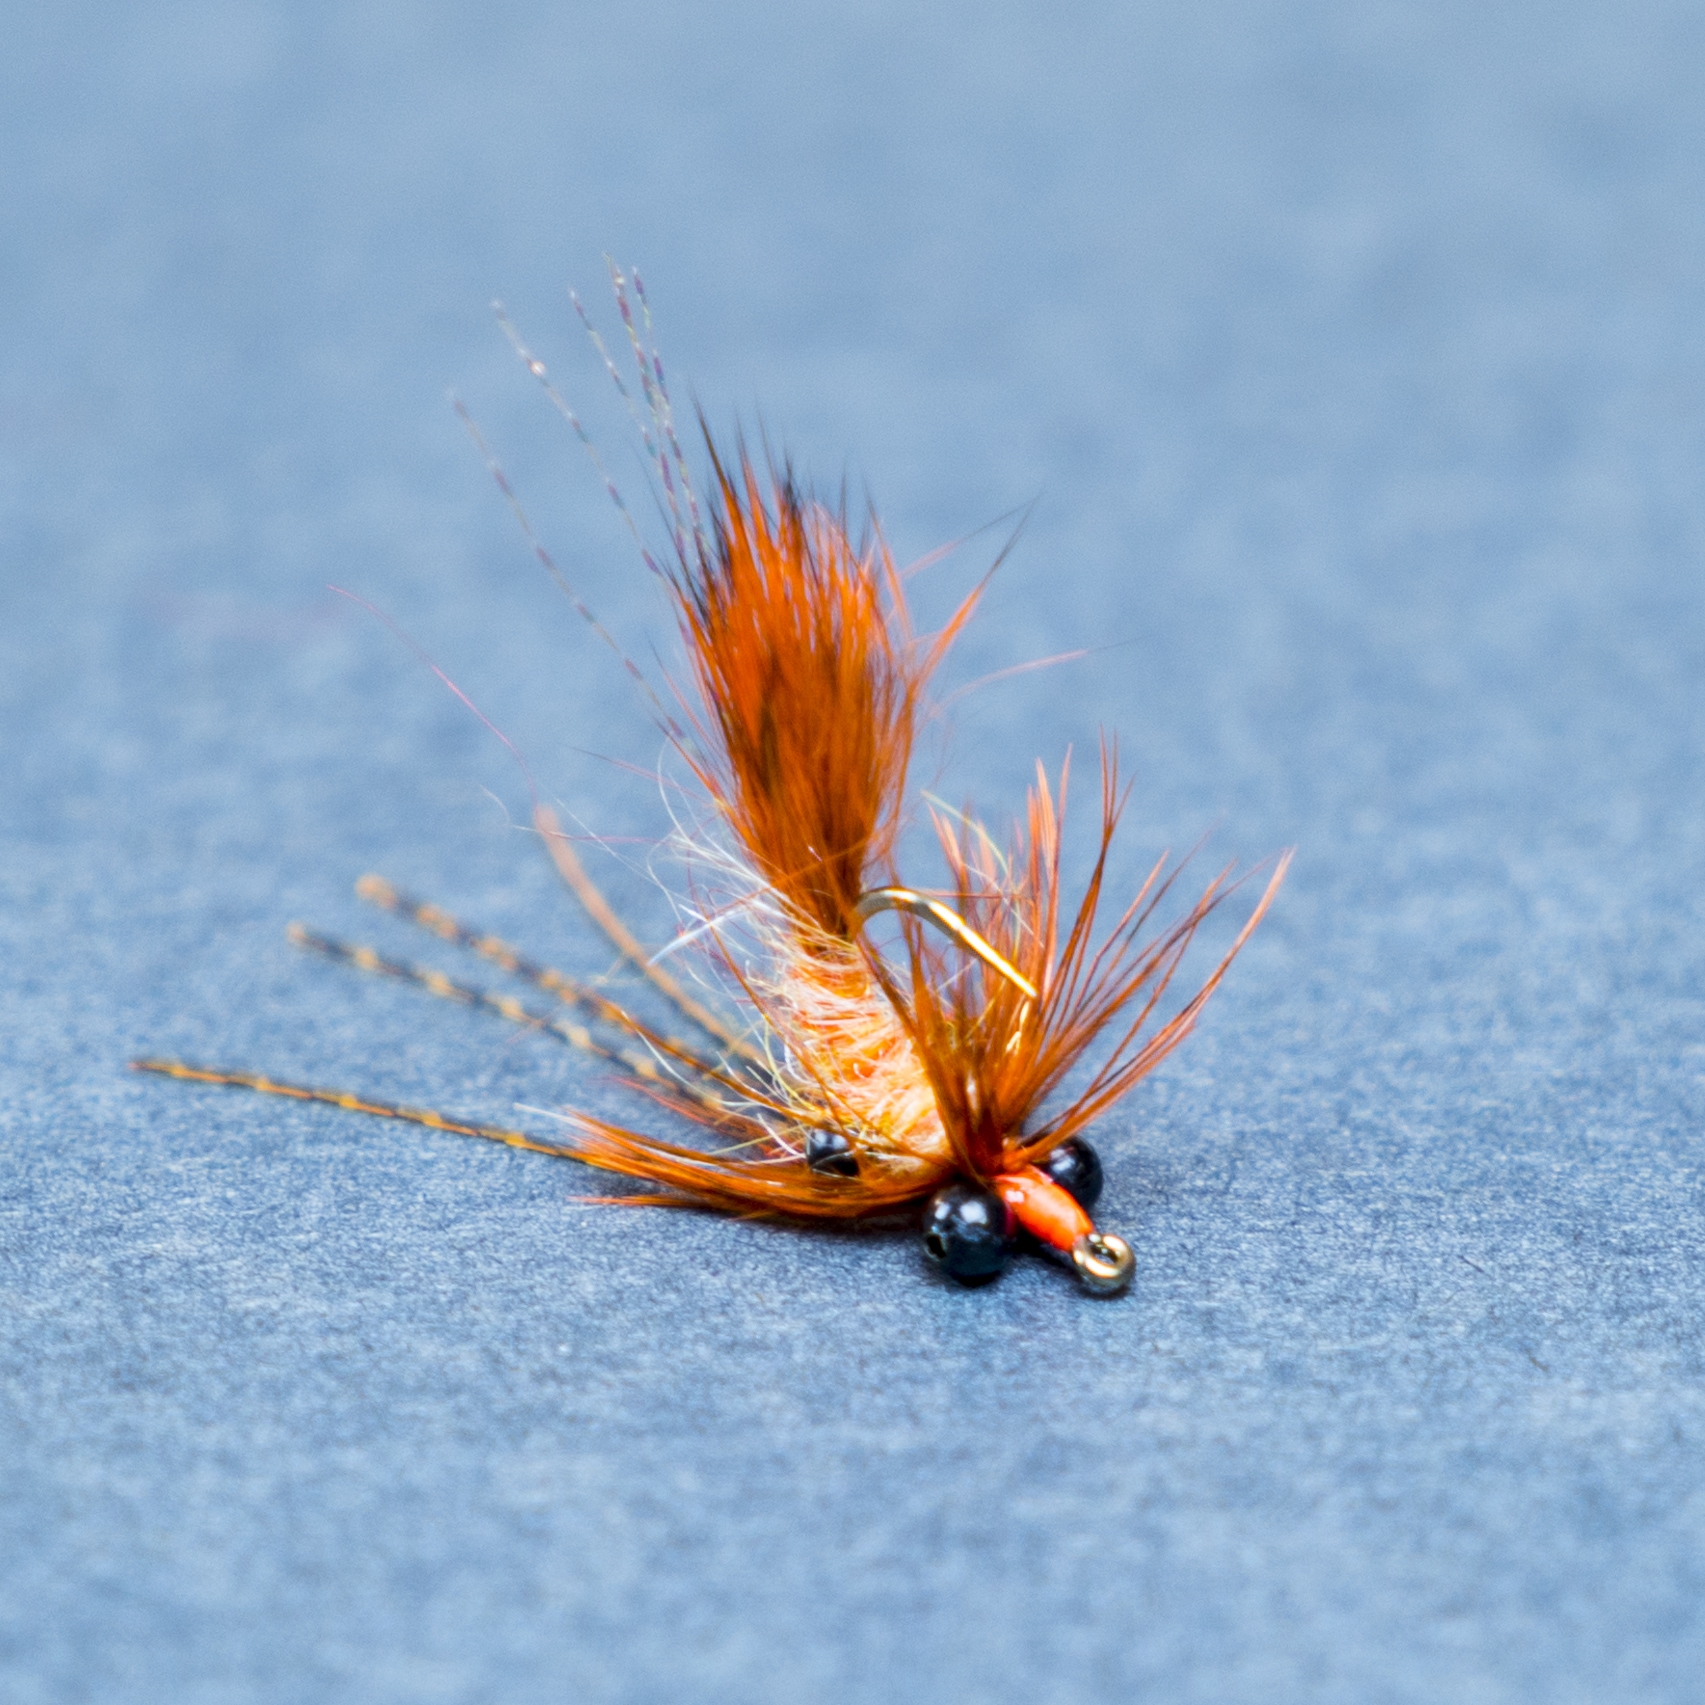
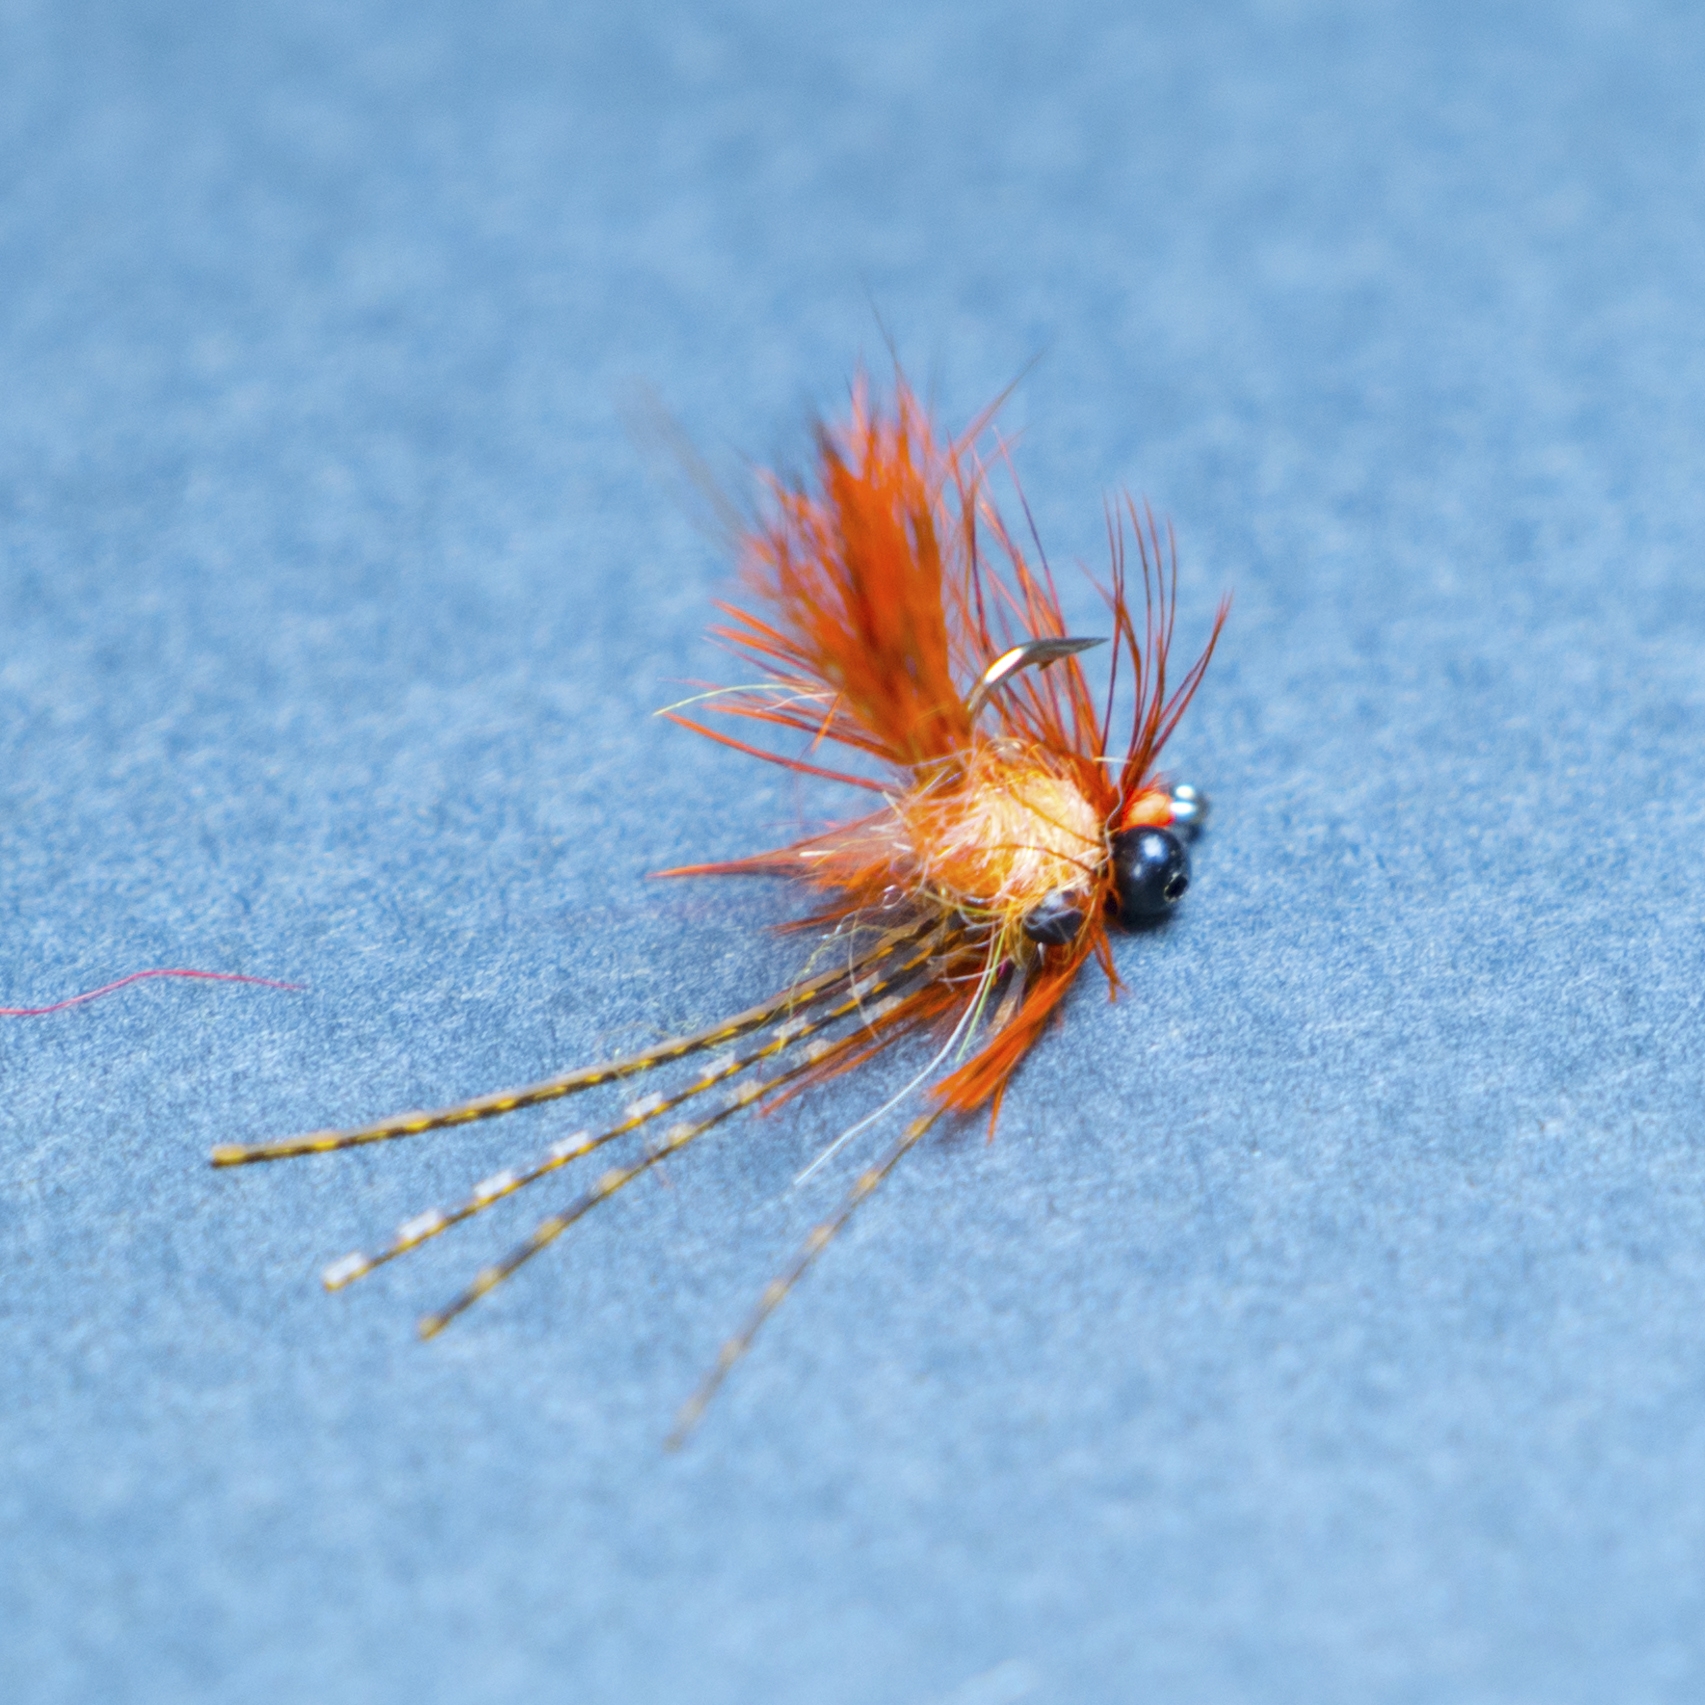
The Carpinator from the back showing the “defensive crayfish” posture that helps to make it such an effective carp fly.