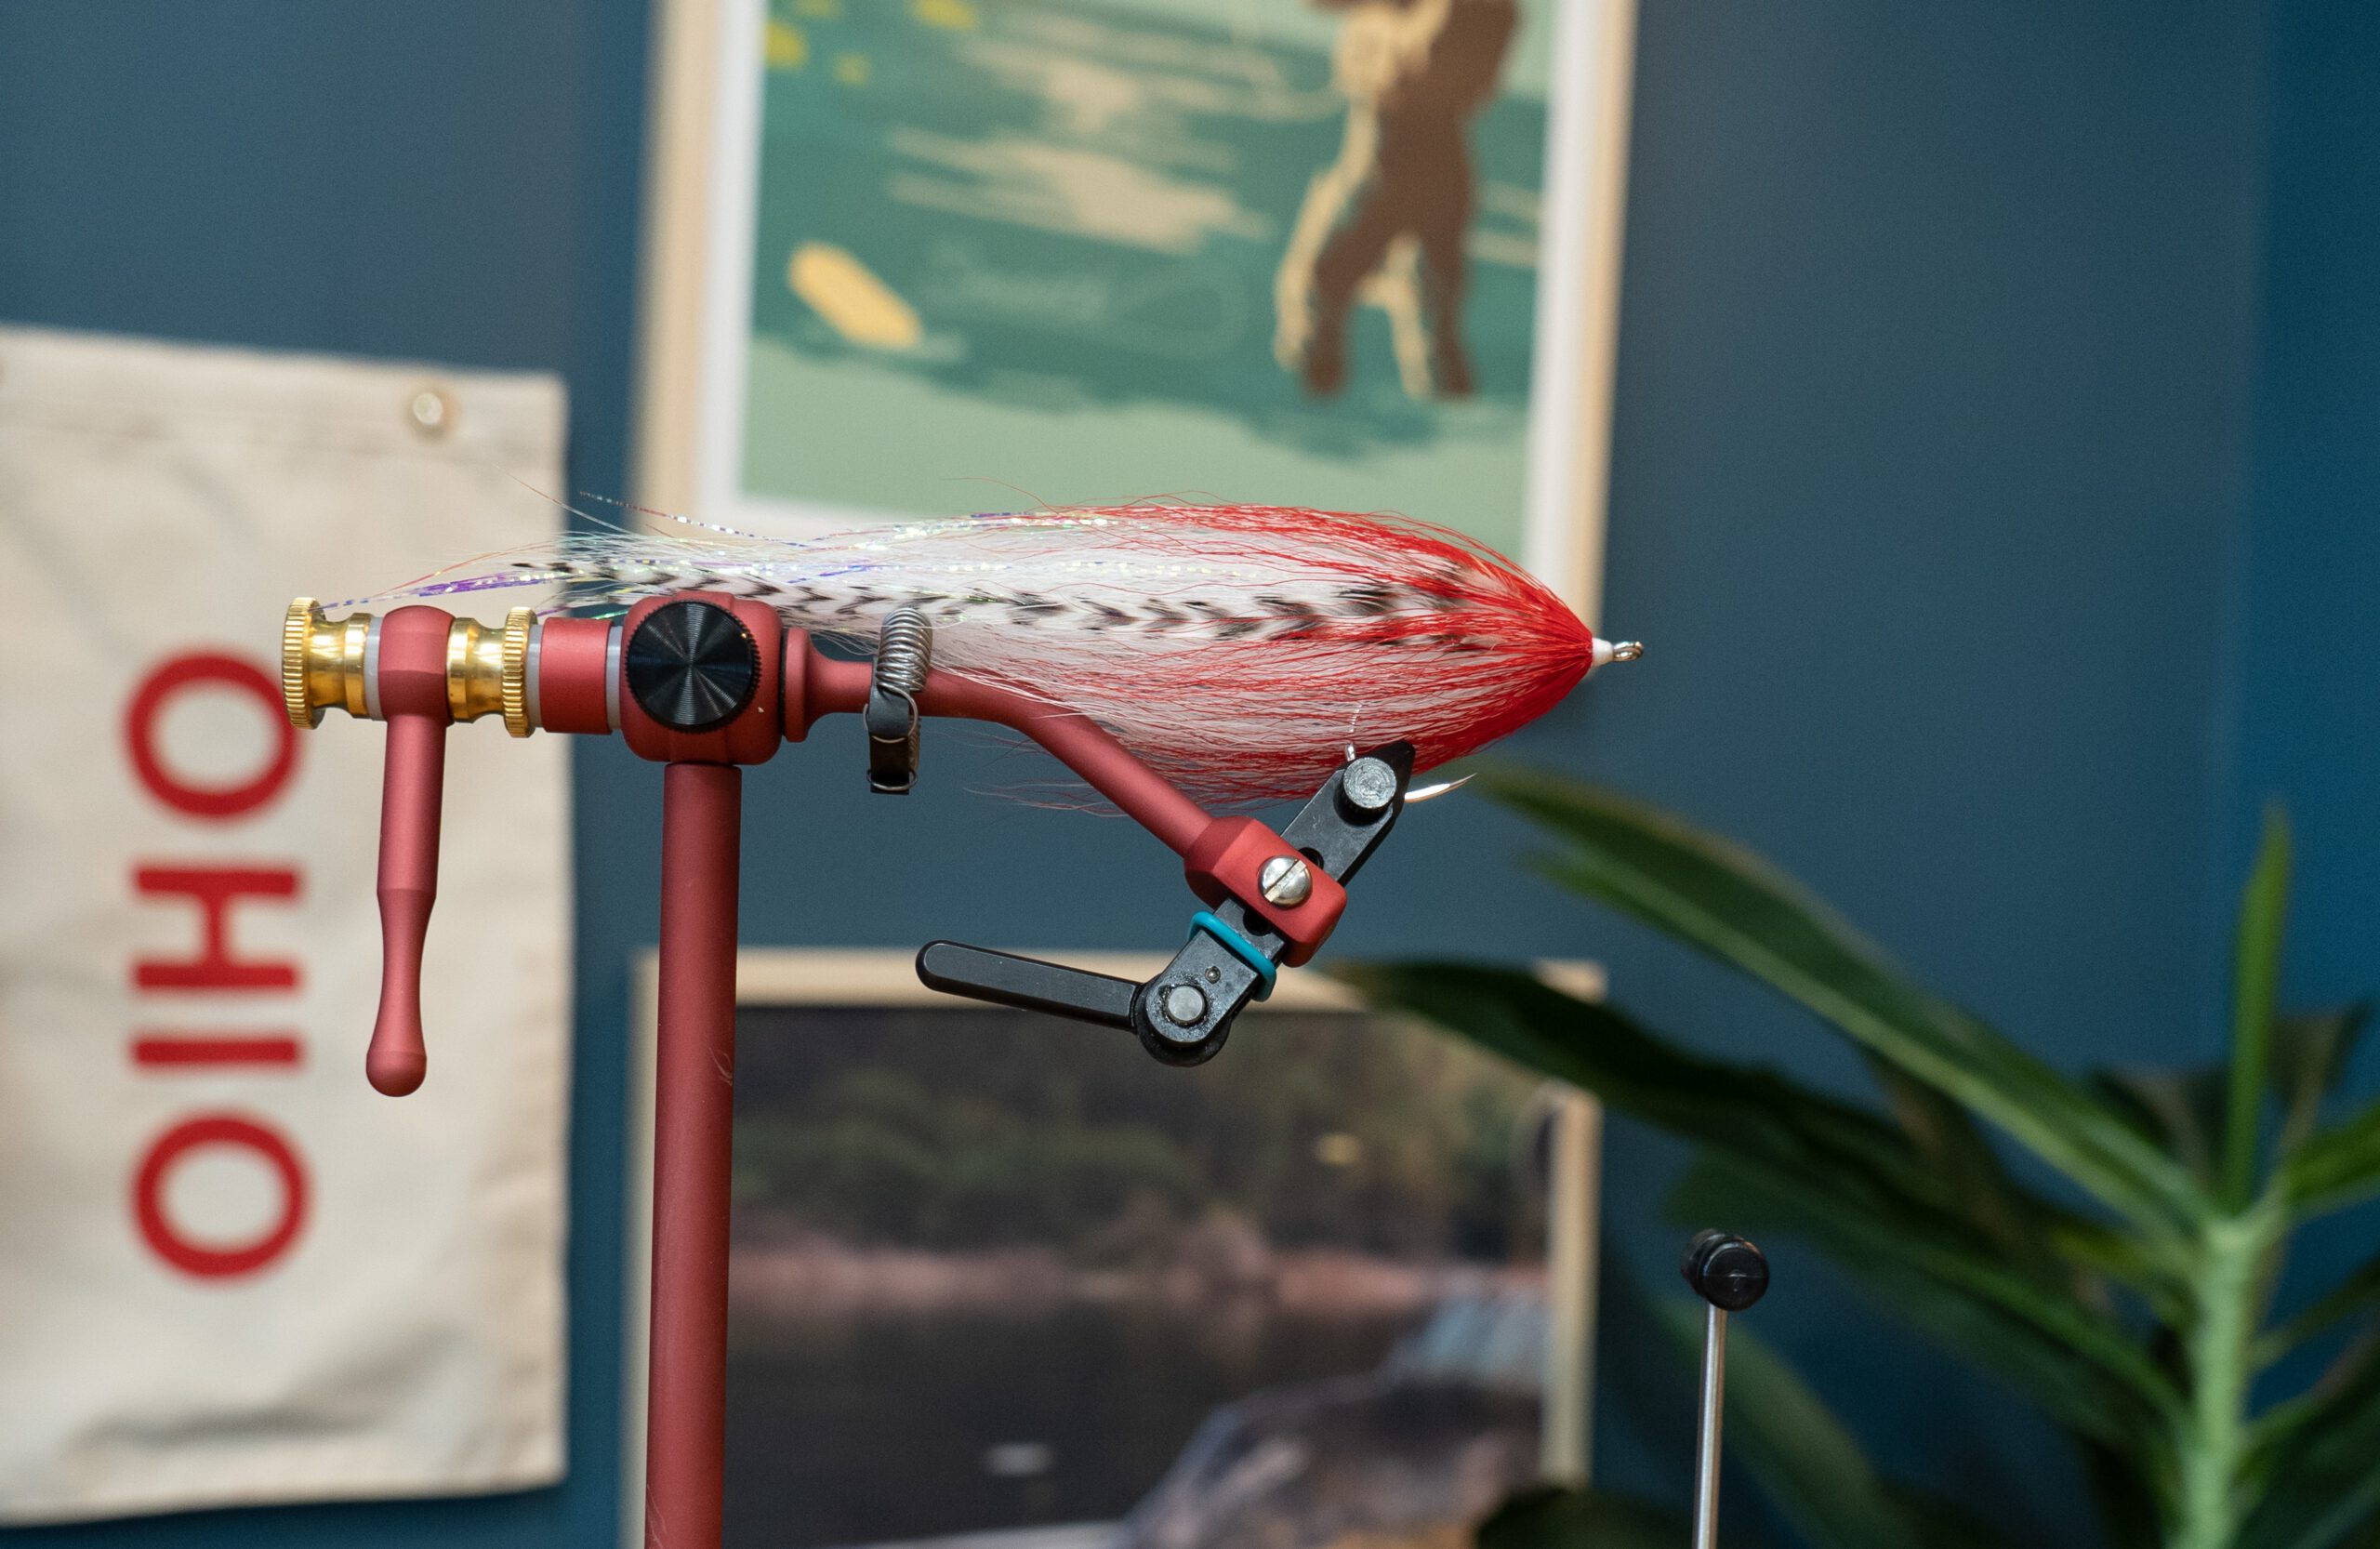
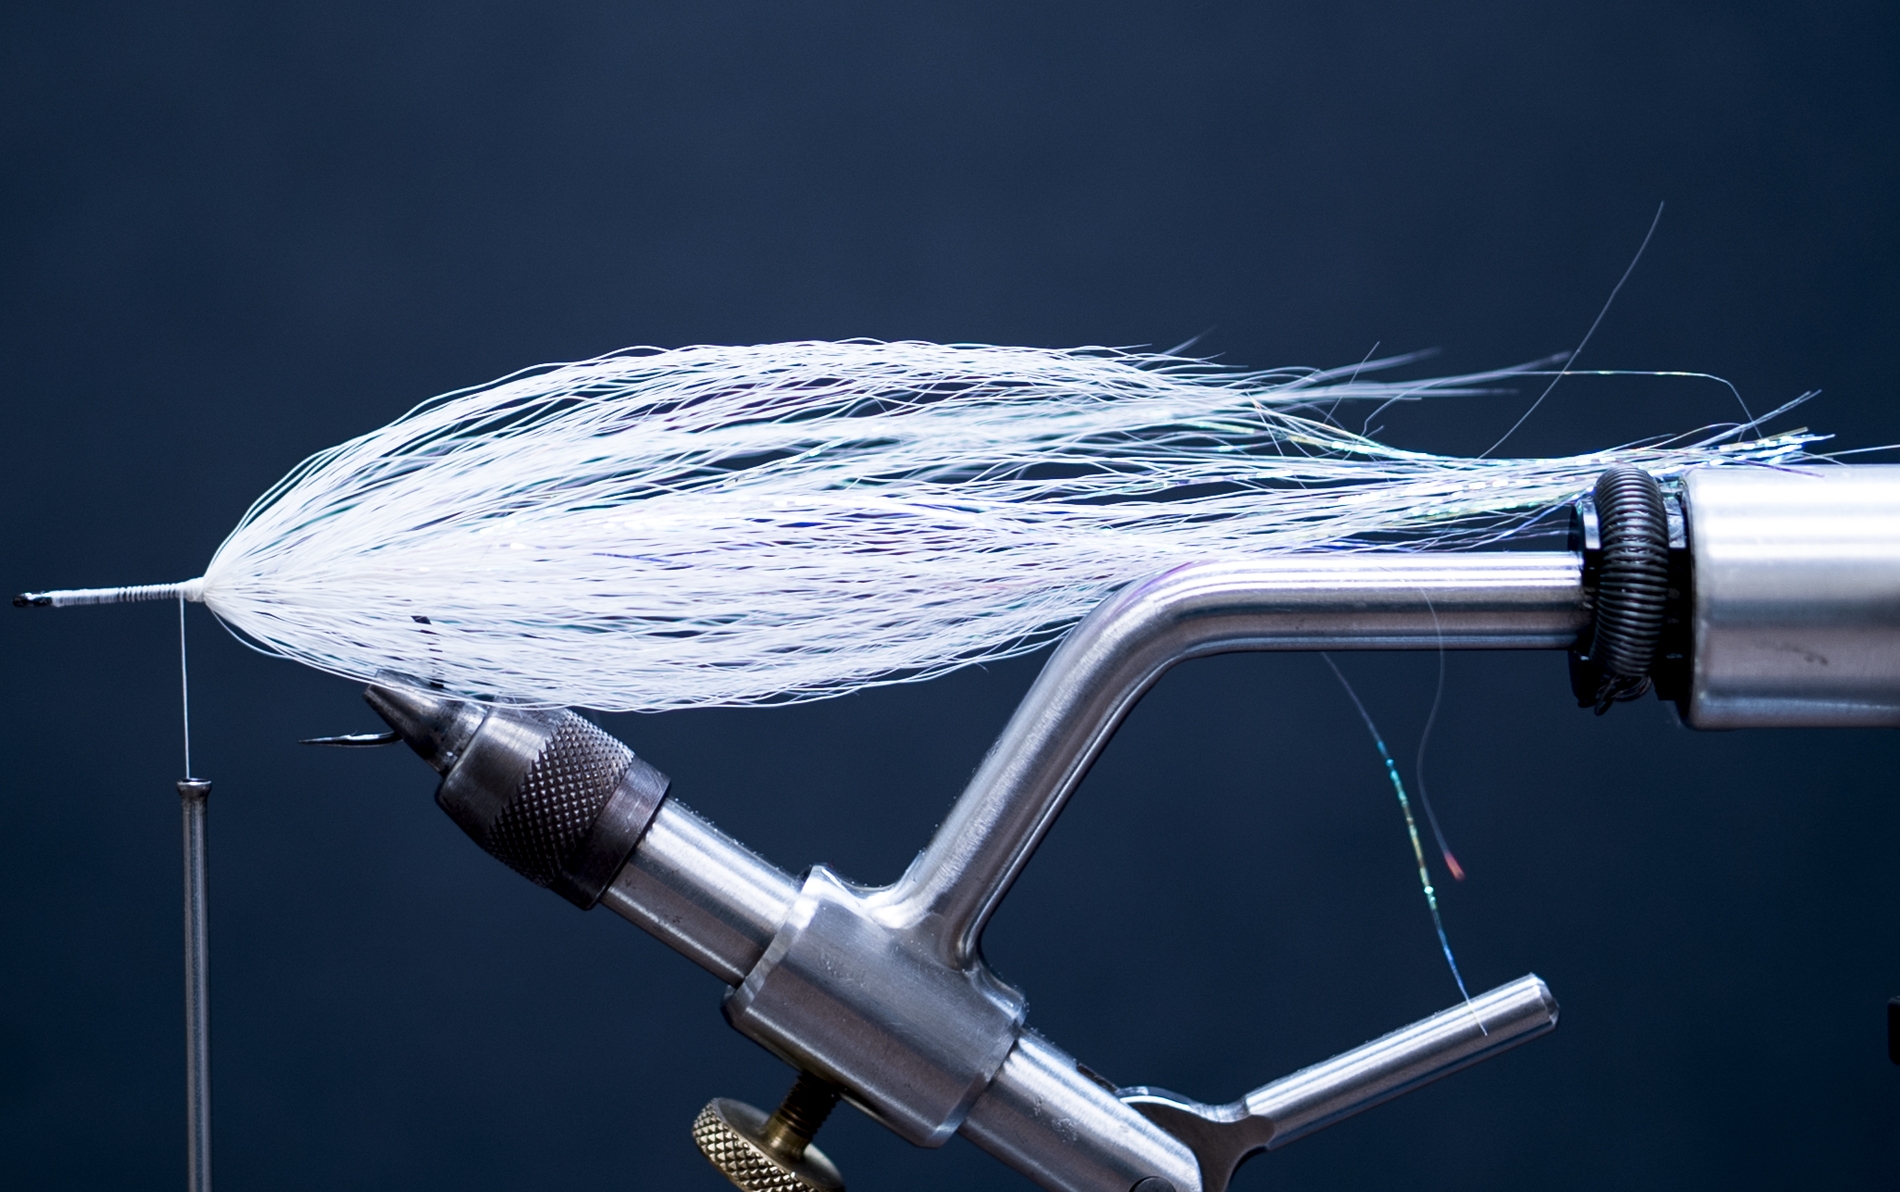
Hollow Fly- “Sexy Shad”
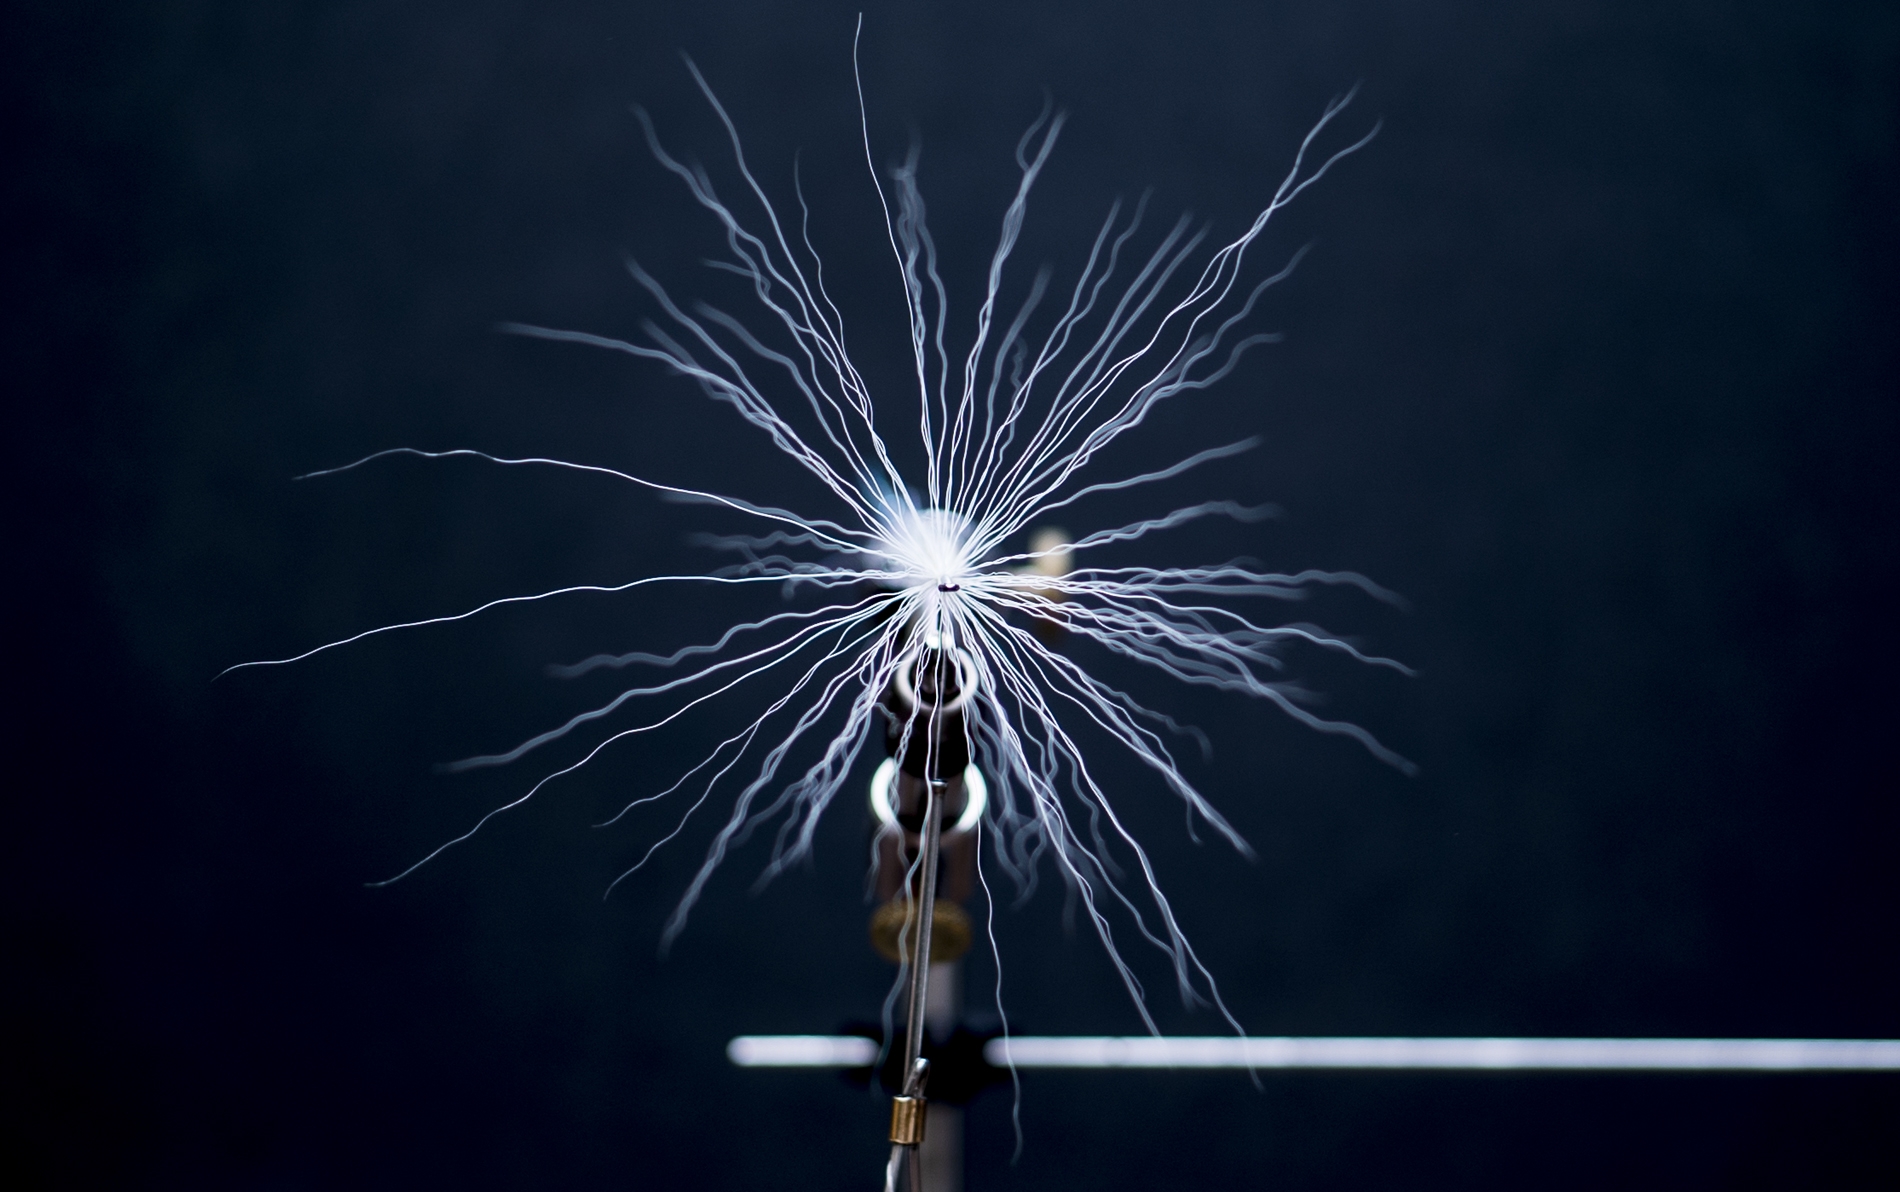
Most who know me can attest to my obsession and addiction to Hollow Tying and Hollow Flies. The way a properly constructed hollow moves through the water is nothing less than seductive. There is so much movement and life in the fly whether at rest or swimming through the water. We as fly tyers and fishermen owe a great debt of gratitude to Bob Popovics whose fertile mind spawned this and many other techniques that have changed the way most us approach fly tying. If you look at any Musky, Pike or Smallmouth fly created over the last decade chances are you will see Bob’s influence peeking through somewhere.
For those who are not familiar with hollow flies hopefully will walk away from this tutorial with a more open mind and will see the endless opportunities this technique can be used for regardless of what species you target. Hollow tying is also not limited by just using bucktail, it can be executed with countless other materials whether it be natural or synthetic.
Pat Kelly – December 2017
“The Sexy Shad” Hollow Fly- Recipe
Hook: Partridge Predator 2/0- Click Here
Thread: UTC 140- White- Click Here
Tail: White Bucktail- Click Here
Tail Flash Material: Lateral Scale- Click Here
Hollow Ties #1-3: White Bucktail- Click Here
Body Flash Material: EP Sparkle Holographic Silver- Click Here
Chocklett’s Body Tubing: ¼” Clear- Click Here
Hollow Tie #4: Fl. Yellow Bucktail- Click Here
Hollow Tie #5: Fl. Blue Bucktail- Click Here
Eyes: Pro Sport Fisher Tab Eye- 10mm or Pro Sport Fisher Pro Jungle Cock Large- Blue or Red- Click Here
(We’ll add the PSF Tab Eyes here once they are on the website)
Cement: Brushable Zap-A-Gap- Click Here
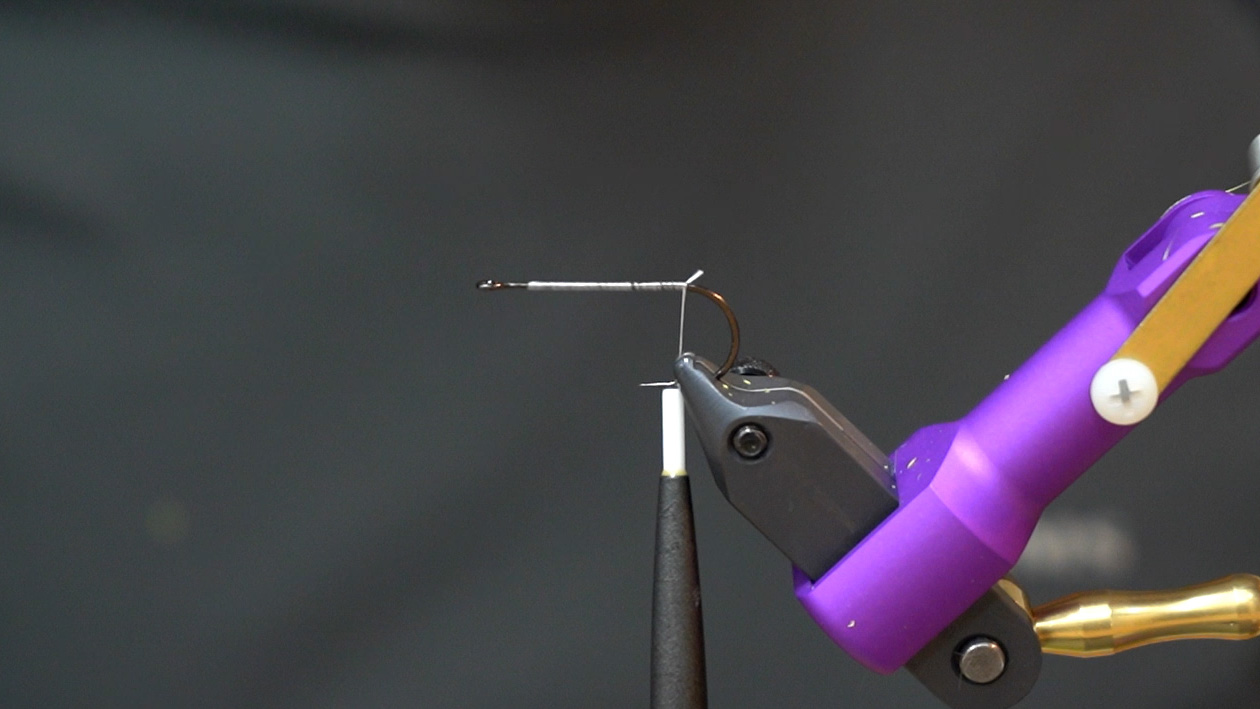
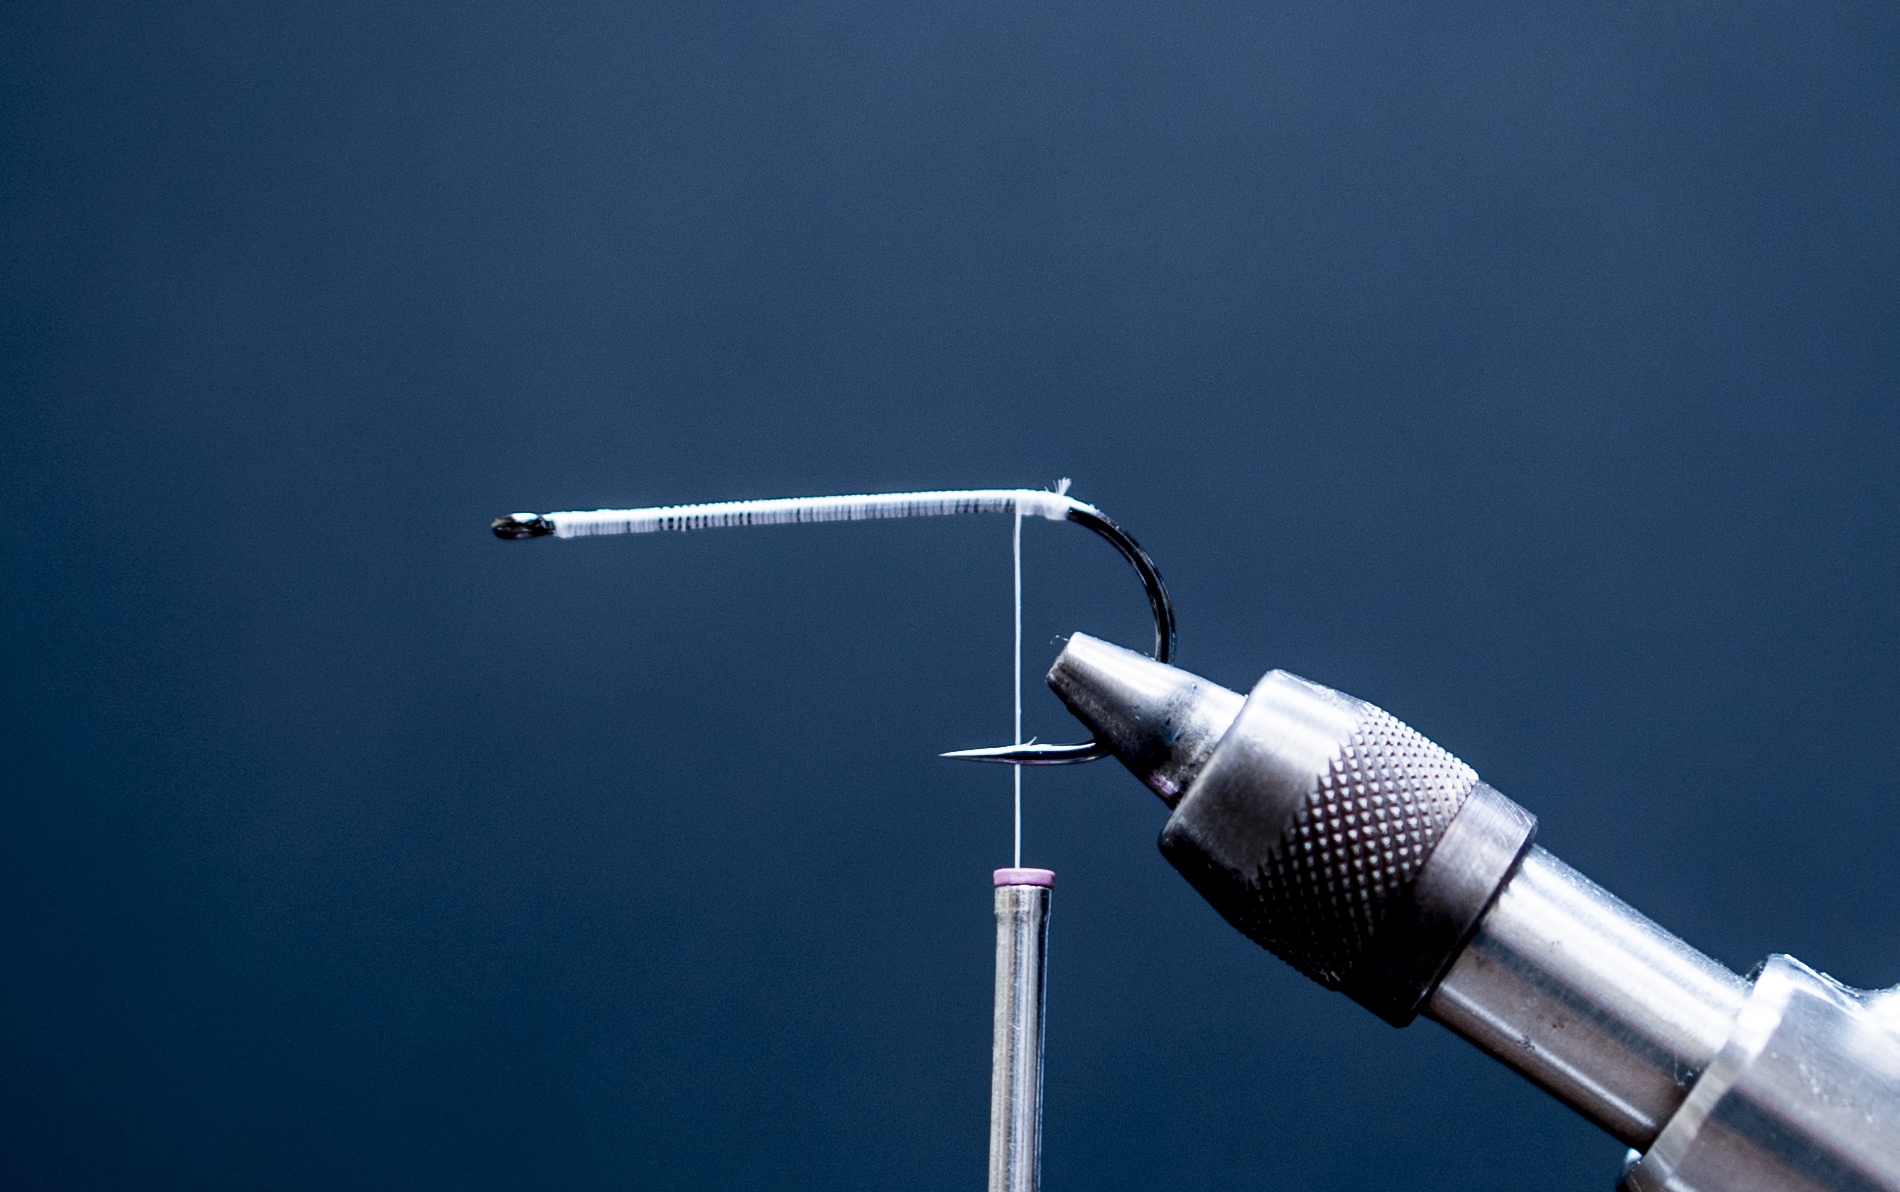
1. Secure hook in the vise. Lay a foundation of thread from the hook eye all the way back to just beyond the barb, then advance thread to just in front of the barb as this will be our initial tie in point.
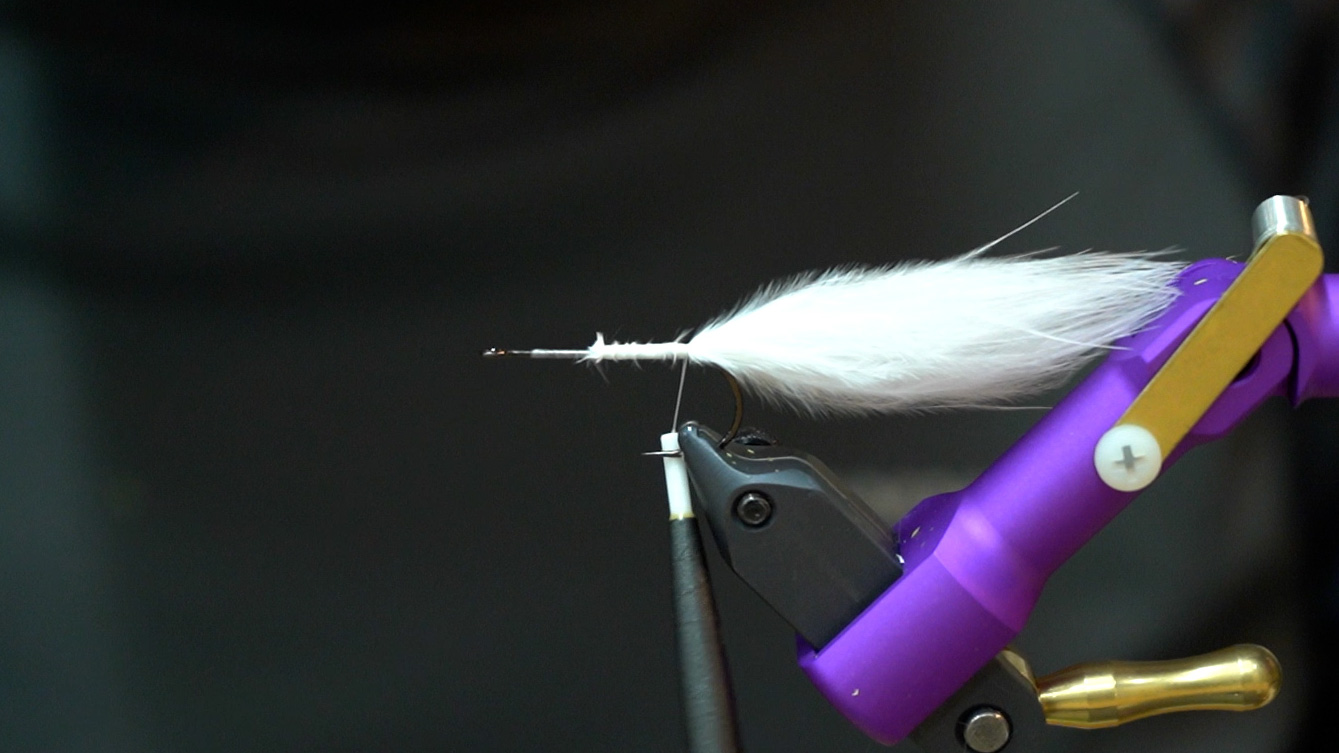
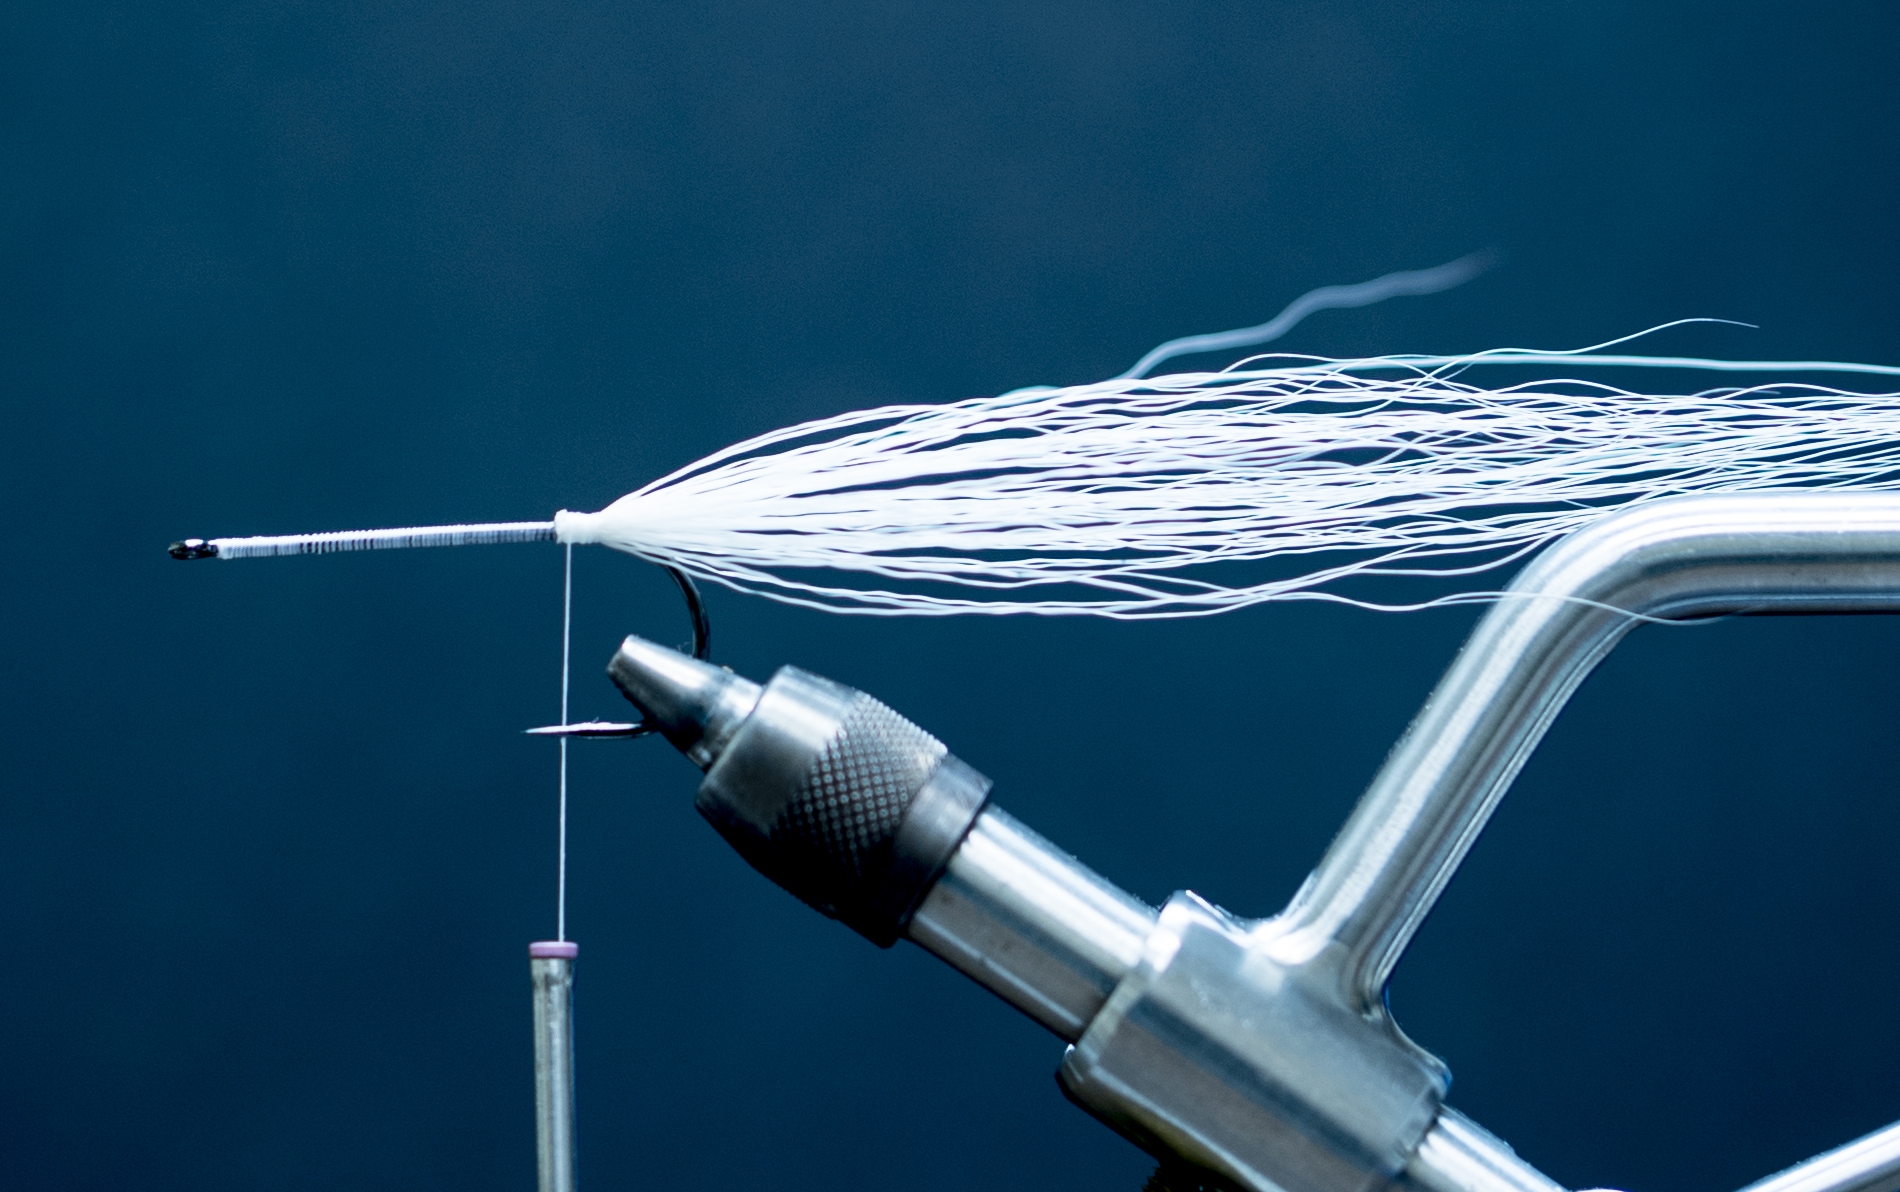
2. Tie in your first bundle of white bucktail. This tail section should be approximately 3-4 times the length of your hook shank. After the hair has been cut off the hide hold the tips between your thumb and forefinger and preen out the shortest fibers and discard them. Once complete lay bucktail on top of half of the hook shank and secure with 3-4 locking wraps. *Be aware of how much hair isn’t used in the tail. Less is more anytime you are tying hollow fleye’s. If you think you have the right amount use half of that!
3. Select a liberal amount of Lateral Scale and tie it in reverse so that the longest fibers are facing forward to the eye of the hook.
Once secure fold the flash back on top of itself and distribute 180 degrees around the bucktail and finish with 3-4 locking wraps. Apply brushable Zap-A-Gap to thread wraps. When finished I like to cut my flash so that it extends about a ½” beyond the tail.
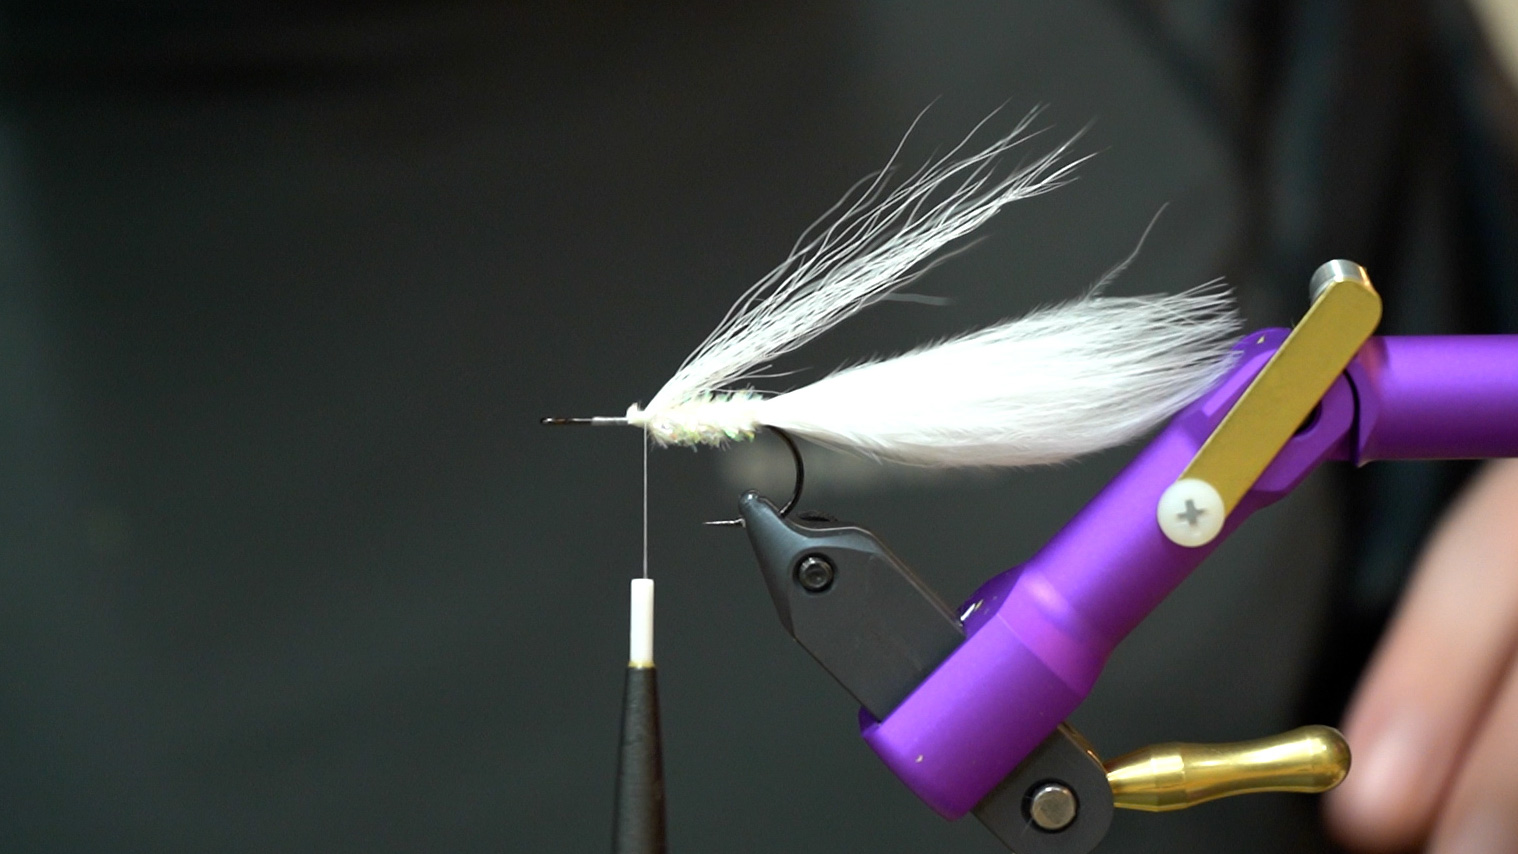
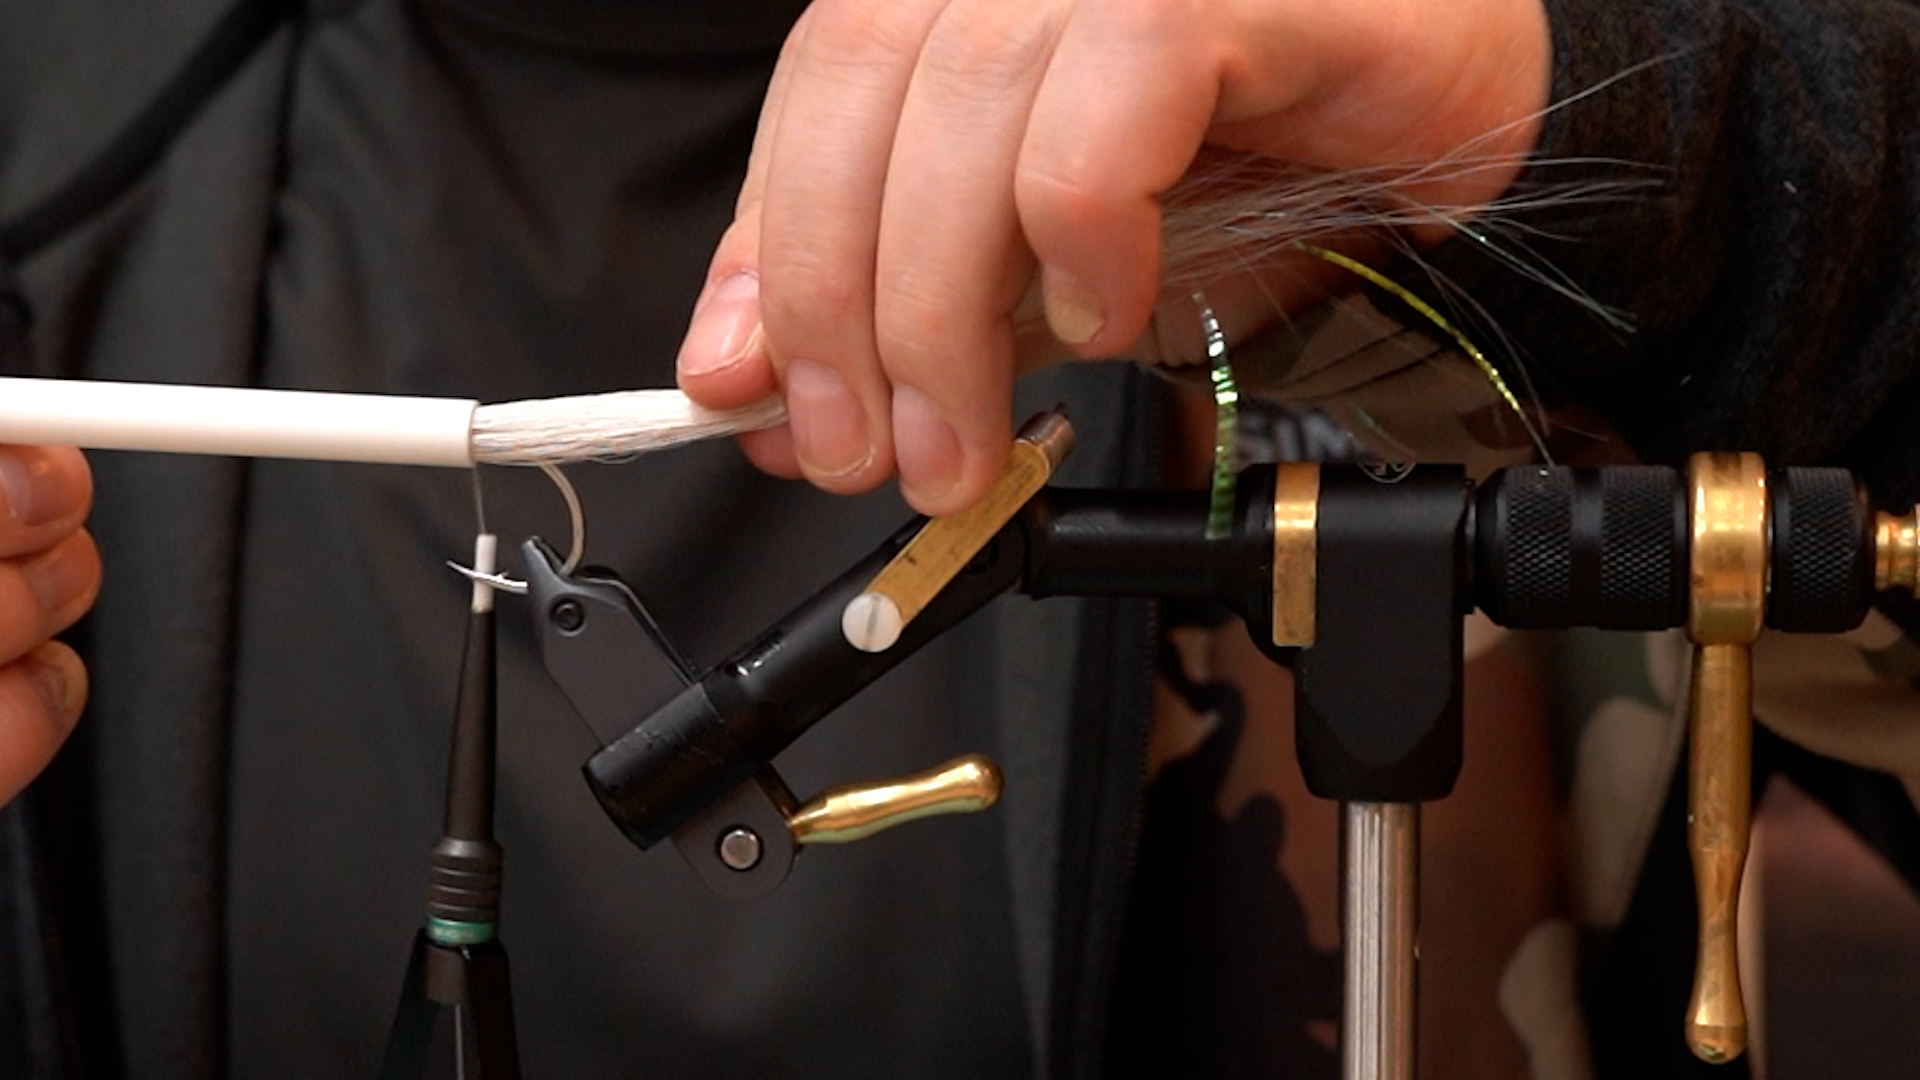
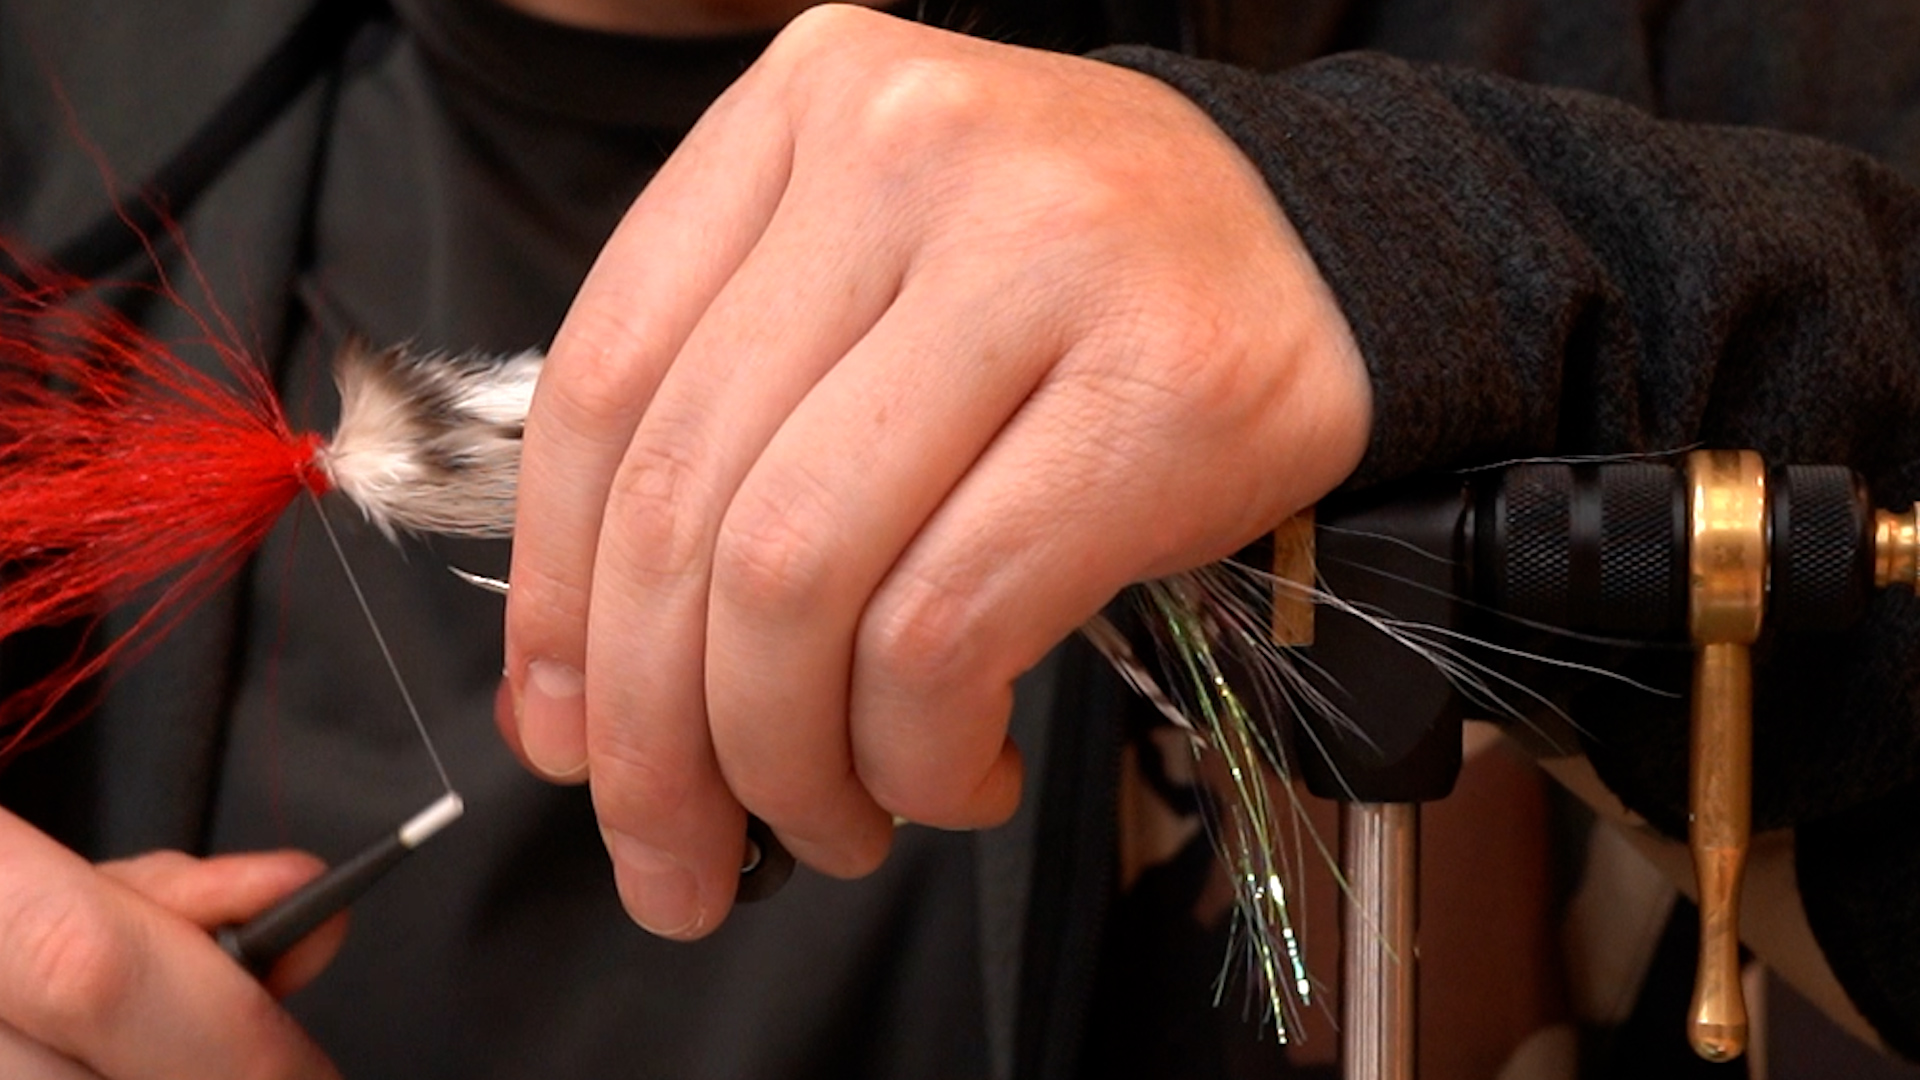
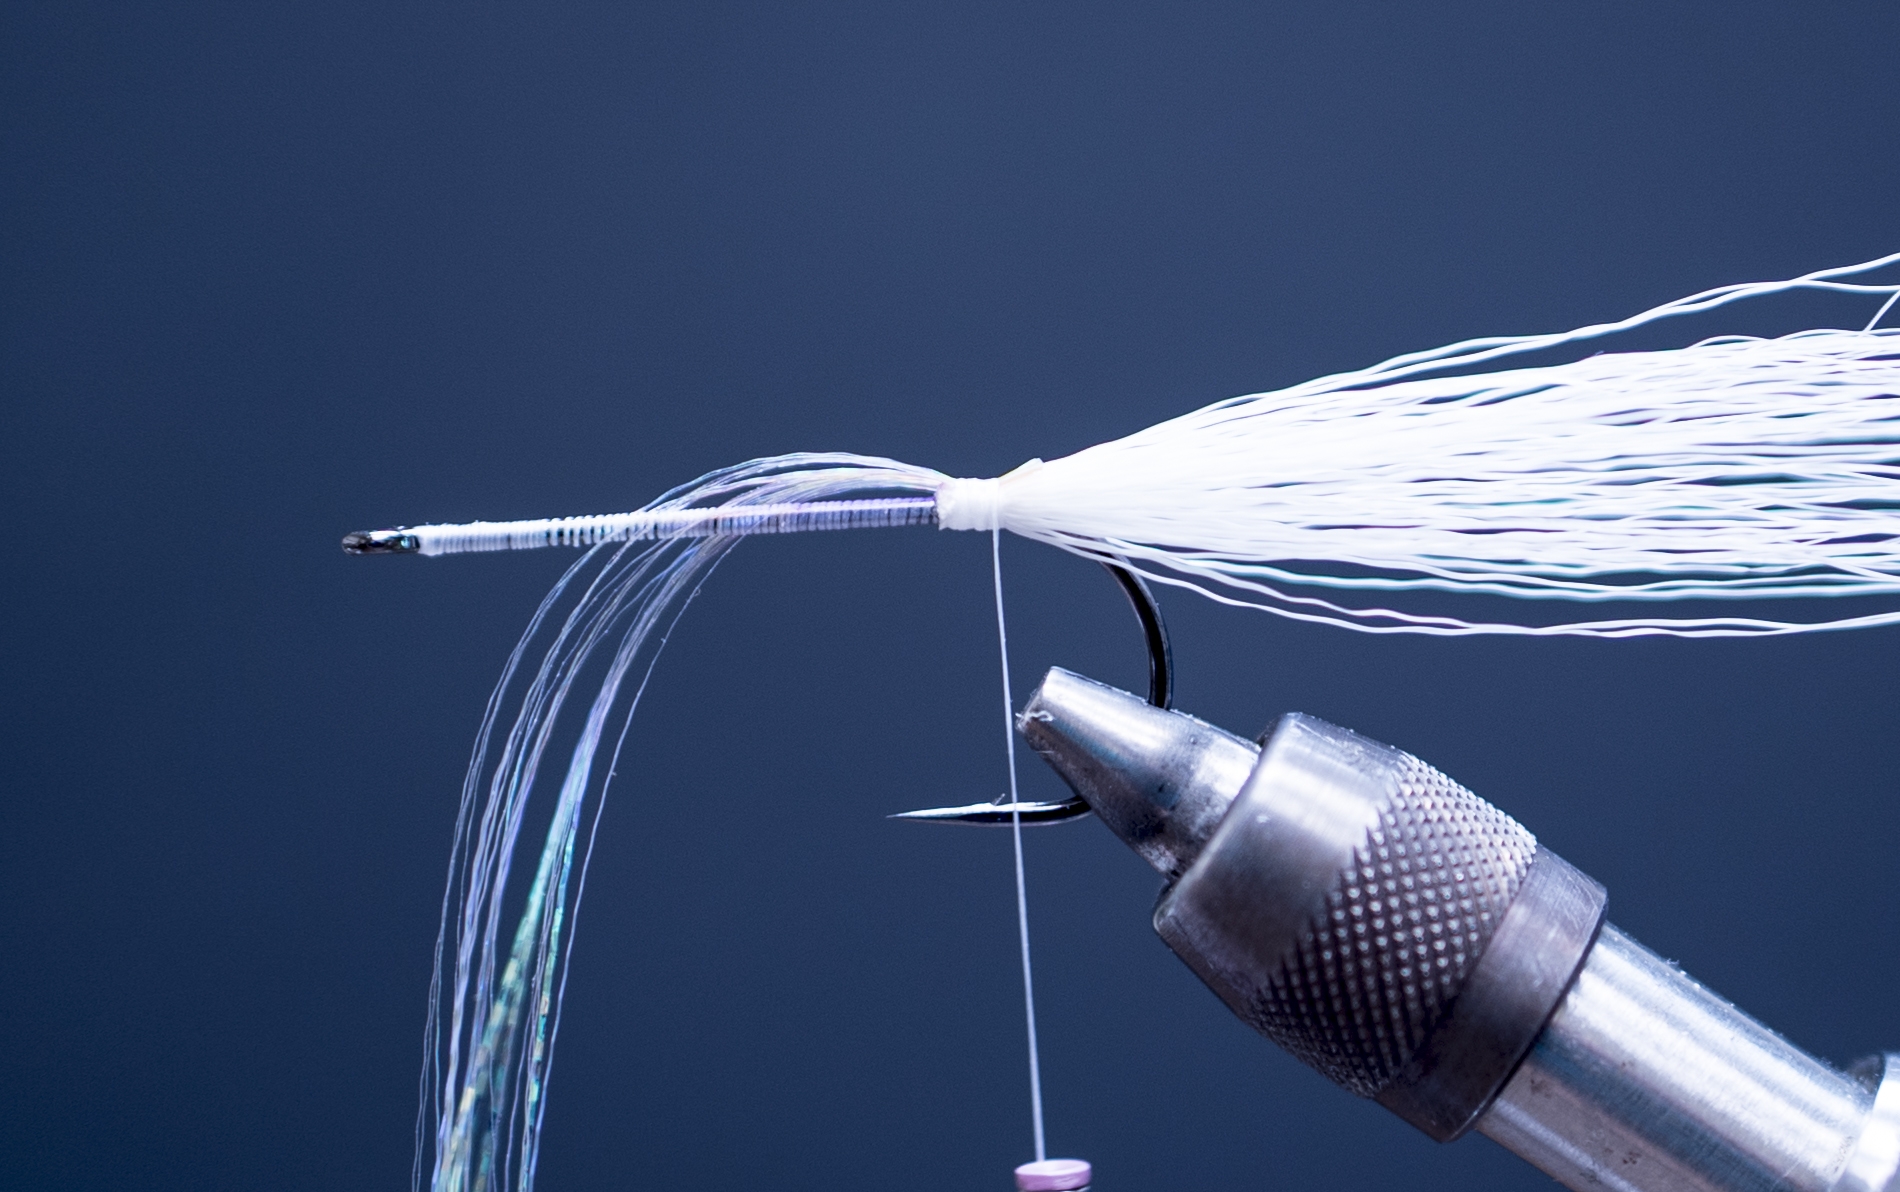
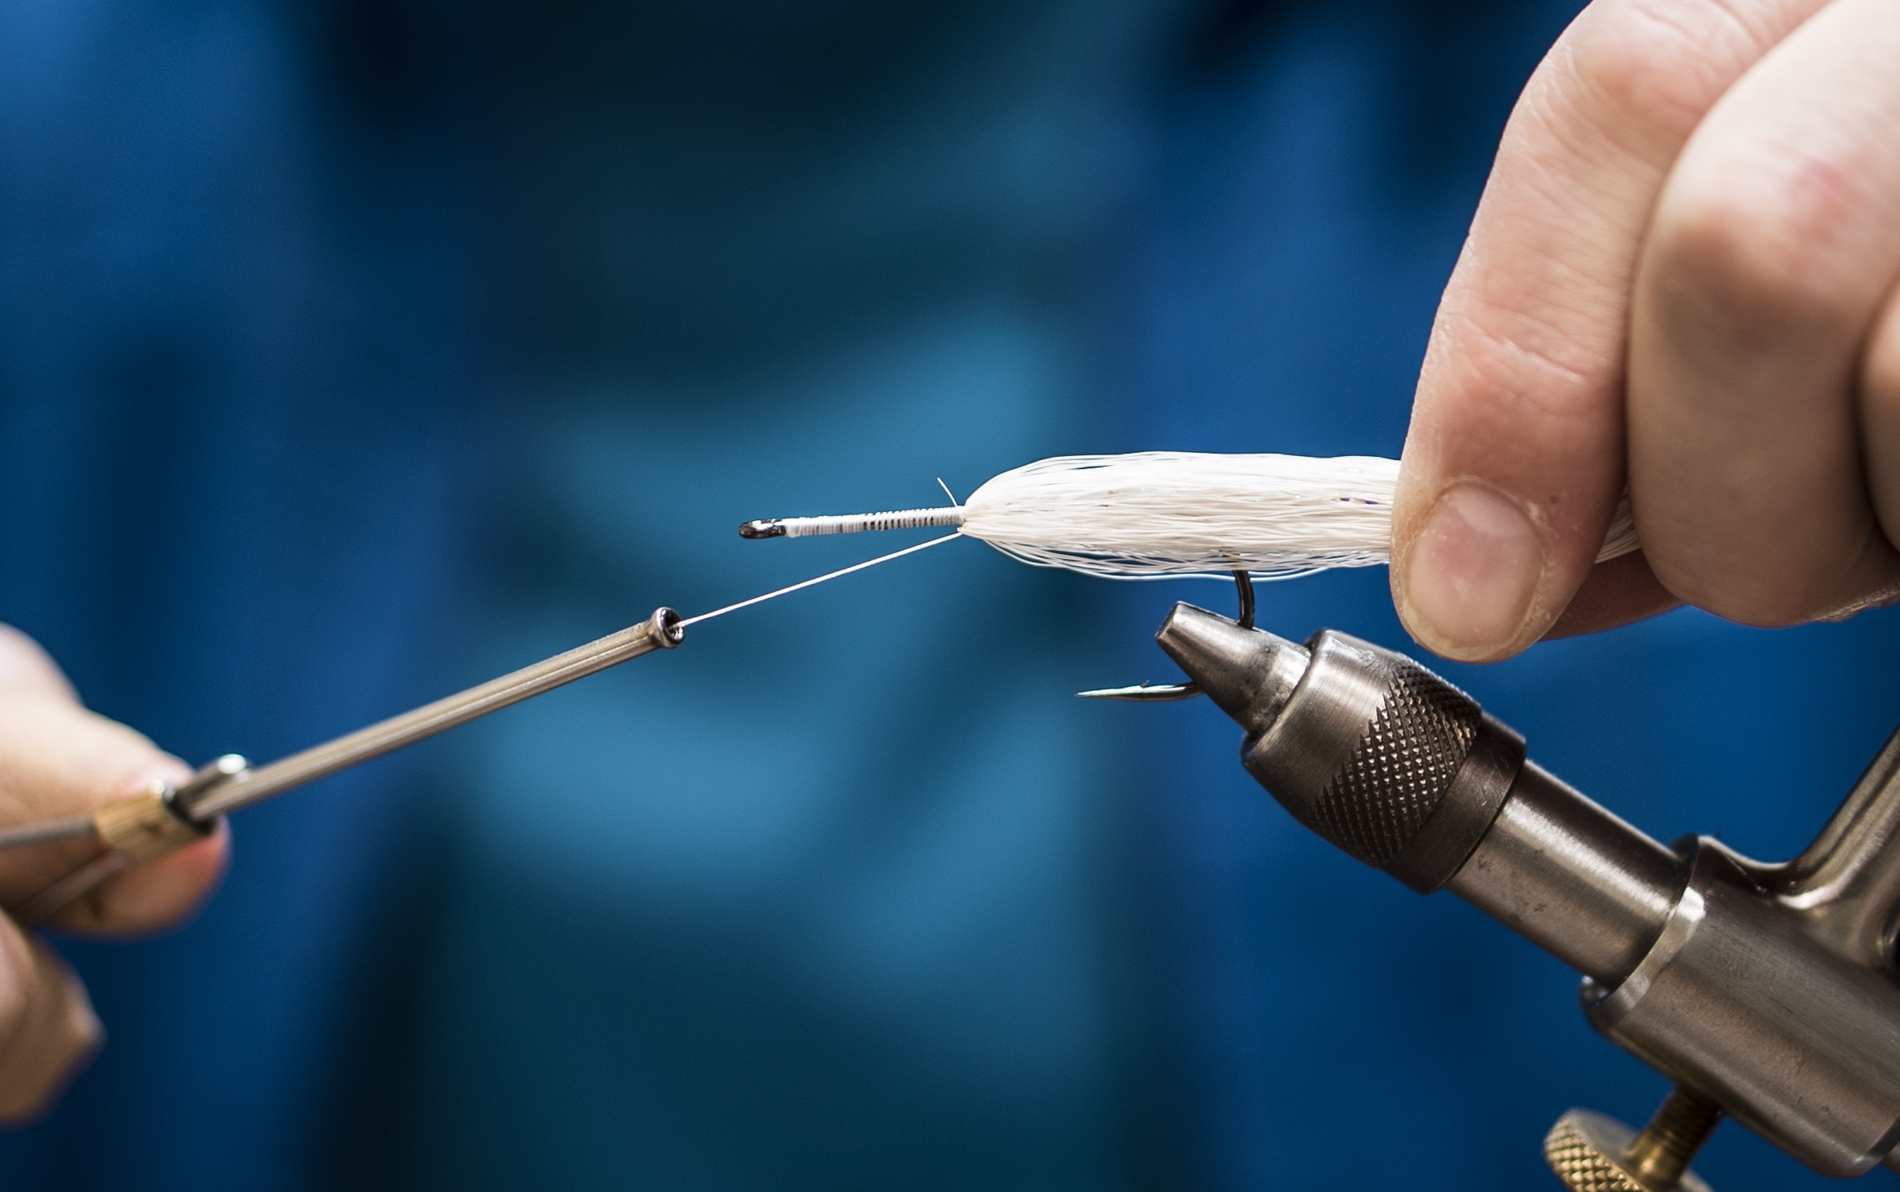
4. At this point we are ready for our first hollow tie. Select a bundle of hair that is a little less than was used in the tail. Before tying in be sure to preen out the shortest fibers like we did with previous step. Take the time to measure this bundle of hair against the previous one before tying in. You want this section to be about 75% the length of the tail. Now with your material hand lay your bucktail in reverse on top of the hook and trap with three loose thread wraps. Before securing the hair you want to take your thumb and forefinger and distribute the hair evenly 360 degrees around the hook.
Once the bucktail is evenly distributed pull tight on the thread locking the bucktail in place.
Once secured you will want to pull the fibers backwards toward the rear of the fly and advance your thread in front of the bucktail and begin building your thread dam.
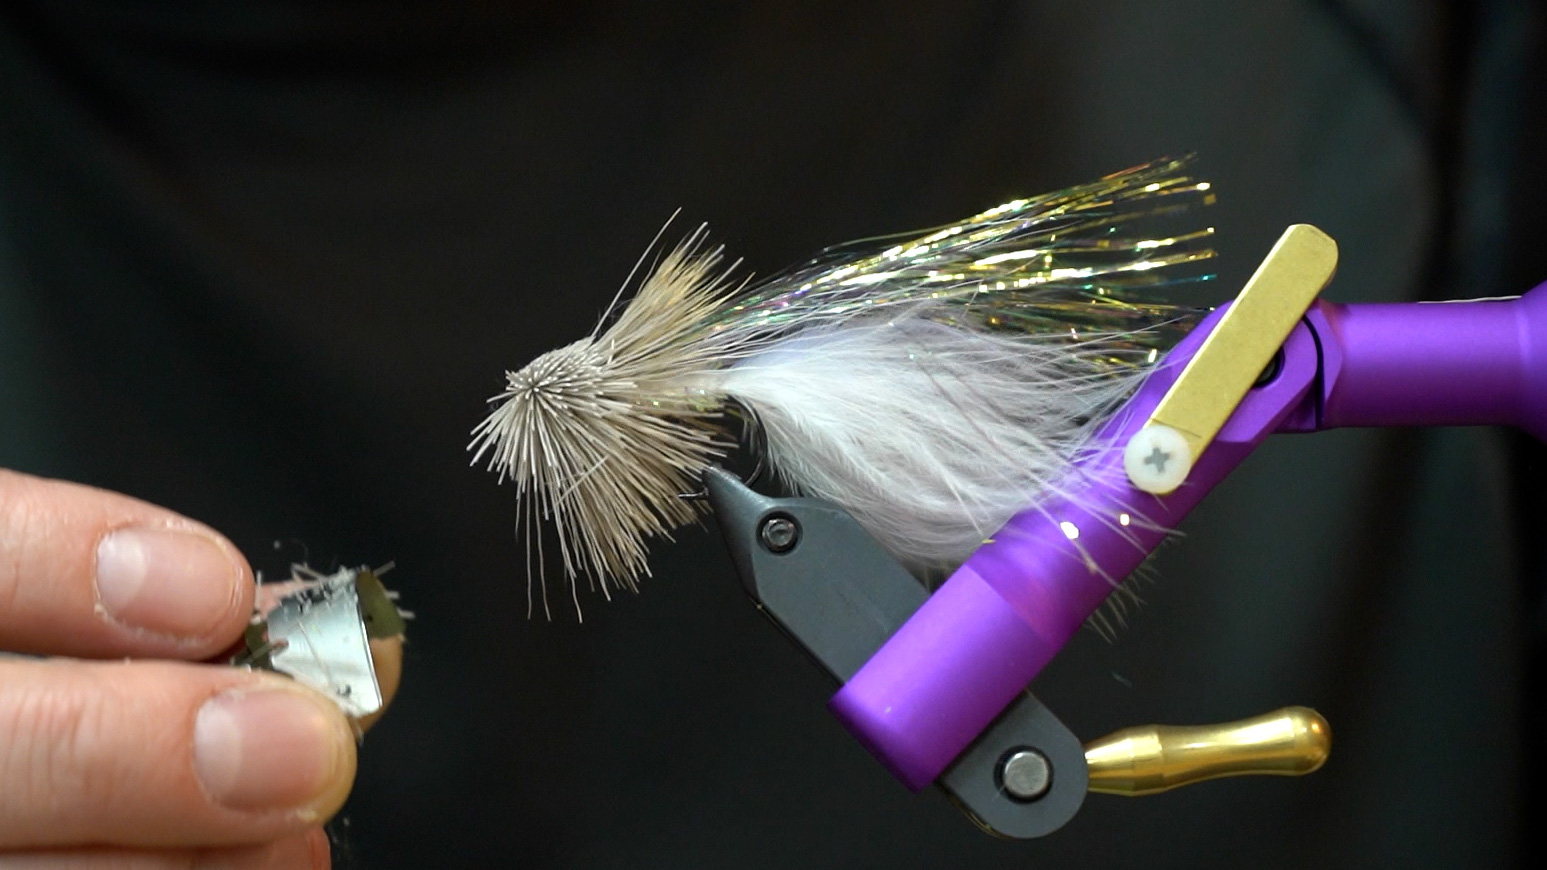
5. Continue building up your thread dam until you have achieved a fairly flat angle to your hair. That larger your thread dam the flatter the hair will want to lay. At this point in we do not need much height as we are still building the rear portion of the fly.
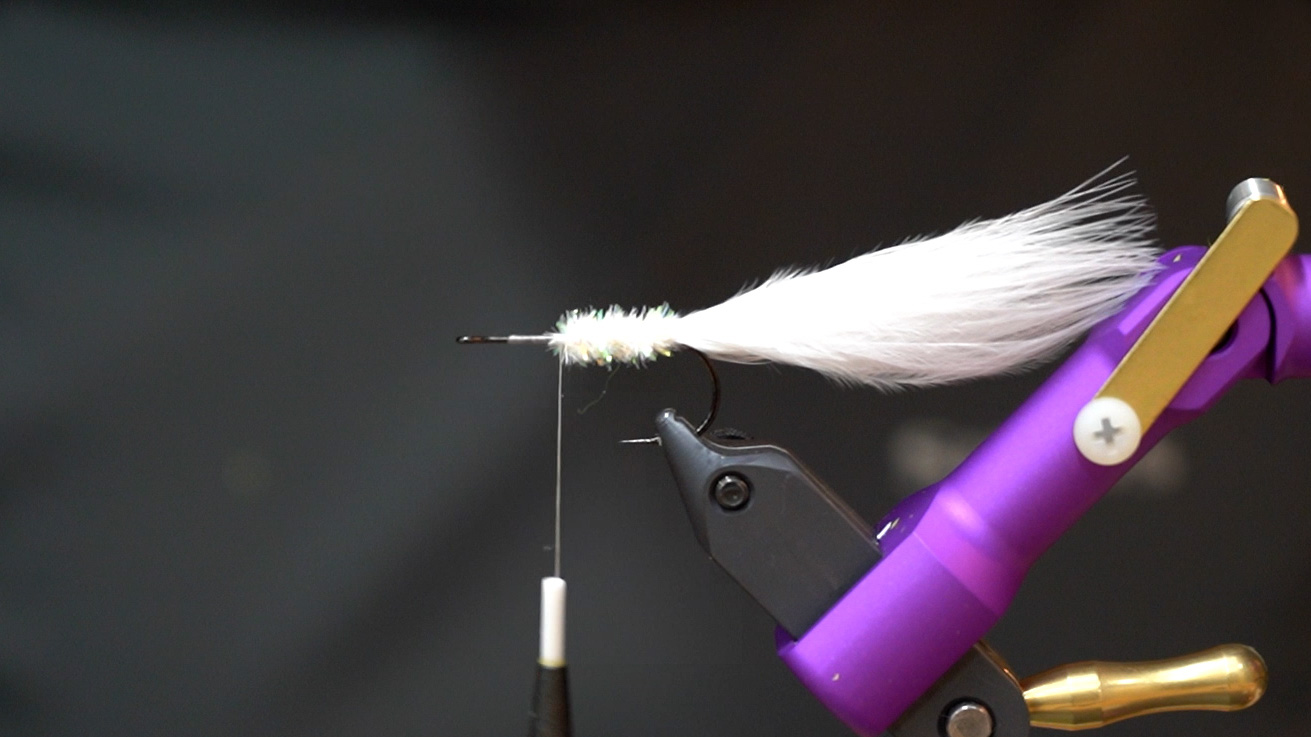
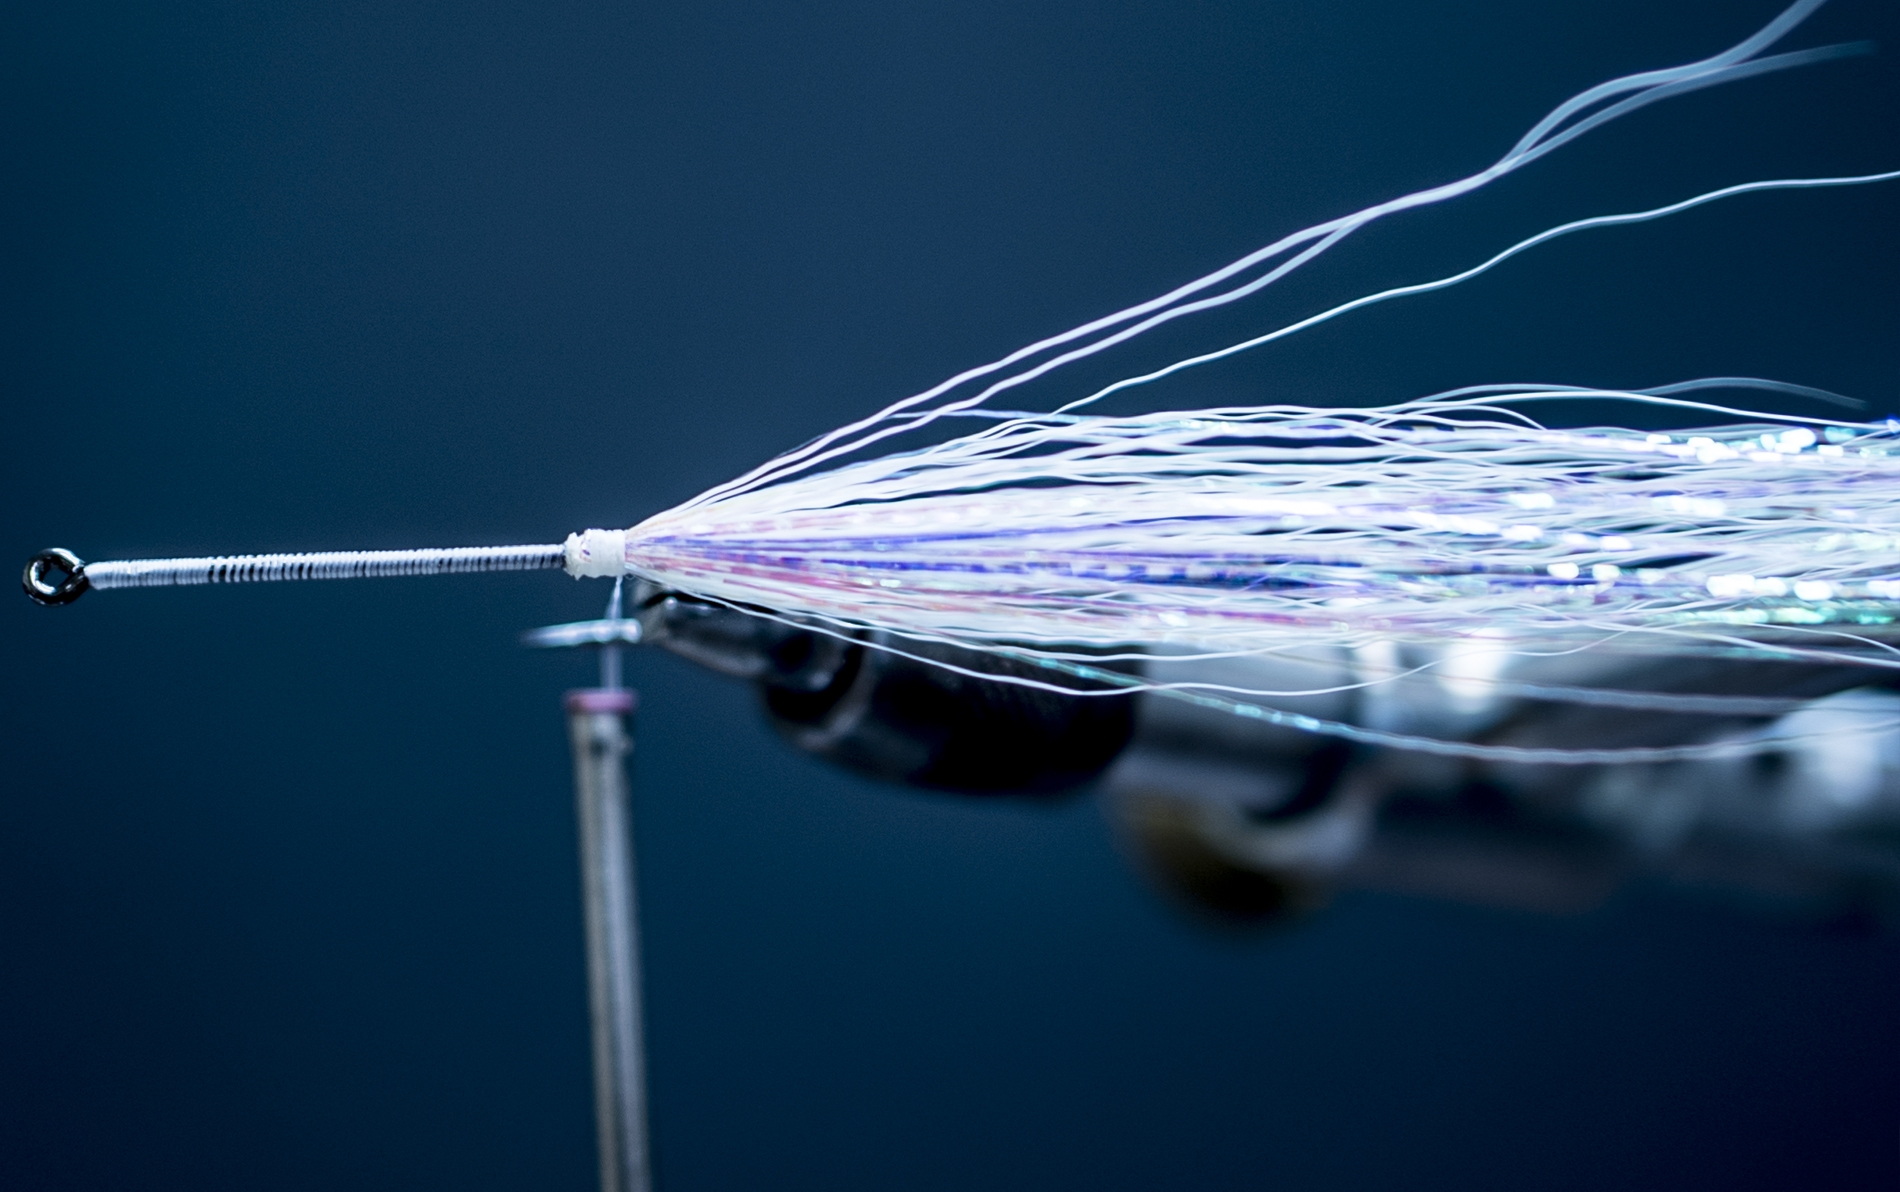
6. At this point in the pattern I like to add some flash to the body. My preferred material is EP Sparkle because it has good length, is very light and blends well into the bucktail. Take a generous clump and center tie it on top of the hook shank. Fold back over itself and distribute evenly around the fly. Finish off by applying a little brushable Zap to lock everything in place.
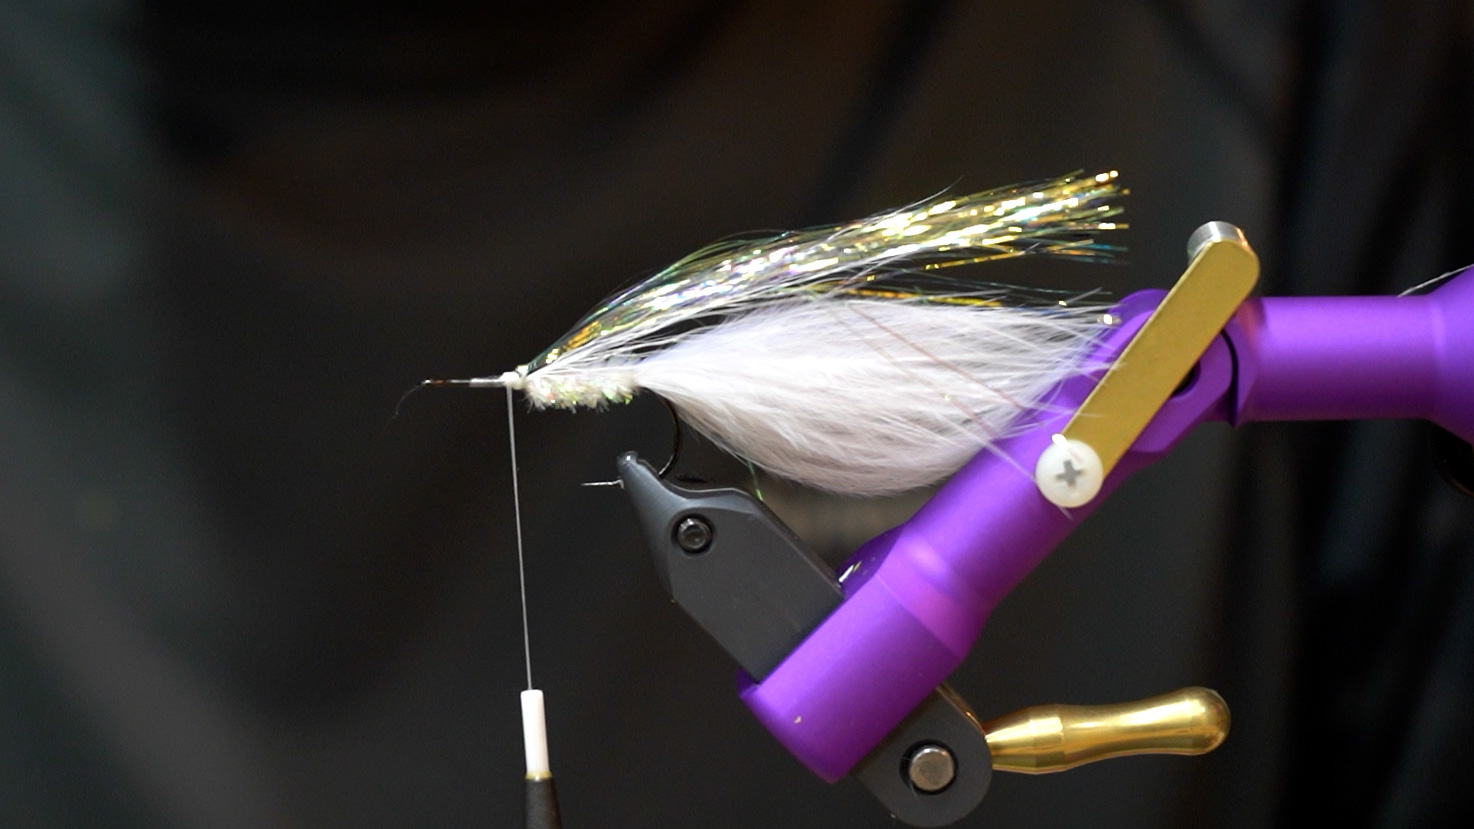
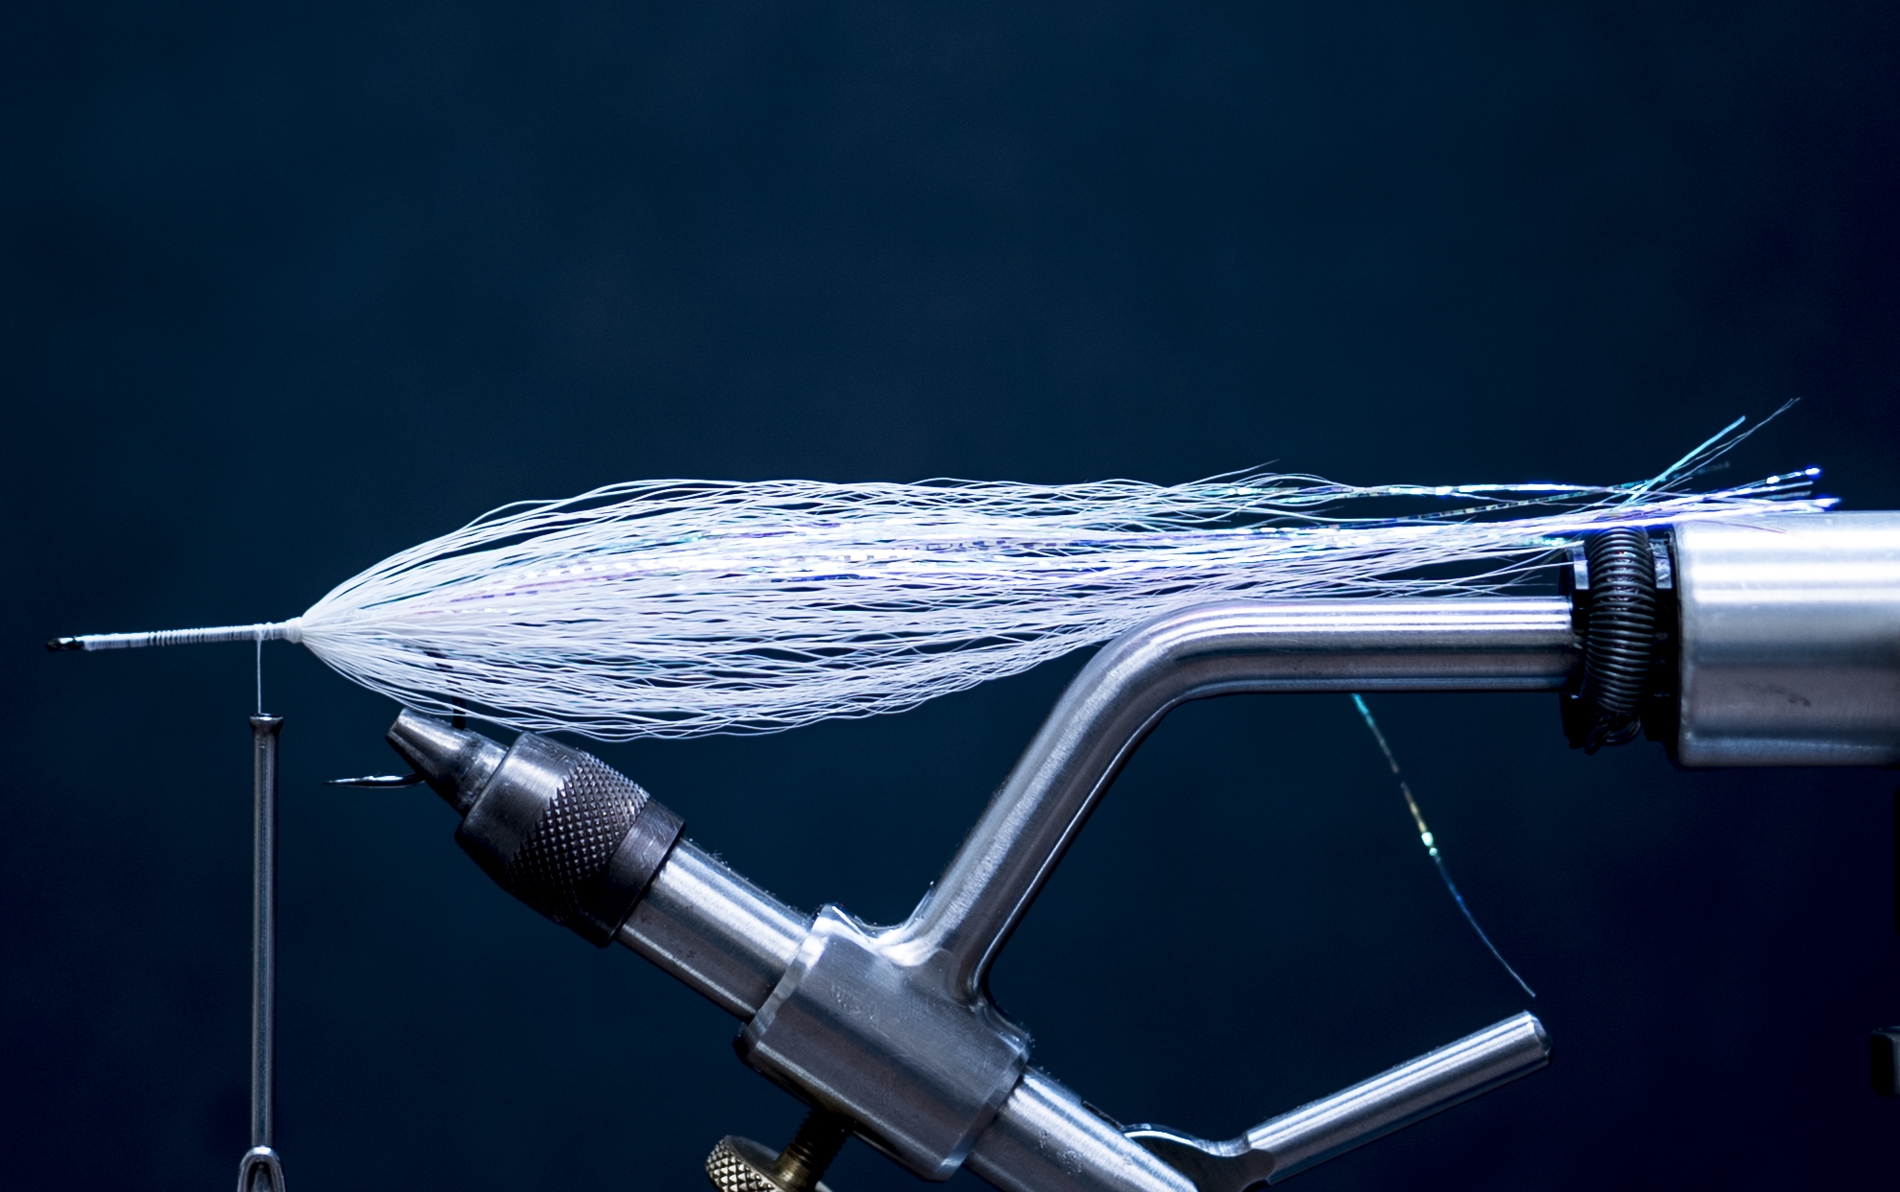
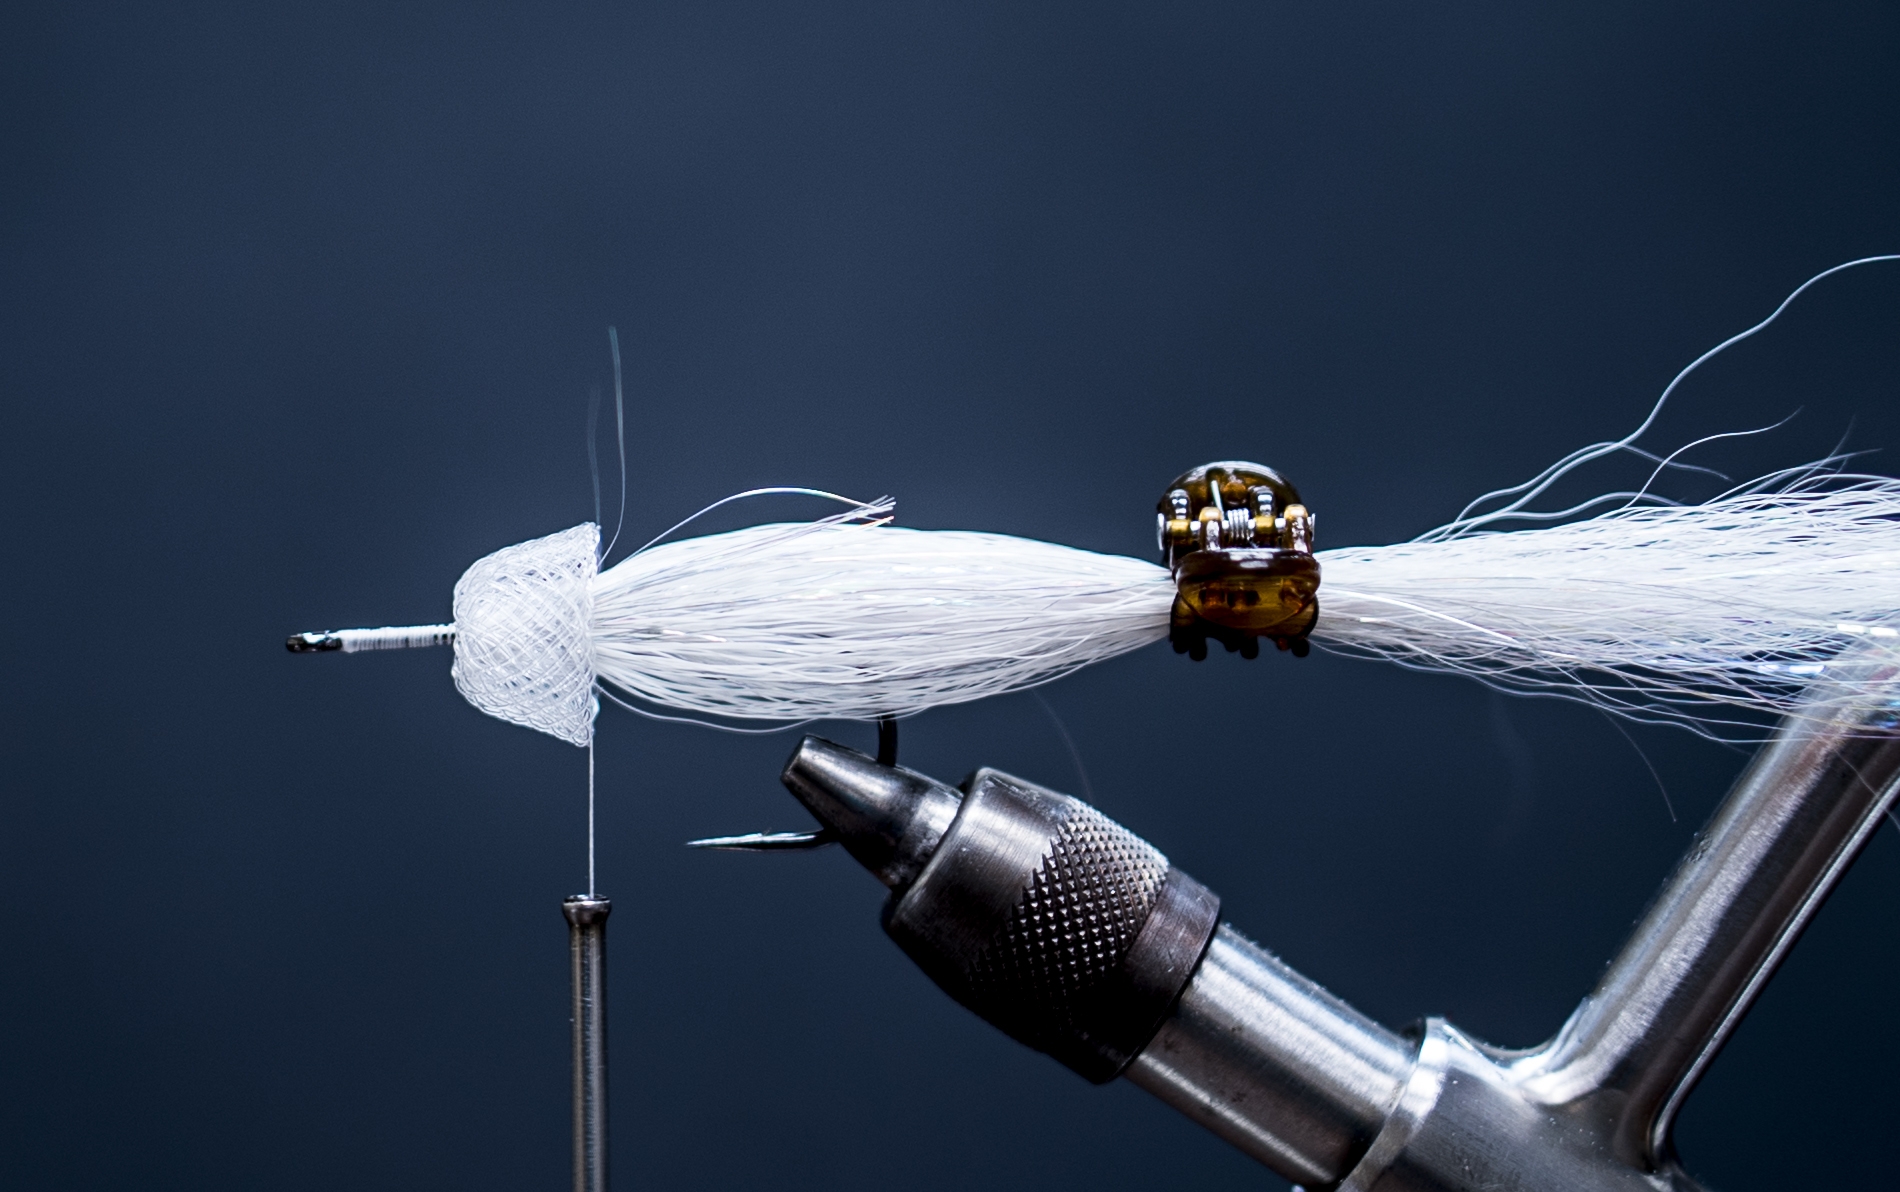
7. Now at this stage of the fly we will begin to build up the profile by starting to form the back and shoulders of the fly. Repeat the same process as we did in the last step. Only difference being in the angle of your bucktail. Make your thread dam a little smaller so that the bucktail wing sits up a little taller as seen in the picture above.
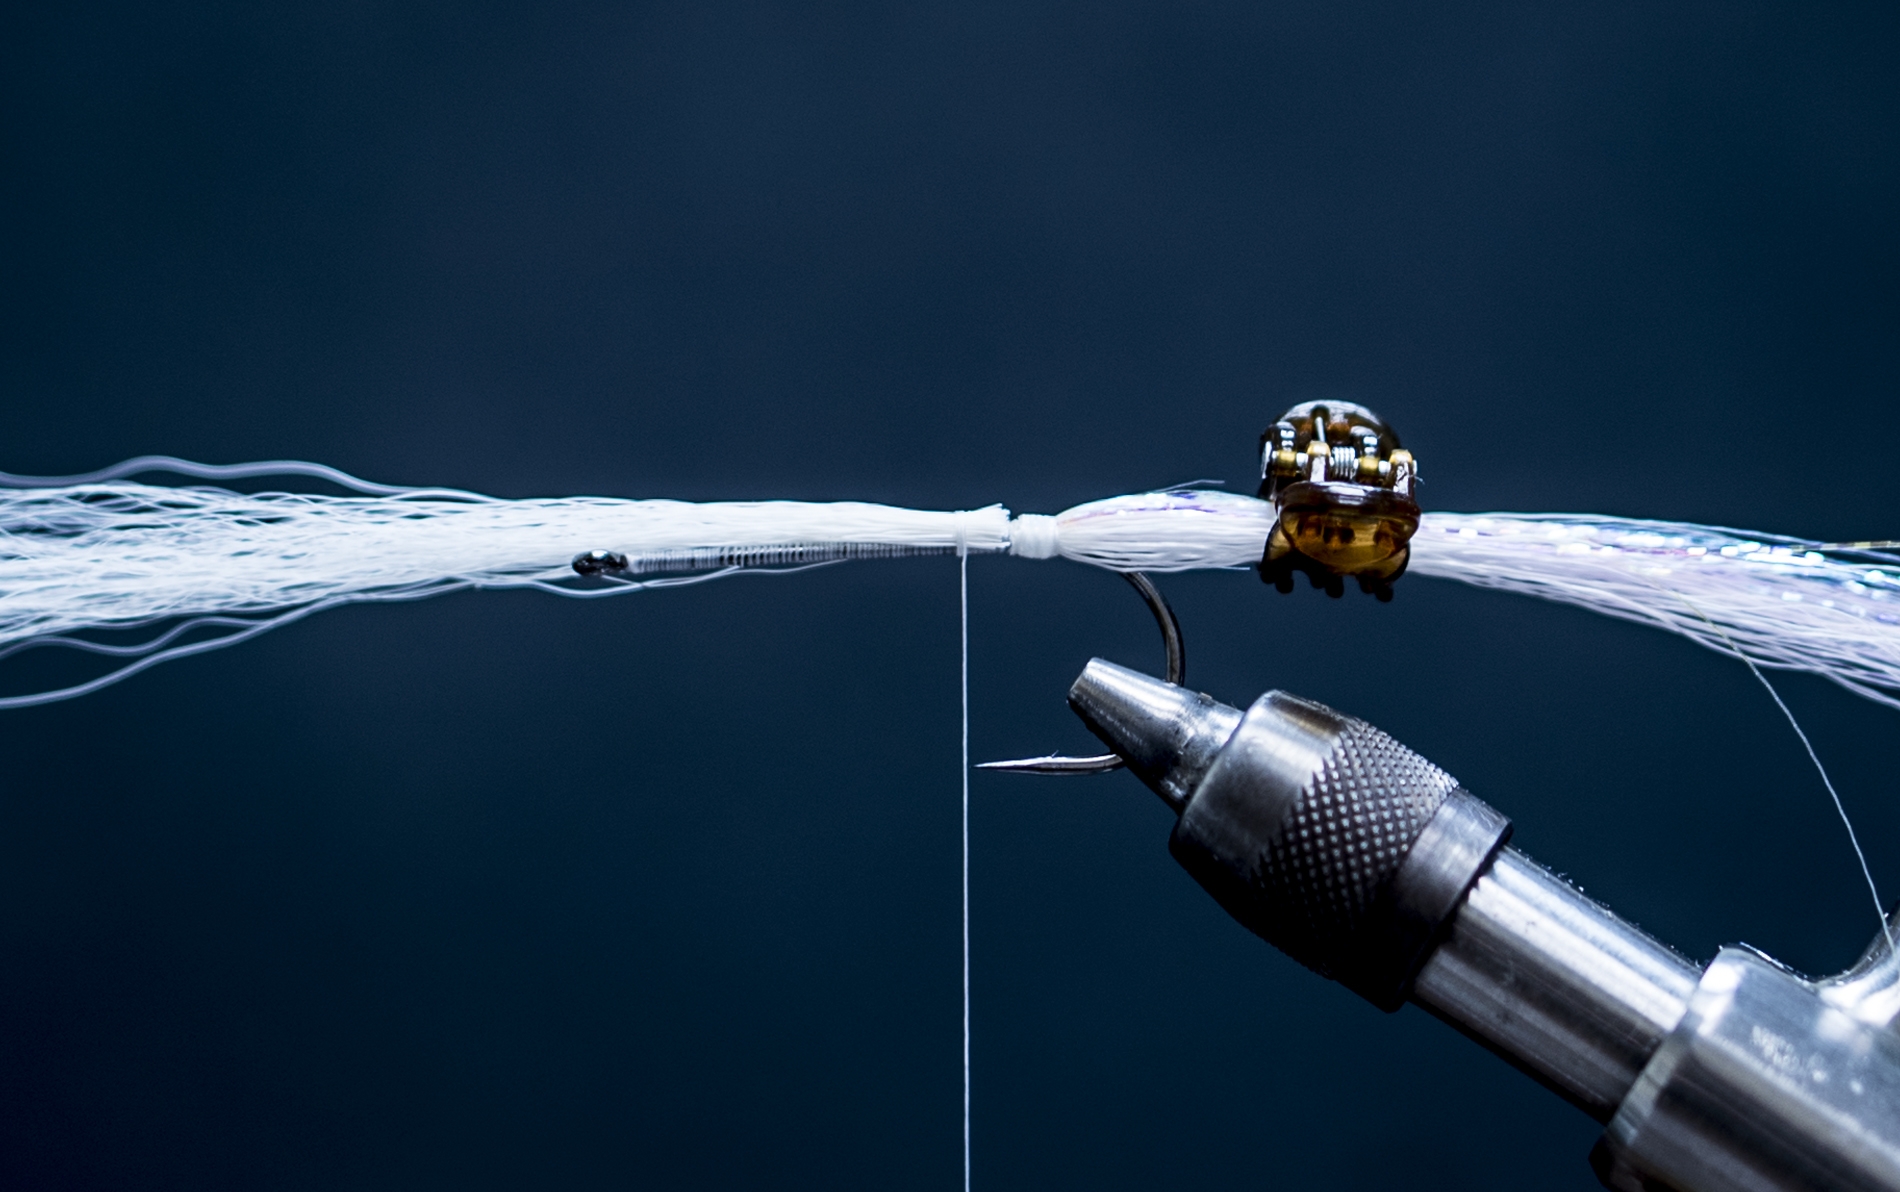
8. After this stage is complete I like to incorporate Chocklett’s Body Tubing so that the fly will push more water causing a much more dramatic side to side swimming motion. This stage is optional. I recommend tying this pattern both with and without this addition as the action is very different in each variation.
9. From this point on we will be tying in two more hollow ties. First one being with Fl. Yellow Bucktail and the last one with Fl. Blue Bucktail. At this point you have a finished product.
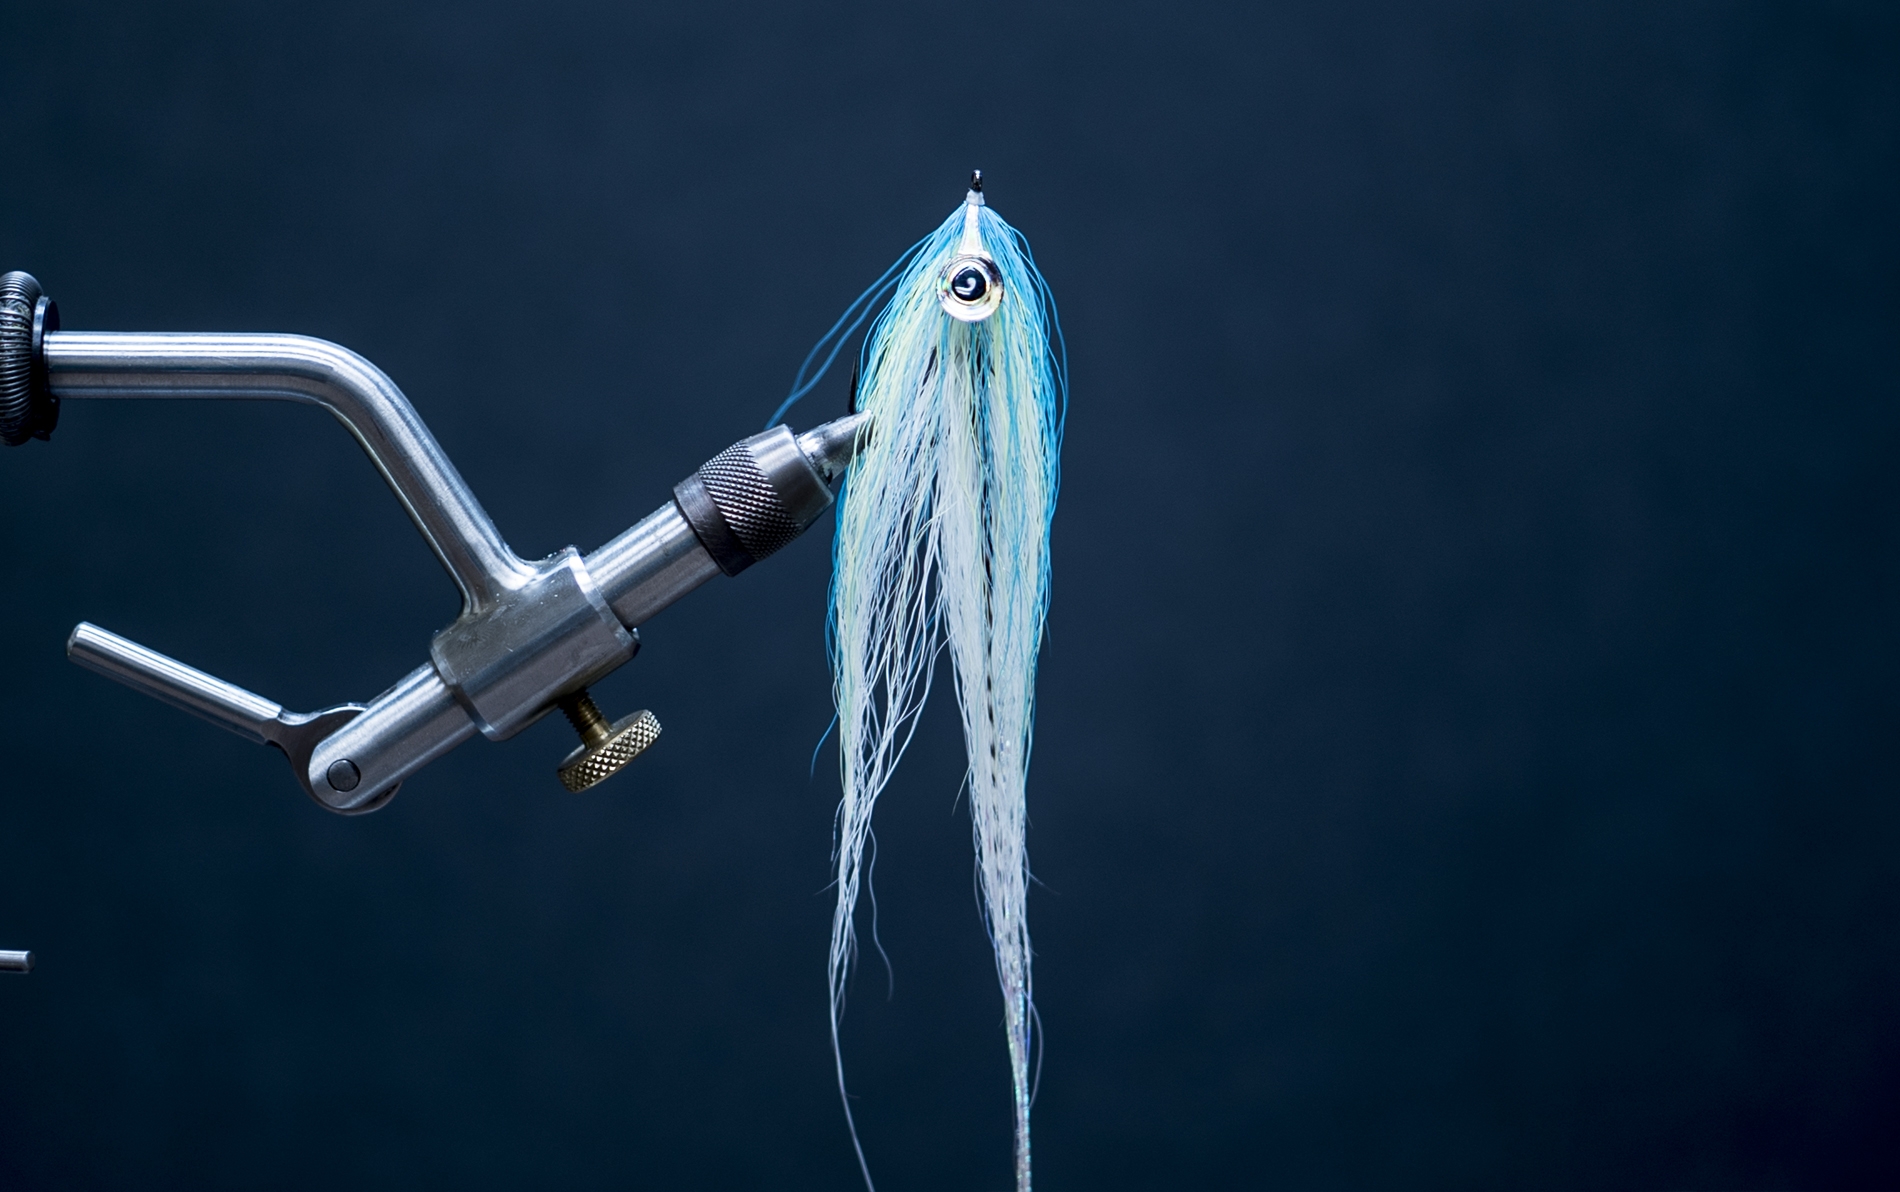
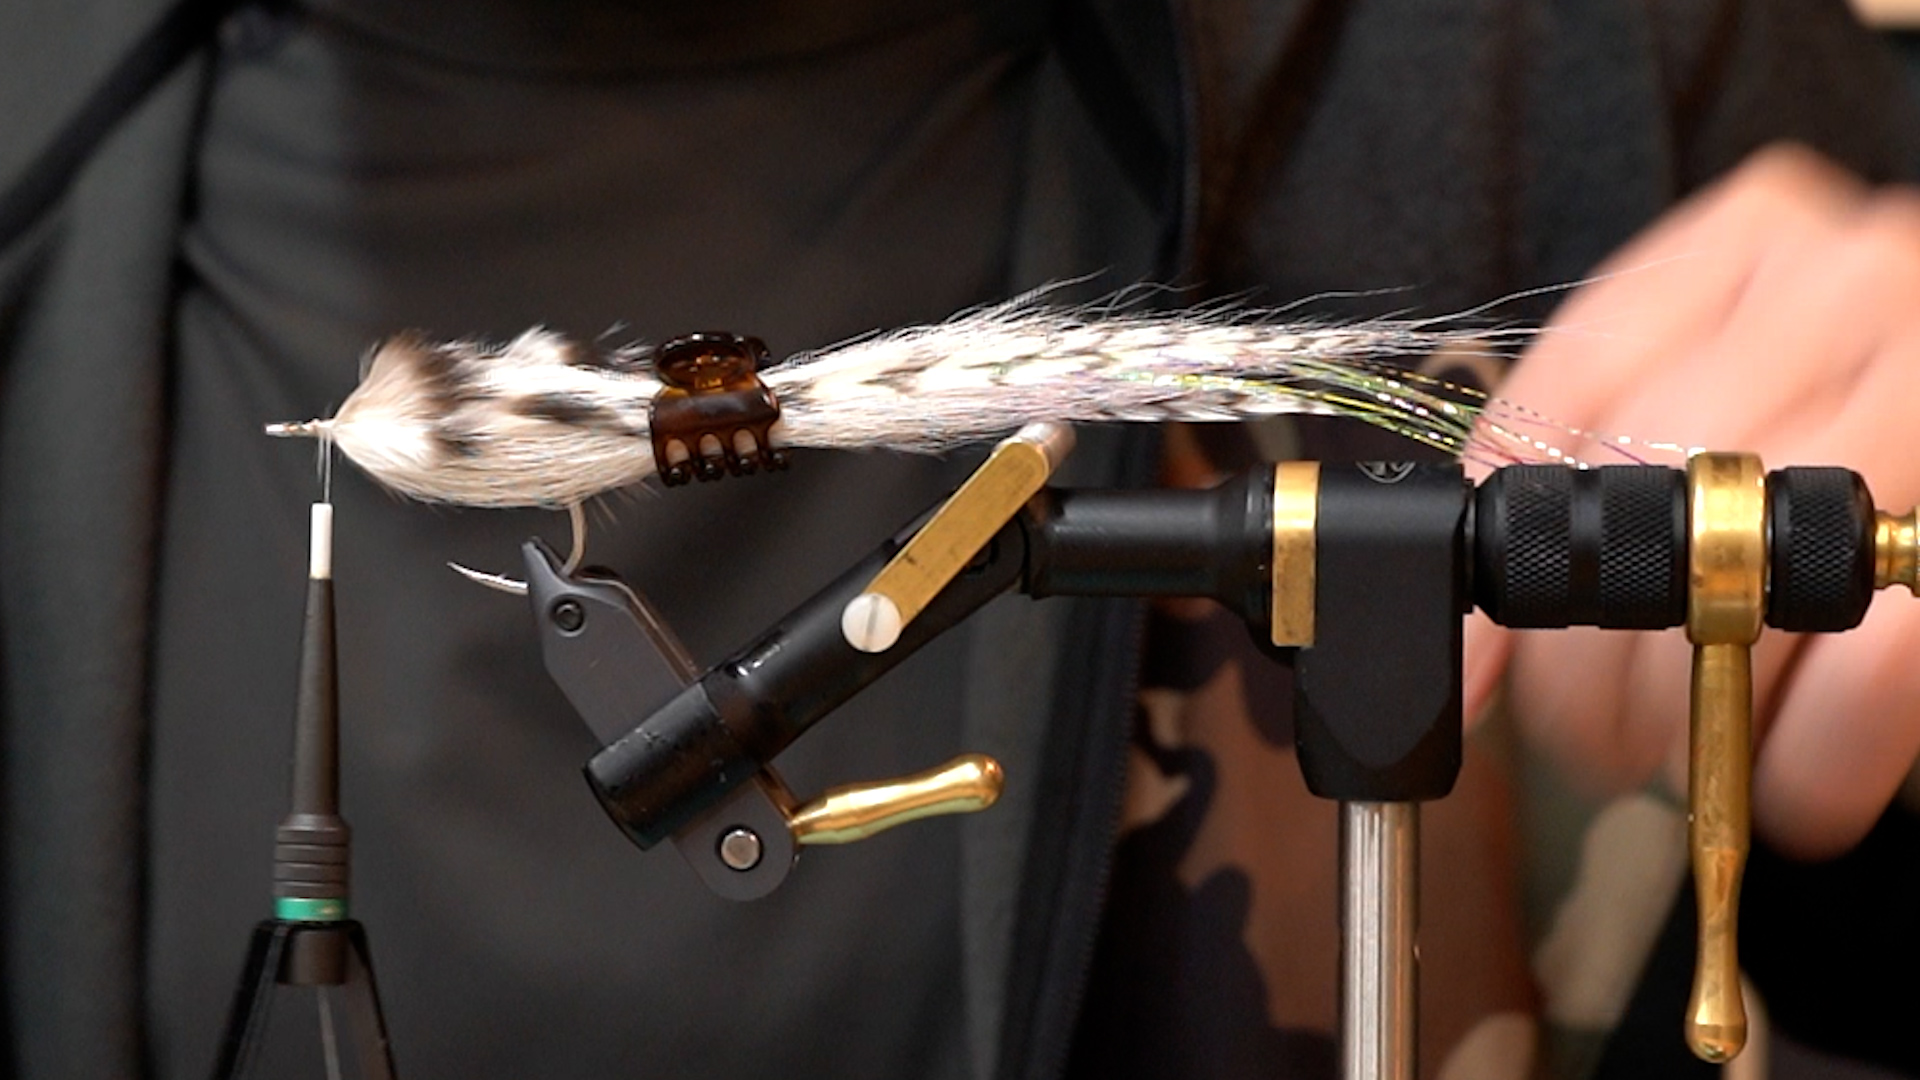
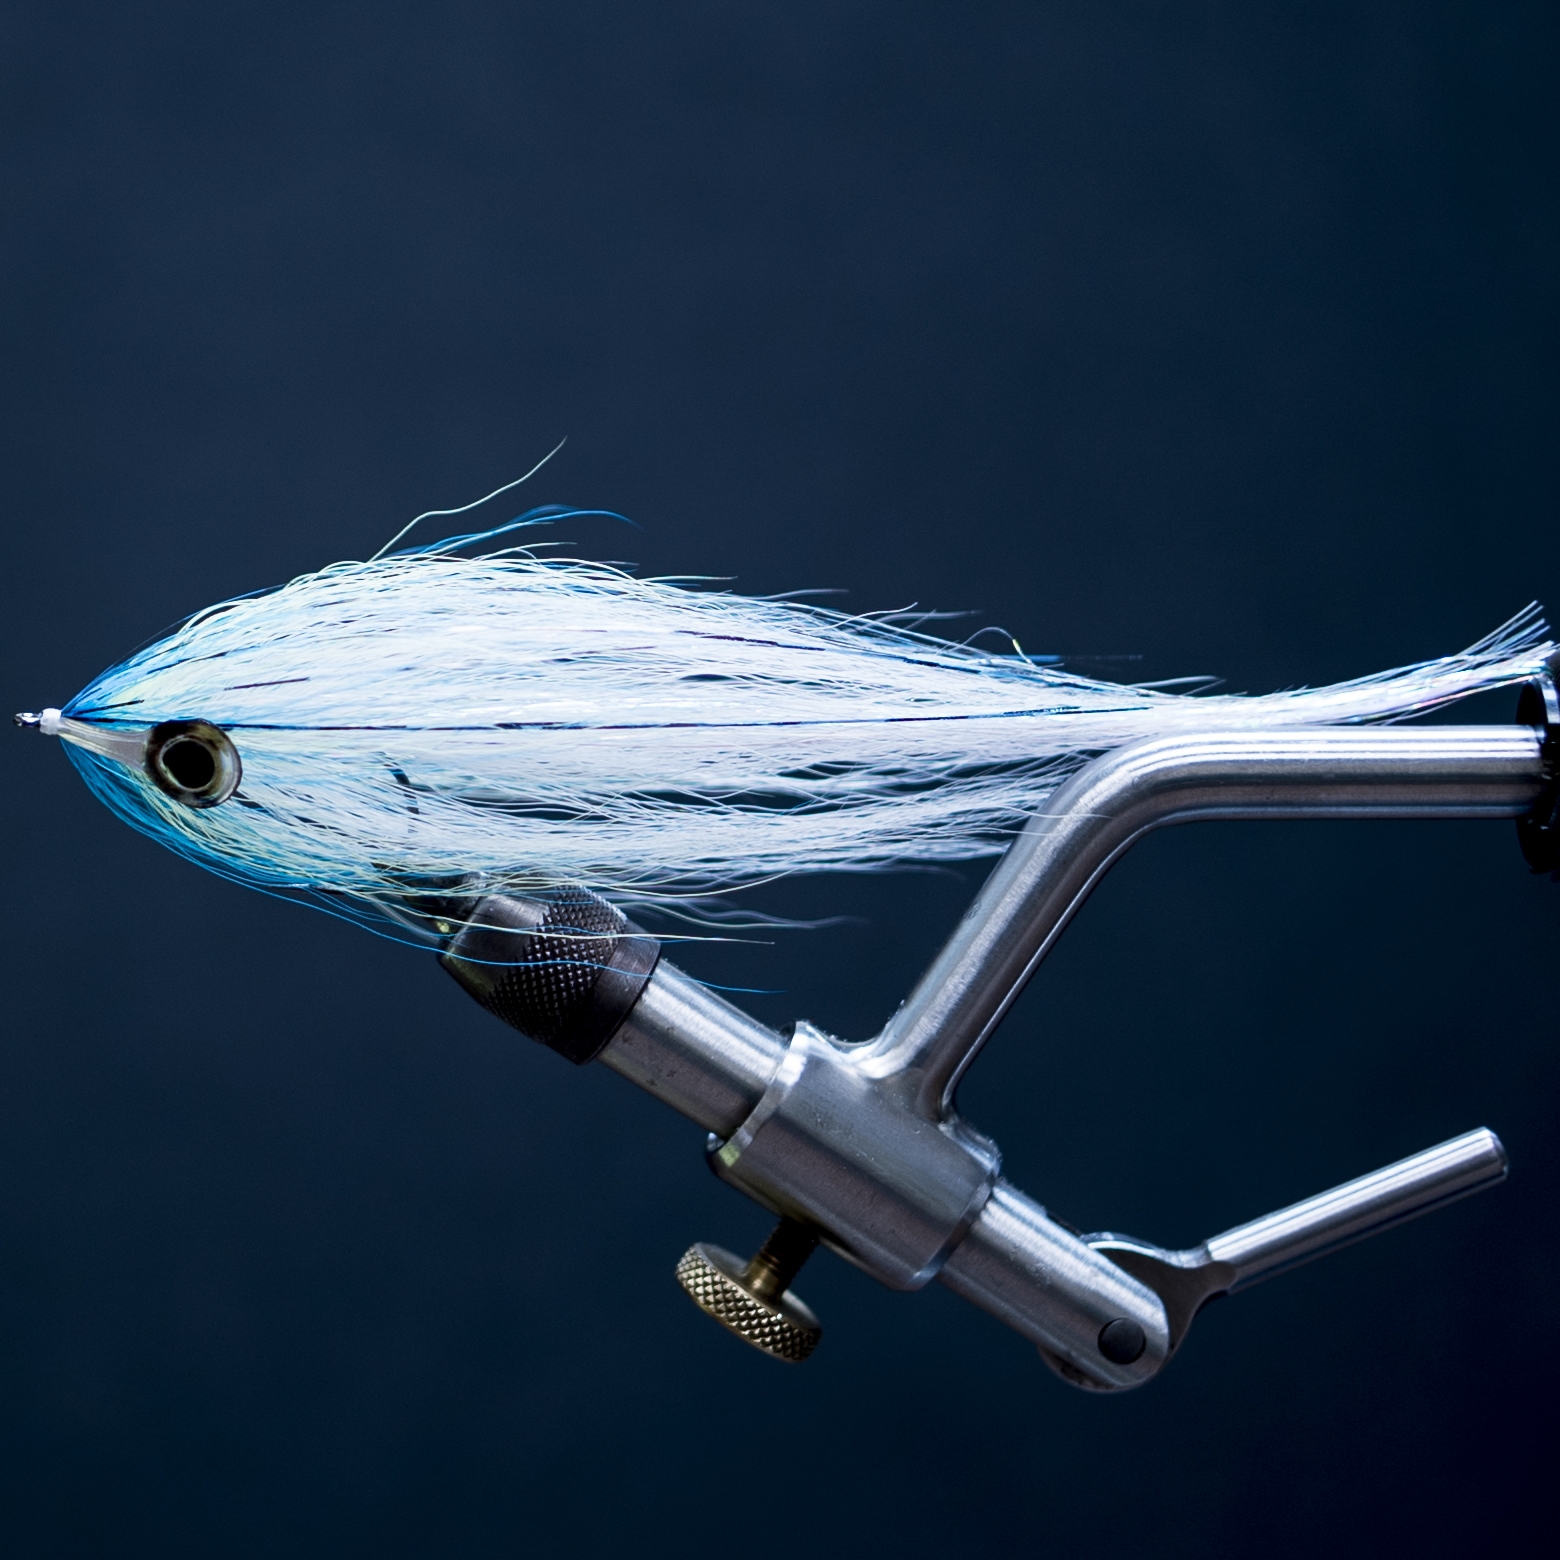
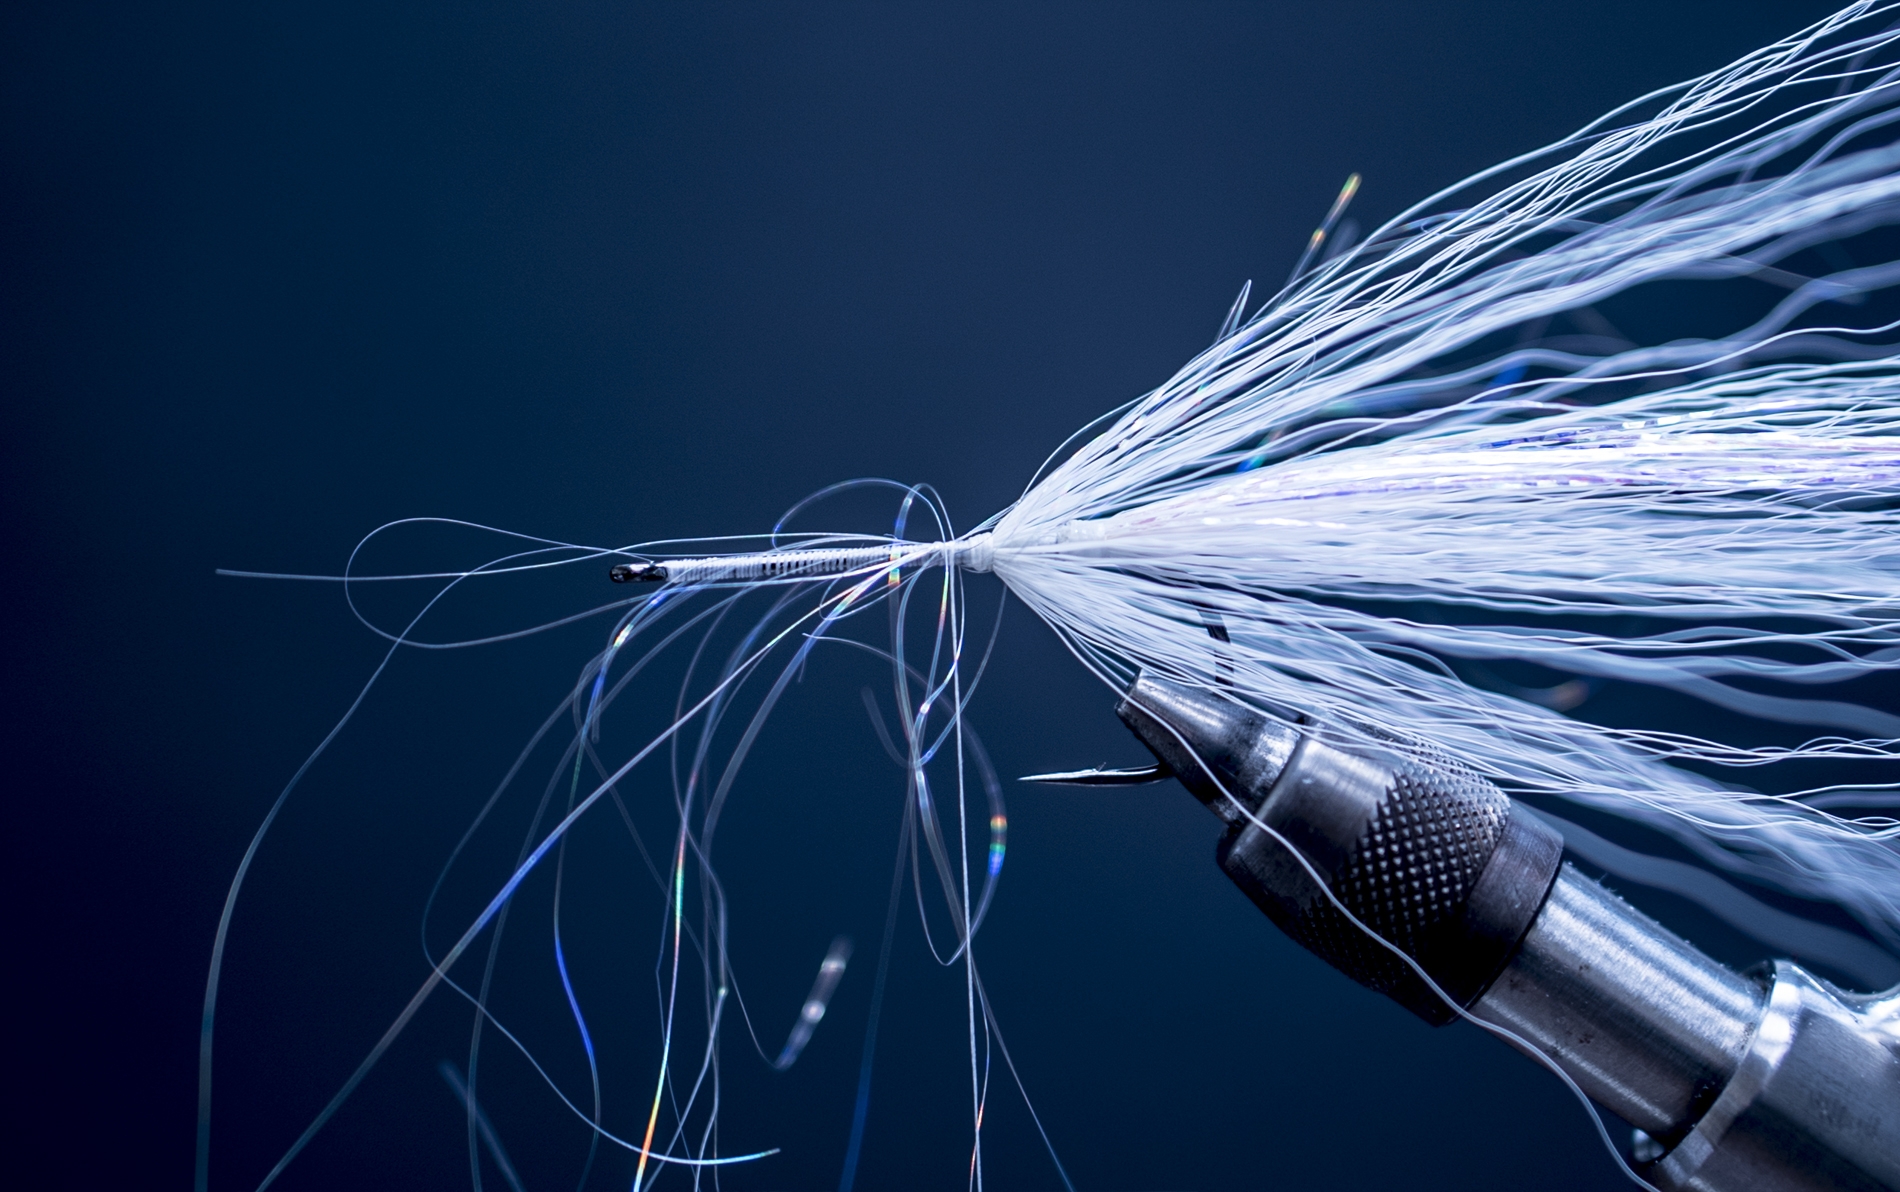
10. Once you are finished with the last two hollow ties you have the option of adding eyes. I prefer to use either Pro Sport Fisher Pro Jungle Cock Eyes in Large or the Pro Sport Fisher 3D Tab Eyes, which is what you see on the photo above. This is a new product and will be available for purchase in the store soon. After you are finished tying in your eyes whip finish and add a coat of brushable Zap-A-Gap and let dry. I typically will run the fly under some hot water for about thirty seconds then hang upright in my vise to dry. This will tame all the stray hairs and allow the fly to take on that beautiful fusiform shape and taper.
I generally fish this fly on a 6-8wt rod with some sort of an intermediate or sinking tip fly line with a 3-6ft leader. Due to the buoyant properties of bucktail fishing this fly on a floating line just doesn’t do it justice. Now with the solstice behind us we are gaining daylight everyday and Smallmouth season will be here before you know it! Once water temps consistently hit the 45 degree mark fish will start taking flies regularly. Early season fishing will generally produce the biggest fish of the year so fill your box with some Hollow Fleye’s and be ready…won’t be long!
Watch the Video!
Ed. Note:
For those un-familiar, Pat Kelly strongly feels that these two books are two of the most influential of all-time in world of baitfish fly tying. He’s a Bob Popovics “groupie”.
Mad River Outfitters/The Midwest Fly Fishing Schools
Fly Shop, Classes, Schools, Guides, Hosted Travel and more!
813 Bethel Rd.
Columbus, Ohio 43214
614-451-0363